Great offer - thanks. Question: how will I find it once it's up?As also a scout leader we need to get our virtual heads together. I’ll create a thread in the morning to help anyone else (including me) come up with badge ideas.
Keep smiling and safe
Great offer - thanks. Question: how will I find it once it's up?As also a scout leader we need to get our virtual heads together. I’ll create a thread in the morning to help anyone else (including me) come up with badge ideas.
")

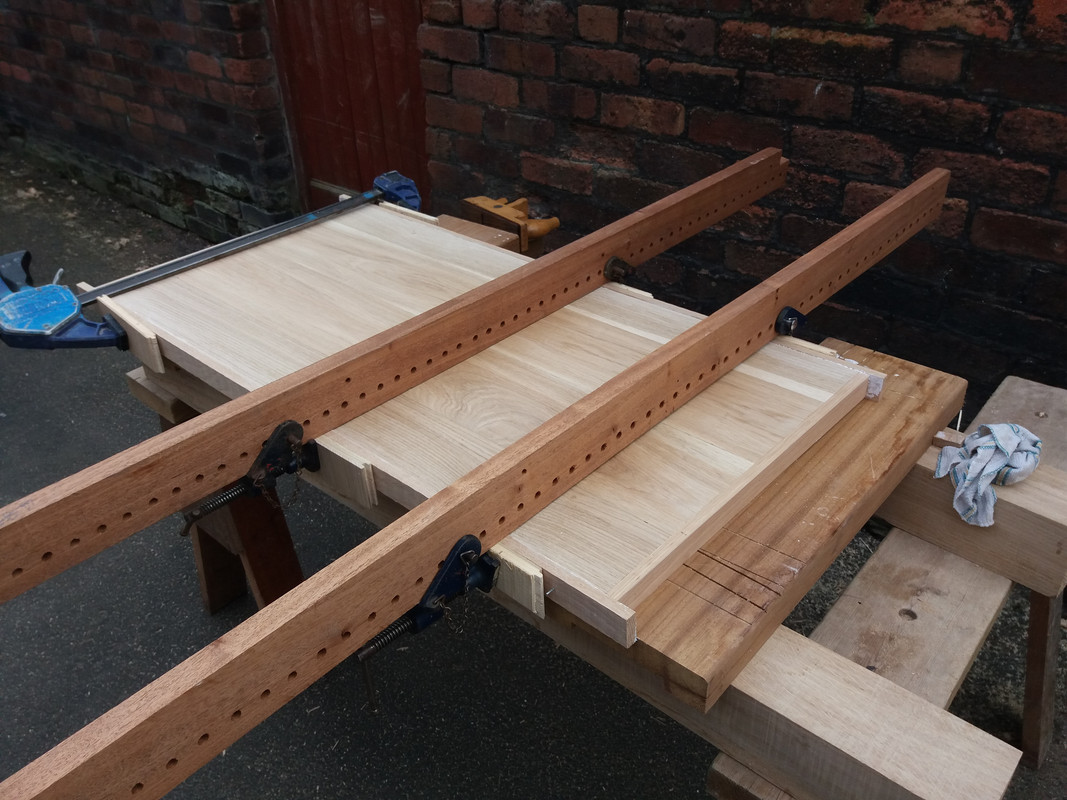
Paint the ends of the staves, and if possible the 'back' surface with some kind of sealant. PVA glue or cheap left over gloss paint, or melted wax if you have it. It slows down the drying, but it helps avoiding drying cracks. It would be removed on doing the rest of the bow work. You can also speed things along by working the stave green and reducing it to near dimensions, then setting it aside to dry. Some people leave the staves in their cars, but that can be risky, as it speeds up drying, particularly so if the car is parked in the sun.After more effort than it should have taken, here are four potential long bows. In truth I'll be lucky if I get one out of them if past experience is anything to go by
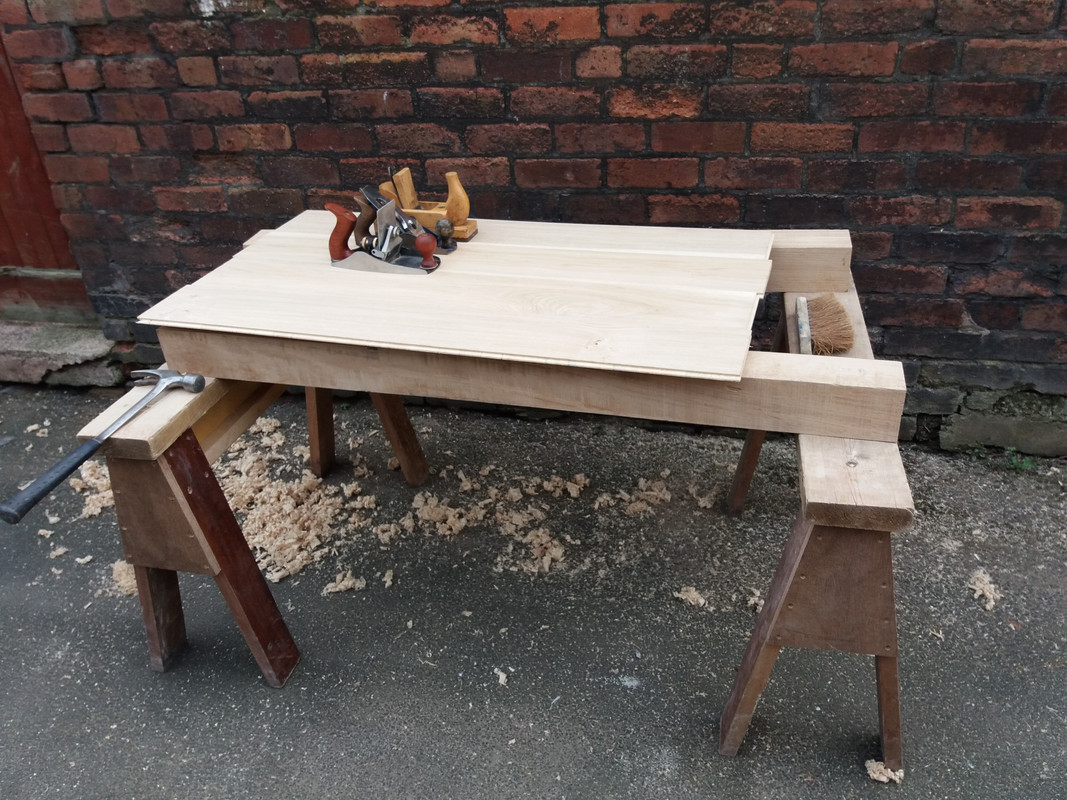
I'll have to get on with some other projects as they dry out for a couple of weeks.
View attachment 57954


Paint the ends of the staves, and if possible the 'back' surface with some kind of sealant. PVA glue or cheap left over gloss paint, or melted wax if you have it. It slows down the drying, but it helps avoiding drying cracks.

Here's a little project that the missus and I have done in the last few days......Its a fireplace screen, to put into the grate while the fire isn't being used. Herself made the glass screen, and I made the stand/frame. The glass is leaded round the bottom and the sides, but all other joints are done with coppper foiling, and soldered up. I made the frame from some wood which I think is a kind of mahogany, sourced in a bargain bin at Yandles.
Cheers, Bob

I've spent a chunk of the day finishing up various knitting projects that have been lying around. And started on some more socks.
Cherry Kuksa.....
Sent from my moto g(7) power using Tapatalk
 Tenonsaw1 by Alan Muddypaws, on Flickr
 Brass screw by Alan Muddypaws, on Flickr
 Tenonsaw2 by Alan Muddypaws, on Flickr


 saw
saw