list to learn
- Thread starter leon-b
- Start date
-
Hey Guest, Early bird pricing on the Summer Moot (21st July - 2nd August) available until March 31st, we'd love you to come. PLEASE CLICK HERE to early bird price and get more information.
You are using an out of date browser. It may not display this or other websites correctly.
You should upgrade or use an alternative browser.
You should upgrade or use an alternative browser.
Hard to tell then mate,
Take a pic next time. Sometimes animals just die. Starvation, cold, old age, heart attack, poison - you name it
I'm fairly actively "inhuming" rodents at this time of year - so long as they are dead (if they are around my house), I'm happy
Red
Take a pic next time. Sometimes animals just die. Starvation, cold, old age, heart attack, poison - you name it
I'm fairly actively "inhuming" rodents at this time of year - so long as they are dead (if they are around my house), I'm happy
Red
next time i will take a pic
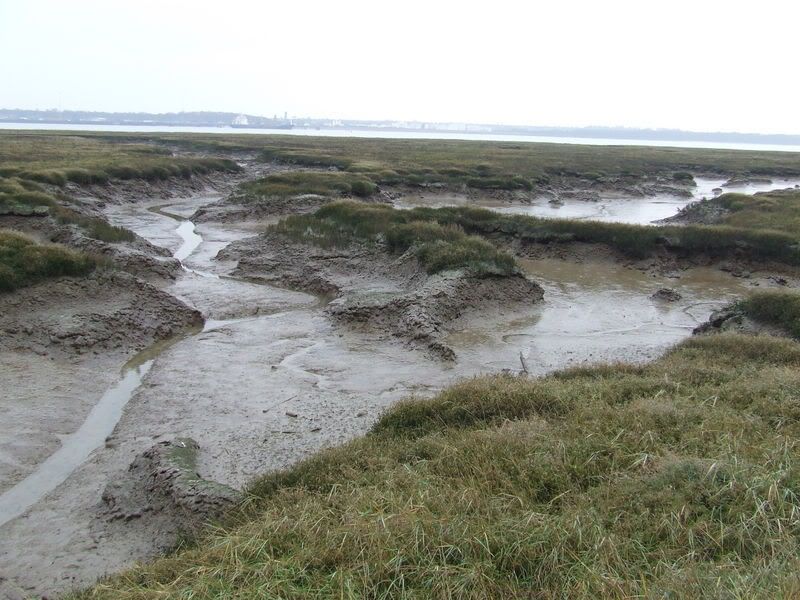
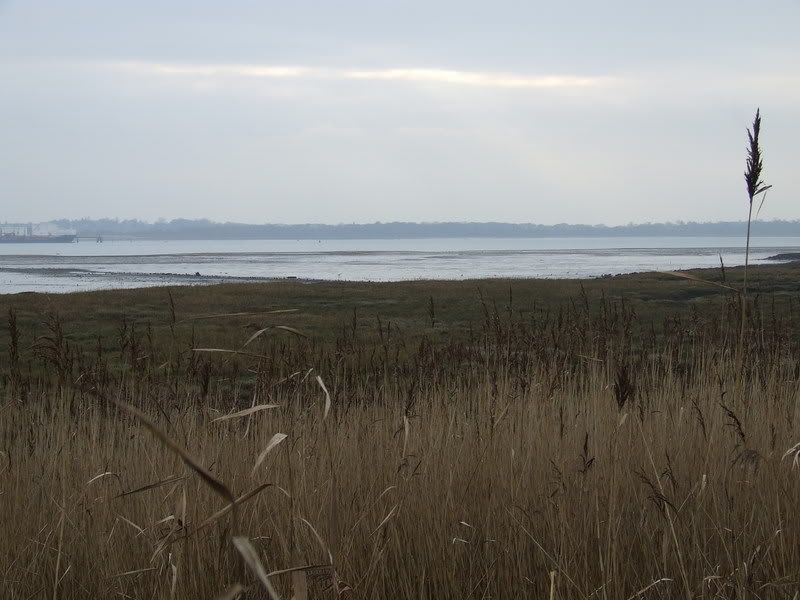
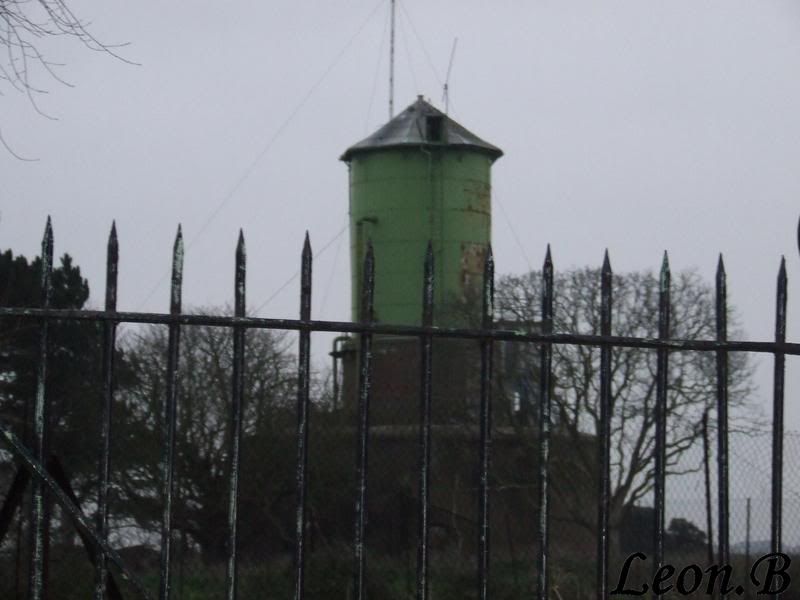
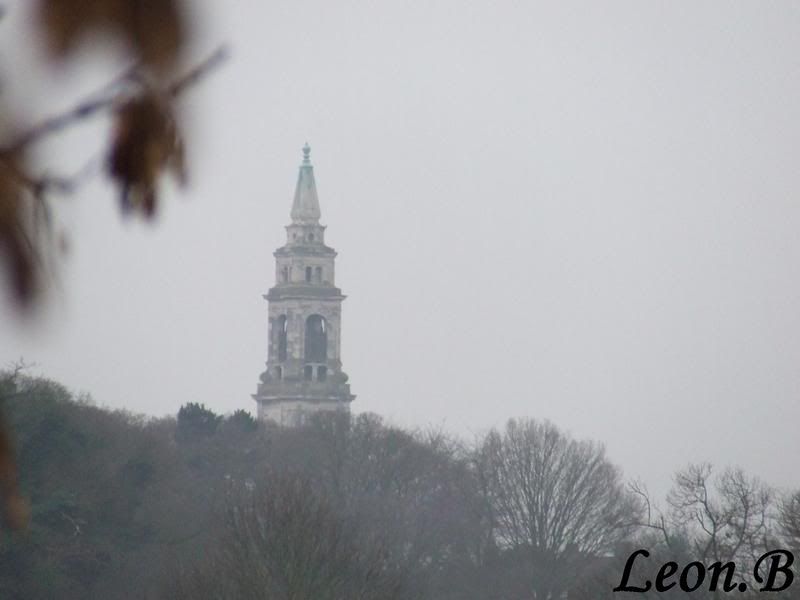
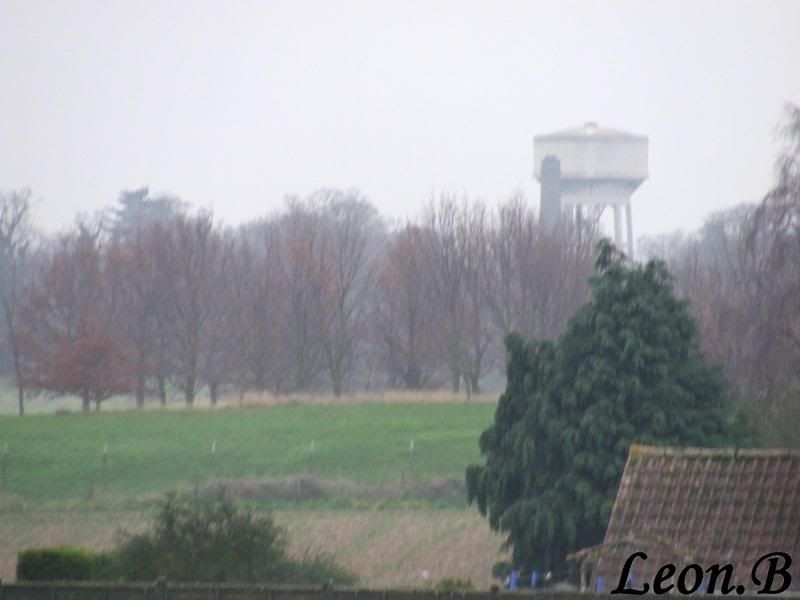
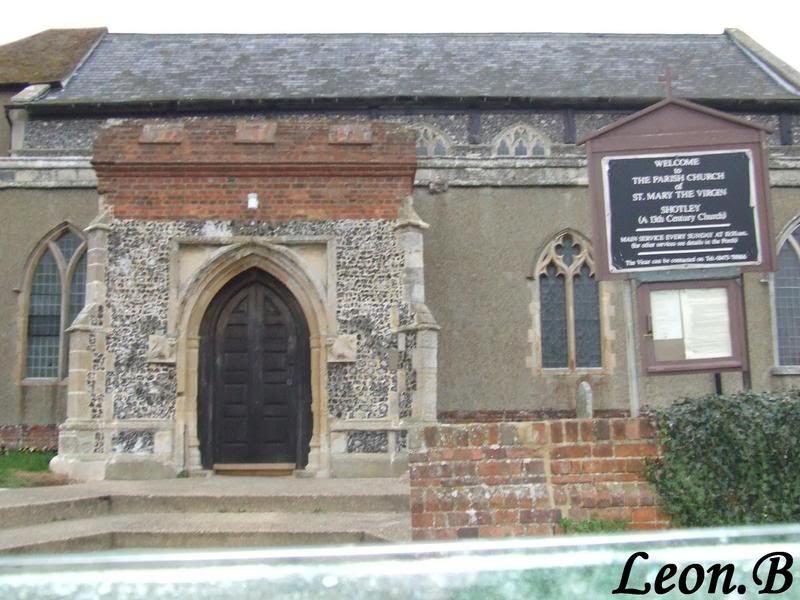
if i post all my photos (7 pics) could you or someone else write leon.b in a nice font in the corner of them or something
ps. i have sent the sunset pic to the local paper because every day they put a photo in the paper, maybe it will get put in who knows
leon
if i post all my photos (7 pics) could you or someone else write leon.b in a nice font in the corner of them or something
ps. i have sent the sunset pic to the local paper because every day they put a photo in the paper, maybe it will get put in who knows
leon
Yeah always good to send piccies in to things like that, i should do that more often too.
It really is one to be proud of, it's a stunning picture.
It really is one to be proud of, it's a stunning picture.
British Red said:D*mn thats clever
Believe none of what you hear and only half of what you see!
Red
Yeah the camera never lies?
MY AR*E
leon-b said:next time i will take a pic
if i post all my photos (7 pics) could you or someone else write leon.b in a nice font in the corner of them or something
ps. i have sent the sunset pic to the local paper because every day they put a photo in the paper, maybe it will get put in who knows
leon
Always happy to help
Something like this?

leon-b said:i cant see it, shall i post all 7 of my pics lol
leon
I think you need the original file, i did the sunset in photoshop
are you on windows XP?
if you are, go to Start -> all programs -> accessories and look for a program called PAINT
it's a bit basic but will let you add your name.. and play around with fonts
if you are, go to Start -> all programs -> accessories and look for a program called PAINT
it's a bit basic but will let you add your name.. and play around with fonts
Assuming you have got microsoft paint (it should be loaded as standard with windows), run the program and do the following:
First open your picture - unfortunately you can only zoom out to 100% so will have to scroll the screen to where you want the text.
Go to the image menu and make sure the item "Draw Opaque" is NOT ticked
Go to the view menu and make sure "Text Toolbar" IS ticked.
Now, select the text tool from the toolbox on the left - it's the 5th one down on the right column that looks like a capital 'A'
You're now going to draw a box to hold the text.. click where you want the top left corner to be, then, holding down the left mouse key, drag the box out to the size you want. Then let go the key to leave a dotted box.
Now type the text you want.. don't worry about the size or colour yet.
To change the colour of the text, click on one of the colours in the pallet at the bottom left of the screen..
To change the font, go to the Fonts toolbar that should now have appeared - it will have 3 white boxes which are the font type, size, and character set. Play around with the font and size until you get what you want - don't worry about the character set, leave it set to Western.
To the right of these boxes are buttons for Bold, Italic, Underlined, and the last one i have no idea but it's disabled. click them on and off to see the effect.
When you're happy, save the file - i'd tend to save it under a new name to keep the original safe.
a couple of things to note:
1, view in normal 100% size - The text tool only works in 100% view mode
2, Once you have positioned the text box it is possible to move it by dragging the corners, but it ain't easy!
3, If you click outside the text box, it will disappear and the text will be stuck where it is - use Edit->Undo(Ctrl-Z) to get rid of it and try again
let us know if you try it
Similar threads
- Replies
- 84
- Views
- 2K
- Replies
- 118
- Views
- 3K
- Replies
- 15
- Views
- 432
- Replies
- 15
- Views
- 602
- Replies
- 4
- Views
- 328


