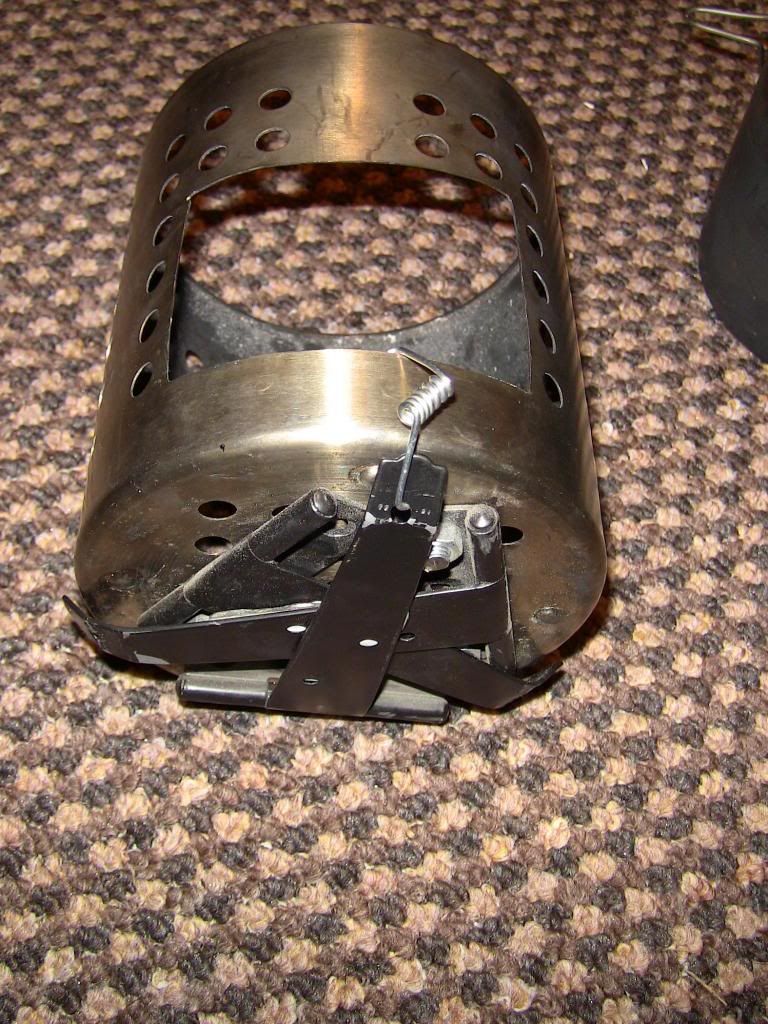
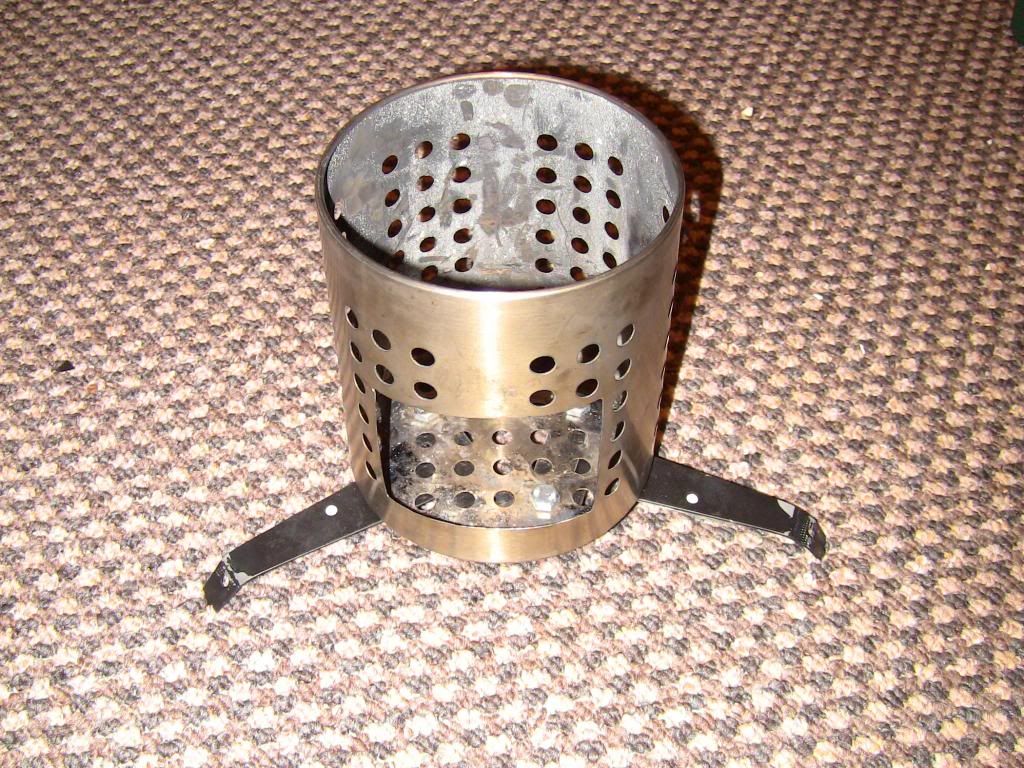
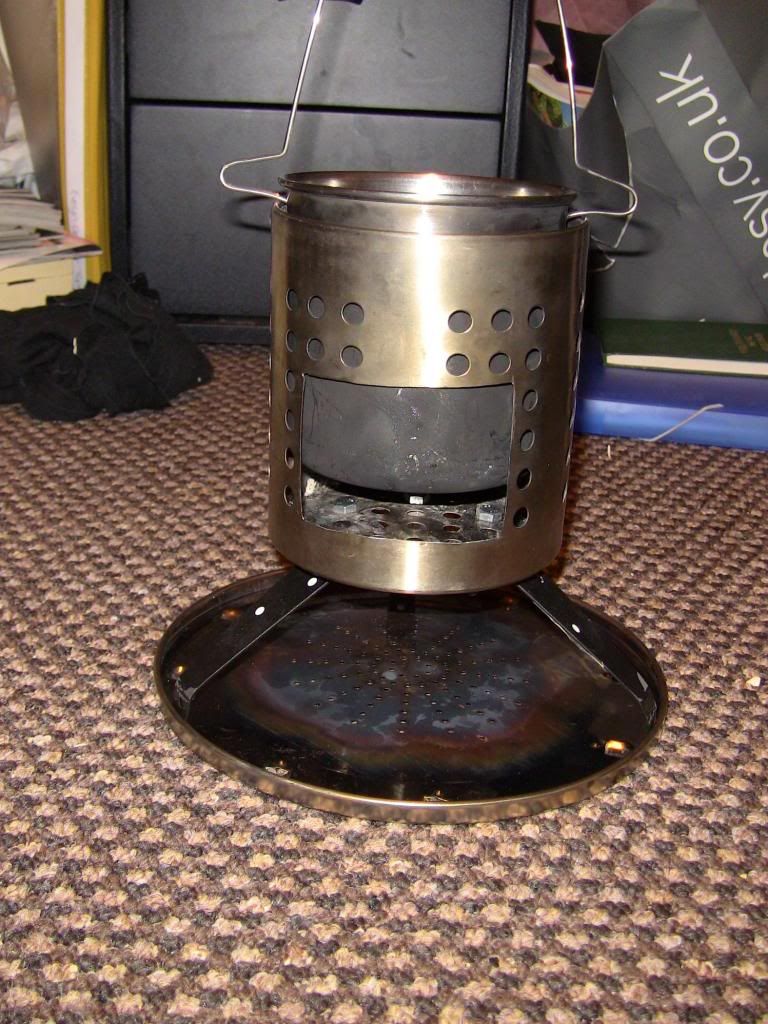
[EDIT: Found out about albums and posting image URLs for full size pics. All inline photos now updated.]
What an excellent thread! Like others, I have been inspired to have a go at making a hobo stove.
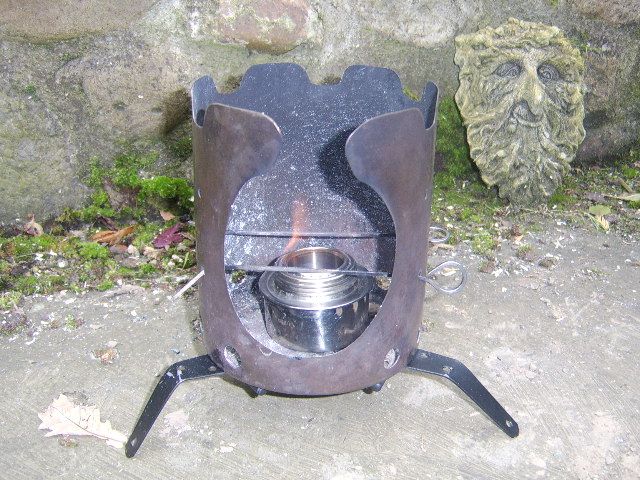
Allow me to present.... the Nomabrew Mk1.

Just made this today and haven't tried it yet, so it's still shiny; and no bag made yet.
This is a small brew kit sized outfit which uses the two smaller cannisters from a set of three nesting ones that I got for 15 quid on eBay. The skewers were from a set of 6 in Sainsbury's at £2.50, and the fire grate is an old computer fan guard that I got in Maplin ages ago for about £2.50. So, not counting the fancy cup and coffee dangler, and assuming the cannisters are equal value, total cost was about £13.50.
Overall size is 11cm diameter by 14.5 cm high. As shown, it weighs 766g.
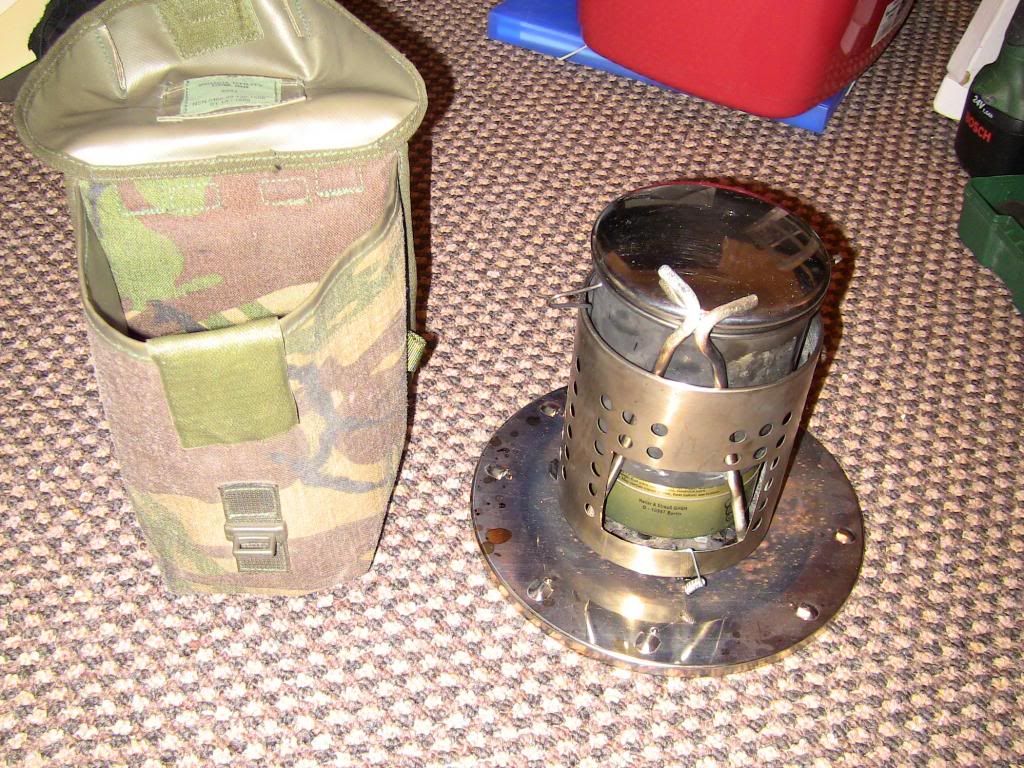
Here it is packed (Swiss Champ added for scale).
I was able to get all the bits to fit and still use the lid for the outer cannister. So I can put the lid upside down on the ground and have somewhere to put bits and pieces. Not much use as a plate, unfortunately, because this design of lid has a hole in the middle for a knob (they were pretty useless - couldn't stack the cannisters with them fitted). No big deal, since this is just for making brews.
With the lid off, we can see the bits inside.
In the middle is the loop for the billy lid (with a sticky-outy bit). The two round bits near the front are the ends of the pot support rods, and the two bent bits at the sides are the ends of the bail.
The bits now taken out.
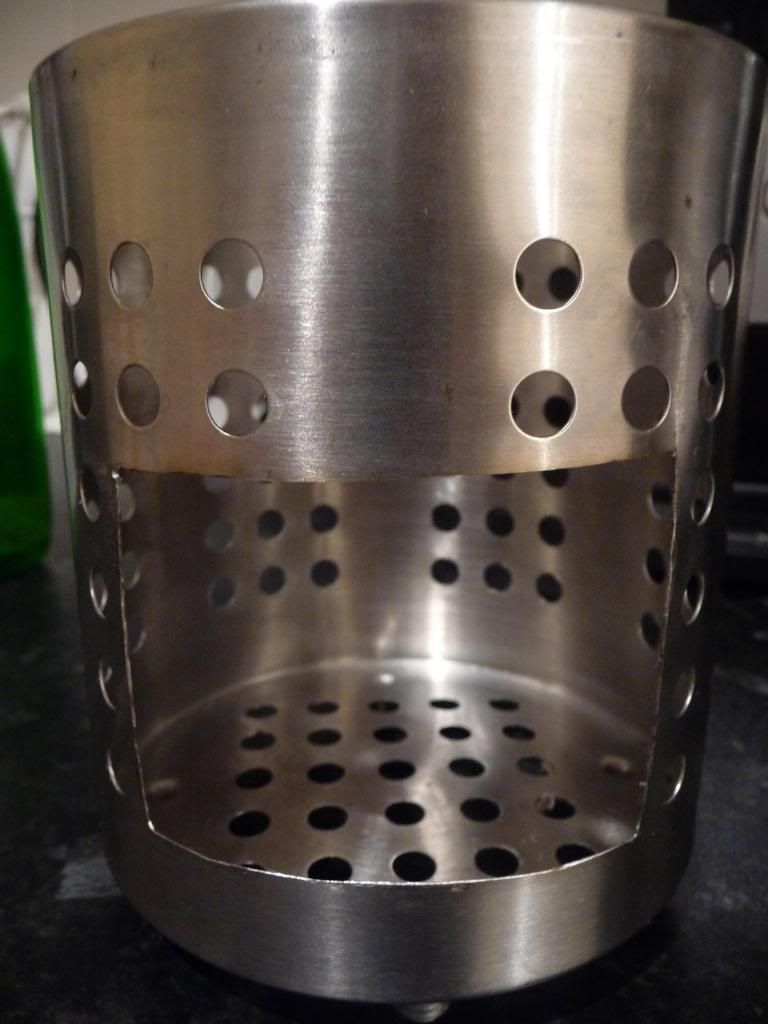
When the billy is taken out, the fan guard can be seen in the bottom.
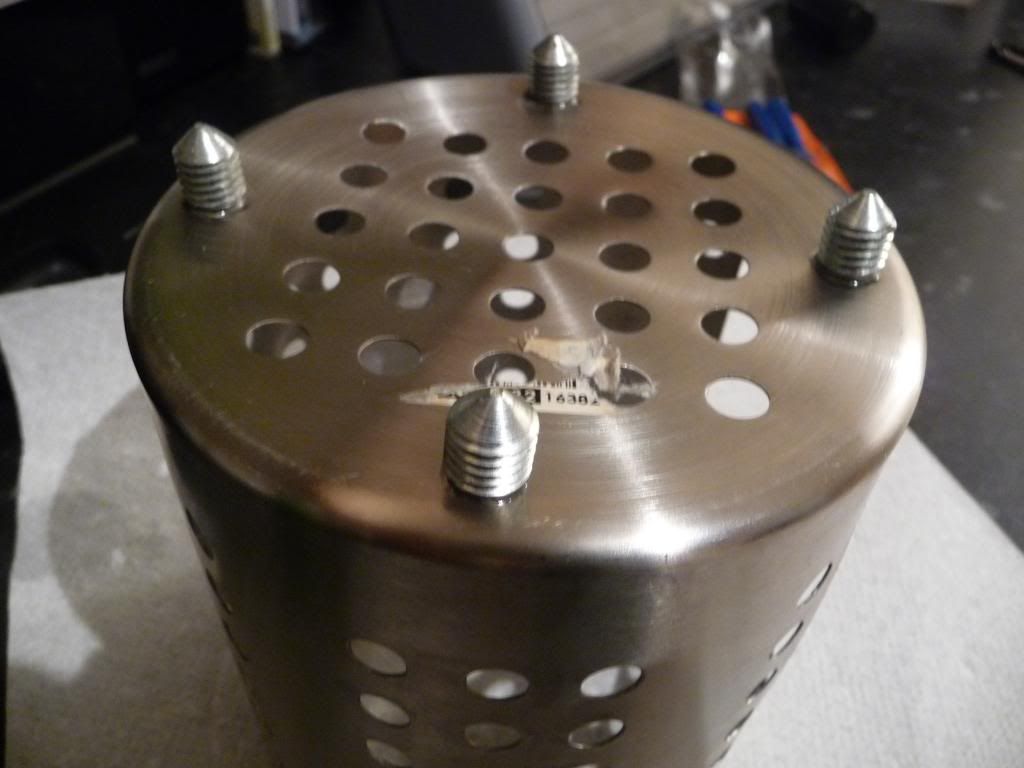
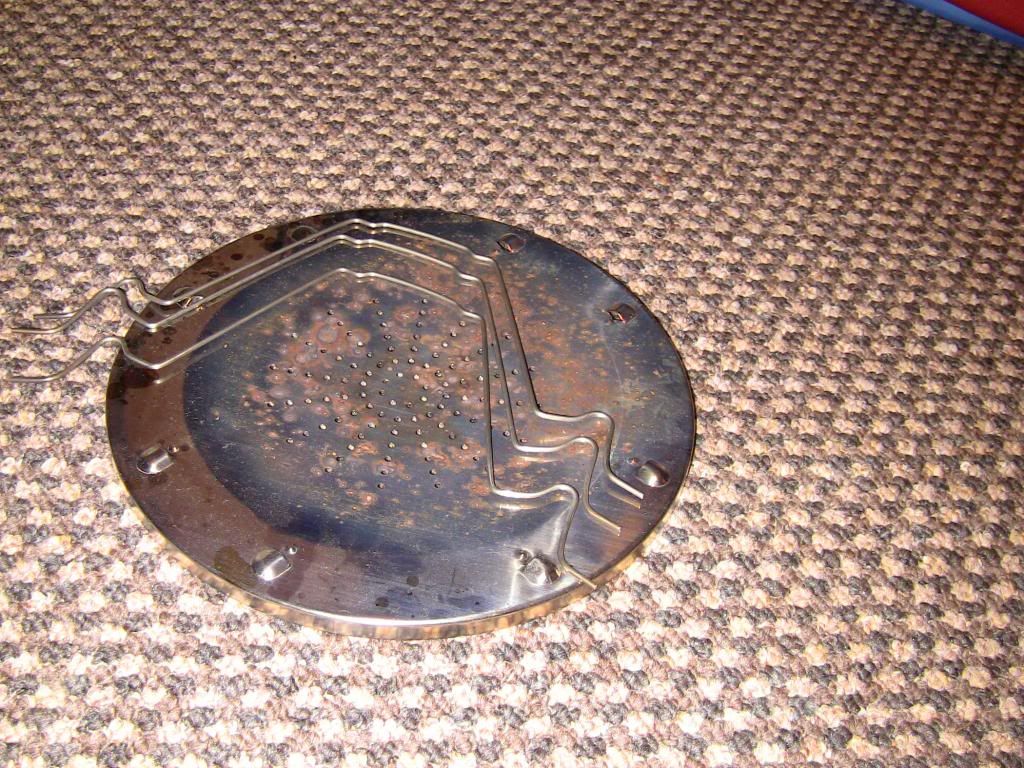
The outermost ring of wire was cut off and diagonal bits bent down vertically. When packed, it goes in upside down and the bottom of the billy fits between the support legs of the grate.
Here's the grate the right way up.
At the moment, the grate is about level with the bottom of the rectangular hole. I might lower it a bit if I find that embers drop out - to be tried out first.
With the pot support rods fitted, the stove is assembled.
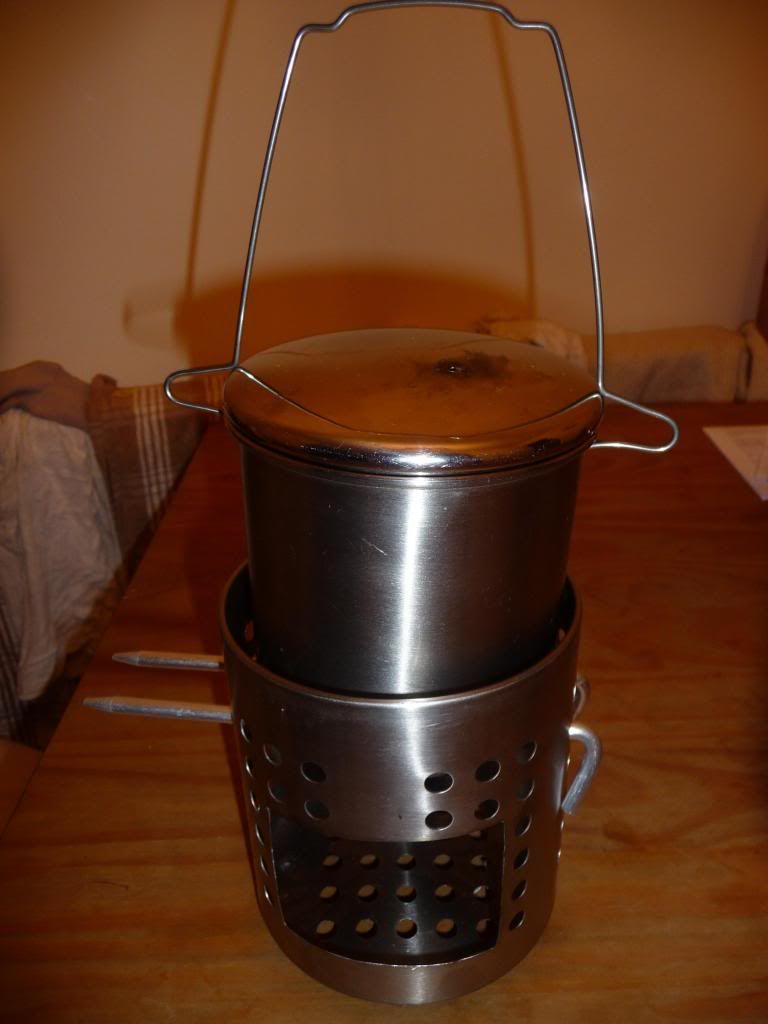
The holes around the bottom (16 of them) are about 8.5mm in diameter. It's a chimney effect design, where air is drawn in through the holes, passes through the grate and exits at the top around the billy.
Note the extra vertical holes for the pot support rods. I made one set near the top, and then added more at 15mm intervals. The intermediate ones leave enough room for a spirit burner, and the lowest ones could be used with hexi fuel or the like. Also, note that the bent ends of the support rods are turned inwards - if the position of the bend is set right, you can get a bit of friction when they're turned, and they don't rattle.
Inside the billy is my fancy new cup, a 350ml Tatonka double-walled jobbie.
And inside the cup...
...is an MSI coffee dangler...
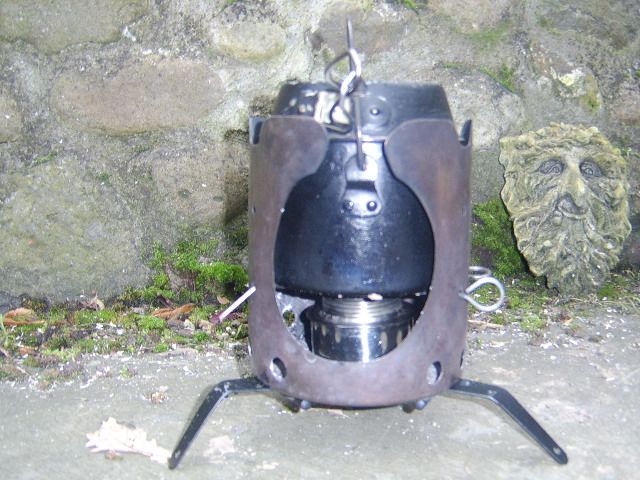
Here's the billy with the bail attached and on the stove.
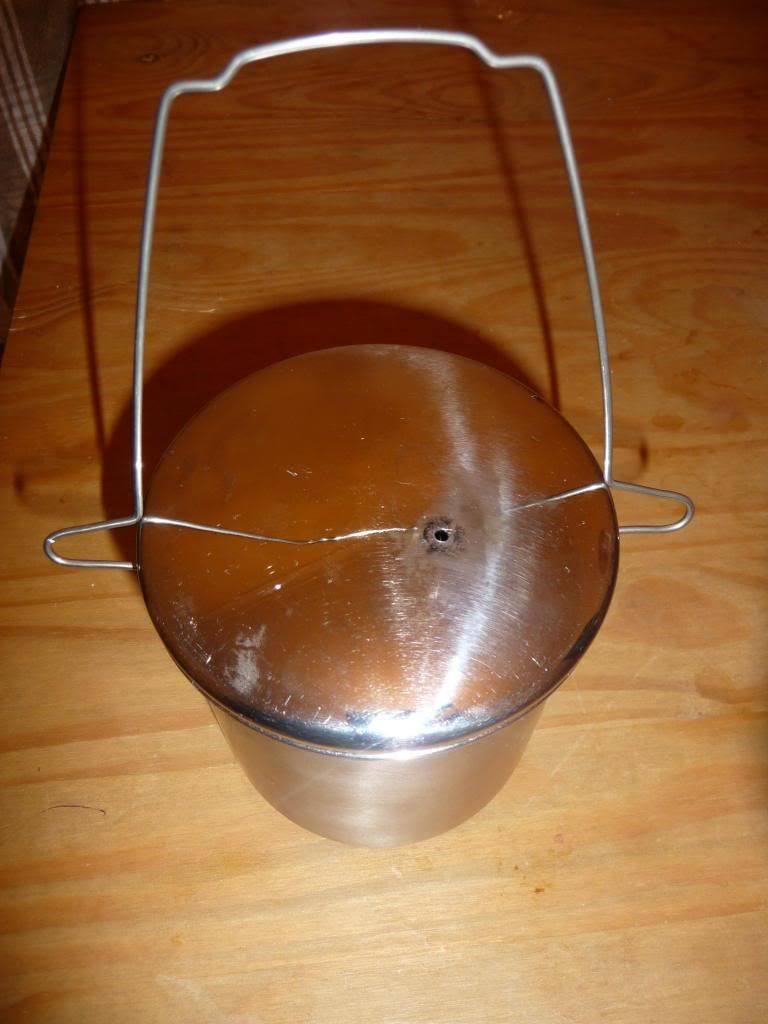
As you can see, the bail is quite long. I played around with this for a while, initially trying to come up with something that could be permanently attached to the billy, but it never seemed to want to fit inside the stove body when packed. Once I had decided to make the bail removable, I was able to solve a second issue...
Note that the bail does not go under the raised part that the lid goes down onto when packed - the holes are
above the raised part and prevent the lid going all the way down. The reason for this is because the lid has a fair amount of friction when it's right down. Using the bail to limit its travel makes the lid easier to remove.
The sticky-outy bit on the lid loop is designed to hold the bail upright.
Here's a detail of the lid loop holding up the bail.
And here's the loop set upright for lifting the lid.
