In that case...
The next instalment.
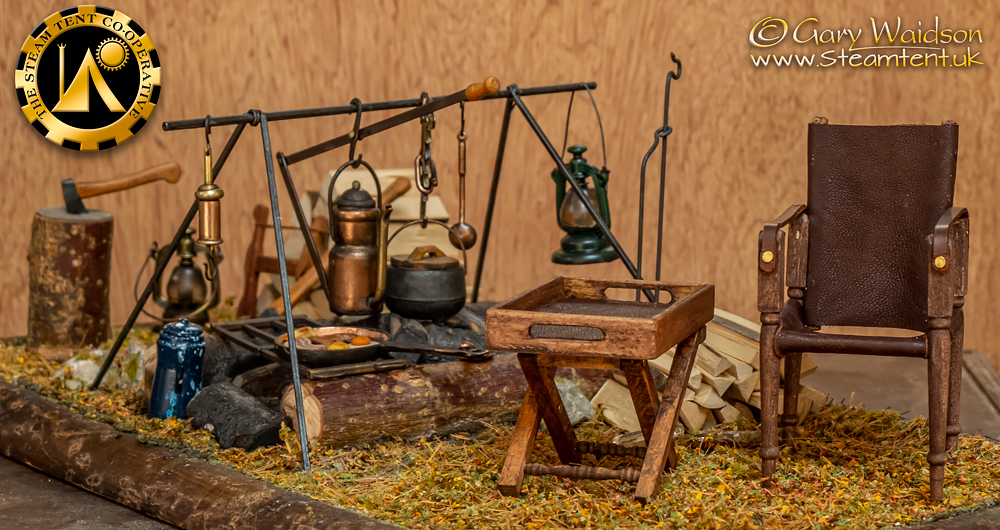
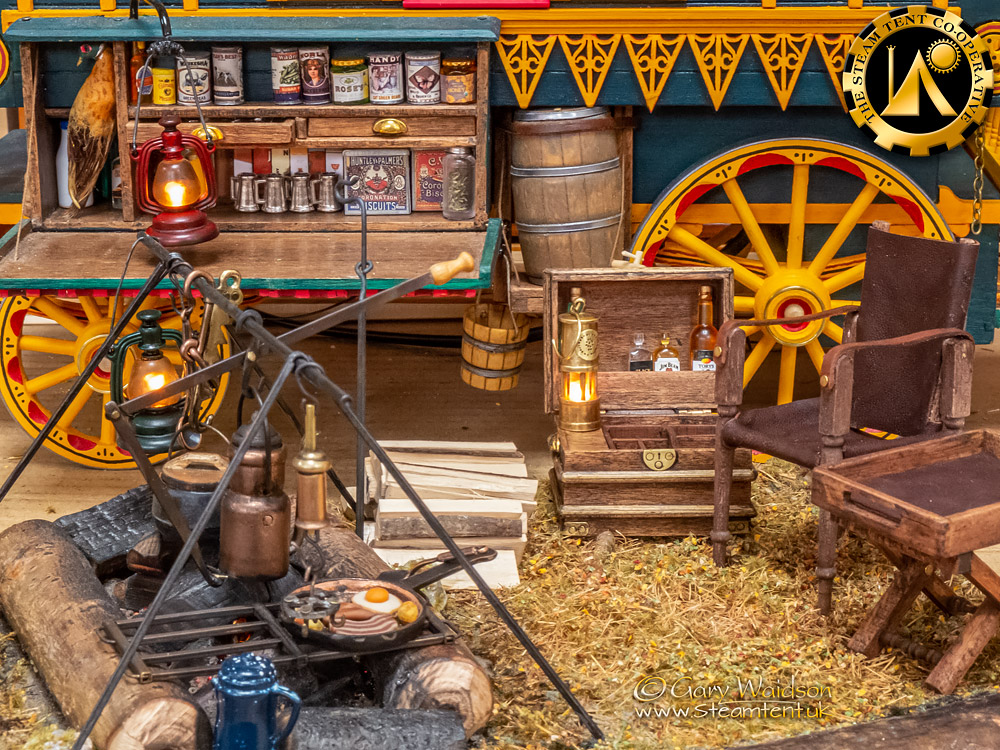
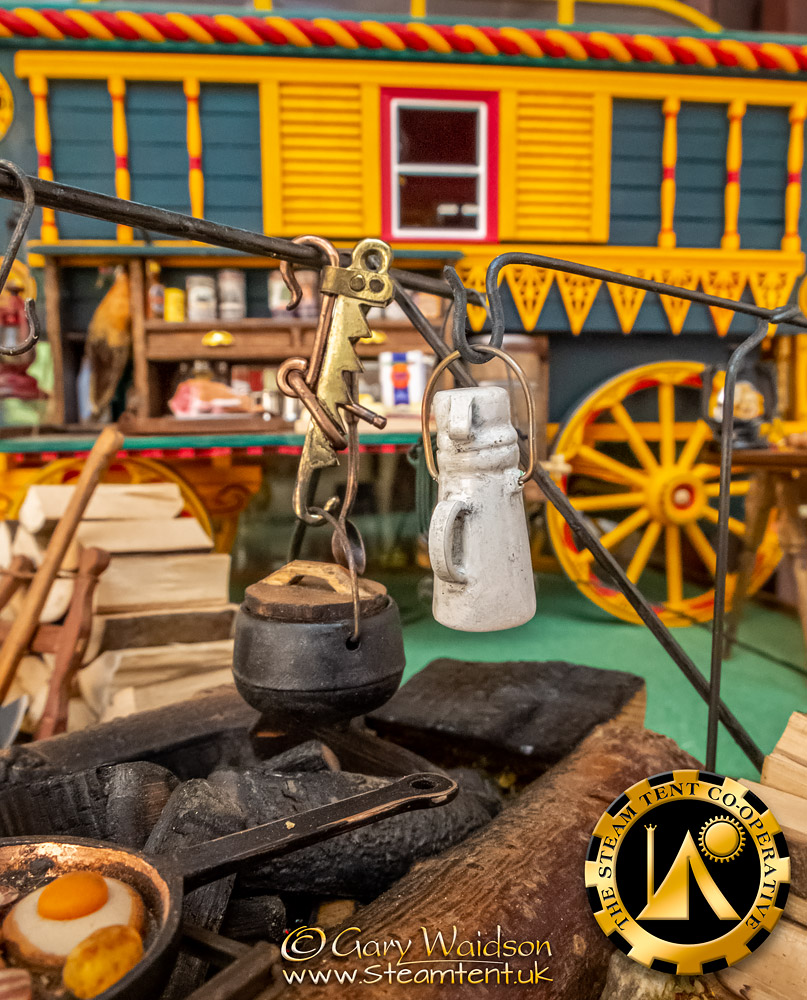
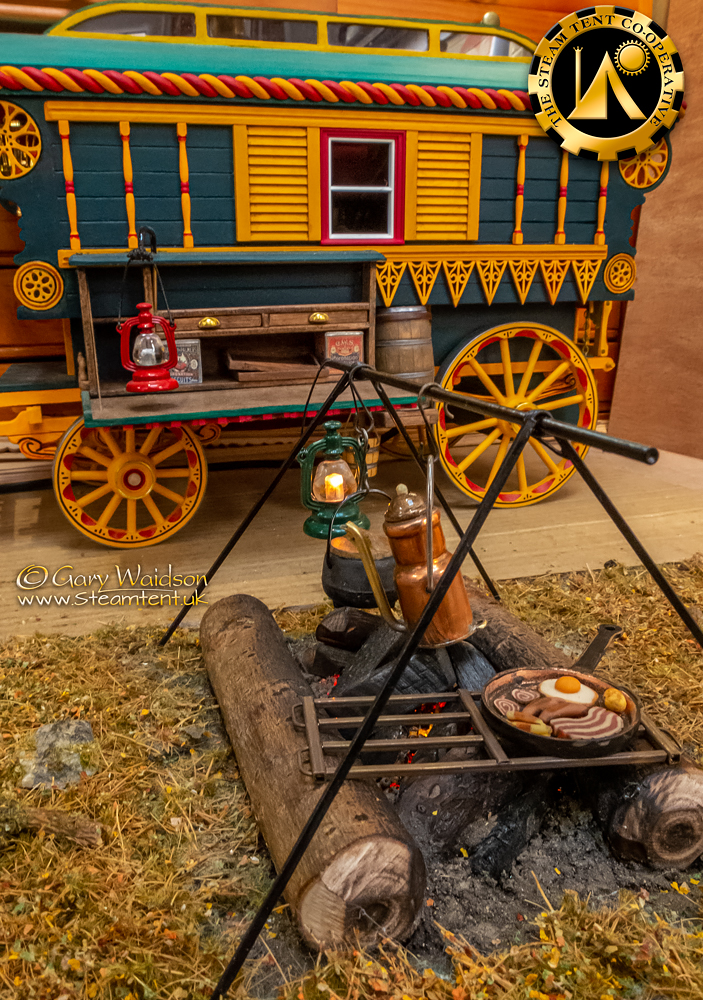
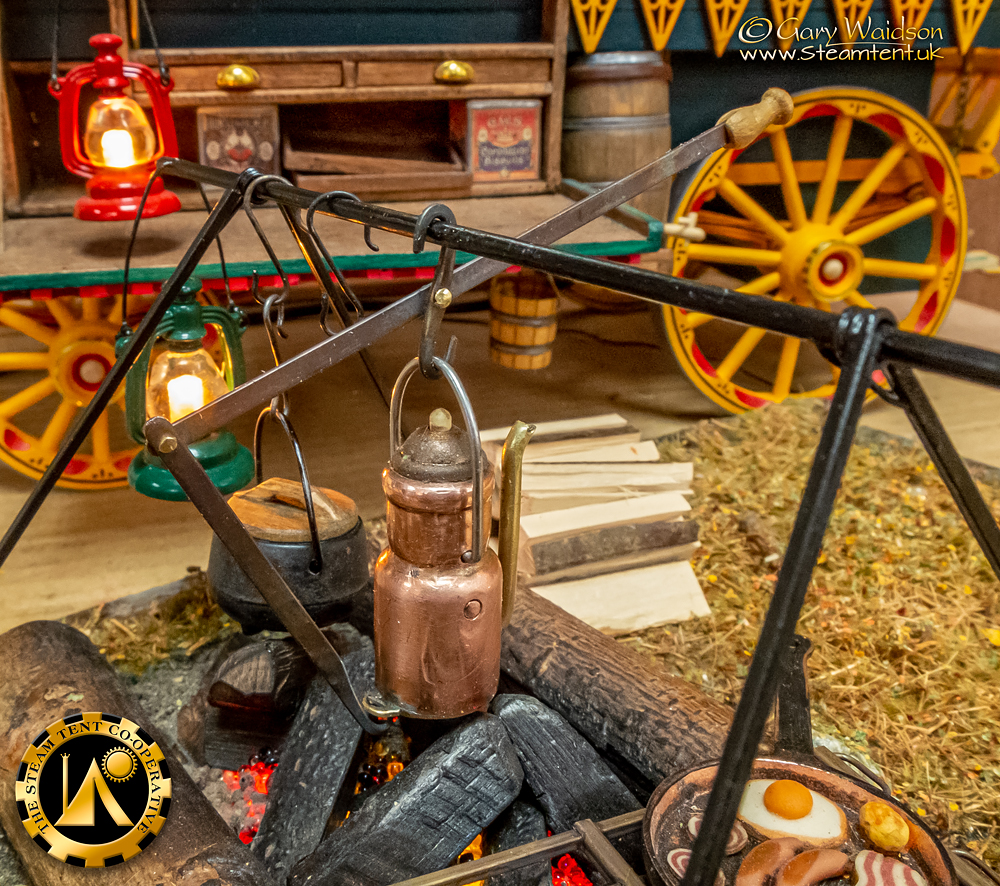
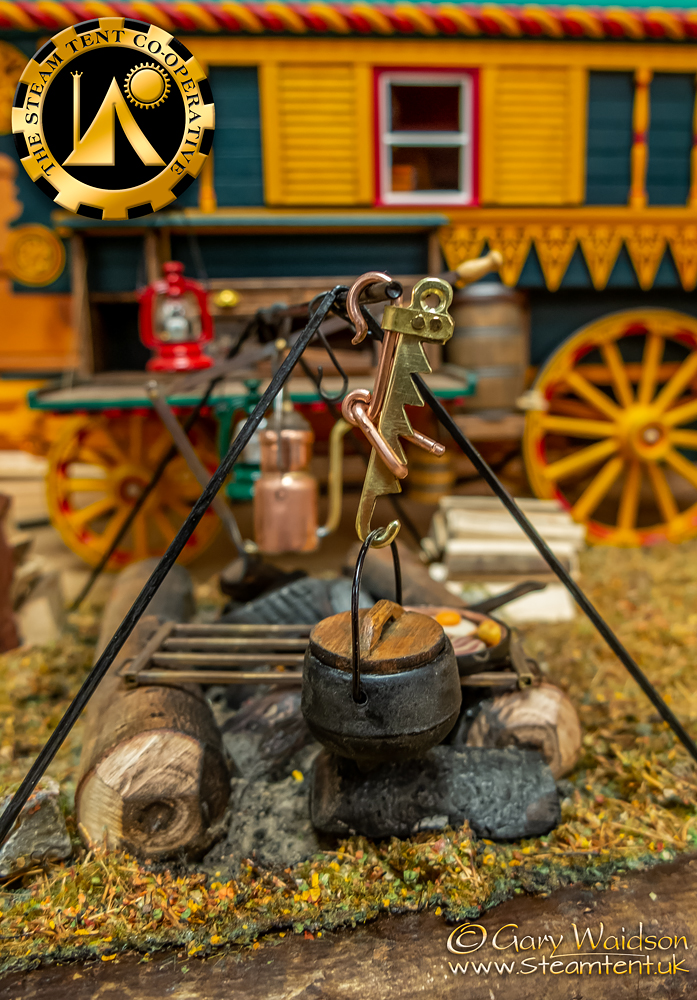
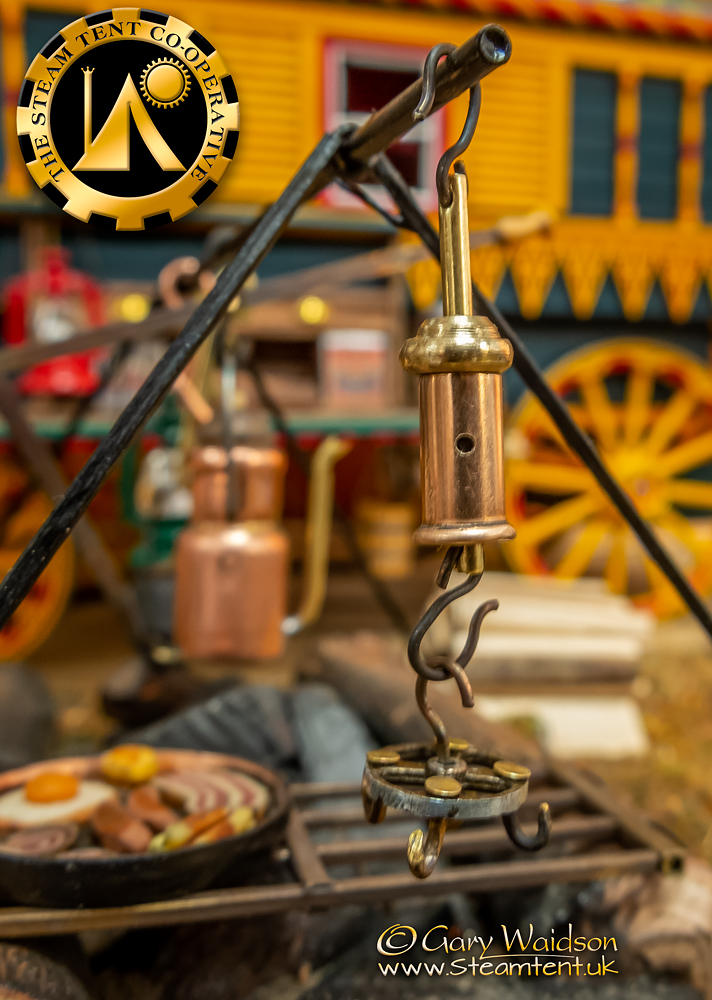
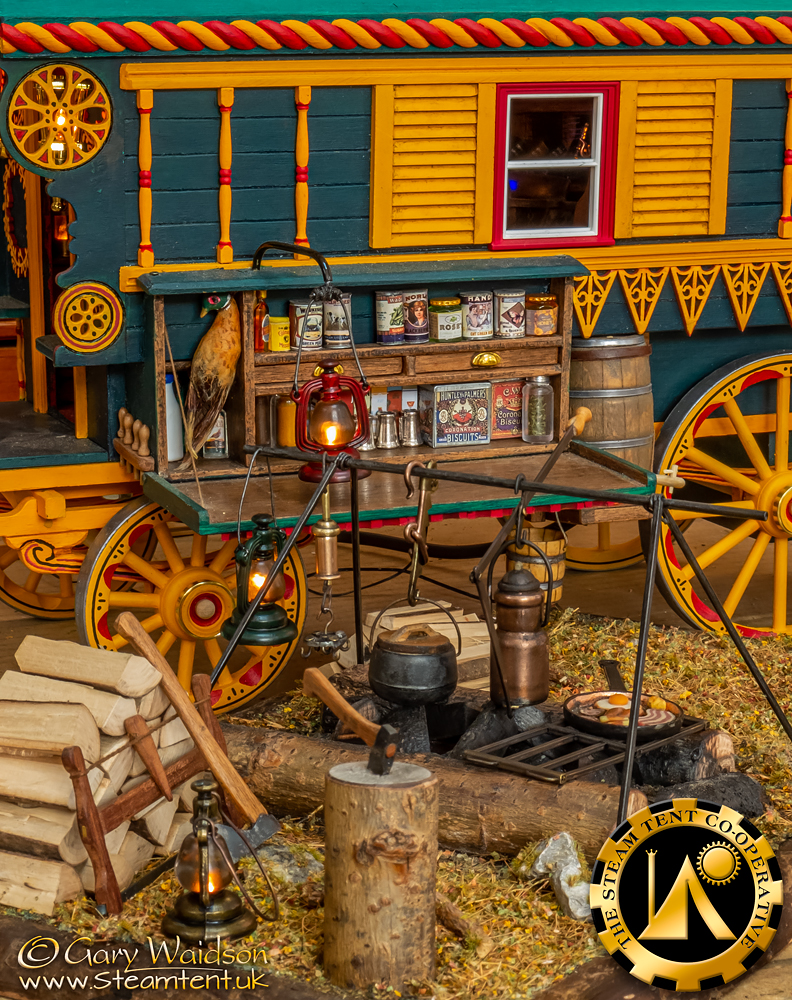
The terrain mat is now in place on the platform and I've built a hanging kettle from a pipe reducer and some scrap brass pipe and plate.
The lid was the top of a pen cap.
I'm aiming to make a cowboy style kettle tilt for this but the first try didn’t work so I’m rooting through my scrap trays for the right materials to have another go.
The next instalment.
The terrain mat is now in place on the platform and I've built a hanging kettle from a pipe reducer and some scrap brass pipe and plate.
The lid was the top of a pen cap.
I'm aiming to make a cowboy style kettle tilt for this but the first try didn’t work so I’m rooting through my scrap trays for the right materials to have another go.

")