Sources, more or less in order:
Started off nice and easy with an outer layer based on Rick Marchand's anorak pattern (not really worth a picture, basically the same as his). I'm not exactly delighted with the result, but this step was time nevertheless well-spent in getting to know the wool and sewing machine. The machine's presser foot, in particular (old machine made for sewing tablecloths and bedsheets), wouldn't give me anything more than three layers of wool .
.
Here's exercise #2, slightly more complicated, a hood design in the style of an old cotton/wool reversible anorak I saw online (pictures link to flickr; there are more pictures there):
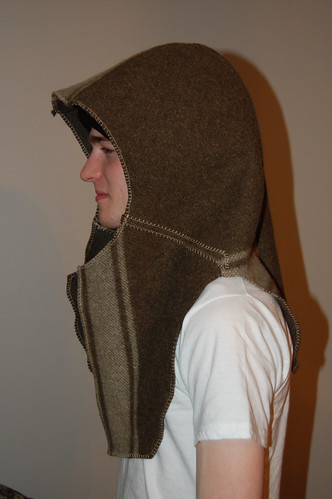
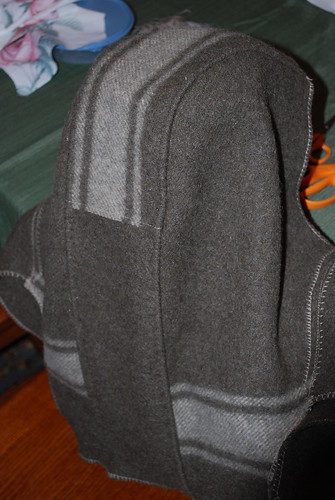
The two main seams are top-stitched by hand; all others are machine-sewn. (The extra seams come from fitting my design onto the scraps leftover from the Rick anorak.) I like this hood, if only because I made the design. It allows the head to turn nicely without pulling, and in general fits quite well. The only thing is that it doesn't lay nicely when it's off - kind of just retains its shape and sits awkwardly right behind the head (if it were to be attached to a jacket).
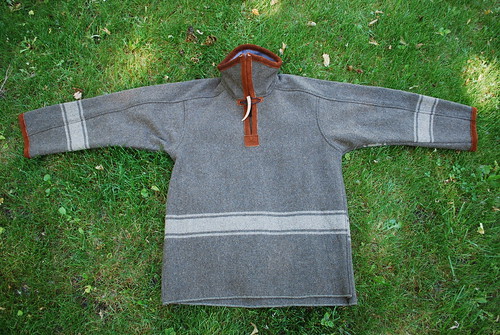
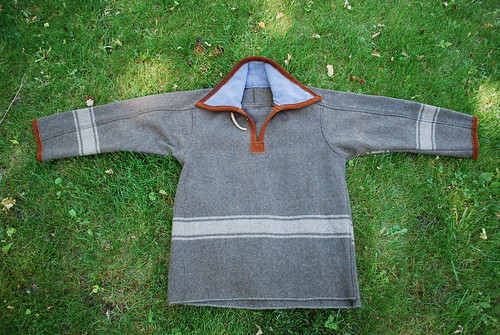
Exercise #3 is edispilf's anorak pattern:
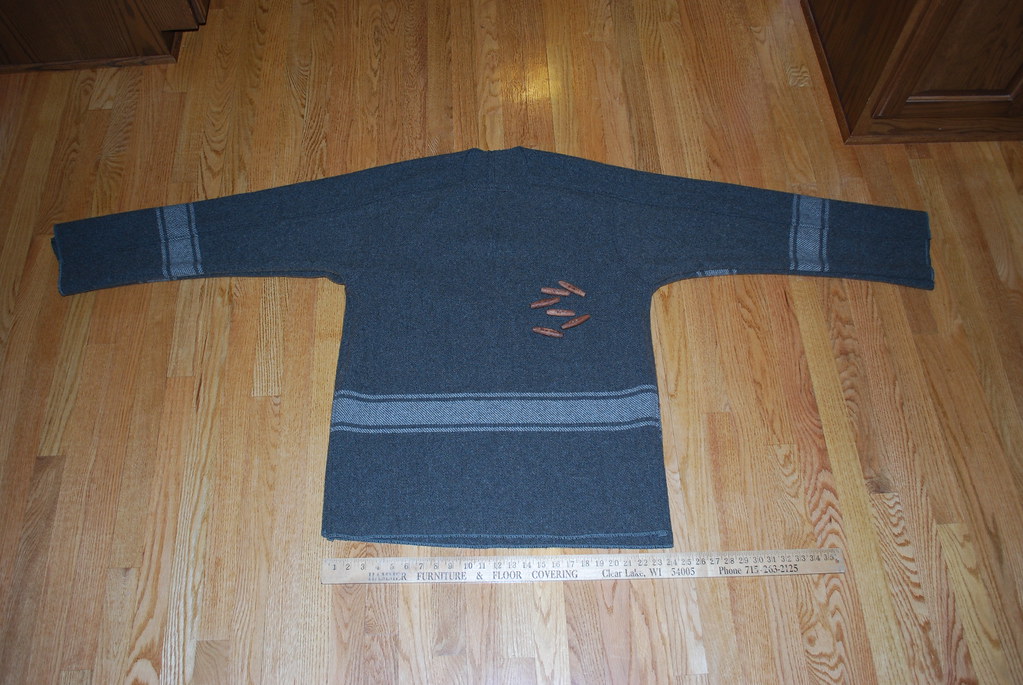

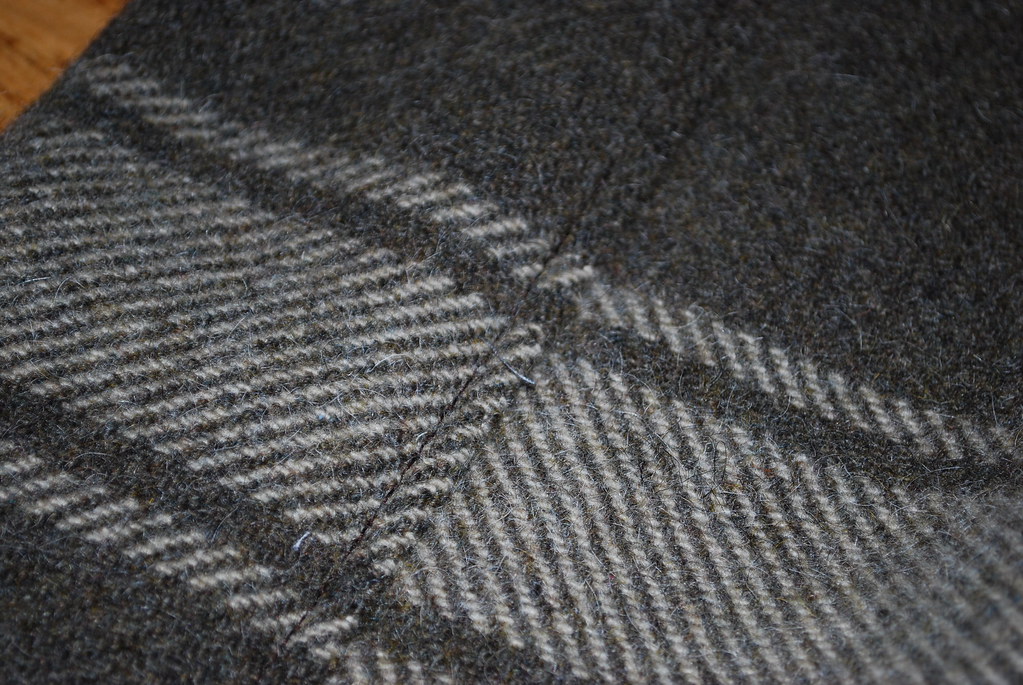
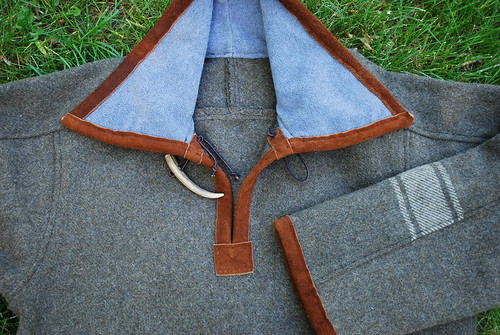
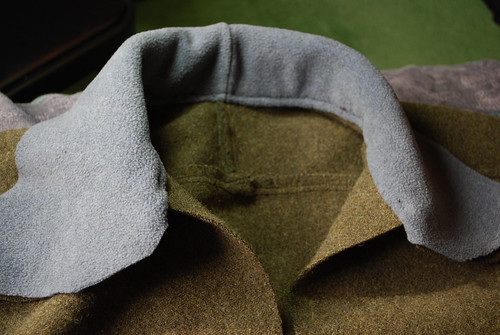
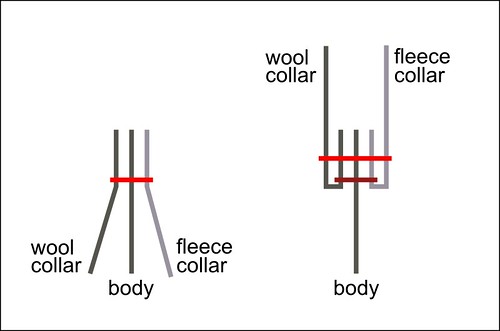
This is a great pattern and tutorial from edispilf. Top-stitching makes all the difference, especially when you can do it on the machine. I extended the arms 3" and the body 2", and made the taller collar as found on edispilf's later models. I did sort of a double-top-stitch on the collar, so the wool collar is top-stitched on the outside, and the light fleece lining - cut from an old hat - is top-stitched on the inside (however, these were hand-sewn simultaneously). The result is that the seam and all related edges are hidden upward inside the collar, between the wool and fleece.
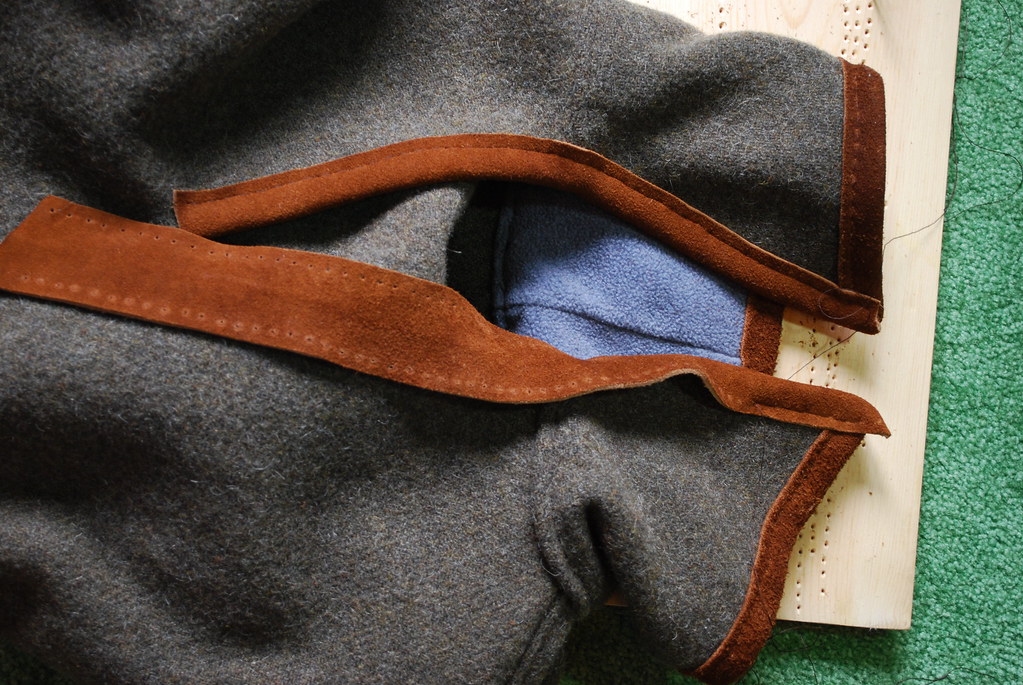
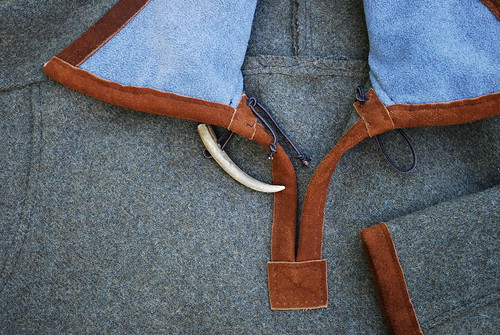
I underestimated the strength of leather and am consequently stuck with this leather trimming thing. Perhaps 4 oz (thickness of a US quarter) wasn't necessary. My leather needle will only go through if I push it through on a board . From comments on this post at BushcraftUSA I'm thinking either heavier glovers' needles or a sewing awl. Comments/other ideas?
Better pictures &c. to come as this develops,
Eric Hammer
- Rick Marchand's anoraks (pattern)
- edispilf27's anorak (pattern)
- edispilf27's second anorak
- Canoeguy's anorak
- Tycho's anorak
- MikeS' anorak
- Topknot's blanket coat
- Kevin's (ECW) hooded wool blanket shirt
- Sgt. Mac's anorak
- Sgt. Mac's wool shirt
- The "Mastino" bush shirt
- Mesquite's "Mastino"
- Sparse "Mastino" pictures here
- Tombear's hunting shirt
- More pictures here
- $60 = 4 Italian military blankets (Sportsman's Guide)
- $16 = 8 sq ft 4 oz elkskin split (ebay)
- $10 = outdoor thread, bootlaces for use with toggles
- $3? = two used queen-sized sheets (flower pattern
 )
)
Started off nice and easy with an outer layer based on Rick Marchand's anorak pattern (not really worth a picture, basically the same as his). I'm not exactly delighted with the result, but this step was time nevertheless well-spent in getting to know the wool and sewing machine. The machine's presser foot, in particular (old machine made for sewing tablecloths and bedsheets), wouldn't give me anything more than three layers of wool
Here's exercise #2, slightly more complicated, a hood design in the style of an old cotton/wool reversible anorak I saw online (pictures link to flickr; there are more pictures there):


The two main seams are top-stitched by hand; all others are machine-sewn. (The extra seams come from fitting my design onto the scraps leftover from the Rick anorak.) I like this hood, if only because I made the design. It allows the head to turn nicely without pulling, and in general fits quite well. The only thing is that it doesn't lay nicely when it's off - kind of just retains its shape and sits awkwardly right behind the head (if it were to be attached to a jacket).
Exercise #3 is edispilf's anorak pattern:


This is a great pattern and tutorial from edispilf. Top-stitching makes all the difference, especially when you can do it on the machine. I extended the arms 3" and the body 2", and made the taller collar as found on edispilf's later models. I did sort of a double-top-stitch on the collar, so the wool collar is top-stitched on the outside, and the light fleece lining - cut from an old hat - is top-stitched on the inside (however, these were hand-sewn simultaneously). The result is that the seam and all related edges are hidden upward inside the collar, between the wool and fleece.


I underestimated the strength of leather and am consequently stuck with this leather trimming thing. Perhaps 4 oz (thickness of a US quarter) wasn't necessary. My leather needle will only go through if I push it through on a board
Better pictures &c. to come as this develops,
Eric Hammer


