hi....ok, here goes with the first installment, and boy, this has been fun and games!....with more games than fun!
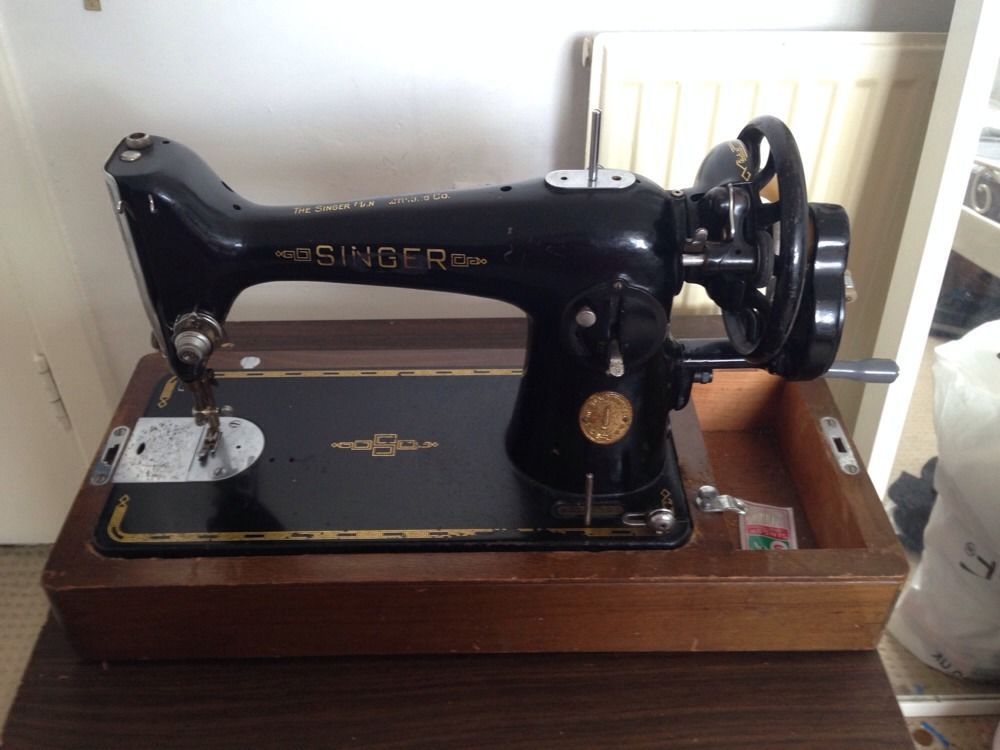
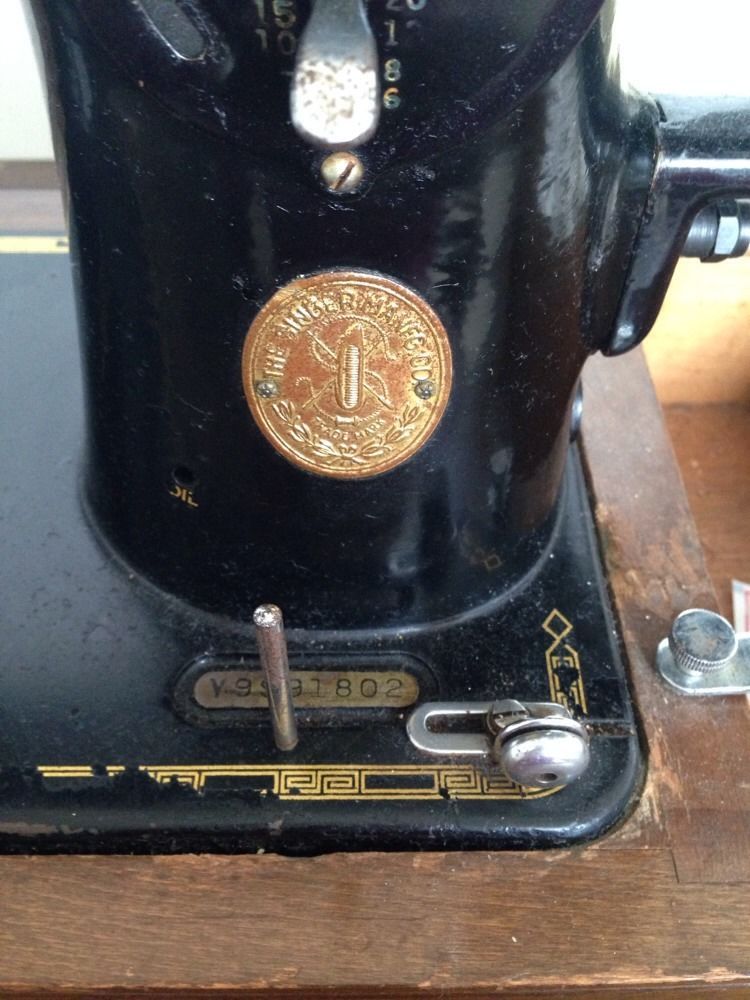
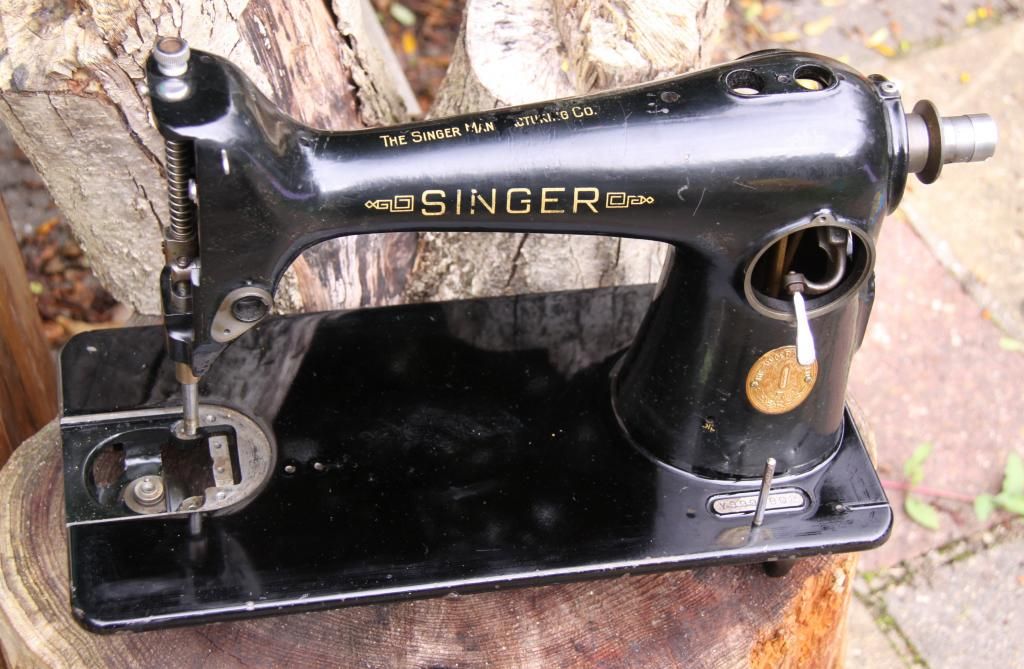
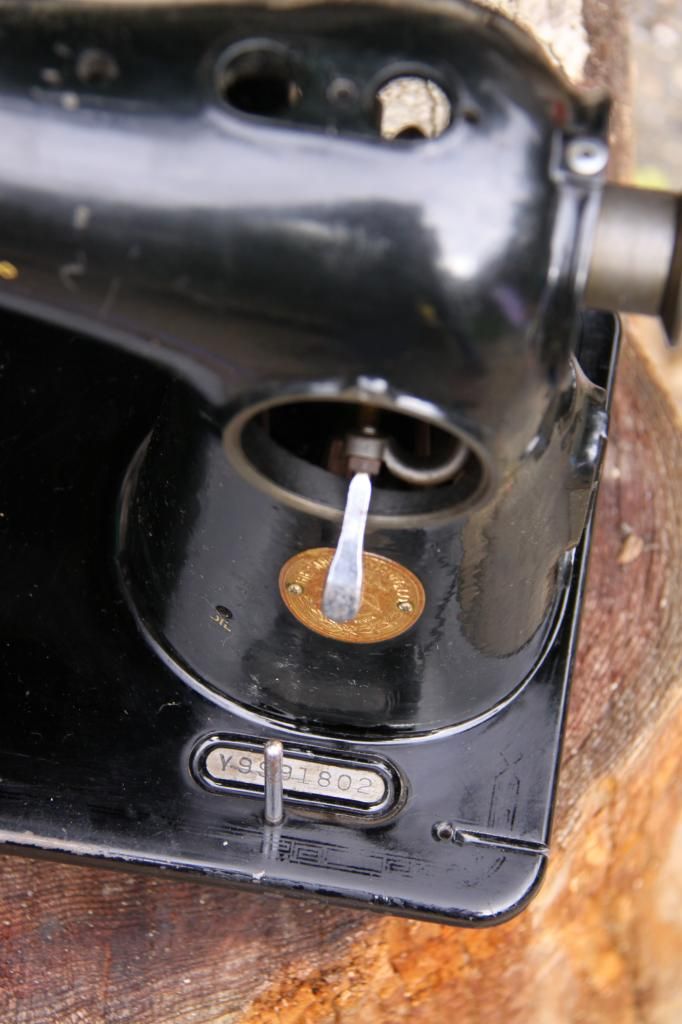
this is one of the first 201's made....after this 'Y' serial number it went on to 'EA....'...'EB....' etc....it was the first i've come across on ebay and i paid 35 for it.
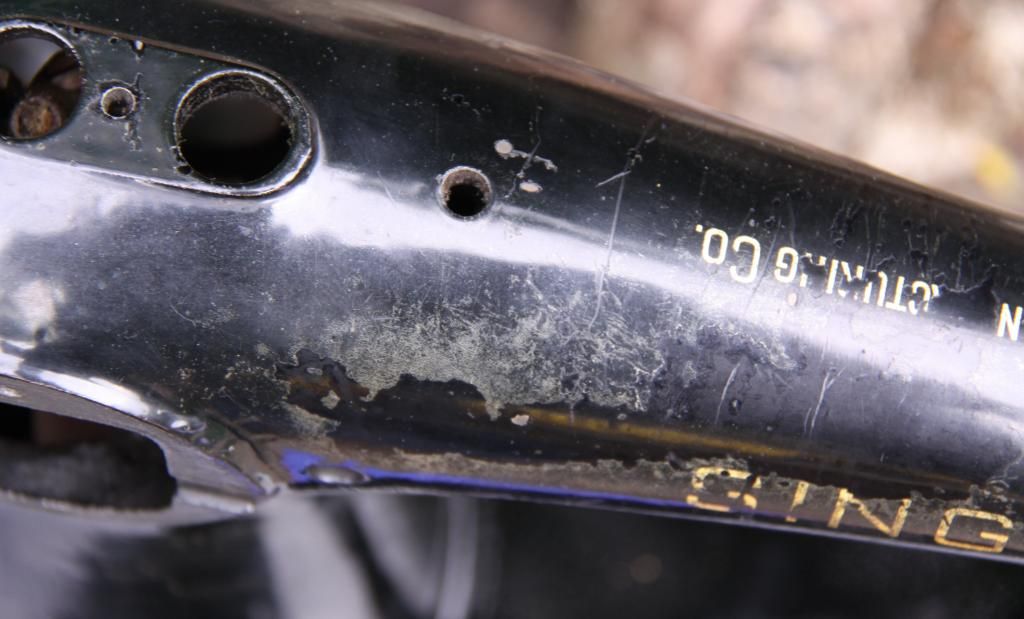
as you can see in the first pictures that were provided by the seller in their listing, it doesnt appear ''too bad''....however you can then see from my pics that in reality it had severe lacquer damage and a fair bit of enamel damage too....that on top of the decal wear was enough for me to think, to hell with it....i'm taking the plunge.
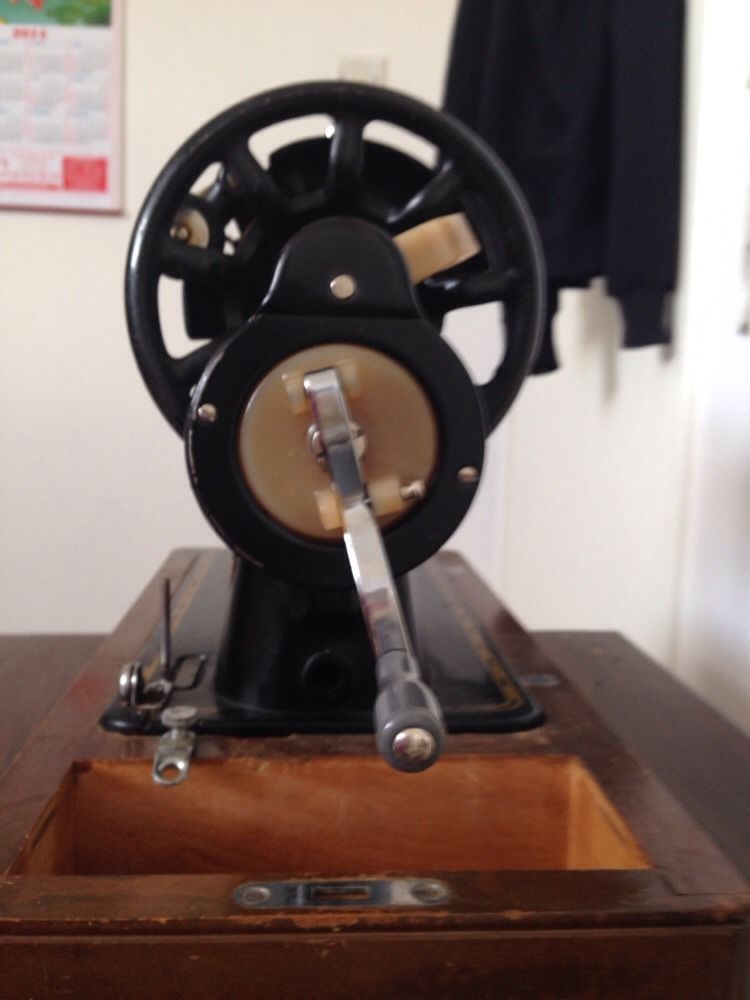
it also came with a base that doesnt seem to be as good as all the others i have, its not as nicely made and the metal fittings feel lighter and cheaper....and a handcrank with plastic in it. i dont know if this is how the first ones were issued but either way the base and crank are going. it also has a black balance wheel.
so after talking to Sir Mac on the phone about how to proceed with stripping it, he suggested alcohol, paint thinners or nail varnish remover. alcohol didnt seem to do much on the area i tried, didnt have thinners, so i went upstairs and stole angelas varnish remover....and it started to work. at this point i only intended to get lacquer off and re-lacquer it.
i then gassed out the whole house, sitting in the kitchen with a ton of cloths, ear buds etc. very painstaking....took me hours to get just the lacquer off the bed of the machine and the decals put up a real fight....i then tried some 2500 grit paper which of course worked but dulled the enamel. so with a serious amount of effort i continued rubbing real hard just with remover and cotton buds....and all was ok until i did the decal in the center of the bed and it started to go through the enamel too...which appears thinner here than around the edge. at this point i thought *****beep*****beeeeeep****beep****beep and decided to respray it too with enamel. i now wished i'd simply sanded the decals off in the first place.
i then went on ebay and bought a litre of pure acetone. and last night at 11pm i went out in my workshop to do the rest of the machine...the upper part and the arm. the pure acetone worked great!!! the lacquer and decals came off a lot easier and whilst the top part is trickier to do because of all the holes, circles and nooks and crannies it was much easier going. i mustve got through about 50 cotton buds and wore my face mask, goggles and gloves too. acetone degrades gloves and i mustve got through 10 pairs. i also made sure i had my door open for ventilation so i froze my bottom off as well.
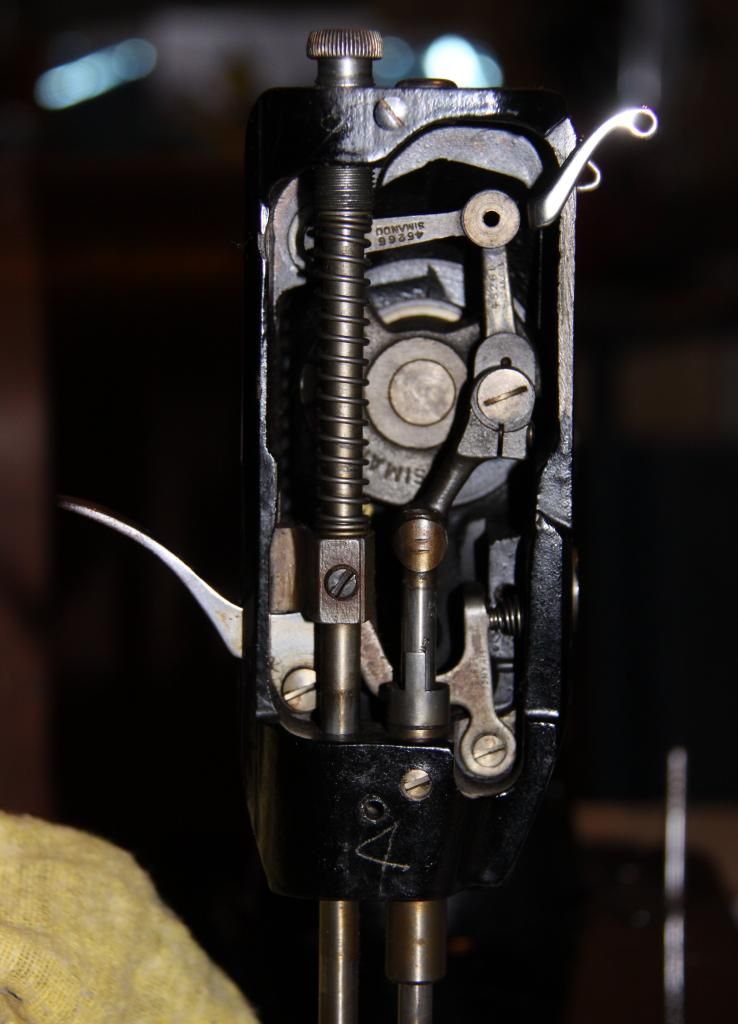
and then it was time to try to get off the few parts remaining that i dont want exposed when i come to spray it. a couple of things were tricky but one part in particular was complete hell. complete hell. in the end it became personal and i was getting it out whatever the cost but when i say i had to BELT it with a hammer to get it moving i'm not exaggerating. i just hope everythings going to work out in the end and that i can get the part back in without damaging anything. i went to bed over 7 hours later at 6.30am.
so....heres some pics....today i'm going to repeat the process on the compartment lid, balance wheel and bobbin winder housing...i'll keep the thread updated....
regards and enjoy....!
seller pic 1:
seller pic 2:
seller pic 3:
seller pic 4:
my first pic 1:

my first pic 2:
my first pic 3:

bed de-lacquered pic 1....you can see a grey-ish area in the center where the enamel is thinner:
bed de-lacquered pic 2 showing duller sanded area in corner:
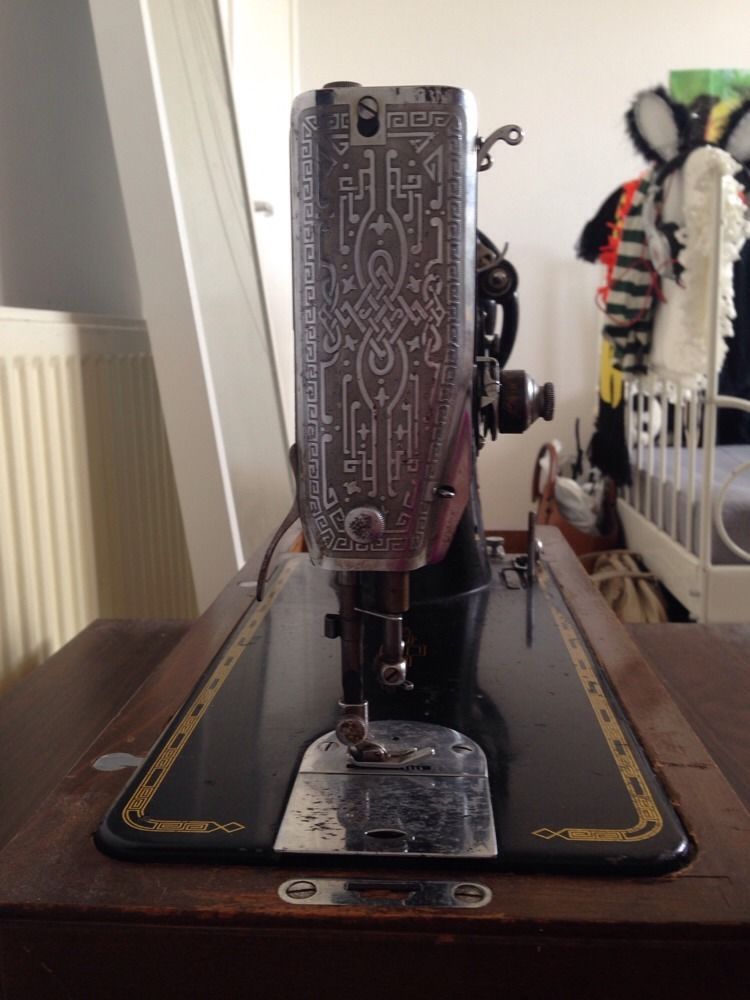
front of machine showing most of the parts i wanted to still remove in preparation for re-spray:
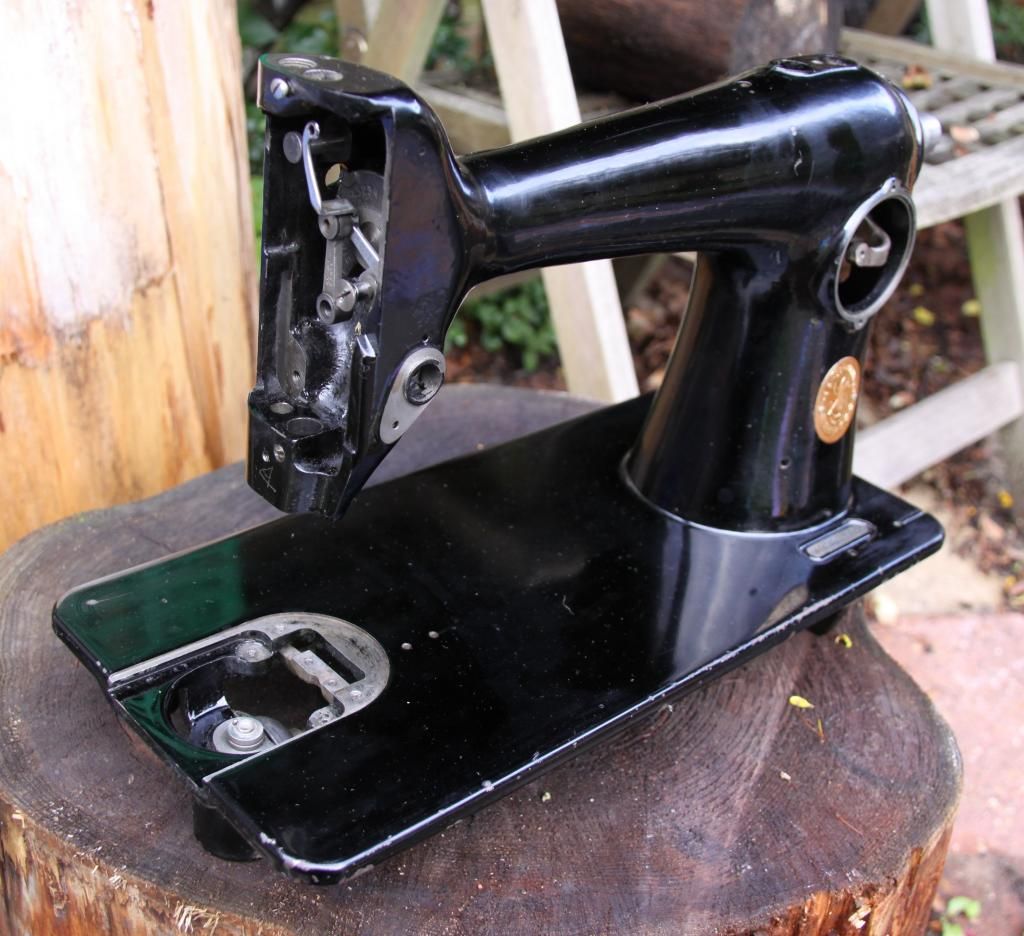
fully de-lacquered front view showing parts removed and/or tucked away:
and from the back...i'll be giving it another go over with acetone then sanding it all down to help keying when re-sprayed:

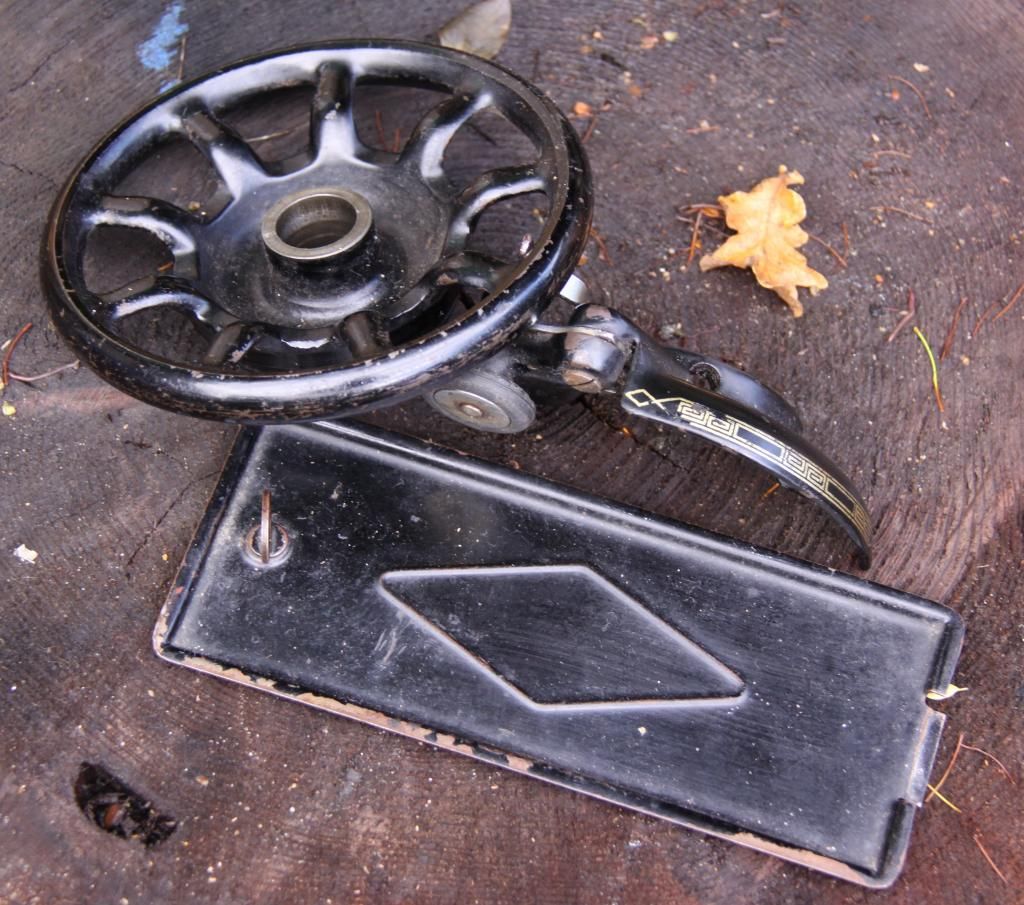
and i'm now going to start work on these, wish me luck i'm going to need it! first soak all in bowl of alcohol and/or de-lacquer with acetone, attack with toothbrush and scourer then sandpaper....re-clean with alcohol....i'll be using primer on the lid as base layer....re-spray, re-decal, re-lacquer and so on blah blah:
this is one of the first 201's made....after this 'Y' serial number it went on to 'EA....'...'EB....' etc....it was the first i've come across on ebay and i paid 35 for it.
as you can see in the first pictures that were provided by the seller in their listing, it doesnt appear ''too bad''....however you can then see from my pics that in reality it had severe lacquer damage and a fair bit of enamel damage too....that on top of the decal wear was enough for me to think, to hell with it....i'm taking the plunge.
it also came with a base that doesnt seem to be as good as all the others i have, its not as nicely made and the metal fittings feel lighter and cheaper....and a handcrank with plastic in it. i dont know if this is how the first ones were issued but either way the base and crank are going. it also has a black balance wheel.
so after talking to Sir Mac on the phone about how to proceed with stripping it, he suggested alcohol, paint thinners or nail varnish remover. alcohol didnt seem to do much on the area i tried, didnt have thinners, so i went upstairs and stole angelas varnish remover....and it started to work. at this point i only intended to get lacquer off and re-lacquer it.
i then gassed out the whole house, sitting in the kitchen with a ton of cloths, ear buds etc. very painstaking....took me hours to get just the lacquer off the bed of the machine and the decals put up a real fight....i then tried some 2500 grit paper which of course worked but dulled the enamel. so with a serious amount of effort i continued rubbing real hard just with remover and cotton buds....and all was ok until i did the decal in the center of the bed and it started to go through the enamel too...which appears thinner here than around the edge. at this point i thought *****beep*****beeeeeep****beep****beep and decided to respray it too with enamel. i now wished i'd simply sanded the decals off in the first place.
i then went on ebay and bought a litre of pure acetone. and last night at 11pm i went out in my workshop to do the rest of the machine...the upper part and the arm. the pure acetone worked great!!! the lacquer and decals came off a lot easier and whilst the top part is trickier to do because of all the holes, circles and nooks and crannies it was much easier going. i mustve got through about 50 cotton buds and wore my face mask, goggles and gloves too. acetone degrades gloves and i mustve got through 10 pairs. i also made sure i had my door open for ventilation so i froze my bottom off as well.
and then it was time to try to get off the few parts remaining that i dont want exposed when i come to spray it. a couple of things were tricky but one part in particular was complete hell. complete hell. in the end it became personal and i was getting it out whatever the cost but when i say i had to BELT it with a hammer to get it moving i'm not exaggerating. i just hope everythings going to work out in the end and that i can get the part back in without damaging anything. i went to bed over 7 hours later at 6.30am.
so....heres some pics....today i'm going to repeat the process on the compartment lid, balance wheel and bobbin winder housing...i'll keep the thread updated....
regards and enjoy....!
seller pic 1:

seller pic 2:

seller pic 3:

seller pic 4:

my first pic 1:

my first pic 2:

my first pic 3:

bed de-lacquered pic 1....you can see a grey-ish area in the center where the enamel is thinner:

bed de-lacquered pic 2 showing duller sanded area in corner:

front of machine showing most of the parts i wanted to still remove in preparation for re-spray:

fully de-lacquered front view showing parts removed and/or tucked away:

and from the back...i'll be giving it another go over with acetone then sanding it all down to help keying when re-sprayed:

and i'm now going to start work on these, wish me luck i'm going to need it! first soak all in bowl of alcohol and/or de-lacquer with acetone, attack with toothbrush and scourer then sandpaper....re-clean with alcohol....i'll be using primer on the lid as base layer....re-spray, re-decal, re-lacquer and so on blah blah:

Last edited:
") .
. so wrong ,,,,,