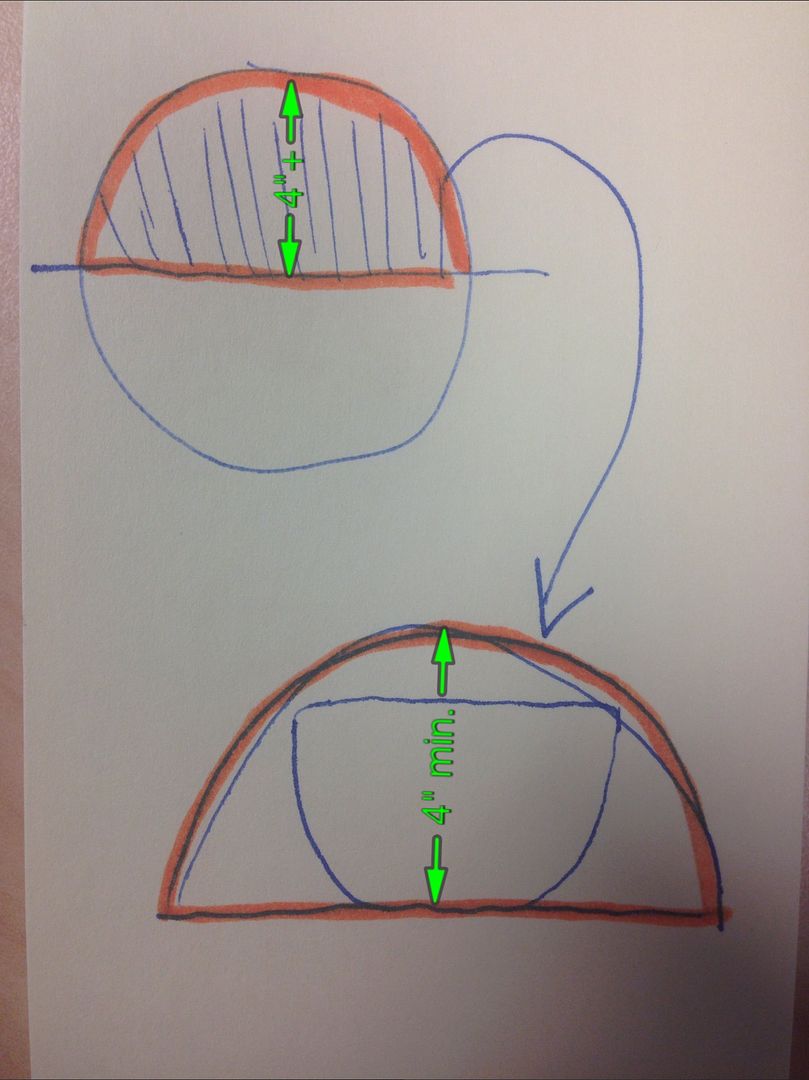
Retired SAK Fieldmaster, First Kuksa
I've had a number of fun outdoor / bushcraft related projects going on lately, from the restoration of old American Made (Collins and Coucil Tool), to the building of my own oak foldable buck saw (with paracord tension string), the creation of several knife sharpening paddles for my 220, 400, 600, 1200 and 2000 grid wet/dry sandpapers and leather strops, and the restoration of an old knife of my Grandfather's that I received when I was a boy. Each one of those topics should be several detailed posts of their own (and some are), but I'm short for writing time and wanted to post some things before I'm overwhelmed! I've grown frustrated with the lack of edge holding ability of my swiss army "fieldmaster" under repeated use on these recent projects, so I decided to dig through my keepsake knives looking for a new carbon steel user. I enjoy sharpening just as much as the next guy but don't like seeing a hair-popping sharp blade lose that edge after a few minutes whittling! I settled on a knife that I thought was a Barlow based on the handle shape, but soon learned was an old electrician's knife (probably Camillus) which my grandfather had modified (grinding the screwdriver into a utility blade).
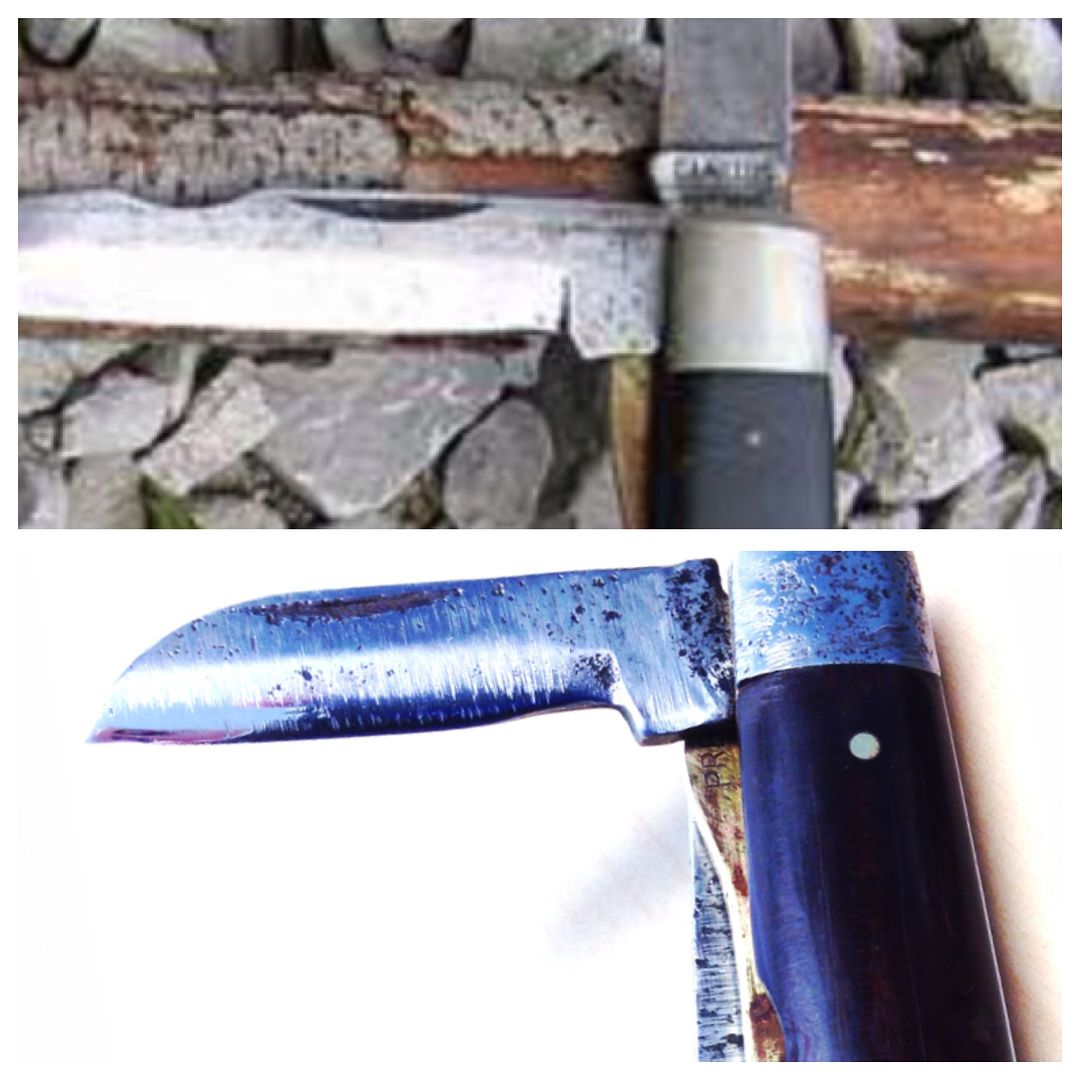
I cleaned it up, sanded and sharpened the blades, oiled it up and removed some rust, linseed oil for the rosewood handle.
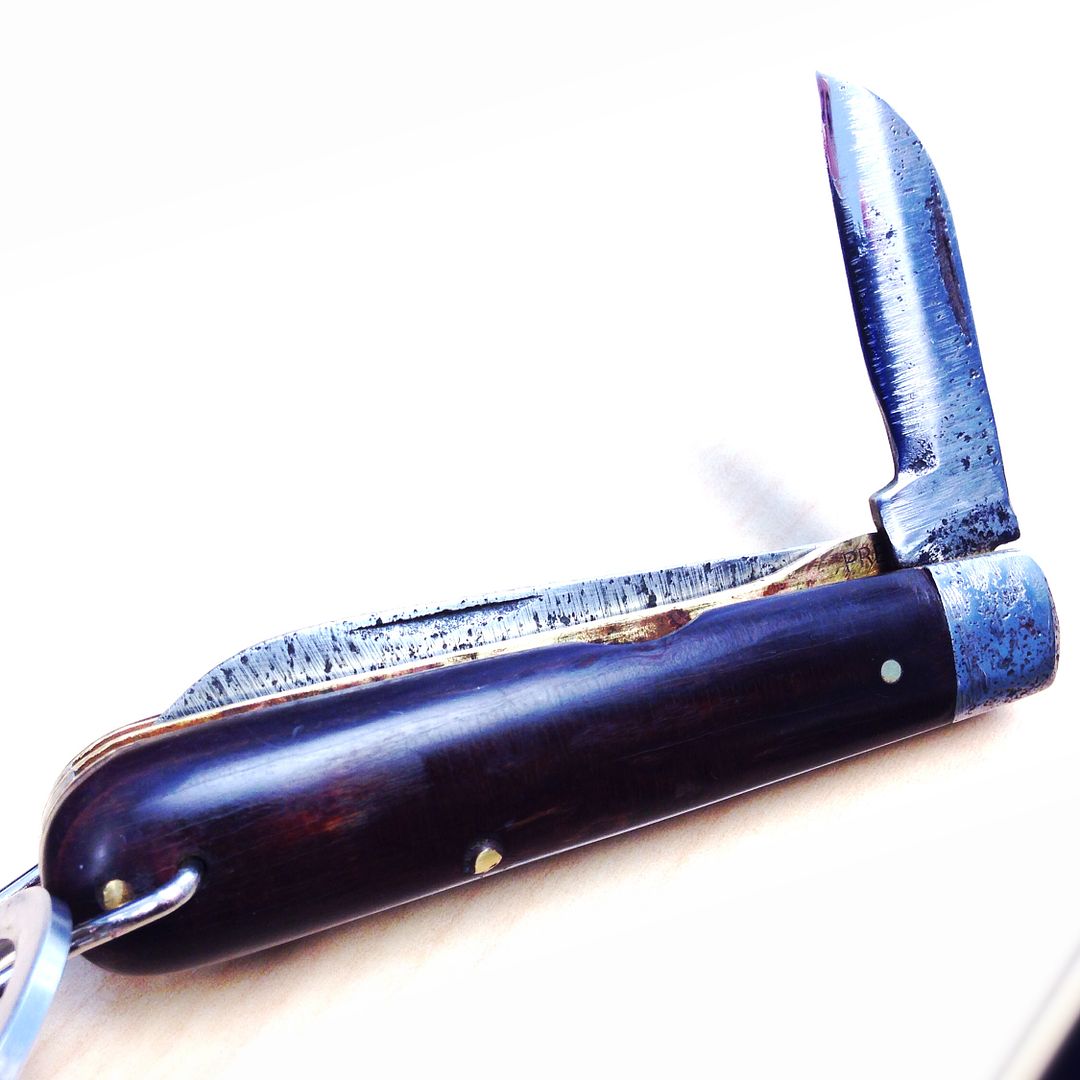
Within days of carrying it, I was able to give it a true test.
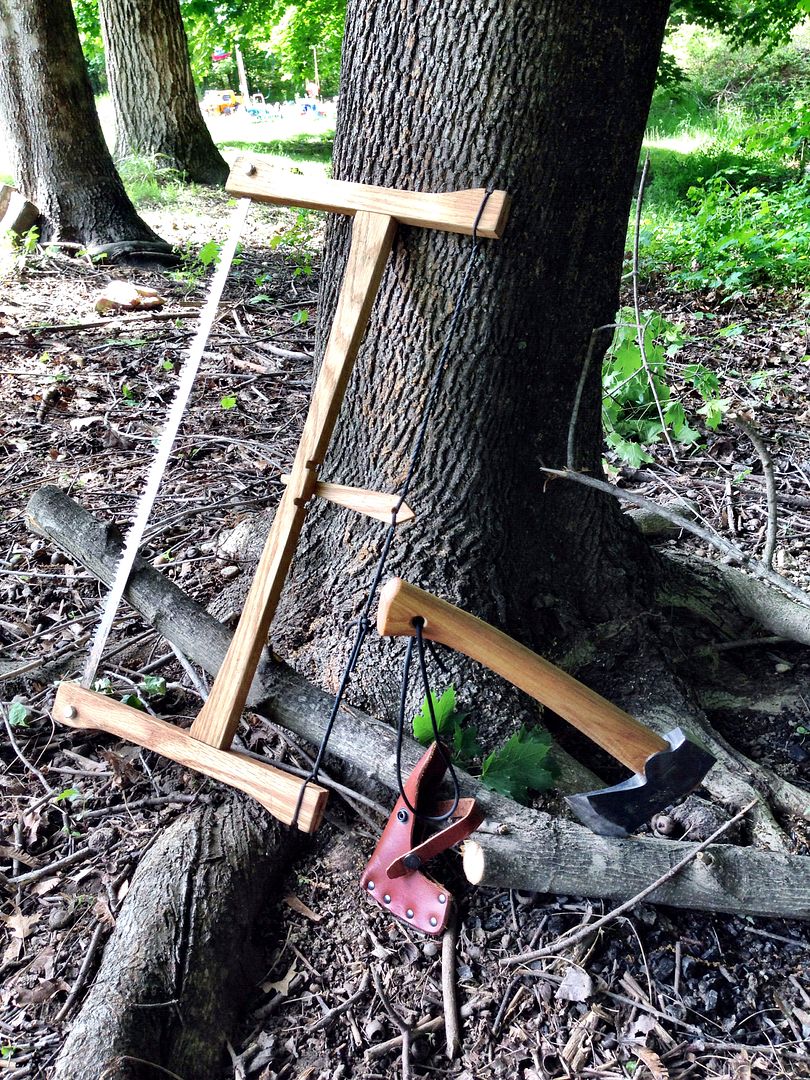
This week I've had the opportunity to put the buck saw and Gransfors Bruks Wildlife hatchet (that I had recently acquired) to hard use pruning several overgown maple trees on my property. The canopies on these trees had expanded so far that my lawn was turning to dirt underneath. In an effort to get some sun back on the ground I cut a large number of low branches with diameter's up to around 6". I used the Gransfors to limb and buck baw to section the bigger pieces. Both cut through the hardwood like butter.
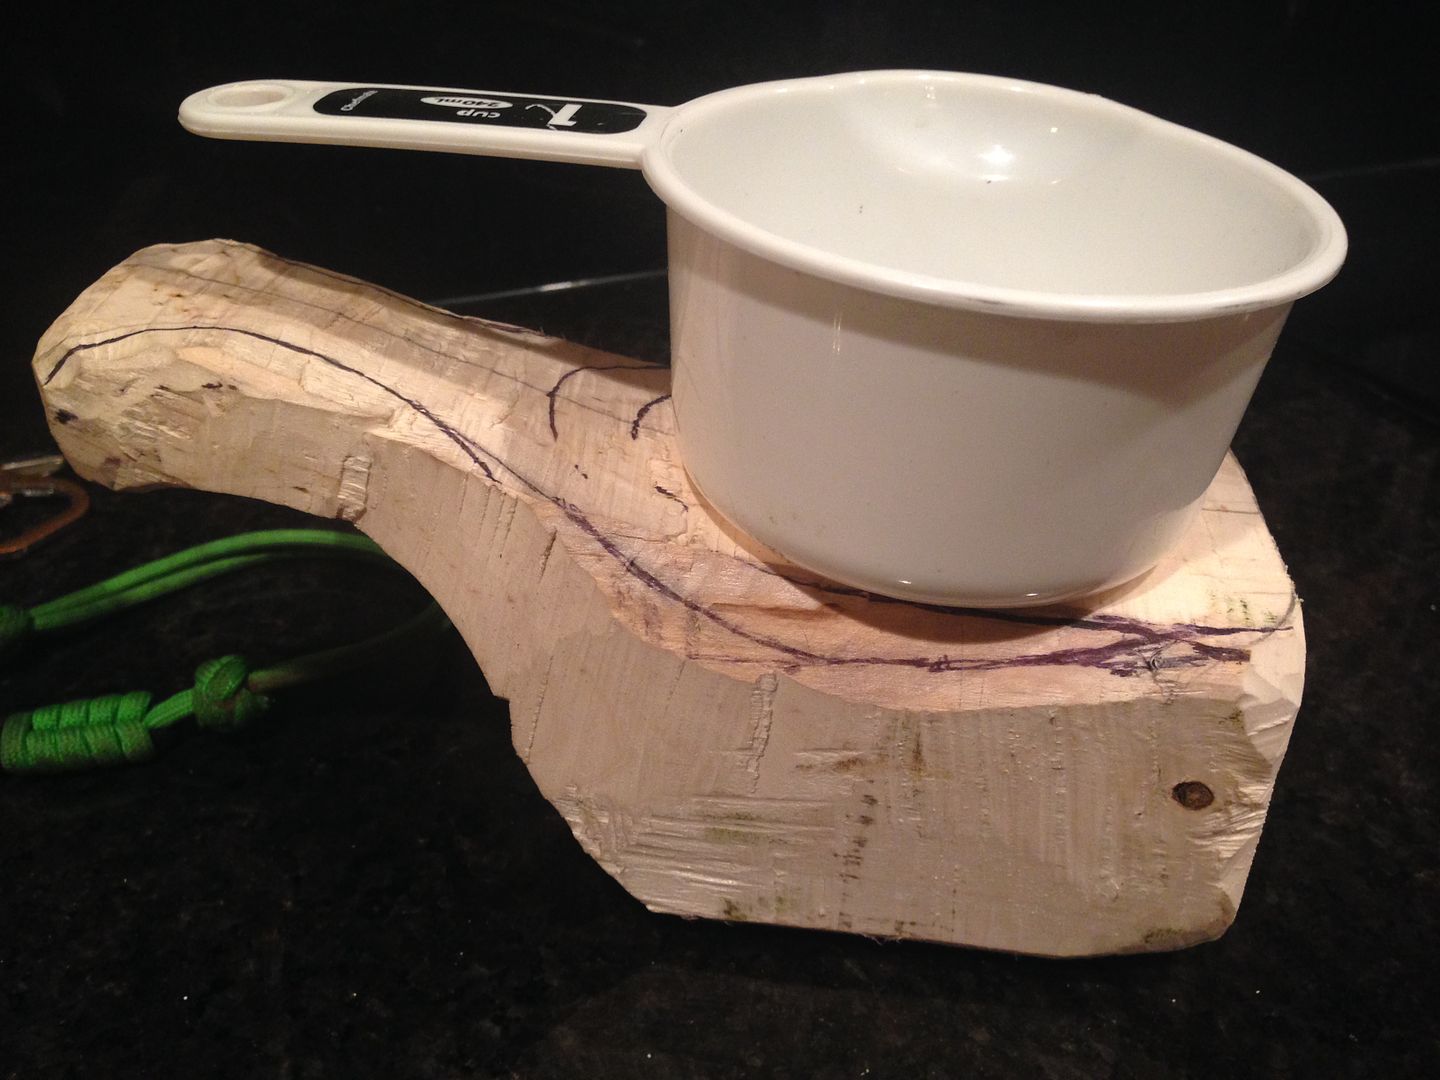
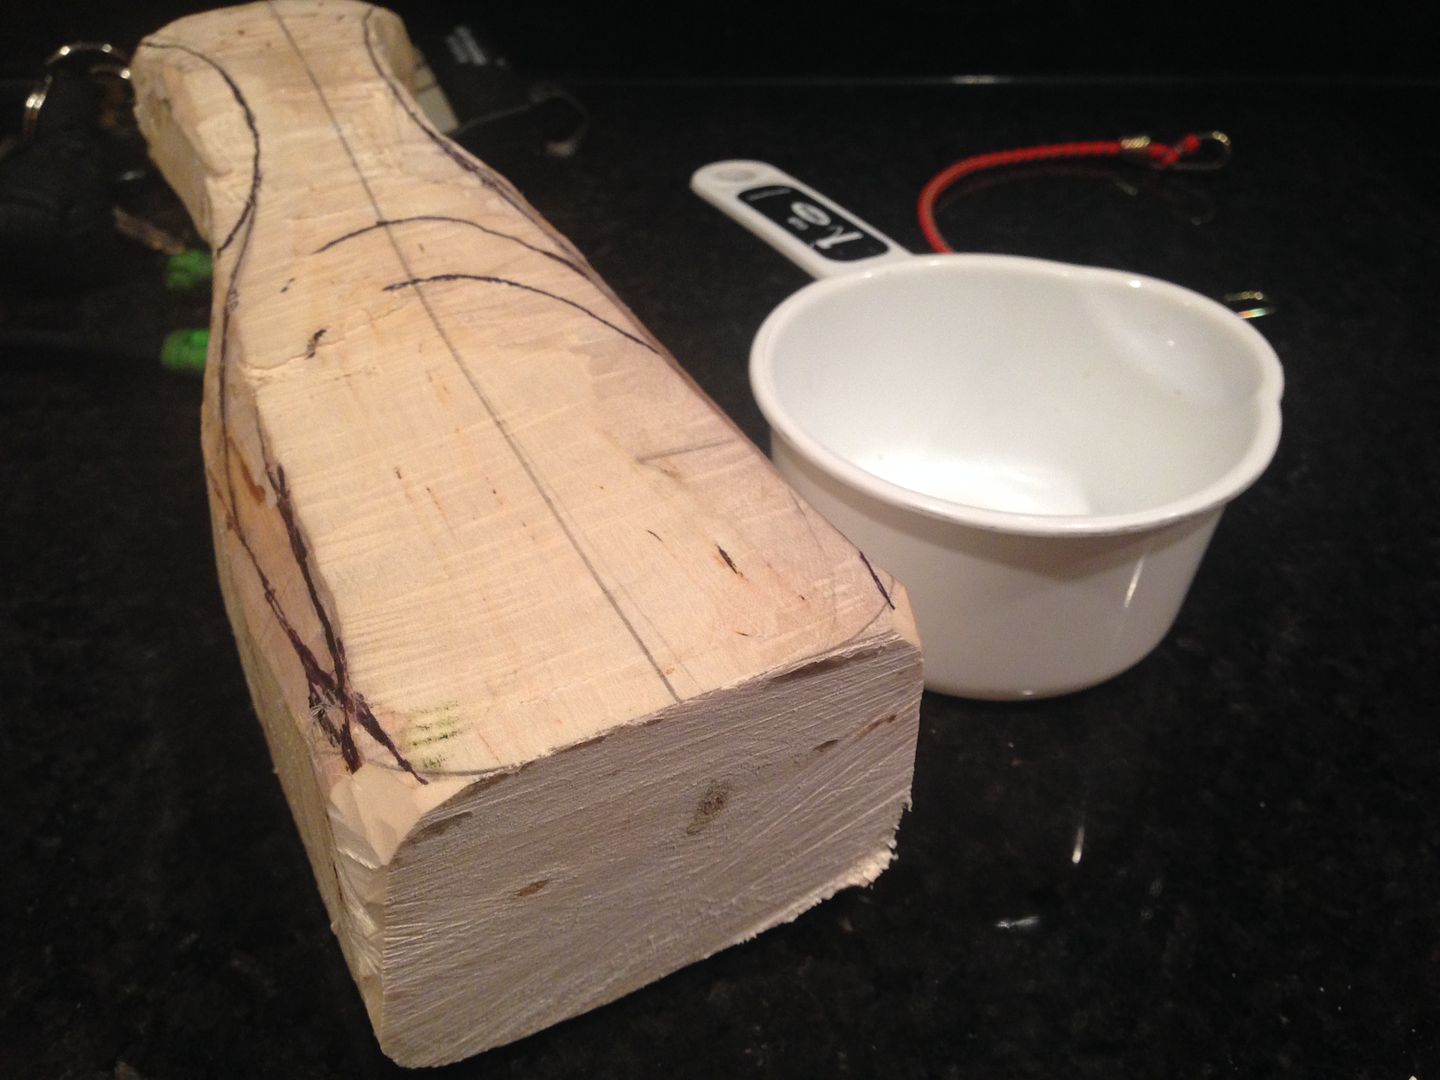
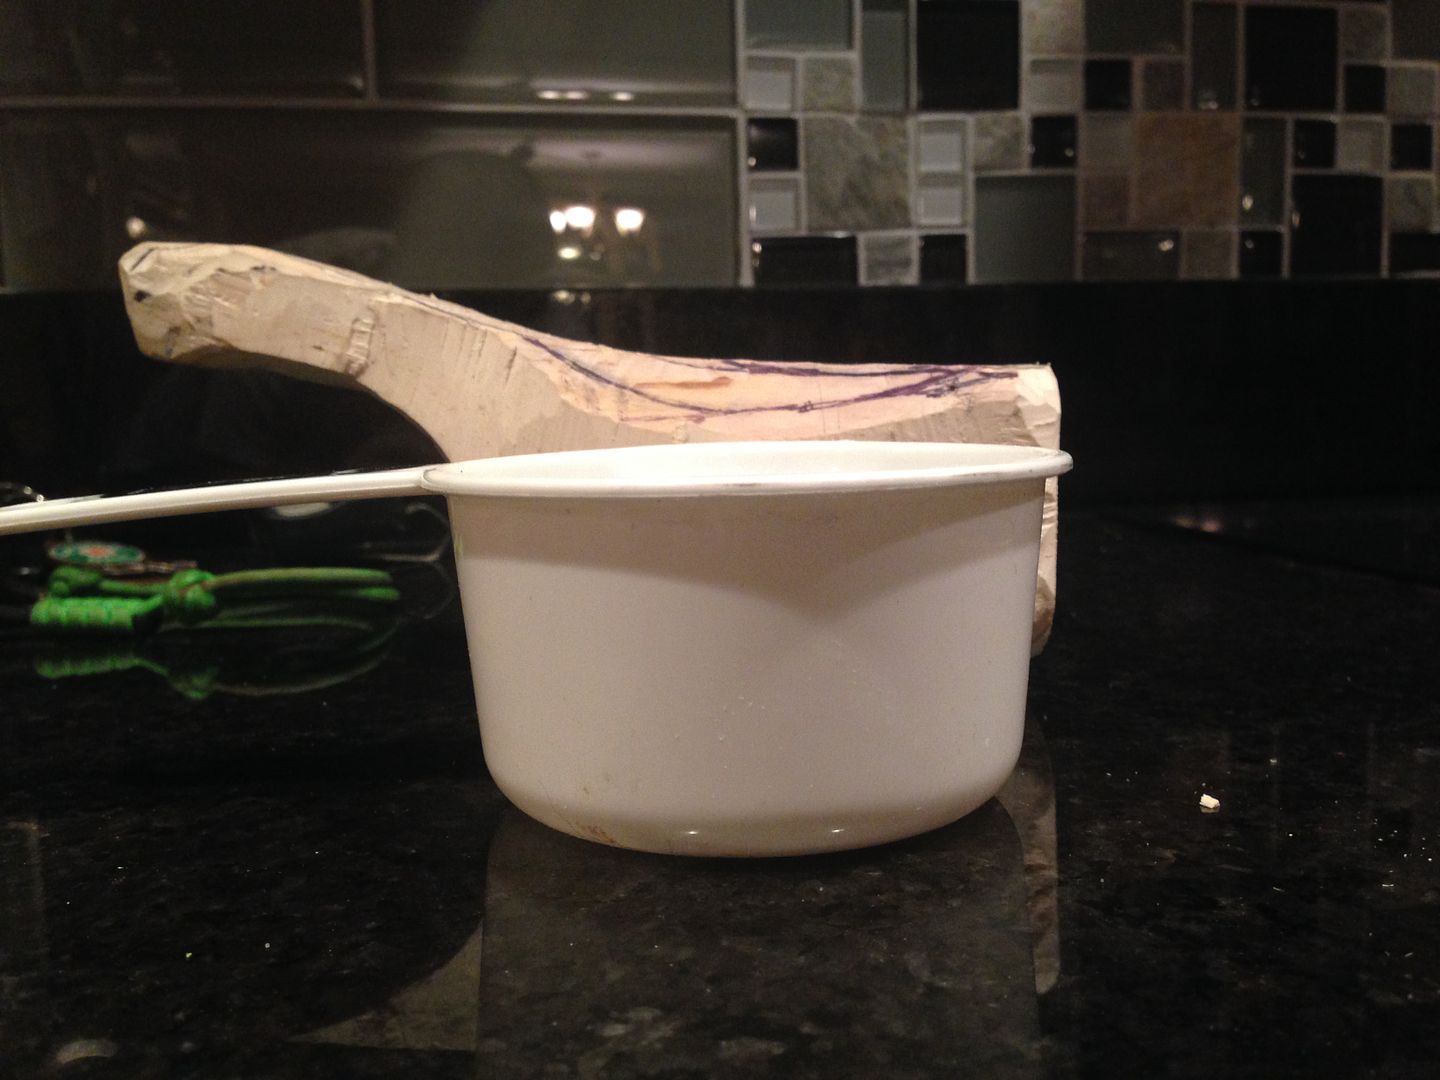
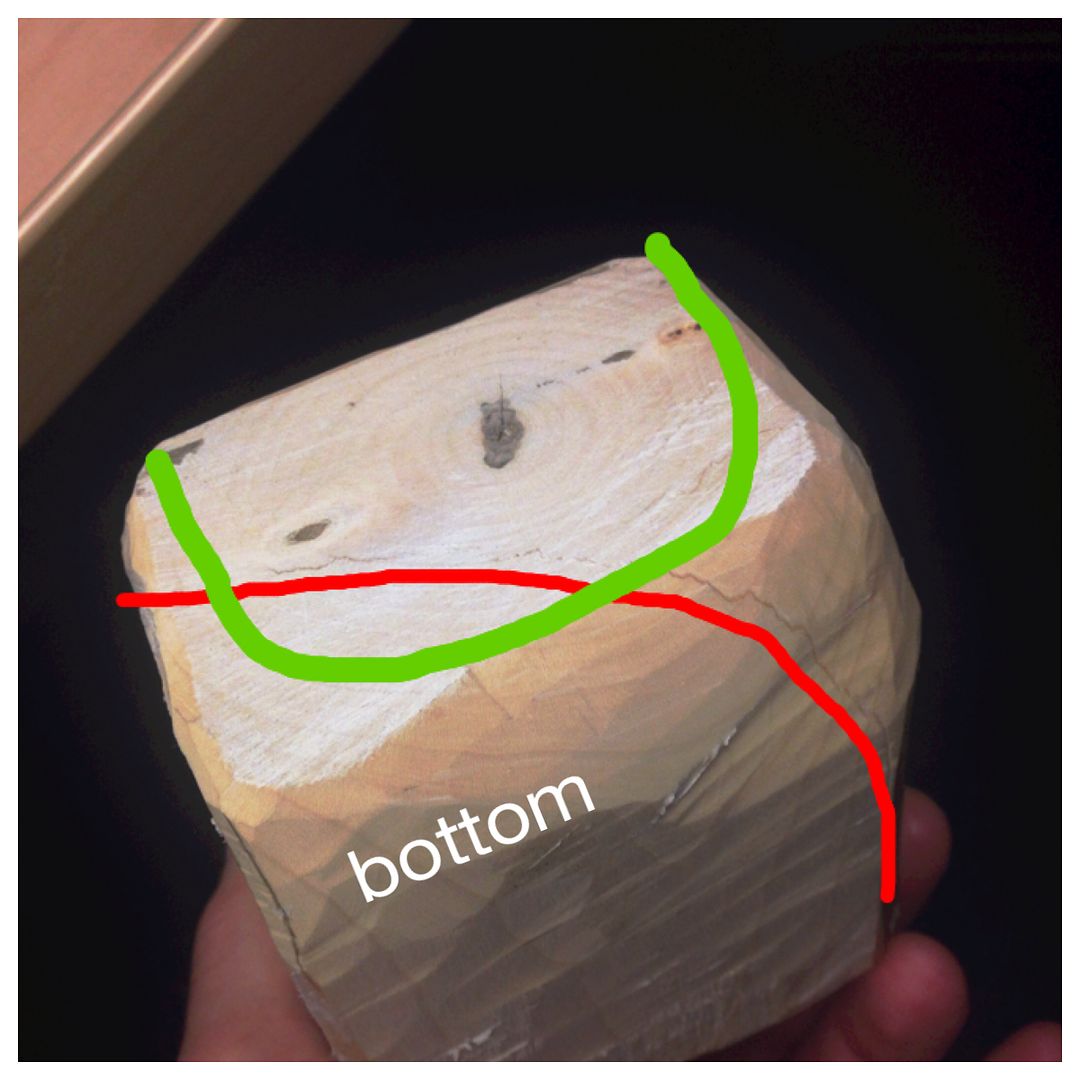
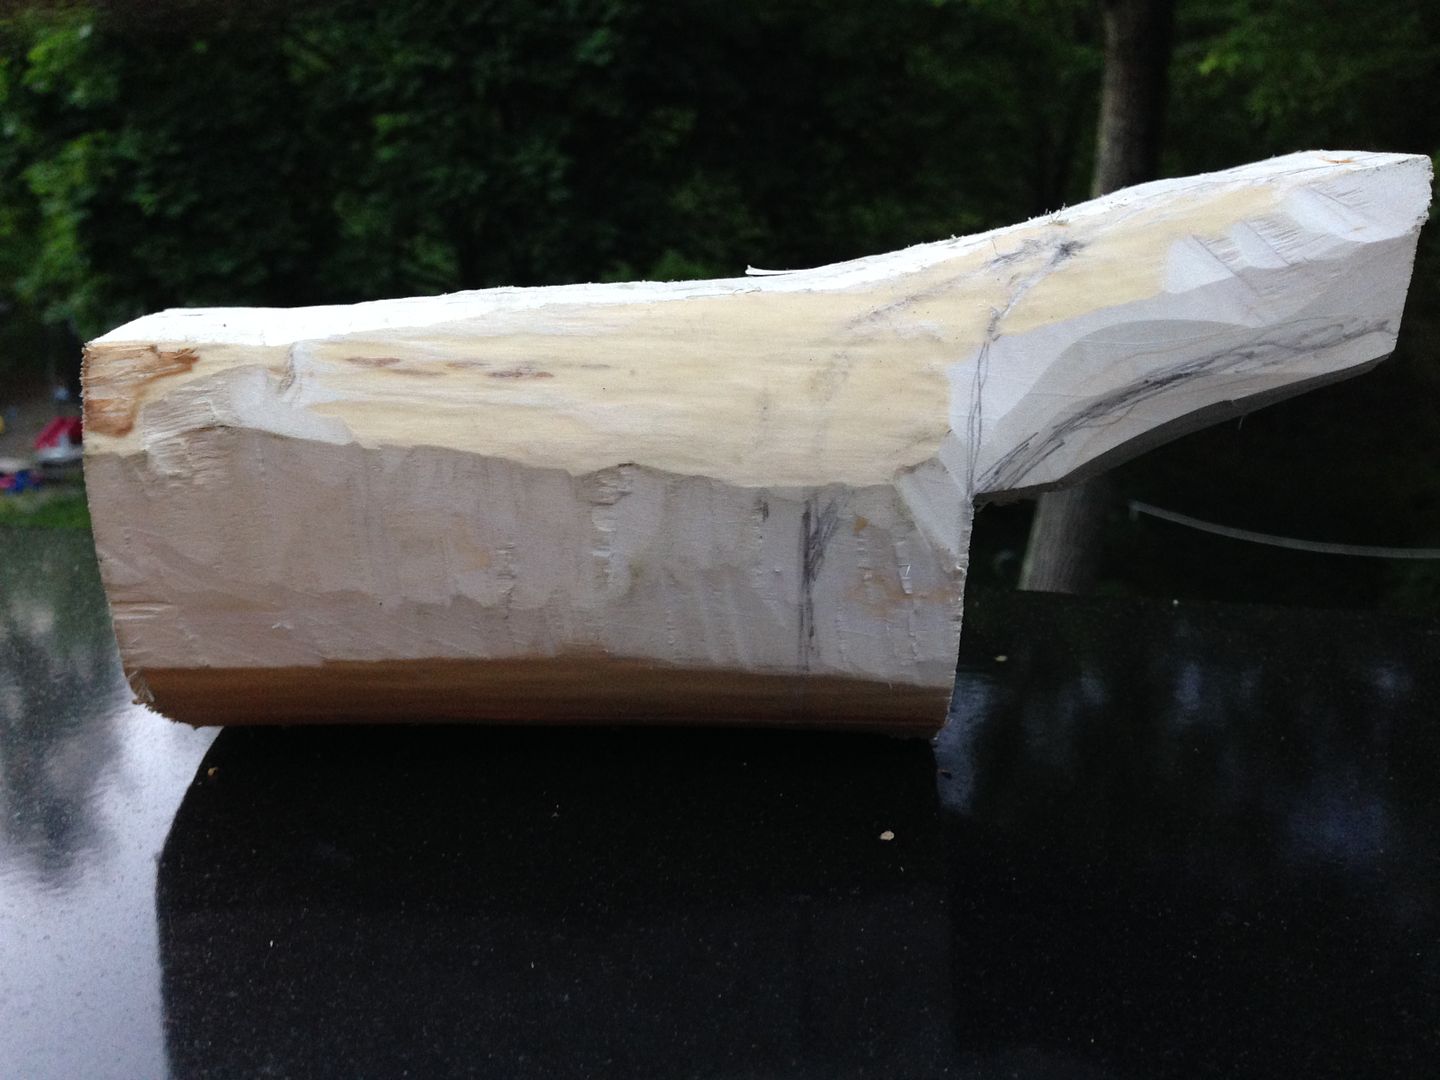
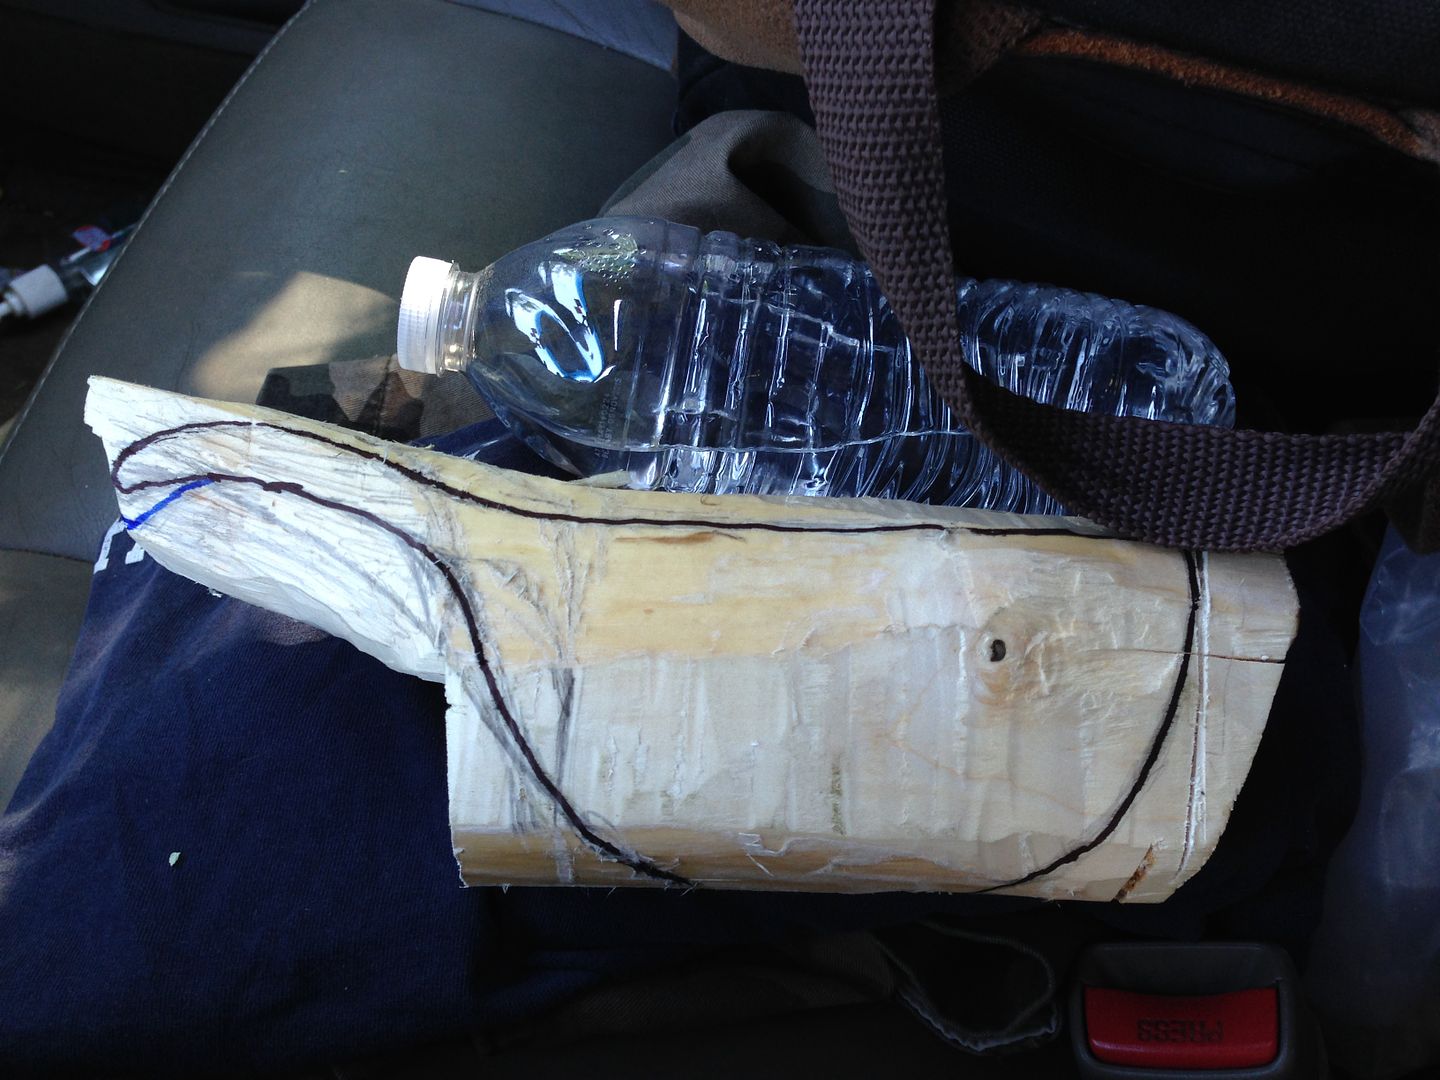
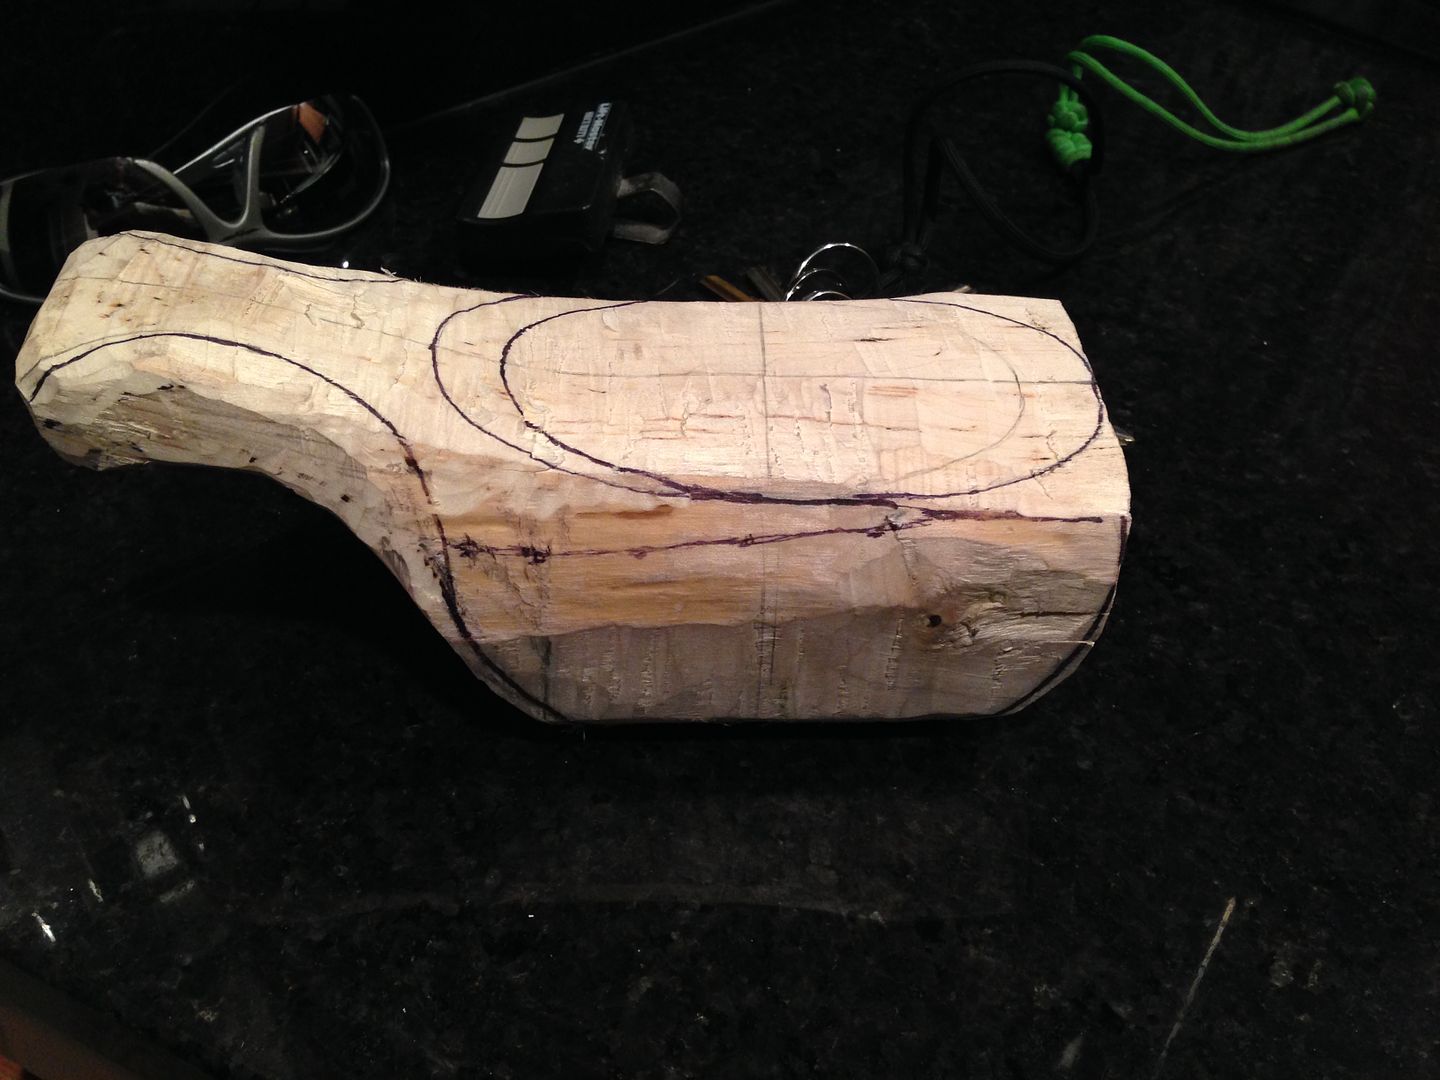
Recognizing the bounty of fresh green maple I know had on hand, I decided to grab a few select pieces to pursue another project on my list - making my first kuksa (wooden cup). I've wanted to do this for some time, and figured it would be a great campfire project to whittle away at in the coming weeks. I stripped the bark off the branch I selected. Orienting the wood for what I thought was the best use of its natural shape (particularly for the future handle), I sketched some centerlines and cup shape using a sharpie. For some sort of size reference, I grabbed a measuring cup from the kitchen. My buddy pursuaded me to maximize the size so that maybe this cup could double as my beer "chalice" (hense the elongated oval shap right now)! The following photos show the initial rough out using the Gransfors, followed by a "re-draw" and refine shape (profile/side view), and finally the current status after some whittling and top/plan view sketching for the next refinement.
I've done a substantial amount of the latest rough work with the "new" pocket knife's main blade. The blade is hair popping sharp but still requires firm effort to work the maple. This is dense, tough wood, even though its green! What pleases me beyond words is that after each session so far (probably two hours total use) the blade has passed the shave test. I lapped the strop a couple times with it and it seems literally like I just sharpened it fresh. Goodbye SAK, goodbye stainless, I'm a carbon devotee for life! Maybe an opinel will be my next purchase.
Sent from my iPhone using Tapatalk
I've had a number of fun outdoor / bushcraft related projects going on lately, from the restoration of old American Made (Collins and Coucil Tool), to the building of my own oak foldable buck saw (with paracord tension string), the creation of several knife sharpening paddles for my 220, 400, 600, 1200 and 2000 grid wet/dry sandpapers and leather strops, and the restoration of an old knife of my Grandfather's that I received when I was a boy. Each one of those topics should be several detailed posts of their own (and some are), but I'm short for writing time and wanted to post some things before I'm overwhelmed! I've grown frustrated with the lack of edge holding ability of my swiss army "fieldmaster" under repeated use on these recent projects, so I decided to dig through my keepsake knives looking for a new carbon steel user. I enjoy sharpening just as much as the next guy but don't like seeing a hair-popping sharp blade lose that edge after a few minutes whittling! I settled on a knife that I thought was a Barlow based on the handle shape, but soon learned was an old electrician's knife (probably Camillus) which my grandfather had modified (grinding the screwdriver into a utility blade).

I cleaned it up, sanded and sharpened the blades, oiled it up and removed some rust, linseed oil for the rosewood handle.

Within days of carrying it, I was able to give it a true test.
This week I've had the opportunity to put the buck saw and Gransfors Bruks Wildlife hatchet (that I had recently acquired) to hard use pruning several overgown maple trees on my property. The canopies on these trees had expanded so far that my lawn was turning to dirt underneath. In an effort to get some sun back on the ground I cut a large number of low branches with diameter's up to around 6". I used the Gransfors to limb and buck baw to section the bigger pieces. Both cut through the hardwood like butter.

Recognizing the bounty of fresh green maple I know had on hand, I decided to grab a few select pieces to pursue another project on my list - making my first kuksa (wooden cup). I've wanted to do this for some time, and figured it would be a great campfire project to whittle away at in the coming weeks. I stripped the bark off the branch I selected. Orienting the wood for what I thought was the best use of its natural shape (particularly for the future handle), I sketched some centerlines and cup shape using a sharpie. For some sort of size reference, I grabbed a measuring cup from the kitchen. My buddy pursuaded me to maximize the size so that maybe this cup could double as my beer "chalice" (hense the elongated oval shap right now)! The following photos show the initial rough out using the Gransfors, followed by a "re-draw" and refine shape (profile/side view), and finally the current status after some whittling and top/plan view sketching for the next refinement.


I've done a substantial amount of the latest rough work with the "new" pocket knife's main blade. The blade is hair popping sharp but still requires firm effort to work the maple. This is dense, tough wood, even though its green! What pleases me beyond words is that after each session so far (probably two hours total use) the blade has passed the shave test. I lapped the strop a couple times with it and it seems literally like I just sharpened it fresh. Goodbye SAK, goodbye stainless, I'm a carbon devotee for life! Maybe an opinel will be my next purchase.
Sent from my iPhone using Tapatalk

