This is from an idea I saw on the net. It work very well - which is not to say that it can't benefit from 'tuning' or improvements. The stove burns cleanly and smoke free on one filling of twigs for about 1/2 hour.
I used a cheap dog food tin from Tescos and removed the lid with a clean-cut type opener.
It's important to remember that contrary to most wood fires, this burns from the top downwards - you don't light it from the bottom. This ensures that as combustable gasses are released from the heated fuel, they have to pass upwards into the hottest zone and are consumed. If lit from below, the flame heats the fuel above, but not necessarily hot enough to ignite. The gasses produced will then escape as smoke. The only problem with burning from the top is the initial lighting. This is most easily achieved with a teaspoonfull of meths dribbled on top of the fuel stack - but I have done it with strips of birch bark laid on top, but it's not so easy as using meths. The base of the can heats up, but only enough to lightly scorch any underlying grass.
The following images shows the two components of the stove. I created the large holes at the top and bottom with a 1 1/8" hole (chassis) punch I had handy. Other methods of creating the holes would depend on the tools available. I joined pairs of holes at the top to created ovals, but it probably wasn't necessary. Immediately above the lower large holes is a ring of 4mm ones. These were drilled and afterwards the drill shank was inserted into the holes and levered downwards to created a lip on the inside of the can for supporting the hearth. Above this is a ring of about 7mm holes and nearer the top, two more rings of 4mm holes. These holes were also treated in the same way as the 4mm holes art the bottom, in an attempt to divert air into the stove when burning. The removed lid of the can becomes the 'hearth' of the stove, and is 'peppered' with 3mm holes, as shown. The very bottom of the can is left intact.
My decision for placement and sizing of the holes was pretty arbitary, and I'm sure other arrangements would work equally well
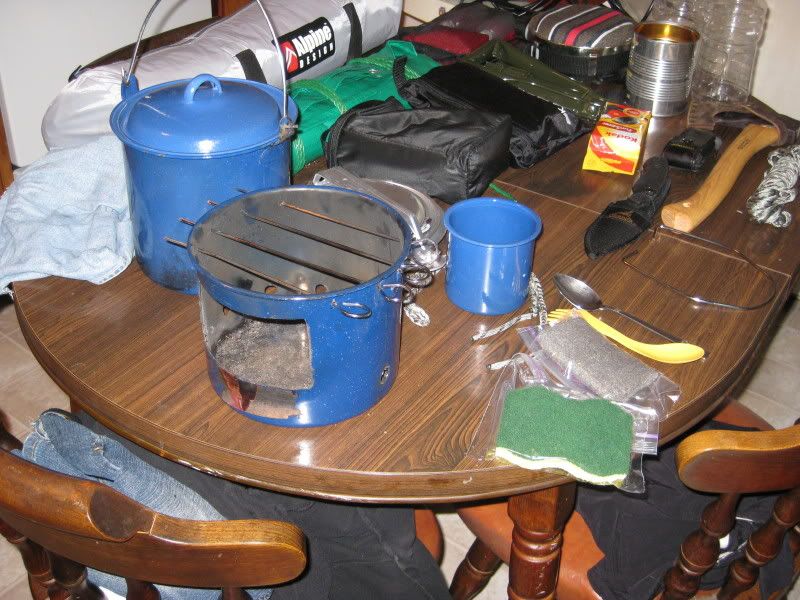
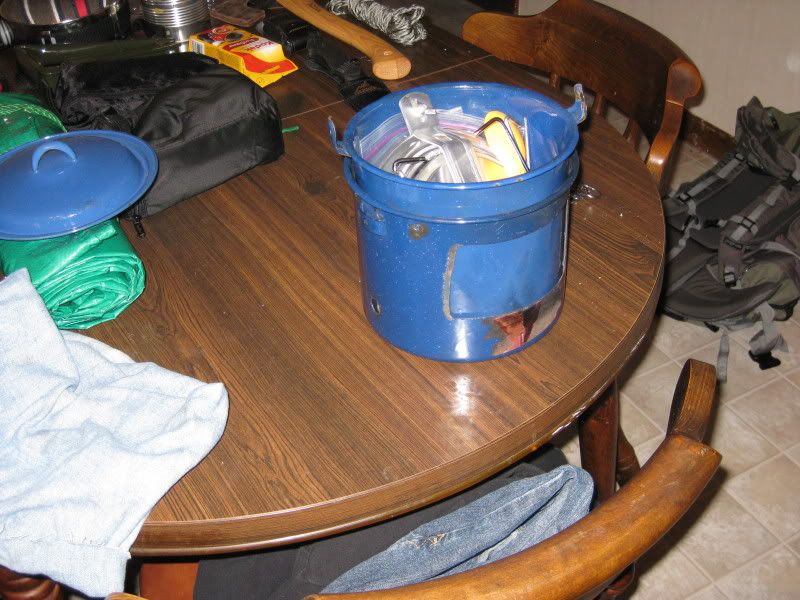
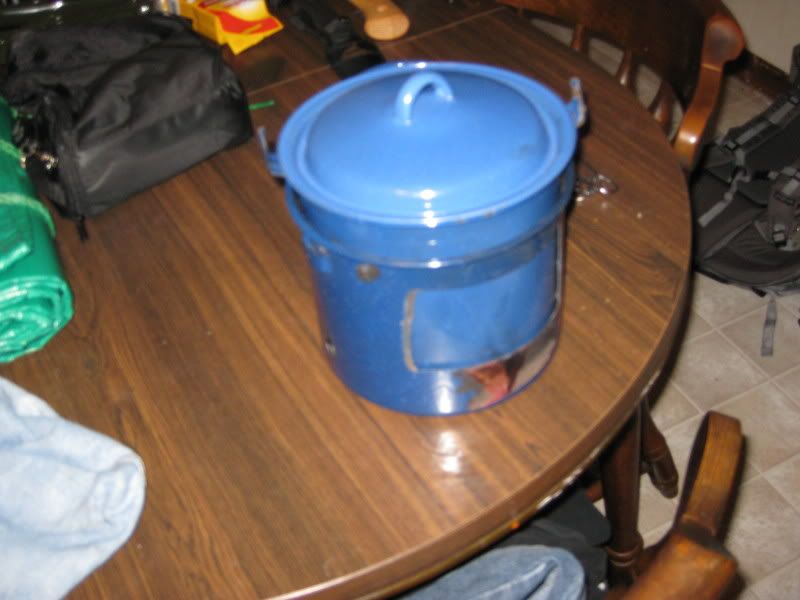
The next images show the assembled stove, with the hearth in place and sitting on the lips of the lower 4mm holes.
This shows the stove filled and ready to light. Use pencil diameter dry twigs broken into short lengths. As the stove is filled, tap the base onto the ground to settle the fuel.
(Appologies for the 'soft' image - It's camera shake because I'd forgotten to switch the camera image stabilisation on!)
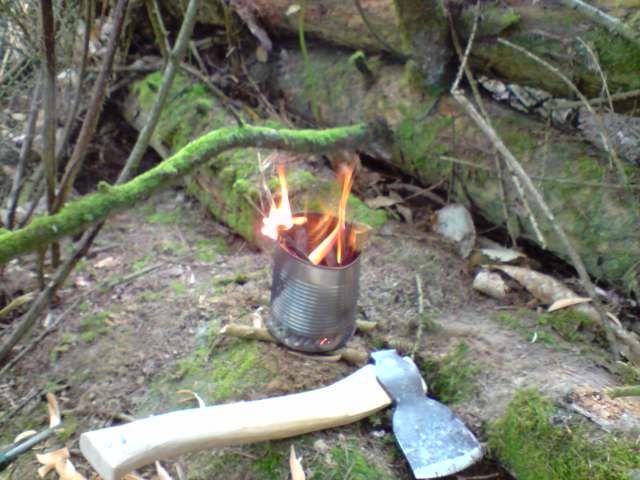
Here the stove is shown lit. It can be seen that no smoke is being produced.
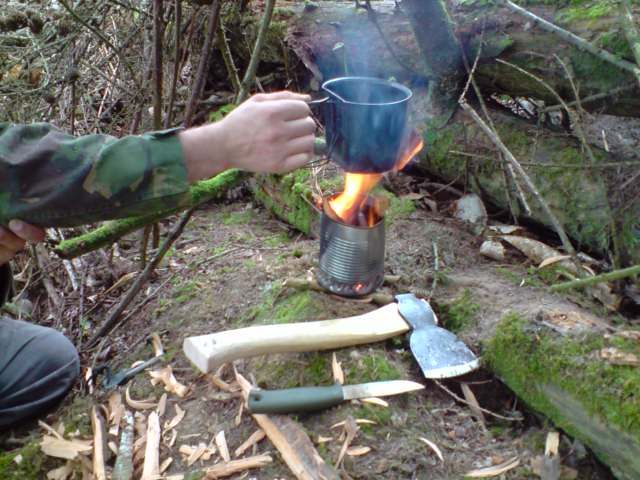
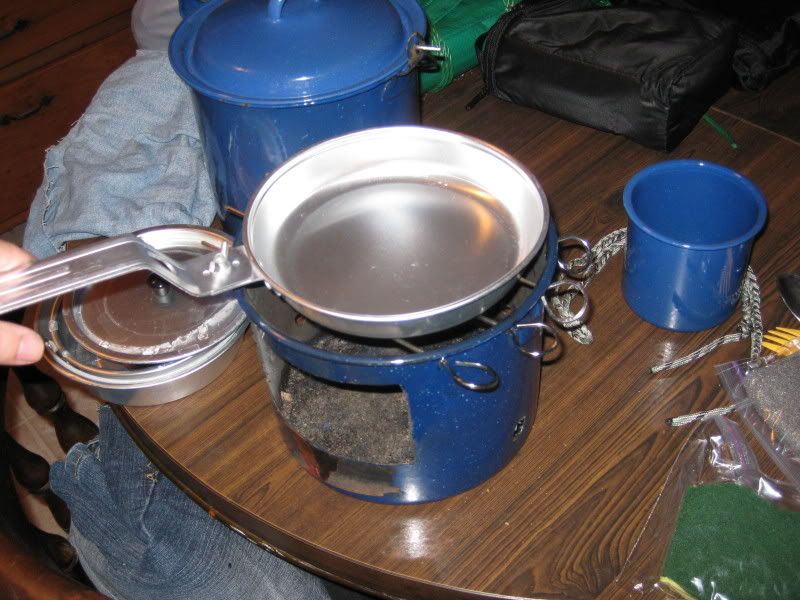
The next image shows the kettle on the stove, followed by it boiling after about ten minutes. Again, in both images no smoke is being produced.
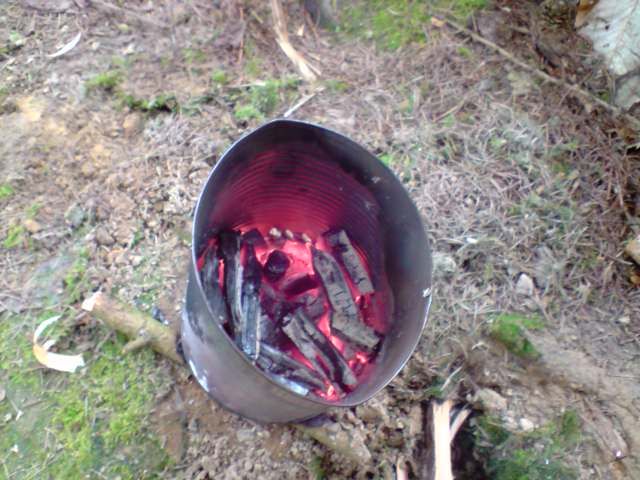
The final two images show the stove burning out and the ashes to show how complete the combustion was.
Jim
(So how do I embed inline images?)


")