We've all got at least one. The nice woolly jumper that someone (HWMBLT ! ) put into the washing machine and shrunk so that it would maybe fit a ten year old 
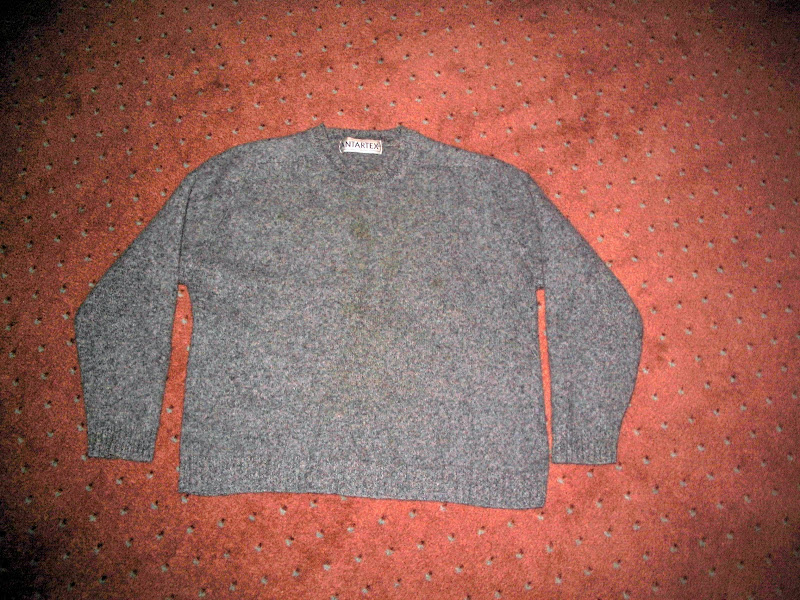
This one is, well it was, a nice slate blue marled wool Antartex jumper. It shrunk by about 20cms in length and the sleeves now sit just below the elbows.
So, I decided to make use of the fabric, especially since it's now felted and won't unravel")
I apologise in advance for the photos, himself says our daylight bulbs don't suit the camera, and white paper and my hands come out shocking pink, and in some photos the jumper has turned green
I'll know better next time, but I've picked out the clearest shots.
One shrunken jumper =
A pair of long mitts,
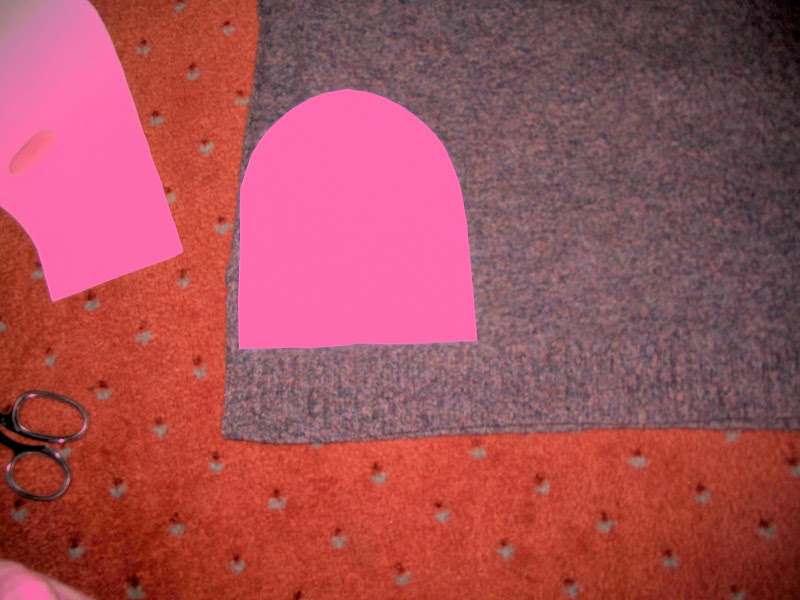
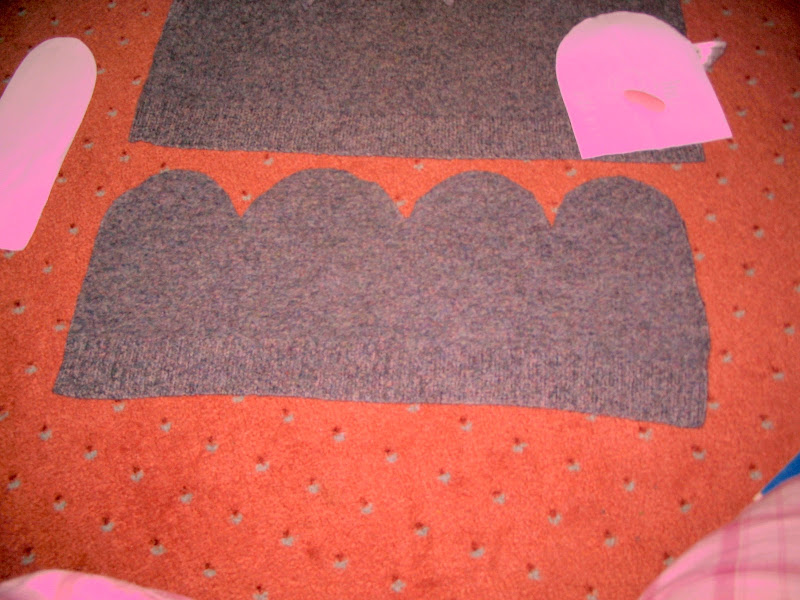
A hat,
Boot liners
A set of slippers.
A pair of children's mittens,
2 Christmas ornaments and a cat toy
Let's start with the mitts.
My drawings haven't shown up on my photos at all, so I'll just write out the instructions.
Draw round your hand and far enough up your wrist to cover the fine skin where the artery and veins run.
Add a smooth curved line about 1.5 cm all round that shape.
Now measure around the fullness of your hand, divide that measurement in half, and see how it looks against the pattern.
Do the same for your wrist and your thumb.
The aim is for 5mm seam allowances in the pattern.
Your pattern is 2D but it has to fit comfortably around your 3D self
If the measurement looks too neat add in a little fullness. This is particularly important at the wrist and the thumb. The thumb has a seam all round so it will narrow more than the main mitt when it's sewn. It's easier to narrow things down to fit than it is to add bits in.
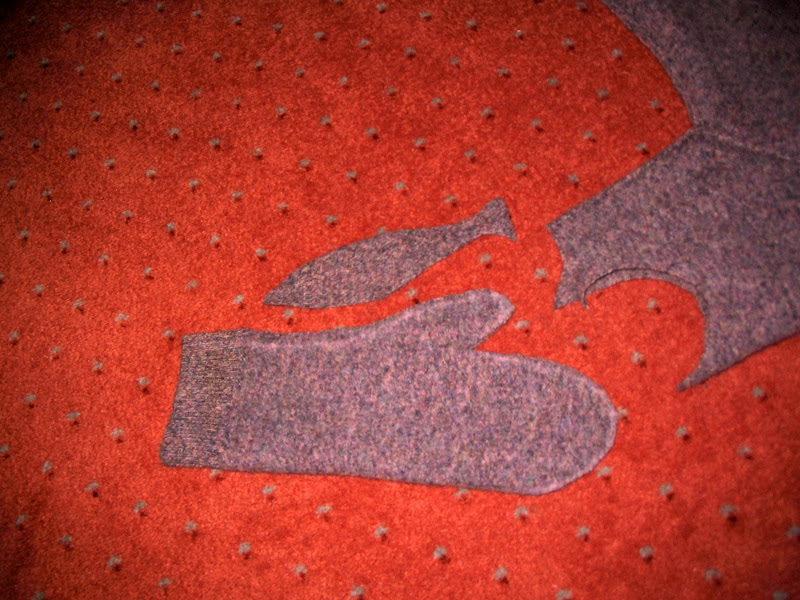
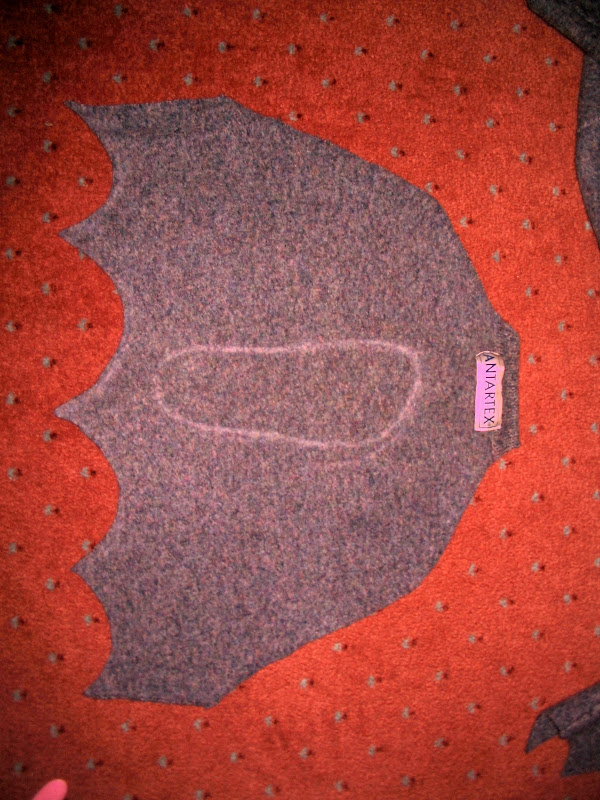
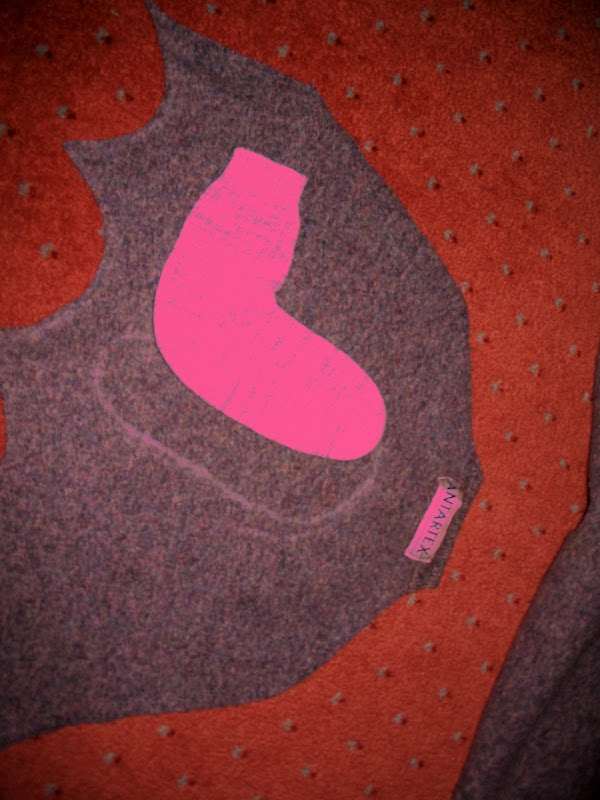
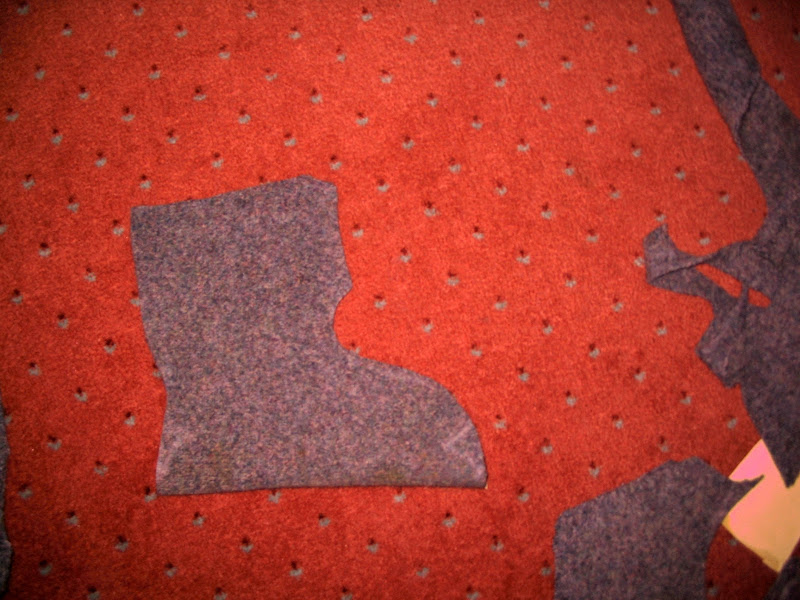
You should end up with a pattern like this.
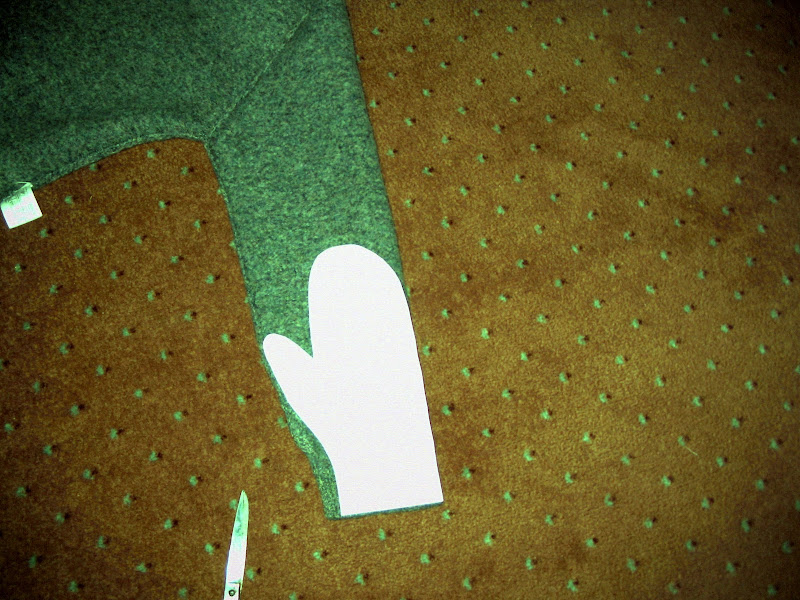
Turn the jumper inside out, this lets you work around the seams more easily.
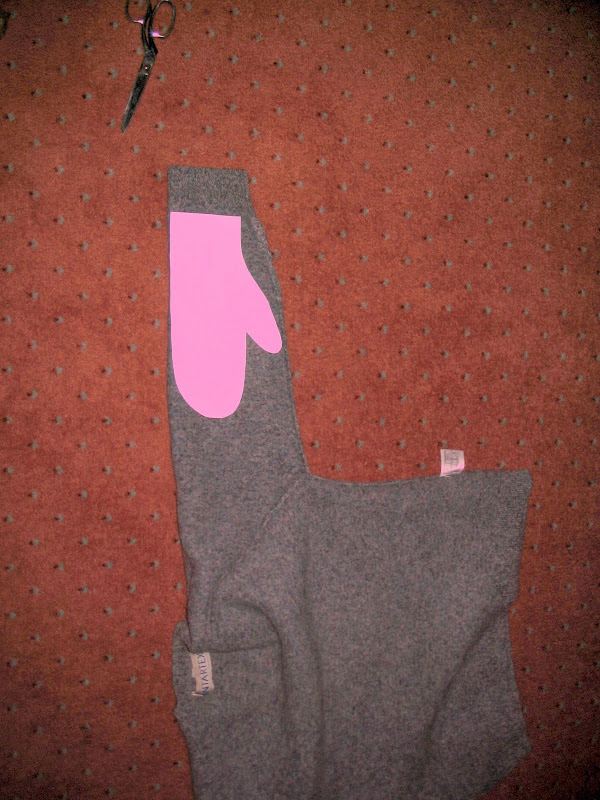
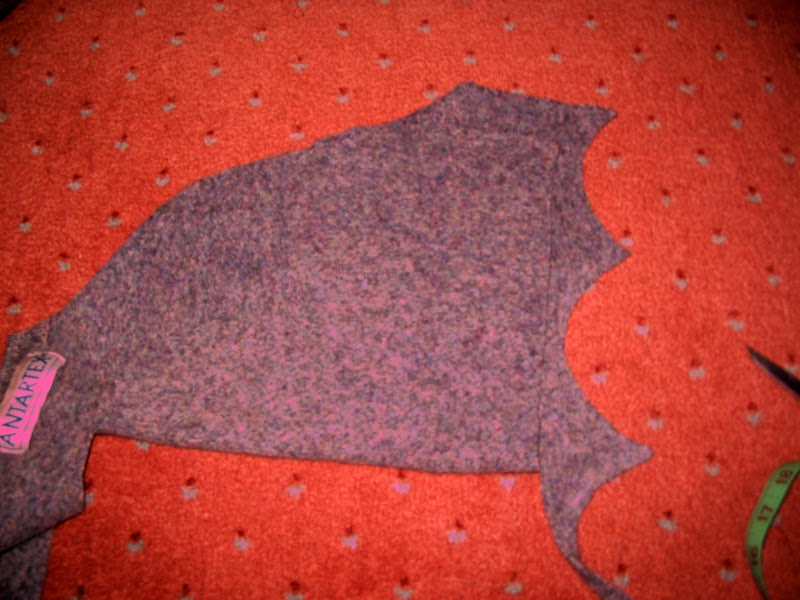
Not wanting to waste the perfectly sound cuff I slid my pattern up the sleeve a bit, keep the thumb nearest the sleeve seam where the knitting increases.
Draw around your pattern. If you don't have tailor's chalk or wax, don't fret, a sliver of dried out soap works fine, in fact it's easier to use on wool than either of those two and it just rubs off when your done

Repeat this on the other sleeve too.
These patterns are the simplest I could devise that would create useable garments. The mitts could be tailored, with seperate thumb gussets and the like, but to be honest, I've done this before and it's not needed. The jumper has enough give in the fabric that it doesn't gird the thumb movement at all.
I didn't cut the rib seam away, I just shaped my pattern so that it ran in to it.
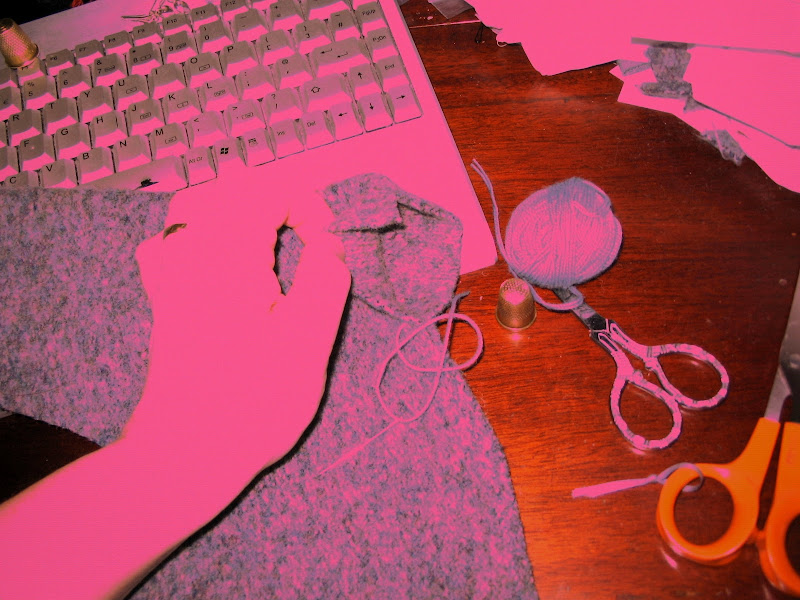
I sewed the mitts using wool, and I used a back stitch. If you prefer to use a sewing machine that will work fine too. Use a narrow but long zigzag stitch. Any thread will actually do to sew the wool, it was just that I had woollen thread handy.
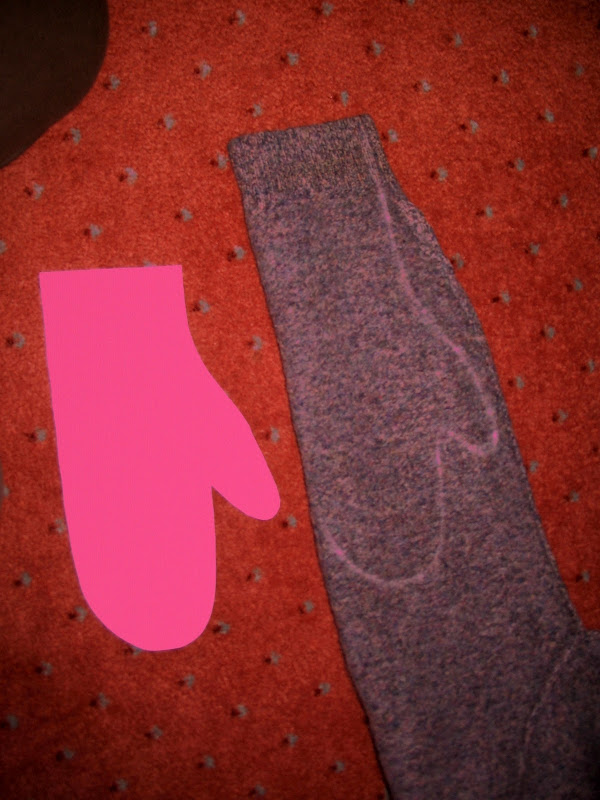
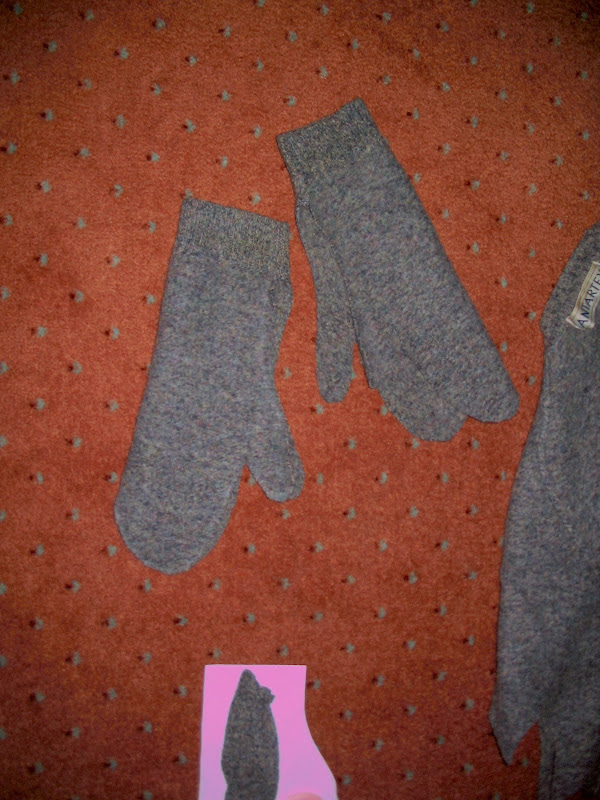
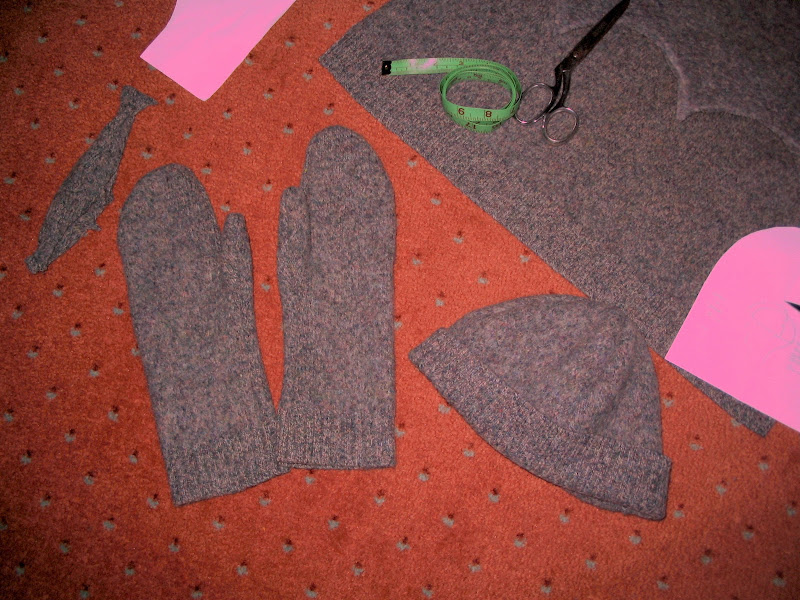
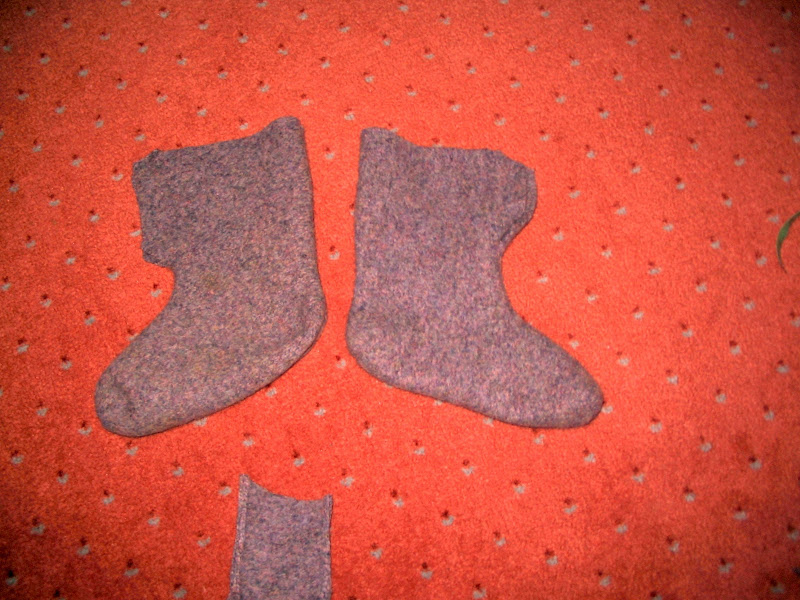
Two mitts cut out and ready to sew.
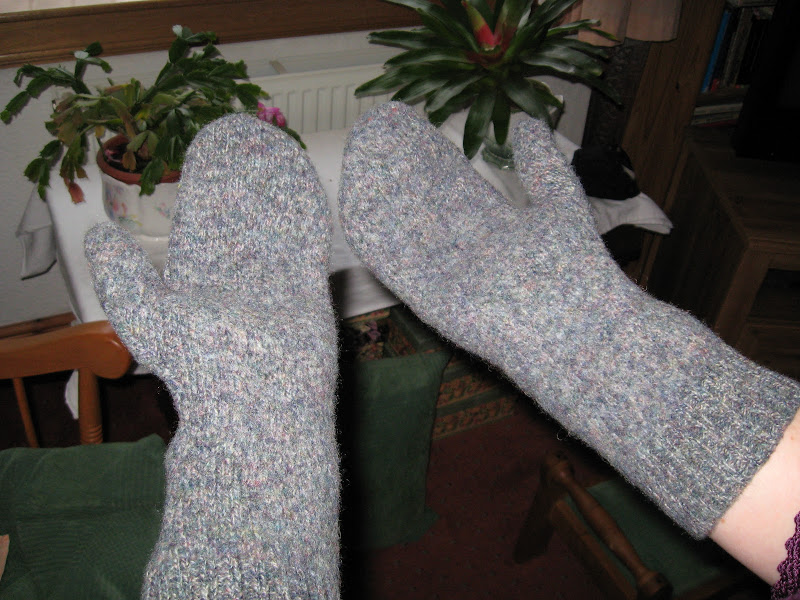
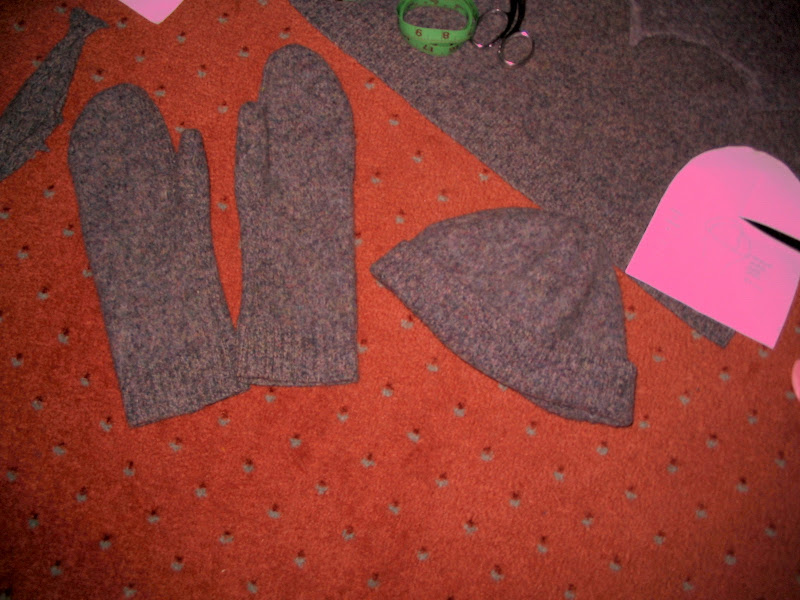
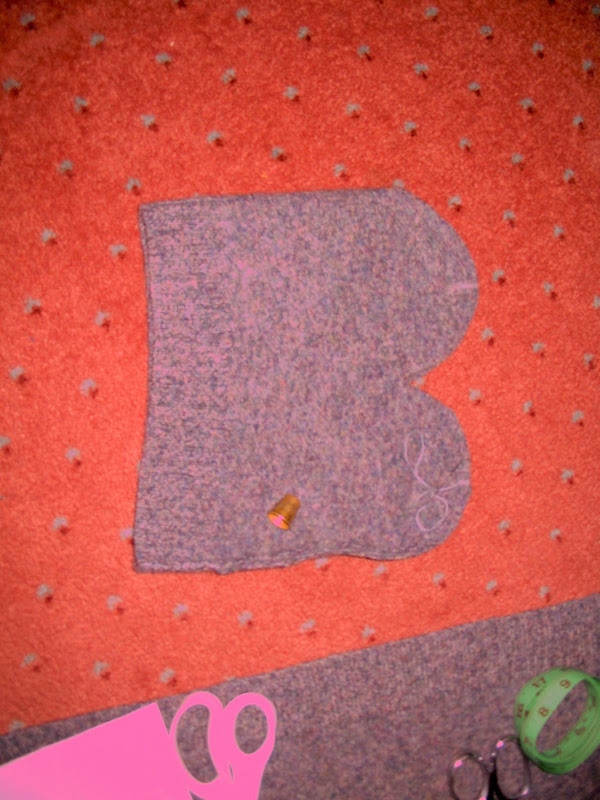
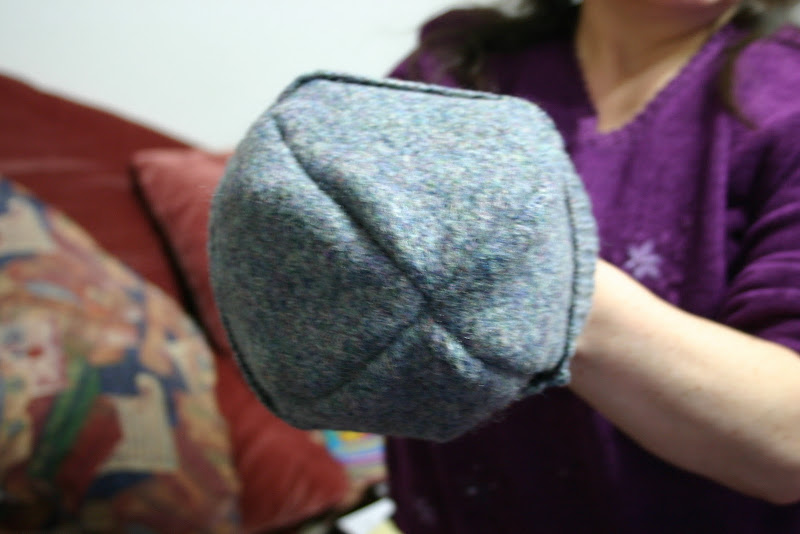
Finished mitts, and the hat (coming next)
If you're pretty sure that the fabric will felt further, it can be worth while making the mitts oversized and then washing them in the machine with the normal dark wash.
This will shrink them some more and felt them into the equivalent of those horrendously expensive windproof boiled wool mitts that folks wear in Arctic conditions.
cheers,
Toddy
This one is, well it was, a nice slate blue marled wool Antartex jumper. It shrunk by about 20cms in length and the sleeves now sit just below the elbows.
So, I decided to make use of the fabric, especially since it's now felted and won't unravel
I apologise in advance for the photos, himself says our daylight bulbs don't suit the camera, and white paper and my hands come out shocking pink, and in some photos the jumper has turned green
I'll know better next time, but I've picked out the clearest shots.
One shrunken jumper =
A pair of long mitts,
A hat,
Boot liners
A set of slippers.
A pair of children's mittens,
2 Christmas ornaments and a cat toy
Let's start with the mitts.
My drawings haven't shown up on my photos at all, so I'll just write out the instructions.
Draw round your hand and far enough up your wrist to cover the fine skin where the artery and veins run.
Add a smooth curved line about 1.5 cm all round that shape.
Now measure around the fullness of your hand, divide that measurement in half, and see how it looks against the pattern.
Do the same for your wrist and your thumb.
The aim is for 5mm seam allowances in the pattern.
Your pattern is 2D but it has to fit comfortably around your 3D self
If the measurement looks too neat add in a little fullness. This is particularly important at the wrist and the thumb. The thumb has a seam all round so it will narrow more than the main mitt when it's sewn. It's easier to narrow things down to fit than it is to add bits in.
You should end up with a pattern like this.
Turn the jumper inside out, this lets you work around the seams more easily.
Not wanting to waste the perfectly sound cuff I slid my pattern up the sleeve a bit, keep the thumb nearest the sleeve seam where the knitting increases.
Draw around your pattern. If you don't have tailor's chalk or wax, don't fret, a sliver of dried out soap works fine, in fact it's easier to use on wool than either of those two and it just rubs off when your done
Repeat this on the other sleeve too.
These patterns are the simplest I could devise that would create useable garments. The mitts could be tailored, with seperate thumb gussets and the like, but to be honest, I've done this before and it's not needed. The jumper has enough give in the fabric that it doesn't gird the thumb movement at all.
I didn't cut the rib seam away, I just shaped my pattern so that it ran in to it.
I sewed the mitts using wool, and I used a back stitch. If you prefer to use a sewing machine that will work fine too. Use a narrow but long zigzag stitch. Any thread will actually do to sew the wool, it was just that I had woollen thread handy.
Two mitts cut out and ready to sew.
Finished mitts, and the hat (coming next
)If you're pretty sure that the fabric will felt further, it can be worth while making the mitts oversized and then washing them in the machine with the normal dark wash.
This will shrink them some more and felt them into the equivalent of those horrendously expensive windproof boiled wool mitts that folks wear in Arctic conditions.
cheers,
Toddy
Last edited:


 Now I also know to use off cuts for mitts and boot inlays