Hi guys,
Well, as a newcomer to wintertrekking/camping I am in need of a tentstove, too. Since my budget is very limited AND I like tinkering/making things/coming up with solutions, I thought it might be nice to show you how I make a tentstove out of scrapmetal.
I did not use an ammuntionbox, since everyone seems to be doing that. I always like a new approach...
I have virtually no experience with metalworking, grinding, welding, so there will be a lot to learn for me in the process!
Strolling through my father-in-law's workshop I came across a lot of scrap metal. I told him about my idea and he said I could take whatever I thought I might need. I wanted a stove that would heat my tent and where I could cook on. Preferably made of a thicker metal in order to retain the heat more and radiate it slower, but longer. It has to be small enough to fit inside my tent (which I'll be making next), which will basically be 2 military canvas shelterhalves, but higher.
So here's my catch;
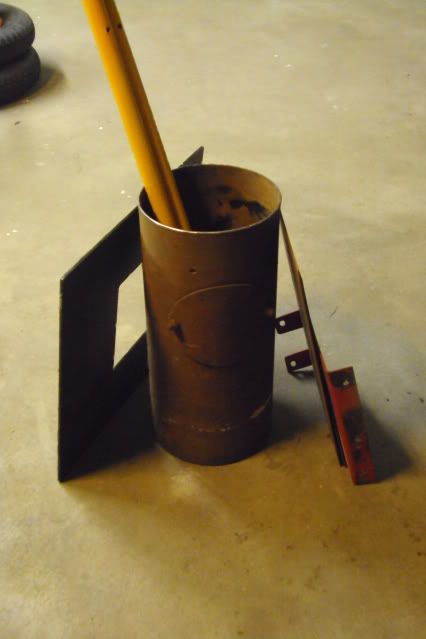
The large cilinder is a remnant of an old chimney, the yellow tubes are from an old frame (barbecue, I think) and the shown sheetmetal are leftovers from an old woodfed househeatingsystem.
I had to buy a chimney; 3 sections on connectable exhaustpipe. These will be made to fit inside the cilinder for transport, as will the legs.
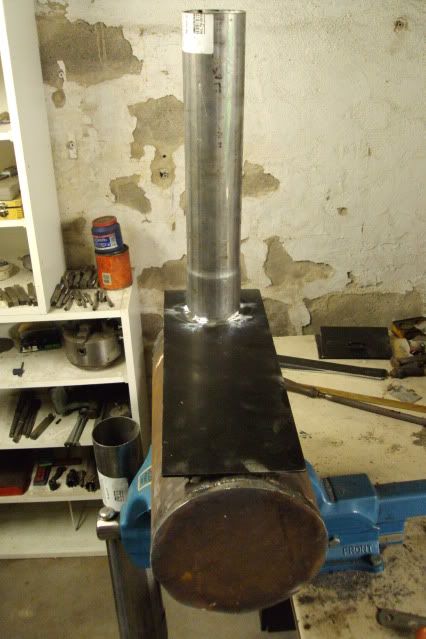
Here's the cilinder with front and back closed up with more excess sheetmetal.
To the right is the black cookingplatform with a piece of chimnet fitted, to the left the rest of the chimney.

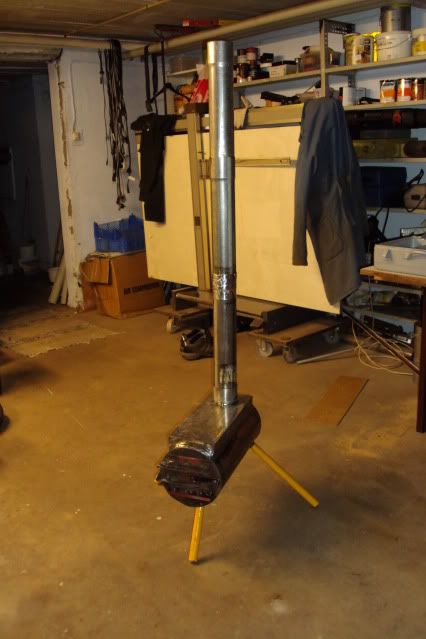
The general idea;
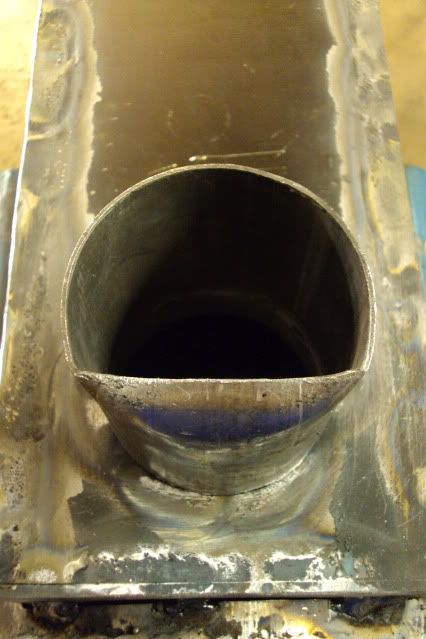
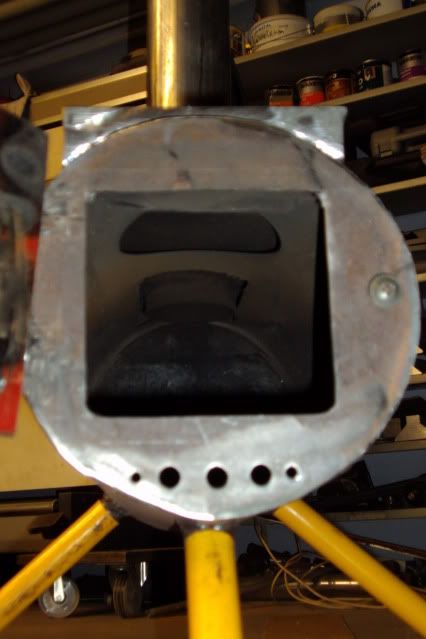
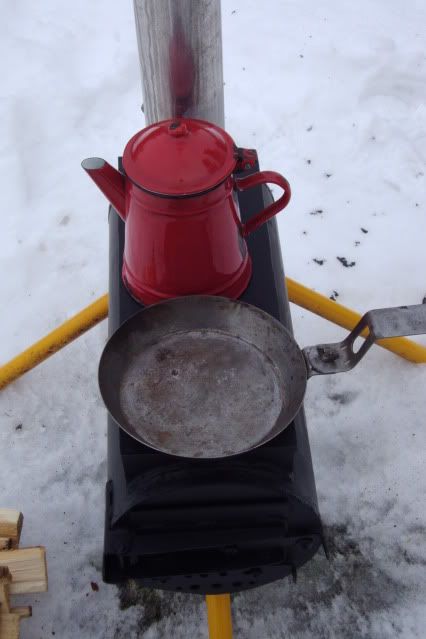
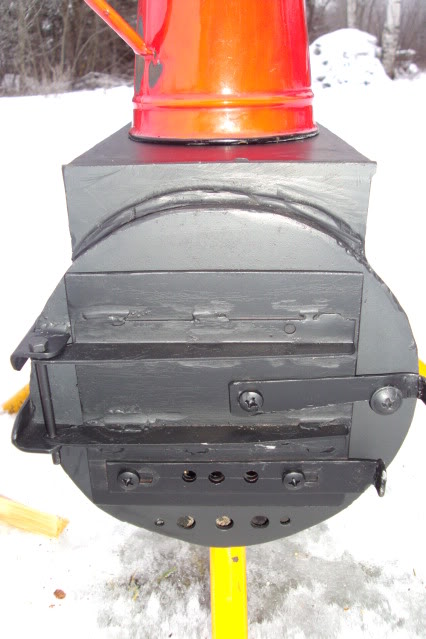
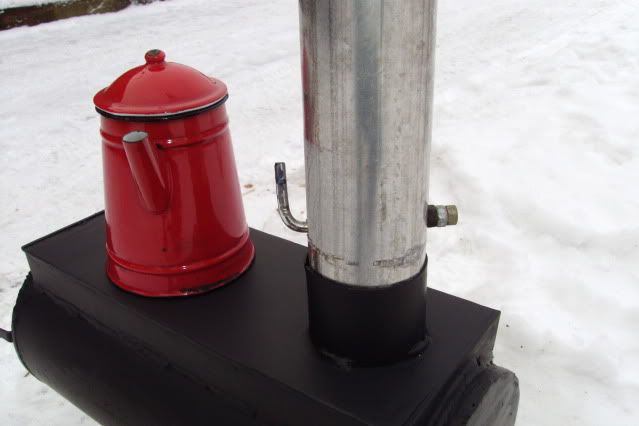
Cookingplatform fixed and all sides attached. It sits a bit over the cilinder, creating a hotairchamber. This way I hope the heat will be distributed more evenly, which makes cooking easier. There will be a door in the front later on;
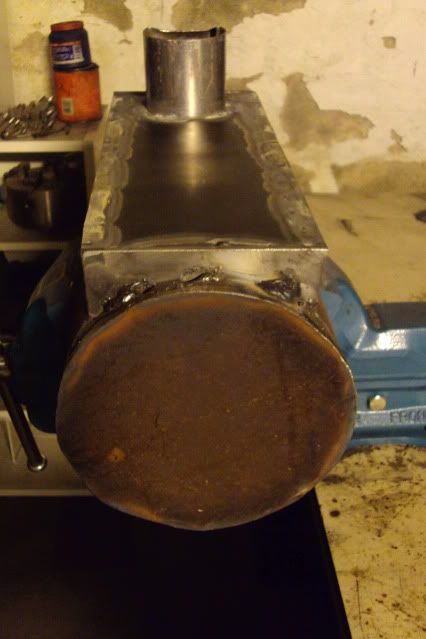
The welding proved to be a lot harder than I had anticipated! The cilinderwalls are thinner than the cookingplatform and welding that one in place turned out to be troublesome;
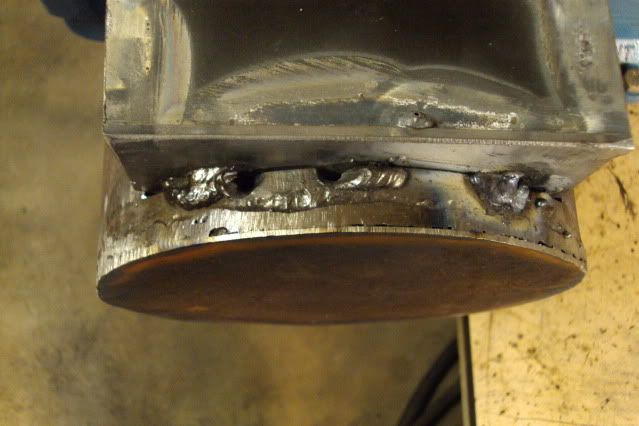
Bad things come in pairs and a minute later the whole contraption fell of the benchvise and landed right on top of the chimneybase.... off course!
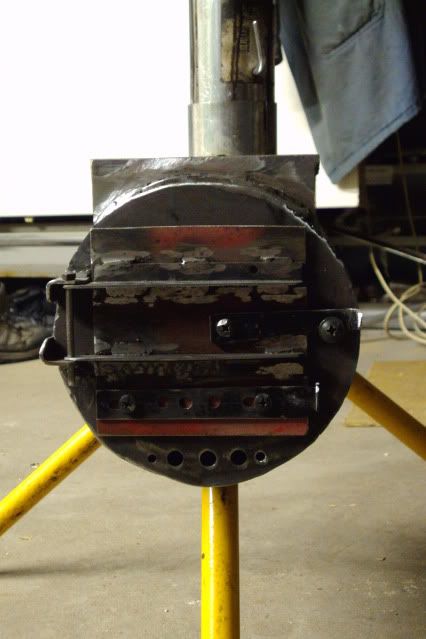
These are the attachmentpoints for the legs. My FIL made those from scraps, too and the legs fit perfectly over them;
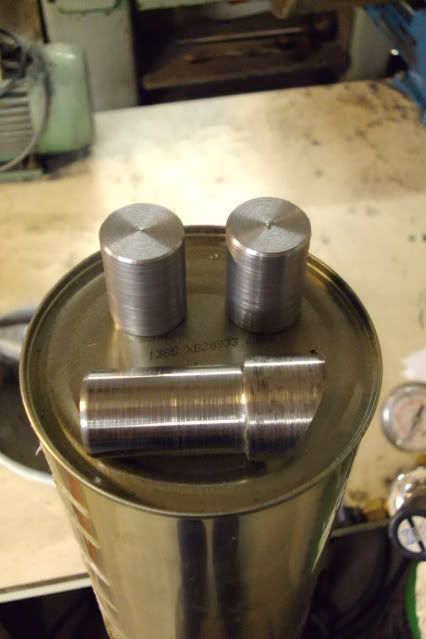
The basic idea was to have 2 legs in front and 1 in the back, all in a 60 degree angle. This way the legs would not stick out to much. By mistake we ended up the wrong way around. The angle of the legs changed to 45 degrees, because on the welding. We forgot to grind an angle to the base and welded them flat on.
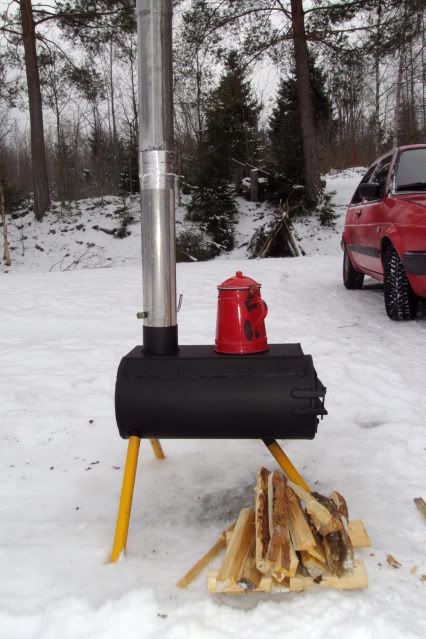
In hind sight I think this is better, because the weight of the chimney is now supported better and the whole thing is very stable.
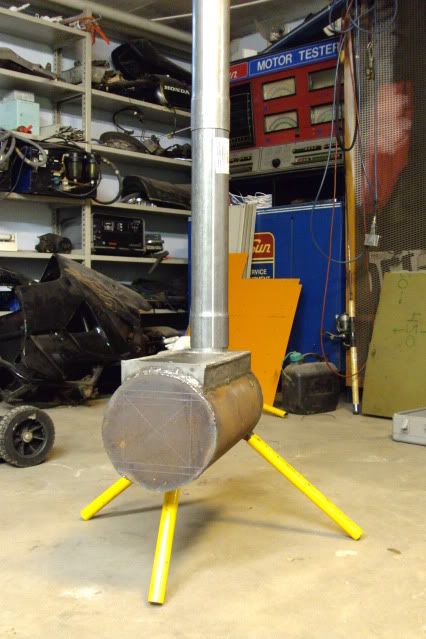
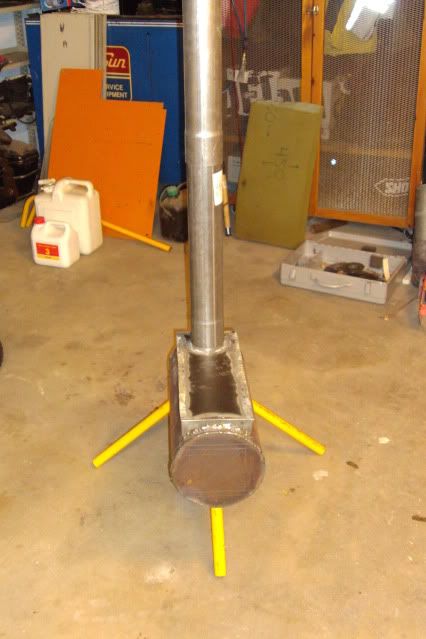
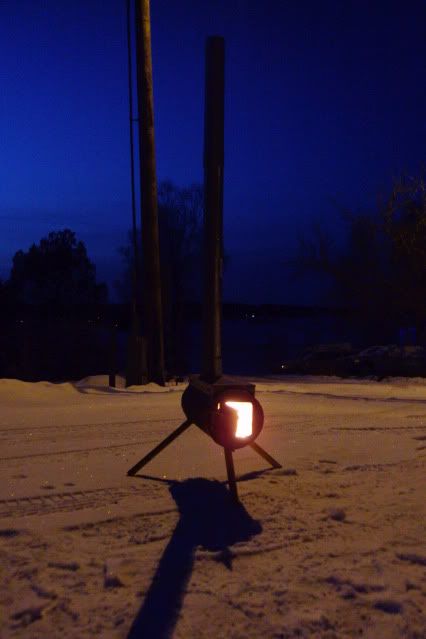
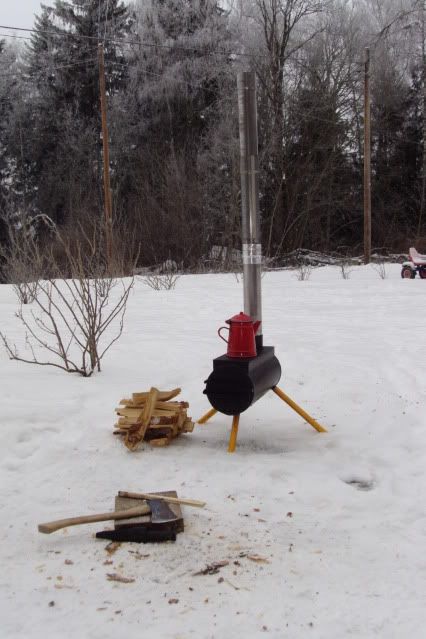
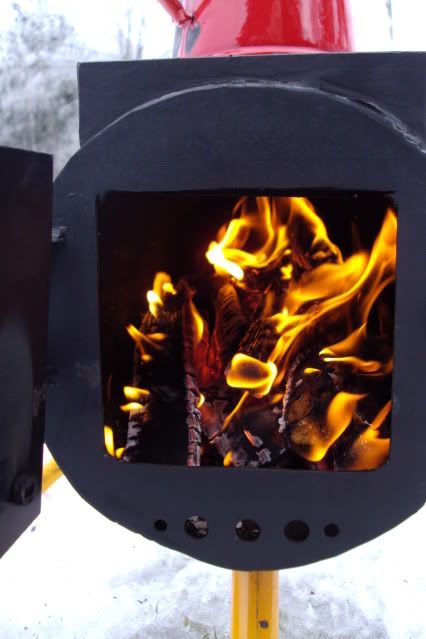
The maiden burn;
Next I'll be making and adding a door, clean the whole thing up, spray it with heatresistant paint and fire it up real good!!!
Well, as a newcomer to wintertrekking/camping I am in need of a tentstove, too. Since my budget is very limited AND I like tinkering/making things/coming up with solutions, I thought it might be nice to show you how I make a tentstove out of scrapmetal.
I did not use an ammuntionbox, since everyone seems to be doing that. I always like a new approach...
I have virtually no experience with metalworking, grinding, welding, so there will be a lot to learn for me in the process!
Strolling through my father-in-law's workshop I came across a lot of scrap metal. I told him about my idea and he said I could take whatever I thought I might need. I wanted a stove that would heat my tent and where I could cook on. Preferably made of a thicker metal in order to retain the heat more and radiate it slower, but longer. It has to be small enough to fit inside my tent (which I'll be making next), which will basically be 2 military canvas shelterhalves, but higher.
So here's my catch;
The large cilinder is a remnant of an old chimney, the yellow tubes are from an old frame (barbecue, I think) and the shown sheetmetal are leftovers from an old woodfed househeatingsystem.
I had to buy a chimney; 3 sections on connectable exhaustpipe. These will be made to fit inside the cilinder for transport, as will the legs.
Here's the cilinder with front and back closed up with more excess sheetmetal.
To the right is the black cookingplatform with a piece of chimnet fitted, to the left the rest of the chimney.
The general idea;
Cookingplatform fixed and all sides attached. It sits a bit over the cilinder, creating a hotairchamber. This way I hope the heat will be distributed more evenly, which makes cooking easier. There will be a door in the front later on;
The welding proved to be a lot harder than I had anticipated! The cilinderwalls are thinner than the cookingplatform and welding that one in place turned out to be troublesome;
Bad things come in pairs and a minute later the whole contraption fell of the benchvise and landed right on top of the chimneybase.... off course!
These are the attachmentpoints for the legs. My FIL made those from scraps, too and the legs fit perfectly over them;
The basic idea was to have 2 legs in front and 1 in the back, all in a 60 degree angle. This way the legs would not stick out to much. By mistake we ended up the wrong way around. The angle of the legs changed to 45 degrees, because on the welding. We forgot to grind an angle to the base and welded them flat on.
In hind sight I think this is better, because the weight of the chimney is now supported better and the whole thing is very stable.
The maiden burn;
Next I'll be making and adding a door, clean the whole thing up, spray it with heatresistant paint and fire it up real good!!!
")
 notworthy

")
