...or how to make a silk purse out of a sows ear!
Foreword:
The CS trail hawk is a cheap and cheerful tool, but lightweight and amazingly versatile. In the stock package, it's ugly, it looks mass-produced (because it is) and the factory edge is lamentable. But with a little tlc it can be turned into a beautiful and very functional tool.
For those who havent seen this video, it's well worth a watch as it illustrates the versatility of this tool very well...
[video=youtube;6pvv97vPLHk]http://www.youtube.com/watch?v=6pvv97vPLHk[/video]
OK, so on with modding the axe...
Part 1: The Basics.
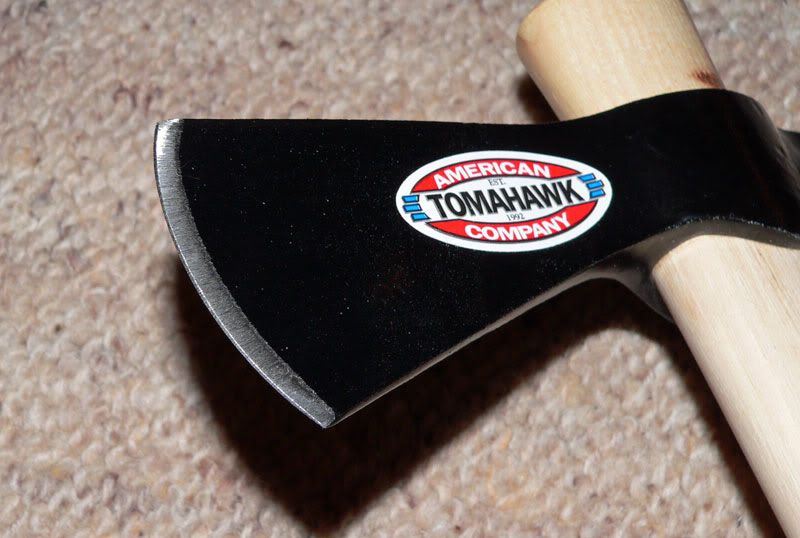
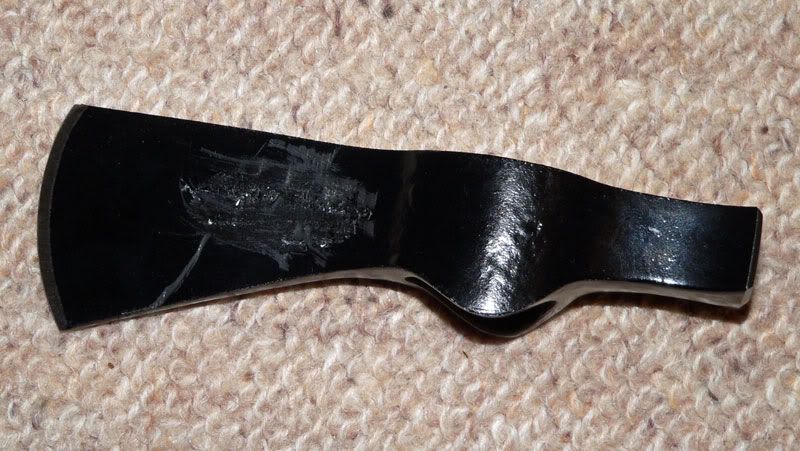
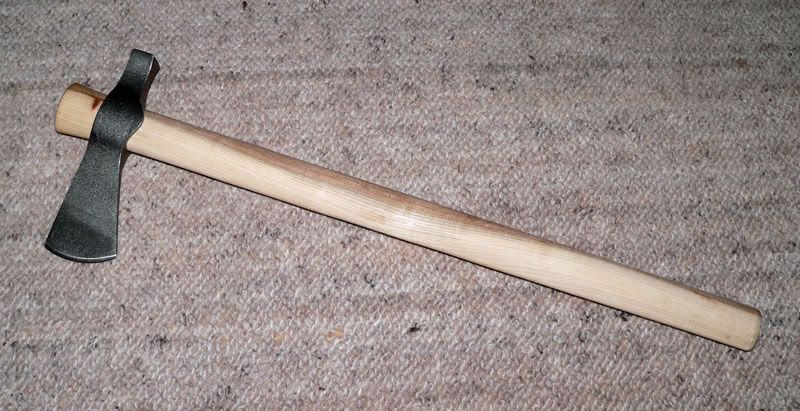
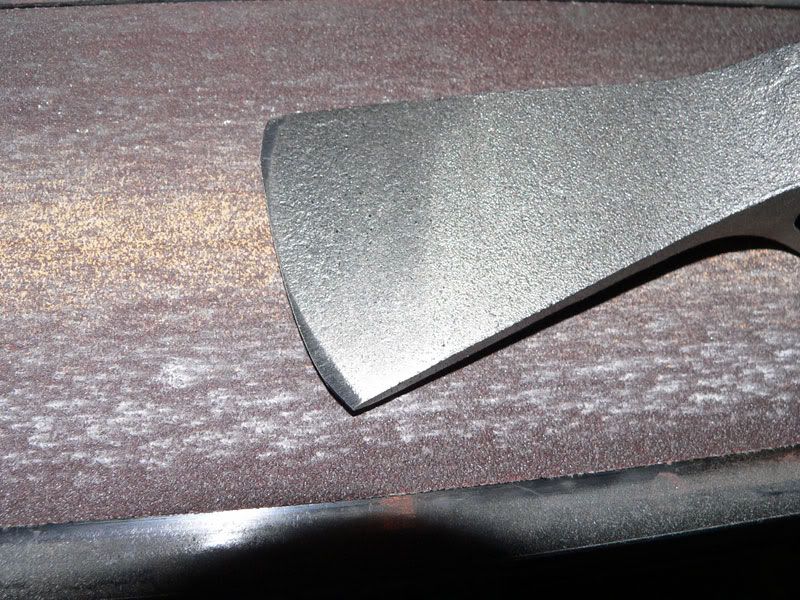
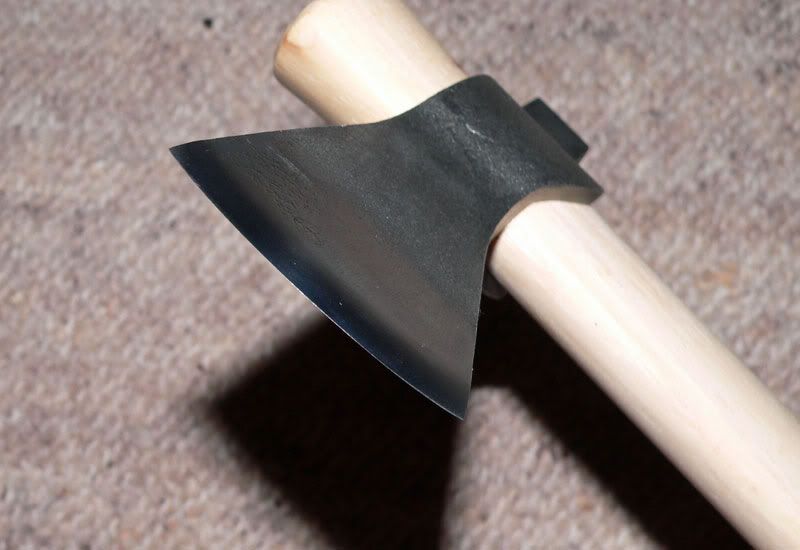
When the axe arrives from the factory, it comes with a coat of black paint, it comes with a flat-ground and rather unimpressive edge, a fairly large curve on the edge, a fairly useless set screw in the head, a big "American Tomahawk Co." sticker on the side, a pretty rough handle and no sheath (tbh, an axe this blunt doesnt really need one)....

(very poor edge)
But not to worry, a little work will transform it. For this mod, I'm just going to concentrate on making the axe into the simplest, most versatile tool with little in the way of embellishment. There are lots of ways to embellish these axes, but many of them interfere with the versatility of the tool. For me, being able to "pop" the head off at will is crucial, so I wont do anything to this one that will limit it's take-down functionality.
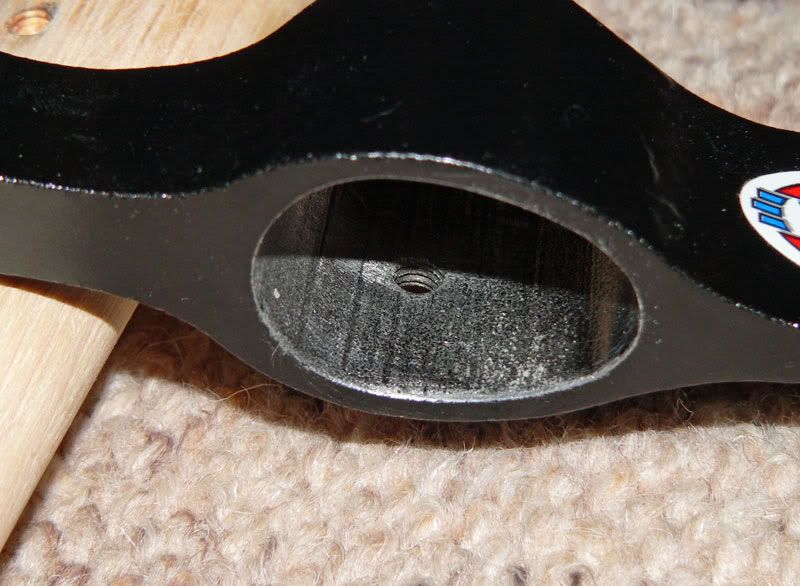
The first thing to do is locate the set screw on the side of the axe...
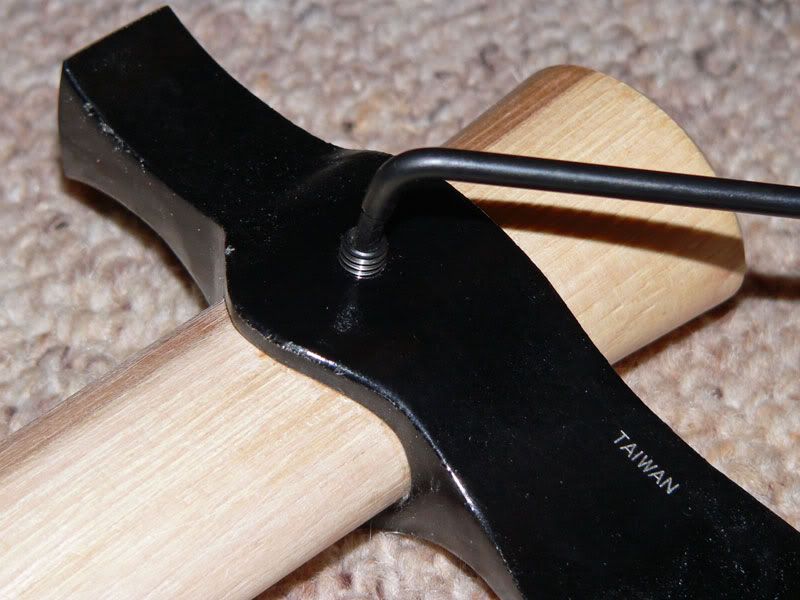
Remove it using an Allen wrench and bin it! We wont be needing that again.
Now to remove the head for the first time. Bear in mind that these hafts were probably hammered into the head when they were put on at the factory and since then, the axe has travelled from Taiwan to the UK, so expect some change in moisture content and dimensional change of the handle. In all likelihood, the head will be very tight and will not simply slip off.
Before even trying to remove the head, you first need to give the handle a light sanding with coarse paper to remove the coating. Once that's done, the next step it to tap the butt of the handle lightly on a solid floor. All you want to do is move the head down the haft about 2cm. Take care though, the haft can be damaged very easily at this point - in fact I will go as far as to say you will damage the haft and it's really about minimising it. The first one I removed, I did with too much force and gouged deep groves in the haft. The problem is that the inside of the eye is very rough and the edges have burrs. Some damage cant be avoided, but by sanding a little first and then going a little at a time, you can minimise it.
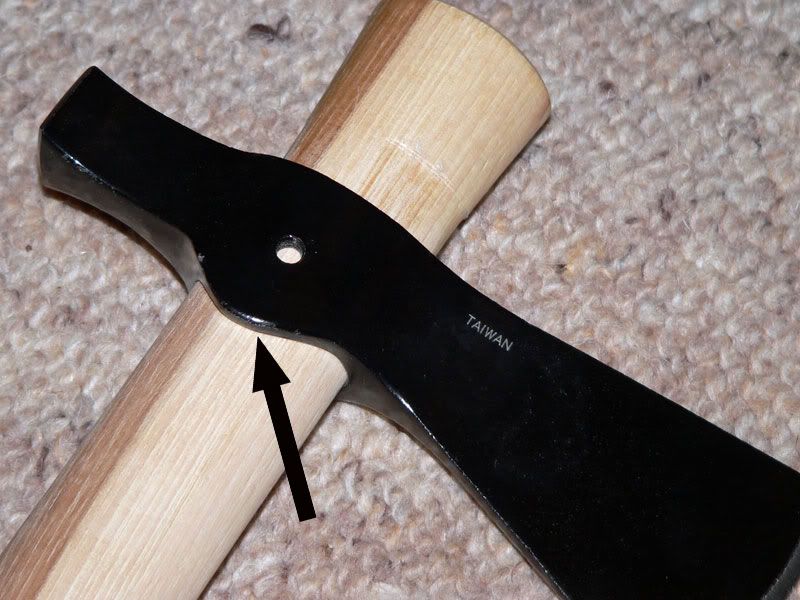
The leading edge of the eye has a burr as mentioned and will "shave" the haft as you tap it off...
The trick is to go 2cm and then knock it back up a cm, rub off any shavings and smooth it out by lightly rubbing with sandpaper. Then take another 2cm bite out of it. Again, as the head starts to shave the haft, knock it back up, remove any shavings and lightly sand smooth. Repeat as necessary until the head drops off.
Once the head is off, then go over the haft with sandpaper again, smoothing out any marks you have made. Take care NOT to sand the area where the head actually sits. You can fit that to a perfect hand & glove fit later if you wish, but for now the object is just to get to the point where the head slides easily all the way on and off the handle.
Before attempting to re-fit the head, you should de-burr the inside of the eye...
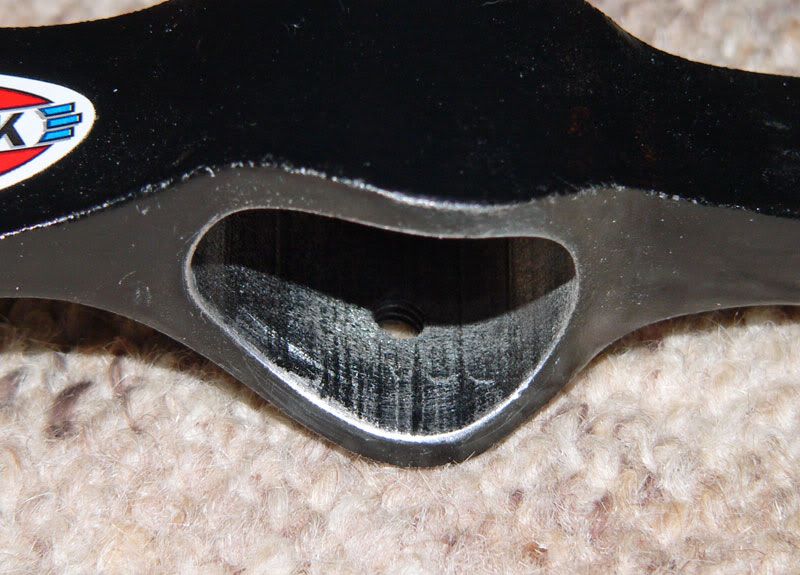
It doesnt take long to give it a rub with coarse sandpaper just to take the sharp edges off. This will help greatly in smoothly fitting the head on and off the haft and minimise any further damage. Remember to rub over the threaded hole where the set screw was, as this also has burrs that can damage the handle.
Take a minute to do the same to the top of the eye, although this is not as crucial as the bottom, as the eye is conical.
Once the head will pop off with a single tap and re-seat securely with a single tap on the opposite end, we are ready to move on.
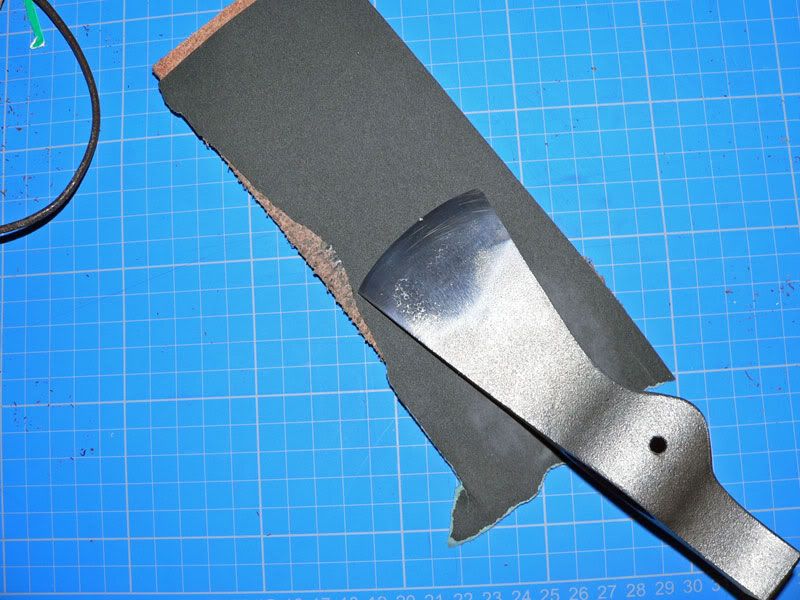
Next, taking a sharp knife, scrape or shave off the adhesive label...
The label is not of the easy peel type, but probably meant to stay on there. A sharp knife makes short work of it. Dont worry about marring the paint, that is coming off too.
OK, so now it's time to take the paint off. Sanding doesnt work well as the steel is drop-forged and heavily textured. If you sand, you'll just remove paint from the high spots and leave the paint in all the depressions. You'd have to remove a lot of steel off the head to get rid of all the paint using abrasives. Fortunately, it comes off very easily with chemical paint strippers.
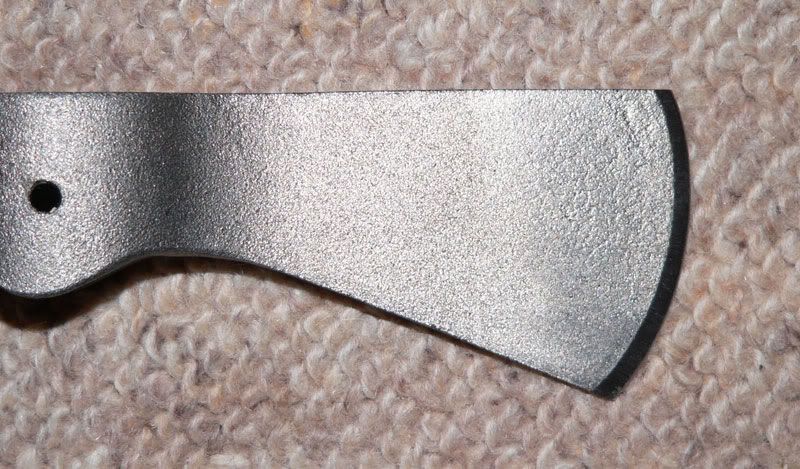
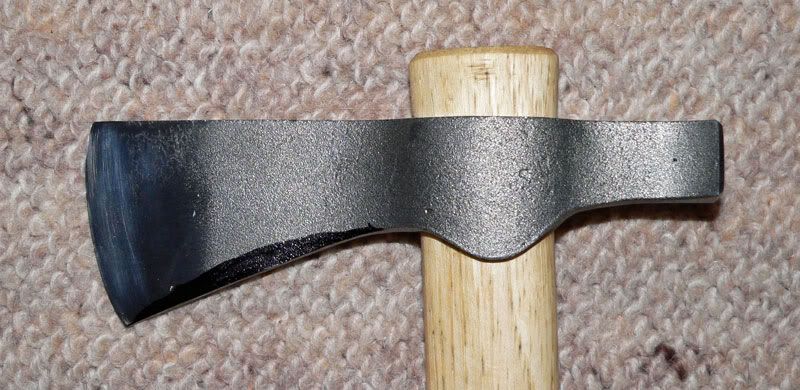
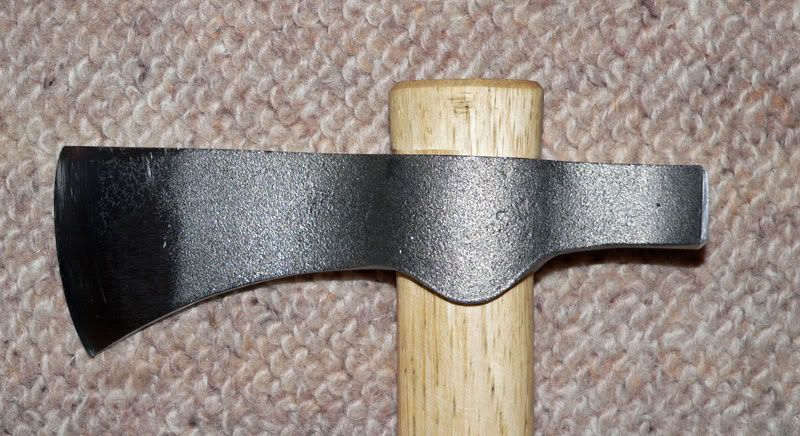
After 30 minutes in Nitromors, the head is stripped back to raw, grey steel...
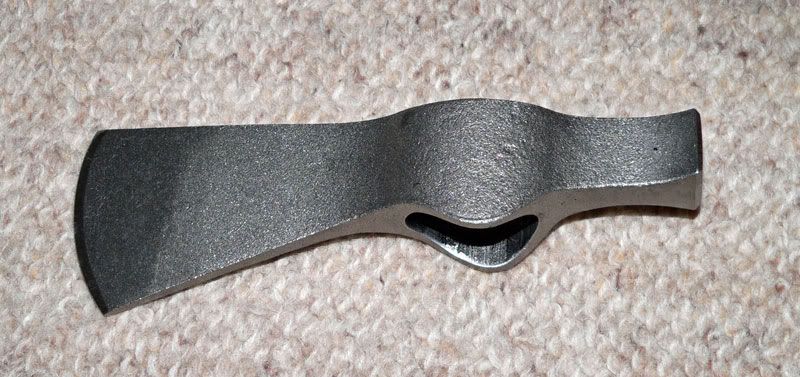
It works very well, just wash off the Nitromors or whatever, with warm, soapy water and dry with a paper towel. Even the "Taiwan" etch has almost dissapeared...
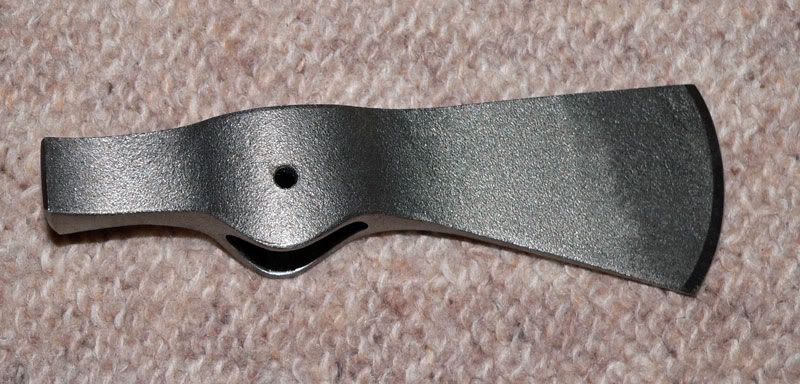
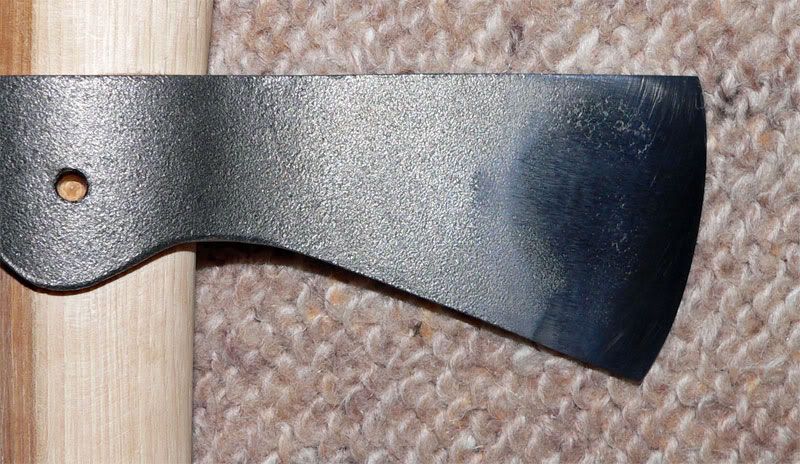
At this stage you can also clearly see the hardening lines on both the blade and the poll, where the head has been differentially hardened.
We are making progress. You could simply sharpen the edge, oil the head and handle and call it done if you wish....
But there is more to do before I'm satisfied.
Foreword:
The CS trail hawk is a cheap and cheerful tool, but lightweight and amazingly versatile. In the stock package, it's ugly, it looks mass-produced (because it is) and the factory edge is lamentable. But with a little tlc it can be turned into a beautiful and very functional tool.
For those who havent seen this video, it's well worth a watch as it illustrates the versatility of this tool very well...
[video=youtube;6pvv97vPLHk]http://www.youtube.com/watch?v=6pvv97vPLHk[/video]
OK, so on with modding the axe...
Part 1: The Basics.
When the axe arrives from the factory, it comes with a coat of black paint, it comes with a flat-ground and rather unimpressive edge, a fairly large curve on the edge, a fairly useless set screw in the head, a big "American Tomahawk Co." sticker on the side, a pretty rough handle and no sheath (tbh, an axe this blunt doesnt really need one)....
(very poor edge)
But not to worry, a little work will transform it. For this mod, I'm just going to concentrate on making the axe into the simplest, most versatile tool with little in the way of embellishment. There are lots of ways to embellish these axes, but many of them interfere with the versatility of the tool. For me, being able to "pop" the head off at will is crucial, so I wont do anything to this one that will limit it's take-down functionality.
The first thing to do is locate the set screw on the side of the axe...
Remove it using an Allen wrench and bin it! We wont be needing that again.
Now to remove the head for the first time. Bear in mind that these hafts were probably hammered into the head when they were put on at the factory and since then, the axe has travelled from Taiwan to the UK, so expect some change in moisture content and dimensional change of the handle. In all likelihood, the head will be very tight and will not simply slip off.
Before even trying to remove the head, you first need to give the handle a light sanding with coarse paper to remove the coating. Once that's done, the next step it to tap the butt of the handle lightly on a solid floor. All you want to do is move the head down the haft about 2cm. Take care though, the haft can be damaged very easily at this point - in fact I will go as far as to say you will damage the haft and it's really about minimising it. The first one I removed, I did with too much force and gouged deep groves in the haft. The problem is that the inside of the eye is very rough and the edges have burrs. Some damage cant be avoided, but by sanding a little first and then going a little at a time, you can minimise it.
The leading edge of the eye has a burr as mentioned and will "shave" the haft as you tap it off...
The trick is to go 2cm and then knock it back up a cm, rub off any shavings and smooth it out by lightly rubbing with sandpaper. Then take another 2cm bite out of it. Again, as the head starts to shave the haft, knock it back up, remove any shavings and lightly sand smooth. Repeat as necessary until the head drops off.
Once the head is off, then go over the haft with sandpaper again, smoothing out any marks you have made. Take care NOT to sand the area where the head actually sits. You can fit that to a perfect hand & glove fit later if you wish, but for now the object is just to get to the point where the head slides easily all the way on and off the handle.
Before attempting to re-fit the head, you should de-burr the inside of the eye...
It doesnt take long to give it a rub with coarse sandpaper just to take the sharp edges off. This will help greatly in smoothly fitting the head on and off the haft and minimise any further damage. Remember to rub over the threaded hole where the set screw was, as this also has burrs that can damage the handle.
Take a minute to do the same to the top of the eye, although this is not as crucial as the bottom, as the eye is conical.
Once the head will pop off with a single tap and re-seat securely with a single tap on the opposite end, we are ready to move on.
Next, taking a sharp knife, scrape or shave off the adhesive label...
The label is not of the easy peel type, but probably meant to stay on there. A sharp knife makes short work of it. Dont worry about marring the paint, that is coming off too.
OK, so now it's time to take the paint off. Sanding doesnt work well as the steel is drop-forged and heavily textured. If you sand, you'll just remove paint from the high spots and leave the paint in all the depressions. You'd have to remove a lot of steel off the head to get rid of all the paint using abrasives. Fortunately, it comes off very easily with chemical paint strippers.
After 30 minutes in Nitromors, the head is stripped back to raw, grey steel...
It works very well, just wash off the Nitromors or whatever, with warm, soapy water and dry with a paper towel. Even the "Taiwan" etch has almost dissapeared...
At this stage you can also clearly see the hardening lines on both the blade and the poll, where the head has been differentially hardened.
We are making progress. You could simply sharpen the edge, oil the head and handle and call it done if you wish....
But there is more to do before I'm satisfied.
Last edited:


")

 ).
).