I am in the process of building myself a "man cave" it will incorporate aspects of a log cabin.. depending on how many logs I get..
Anyway I have made a start and propose a bit of blog on this thread.. feel free to post as many comments/thoughts/opinions as you like.
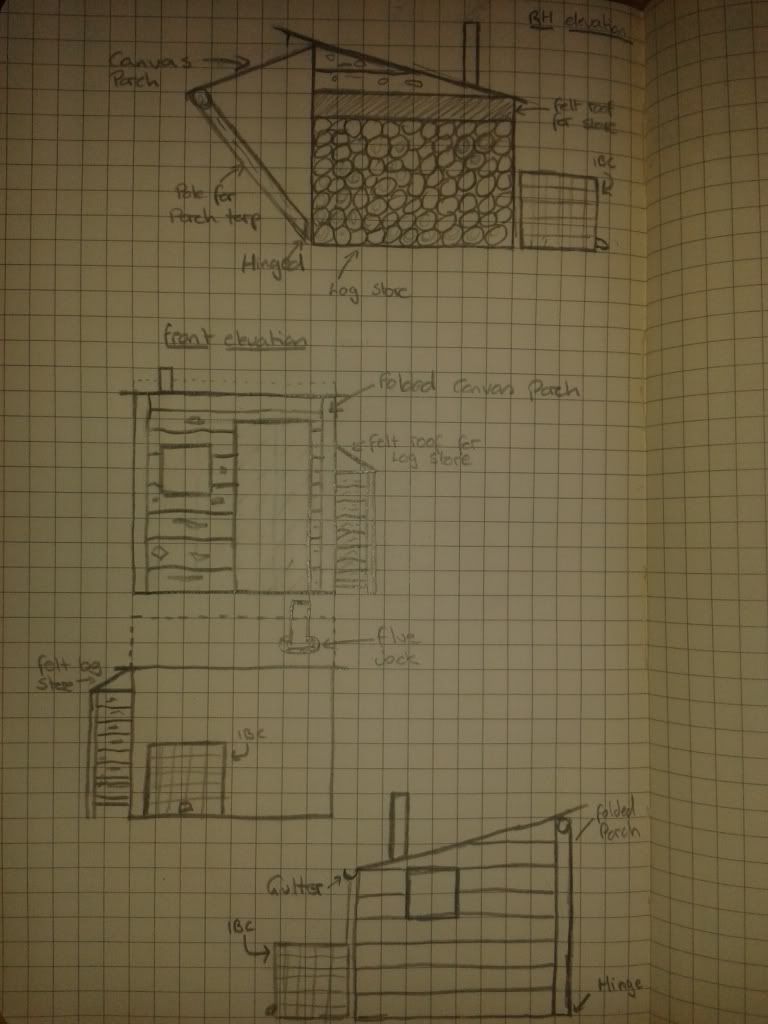
Here are my basic plans, it is only small but big enough for a getaway!
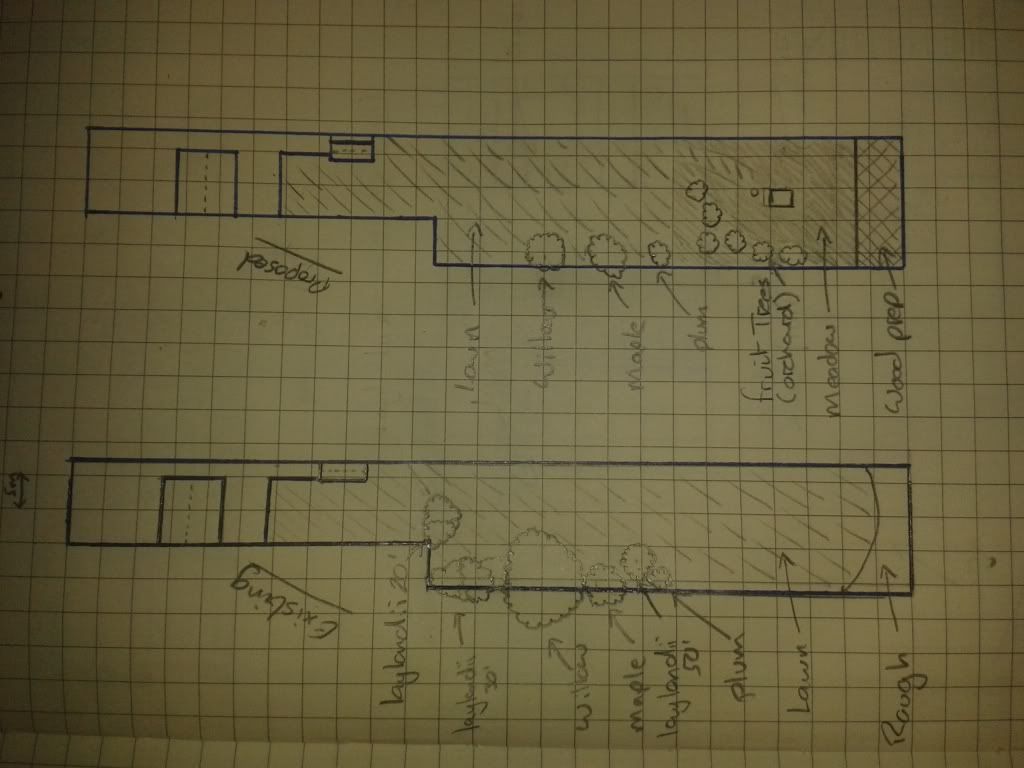
And a layout plan of the garden, the teeny tiney square is the cabin. I may move it back yet but we will see
First off was location. Where I had in mind was a little overgrown. So gathering the relative equipment together I set too..
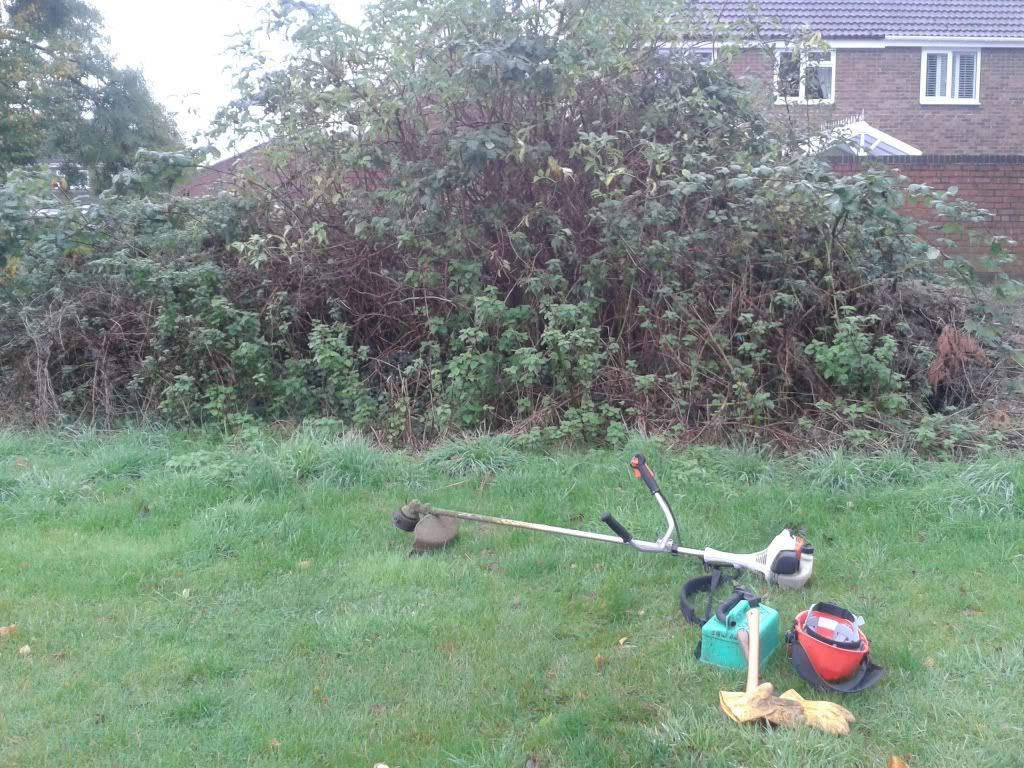
A couple of hrs in and using mostly hand tools (I couldn't find the brush cutter head for the strimmer) and progress was being made
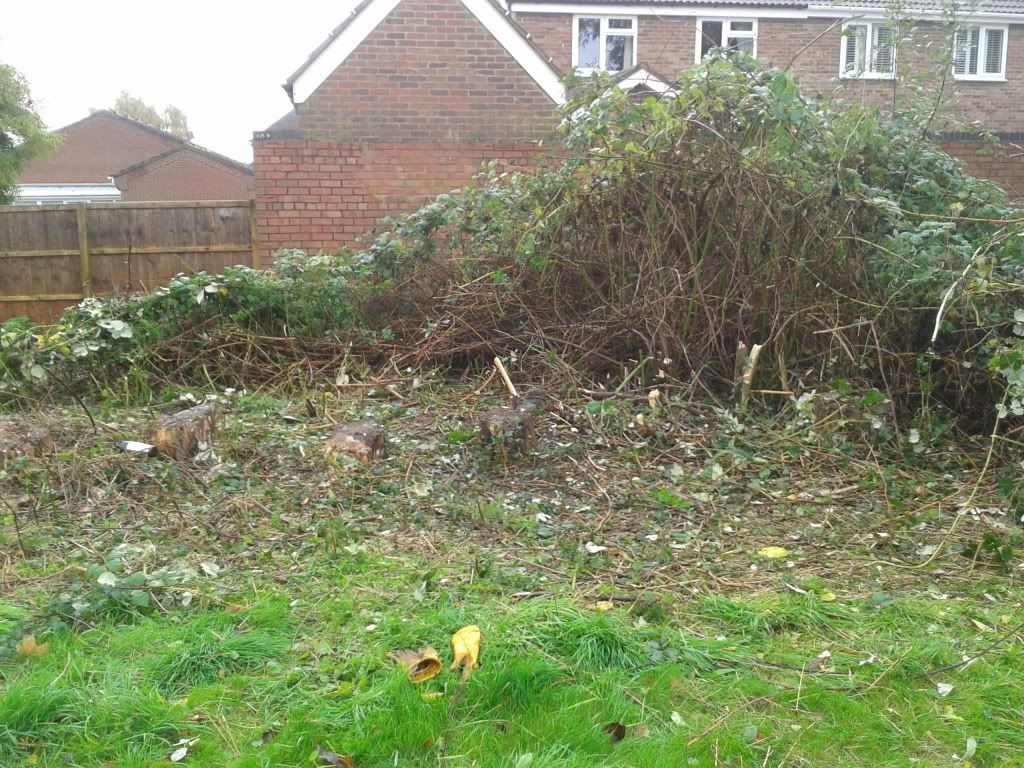
But the bramble and elder steam was very thick!
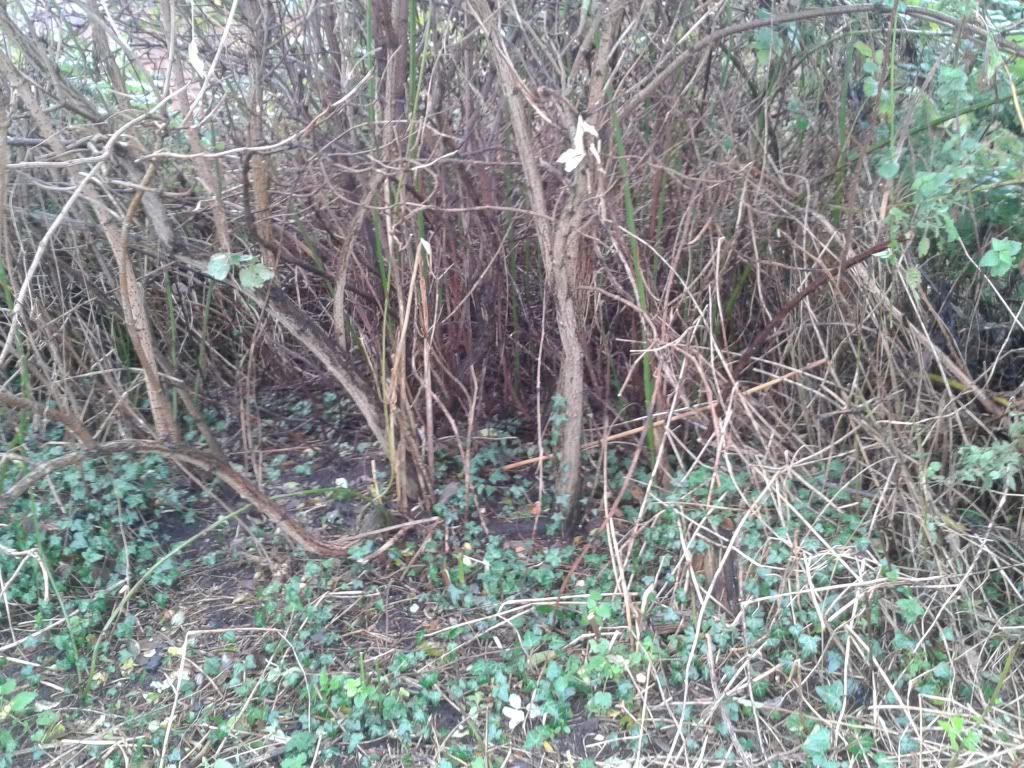
By the end of the day most of the bramble was gone and a compost heap made
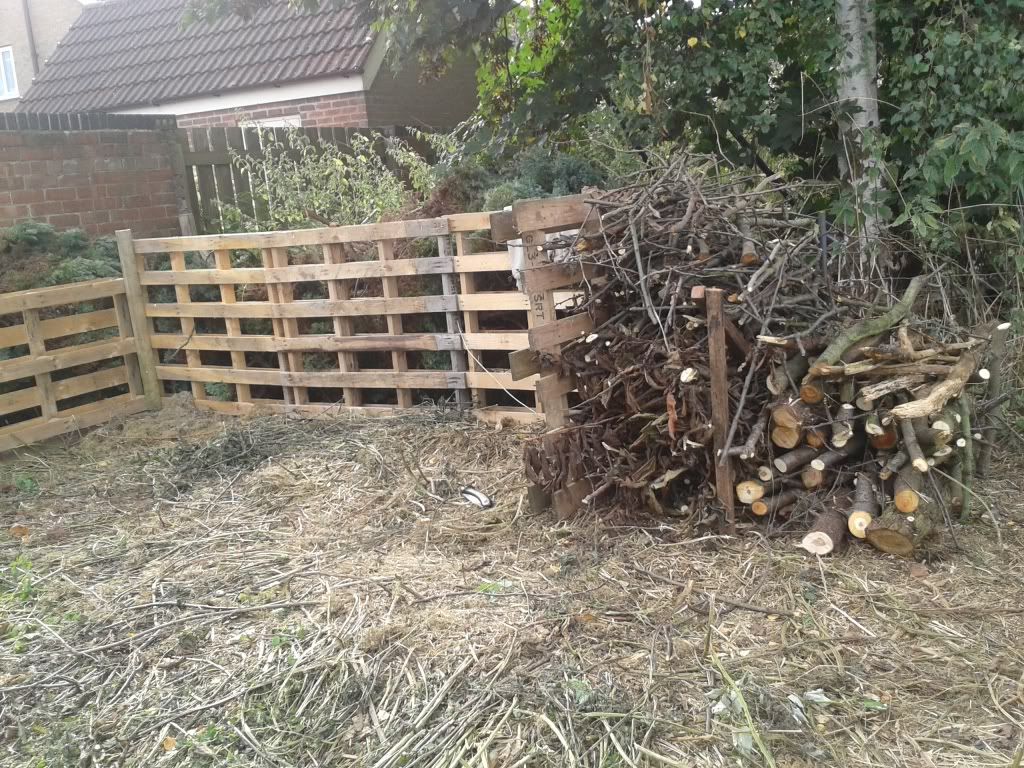
Another 1/2 day and the area will be properly cleared.
What about the cabin/mancave I hear you cry
Well here it is so far
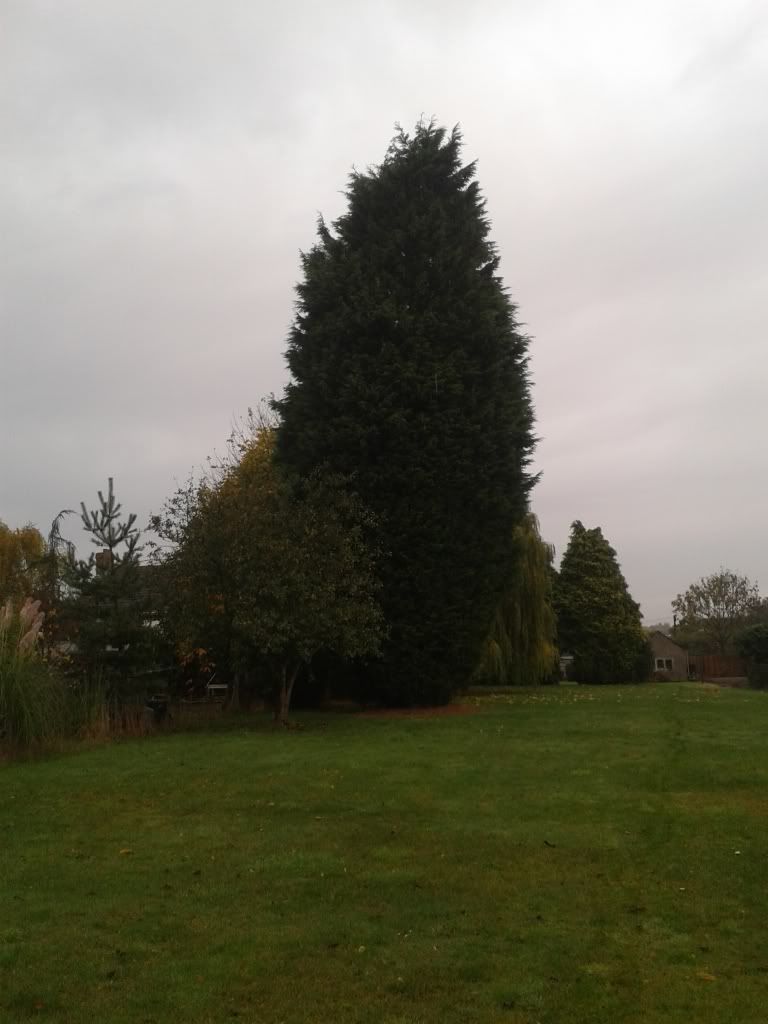
Not ideal timber but the large one in the picutre is 50' and twin trunk with 4# 20' - 30' in the background. I think I should get a front and maybe a side out of this wood. The rest will be salvaged materials...
Quick update as someone asked to see the tools I will be using etc..
Took the oportunity of a quiet 1/2 hr to service my rough saw as you can see it was "in need"
New air filter, plug, checked over the brake/clutch assembly etc, new anti vibration springs and a good clean.
Before
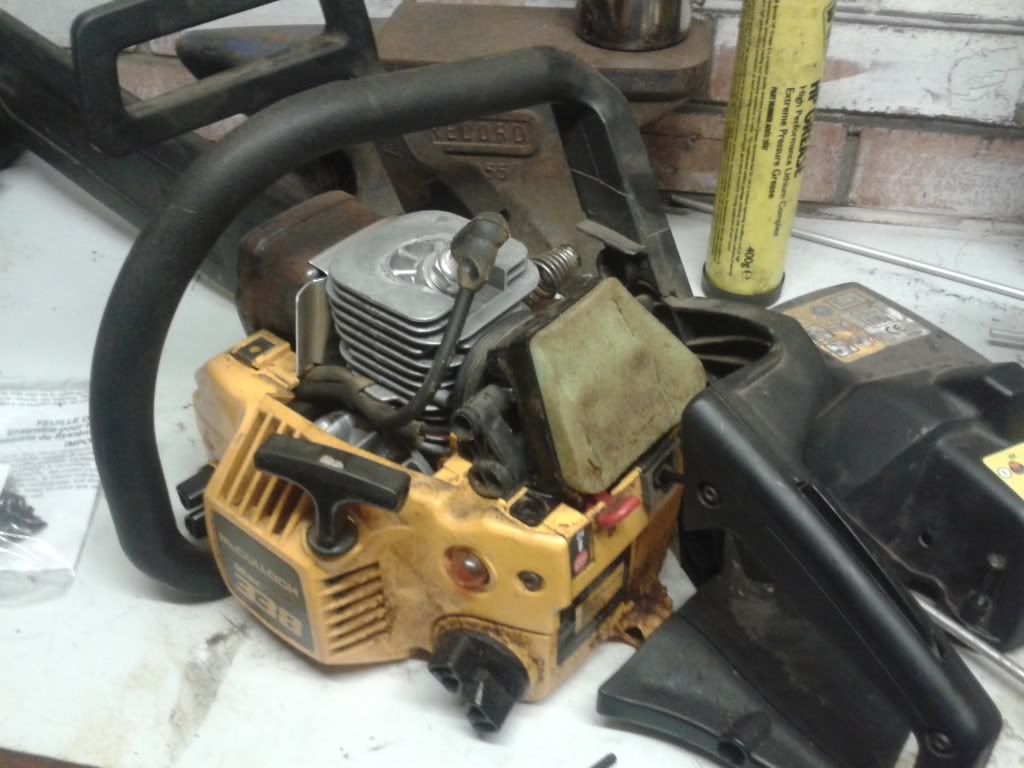
After
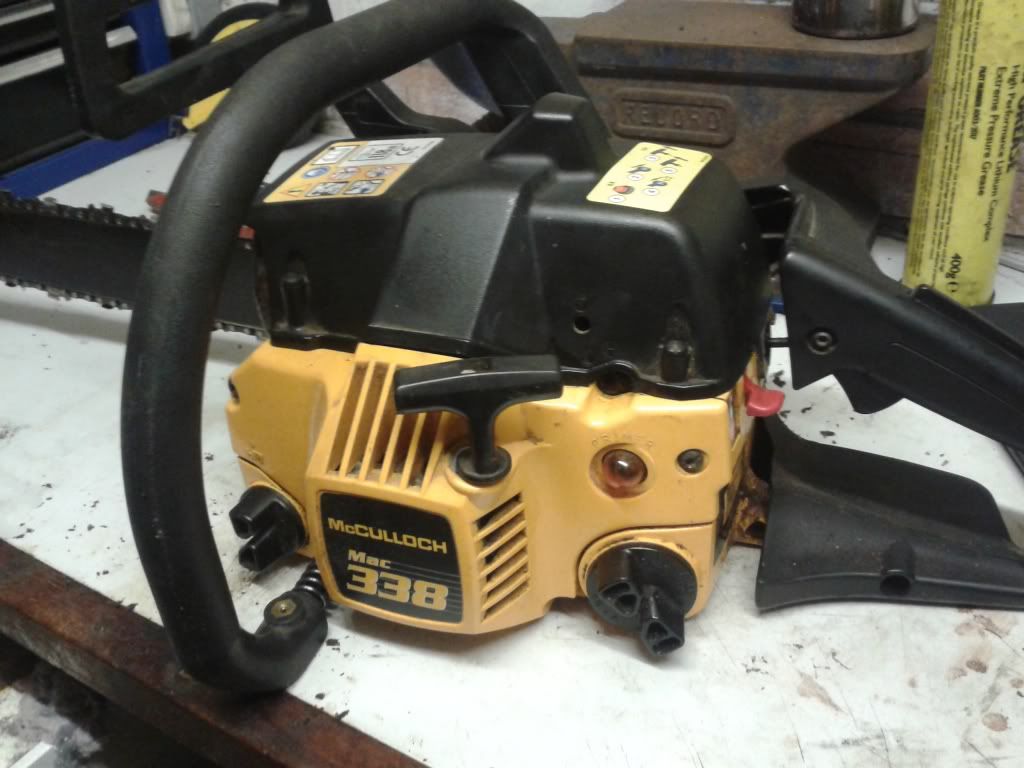
Tomorrow I will run her dry and she will be good for winter..
19/12/2013
Have had a read through some planning info today. And it turns out, that if my build is more then 2m from the boundaries then I can go to 4m in height.
Well it will be well over 2m from the boundaries. I think a pitched roof is in order.
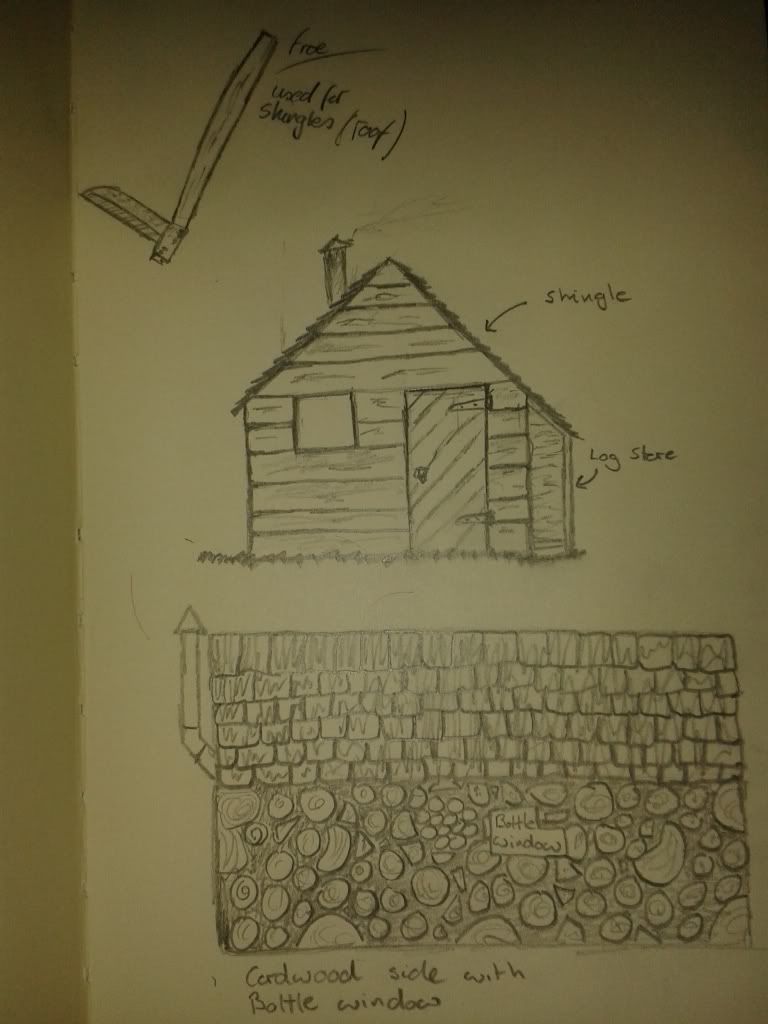
And a pitched roof means "shingles" and shingles means.... I need to make me a Froe
I suppose the new design will be more like this
23/12/13
Been out to the shed for a bit as I new I had a load of old tools sat waiting for some love. These belonged to my grandfather and probably his father before. I intend to use as many traditional tool for this build as possible so set too with some scotchbright pads and sharpening stones and ended up with these..
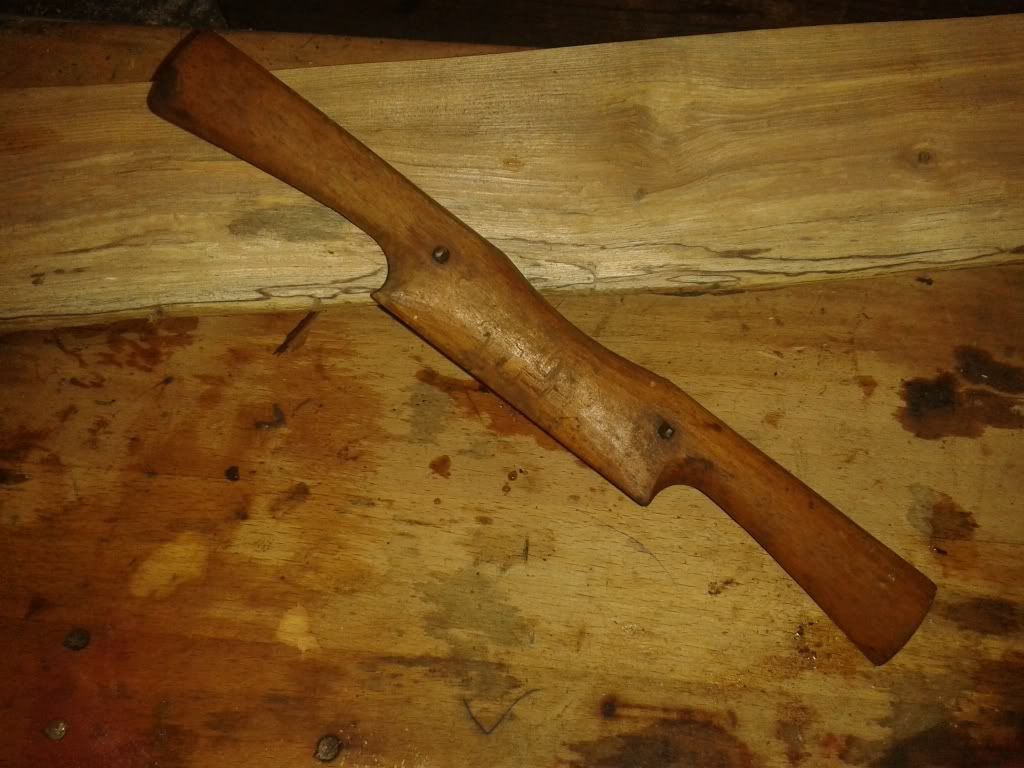
Spoke shave for the finer details
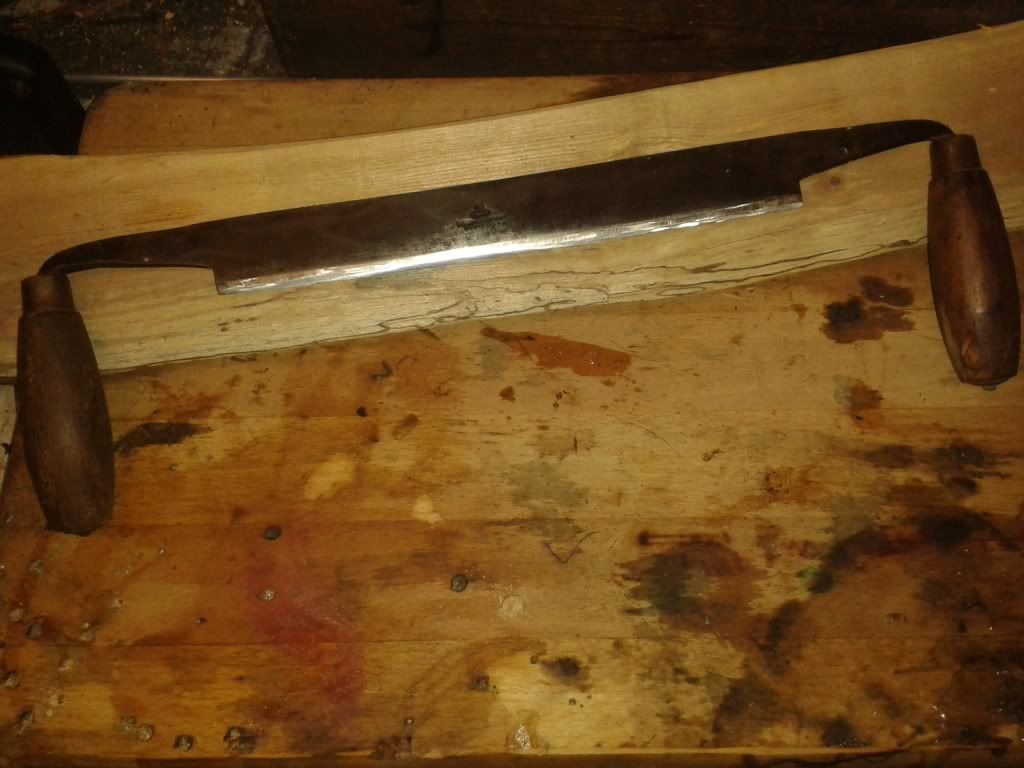
Draw knife..... because I guess those logs aint gonna peel thselves.
And a hand drill (I am sure this has a different name but can recall)
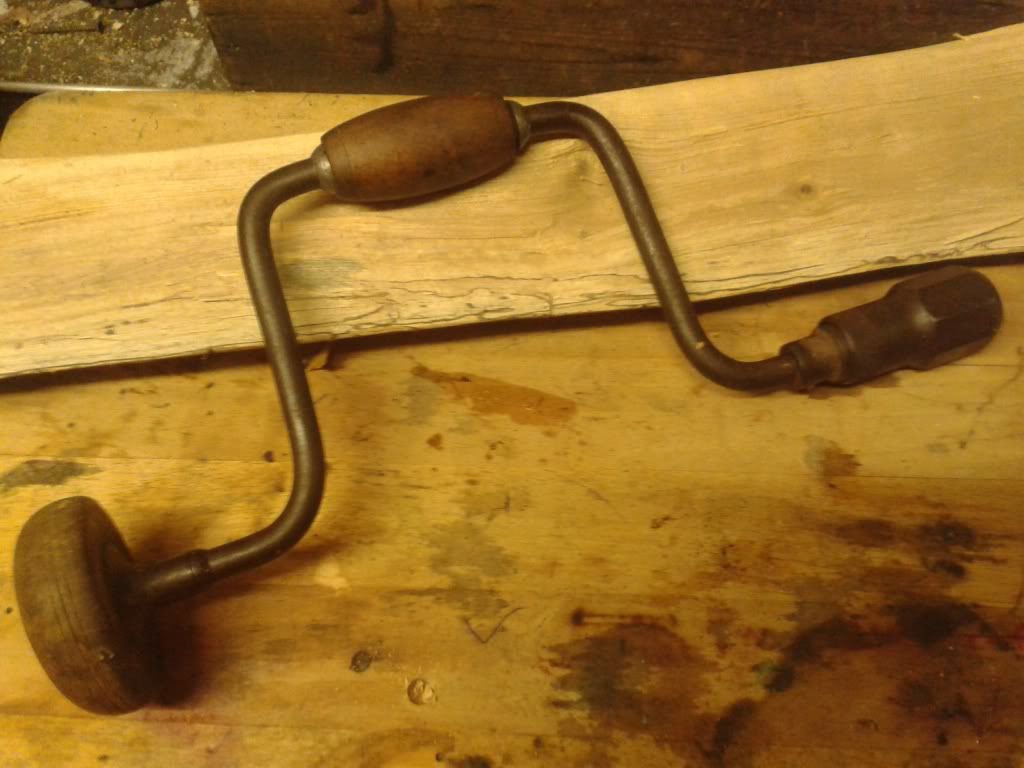
All are now razor sharp and fully functioning. As I get to use them in anger I will report how they work.
24/12/13
Just been up to the new property to check for any wind damage (Blew a hooley here last night) and had a root about in the garage.
And it turned this up.
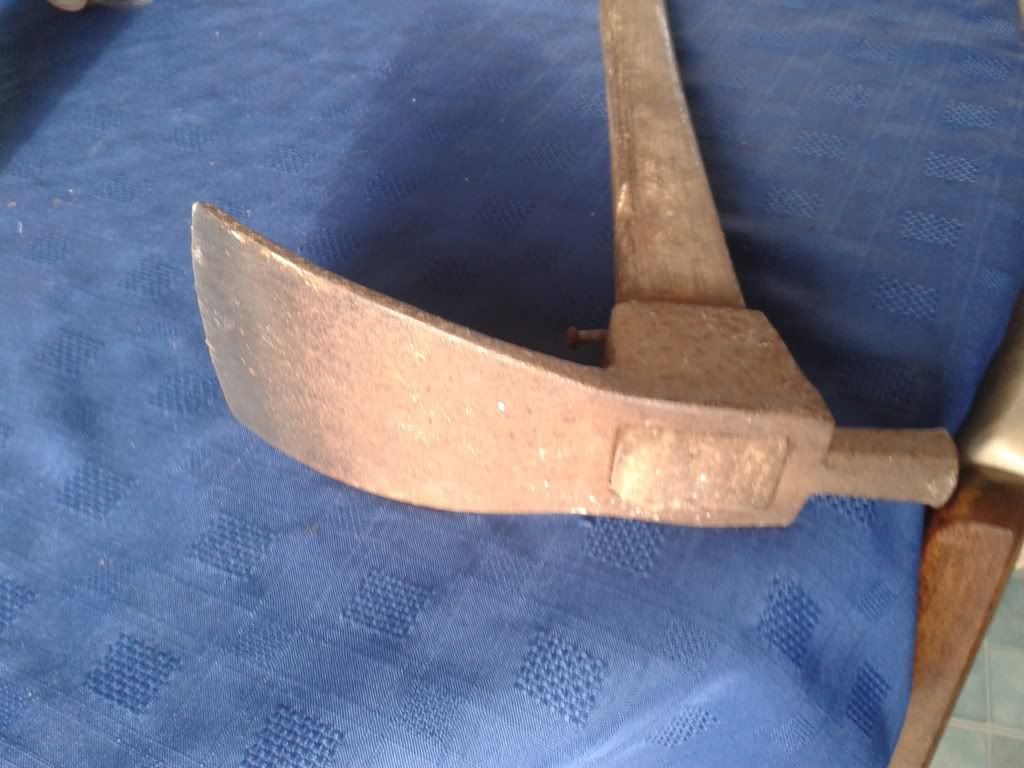
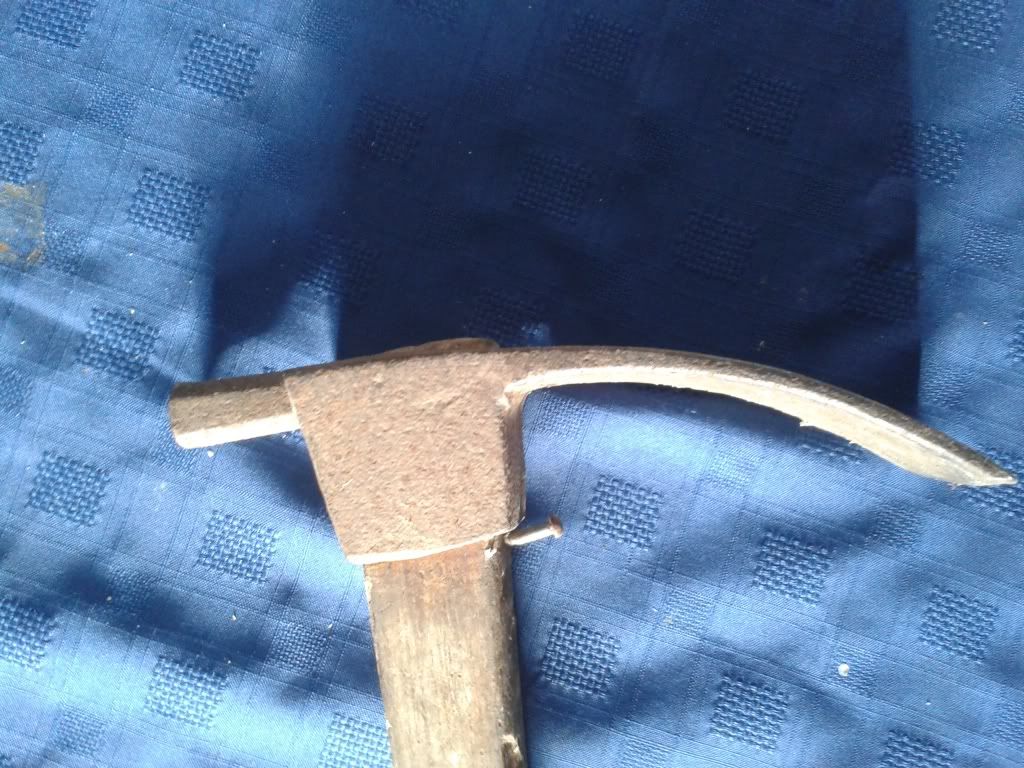
I know it is an Adze. But is it for digging or for shaping logs?
Well it turns out it may be a coopers adze which I will press to use shaping logs.
I have made a start on the restoration.
Step 1
Vice her up and give it a once over.
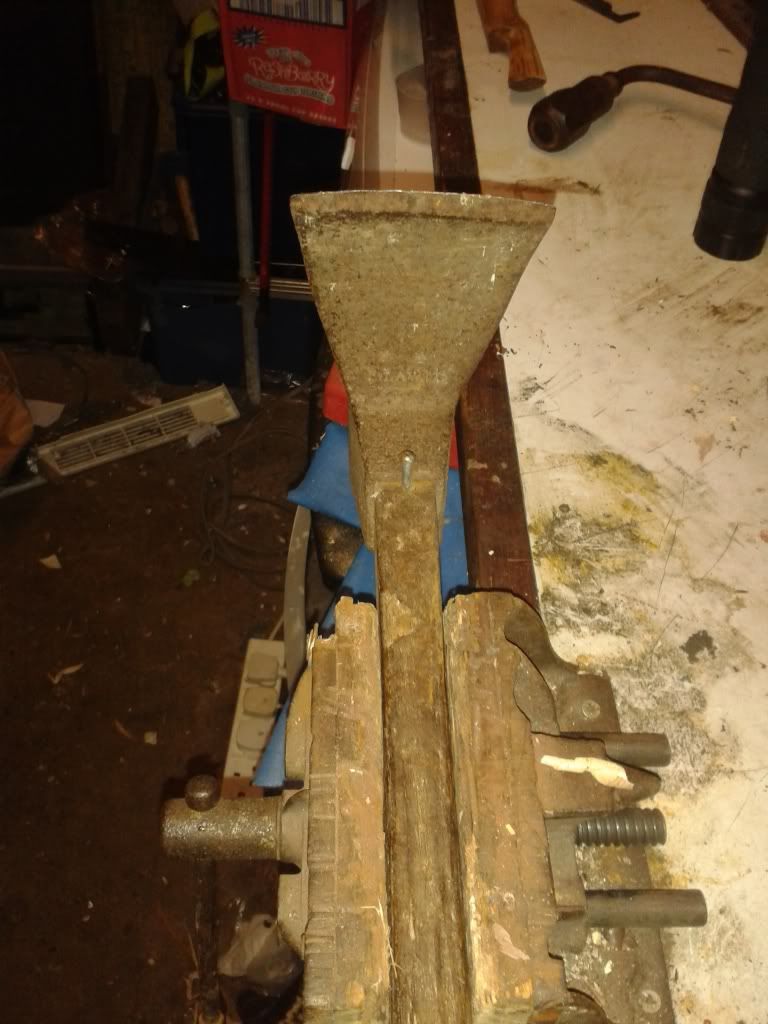
It has deffinatly been used in the last few years (for digging I guess as there is soil on the handle and blade) there is also a screw stopping the head sliding down the handle.
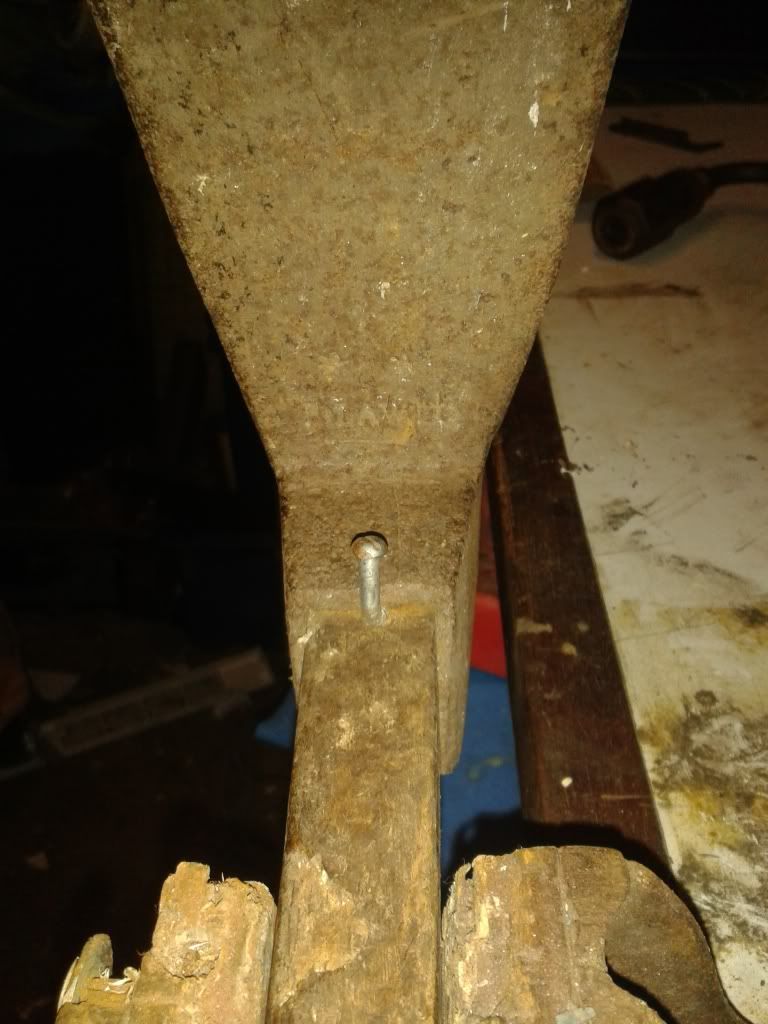
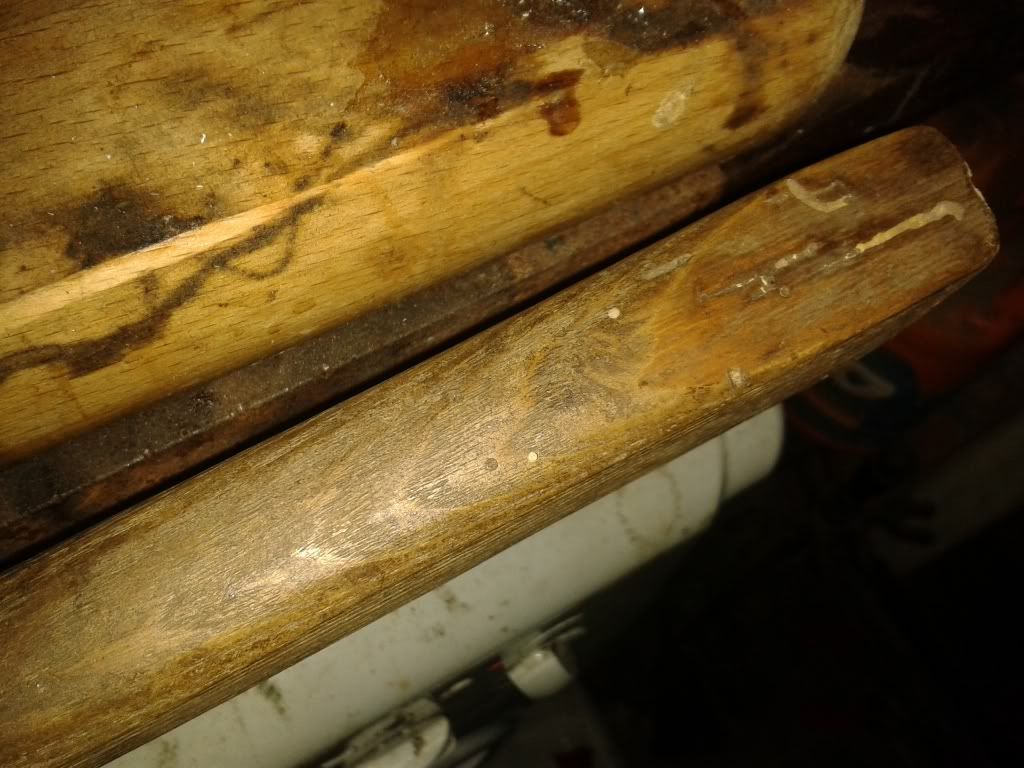
The handle has signs of woodworm and the knob has broken. So a new handle will be in order.
Step 2
Take the screw out to get the head off.
Well I used a driver and grips which promptly smapped the screw
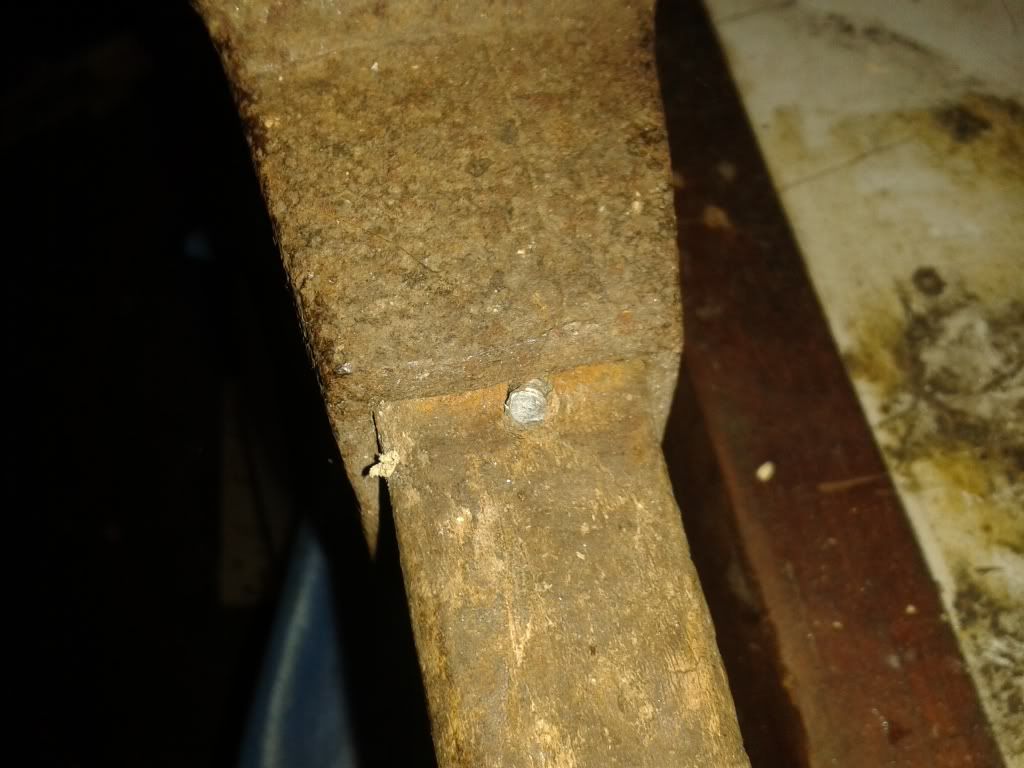
So with a punch to drive the screw in and gentle persuasion it started to move
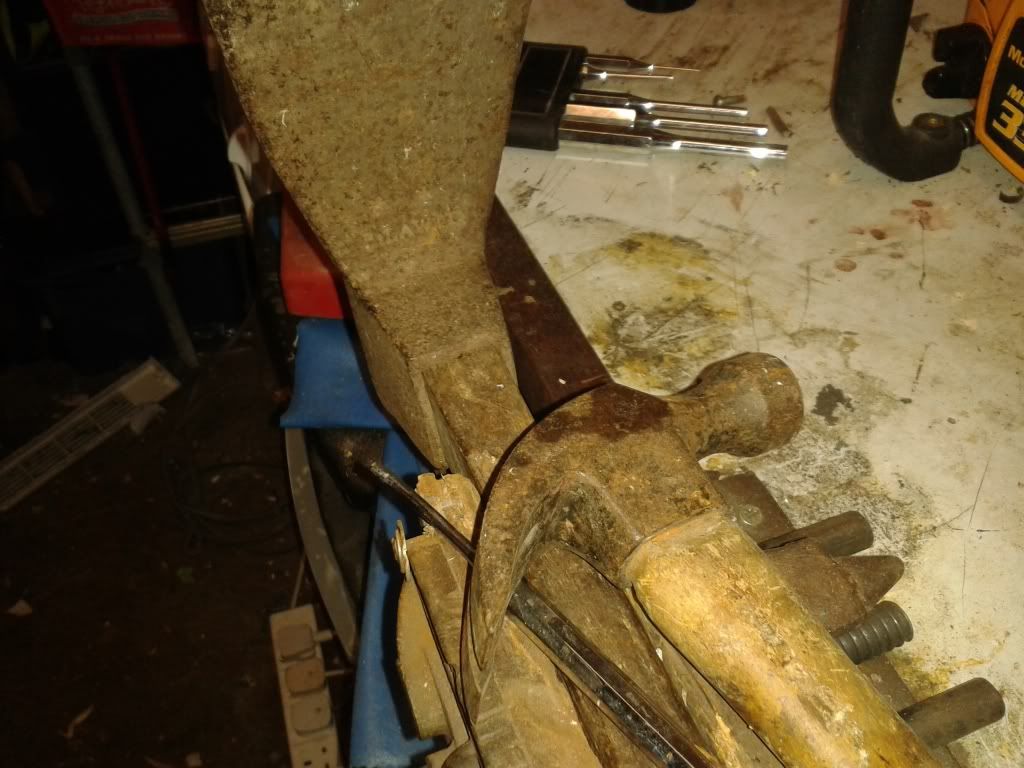
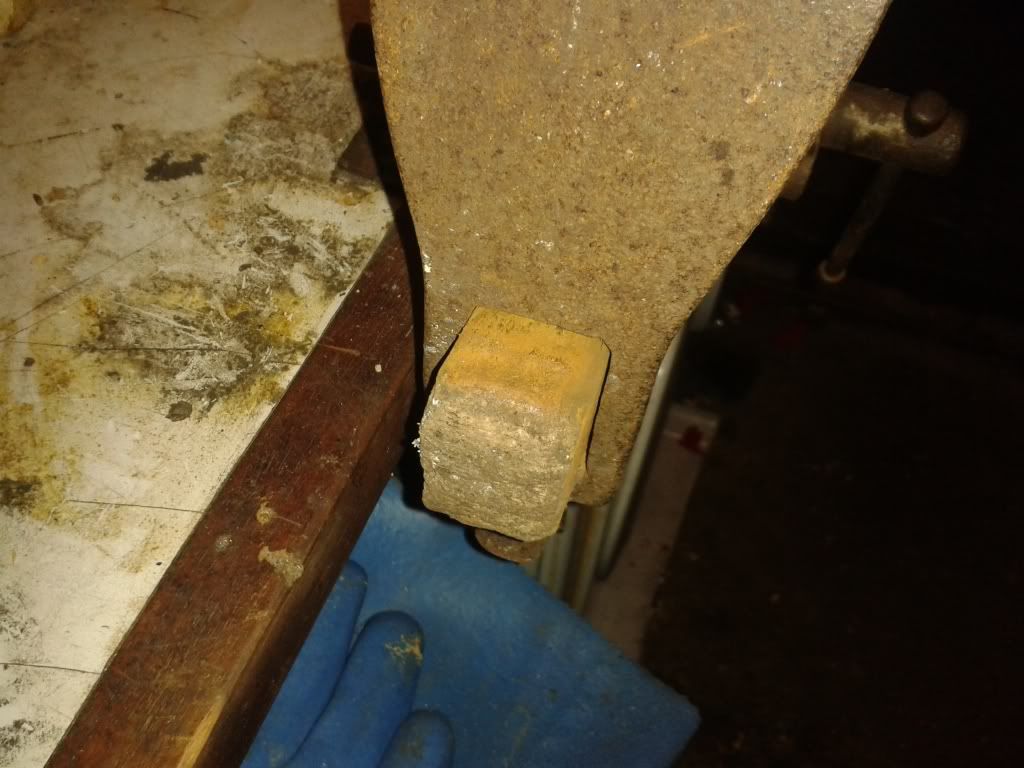
I set the handle aside to draw round as a template
Step 3
Vice up the head and set about it with some Scotchbright to get the excess rust off
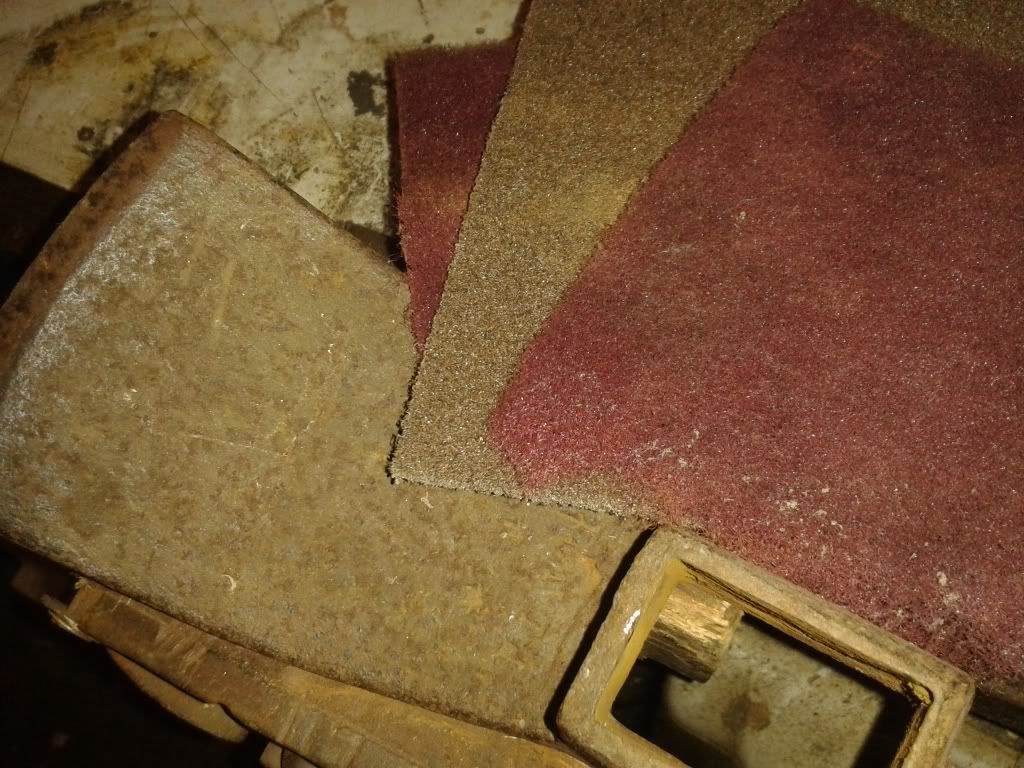
I am not looking to polish this. Just remove the surface bits so she looks presentable and check for damage.
The edge is in a bad way
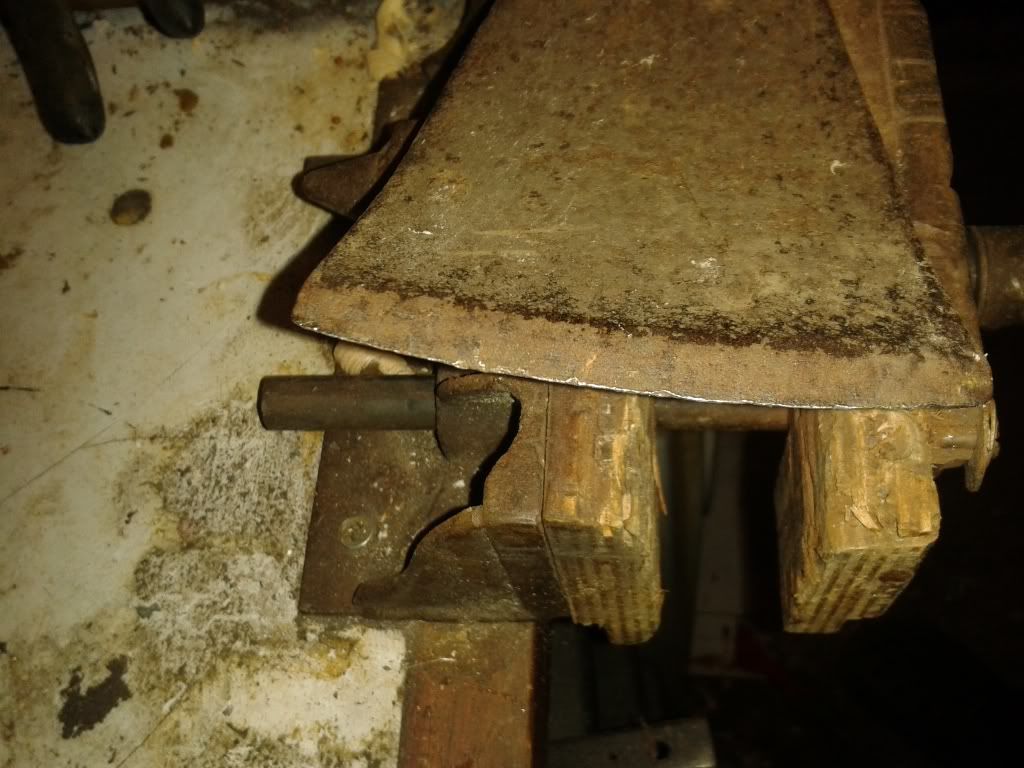
Once the worst is of the soil and rust had gone I gave it a wipe down to reveal this
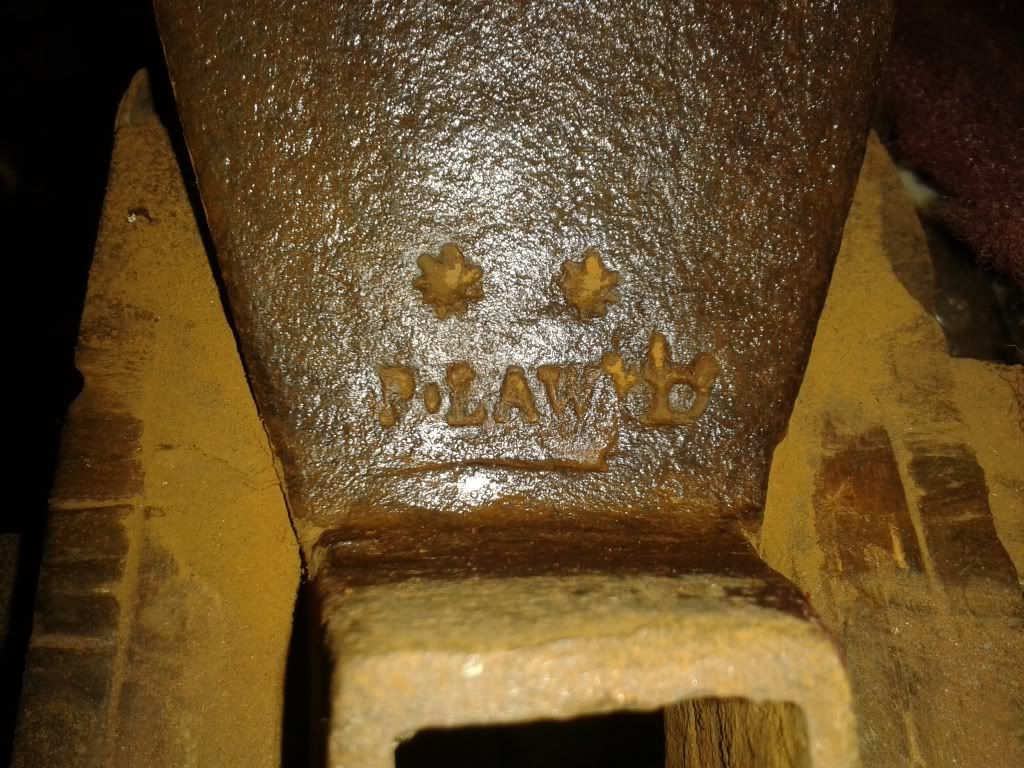
Looks like P. LAW (followed by a crown)
This is how she will stay until after the festive season.
31/12/13
Had a chance to work on a few tools today whilst the kids where watching TV.
I managed to re-edge the Adze (Step 4) for this I used a slow linisher and plenty of water to keep her cool.
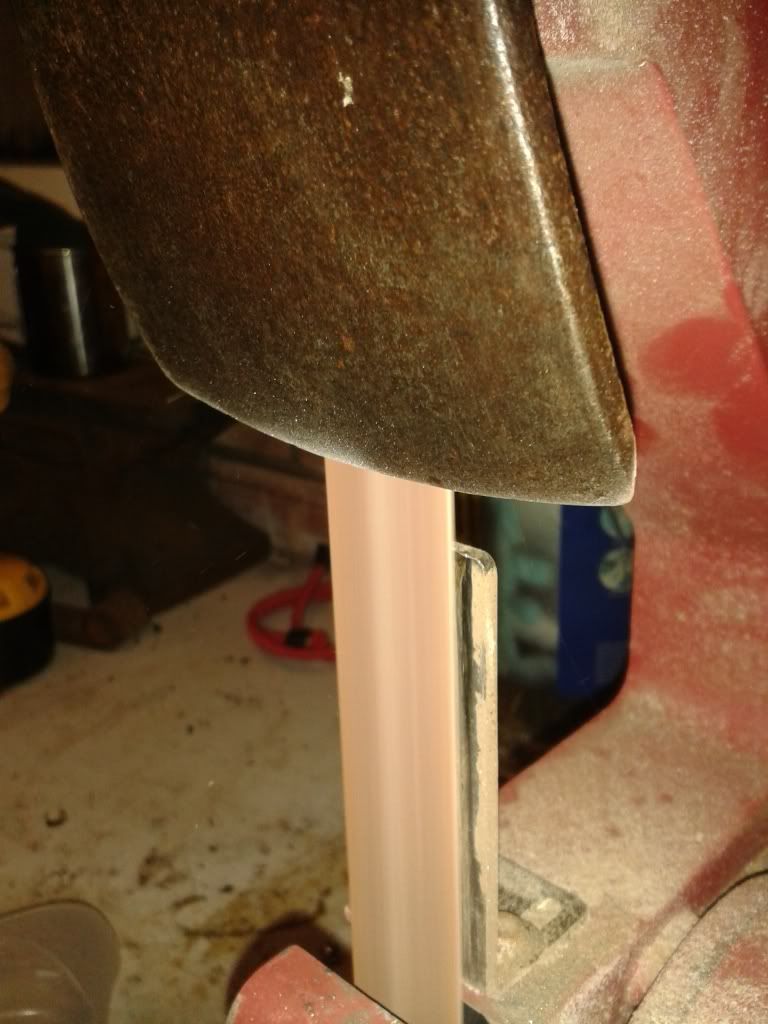
Slowly slowy keeping the original angle I got this.
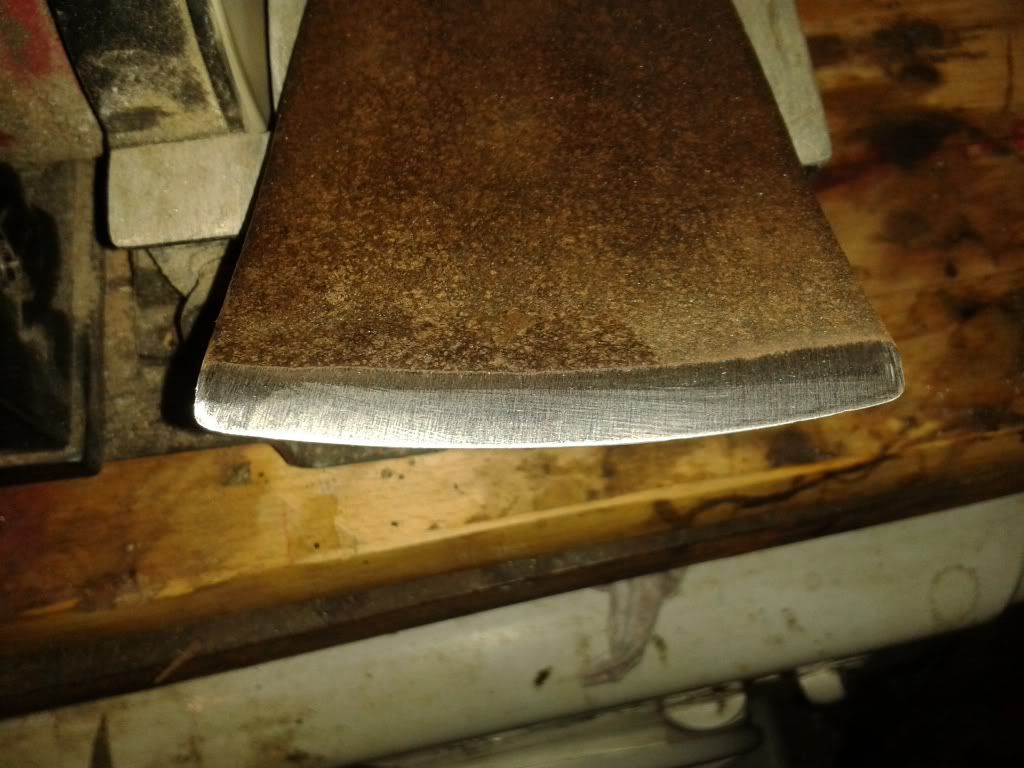
It needs a polish with the oil stones and a strop but it is already good and sharp.
I also rescued an old "dibber" from the shed. I guess my great grandad made it. Looked like this.
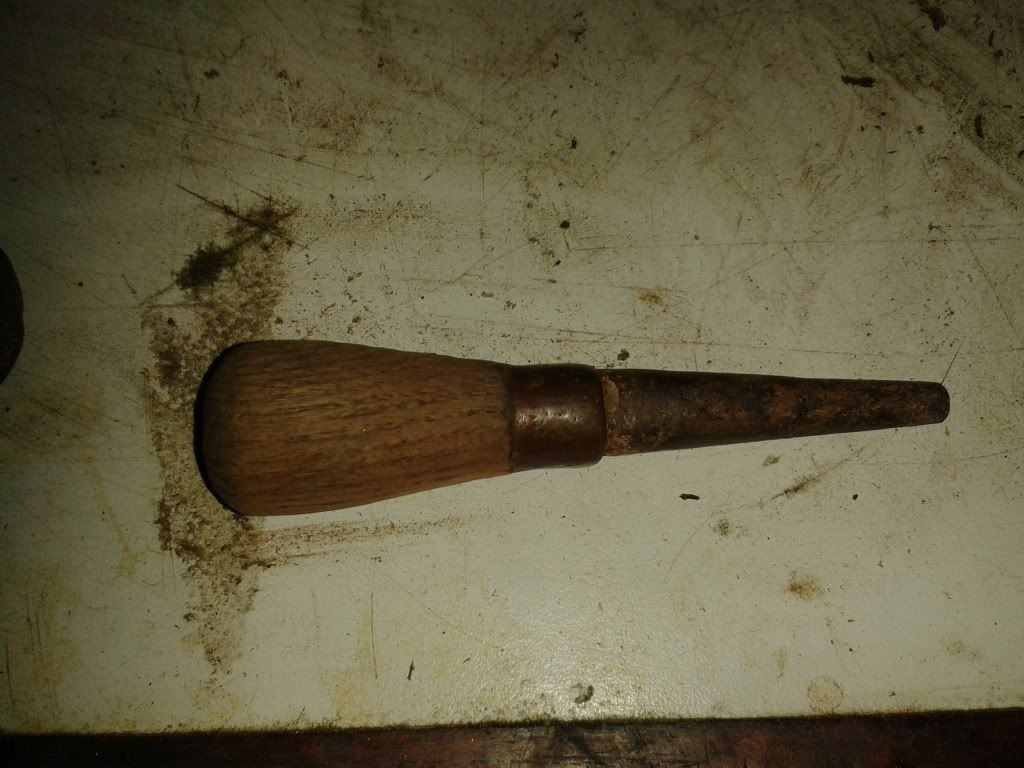
After some slow shaping on the linisher and a good sand, oil and work on the collar I had this.
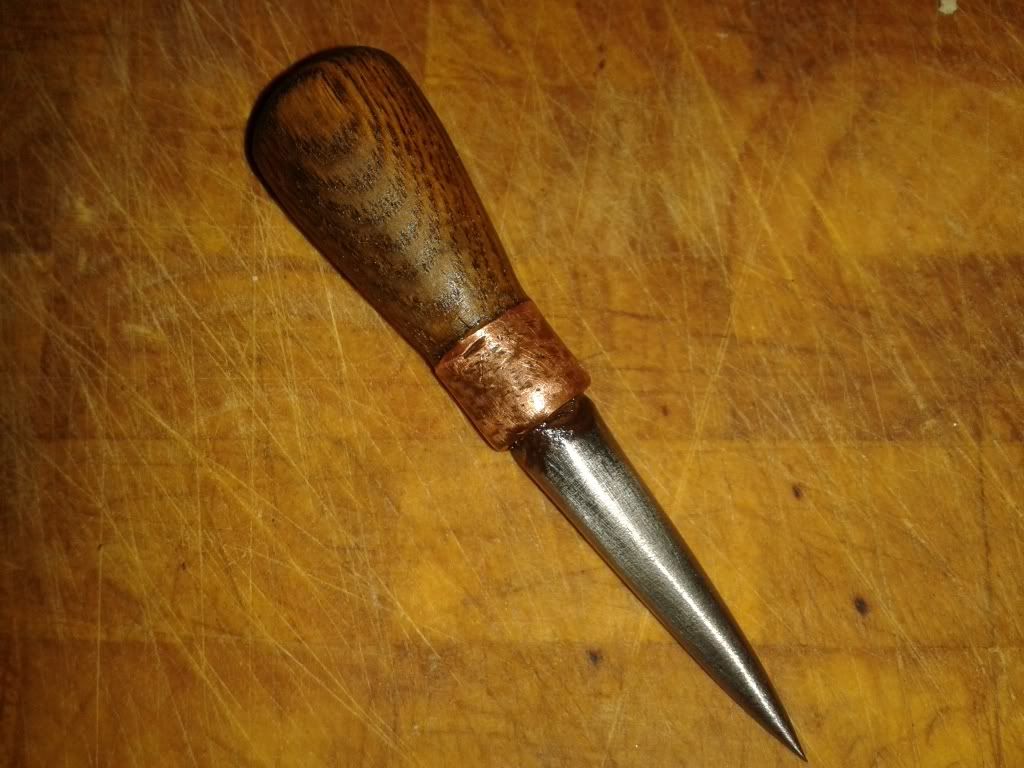
It is a very robust awl. Which I can also use for marking and center punching.
Any way Happy New Year and a new year the way you want it to be...
27/05/14
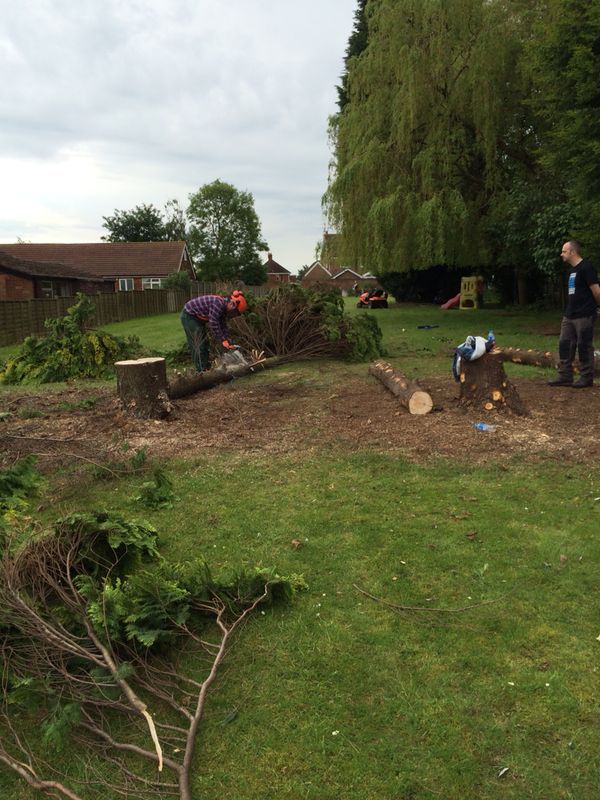
Finally got to do some heavy work on the grounds. I had 2# 25' trees to remove (and keep the logs for the cabin) it was a hot old job but got them cleared in a couple of days
Lower limbs off the first tree to size the job up.
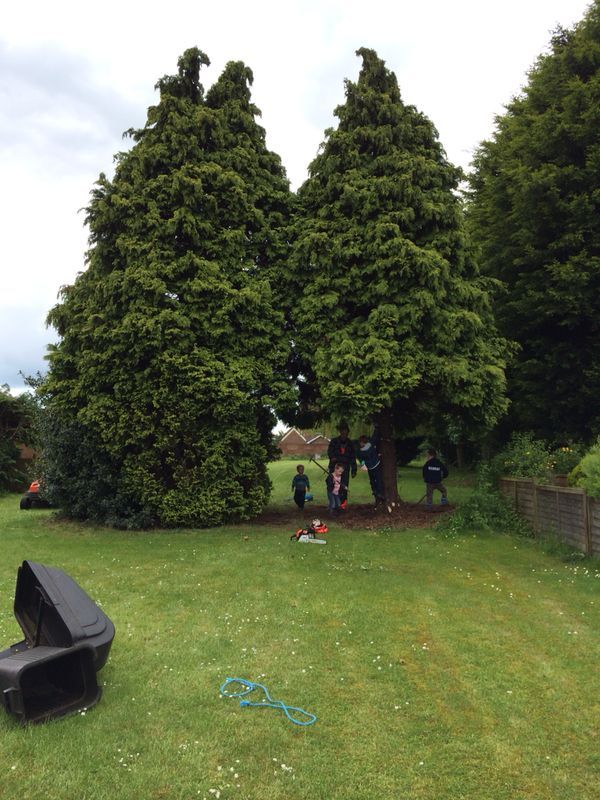
First one down. And time to pose for the pictures
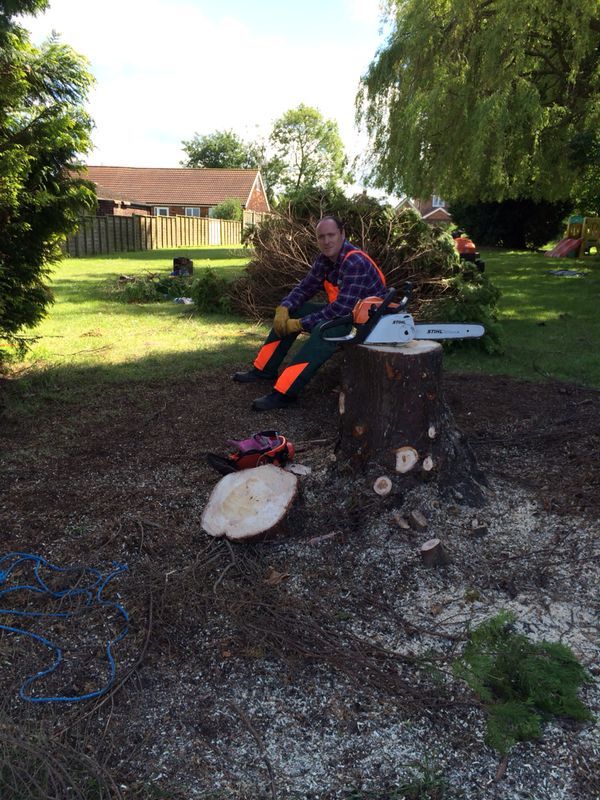
Second tree with limbs off and cutting out a tricky branch
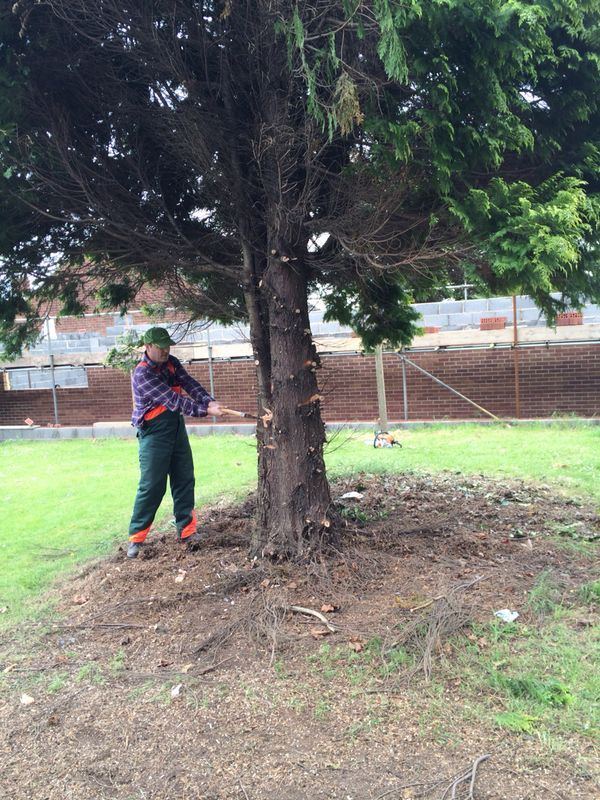
Action shot of one of the twin trunks comming down
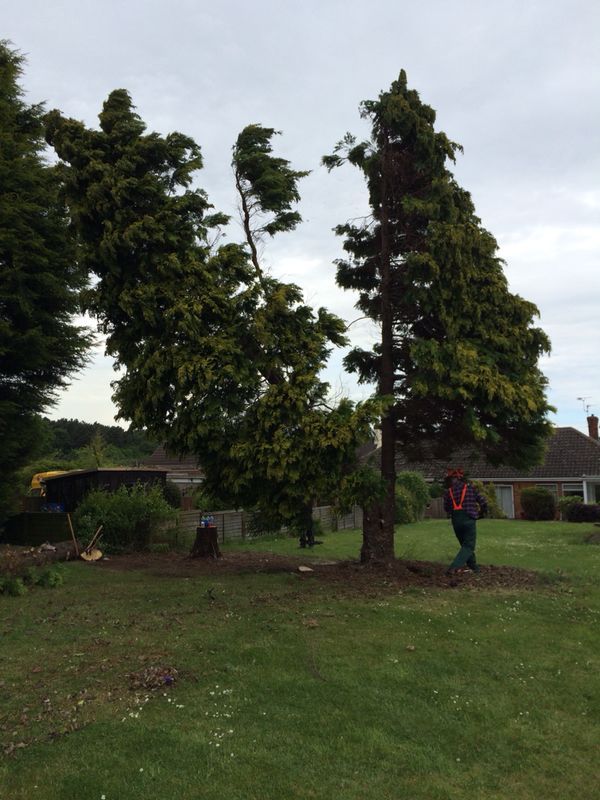
Limbing in progress
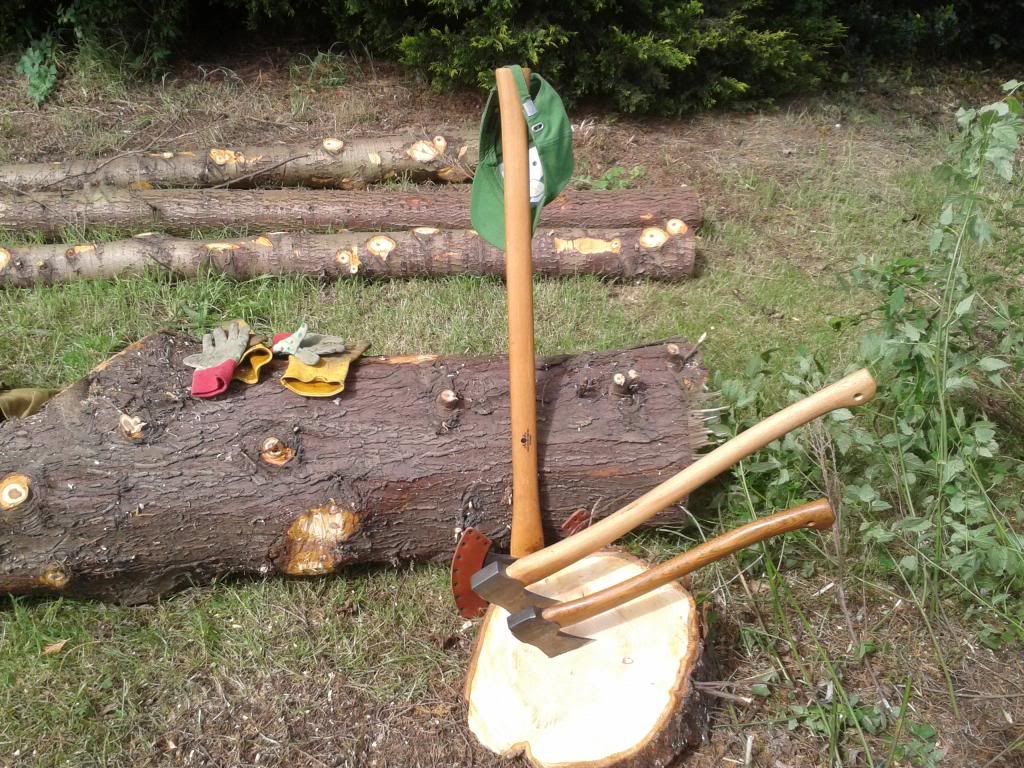
Some off the tools used
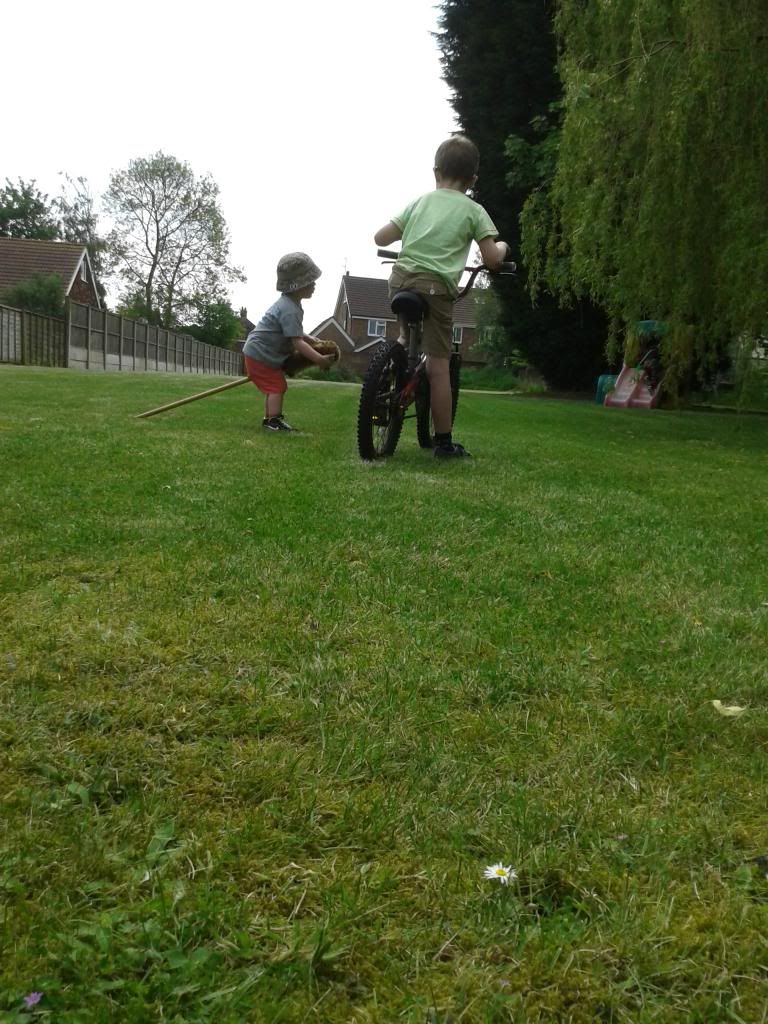
A couple of helpers (after the sharps had gone away)
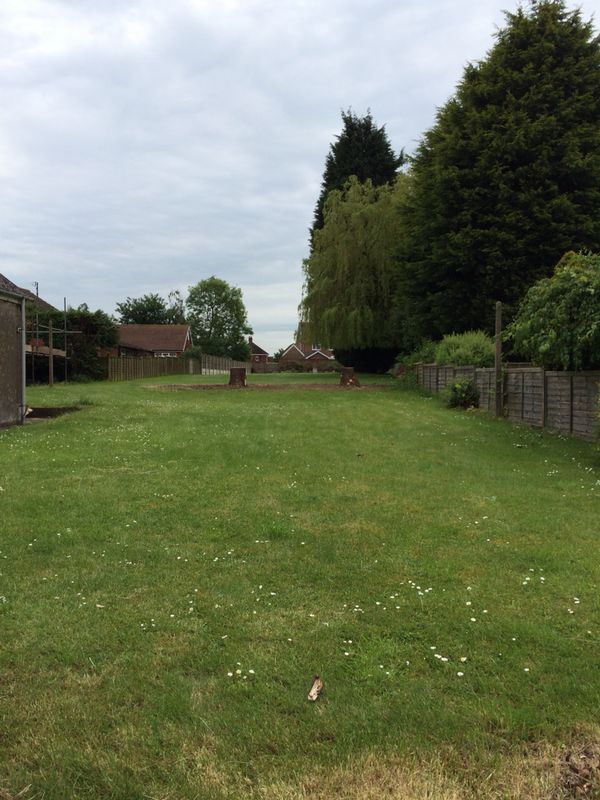
And how it looks now
09/06/14
Had a bit of a play over the weekened. Between the thunder storms...
During the clearing of the top end of the garden several frogs, toads and counless species of insect where found... so the Kids (me) thought it would be a good idea to build a wildlife garden...
There is a small depression in the grass that used to be a compost heap this looked ideal so we set to and marked out a small tear drop shape with the hollow in the center.
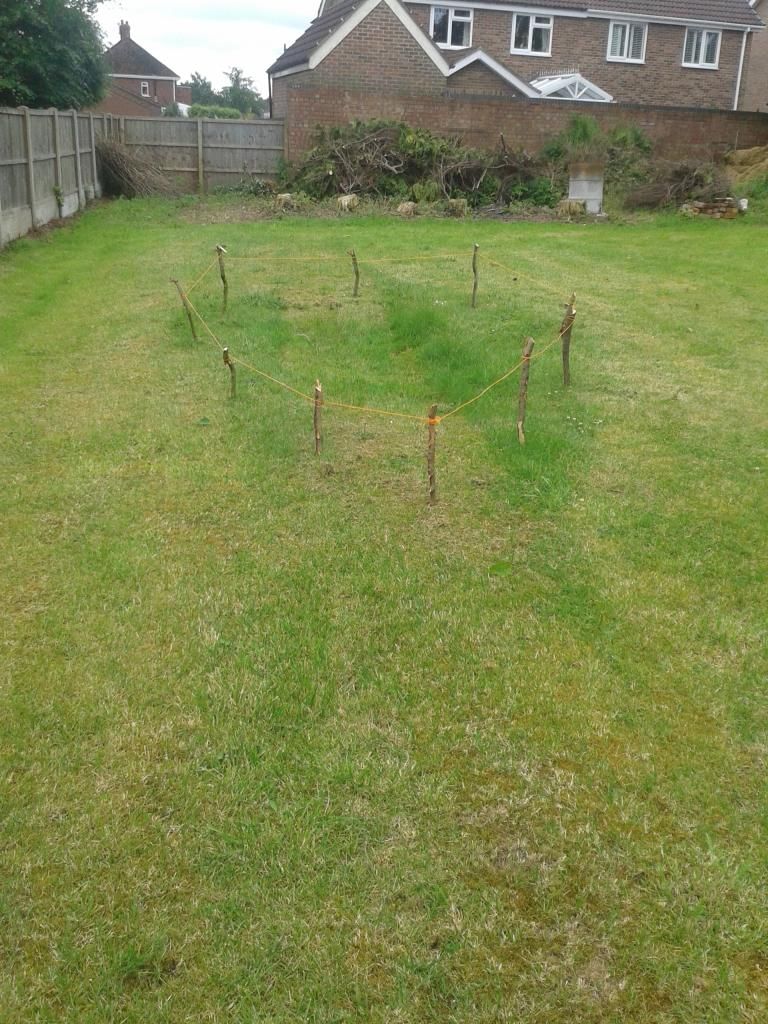
Because there are kids running around I didnt want a huge pond but a small area of open water is essential. We opted for sinking a small storage box into the hollow of the dip (I used my newley restored spear and Jackson shovel that belonged to my Grandad)
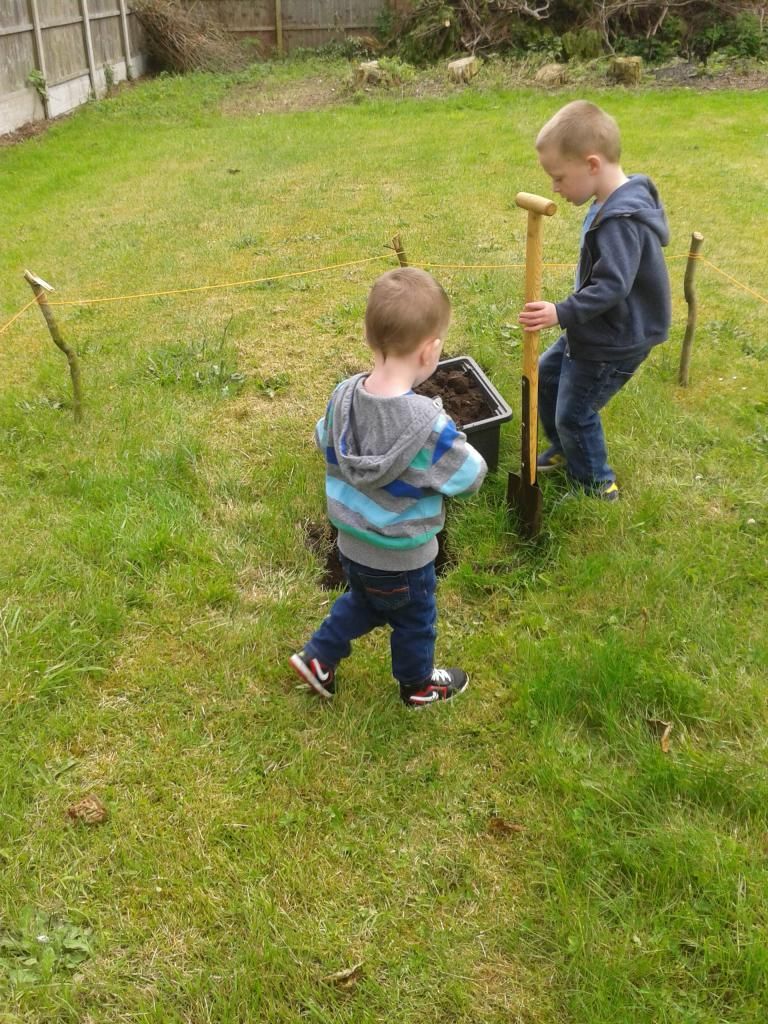
Once the storage box was in and level. We added some rocks and bits of wood as "hidy holes and "stepping stones" all found on the property.
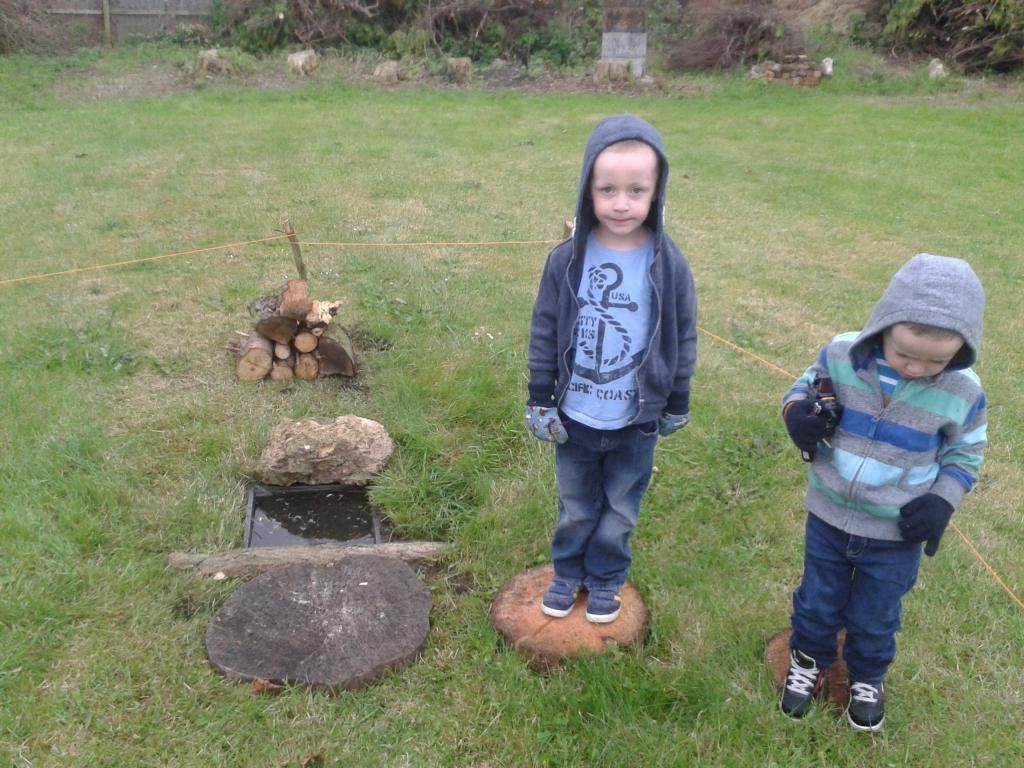
We then added a few more rocks and logs
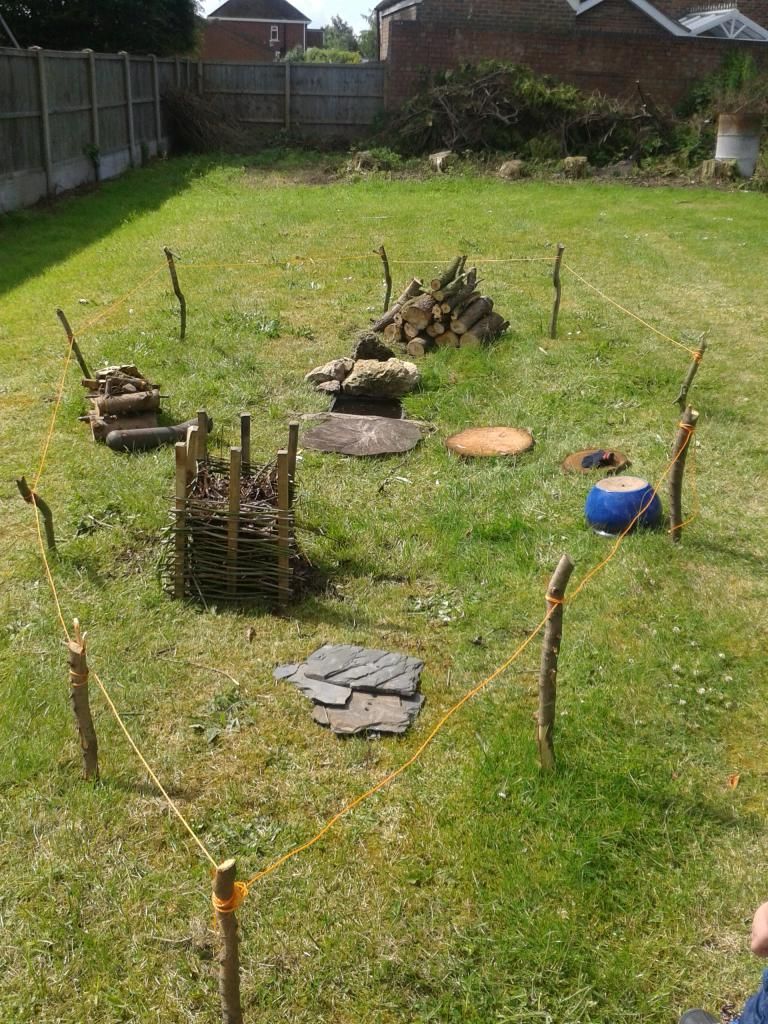
The kids wove a small compost area and filled it with leaves...
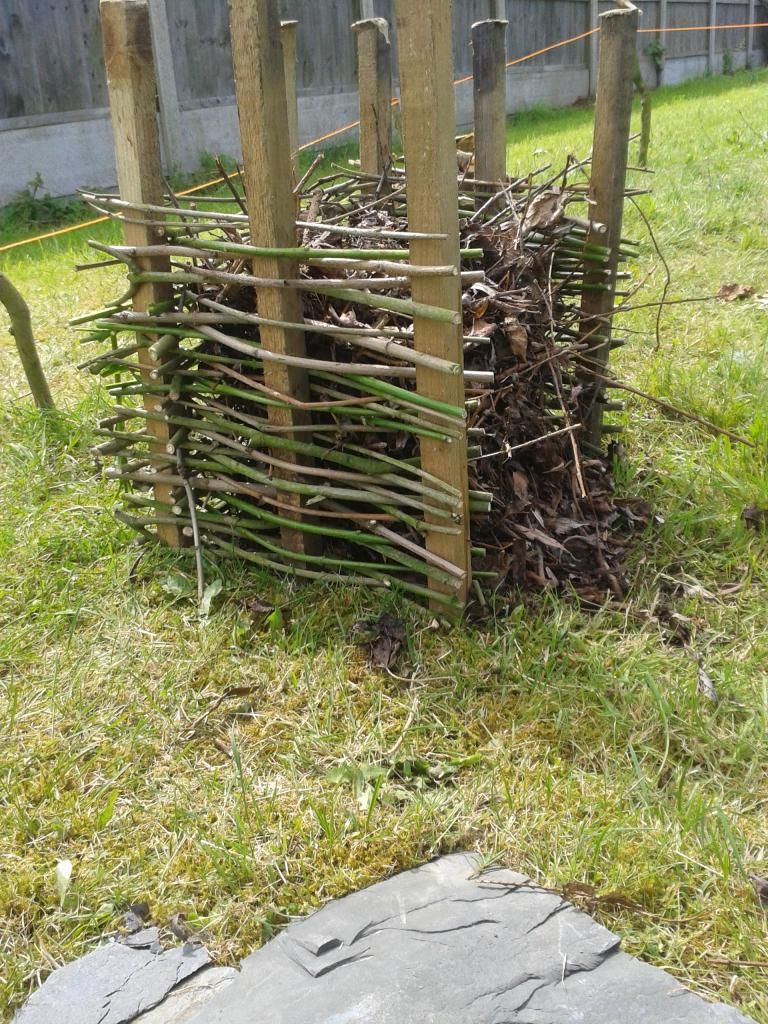
All that is needed now is for the grass to grow and me to introduce some (purchased) native species
04/11/14
Finally got moved into the property (it took a year!!)
Been flat out with unpacking boxes... etc etc... more pictures to follow if there is interest.
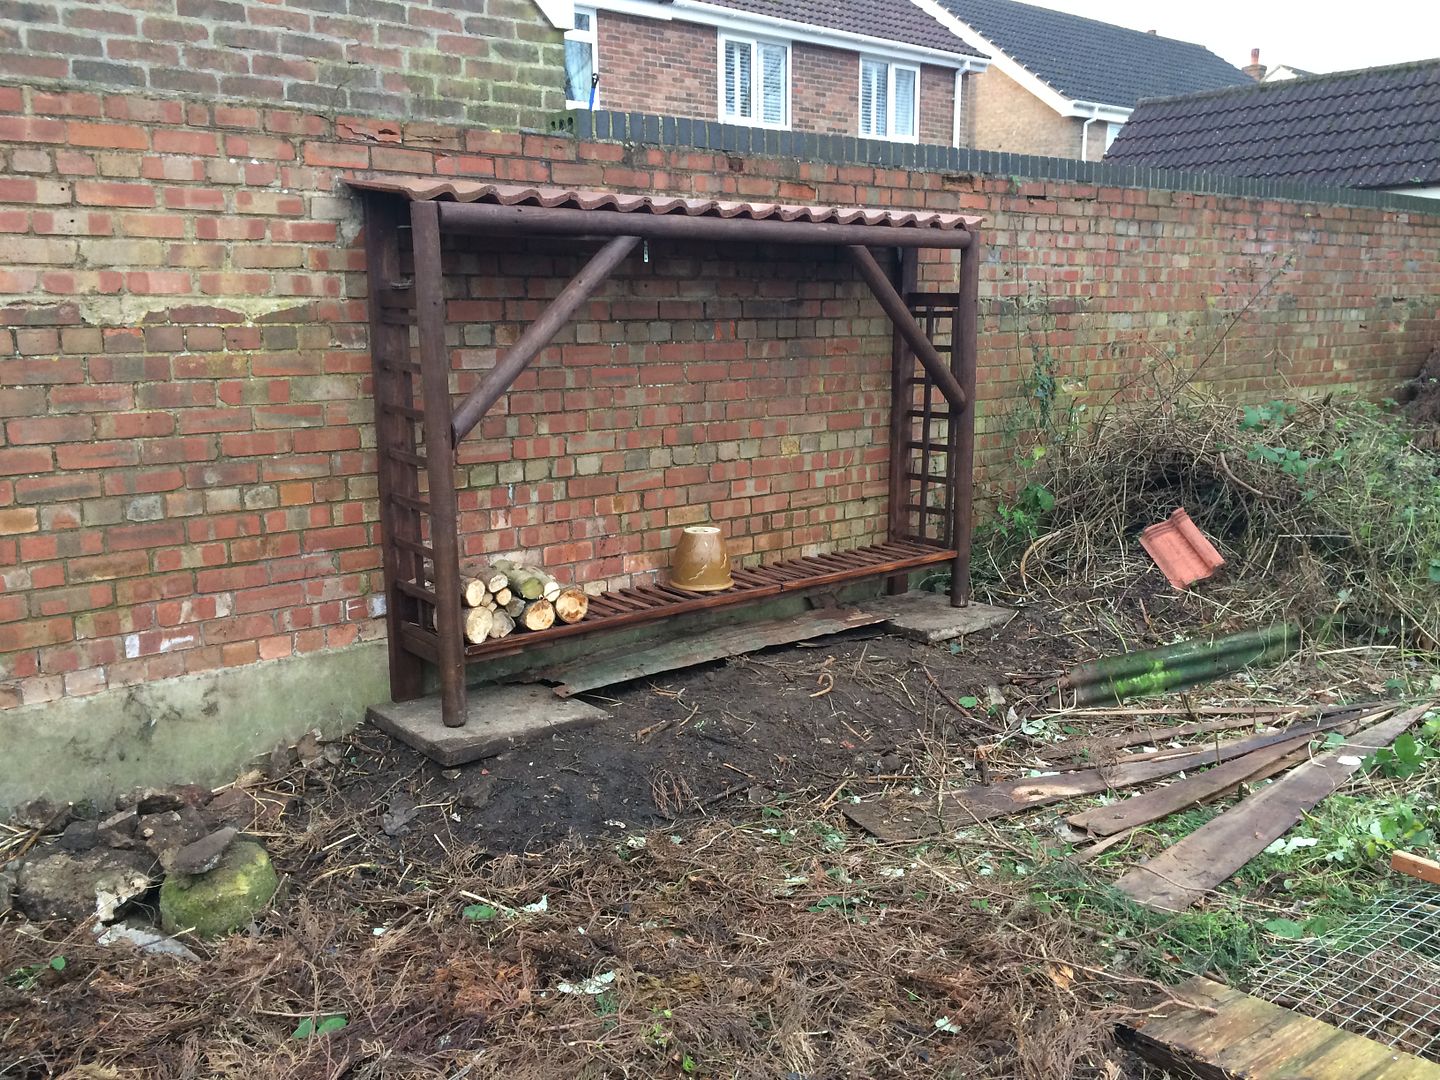
Got a few jobs done. Cleared the remaining bits and bobs from the bramble patch and made a log store
3/1/15
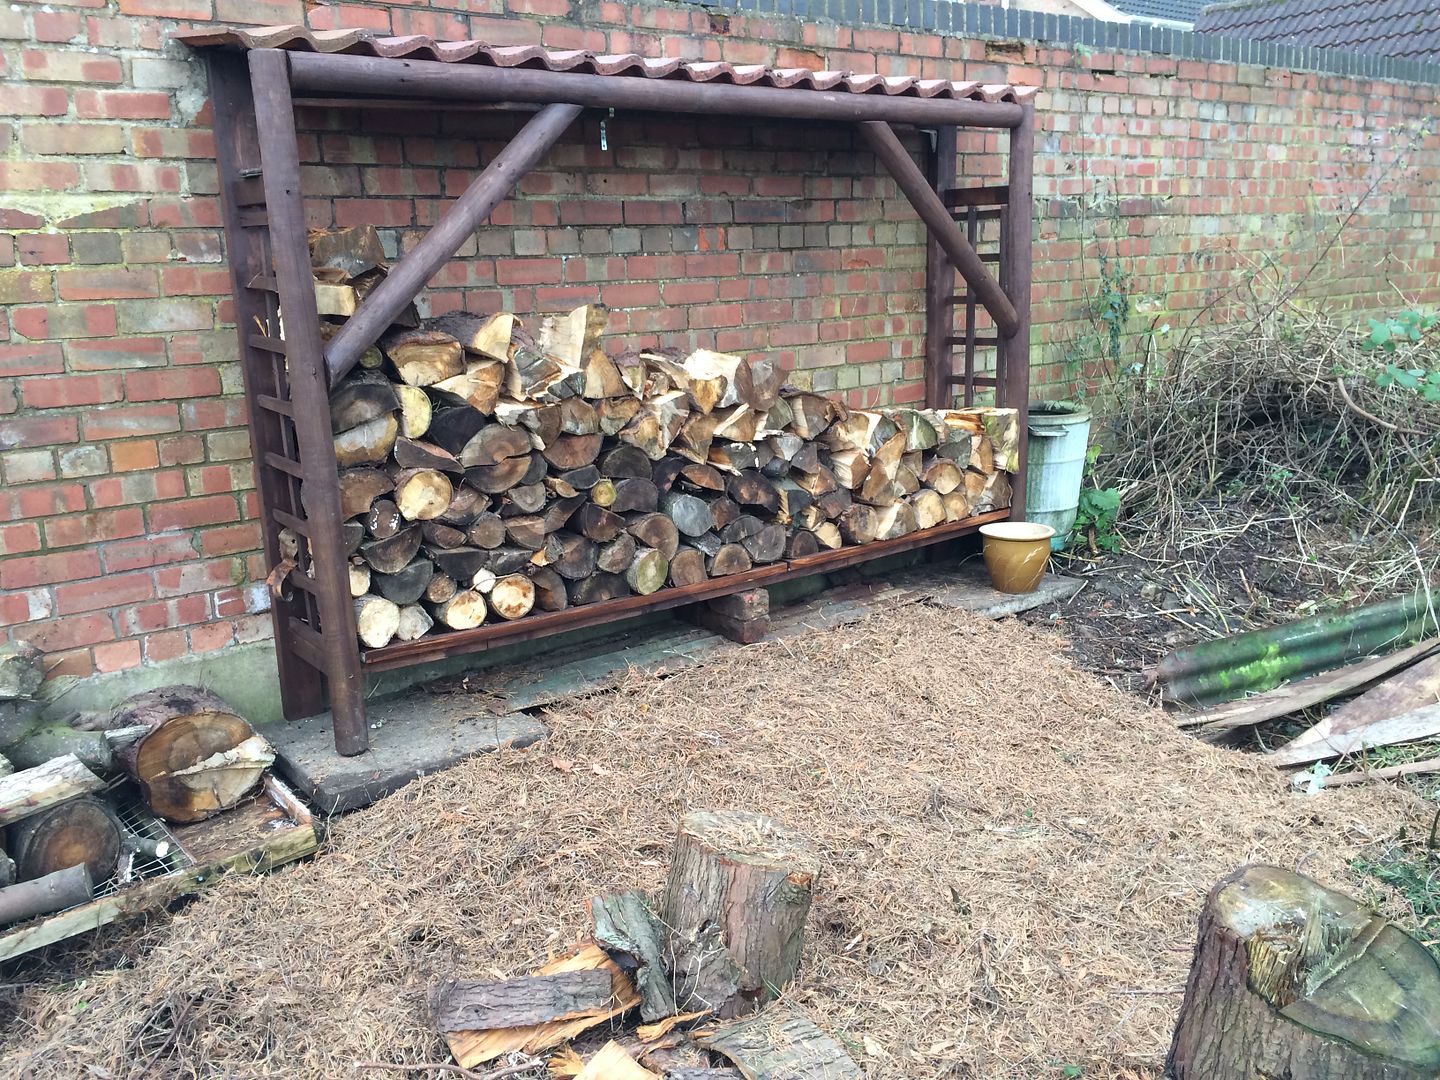
Got a bit of splitting done too and some ground cover mulch on so looks a little healthier
Anyway I have made a start and propose a bit of blog on this thread.. feel free to post as many comments/thoughts/opinions as you like.
Here are my basic plans, it is only small but big enough for a getaway!

And a layout plan of the garden, the teeny tiney square is the cabin. I may move it back yet but we will see

First off was location. Where I had in mind was a little overgrown. So gathering the relative equipment together I set too..

A couple of hrs in and using mostly hand tools (I couldn't find the brush cutter head for the strimmer) and progress was being made

But the bramble and elder steam was very thick!

By the end of the day most of the bramble was gone and a compost heap made

Another 1/2 day and the area will be properly cleared.
What about the cabin/mancave I hear you cry
Well here it is so far

Not ideal timber but the large one in the picutre is 50' and twin trunk with 4# 20' - 30' in the background. I think I should get a front and maybe a side out of this wood. The rest will be salvaged materials...
Quick update as someone asked to see the tools I will be using etc..
Took the oportunity of a quiet 1/2 hr to service my rough saw as you can see it was "in need"
New air filter, plug, checked over the brake/clutch assembly etc, new anti vibration springs and a good clean.
Before

After

Tomorrow I will run her dry and she will be good for winter..
19/12/2013
Have had a read through some planning info today. And it turns out, that if my build is more then 2m from the boundaries then I can go to 4m in height.
Well it will be well over 2m from the boundaries. I think a pitched roof is in order.
And a pitched roof means "shingles" and shingles means.... I need to make me a Froe
I suppose the new design will be more like this

23/12/13
Been out to the shed for a bit as I new I had a load of old tools sat waiting for some love. These belonged to my grandfather and probably his father before. I intend to use as many traditional tool for this build as possible so set too with some scotchbright pads and sharpening stones and ended up with these..
Spoke shave for the finer details

Draw knife..... because I guess those logs aint gonna peel thselves.

And a hand drill (I am sure this has a different name but can recall)

All are now razor sharp and fully functioning. As I get to use them in anger I will report how they work.
24/12/13
Just been up to the new property to check for any wind damage (Blew a hooley here last night) and had a root about in the garage.
And it turned this up.


I know it is an Adze. But is it for digging or for shaping logs?
Well it turns out it may be a coopers adze which I will press to use shaping logs.
I have made a start on the restoration.
Step 1
Vice her up and give it a once over.

It has deffinatly been used in the last few years (for digging I guess as there is soil on the handle and blade) there is also a screw stopping the head sliding down the handle.

The handle has signs of woodworm and the knob has broken. So a new handle will be in order.

Step 2
Take the screw out to get the head off.
Well I used a driver and grips which promptly smapped the screw

So with a punch to drive the screw in and gentle persuasion it started to move


I set the handle aside to draw round as a template
Step 3
Vice up the head and set about it with some Scotchbright to get the excess rust off

I am not looking to polish this. Just remove the surface bits so she looks presentable and check for damage.
The edge is in a bad way

Once the worst is of the soil and rust had gone I gave it a wipe down to reveal this

Looks like P. LAW (followed by a crown)
This is how she will stay until after the festive season.
31/12/13
Had a chance to work on a few tools today whilst the kids where watching TV.
I managed to re-edge the Adze (Step 4) for this I used a slow linisher and plenty of water to keep her cool.

Slowly slowy keeping the original angle I got this.

It needs a polish with the oil stones and a strop but it is already good and sharp.
I also rescued an old "dibber" from the shed. I guess my great grandad made it. Looked like this.

After some slow shaping on the linisher and a good sand, oil and work on the collar I had this.

It is a very robust awl. Which I can also use for marking and center punching.
Any way Happy New Year and a new year the way you want it to be...
27/05/14
Finally got to do some heavy work on the grounds. I had 2# 25' trees to remove (and keep the logs for the cabin) it was a hot old job but got them cleared in a couple of days
Lower limbs off the first tree to size the job up.

First one down. And time to pose for the pictures

Second tree with limbs off and cutting out a tricky branch

Action shot of one of the twin trunks comming down

Limbing in progress

Some off the tools used

A couple of helpers (after the sharps had gone away)

And how it looks now

09/06/14
Had a bit of a play over the weekened. Between the thunder storms...
During the clearing of the top end of the garden several frogs, toads and counless species of insect where found... so the Kids (me) thought it would be a good idea to build a wildlife garden...
There is a small depression in the grass that used to be a compost heap this looked ideal so we set to and marked out a small tear drop shape with the hollow in the center.

Because there are kids running around I didnt want a huge pond but a small area of open water is essential. We opted for sinking a small storage box into the hollow of the dip (I used my newley restored spear and Jackson shovel that belonged to my Grandad)

Once the storage box was in and level. We added some rocks and bits of wood as "hidy holes and "stepping stones" all found on the property.

We then added a few more rocks and logs

The kids wove a small compost area and filled it with leaves...

All that is needed now is for the grass to grow and me to introduce some (purchased) native species
04/11/14
Finally got moved into the property (it took a year!!)
Been flat out with unpacking boxes... etc etc... more pictures to follow if there is interest.
Got a few jobs done. Cleared the remaining bits and bobs from the bramble patch and made a log store

3/1/15
Got a bit of splitting done too and some ground cover mulch on so looks a little healthier

Last edited:
