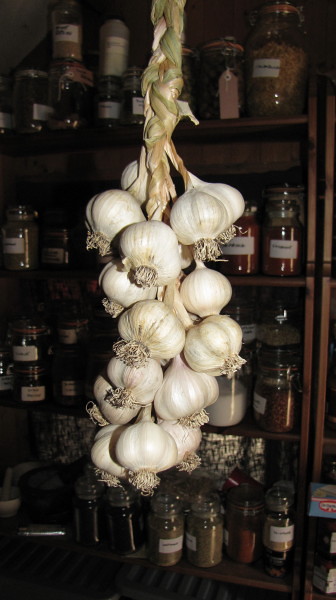
having had fun with mystery photos today, I thought it was only fair to show the whole process of using two nails to make an onion string!
Around this time of year we end up with an excess of onions
Now in order to keep, the leaves and stems must be thoroughly dried. We use mesh topped drying racks for this
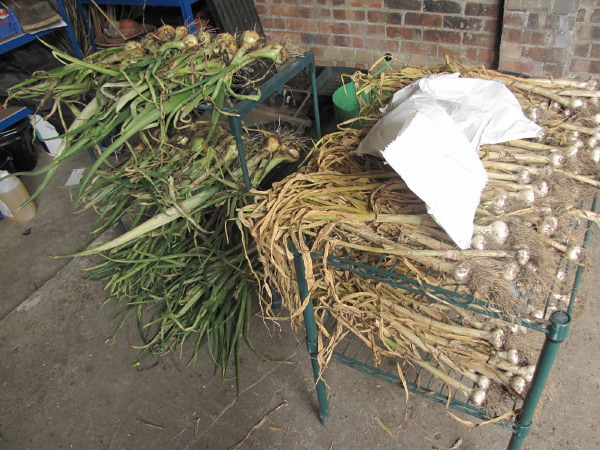
Onions and garlic drying by British Red, on Flickr
When the onion tops have no "green" or juice left in, we are left with the problem of how to store them. They like to be stored in a cool and airy place...but that can lead to vermin getting at them.
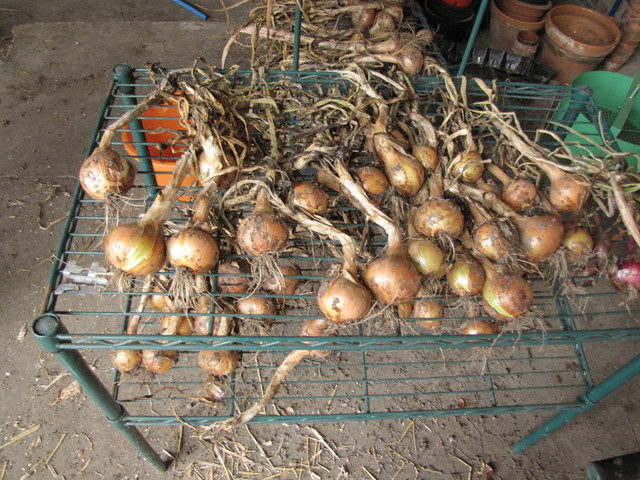
1) Dried onions by British Red, on Flickr
Hung from a traditional "string" in a shed, garage or outbuiding they are fairly safe from most crittrers - and easy to inspect and use.
In many old barns and sheds, you will find a couple of nails driven into the top of a door frame a foot apart. These were used for making onion strings. Its like many things - simple when you know how.
Drive two nails about a foot apart into the top of a door frame
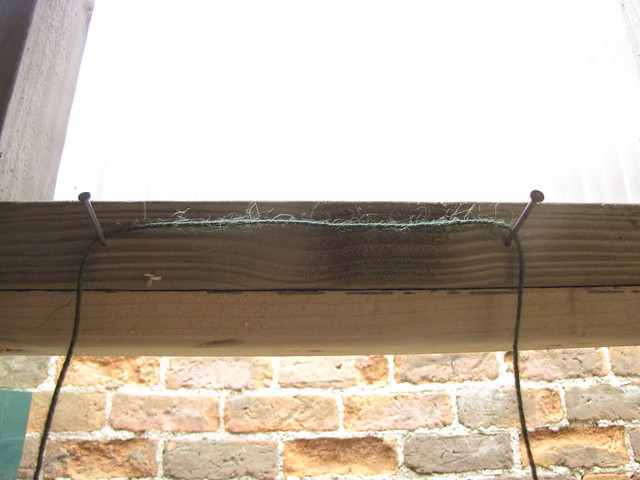
2) Nails by British Red, on Flickr
Tie a loop of string and hang it over the two nails so that it hangs to about waist height
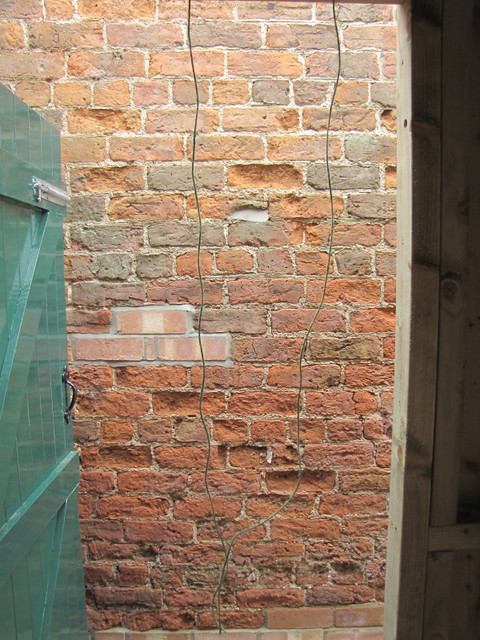
3) String Loop by British Red, on Flickr
Now, take your first onion. Put the dried leaves through the middle of the loop until the bulb nearly touches the string. Hold the leaves tight with your left hand and the bulb with your right hand. Now you just move the bulb. Pass the bulb around the outside of the right hand string and pass it back through the loop. Then around the left hand string and then back through the loop. The bulb will end up back where it started but you will have woven a "figure of eight" around the string with the leaves
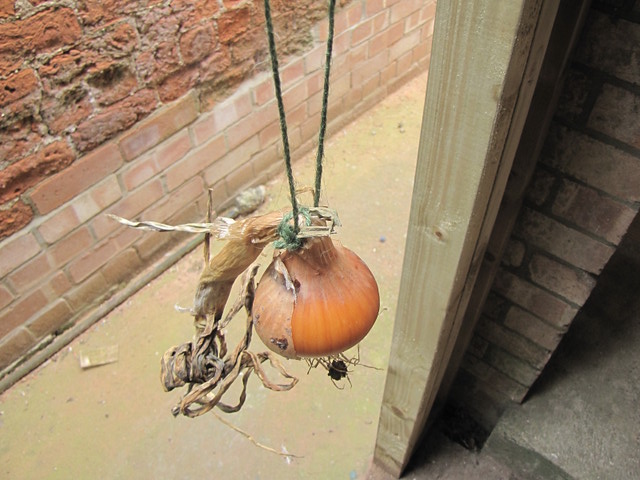
4) First onion by British Red, on Flickr
This is a bit blurred but you can see how it works better
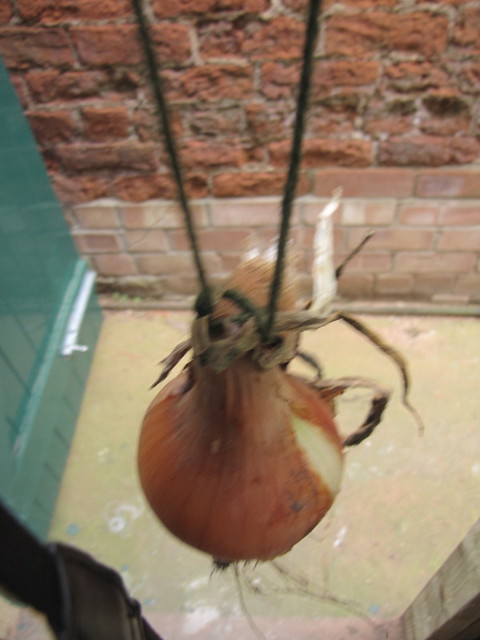
5) Figure 8 by British Red, on Flickr
Next put a second onion in from the other side of the loop and repeat the procedure. Then a third from the first side but hanging a bit off to one side.
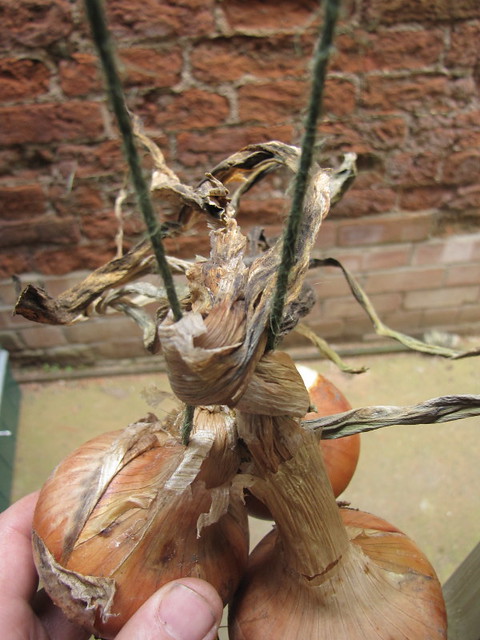
6) Three Onions by British Red, on Flickr
At this point use a pair of scissors or pocket knife to trim off excess stalk and roots. Continue to add onions on top of each other, putting each onion into any obvious "gaps" in the string and always alternating the side you insert through
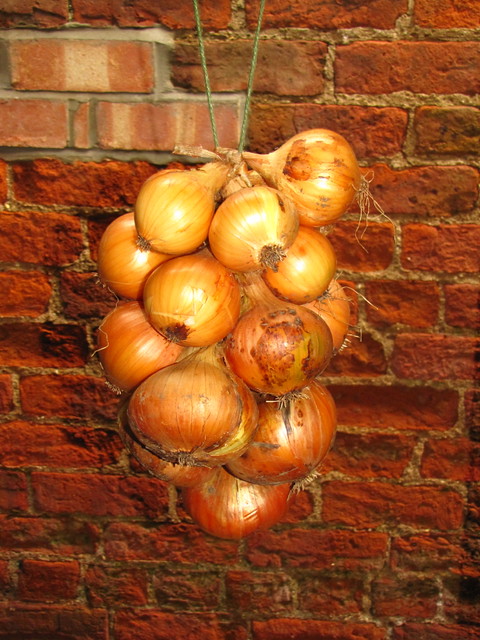
7) Full string by British Red, on Flickr
DOn't make your strings too large - they get heavy.
When you are happy with the size, hang the string from a beam in a cool spot. Vermin can't get at them easily and they stay well aired.
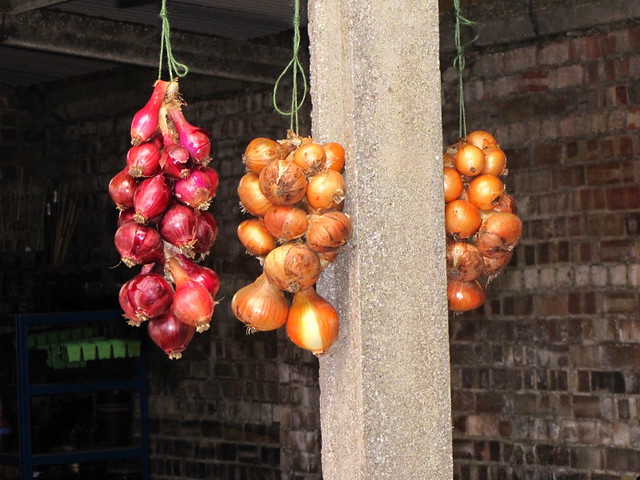
8) Onion Strings by British Red, on Flickr
Strings can be moved into the kitchen one at a time as needed
Red
Around this time of year we end up with an excess of onions
Now in order to keep, the leaves and stems must be thoroughly dried. We use mesh topped drying racks for this

Onions and garlic drying by British Red, on Flickr
When the onion tops have no "green" or juice left in, we are left with the problem of how to store them. They like to be stored in a cool and airy place...but that can lead to vermin getting at them.

1) Dried onions by British Red, on Flickr
Hung from a traditional "string" in a shed, garage or outbuiding they are fairly safe from most crittrers - and easy to inspect and use.
In many old barns and sheds, you will find a couple of nails driven into the top of a door frame a foot apart. These were used for making onion strings. Its like many things - simple when you know how.
Drive two nails about a foot apart into the top of a door frame

2) Nails by British Red, on Flickr
Tie a loop of string and hang it over the two nails so that it hangs to about waist height

3) String Loop by British Red, on Flickr
Now, take your first onion. Put the dried leaves through the middle of the loop until the bulb nearly touches the string. Hold the leaves tight with your left hand and the bulb with your right hand. Now you just move the bulb. Pass the bulb around the outside of the right hand string and pass it back through the loop. Then around the left hand string and then back through the loop. The bulb will end up back where it started but you will have woven a "figure of eight" around the string with the leaves

4) First onion by British Red, on Flickr
This is a bit blurred but you can see how it works better

5) Figure 8 by British Red, on Flickr
Next put a second onion in from the other side of the loop and repeat the procedure. Then a third from the first side but hanging a bit off to one side.

6) Three Onions by British Red, on Flickr
At this point use a pair of scissors or pocket knife to trim off excess stalk and roots. Continue to add onions on top of each other, putting each onion into any obvious "gaps" in the string and always alternating the side you insert through

7) Full string by British Red, on Flickr
DOn't make your strings too large - they get heavy.
When you are happy with the size, hang the string from a beam in a cool spot. Vermin can't get at them easily and they stay well aired.

8) Onion Strings by British Red, on Flickr
Strings can be moved into the kitchen one at a time as needed
Red


