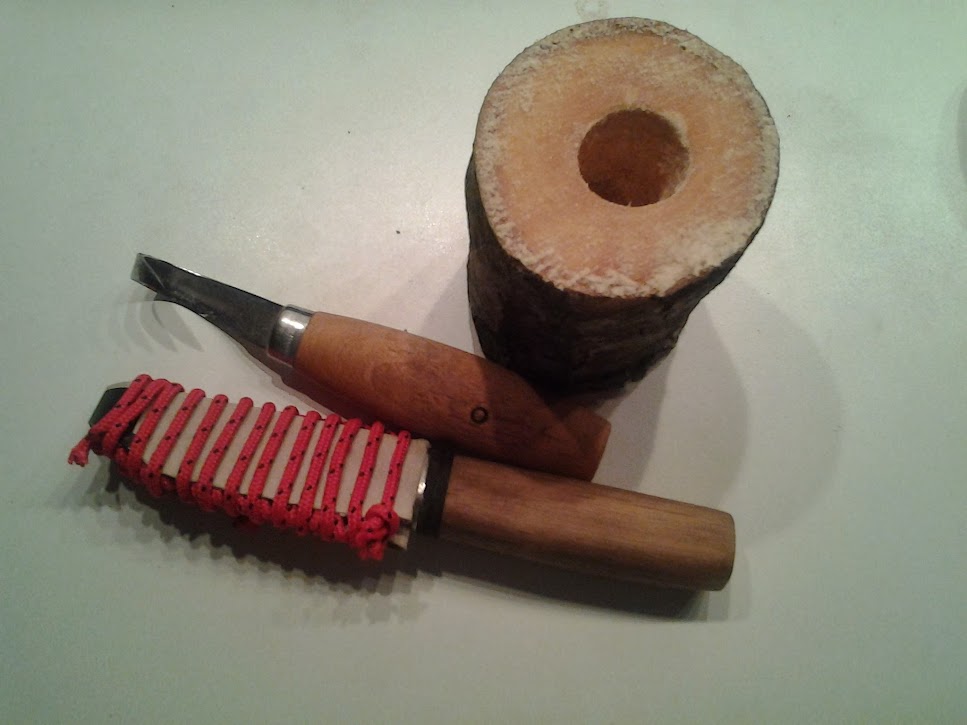
Ok, I have become excited about shrink pots lately. A shrink pot is a container that is made from a hollowed log of green wood. The bottom is made to fit the inside of the hollowed log and inserted into a groove that is cut near the bottom end. The green wood will shrink and lock around the bottom, resulting in a nice watertight container. They are fun to make and do not require much tools. I use a drill, a spoon knife and a knife for them. For materials you`ll need a bit of green round wood to make the actual pot, and another bit to make a board with for the bottom. This board is ideally made out of dried wood, but using green wood can also be done. Radial shrinkage is a lot higher anyway, and the wood will lock itself in place fine. For the pot in this tutorial I used an apple branch and oak for the bottom.
First cut the wood to length and drill a hole through the middle. I use a powerdrill and a 25mm flatbit, but it could of course also be done with an auger or handpowered drill. This hole will help the spoonknife bite a lot and will speed the whole thing up a lot.

Then start hollowing it out. Keep the wall thickness even throughout the pot.
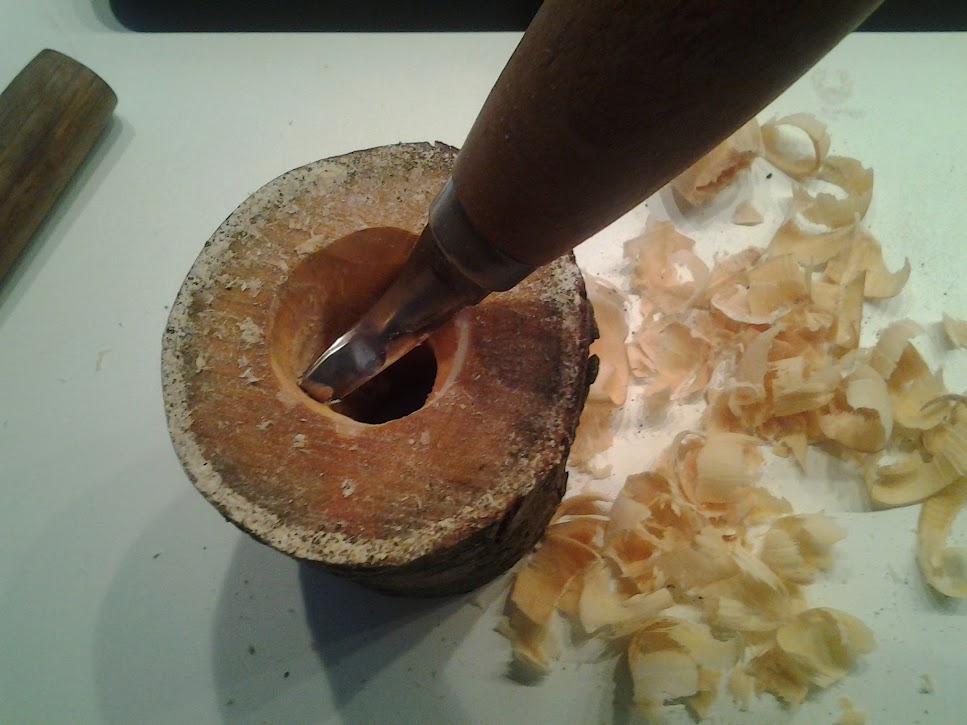

As you can see in the last picture I was too eager with the hollowing. I pushed it when it was still too narrow and snapped the tip of my spoon knife. My own stupid mistake. When the walls are thin enough for your liking it is time to think about the groove. I do not think there is a rule for wall thickness. Thicker walls will press on the bottom plate tighter when they shrink, but that also brings the risk of the bottom shifting or cracking in the drying process higher. I haven`t made enough of these to give sound advice from experience yet. I have, however, seen a lot of these on the net, and for this size (10 cm high, 8cm wide) a 1cm wall seems fair. I did not count the bark with the wallthickness, because that bark does not add to the structure of the pot and is only there to look rustic.
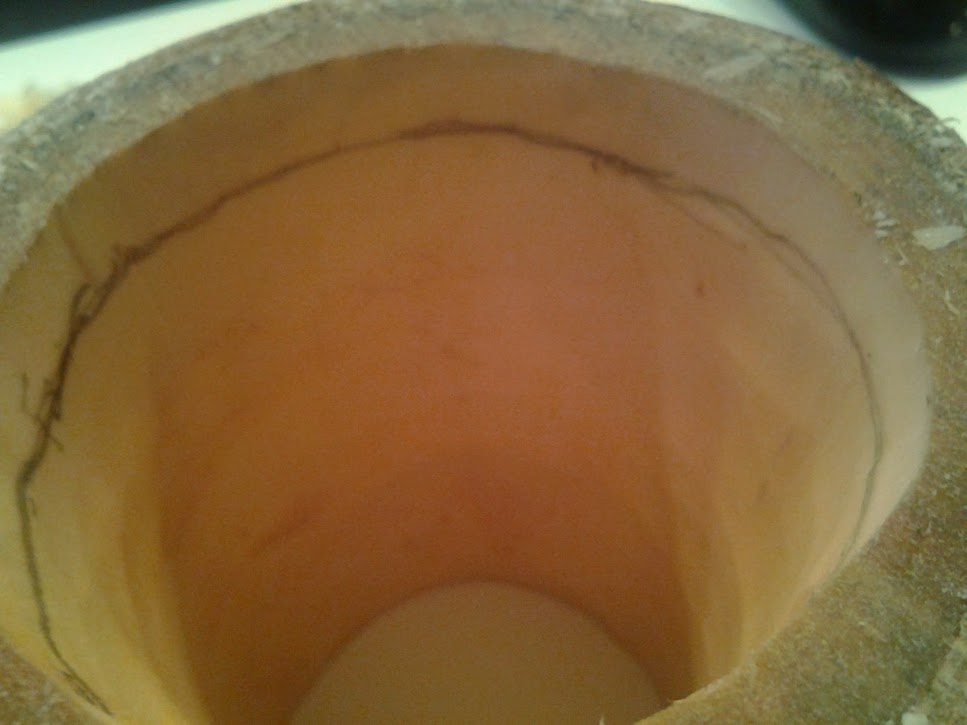
For the groove: determine what side will be the bottom and draw a line evenly spaced along the inside. The groove needs to have minimal 'wobble' because it needs to accomodate a flat plate later.

Then, with your knife, cut over the line like this:
Of the following step I couldn`t get a picture while alone. Words will have to suffice. Coming from the bottom, make a cut angled 45 degrees from the cut you just made that meets this first cut, and remove the wood. This will form a groove on the inside of the pot with a sharp edge near the top side. The bottom plate will rest against this edge later. Here is the groove, in a terrible picture.
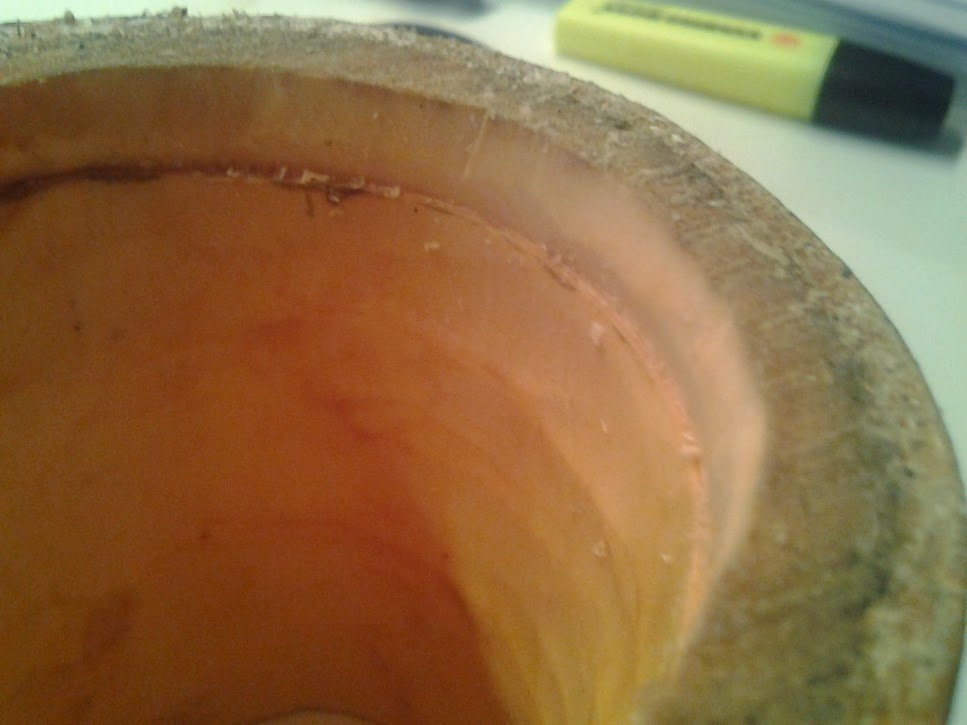
This groove really is only two mm or so deep. The bottom plate will only barely fit through the bottom diameter of the pot anyways, and this groove is there to catch the plate once it is pushed in. If it will stop the plate from being pushed back out then the groove is good.
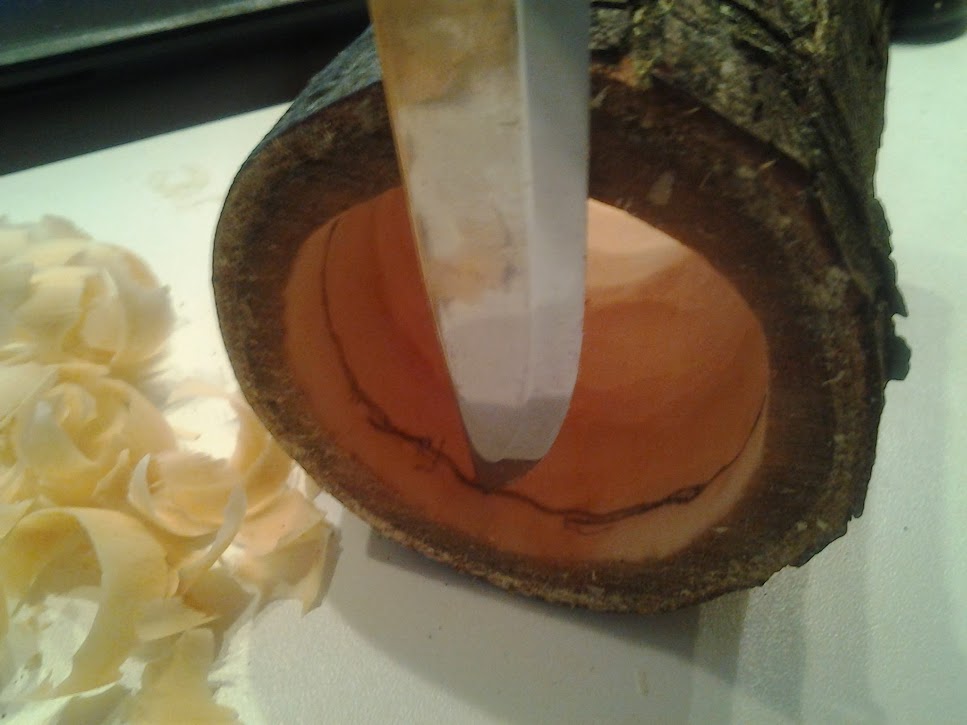
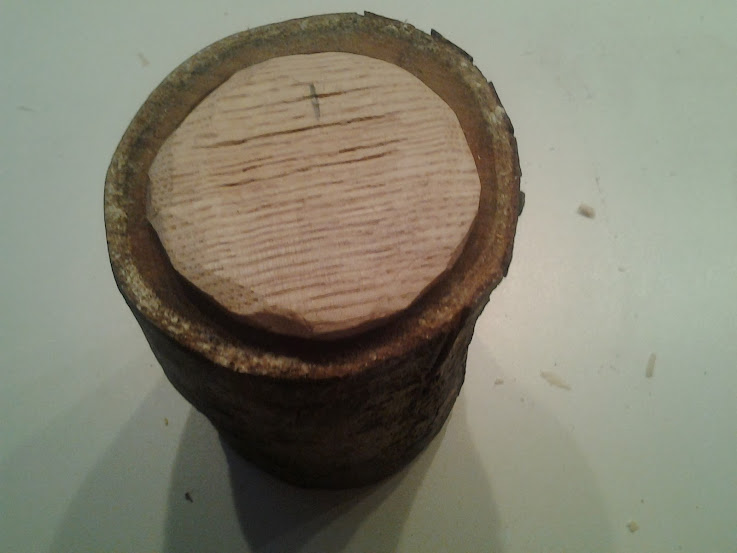
Now for making the plate. I cleaved a 2mm thick board from some oak I had. As I said before, cleaving a board from the wood you also had to make the pot from is fine. Just make sure there is no pith in there. Put the pot on the board and with a pencil mark the inner diameter. I find it helpful to mark the board and the pot with a line, to remember the orientation of the shape later. Then comes the fiddly bit: carve the bottom down to just fit into to pot.

This really is just trying and carving and trying. It helps to taper the edges of the bottom down, like if it would have been a tiny little bullroarer.
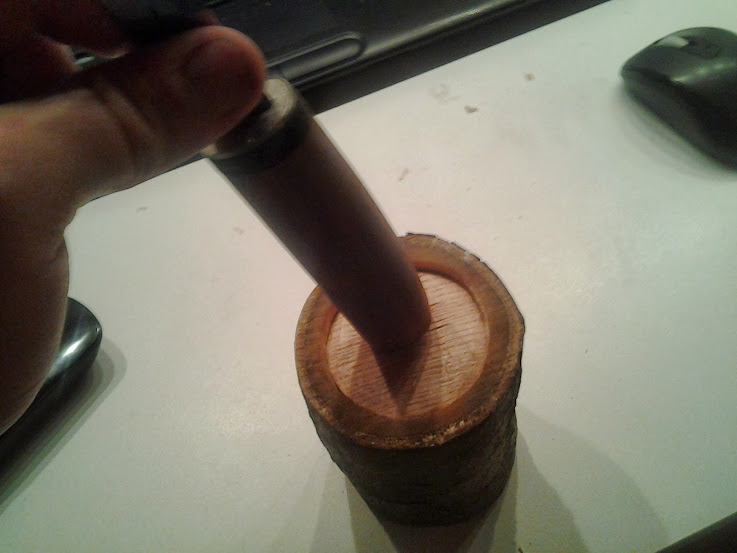
When you finally have the bottom to a fit where you can just about push it in, use your knifehandle to tap it into place. It will click into the groove.
Then all that is left is to trim the edges on the top and there you have it! A shrink pot.

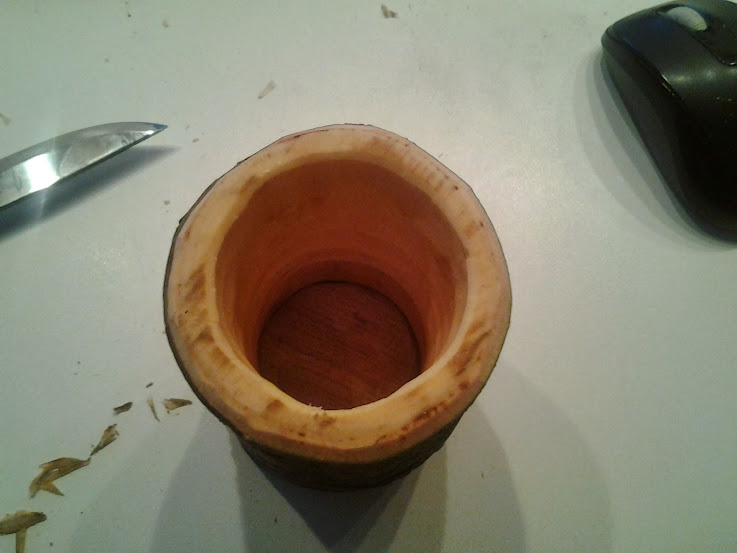
I might take the bark of this one later, because it makes it look a bit thick. I`ll leave it to dry just in my room. The care that needs to be taken when drying kuksas is not necessary here. Most of the stress in drying wood comes from the inner rings. Here we only have the outermost layer of a branch and I do not think the chance that it`ll split is very high.
When it is dried I shall make a fitting lid.
I hope this little write-up was helpful. It is mostly meant to inspire folk to have a go. Shrinkpots are useful, fun, and relatively quick to make. And very rewarding.
Greetings,
Two Socks
First cut the wood to length and drill a hole through the middle. I use a powerdrill and a 25mm flatbit, but it could of course also be done with an auger or handpowered drill. This hole will help the spoonknife bite a lot and will speed the whole thing up a lot.
Then start hollowing it out. Keep the wall thickness even throughout the pot.
As you can see in the last picture I was too eager with the hollowing. I pushed it when it was still too narrow and snapped the tip of my spoon knife.
My own stupid mistake. When the walls are thin enough for your liking it is time to think about the groove. I do not think there is a rule for wall thickness. Thicker walls will press on the bottom plate tighter when they shrink, but that also brings the risk of the bottom shifting or cracking in the drying process higher. I haven`t made enough of these to give sound advice from experience yet. I have, however, seen a lot of these on the net, and for this size (10 cm high, 8cm wide) a 1cm wall seems fair. I did not count the bark with the wallthickness, because that bark does not add to the structure of the pot and is only there to look rustic.For the groove: determine what side will be the bottom and draw a line evenly spaced along the inside. The groove needs to have minimal 'wobble' because it needs to accomodate a flat plate later.
Then, with your knife, cut over the line like this:
Of the following step I couldn`t get a picture while alone. Words will have to suffice. Coming from the bottom, make a cut angled 45 degrees from the cut you just made that meets this first cut, and remove the wood. This will form a groove on the inside of the pot with a sharp edge near the top side. The bottom plate will rest against this edge later. Here is the groove, in a terrible picture.
This groove really is only two mm or so deep. The bottom plate will only barely fit through the bottom diameter of the pot anyways, and this groove is there to catch the plate once it is pushed in. If it will stop the plate from being pushed back out then the groove is good.
Now for making the plate. I cleaved a 2mm thick board from some oak I had. As I said before, cleaving a board from the wood you also had to make the pot from is fine. Just make sure there is no pith in there. Put the pot on the board and with a pencil mark the inner diameter. I find it helpful to mark the board and the pot with a line, to remember the orientation of the shape later. Then comes the fiddly bit: carve the bottom down to just fit into to pot.
This really is just trying and carving and trying. It helps to taper the edges of the bottom down, like if it would have been a tiny little bullroarer.
When you finally have the bottom to a fit where you can just about push it in, use your knifehandle to tap it into place. It will click into the groove.
Then all that is left is to trim the edges on the top and there you have it! A shrink pot.
I might take the bark of this one later, because it makes it look a bit thick. I`ll leave it to dry just in my room. The care that needs to be taken when drying kuksas is not necessary here. Most of the stress in drying wood comes from the inner rings. Here we only have the outermost layer of a branch and I do not think the chance that it`ll split is very high.
When it is dried I shall make a fitting lid.
I hope this little write-up was helpful. It is mostly meant to inspire folk to have a go. Shrinkpots are useful, fun, and relatively quick to make. And very rewarding.
Greetings,
Two Socks
Last edited:
 clear and tidy write up and photos too
  Lot of folks will be pleased to see this thread.
") and sorry about the knife :/
and sorry about the knife :/
") .
.