After I did my very first axe mask at the weekend I thought I would do my very first knife sheath for the very first knife I have made too....
Its been an interesting learning exercise. I thought I had all the bases covered but several things cropped up that will hold me in better sted the next time.
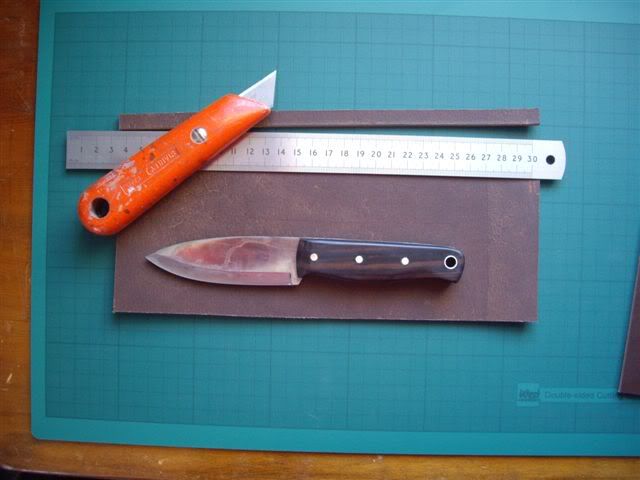
Cut basic dimensions
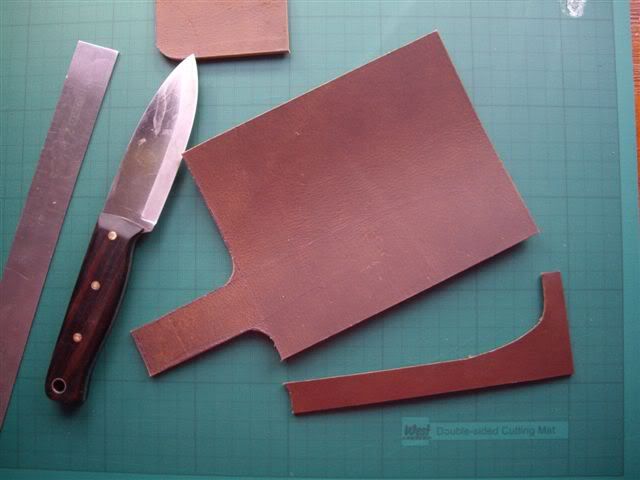
Cut out outline after marking out spine and both sides of blade. Made allowances for welt and belt loop attachment
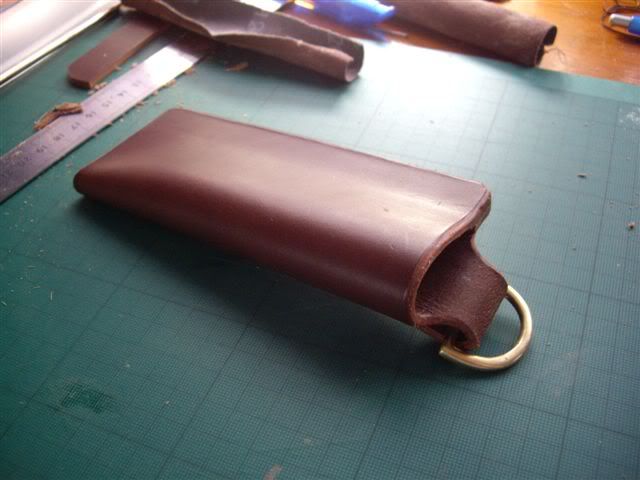
Belt attachment glued then stitched and then sheath folded and glued
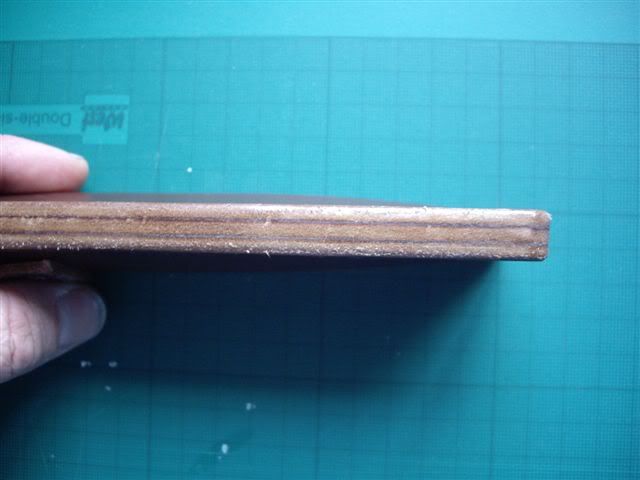
Edgle of sheath trimmed and chamfered

View of tidied and trimmed edge plus a little light sanding
Grooved on both sides
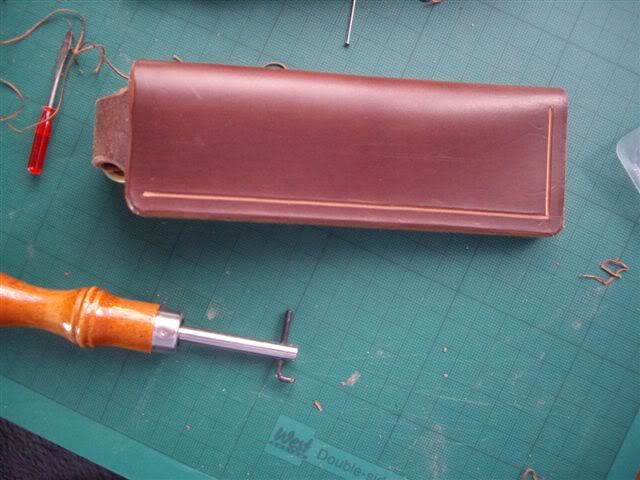
Grooved on both sides
Awled - note the diagonal position of the diamond-shaped holes
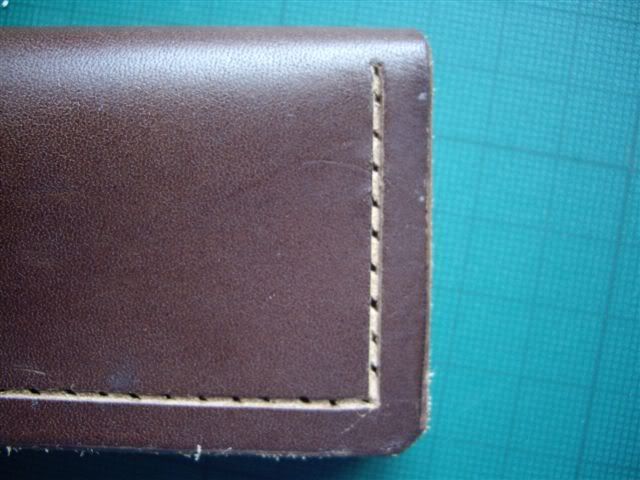
Finished stitching - using saddle stitch (two needles and one thread doubling up through same hole from opposite directions)
Sheath ready for wet moulding (knife lightly oiled and covered in cling film - not too much or this will affect the fit)

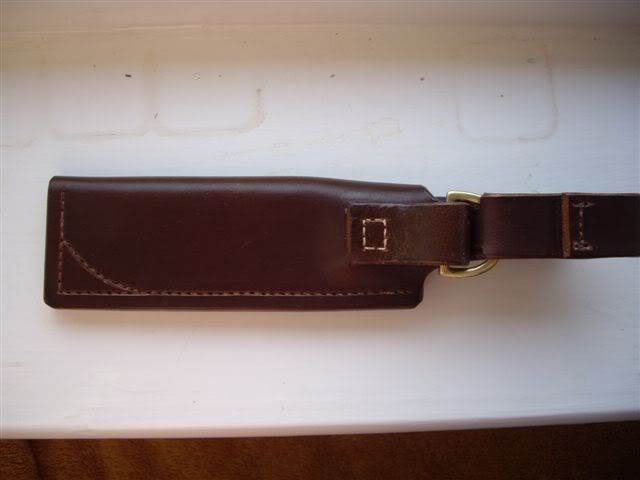
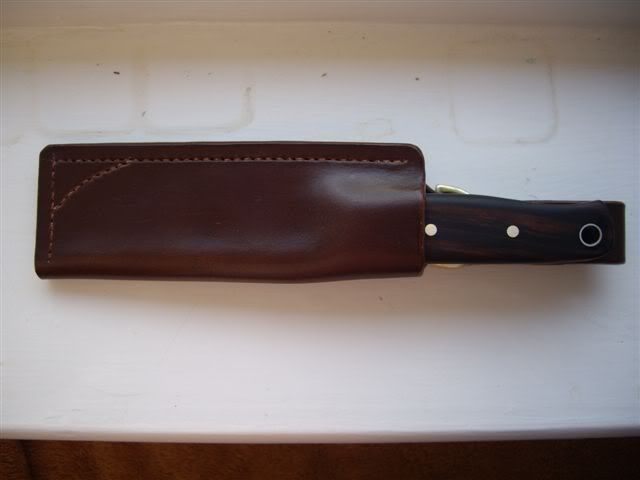
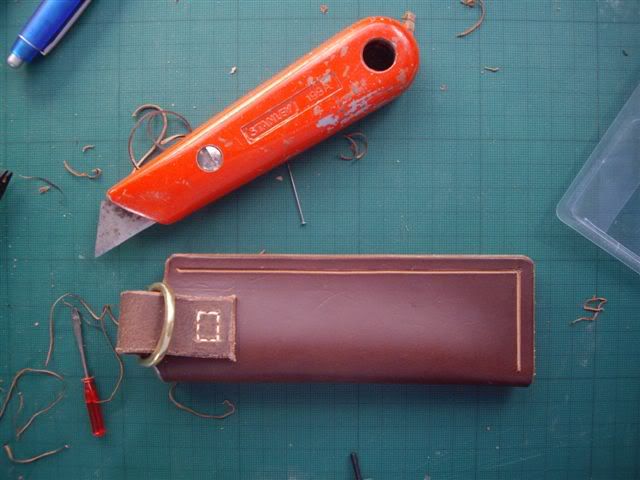
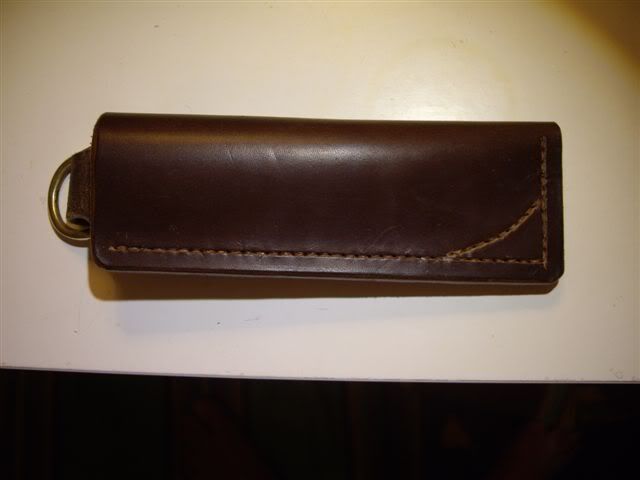
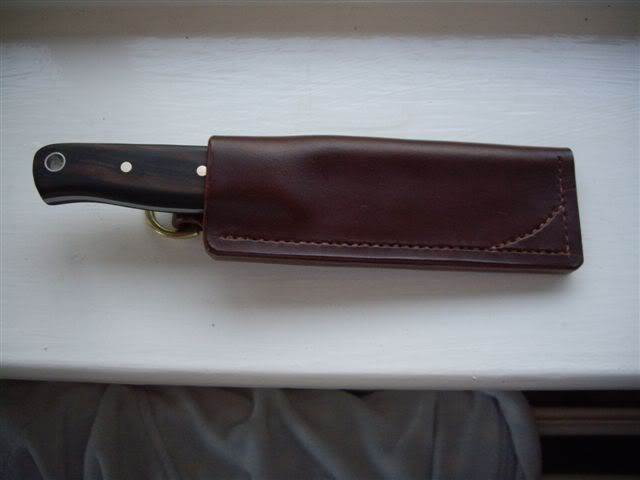
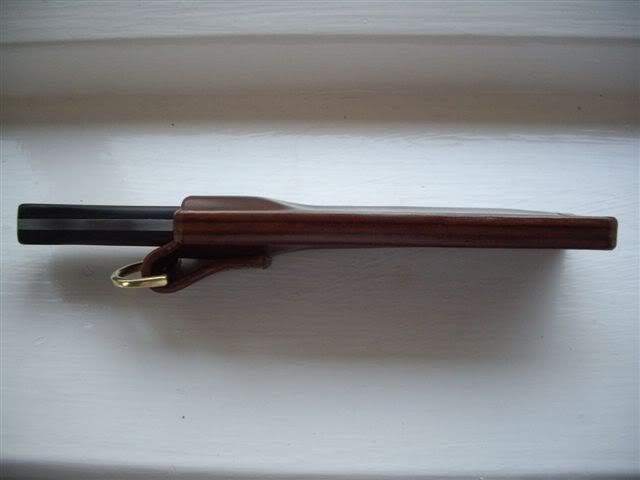
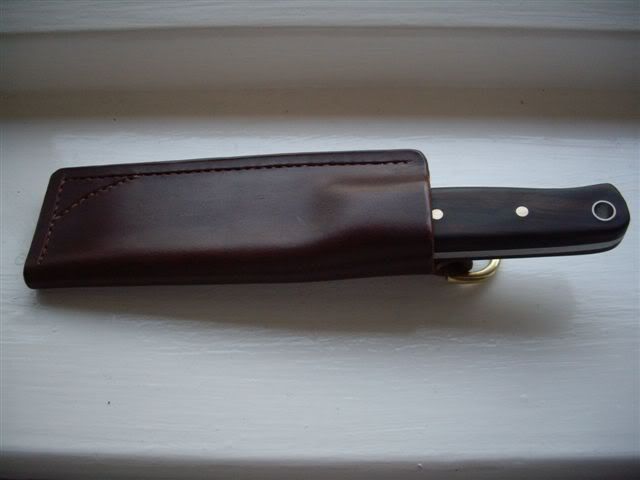
Views of the finished sheath which has had edges burnished, edge koted and the body carnuba waxed.
Its been an interesting learning exercise. I thought I had all the bases covered but several things cropped up that will hold me in better sted the next time.
- I used 5 inch width of material. I expect a more experienced person could use a narrower piece (lets say 4 inches) but it at least left me a margin of error (and to cut a piece for the welt more economically out of the same width of leather.
- When you set your blade for the first time in the awl handle - take extra care in getting it absolutely straight. Having it in at an angle makes it sooooo much more difficult to get the stitching lined up (in the grooves) on the front/back of the sheath.
- Waxing awl blade, needles and thread is more difficult with an old, dry piece of wax - keep it stored properly (the bit I got from leprovo was a bit dry...and strangley smelled of tobacco)
- A short awl is good. Less chance for getting your angles wrong!
- When creating a groove make sure your edges are nice and smooth i it helps give a smooth line to your groove aswell - as your edge is your guide. Its a toss up weather you do the grooving with a flat piece (easier) or when you have folded it and glued it (allows your to trim and align the edges for better matching of the groove on the front and back and therefore easier to get your awl holes right). Not sure which is better yet.
- When gluing remember to 'key' the surfaces for a better bond. its easy to forget in the excitment.
- Careful when handling the sheath when it has just been wetted for moulding - it marks much more easily and these marks are permanent.
- Don't bother with knots at the end of your stitching just stitch back a couple of holes and the thread will stay jammed in 'dem tight holes for good. Looks much better.
- Don't bother with a bone burnisher, spit and a biro work fab!
- Last but not least: take your time! Its easy to make a mistake and hard (and expensive) to undo.
Cut basic dimensions
Cut out outline after marking out spine and both sides of blade. Made allowances for welt and belt loop attachment
Belt attachment glued then stitched and then sheath folded and glued
Edgle of sheath trimmed and chamfered
View of tidied and trimmed edge plus a little light sanding
Grooved on both sides
Grooved on both sides
Awled - note the diagonal position of the diamond-shaped holes
Finished stitching - using saddle stitch (two needles and one thread doubling up through same hole from opposite directions)
Sheath ready for wet moulding (knife lightly oiled and covered in cling film - not too much or this will affect the fit)
Views of the finished sheath which has had edges burnished, edge koted and the body carnuba waxed.
Last edited:

")