The Tale of the Three Shelters

  • Hey Guest, Early bird pricing on the Summer Moot (29th July - 10th August) available until April 6th, we'd love you to come. PLEASE CLICK HERE to early bird price and get more information.

RonW

Native
Nov 29, 2010
1,575
121
Dalarna Sweden
It was time once again to hit "the greens". We had an almost summerlike week, loads of sunshine and temperatures dangerously close to 20C. Then the wind turned north again and those temperatures plummeted. The sun made itself a lot less seen too. Today was supposed to be reasonably sunny with temperatures about half of what they had been. It'll get much worse, starting tomorrow.
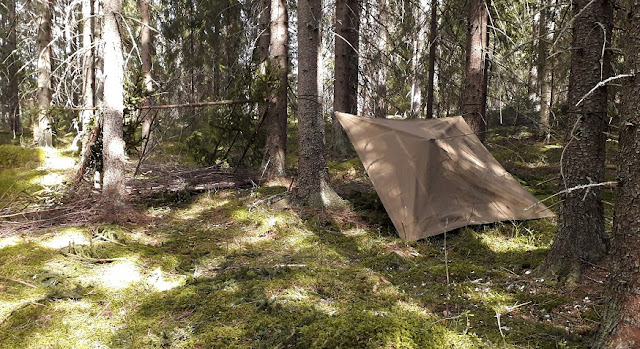
First things first. Since it still is april, we have april showers, so an emergency shelter is setup using my plash palatka and bungees in the fashion I came up with last time out, meaning one bungee around the center toggle.
02.jpg


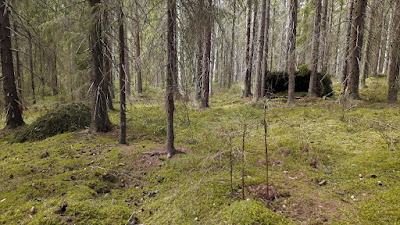
There is this area that last autumn has been cleared from its undergrowth in order to give the bigger trees room, so they can become even bigger toward harvesting time in a few decades. That means a lot of useful debris on the forest floor, which "allemansrätten" allows me to use. And that gave me the inspiration for today's exercise; gathering skills in shelter construction.

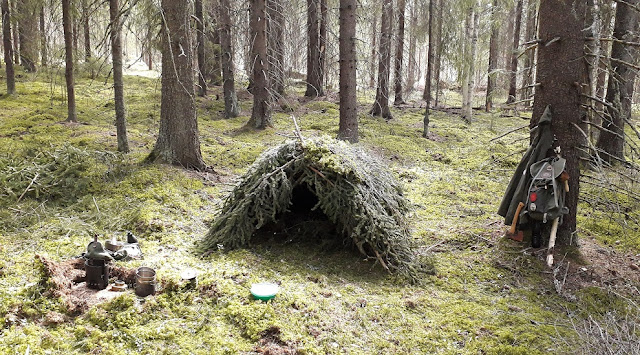
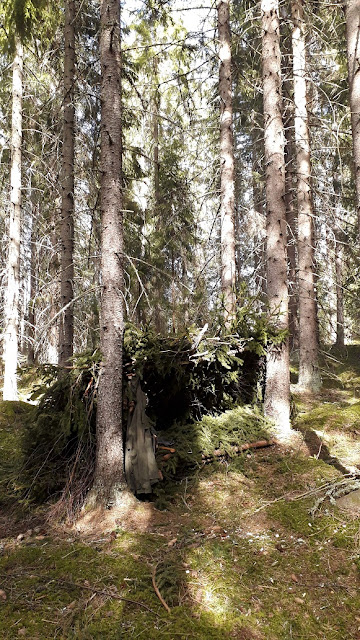
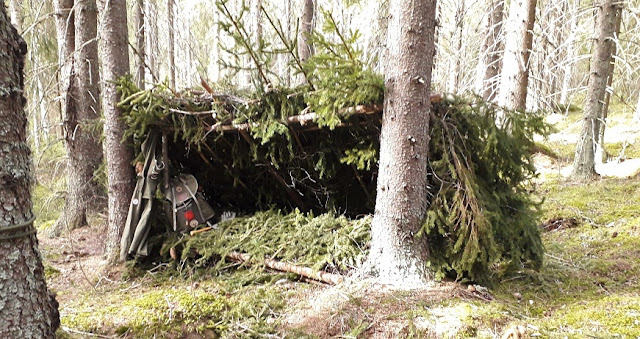
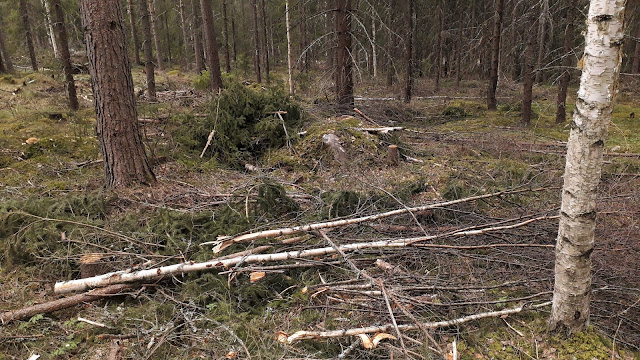
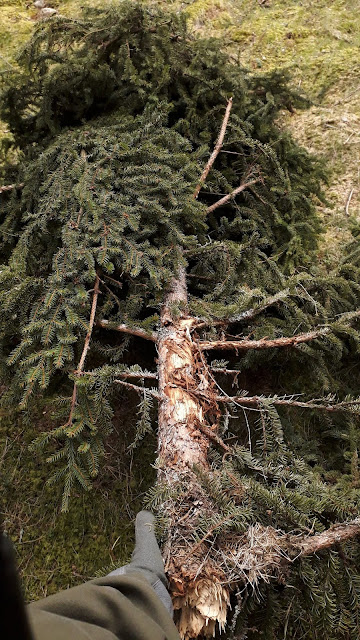
After the phase 1 shelter was erected, it was time for a phase 2 shelter; a 1-man shelter of the type I had built once, way back in the beginning of my outdoor adventures, inspired by Ray Mears. Enough talk; it was material gathering time! There were heaps of spruceboughs and small trees all over the place and I used the smaller sprucetrees as sleds for transporting a load of boughs toward the campsite.

03.jpg


04.jpg


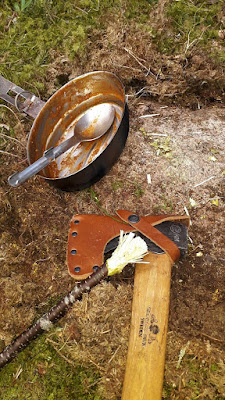
The limitation I had set myself was to use nothing but my hatchet and so I set to work!
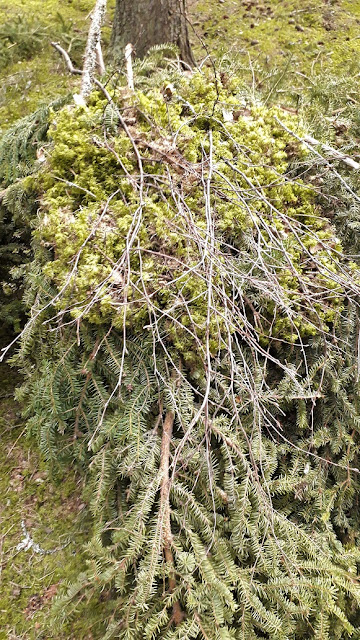
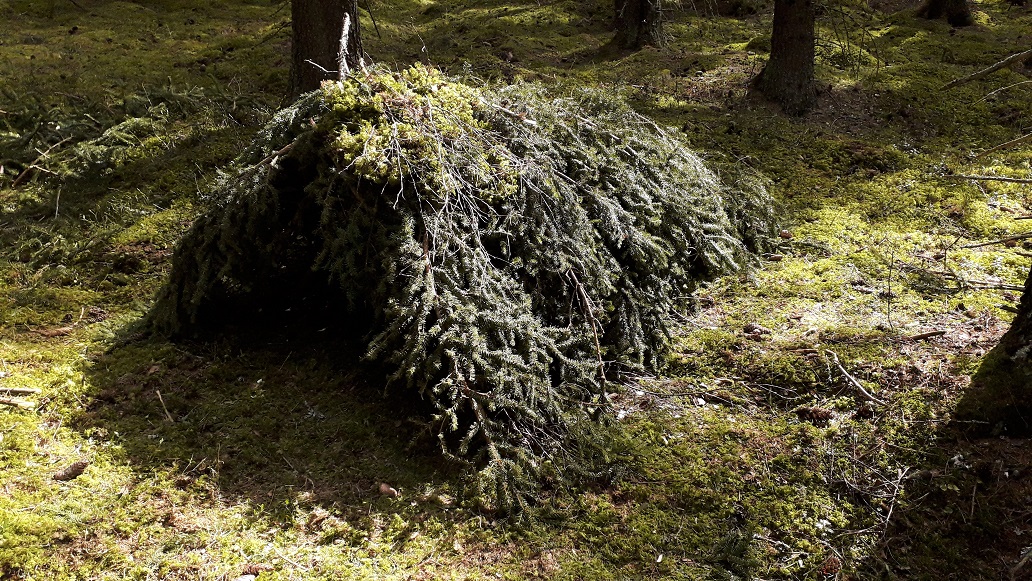
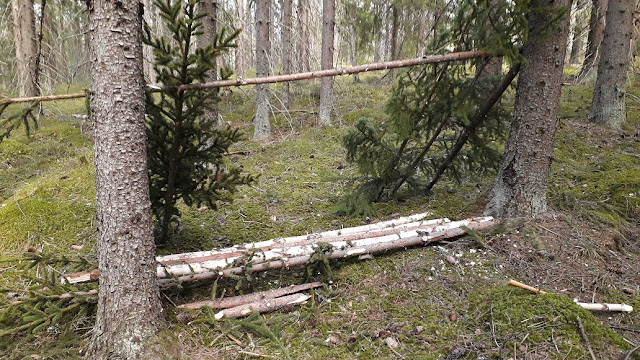
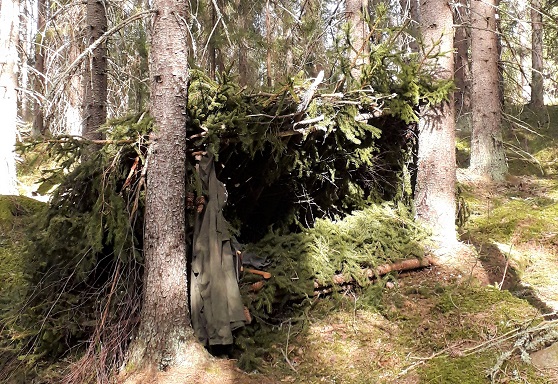
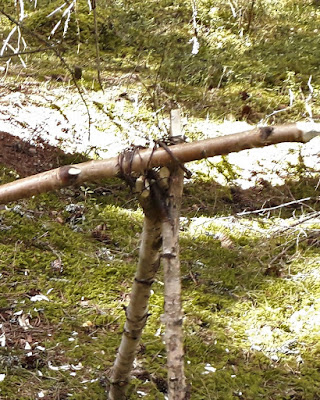
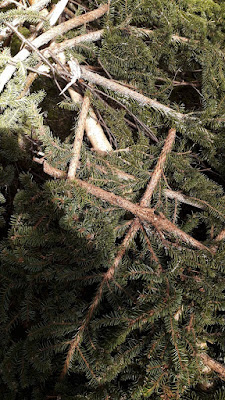
I erected a frame of thinner birch trees. The top pole is my length with outstretched arm and the supports are forked, so that they catch into each other and support each other and the pole. The joit can be strengthened using birch twigs. Fresh ones are best, since these are very flexible. Mine were already a few months old, so snapped from time to time. I then laid out the "ribs" of the shelter, using the thicker branches of the birches. Onto those I added the spruceboughs, which overlapped one another, creating a lattice as shown.

05.jpg


05a.jpg
06.jpg
 

RonW

Native
Nov 29, 2010
1,575
121
Dalarna Sweden
The entire structure was then covered using smaller boughs which I pushed into the lattice from the bottom up. That way they will act as tiles as shed water on the outside. I also did a small patch covered with moss and laced together with small birch twigs, which would create a completely closed surface.

I could not go the entire way, since time was rather limited (or I set my goals to high), but also because I had not asked for permission from the landowner to rip up all that moss, but the idea is clear I think. The smallest birchtwigs were laid across the floor inside and spruceboughs and off-cuts were spread over these, creating a layer of about 20-30cm, onto which a floormat and sleepingbag would be laid out.
07.jpg


08.jpg


09.jpg


10.jpg
 
  • Like
Reactions: MrEd and TLM

RonW

Native
Nov 29, 2010
1,575
121
Dalarna Sweden
By now It was time for (a belated) lunch!
I cleared a rock from its mossy blanker, carefully rolling that back, so that it could be put back in place once I was done. It also made a much more stable base for my messkit & burner.
For lunch was leftover beef&bean stew and that can be really hard to remove later on, especially if it gets time to dry up. The trick here is to use a thicker, reasonably fresh birch branch, first as an extended panhandle, of which you pound one end into a brush, using a rock or the back of your hatchet.
11.jpg
12.jpg


13.jpg


Then you heat up some water and as the water heats you scrub the pan with the brush end. At first this is hard and stiff, so good for scouring and scraping the caked on food, but as the water warms the brush softens and you can rinse the remaining less coarse residue from your pan. If you can add birchleaves, the warming water will release the saponin therein and you have natural detergent to boost.

14.jpg
 

RonW

Native
Nov 29, 2010
1,575
121
Dalarna Sweden
After lunch it was time for phase 3; an all-natural lean-to. My first ever lean-to to be honest. And again only using my hatchet.
I found a pair of suitably spaced trees and used to roughly man length poles to shore up the top pole against those trees. I used the thicker trunks of the trees to construct a bedfloor and the thinner ends I used as ribs for the wall. I left the side branches onto these end, so that I could use these to weave together these ribs and subsequent branches. I used long and thin birch branches for weaving horizontally, creating a coherent and sturdy lattice again.

15.jpg

17.jpg


Once that lattice had been completed to my liking I started adding long spruceboughs to and through that lattice, locking the ends in place by weaving again. I worked from the bottom up, using a rooftile principle. Once these were in place I started using smaller boughs, shoving them up into the structure, again from the bottom up and again overlaying each other.

By now it was getting late, so I could not completely finish the procedure to produce a completely tight wall. I spread all the surplus smaller and thinner birch twigs over the logs lengthwise and on top of that I laid a layer of spruce twigs across those. That was topped of by the smallest of twigs and off-cuts, creating a 30-40cm thick, springy layer.

16.jpg


One thing I had underestimated was the amount of weight such a construction would accumulate and carry and I ended up supporting the thinner end of the top pole. You can see that support between anorak and backpack. I would have wanted to add extra support onto the side of the wall, supporting the joint between top pole and supports, so that these could not move outward. I will do so the next time I go out there and complete the construction.

18.jpg


19.jpg
 
  • Like
Reactions: punkrockcaveman

RonW

Native
Nov 29, 2010
1,575
121
Dalarna Sweden
Finally it was time for some testing and I must say that the bed was quite comfortable. I can imagine getting a good night's rest on that. By then it was time to pack up and I did something I normally would never do; I left it all in place.
Partly because it had gotten so late and partly because I want to come back, complete the constructions and perhaps spend a night or 2 there. I hope no one will tear it down of take offense...

20.jpg


21.jpg


22.jpg
 

TLM

Bushcrafter (boy, I've got a lot to say!)
Nov 16, 2019
3,092
1,624
Vantaa, Finland
Lazy Finns took a few shortcuts. 20-30 cm spruce boughs underneath a heavy tarp between and half a meter on top. The human was rolled into the tarp. I have never really tried it but tales have it that it was good to about 0 C without any extra blankets or such.
 

RonW

Native
Nov 29, 2010
1,575
121
Dalarna Sweden
Very good and nice pictures.

How long did it take you?

Phase 1 - Plash palatka 10 minutes
Phase 2 - One man shelter 1,5 hours. Plus maybe an hour more when completely covered with moss
Phase 3 - lean-to 2,5 hours plus probably an hour more to complete it
 

Tiley

Life Member
Oct 19, 2006
2,364
374
60
Gloucestershire
Great: really informative and interesting. I love the little details, particularly the birch 'brush' for cleaning your pan. It is good to see natural resources deployed so effectively - it means a lighter pack as a result!

Thank you.
 
  • Like
Reactions: Orhdposs

RonW

Native
Nov 29, 2010
1,575
121
Dalarna Sweden
Glad you liked it!
Coming friday or sunday I'll be going back. Forecast says it will be raining then, so I want to find out how it all will hold up during that kind of weather.
 

BCUK Shop

We have a a number of knives, T-Shirts and other items for sale.

SHOP HERE