Had some free time so back to the shop.
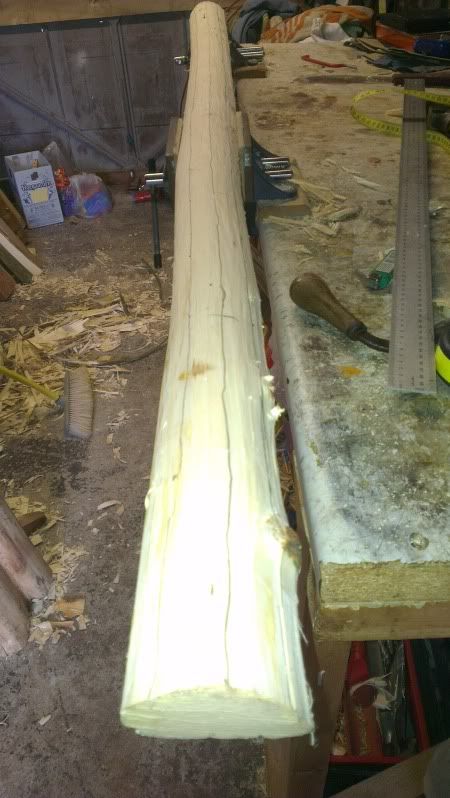
This is a wych elm stave that i cut and split a while back so it should be safe to reduce it further.
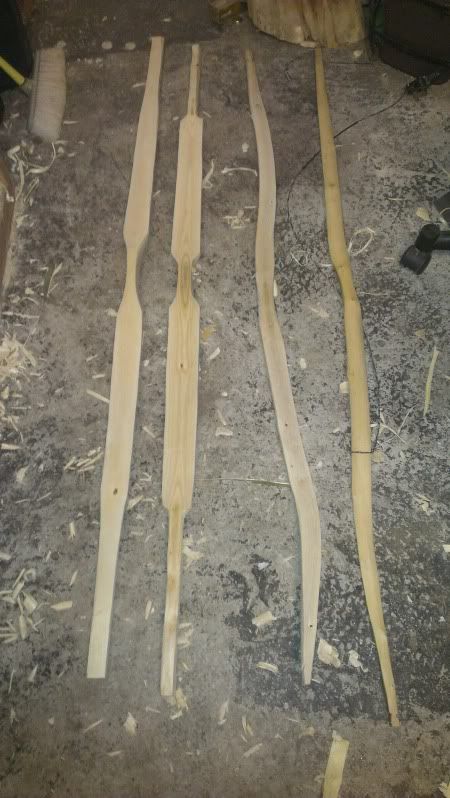
When marking out your stave be sure to follow the grain all the way down the bow, ignore it at your peril!
Once you have made a center line you need to mark out from here to the edge of your bow. I like to start at 2inches all the way down. You could reduce the tips now but its best to leave your options open and see what the wood says. You might want to go to 2.5 inches wide if you are using a lighter wood such as ash.
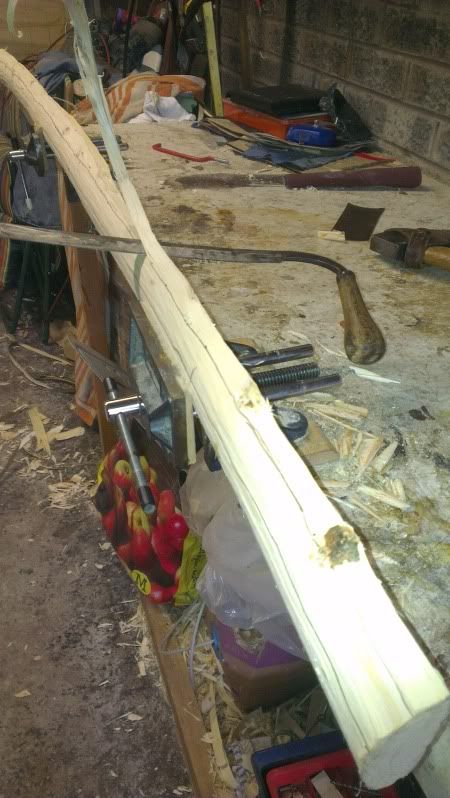
Once happy with the lines the stave is turned on its side and trimmed down with the draw knife. If your lines are right this should be an easy job as the blade will follow the grain. If its much harder something is wrong and your eye is out.
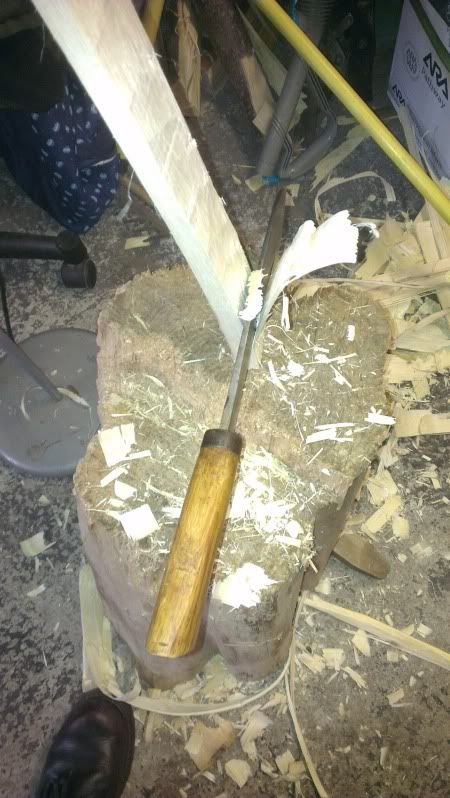
Now its time to reduce the belly further. I like to use my bill-hook for this as it leave a nice flat finish and helps following the grain. Keep the cut close to the handle of the hook so you dont over-strike causing the hooked part of the blade to catch the side of the bow.
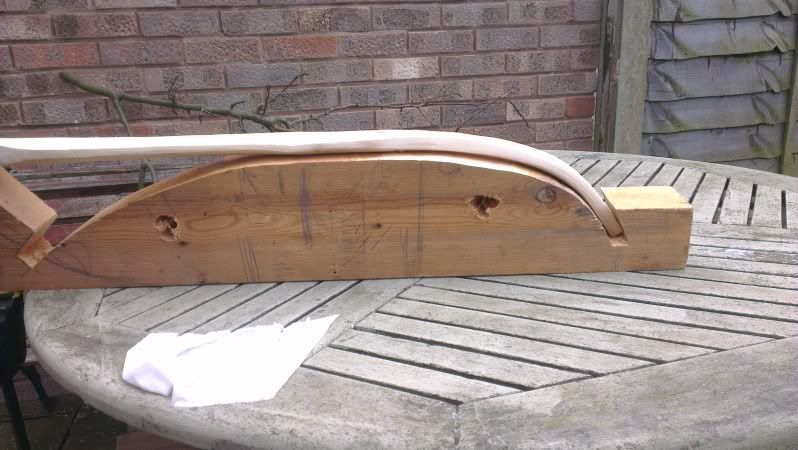
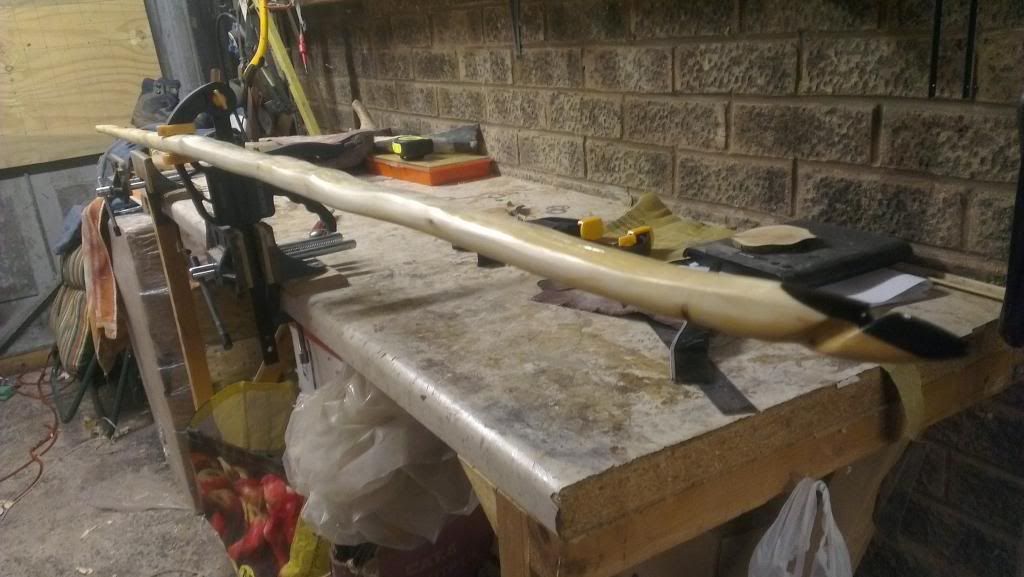
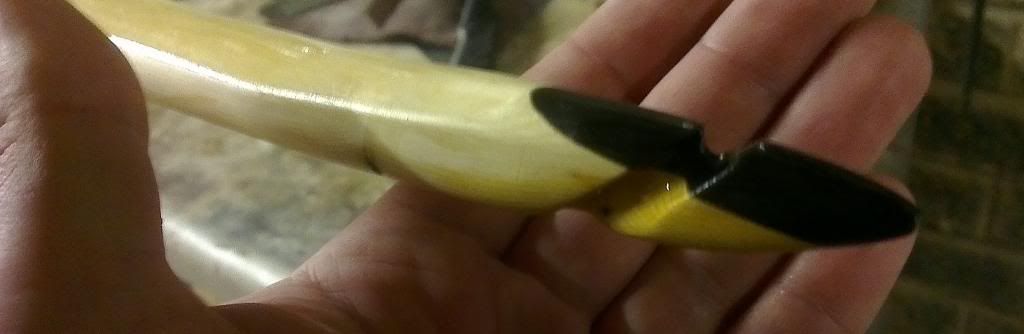
Whilst I am doing this lot I have a stave on the stove steaming away. This is a bit of a test fora few reasons. Its a very extreme bend which I usually do with dry heat but lately this has caused a few problems. Its been an age since i used steam and forgot just how much easier it was. 45 minutes boiling away and then its quick as you can to the form and bend in one fluid motion then clamp in place. The other side to the test is the bow is made from cherry which guys keep saying is no good in tension. SOO to make a point this cherry bow will be highly recurved with a static portion, no backing and a decent weight. If it blows i wont say a word, if it works ill be rubbing it in!
Will keep you all updated. Will also be doing some finishing work later on a yew character bow that will soon be up for sale or trade. Going to be about 35lbs at 27 which is a real nice target weight.
")
")