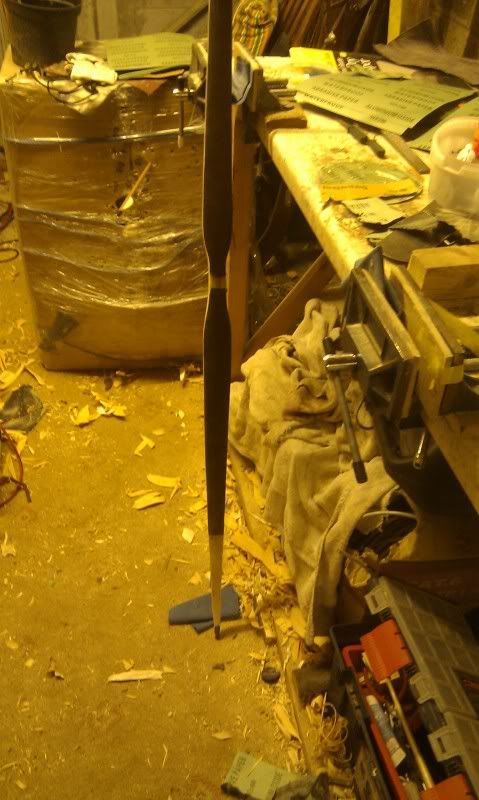
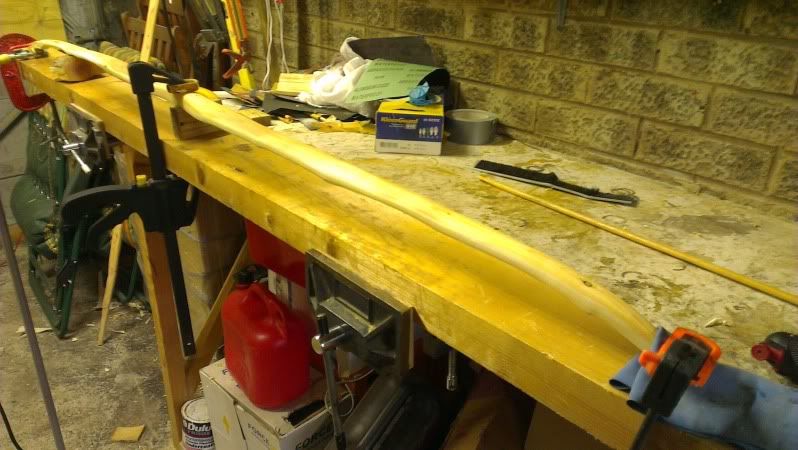
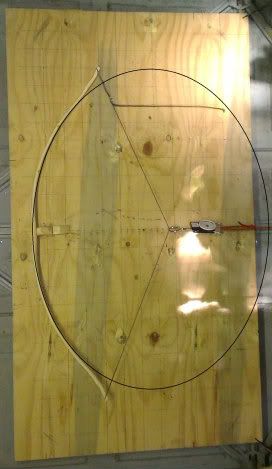
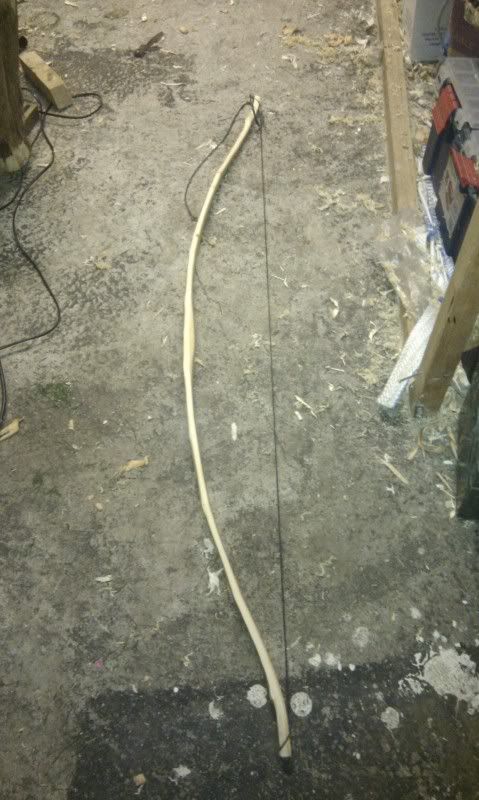
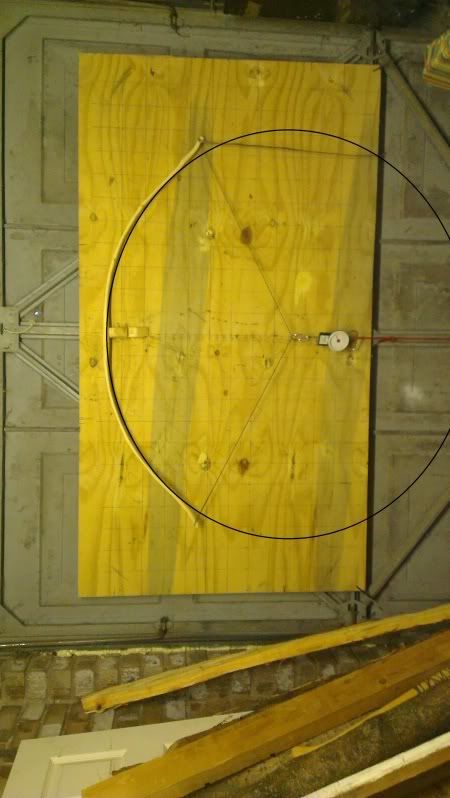
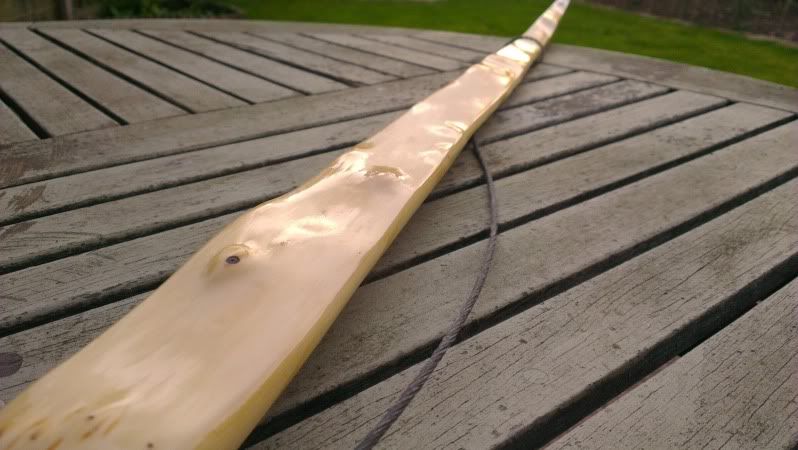
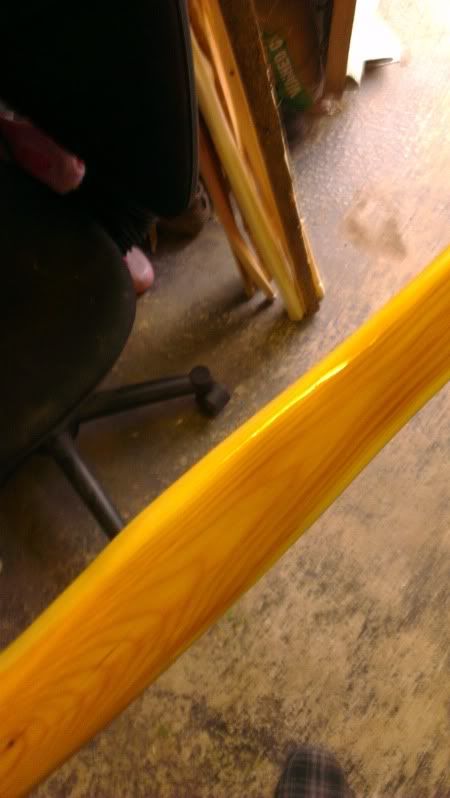
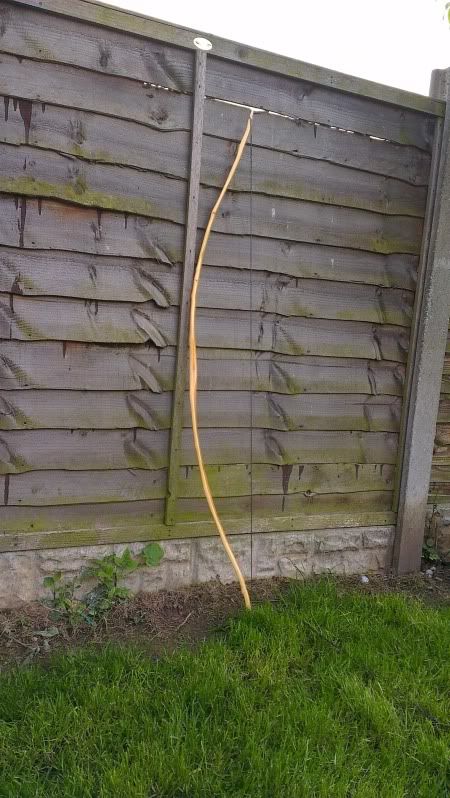
Stave makin :) and a bit of tillering.

  • Hey Guest, Early bird pricing on the Summer Moot (29th July - 10th August) available until April 6th, we'd love you to come. PLEASE CLICK HERE to early bird price and get more information.

dwardo

Bushcrafter through and through
Aug 30, 2006
6,454
476
46
Nr Chester
Not at all...That just about sums it up...:cool:

Dwardo...do you ever use flame to belly treat...I got bored, like you, using the hot air paint stripper, and found scorching over coals a much easier option...Even a gas flame might be preferable...Just a thought...

Campin' this weekend, might even get round to scraping a stave or two...

Never used a proper bed of embers yet but it makes sense that the effect would be much quicker as you could do almost a whole limb at a time. Save a fortune on electricity! I guess i would have to get some stuff mid tillered and drag it up to the woods with me some time. That or a nice fire in my fire pit at home and some coal in there, much nicer that the noise aof a heat gun. Noise is half the reason i dont use power tools for anything else.

Good idea to get scraping too ;) you know need a fix..
 
Last edited:

dwardo

Bushcrafter through and through
Aug 30, 2006
6,454
476
46
Nr Chester
Think its the best idea to silk back it now after the heat treat just to give it some more hydrate time. So first off size the bow with a thinned wood glue, let it dry mostly and then do it again. Takes no time to dry.
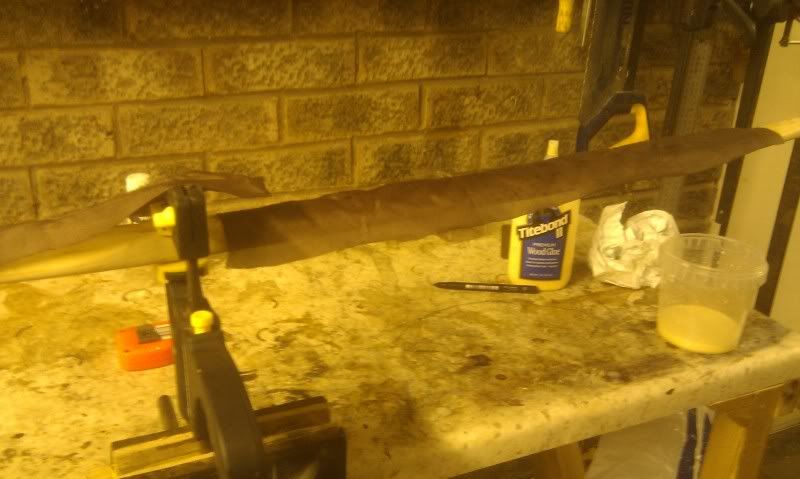
Then size the silk to where i want it roughly on the limb.
IMAG1033.jpg


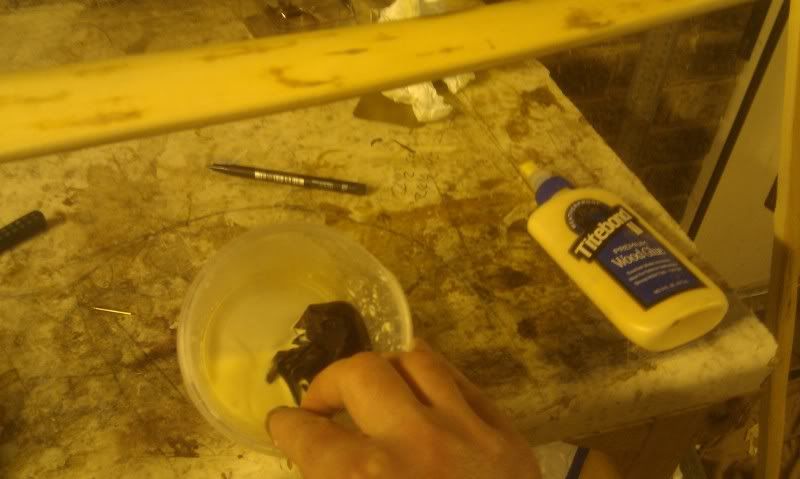
Then i thicken the glue water mix a little more and soak the silks for a bit.

IMAG1036.jpg


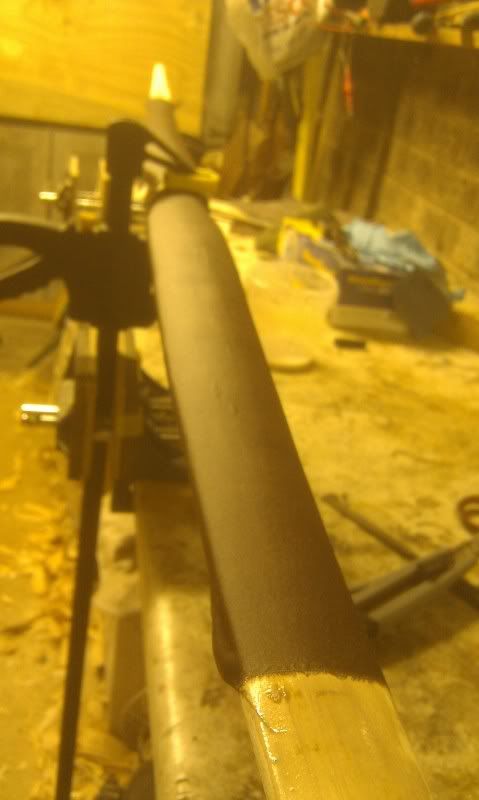
Clamp at the handle then roll and smooth out the silk whilst removing any air pockets and loose threads caught under the silk.

IMAG1040.jpg


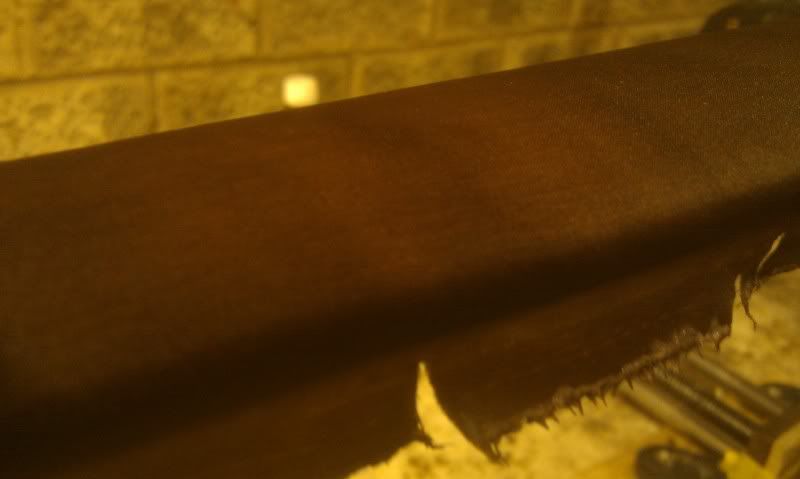
When the glue starts to dry it can shrink up ap little causing lift so to relieve pressure just cut the silks edge.

IMAG1047.jpg


Just need it to dry somewhere dust free.

Still have some issues with this bow but i hope the heat treat and silk will help it through. Still have a few pounds i can play with as i dont want this over 45lbs. My aim is for a lighter quick bow that i can practice form over force which is a good job as this was the runt of the cherry staves.
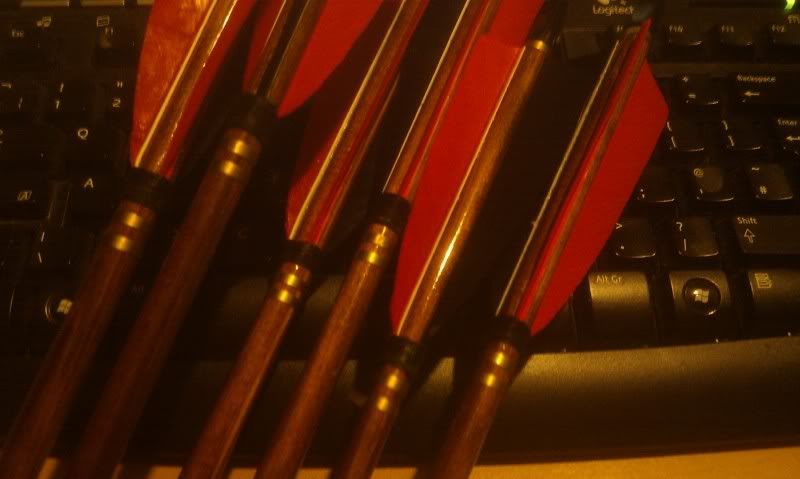
Just finished some arrows too as a present if it makes it!
IMAG1055-1.jpg
 

dwardo

Bushcrafter through and through
Aug 30, 2006
6,454
476
46
Nr Chester
Glue is set and silks are ok but i should have kept an eye on them as i got a few thin creases. If it wasnt for me i would have had to do them again. This was always the runt of the litter so i dont mind so much.

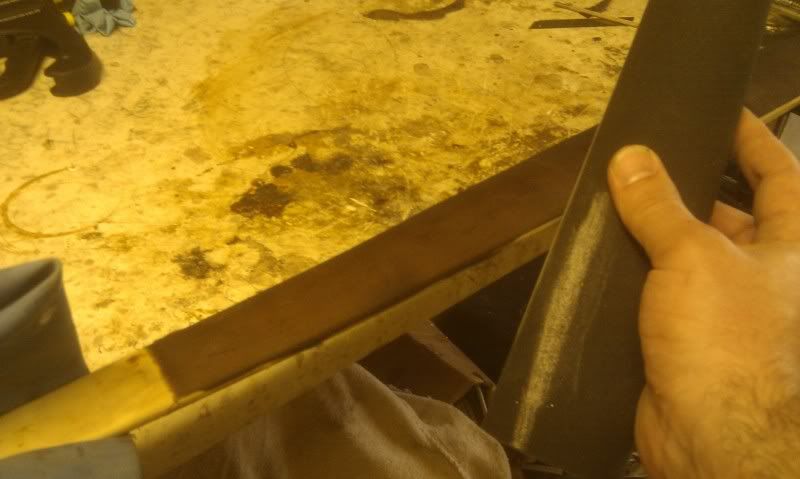
Next is to trim the silk down with a sharp knife then define the transition from silk to wood using sandpaper round a block whilst sanding from back to belly. Helps a lot to keep changing the sand paper and angle to keep the paper clean and cutting well. If it gets to polished or too rough it drags threads from the silk.

IMAG1062.jpg


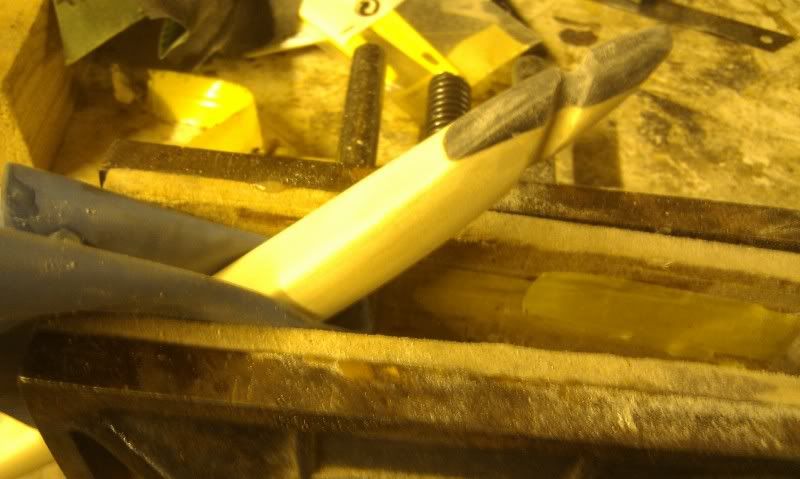
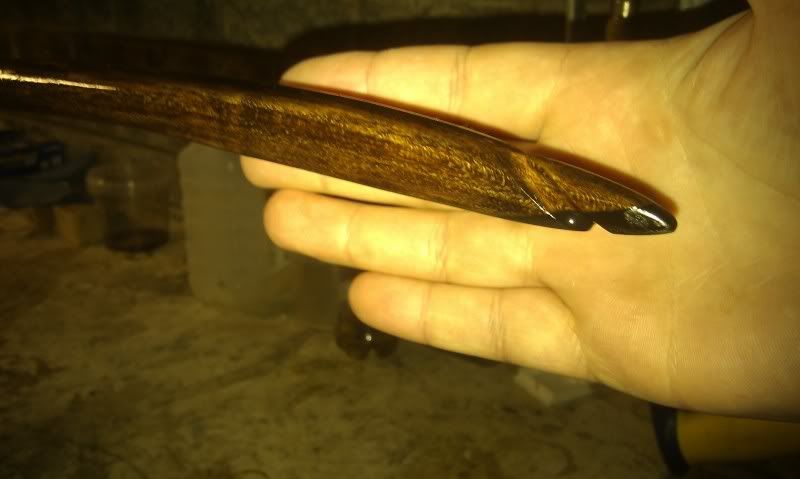
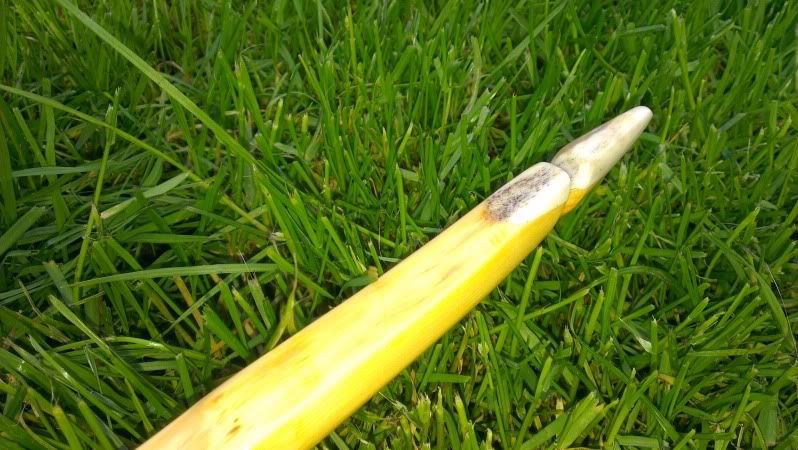
Next up some nocks. I sanded back the tips and added some buffalo horn sorry i dont have a lot of shots as i was in a hurry and forgot...

IMAG1079.jpg


Looking ok. I braced and shot a few arrows but also had to correct a flat spot in the top limb which the heat treat helped to show up.
It was a good 50lbs at 28 on the tree showing about an inch and a half of set innitialy and flat after 10 minutes. Also removed a lot of mass form the very outer limbs.

IMAG1081.jpg


Just got to do some more sanding and cleaning up shoot it some more and think about a dye and finish.
 

dwardo

Bushcrafter through and through
Aug 30, 2006
6,454
476
46
Nr Chester
Really great posts! I love your bows trully great work.

Thanks SOAR,

Just did a little more last minute tillering before i just have to call it a day and call it tillered. If not i will go on forever until its about the size a ice lolly stick. This stave was the shortest, lightest and most runty looking off all my cherry staves so i cant ask too much. Bow is asymetrical with the bottom limb being a tadd stiffer.

IMAG1089paint.jpg


Now it should just be a case of getting some good sunlight to remove any marks before a few coats of stain, few coats of polly, then the serving, then build up the grip a little and handle it. Shouldnt list it all out sounds like a lot to get done in a couple of days before a trip to the woods! :)
 
Last edited:

dwardo

Bushcrafter through and through
Aug 30, 2006
6,454
476
46
Nr Chester
Stained and the first coat of polly mat on the back and shiney on the front. Taking an age to do each coat at the minute with the weather. Then its wirewool, few more coats, red biding where the silk meets wood and a handle. :/
Was hopeing to get her finished for a few days in the woods killing tree stumps but it might not be ready in time. I do like to take bows up to the woods to finish them off but cold fingers and sewing needles do not mix!
IMAG1103.jpg
 

dwardo

Bushcrafter through and through
Aug 30, 2006
6,454
476
46
Nr Chester
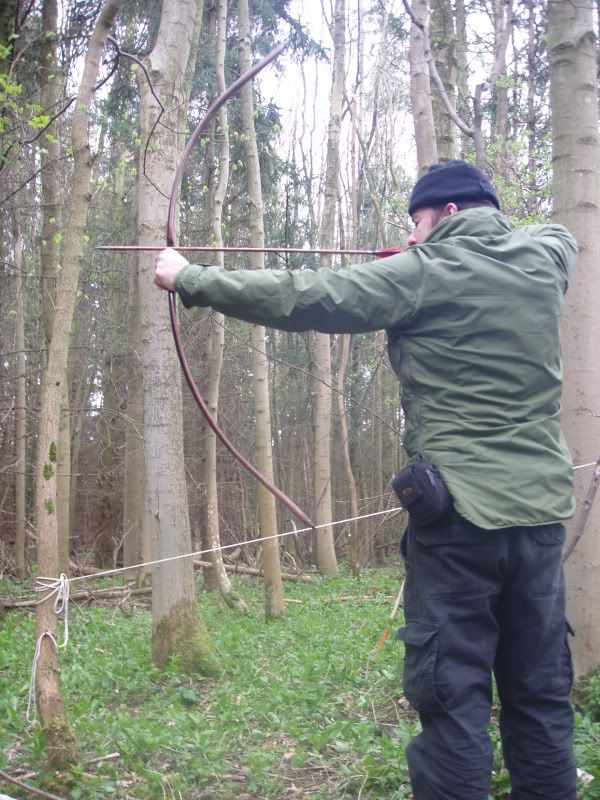
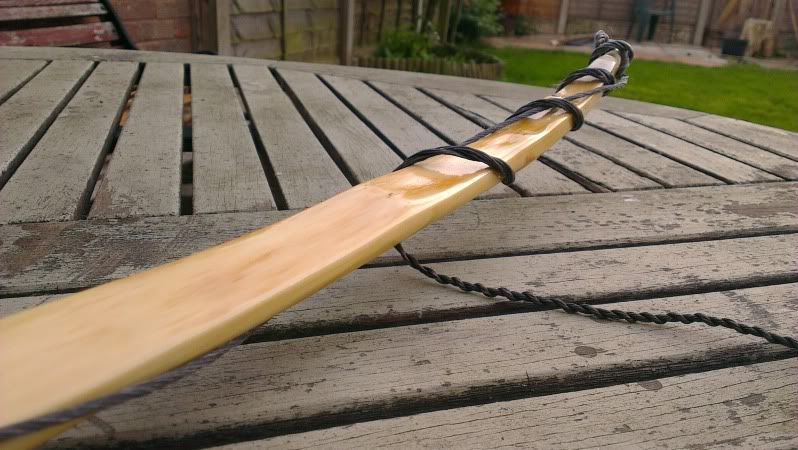
I didnt get to finish her in time but i had enough finished to take her to the woods with me for a couple of nights and shoot her in.
I was worried about a few things on the tiller but after a weekend of shooting the unbraced profile shows no change. Also shoots very nice.
Once I get 5 minutes over the weekend i will finish the servings on the limbs and make a handle.
P1010032-1.jpg


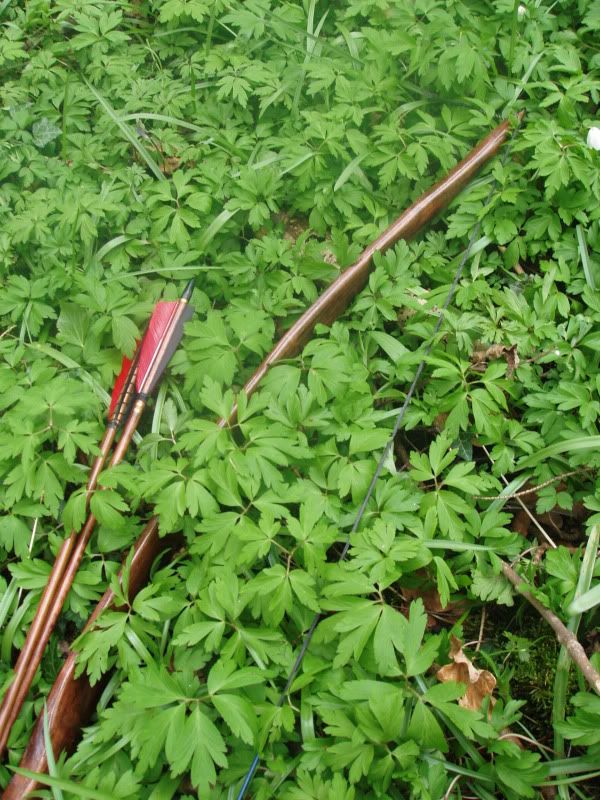
Hiding its naked (still to do) bits in the leaves.
P1010028.jpg
 

dwardo

Bushcrafter through and through
Aug 30, 2006
6,454
476
46
Nr Chester
Next up is a bit of a gnarly yew stave. It is mostly sapwood but after reading that Tim Baker tested yew sapwood and heatwood and found little difference i decided to not de-crown the bow and just try to keep enough heartwood in the belly for effect. for some reason it started to take more string follow than i would like so this is the second heat treat. hopefully it will make a bow but time will tell. I want this to be over 50lbs at 27 inch draw. The bow is 60 inch ntn

IMAG0011-3.jpg


IMAG0002.jpg


IMAG1343.jpg
 

dwardo

Bushcrafter through and through
Aug 30, 2006
6,454
476
46
Nr Chester
Decided on yet another heat treat.
This is out to 27 inches and is about 55lbs. Shot her in about 20 or so arrows and its settling at flat. Shoots very hard and fast but it seems right on the edge so i expect it to take maybe an inch or so of set yet. The flipped tips should stave off the followif it does.
Just need to remove a buch of mass from the tips and check again. There are two knots in the top limb and a bucnh of bumps all over so we will see :)
IMAG0002_COVER.jpg
 

dwardo

Bushcrafter through and through
Aug 30, 2006
6,454
476
46
Nr Chester
Few sneak pics. Have no idea what kind of handle this needs, kinda stuck.
IMAG0228-1.jpg

IMAG0212.jpg

IMAG0204-1.jpg

IMAG0194.jpg

IMAG0227-1.jpg

IMAG0218-1.jpg
 
Last edited:

dwardo

Bushcrafter through and through
Aug 30, 2006
6,454
476
46
Nr Chester
Hi all,

Much of the same stuff recently with lots of early work rather than getting bows finished, but, they are stacking up now :)

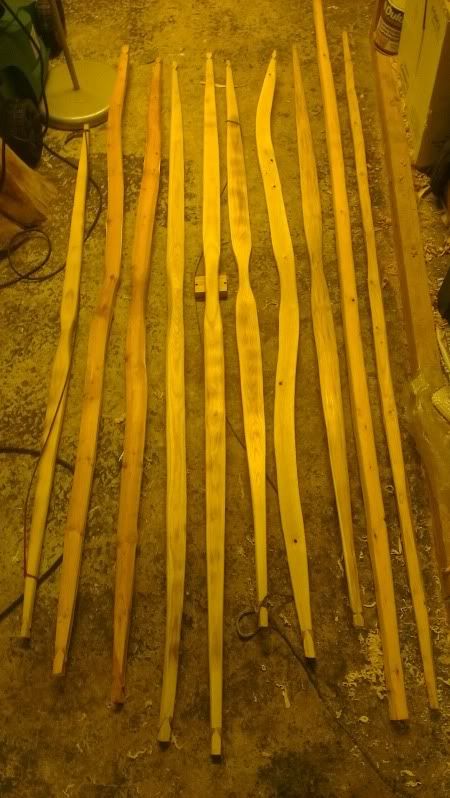
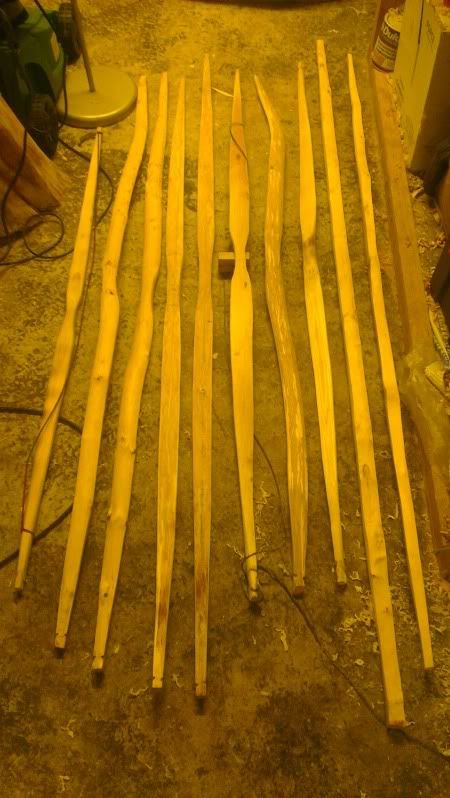
Most are tillered out to 20 or so and most have the recurves or corrections they need. Deciede to take a picture of them all and they soon starting adding up!

Starting from the left,
Cherry bow little circular tiller see what happends
Yew snakey low pundage say 40s
Yew snakey no idea could be about 5 loads of chatacter.
Ash one more recurve to do.
Ash tillered out to earl 20s heat treated flipp tips.
58 inch partial holme and recurve light weight for a starter archer, wych elm.
Oak snakey floor tillererd but needs to loose weight.
Slight gullwing mid 40`s
Warbow possible stave, yew not yet floor tillered, very heavy.
Skinny yew bow maybe 40`s more a test piece.

Belly shots
IMAG0474-1.jpg


Backs

IMAG0473-1.jpg


Will keep you updated :)
 

BCUK Shop

We have a a number of knives, T-Shirts and other items for sale.

SHOP HERE