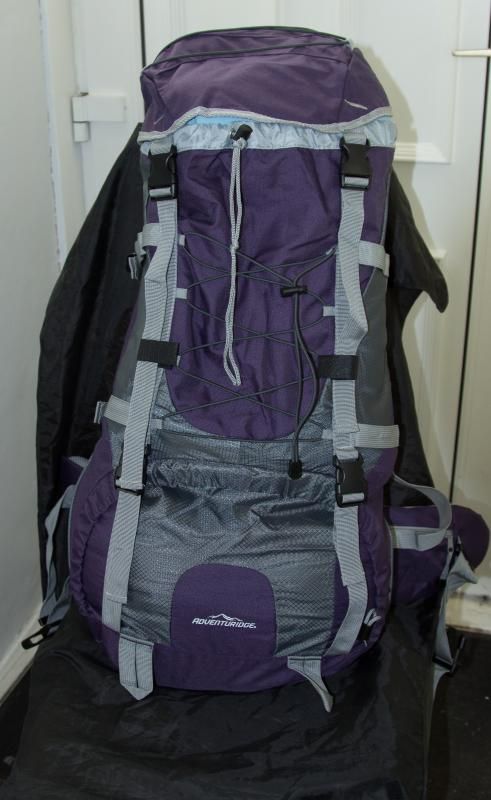
Having acquired the Aldi Rucksack last Thursday Special Buys, I thought I would make a wee slight adaptation to it.
I wanted to see if I could incorporate a 2 ltr bladder inside it.
Spent a couple of hours doing this with minimal effort and to hand ''stuff'' !
Requirements
Four rectangles of motorcycle inner tube, roughly 3 x 2 inches
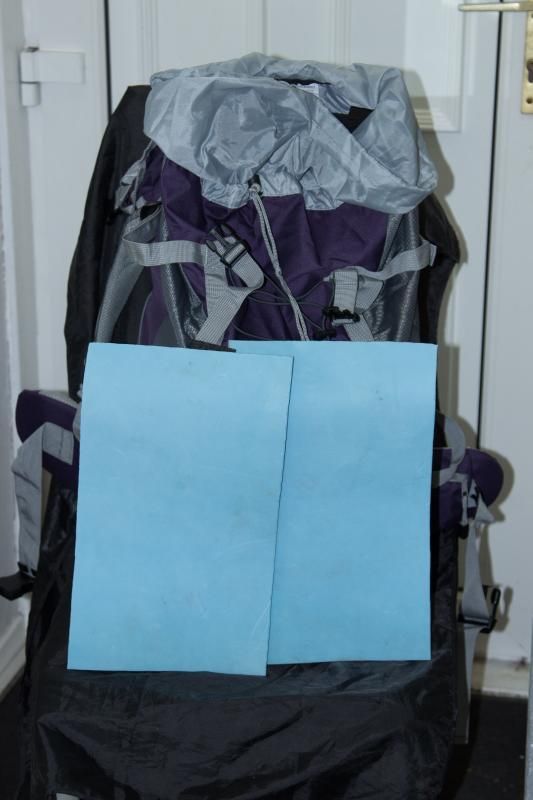
Two 13 x 9 CCF Mat
Some contact adhesive
Scissors
The 'sac
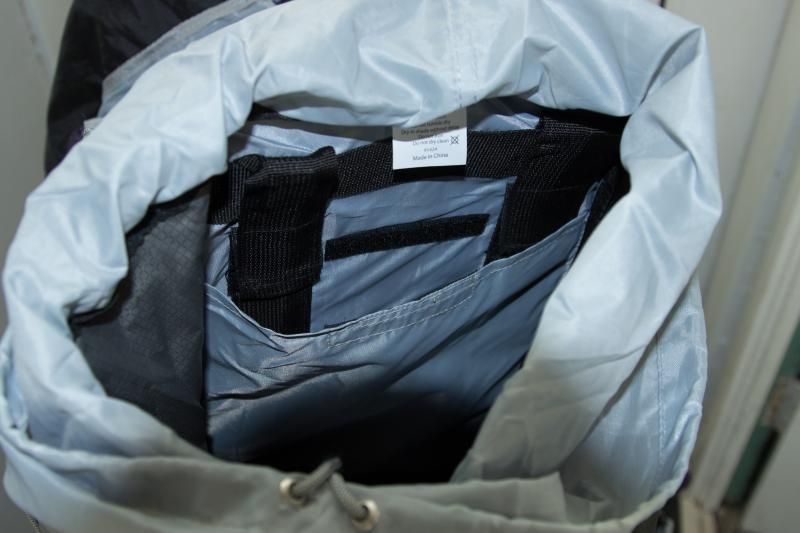
Where the bladder will go, between a CCF mat ''sandwich''. This is the access to the brace supports in the rucksack.
CCF inserts.
Two of the cut down inner tubes, cut in a star shape , for the bladder tube to pass through.

Close up of tubing attached to the CCF, showing where/how bladder tube passes through.

I wanted a bit of protection for the bladder so this is why I used the CCF mat, cushions against the metal braces and anything from inside the main compartment of the 'sack.
The rubber tubing is two fold in use, essentially should stop the fabric from tearing and makes a cut easier for inserting the bladder tube, the inside bladder compartment is a bit finicky to get done but
can be done. Rubber tubing on the outer shell to stop tearing. Bladder sides easily into the CCF mat sandwich.
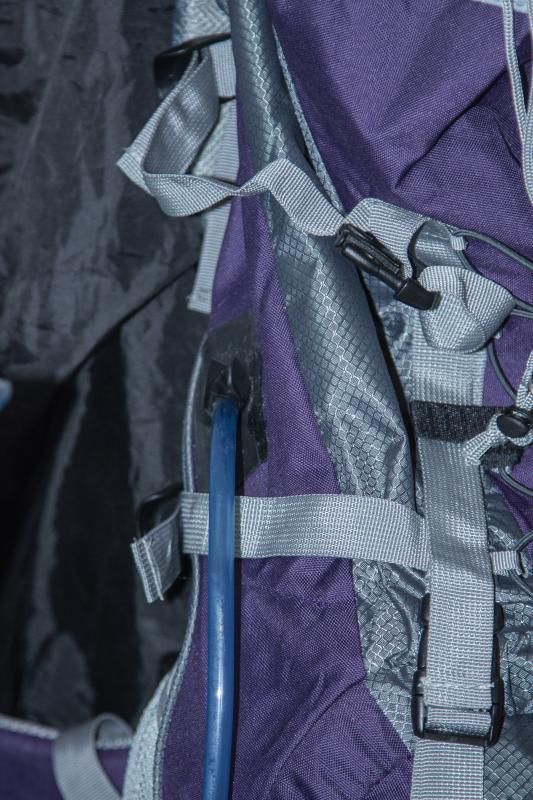
On the outside of the 'sack, you do the exact same thing, sandwich the material between two rubber pieces, stopping the material from tearing. I used contact adhesive to attach all the rubber pieces.
Cutting another star shaped cut, the bladder tubing easily passes through the rubber.
The end result.

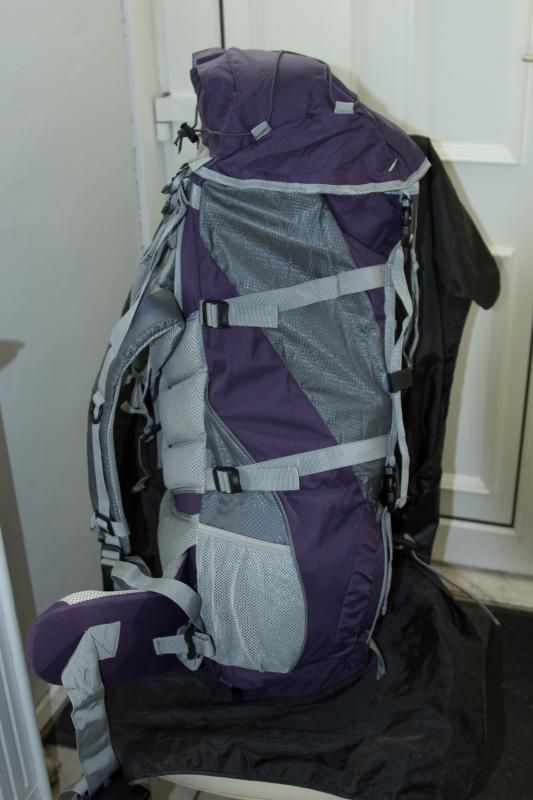
Good looking rucksack, stitching seems to good. Bags of room, I can now carry all my gear , including camera and two lenses, in a waterproof sack , as well as sleep system, spare clothes and cooking/ foods for an
couple of overnighters I need . Ruck sack also comes with a waterproof cover. Over all I am impressed so far but still need to test it in anger.
Pete
I wanted to see if I could incorporate a 2 ltr bladder inside it.
Spent a couple of hours doing this with minimal effort and to hand ''stuff'' !
Requirements
Four rectangles of motorcycle inner tube, roughly 3 x 2 inches
Two 13 x 9 CCF Mat
Some contact adhesive
Scissors
The 'sac


Where the bladder will go, between a CCF mat ''sandwich''. This is the access to the brace supports in the rucksack.

CCF inserts.

Two of the cut down inner tubes, cut in a star shape , for the bladder tube to pass through.

Close up of tubing attached to the CCF, showing where/how bladder tube passes through.

I wanted a bit of protection for the bladder so this is why I used the CCF mat, cushions against the metal braces and anything from inside the main compartment of the 'sack.
The rubber tubing is two fold in use, essentially should stop the fabric from tearing and makes a cut easier for inserting the bladder tube, the inside bladder compartment is a bit finicky to get done but
can be done. Rubber tubing on the outer shell to stop tearing. Bladder sides easily into the CCF mat sandwich.
On the outside of the 'sack, you do the exact same thing, sandwich the material between two rubber pieces, stopping the material from tearing. I used contact adhesive to attach all the rubber pieces.
Cutting another star shaped cut, the bladder tubing easily passes through the rubber.

The end result.

Good looking rucksack, stitching seems to good. Bags of room, I can now carry all my gear , including camera and two lenses, in a waterproof sack , as well as sleep system, spare clothes and cooking/ foods for an
couple of overnighters I need . Ruck sack also comes with a waterproof cover. Over all I am impressed so far but still need to test it in anger.
Pete
Last edited:
