Mors' try-stick

  • Hey Guest, We're having our annual Winter Moot and we'd love you to come. PLEASE LOOK HERE to secure your place and get more information.
    For forum threads CLICK HERE
  • Merry Christmas Guest, we hope that you have a great day wherever you are, and we're looking forward to hearing of your adventures in the New Year!
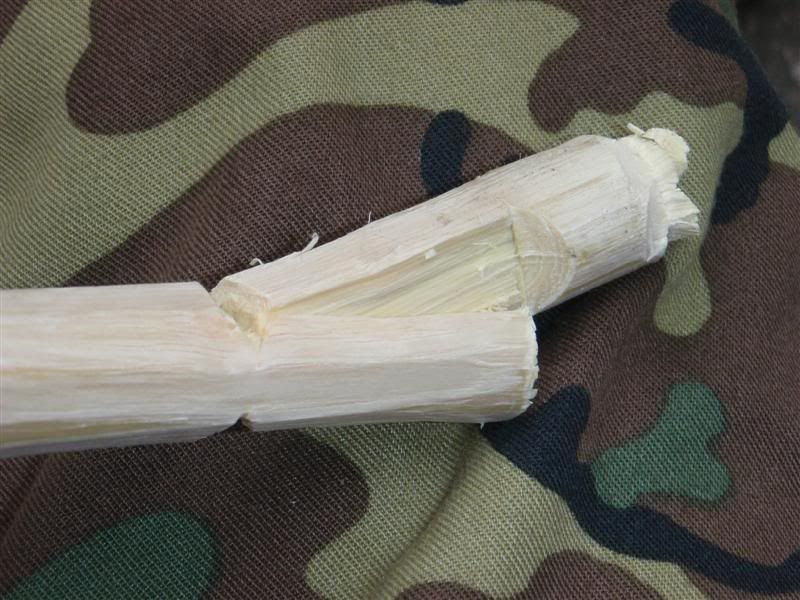
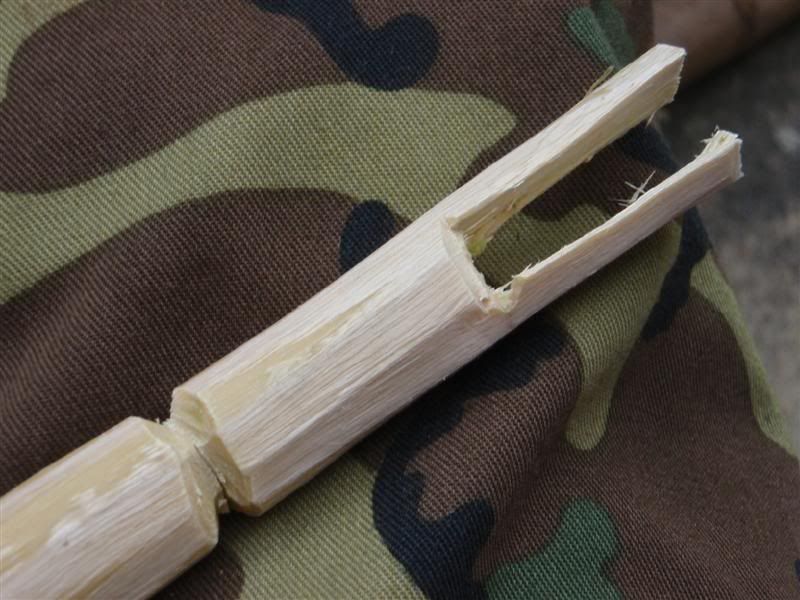
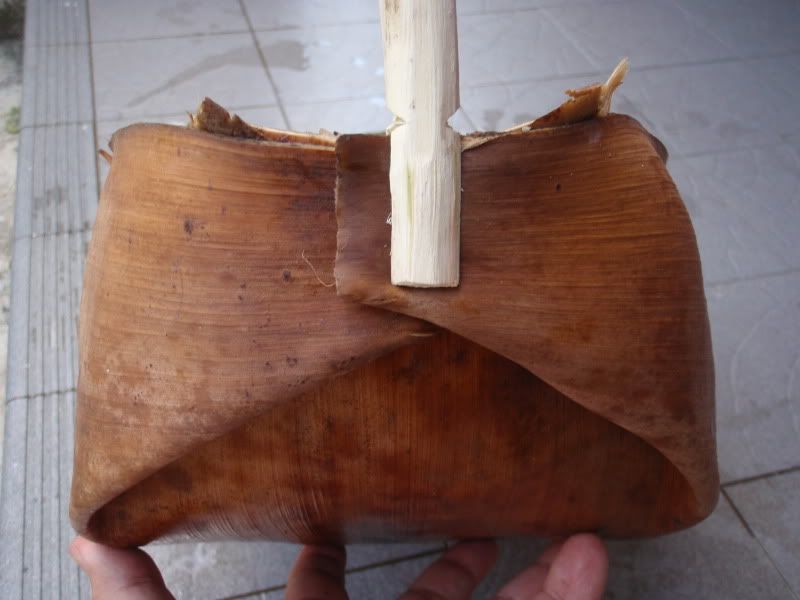
I was going through some pictures and found these pics that I'd forgotten about.

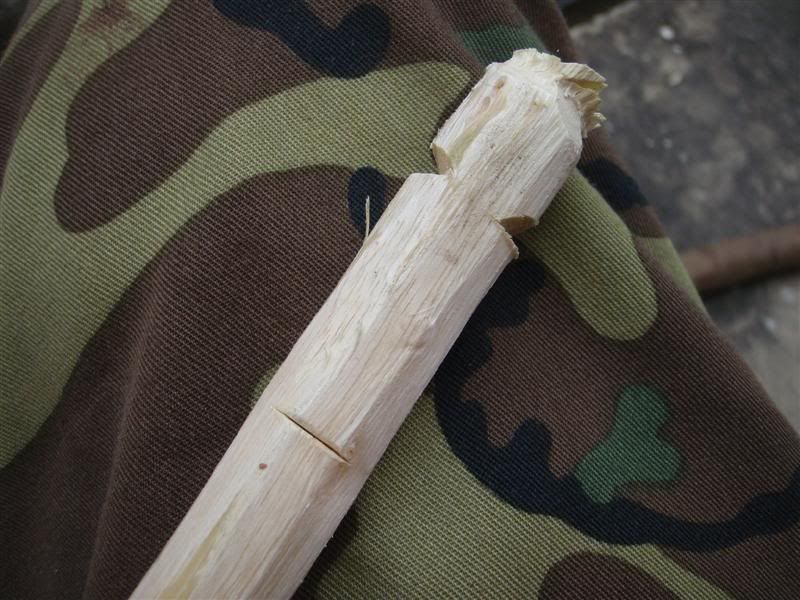
It's a try stick carved by the great man himself. I took them when I attended a course with him 2 1/2 years ago.

When I have some spare time I think I'll give it a go :rolleyes:

003-2.jpg

01-1.jpg

007-1.jpg

004-2.jpg

005-2.jpg

006-1.jpg

02-1.jpg
 
Ecky thump, without a decent carpenters square 'ow is 'e gonna know 'is square is square, some kinda high funtioning mason mebee?
 
I found this thread quite annoying as nobody has said what magazine you are talking about, what the plans look like & it was only until I could see a picture (the 1st one had a broken link) that I knew what you were all talking about. Perhaps it would be better to give a bit more detail in the opening post for things like this, as a lot of readers will probably be in the same position as me, wondering what was being talked about..

I can see what you mean about the skill level required, as some of those notches are amazing & i would find then quite hard to do on a workbench. This seems be be several levels up from carving a spoon, which is a daunting enough task for newbies. Time I got myself a spoon knife & got started on this wood carving stuff.

I think the point is to practice the basics to make things like spoon caving easier.

This has some nice close up images.
 
Phew doing a trystick is easy. Doing the videos and text is killing!

Well here is Mors’s nock for the trystick. Useful for reels, pegs etc.

Got my camera girl to video this. She got kind of stressed part way when her mum started asking why the cat was in the garbage and her attention wandered.


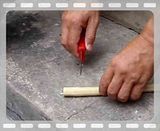
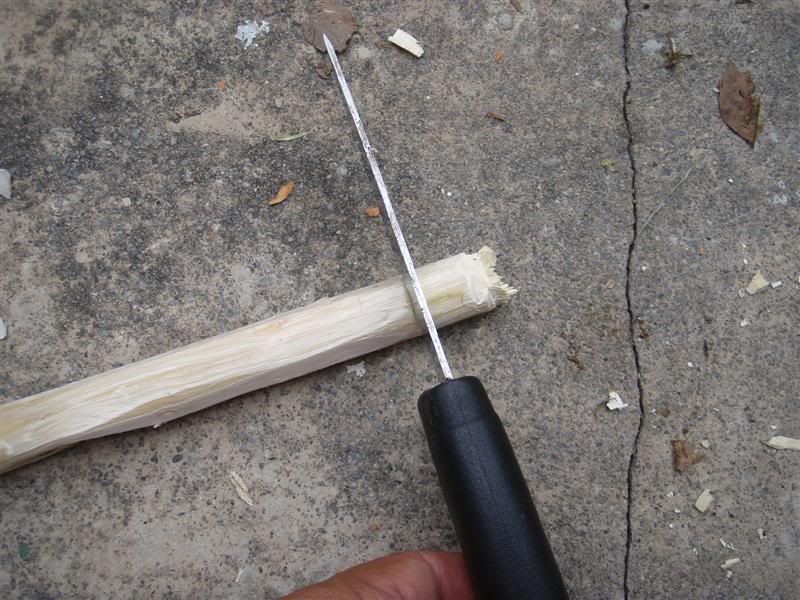
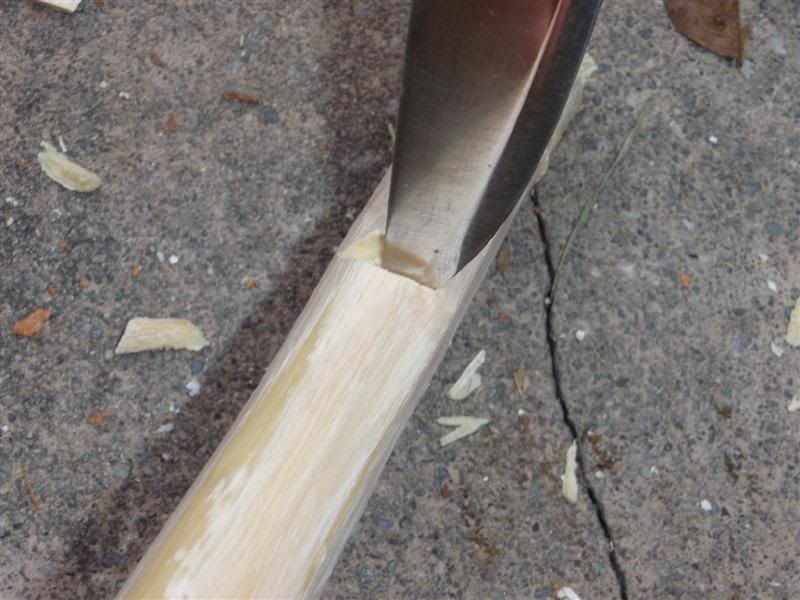
The video isn’t all that clear so I added some pics after she left. Make a vertical stop cut on each side of the stick. Use a baton or hand

P2150552Medium.jpg


Cut an oblique cut down to the stop cut .

P2150561Medium.jpg


P2150556Medium.jpg


Widen and deepen as needed on both sides

Make another two stop cuts at 90 degrees to each other further up the stick. Widen and deepen as needed.

P2150557Medium.jpg


Push tip of blade into V as deep as needed (at least half way) on both sides
P2150559Medium.jpg


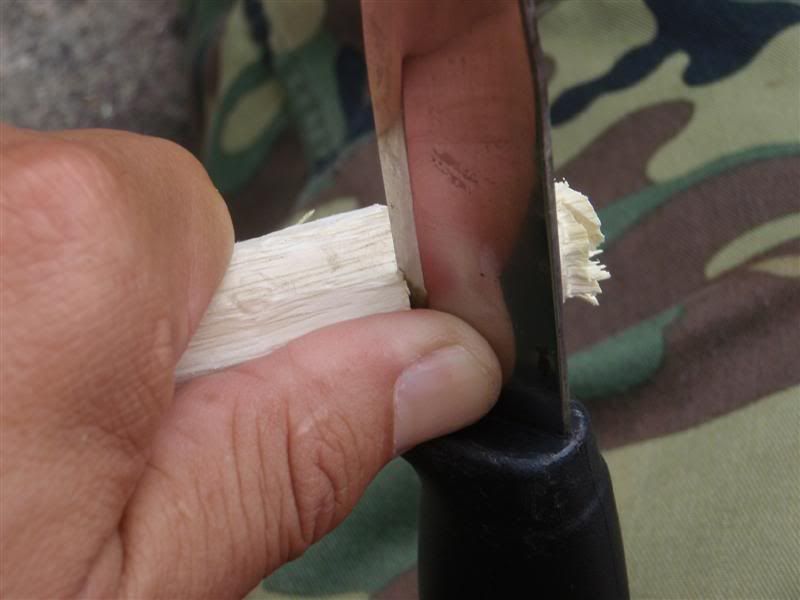
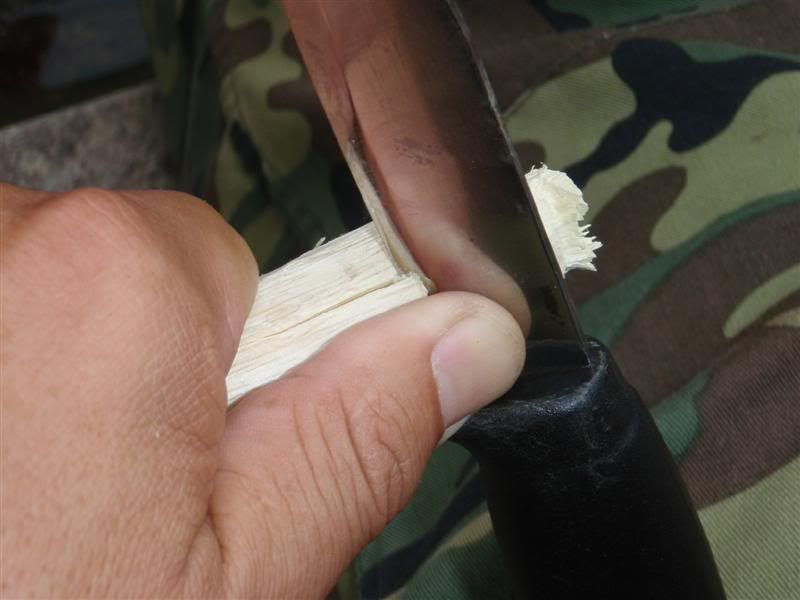
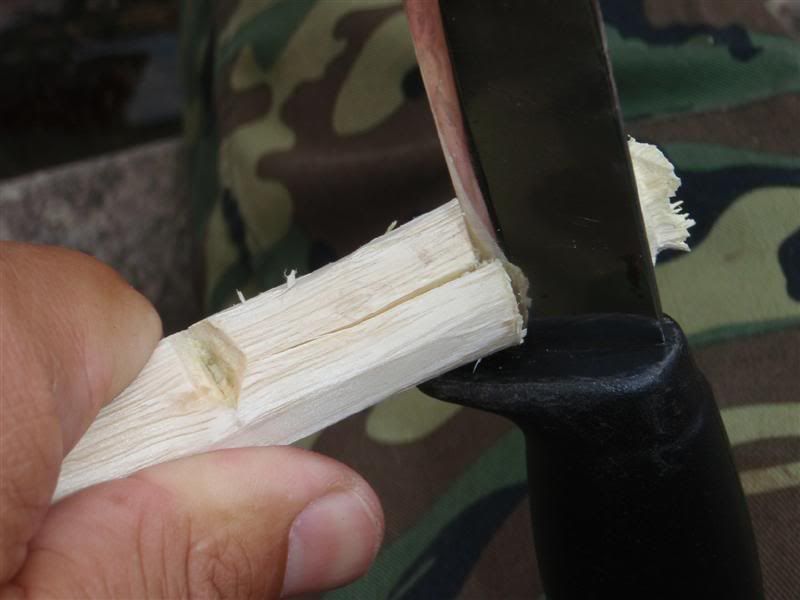
Go back to first pair of cuts. Push blade carefully down to end of the stop cut and lever up carefully so split runs to the second pair of stop cuts. Do for both sides.

P2150562Medium.jpg


P2150563Medium.jpg


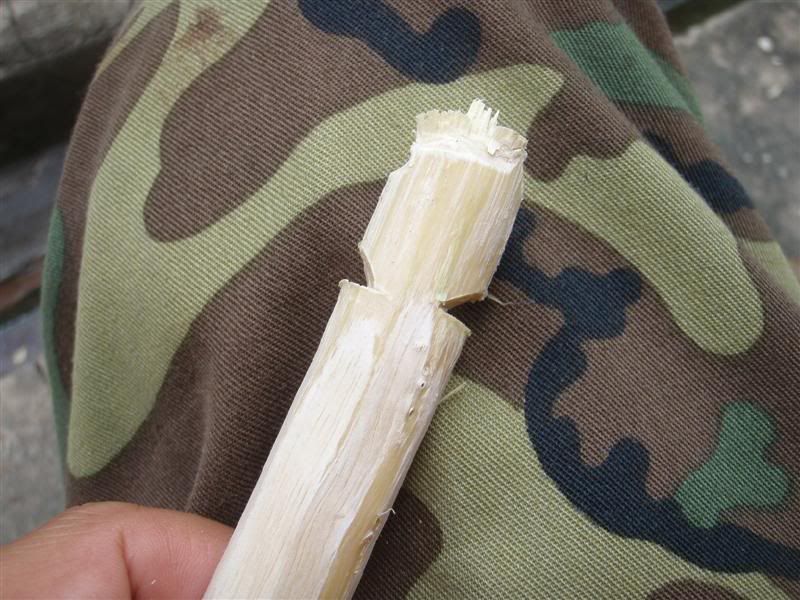
Press down on tip of stick and push blade into the V notch in either of the second pair of stop cuts. End of stick should break off cleanly.

P2150564Medium.jpg


Cut peg (in this case to desired length) and tidy up if that way inclined

P2150566Medium.jpg


Use peg

P2130530.jpg
 
could someone enlighten me about the "butterfly cut"? i'm guessing that it's the one that's shaped like......erm......a bow tie :rolleyes:
there's a link to a youtube vid but youtube tells me that i'm using an outdated browser (which pleases me no end!) i'm consumed with curiosity and starting to go a little mad trying to work out what a butterfly cut could be used for, please help.

cheers

stuart
The pages 116 to 128 of the Bush Craft book cover why you need the different cuts .
The butterfly cut is on P128 - Interlocking notches used with weak lashing materials
 
forth pic down on Mesquite's post at the top of page to, on the right hand side, if you make two butterfly cuts in two sticks/logs, then rotate one through 90o you then knock the together and the fit into each others cuts to make a joint, look fantastically simple but i bet it's bloody strong.
 
...... Interlocking notches used with weak lashing materials

......look fantastically simple but i bet it's bloody strong.

i've just had a bash at one of these joints and i'm impressed, as stated this is a fantastically simpe joint (looking at the time of my last post it's taken me half an hour including making tea and rolling fags) but bloody strong. absolutely perfect for using with weak lashings.

i'm glad i learned this one, i can see me using it again and again.

cheers

stuart
 
so after having a try at the butterfly joint yesterday i was left with a fair bit of uncarved stick, i thought i'd try a few of the various cuts that i've seen on other folks try-sticks.

firstly a close up of the butterfly joint

243ncao.jpg


my try-stick(s)

34gahvm.jpg


sorry about the poor quality pics, i'm not much of a photographer i'm afraid.

cheers

stuart
 
I really like that joint, so simple and effective, nice work there Stuart.

sorry southey, missed this somehow at the time. that "butterfly joint" is pretty amazing to be honest, i thought it might be good enough to temporarily hold two sticks together whilst you lashed them or similar, but was really surprised by how well they hold just with friction, and as a bonus, it's actually really easy to carve.

cheers

stuart
 

BCUK Shop

We have a a number of knives, T-Shirts and other items for sale.

SHOP HERE