As copied from my blog.
Apologies for the large pictures!!
During my trip with Odd we decided to try and get a real fire going, despite having brought cooking sets. Lighting a fire in the fjäll or mountains was an absolute new for me. The conditions in case up there were wet, windy and just below the treeline. It had been raining plenty in the previous period up until the day before and everything was really soaked.
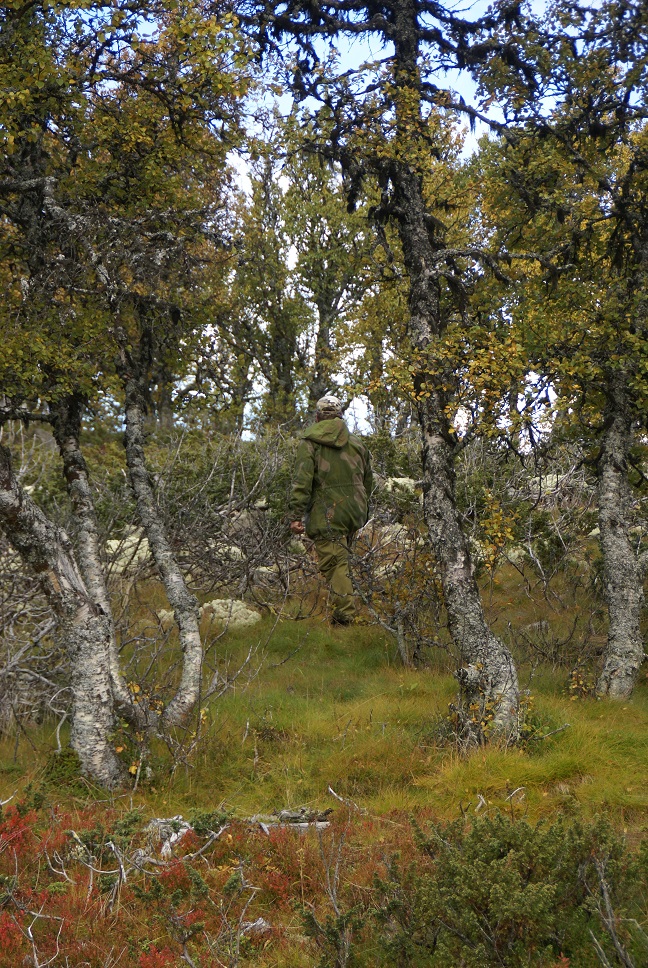
We found a spot on the lee side of a small canyon or crevice and there were plenty of stunted trees and shrubs growing there. So we set out to find some material to get a fire going and keeping it that way. The first thing I always look for is birchbark. Preferably the one that is already peeling away as it tends to be drier already. I found a birch that had broken off and sure enough there was bark. So I took some pieces, scraped them clean from moist rotten wood on the inside and soaked lichen on the outside. Lichen literally was everywhere!! And it holds moisture like a sponge, so you want to get rid of it! Then the bark went into my thigh pockets, so that it could dry as I was looking for more.
Then we proceeded gathering firewood. There were mainly birch and juniper. Like I said there was lichen everywhere and especially the birch branches were covered in it. So I considered those to be less of an option, except for a few that had broken branches on them. Those were more exposed to the wind and felt less wet to the touch.
The juniper on the other hand had a lot of upright branches and quite a few of them were bare; no bark and no lichen. Still they felt a little damp, but I figured that they would dry rather fast and that the inside would be dry anyway. So we gathered a bunch of those in several sizes.
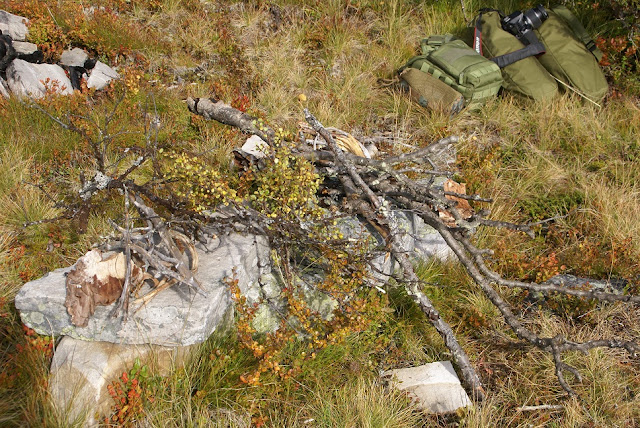
I then started preparing the wood to get a fire going. I started by stripping off the bark and anything feeling wet. Each branch and twig was then placed on a flat stone in the sun and wind to dry out as much as possible. This combination really did work! Temperatures were pretty nice and the constant wind dried the wood pretty fast on the outside.
I then proceeded making what is called feathersticks, meaning shaving strips of wood from the branch, s that each strip curls up. Making them thin enough to catch a flame is the goal. I was moderately successful at that, since many a shaving came off, but I managed to get a few with relatively decent curls. These too were placed on the rocks to further dry.
The next step was to split the smaller branches into halves or quarters, thus exposing the dry inside and let those dry as well. The final step was to take some of the bigger branches, break them into useable lengths and carve them up to, creating course "curls" so that they would dry a bit faster too.
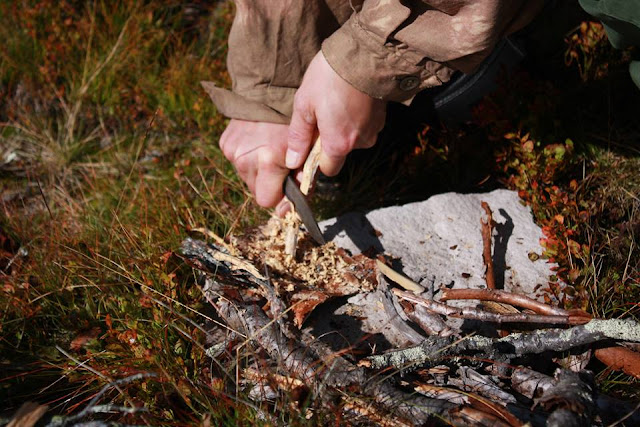
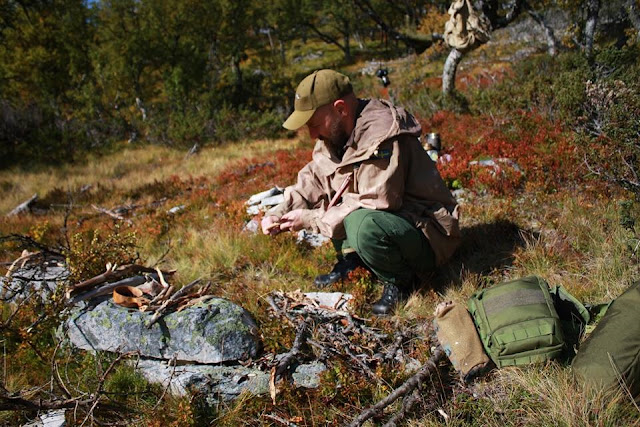
If you find juniper, you can use them bark and the wood itself to create very fine curls, almost dust by scraping them with the blade of the knife or a stone at a 90 degree angle. When dry, as when using the insides you could ignite them with a firesteel. I however had forgotten mine at home, so I used this dust at the very heart of the fire to be.
I usually build a tipi-style of fire instead of a pagoda-style. Why? This way I think that the wood is exposed to the flames to maximal effect and when burning, the ashes and embers fall into a pile, creating a hot, glowing heart, which retains its heat better. Also the wood collapses onto the heart adding more heat and fuel at a concentrated spot. Others use different styles, but this has worked for me thus far.
I start by laying a "floor"; a layer of wood on a wet underground or on snow or, in this case, a sheet of dry bark on top of the soaked coal. By reusing that coal there will be more heat, once it dries out, reducing the need for additional wood. On top of that sheet comes the juniper"dust" which I had collected there in the first place. Then some strips of more birchbark, next a layer of thin strips of wood like the mentioned quarters, making sure air can pass through and between each layer and then some bigger pieces; the halves.
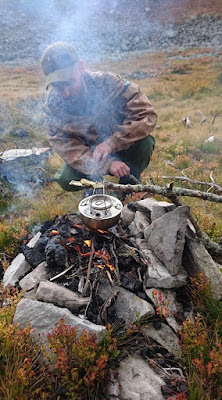
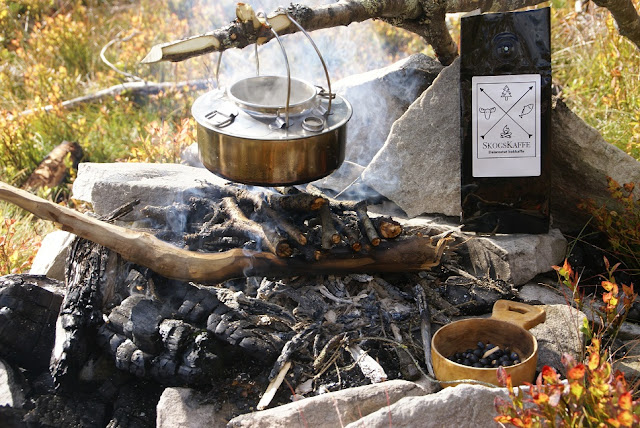
Now because I had forgotten my firesteel I used matches; one to be exact, carefully shielding the flame from the wind, keeping a close eye on the development of the fire. I had to assist by blowing on the glow a few times, when the flames died out, but in the end.......

There is one other issue I would like to address; in wet or damp conditions I do not like to put my pack on the ground. The reason might seem obvious; it gets wet that way. But there is another issue; when roaming about in unfamiliar territory or when focused on other things, like foraging or collecting wood, it is easy to lose track of where your base site is. What I prefer to do is to hang up my pack whenever possible. Keeps it dry and clean, but is also helps finding your base again!!
You can see how Odd's backpack blends very well, as it is supposed to (military origin) and when standing a bit further off you might just pass it by and not see it at all.
Even in a wooded area with a green/camouflaged pack, hanging it would make it far easier to spot it and thus find your way back.

Apologies for the large pictures!!
During my trip with Odd we decided to try and get a real fire going, despite having brought cooking sets. Lighting a fire in the fjäll or mountains was an absolute new for me. The conditions in case up there were wet, windy and just below the treeline. It had been raining plenty in the previous period up until the day before and everything was really soaked.

We found a spot on the lee side of a small canyon or crevice and there were plenty of stunted trees and shrubs growing there. So we set out to find some material to get a fire going and keeping it that way. The first thing I always look for is birchbark. Preferably the one that is already peeling away as it tends to be drier already. I found a birch that had broken off and sure enough there was bark. So I took some pieces, scraped them clean from moist rotten wood on the inside and soaked lichen on the outside. Lichen literally was everywhere!! And it holds moisture like a sponge, so you want to get rid of it! Then the bark went into my thigh pockets, so that it could dry as I was looking for more.
Then we proceeded gathering firewood. There were mainly birch and juniper. Like I said there was lichen everywhere and especially the birch branches were covered in it. So I considered those to be less of an option, except for a few that had broken branches on them. Those were more exposed to the wind and felt less wet to the touch.
The juniper on the other hand had a lot of upright branches and quite a few of them were bare; no bark and no lichen. Still they felt a little damp, but I figured that they would dry rather fast and that the inside would be dry anyway. So we gathered a bunch of those in several sizes.

I then started preparing the wood to get a fire going. I started by stripping off the bark and anything feeling wet. Each branch and twig was then placed on a flat stone in the sun and wind to dry out as much as possible. This combination really did work! Temperatures were pretty nice and the constant wind dried the wood pretty fast on the outside.
I then proceeded making what is called feathersticks, meaning shaving strips of wood from the branch, s that each strip curls up. Making them thin enough to catch a flame is the goal. I was moderately successful at that, since many a shaving came off, but I managed to get a few with relatively decent curls. These too were placed on the rocks to further dry.
The next step was to split the smaller branches into halves or quarters, thus exposing the dry inside and let those dry as well. The final step was to take some of the bigger branches, break them into useable lengths and carve them up to, creating course "curls" so that they would dry a bit faster too.


If you find juniper, you can use them bark and the wood itself to create very fine curls, almost dust by scraping them with the blade of the knife or a stone at a 90 degree angle. When dry, as when using the insides you could ignite them with a firesteel. I however had forgotten mine at home, so I used this dust at the very heart of the fire to be.
I usually build a tipi-style of fire instead of a pagoda-style. Why? This way I think that the wood is exposed to the flames to maximal effect and when burning, the ashes and embers fall into a pile, creating a hot, glowing heart, which retains its heat better. Also the wood collapses onto the heart adding more heat and fuel at a concentrated spot. Others use different styles, but this has worked for me thus far.
I start by laying a "floor"; a layer of wood on a wet underground or on snow or, in this case, a sheet of dry bark on top of the soaked coal. By reusing that coal there will be more heat, once it dries out, reducing the need for additional wood. On top of that sheet comes the juniper"dust" which I had collected there in the first place. Then some strips of more birchbark, next a layer of thin strips of wood like the mentioned quarters, making sure air can pass through and between each layer and then some bigger pieces; the halves.
Now because I had forgotten my firesteel I used matches; one to be exact, carefully shielding the flame from the wind, keeping a close eye on the development of the fire. I had to assist by blowing on the glow a few times, when the flames died out, but in the end.......


There is one other issue I would like to address; in wet or damp conditions I do not like to put my pack on the ground. The reason might seem obvious; it gets wet that way. But there is another issue; when roaming about in unfamiliar territory or when focused on other things, like foraging or collecting wood, it is easy to lose track of where your base site is. What I prefer to do is to hang up my pack whenever possible. Keeps it dry and clean, but is also helps finding your base again!!
You can see how Odd's backpack blends very well, as it is supposed to (military origin) and when standing a bit further off you might just pass it by and not see it at all.
Even in a wooded area with a green/camouflaged pack, hanging it would make it far easier to spot it and thus find your way back.

Last edited:
