Here goes on how I fit factory bolsters the blades show here are Lauri 95 blades which cause people problems based on the comments I have read.
First tip is do not modify the bolster before the tang.
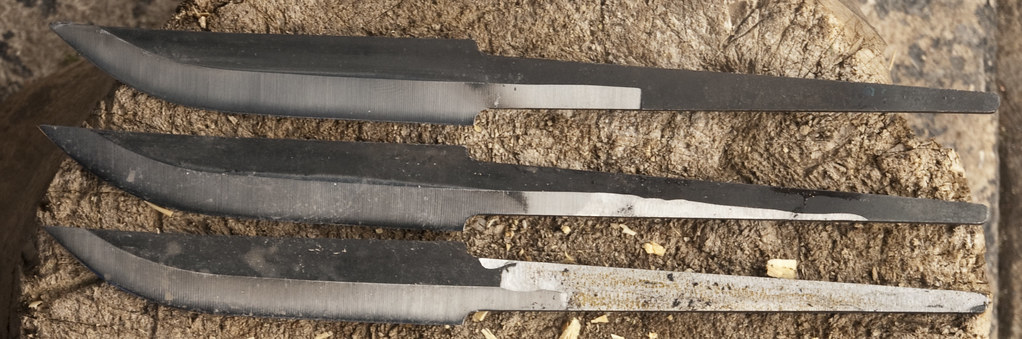
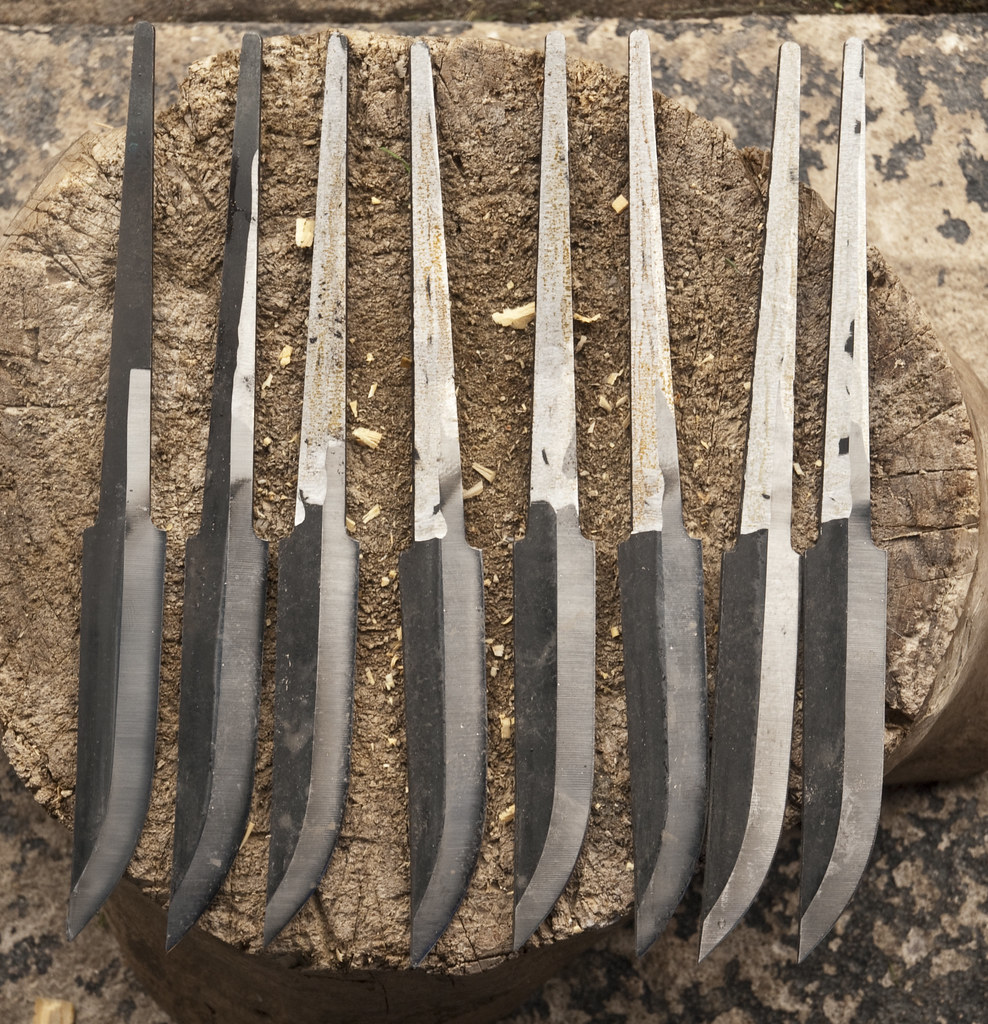
This first shot shows
Top blade is an unmodified blade, note where the grind along the tang stops it has a step at the end which will not let the bolster past this point. Bolsters with rectangular holes will not have this issue.
Middle blade has had the grind on the tang extended to allow the bolster to fit. This step will only be needed on Lauri or similar blades
Bottom blade has been ground/sanded to remove the squared off edges of the blade from when it was stamped out and about 0.2 mm off each side to ease fitting the bloster. This is done to within a few mm of the bolsters final expected position.
Lauri 95 blades being prepared 2 by alf.branch, on Flickr
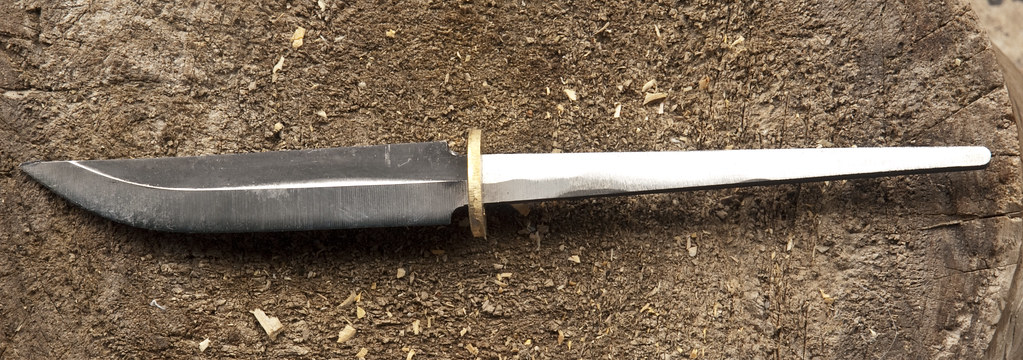
After this stage the bolster will move to this position.
Lauri 95 blades being prepared 3 by alf.branch, on Flickr
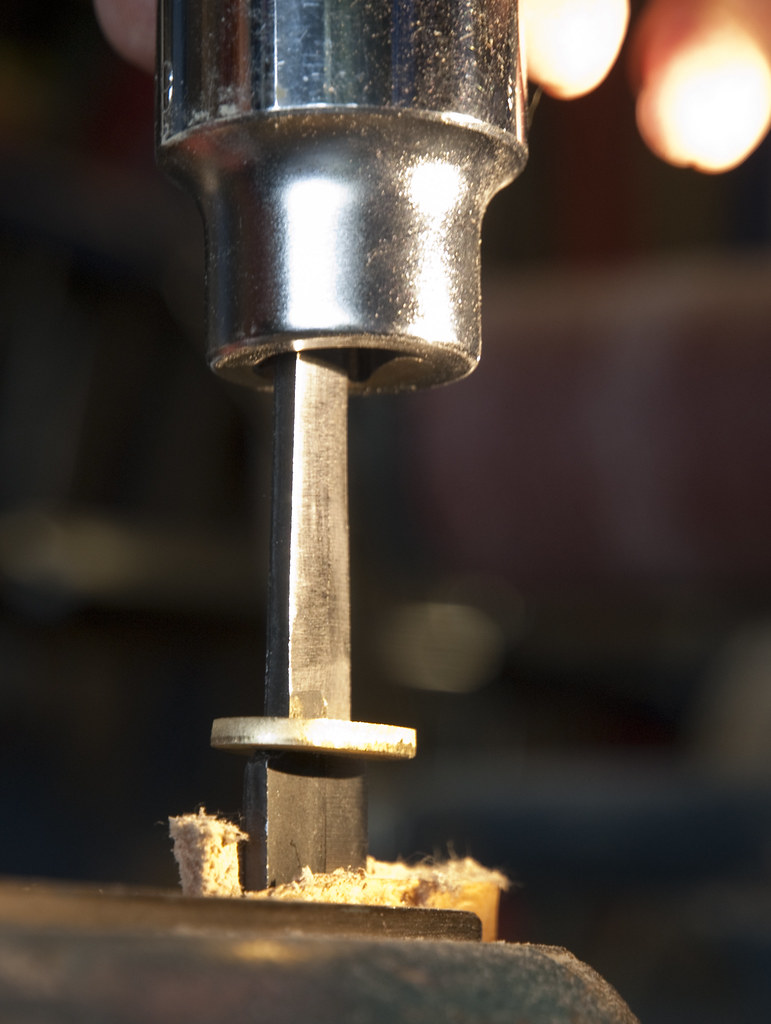
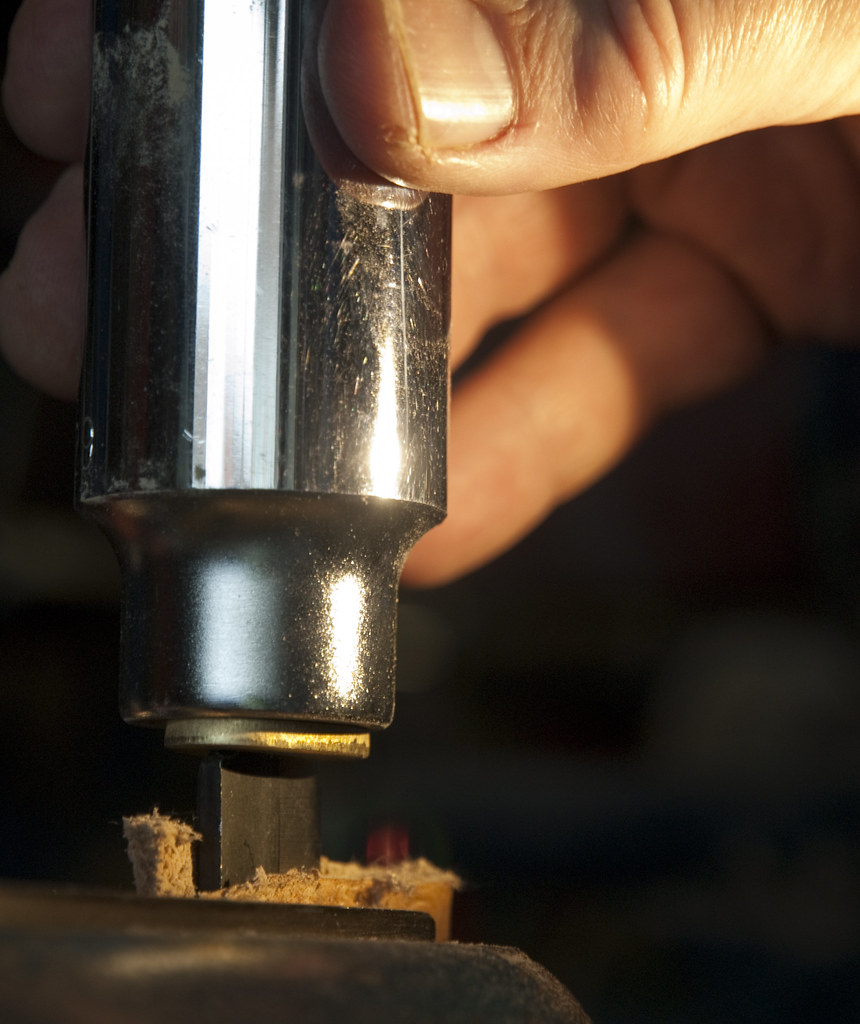
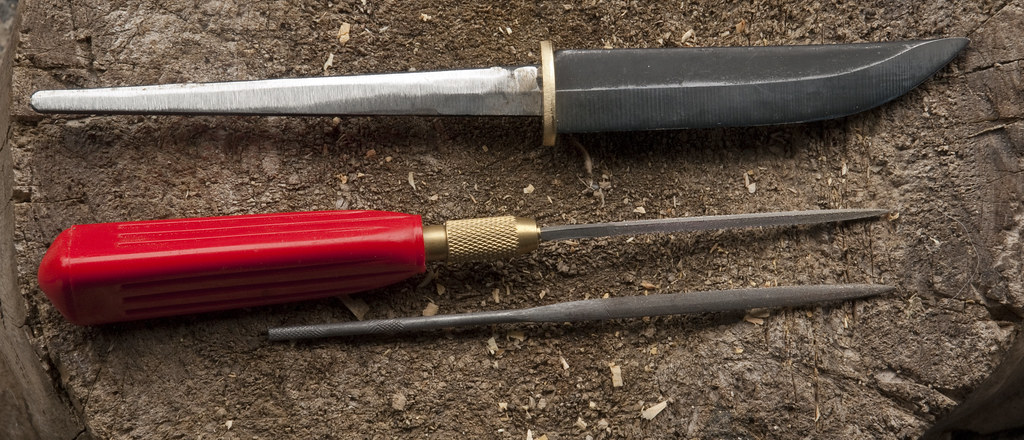
Next I tap the bolster into place I use a deep 29 mm socket but a piece of pipe or piece of wood with a hole drilled through and a mallet will do the job. After a couple of taps the bolster is nearly in postion.
Lauri 95 blades being prepared 4 by alf.branch, on Flickr
Lauri 95 blades being prepared 5 by alf.branch, on Flickr
This is how it looks from the front
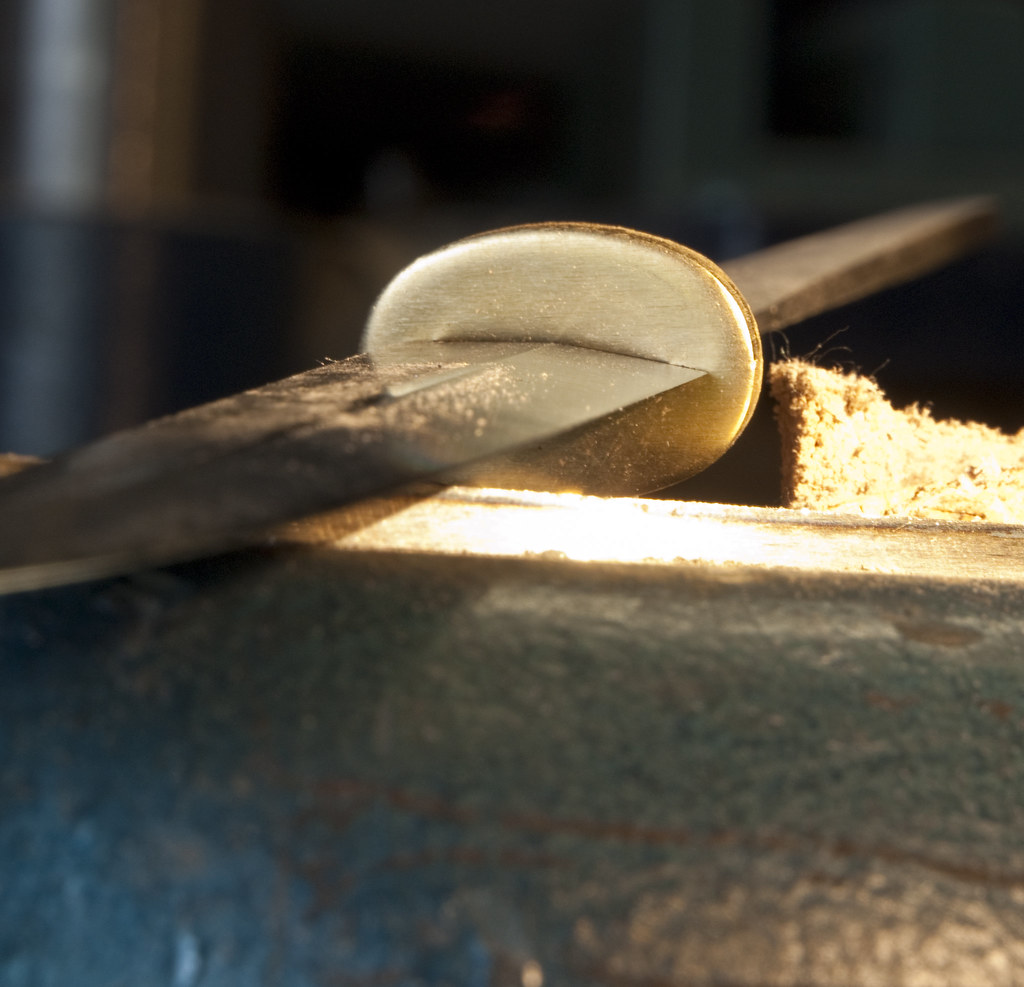
Lauri 95 blades being prepared 6 by alf.branch, on Flickr
At this point I still had a small gap so I use a couple of needle files the adjust the hole in the bolster but not wider. For none Lauri bolsters just a square needle file will do but on this one I needed an oval file too. On the bolster the balde will have made marks which can be used as a guide to where to file. Slightly lengthen the face of the slot by filing at an angle which I hope can be seen.
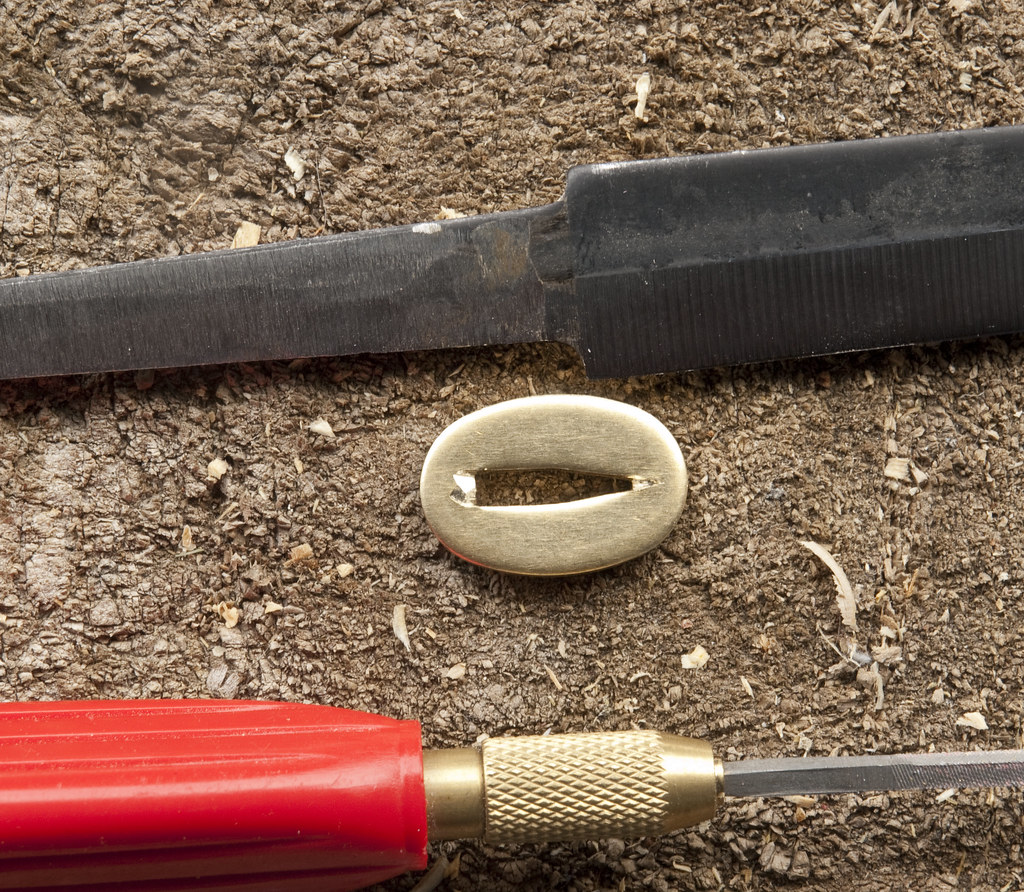
Lauri 95 blades being prepared 8 by alf.branch, on Flickr
Lauri 95 blades being prepared 9 by alf.branch, on Flickr
Repeat this until you get the fit you need. For an even better fit filing the shoulders of the blade where they meet the bolster square.
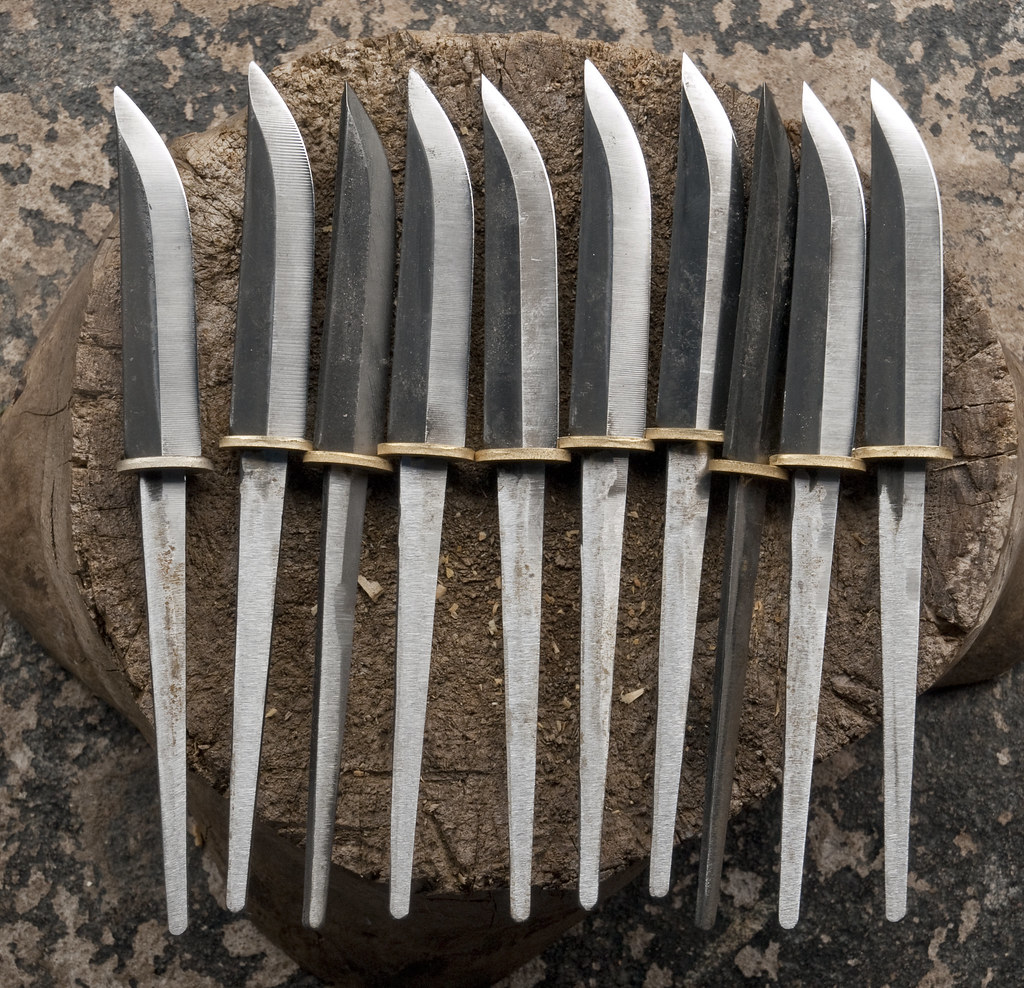
Some on the go
Lauri 95 blades being prepared 1 by alf.branch, on Flickr
They may not be perfect but they only took about 2 hours.
[
Lauri 95 blades being prepared 10 by alf.branch, on Flickr
First tip is do not modify the bolster before the tang.
This first shot shows
Top blade is an unmodified blade, note where the grind along the tang stops it has a step at the end which will not let the bolster past this point. Bolsters with rectangular holes will not have this issue.
Middle blade has had the grind on the tang extended to allow the bolster to fit. This step will only be needed on Lauri or similar blades
Bottom blade has been ground/sanded to remove the squared off edges of the blade from when it was stamped out and about 0.2 mm off each side to ease fitting the bloster. This is done to within a few mm of the bolsters final expected position.
Lauri 95 blades being prepared 2 by alf.branch, on Flickr
After this stage the bolster will move to this position.
Lauri 95 blades being prepared 3 by alf.branch, on Flickr
Next I tap the bolster into place I use a deep 29 mm socket but a piece of pipe or piece of wood with a hole drilled through and a mallet will do the job. After a couple of taps the bolster is nearly in postion.
Lauri 95 blades being prepared 4 by alf.branch, on Flickr
Lauri 95 blades being prepared 5 by alf.branch, on Flickr
This is how it looks from the front
Lauri 95 blades being prepared 6 by alf.branch, on Flickr
At this point I still had a small gap so I use a couple of needle files the adjust the hole in the bolster but not wider. For none Lauri bolsters just a square needle file will do but on this one I needed an oval file too. On the bolster the balde will have made marks which can be used as a guide to where to file. Slightly lengthen the face of the slot by filing at an angle which I hope can be seen.
Lauri 95 blades being prepared 8 by alf.branch, on Flickr
Lauri 95 blades being prepared 9 by alf.branch, on Flickr
Repeat this until you get the fit you need. For an even better fit filing the shoulders of the blade where they meet the bolster square.
Some on the go
Lauri 95 blades being prepared 1 by alf.branch, on Flickr
They may not be perfect but they only took about 2 hours.
[
Lauri 95 blades being prepared 10 by alf.branch, on Flickr