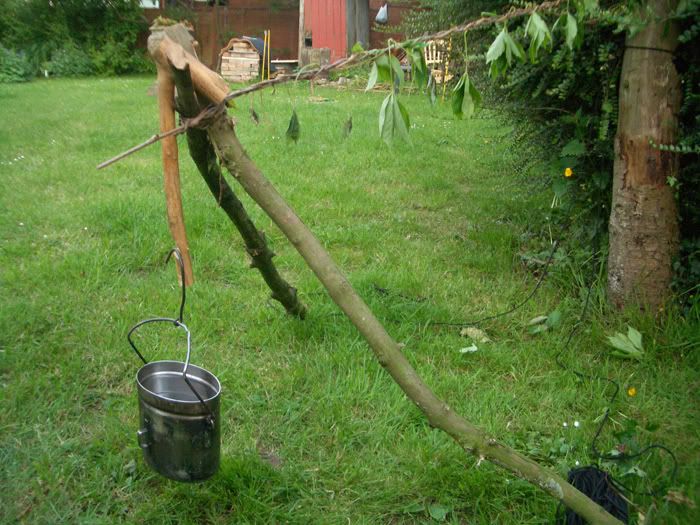
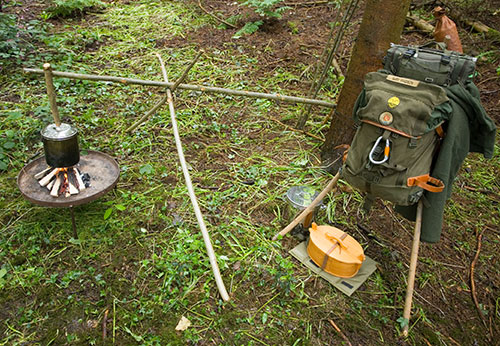
OK well I managed to get it all together and took a few pics as I tried the Grave alternative to my original pot hanger. All the usual disclaimers e.g: I am no craftsman/photographer etc. but I'm hoping this gives those who are interested the jist of what I did.
Ok first off I find a branch, the main things I was looking for are the angles and the secondary branch that will create the fork that rests against the post. something like this is perfect:
Next up I trim the branch down so I have two pieces to work with:
Then I flatten one side of each branch so they will lie together snuggly IMPORTANT BIT is to be sure that when the branches lie together flat sides together is that you make sure you have two opposing forks one pointing each way and parralell to each other:
Bad photo cos they aren't positioned right hopefully the close up makes it clearer. You should also be able to see that I have created an opposing notch to help hold things in place:
then comes the tricky bit of binding. First off I take a bight (fold) of line and lay it along the branches:
binding back up along the bight I try to keep the binding as tight as i can till im left with a short tail at either end of the wrap:
then I thread the wrapped end through the end of the original loop and pull the other tail tight so the loop and tail get drawn under the wrapping:
if that all went to plan then once you've driven a decent post into the ground next to your fire , you have your very own fully adjustable pot hanger :
I prefer my original one to this one as the eye seems to actually 'grip' the post a little better. That time i made it by splitting the branch back then twisting and bending to form the loop, which is held in place by the same binding:
Well there it is...my first tutorial probably as clear as mud

feel free to ask if I stopped making sense.


