Andy Woods First Bushcraft Survival Sharp

JonathanD

Ophiological Genius
Sep 3, 2004
12,815
1,511
Stourton,UK


It's quite rare that I get excited about a knifemaker or knife. Well... OK, that's not quite true. It's quite often I get excited about a knifemaker and/or a knife, but to be fair, those makers are usually only innovators or high end makers like Alan Wood, FGYT, Rob Bayley and my holy of holies Mr Stuart Mitchell. There are many others I hold in high regard like Rob Evans, HillBill, Dave Budd to name but a very few here. But there's a new guy in town, and after seeing his debut work a couple of years back, he had my attention from the start.


His name is Andy Wood, and for a couple of decades has been the 'go to' guy if you wanted information about the screen used and commercially available Rambo knives. A big collector of Lile originals himself, he has gained a huge amount of knowledge into that niche knife world that some of us Google after watching First Blood.


A couple of years ago he launched his own replica of Jimmy Lile's First Blood knife (I posted about it here). It was a knife movie enthusiasts had been waiting 30 years for and is universally acknowledged by Lile experts and owners as the definitive First Blood movie knife replica. A claim that has recently been verified when one of the original movie knives became public and went on sale.... for lot's and lot's of money.


A year+ ago Andy approached me and asked if I'd be interested in his new project knife series that would be his own range and design, and after emails back and forth, I got quite interested in what he had planned.


Now Andy I class in the Rob Bayley arena of knife making. That is, his work is micron perfect and exceptionally well engineered to the smallest detail. These makers differ from the likes of Alan Wood (yeah, those two names are going to get confusing) and Stuart Mitchell as the latter do absolutely everything by hand, whereas Andy Wood and Rob Bayley use their engineering expertise to design and make knives. This makes them more clinical and precise compared to the more organic flow of Stu Mitchell and Alan Wood. Personally I like both approaches and I can appreciate the different skills that come to the fore to make the end product.


Due to Andy's love of big bladed survival knives of the 80's era, I was expecting a large knife with unique design and hollow handle along the lines of Chris Reeves design. So it was a huge surprise when he came up with a bushcraft/utilty sized blade more in keeping with the kind of blades we use in bushcraft/expedition. I should point out that Andy is British, so this may have influenced the design of his first knife.
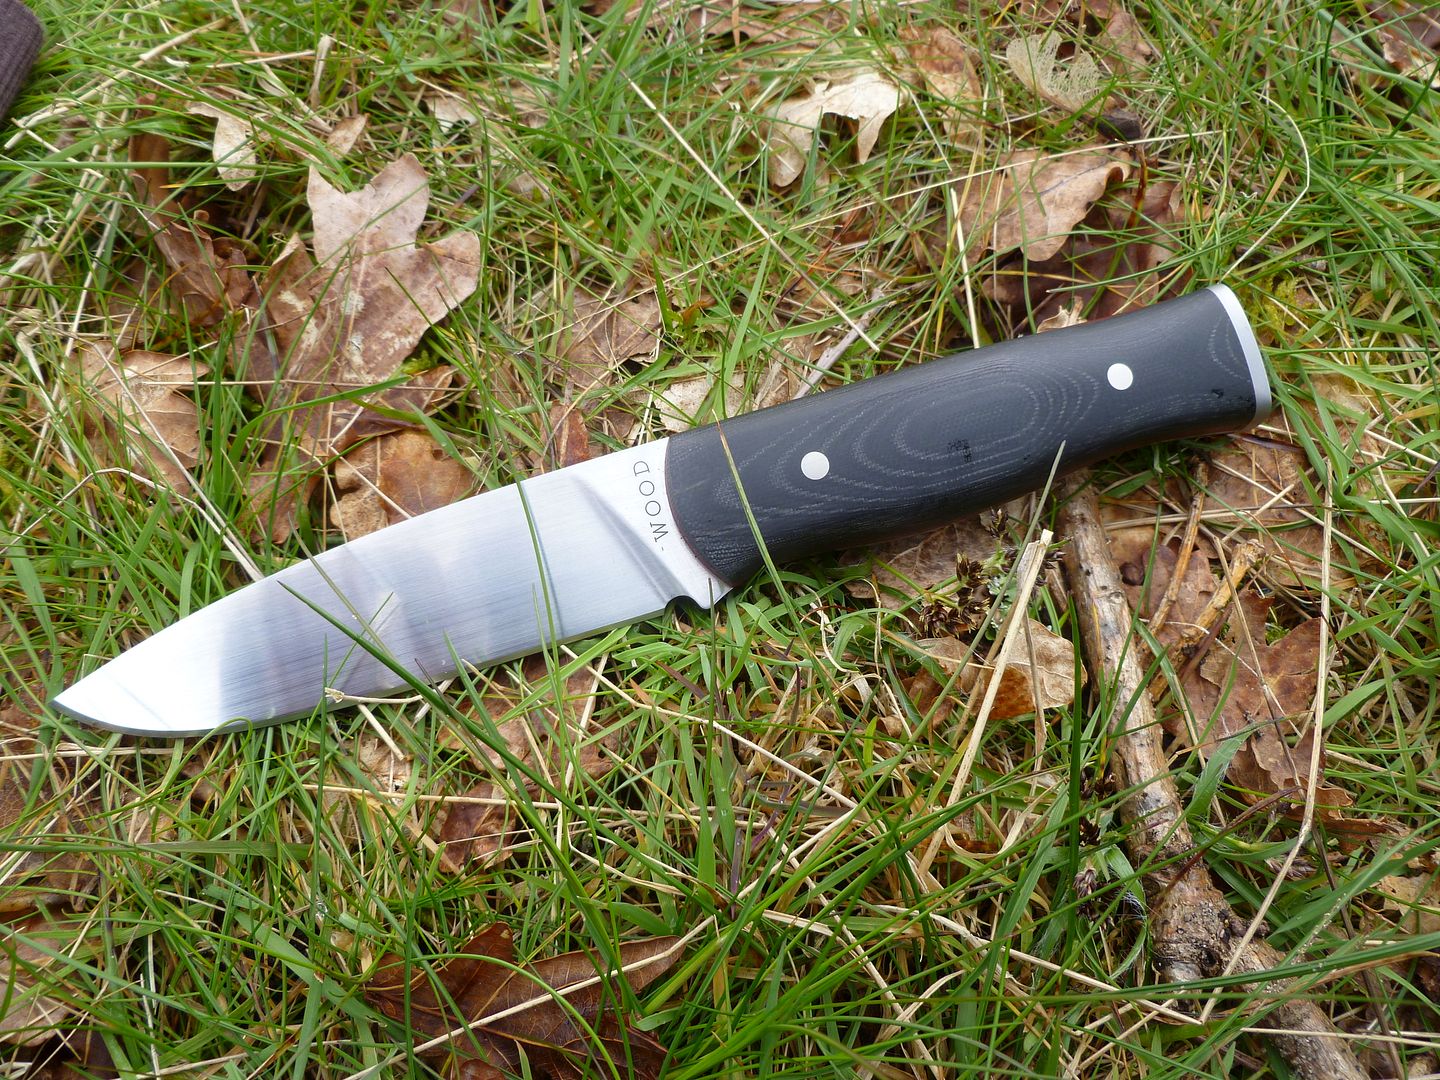


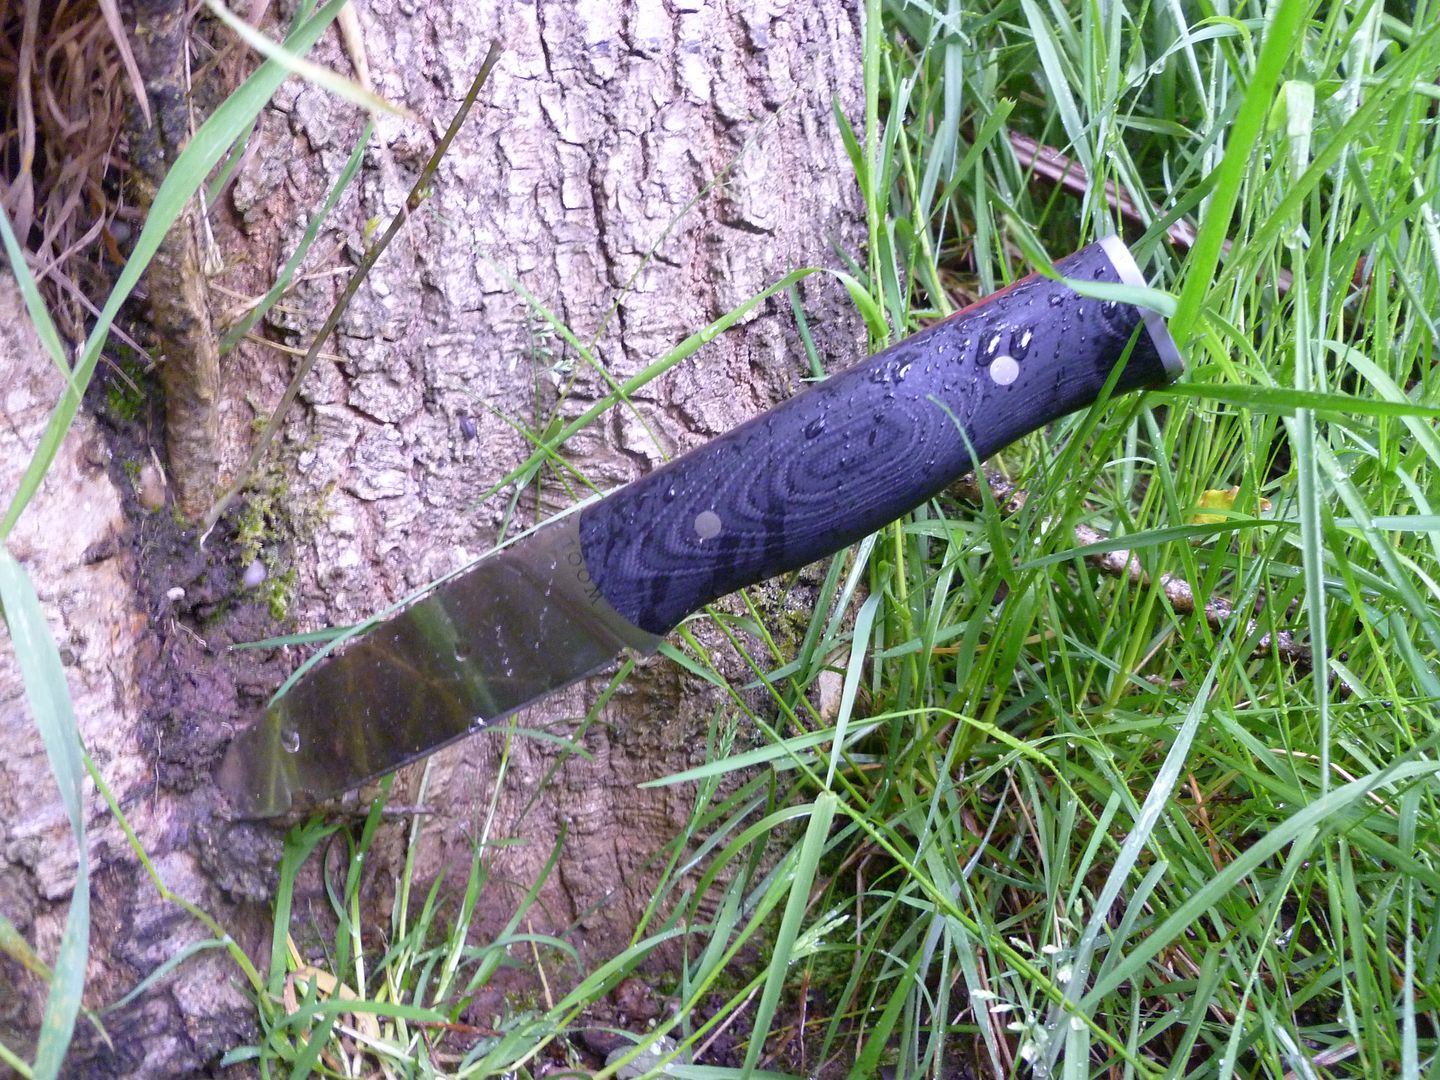
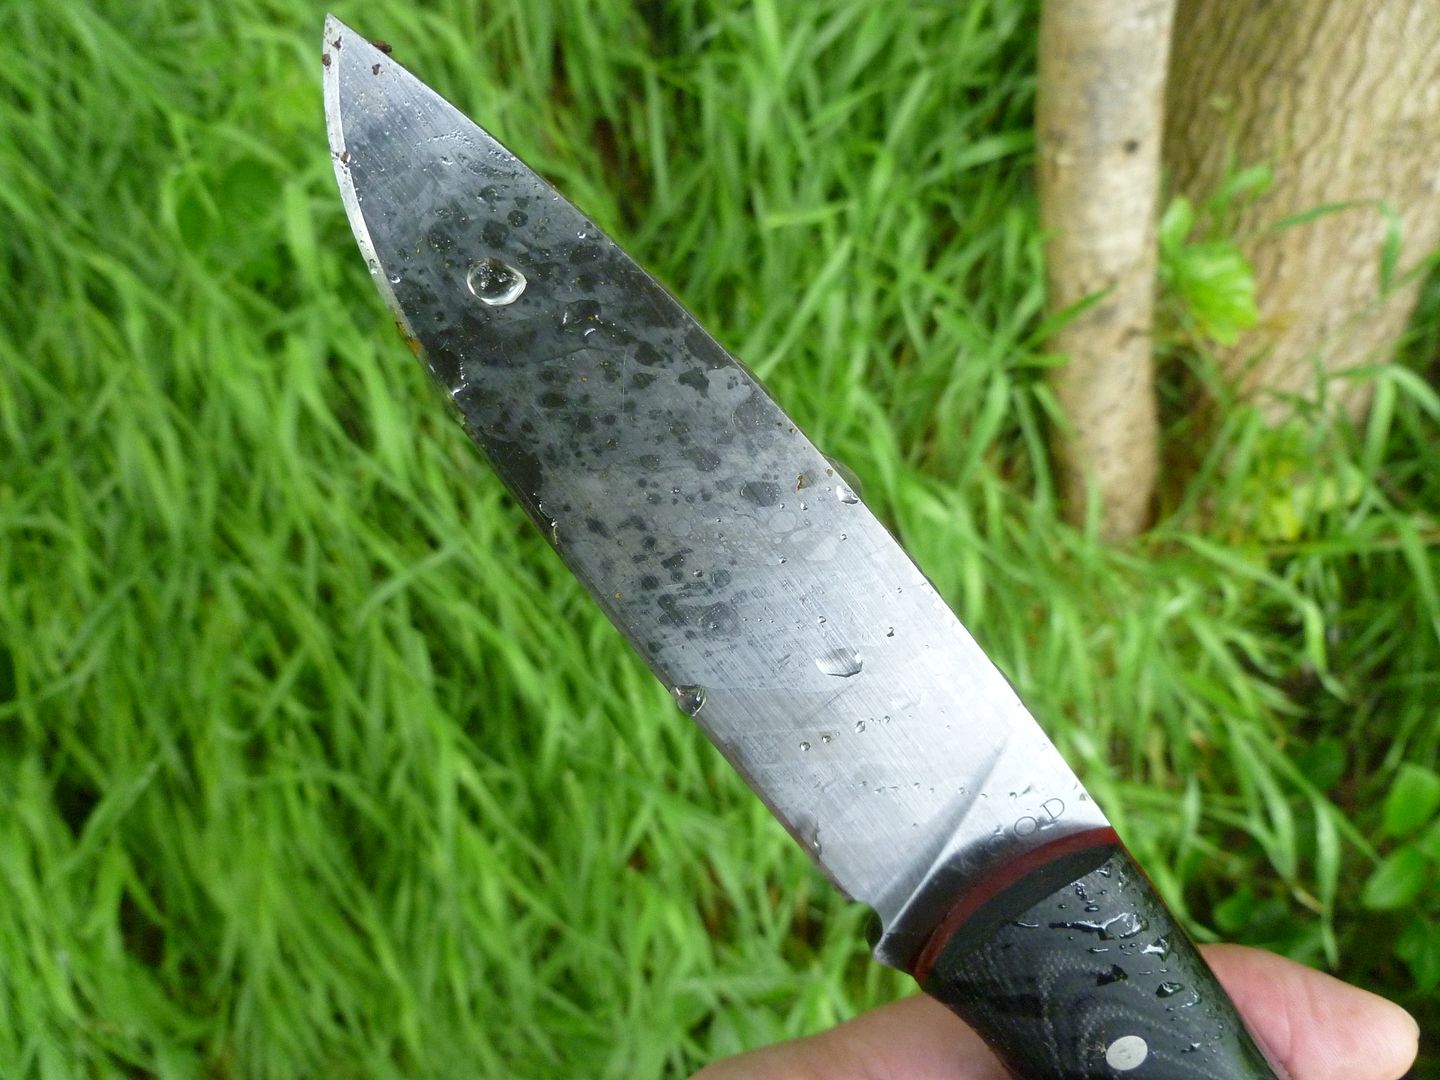
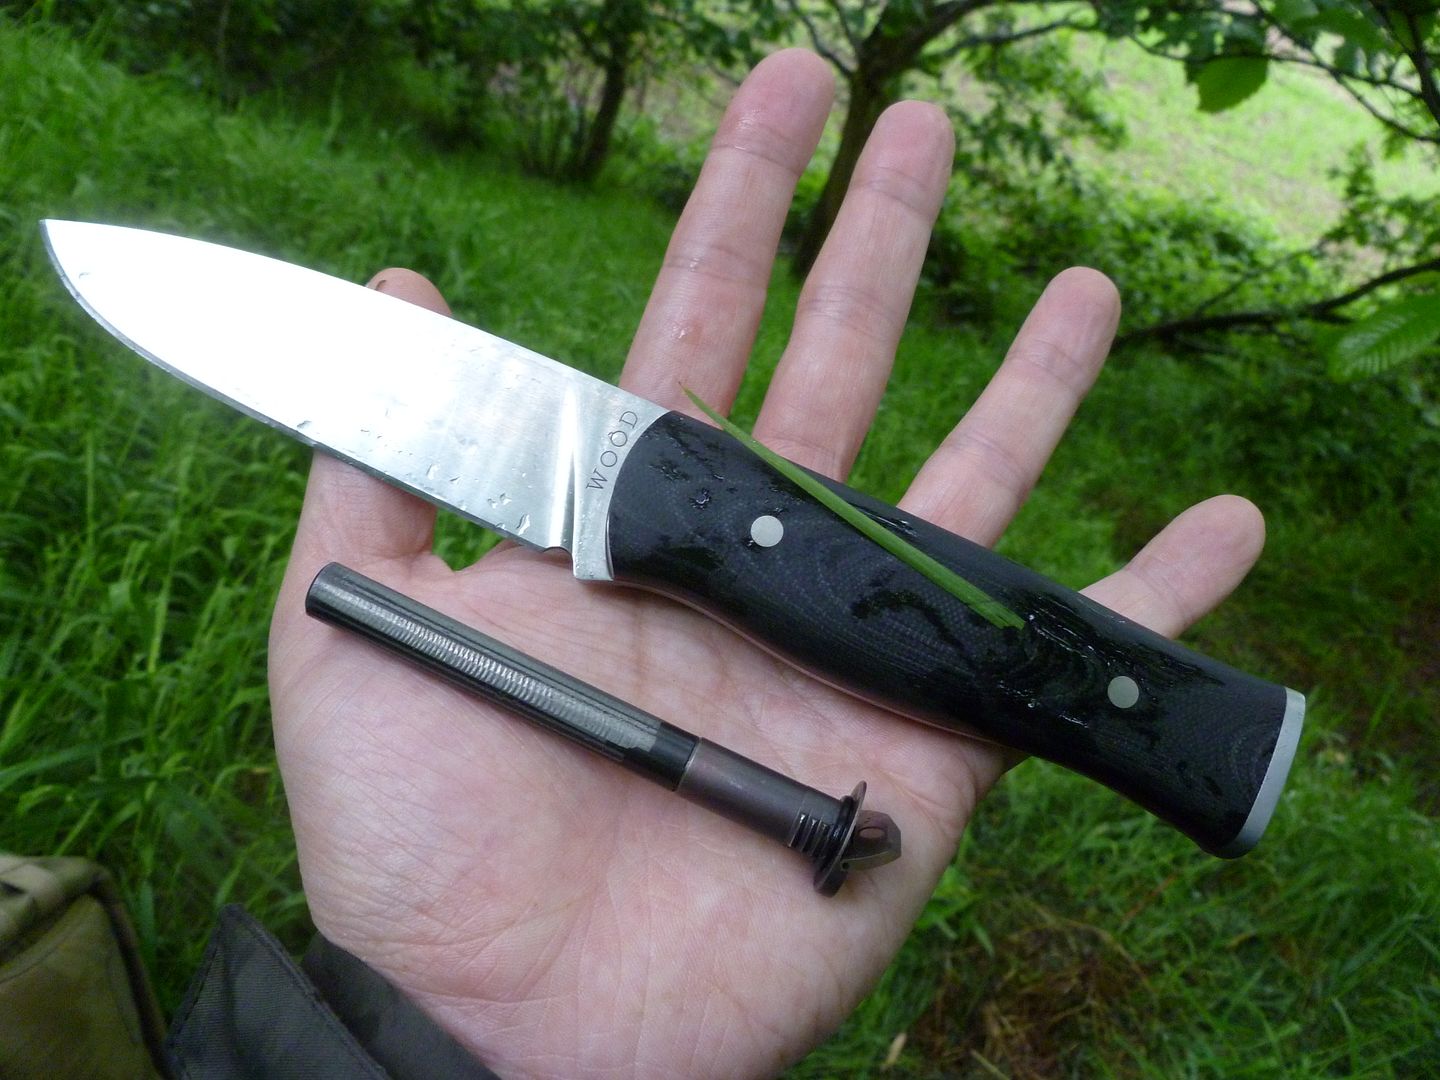
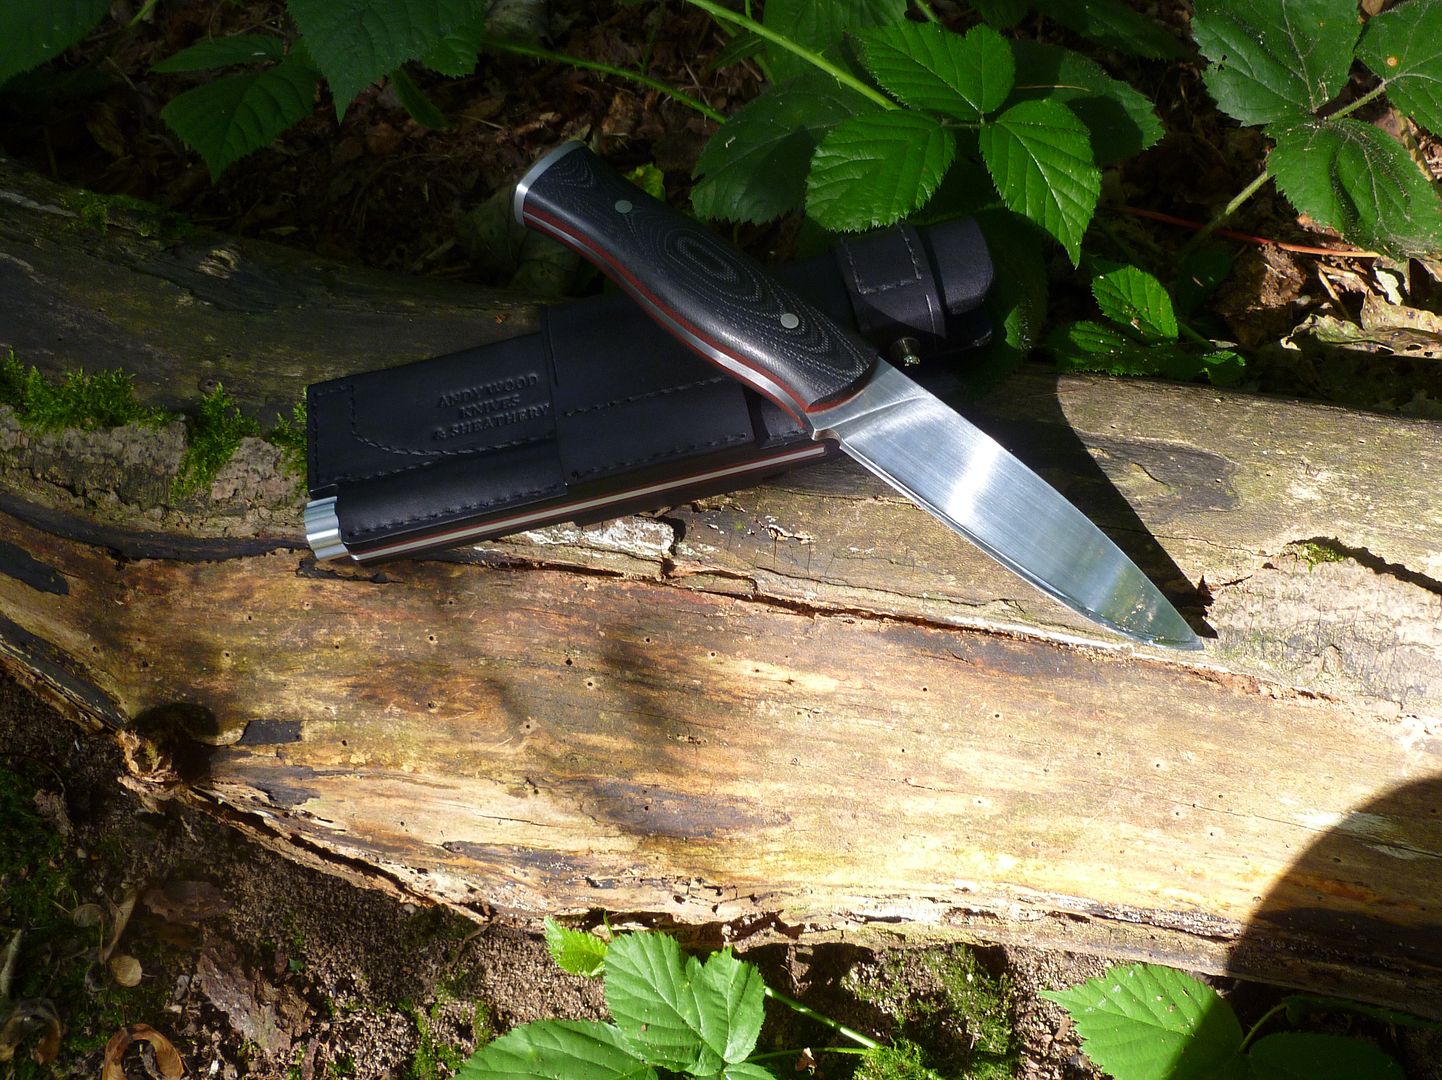
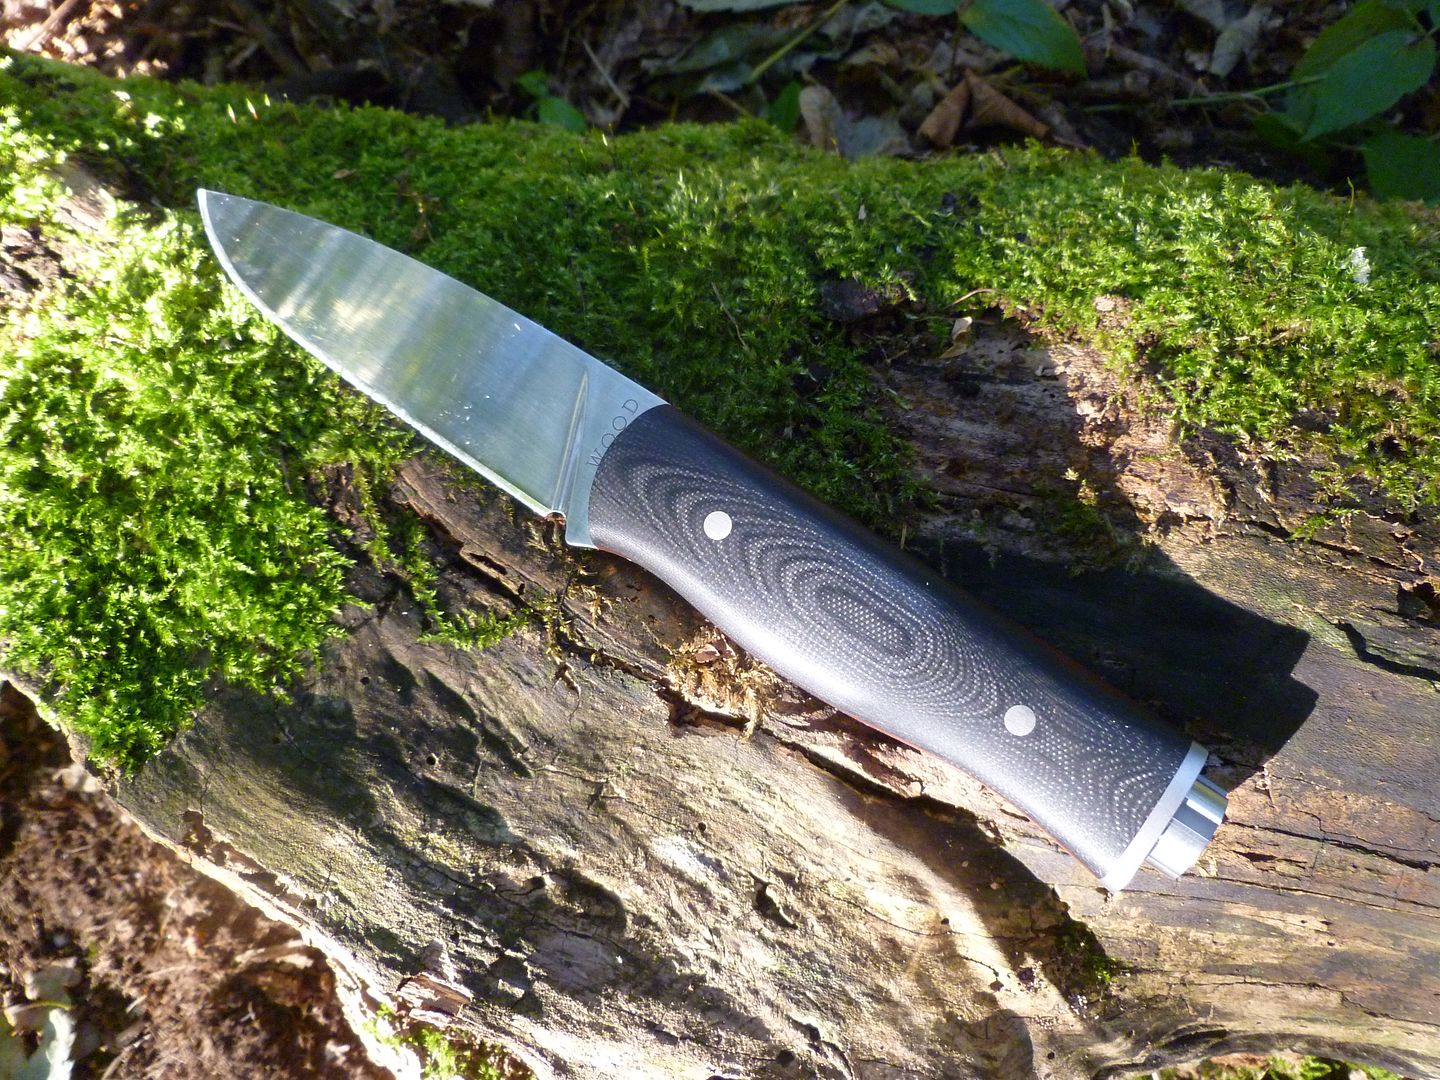
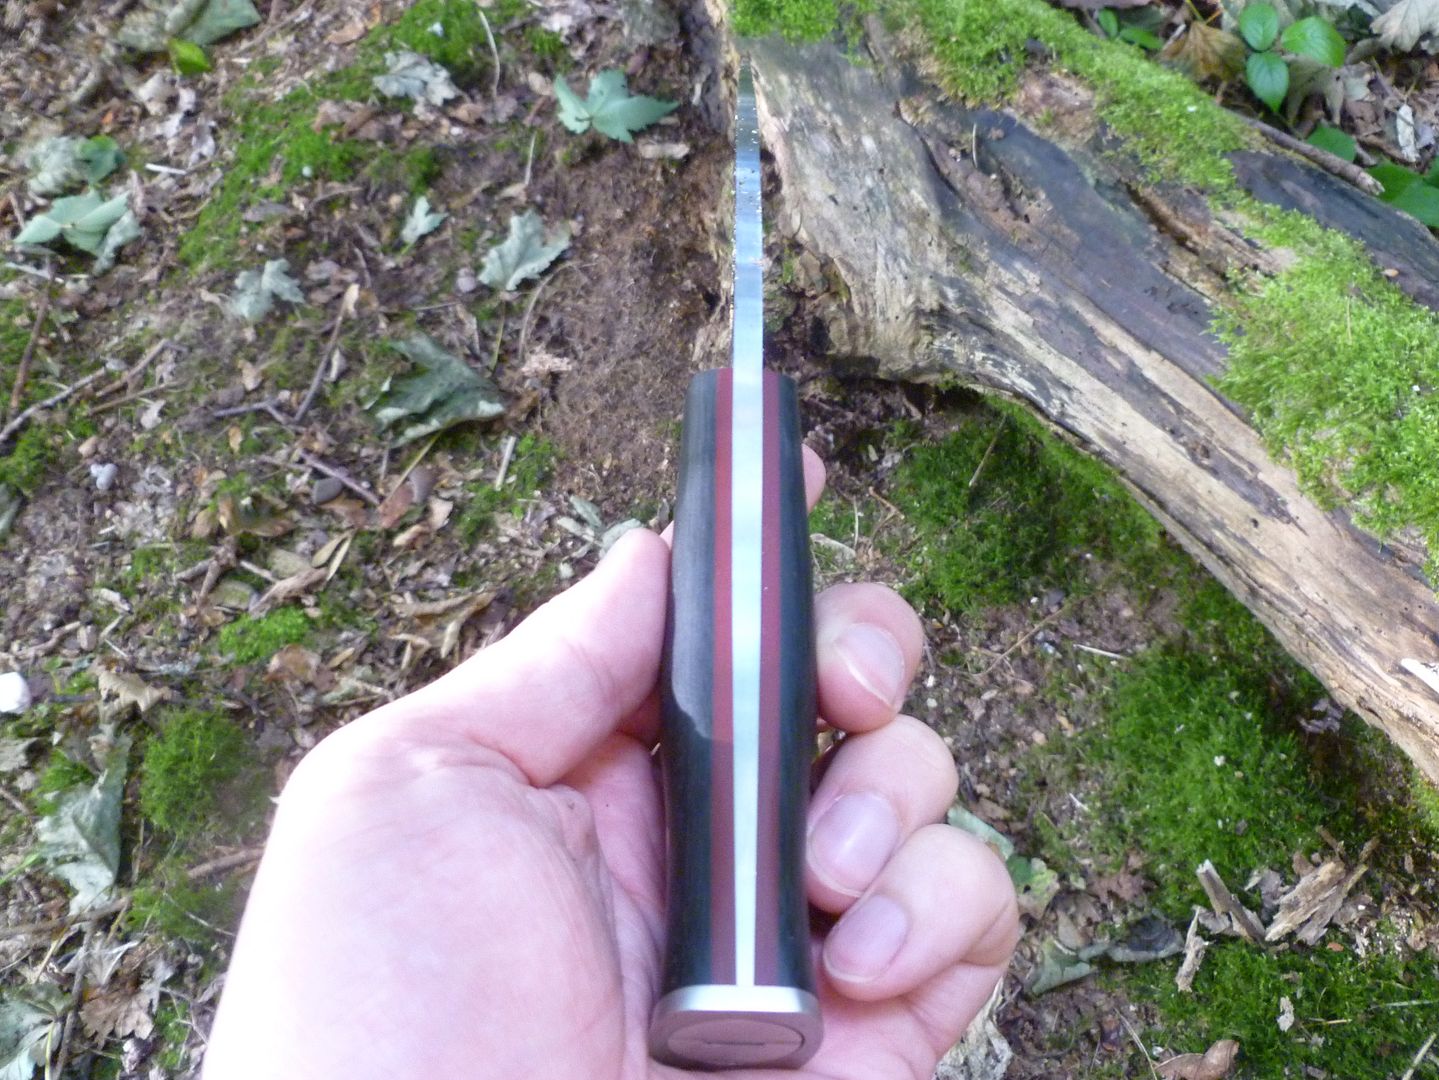
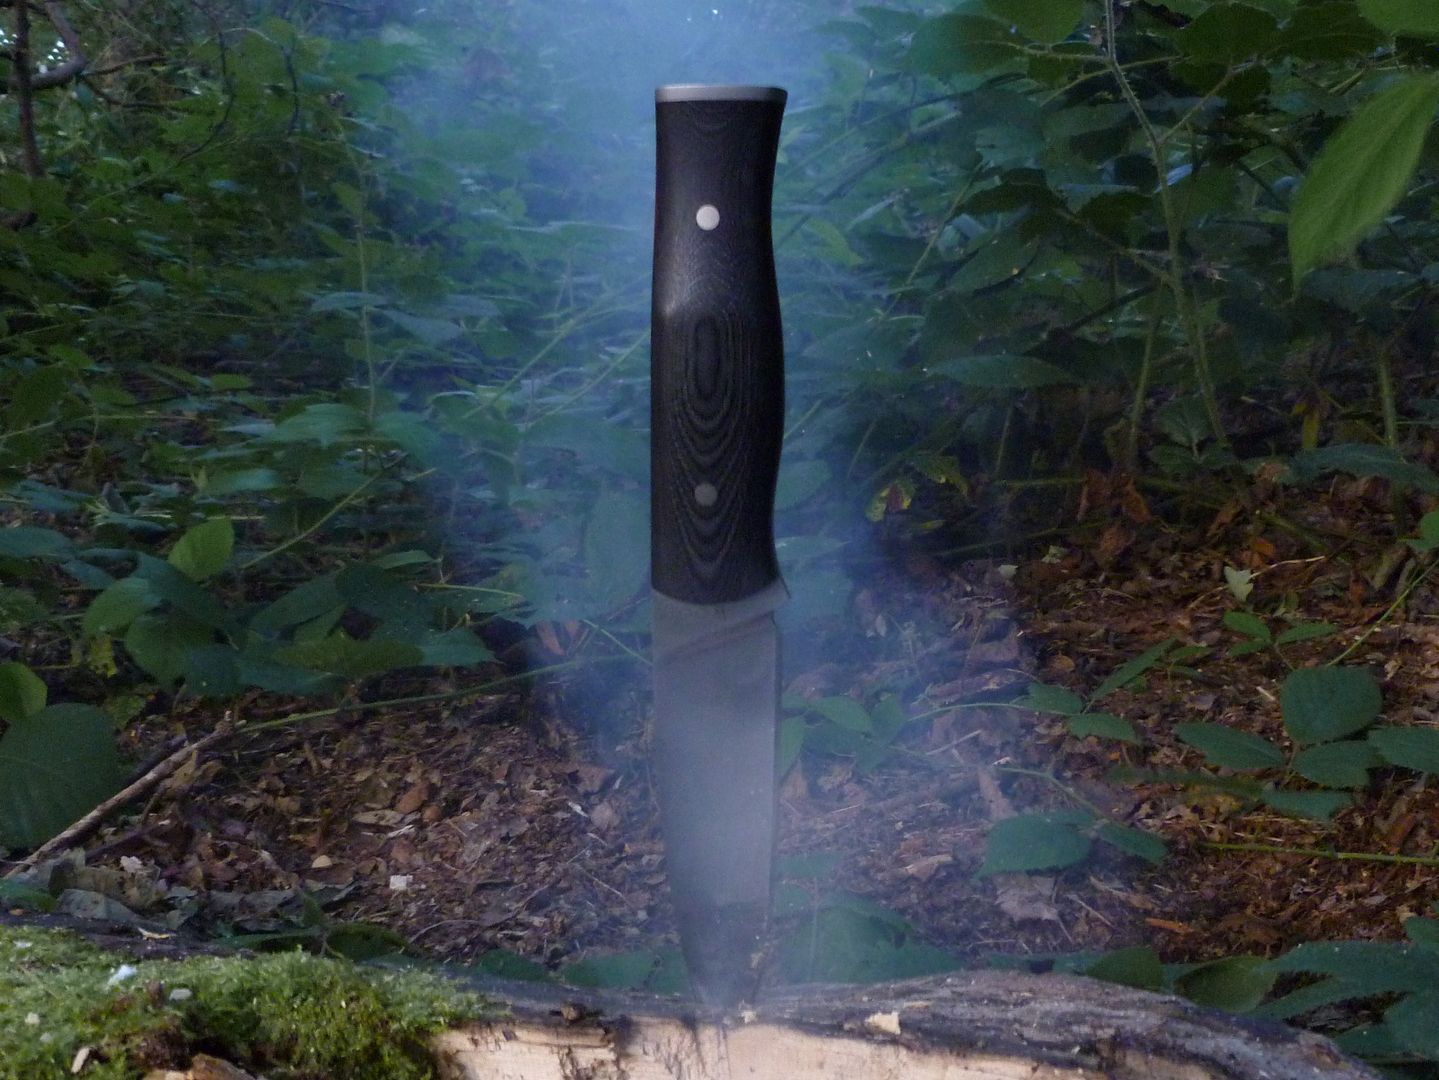
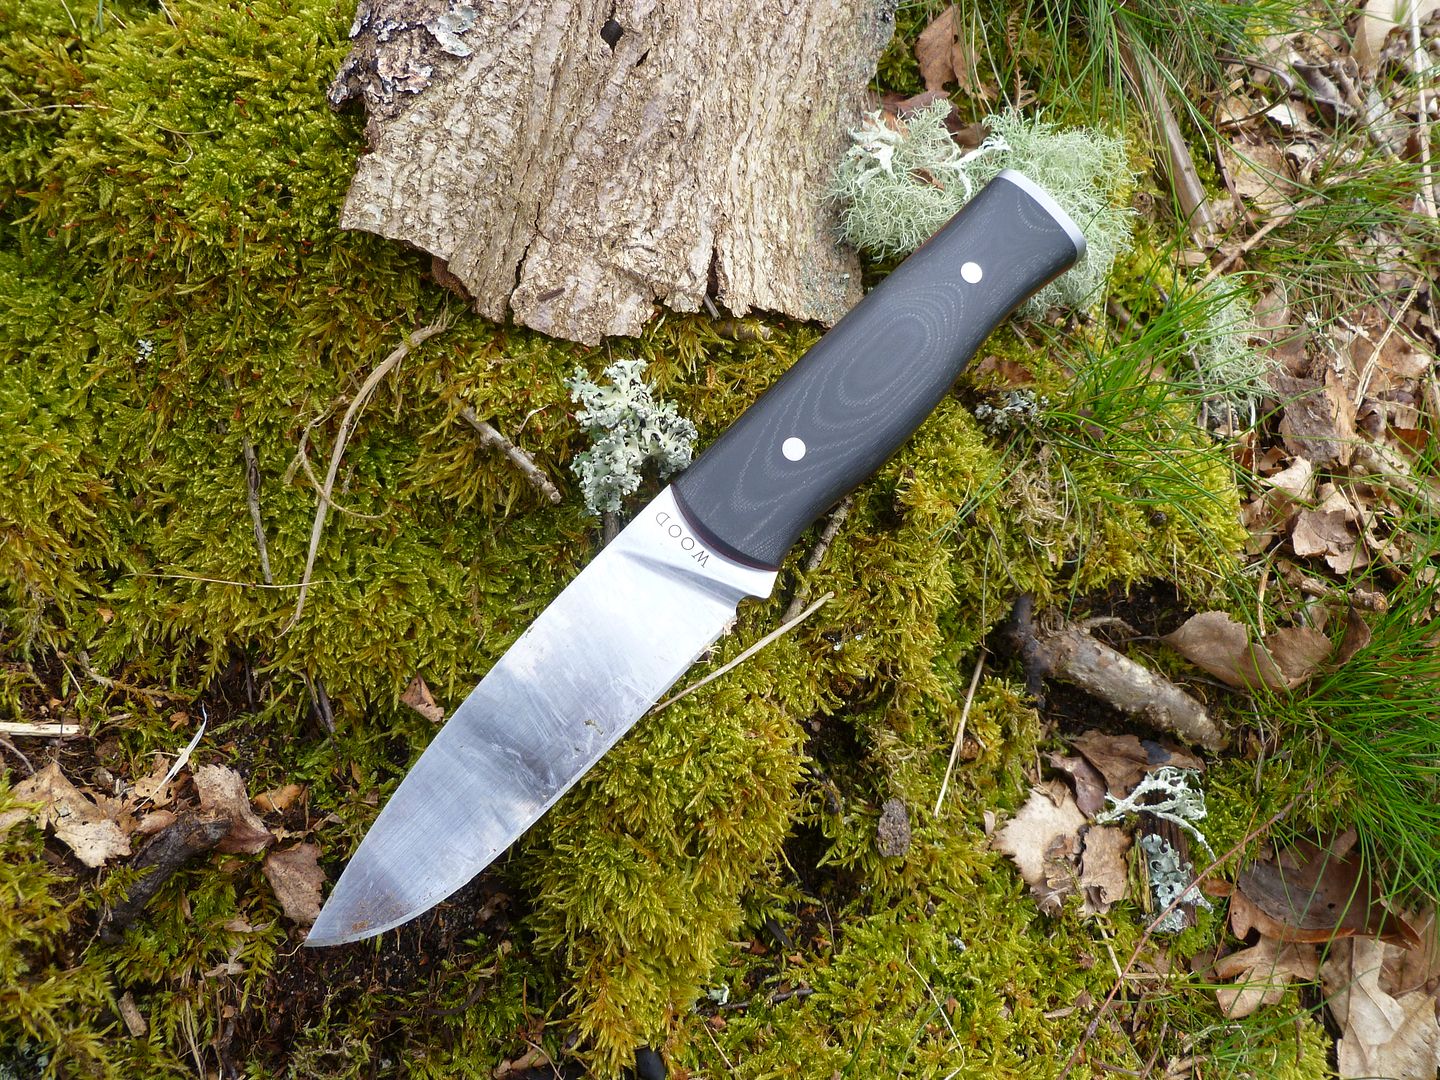
It is a small understated design with a 5mm thick blade measuring 4 1/2 inches long to which a full convex tapered tang has bolted to it black G10 scales and red fibre liners. The blade has a full flat grind and the steel is an odd choice of 440C stainless steel which has been heat treated to Andy's specification and produces results I found quite surprising. I know 440A is the domain of cheap Chinese blades, but 440C is an exceptionally serviceable steel that has suffered bad press due to its awful quality 440A sibling. Besides, Andy will also be making his knives in D2, O1 and RWL-34. The knife I'm testing is 440C. And hopefully as this thread progresses, I really hope to push it to the edge (hehe...pun) with the testing.
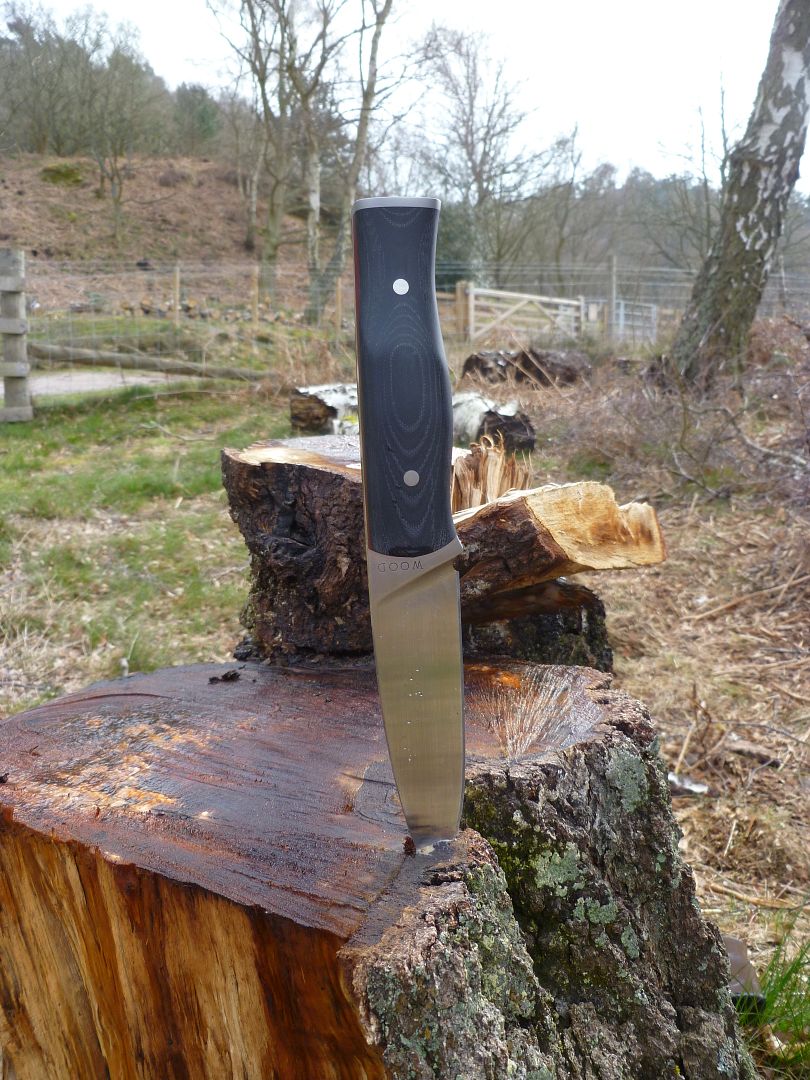


I've already had this knife for a few months, and with Clem of this parish, we've taken it through a few varying first tests. But I don't want it to end there as, apart from wanting to do some more, I also want suggestions for tests to put it through. Which is why there are blank posts below in which the testing will continue until we run out of ideas, or the knife get's broken.


Anyhoo, the story so far...


As a few folks have noticed in the pics I released a month back, there is something interesting going on at that back of this knife.
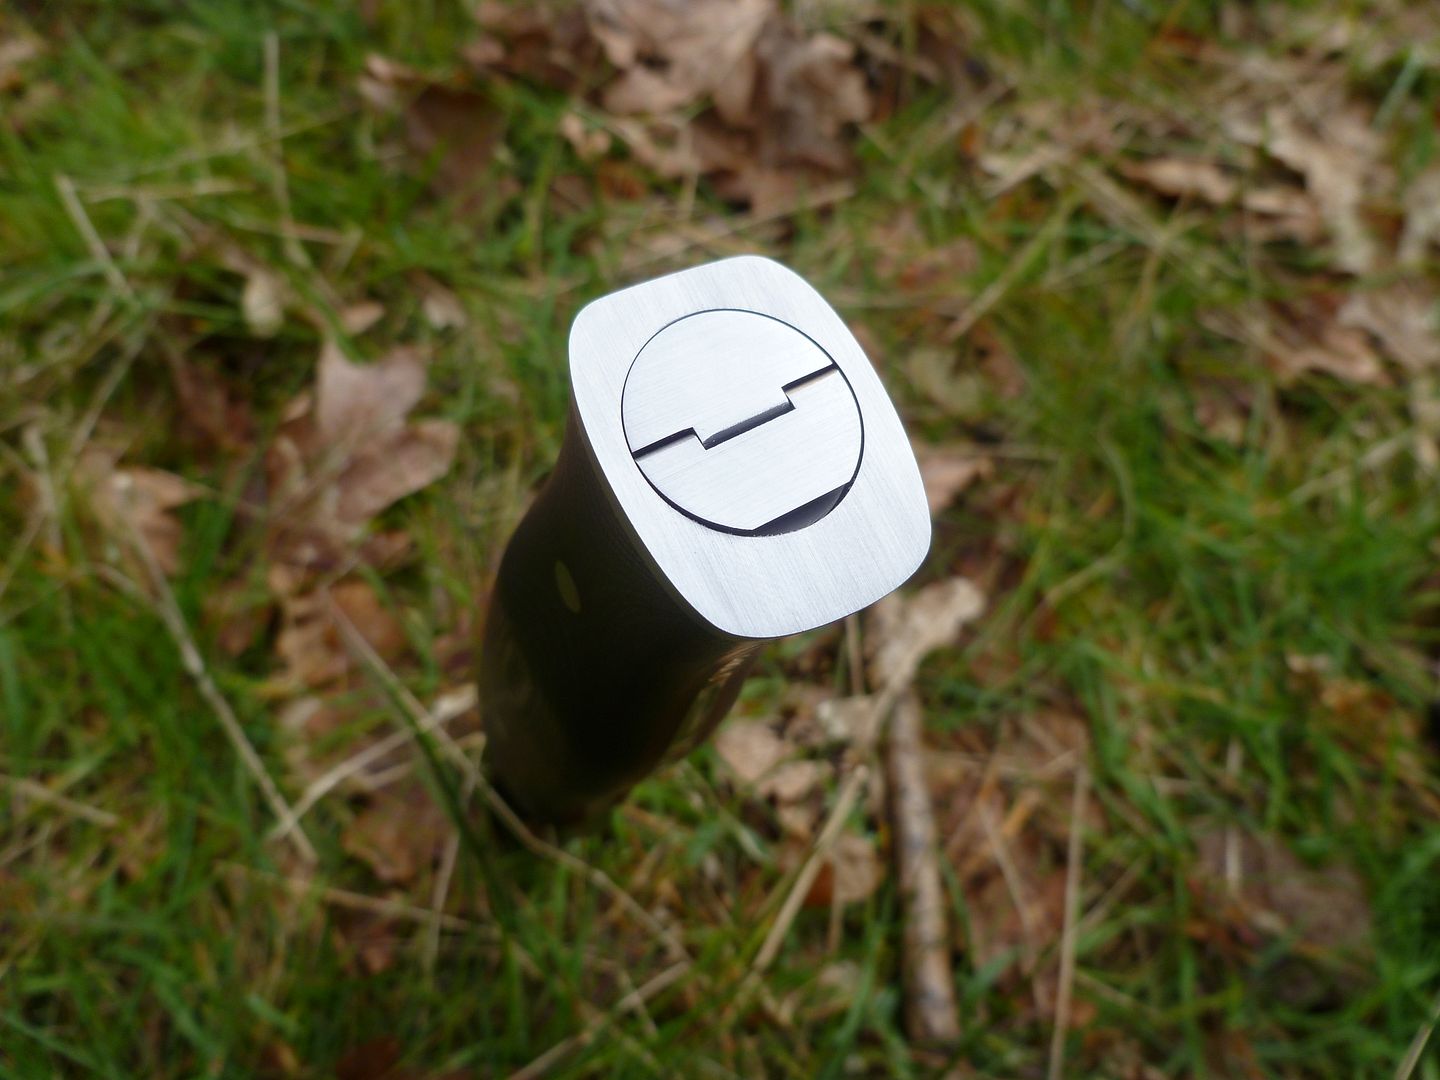


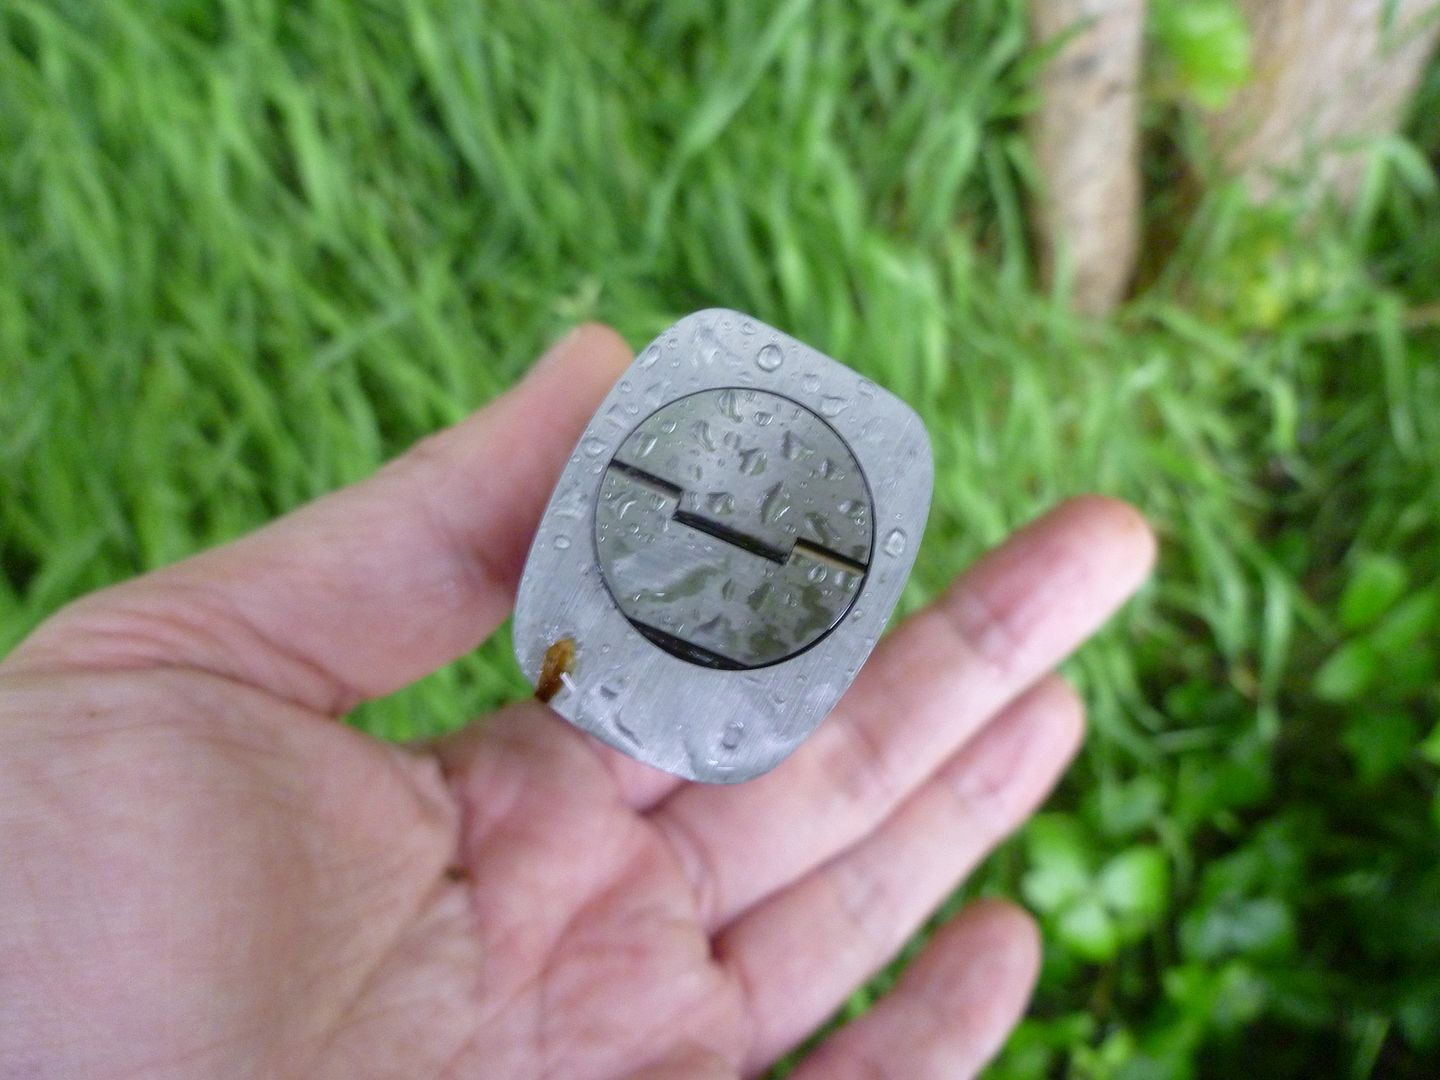
And with Andy's background in a certain knife design, it's not too hard to guess what it is. Yeah, it has a semi hollow handle. The design of the removal for this compartment reminded me of the Wilkinson Sword Dartmoor method, but as I'll show you later, it is so much more than that, and executed to such a high degree that it still amazes me every time I take it apart to examine it. But more of that shizzle later.
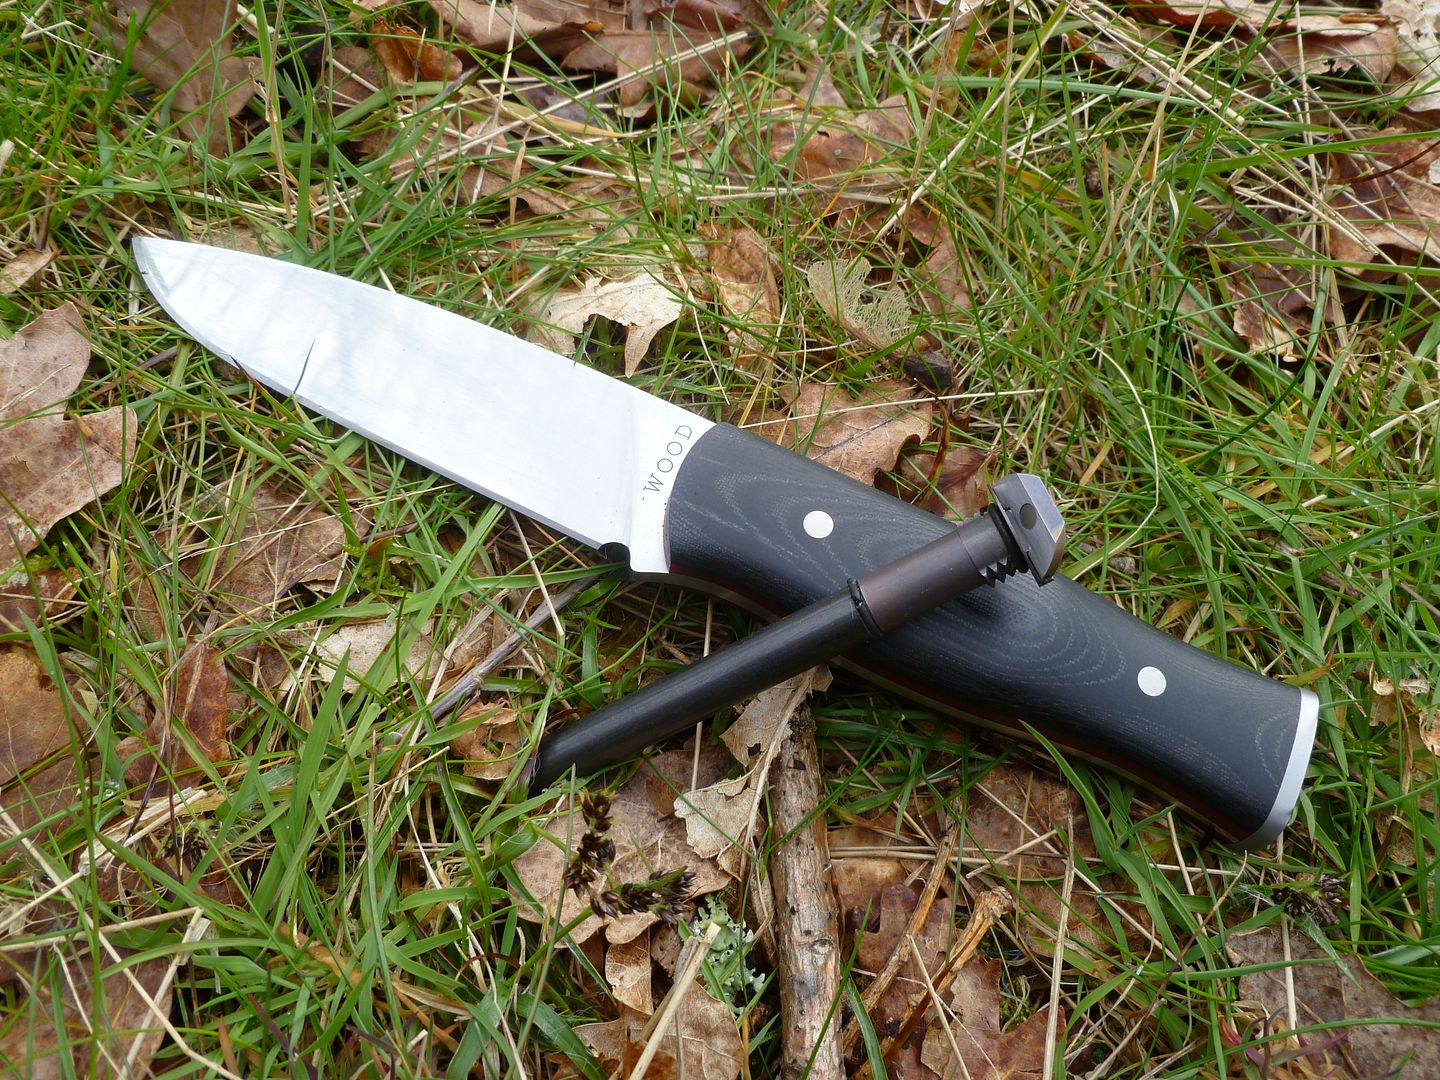
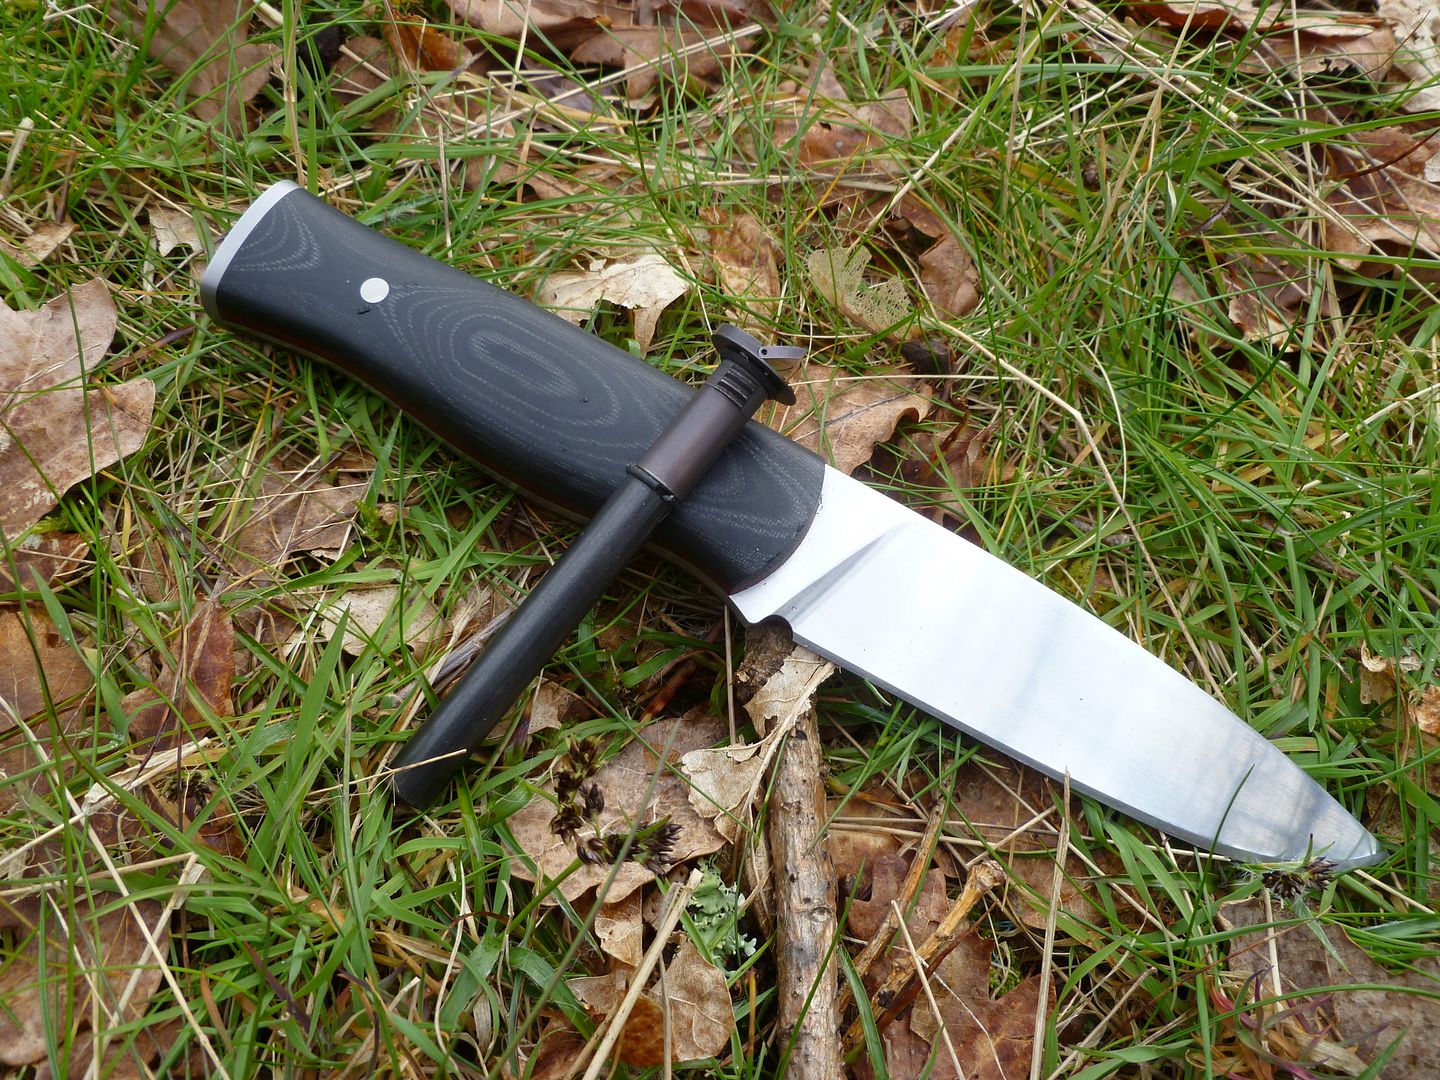


This knife has a ferro rod in it, next to the knife (and yeah, knowledge, shelter etc), in survival, a most important thing is making fire. Good choice. But even this extra has an over attention to detail by Andy. Is it even possible to over engineer a simple thing like that? Yeah, trust me, he did it. Attention to detail and micron accuracy extends to this simple add on. But, now for fun stuff. Testing out and about in ye olde English wilderness.


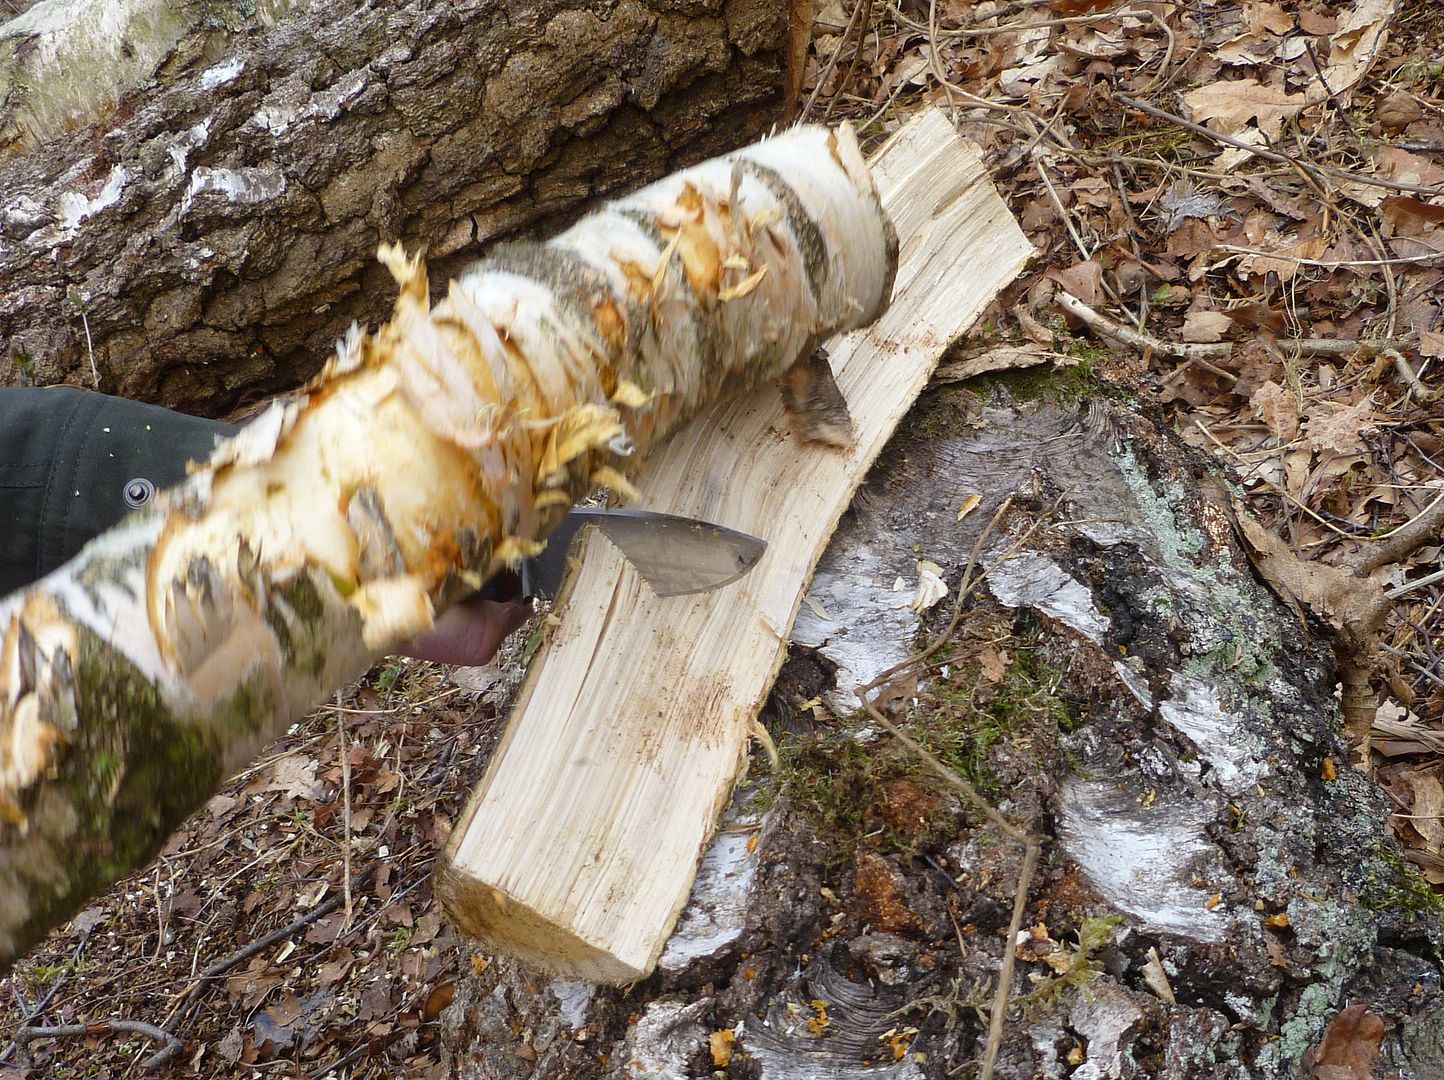
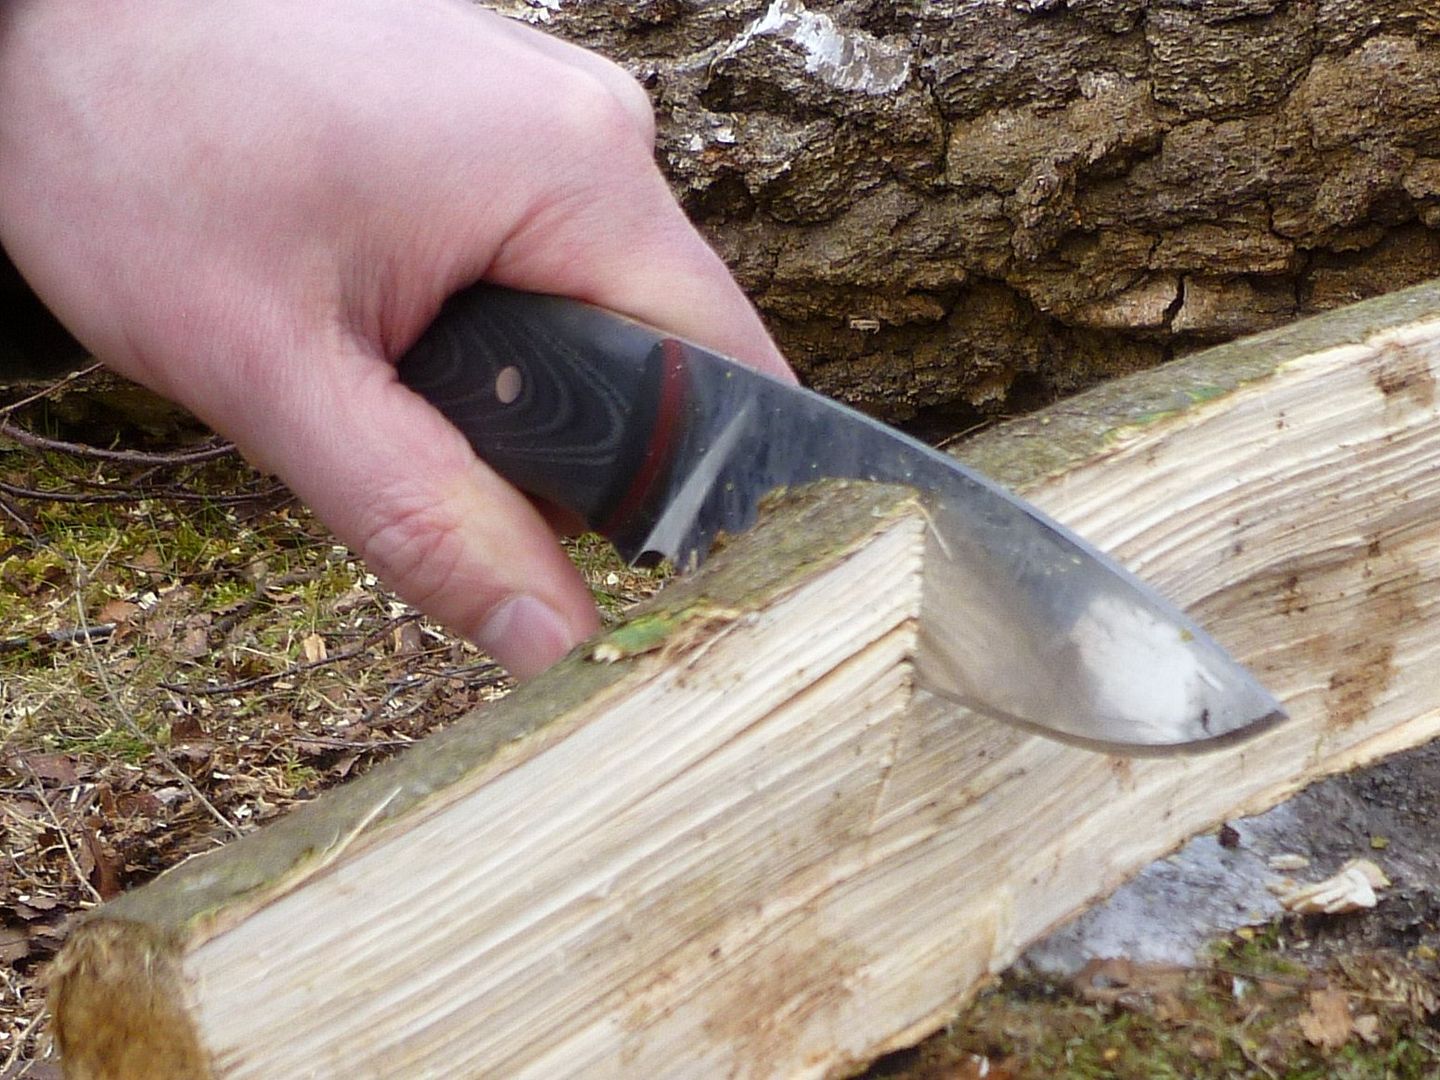
It might seem batonning is a really dumb thing to do to a knife on a first test, but it is a valid skill in survival when you have no axe or saw, and after handling the knife for a few weeks, I thought it would be easily up to a simple 4 inch round birch log. So Clem got to work as it seemed like way too much work for an ophiologist. Besides, he's bigger than me and could lift the biggest dumb bottom baton you've ever seen....
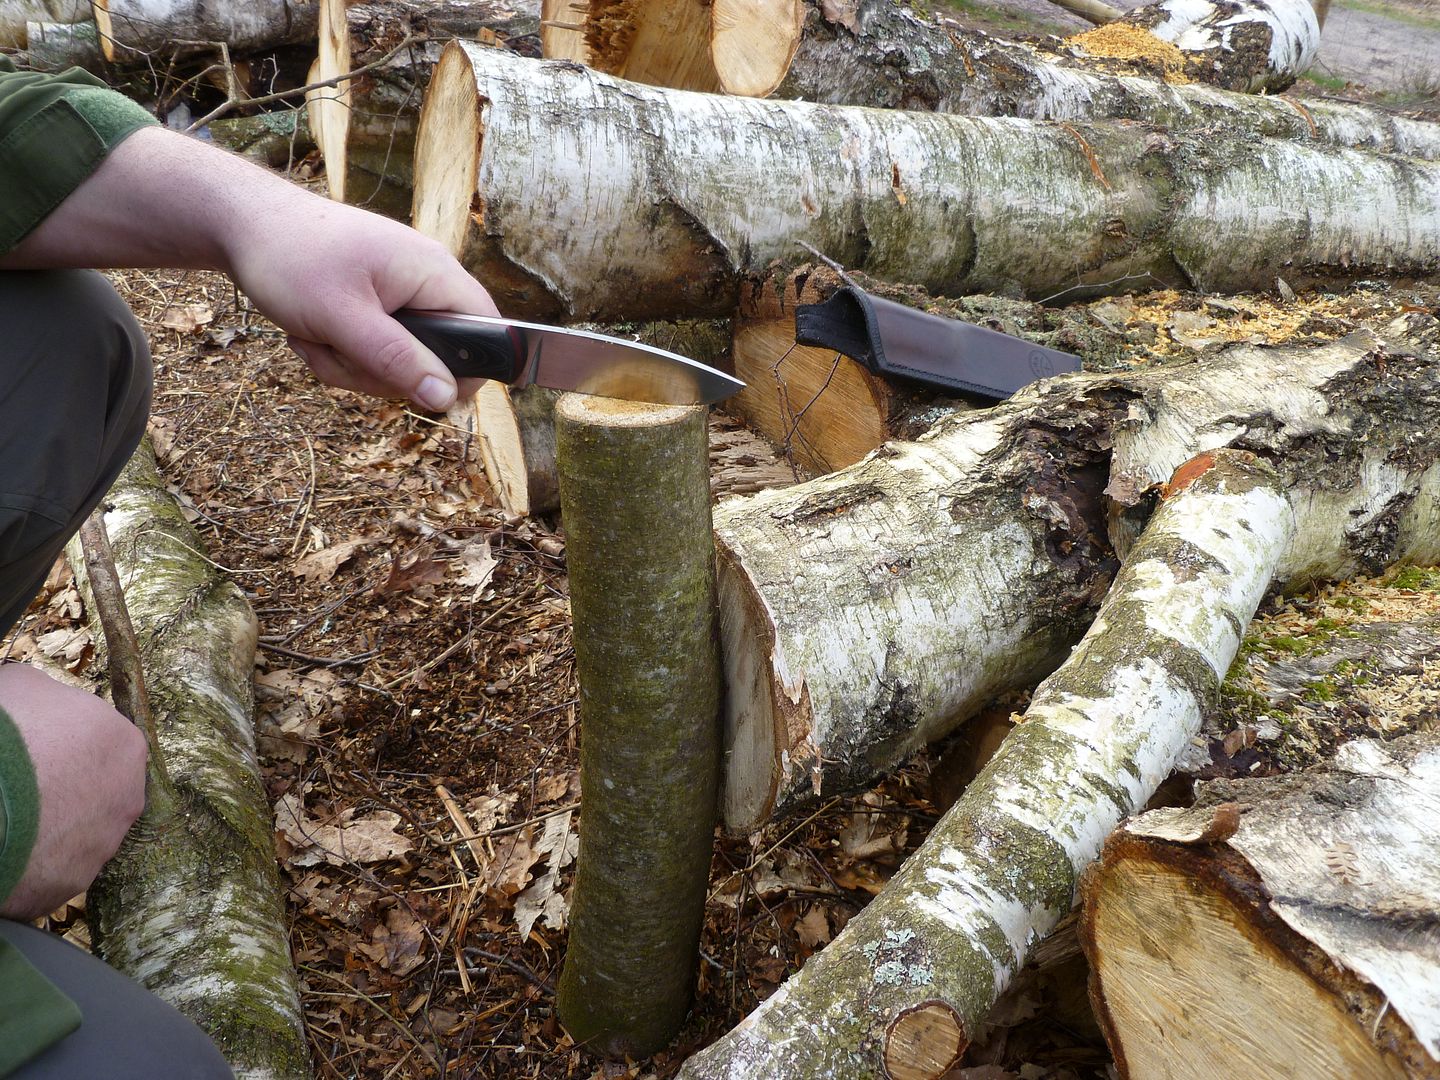
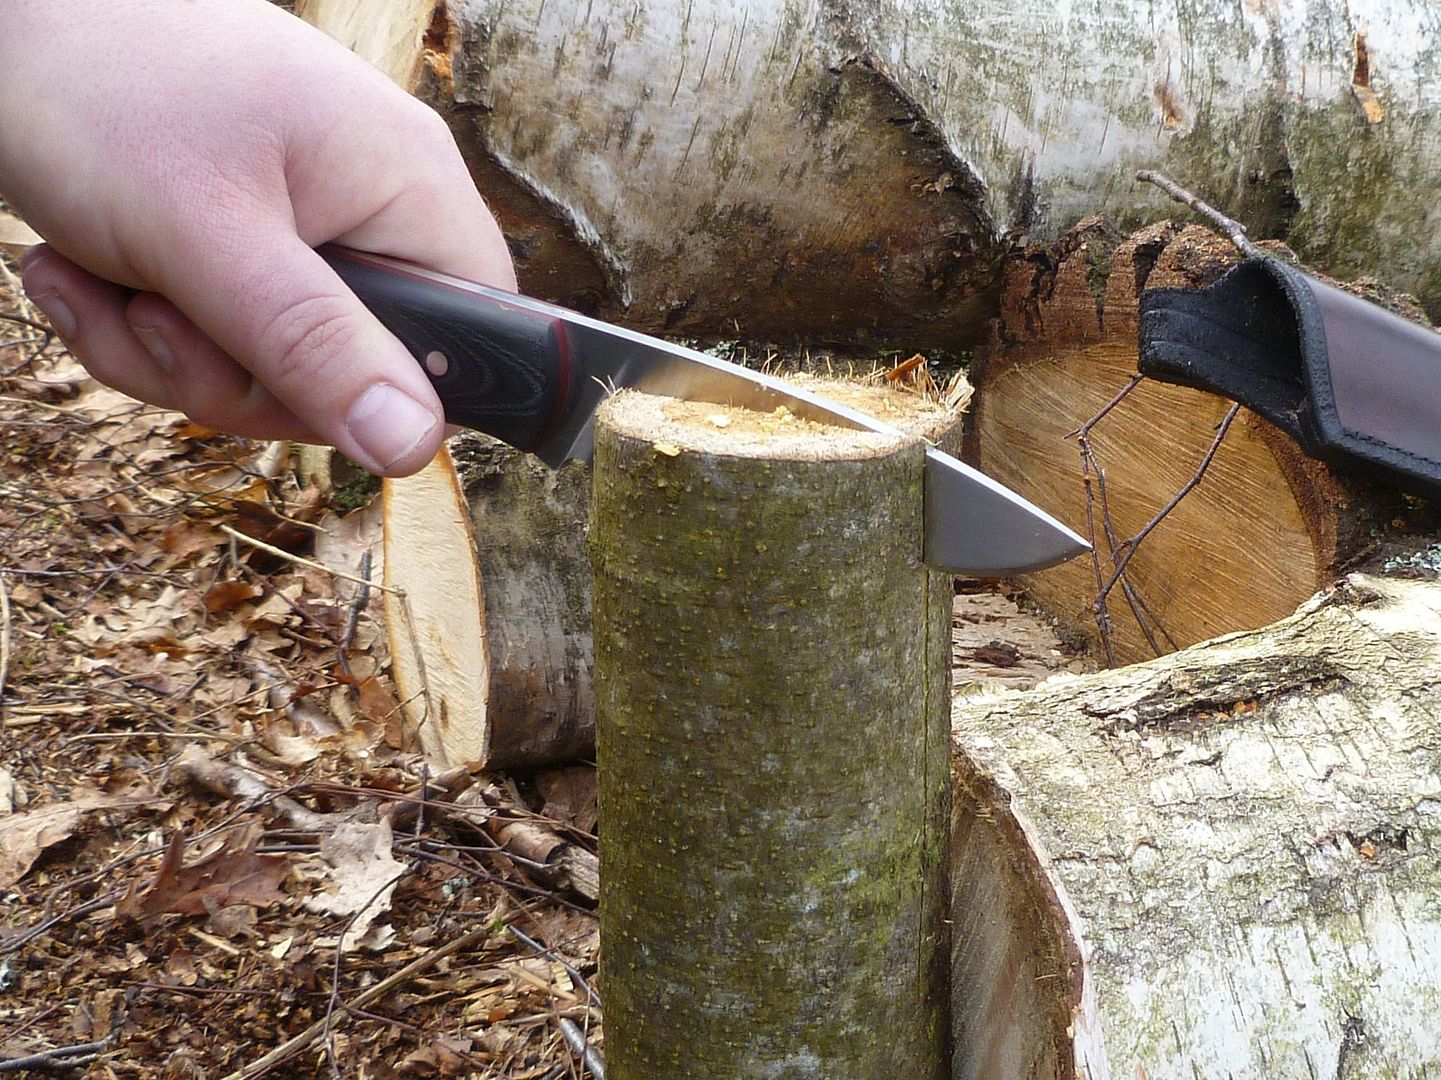
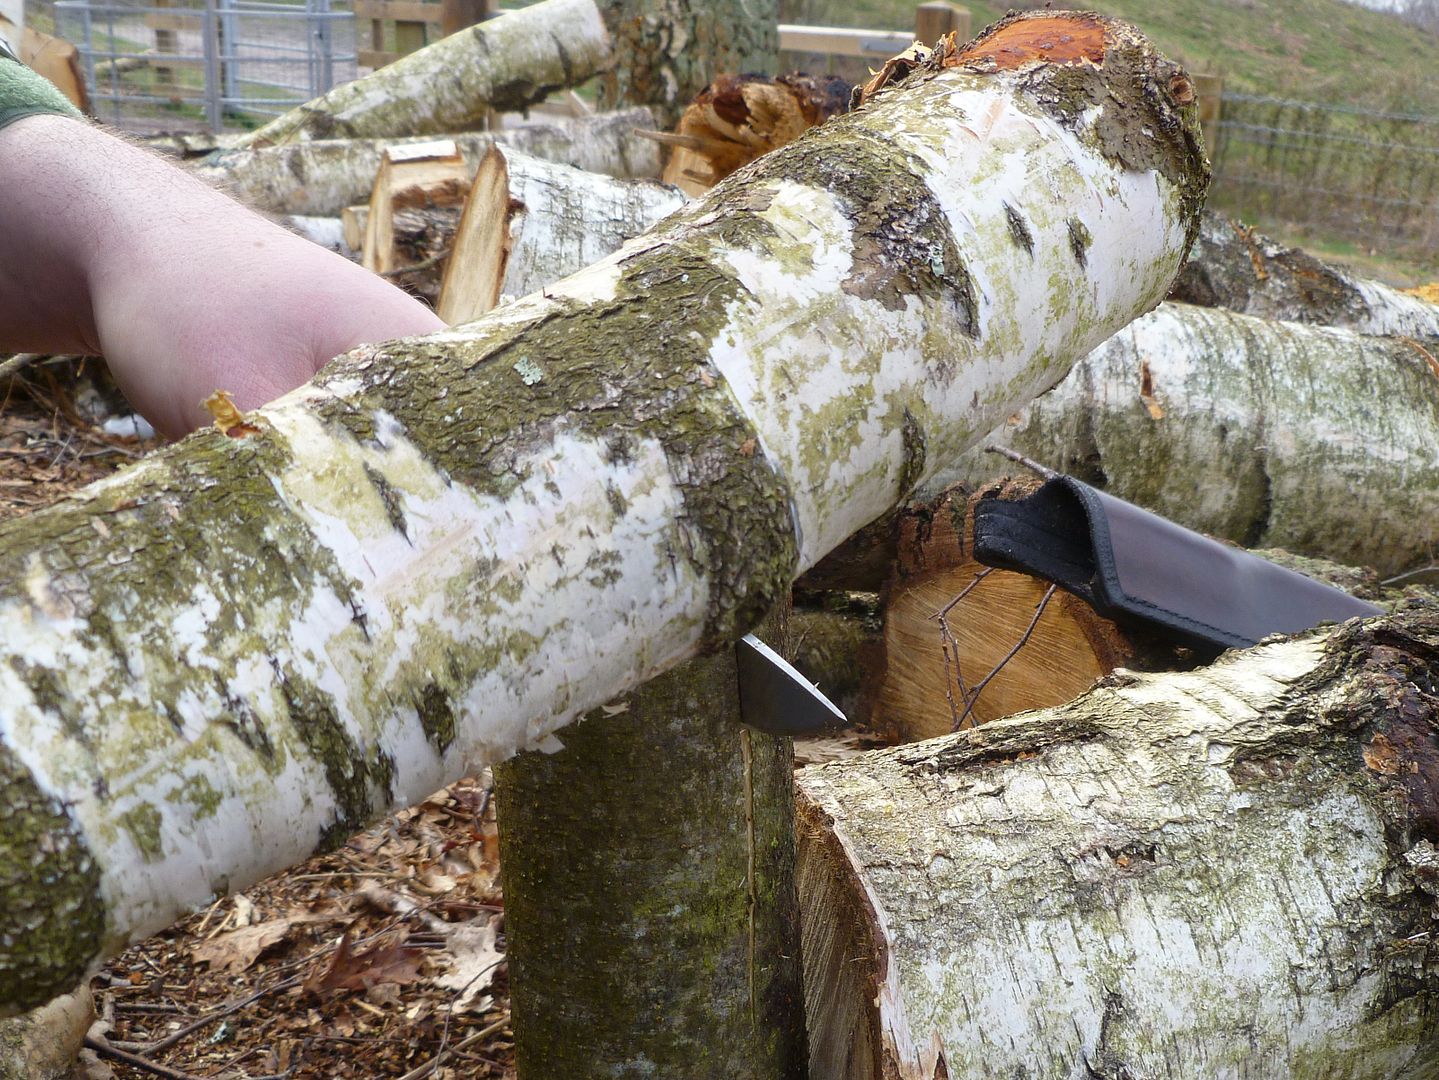

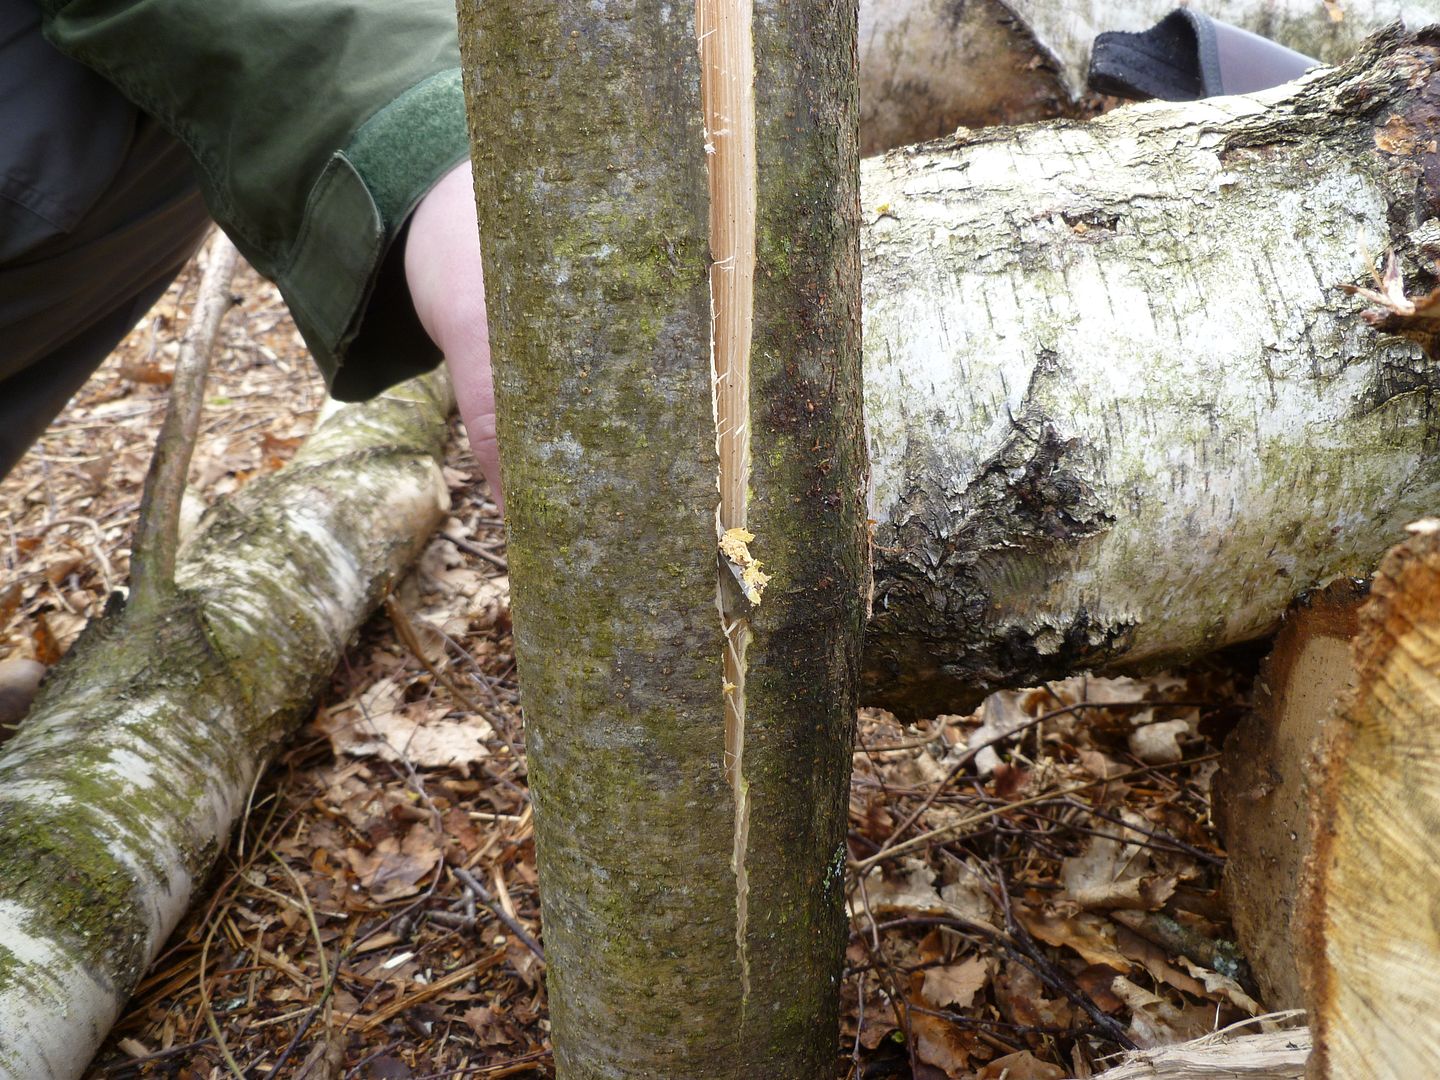


To be fair, it wasn't much of a test as it just sailed through the logs this size. The wide 5mm full flat grind was perfect for splitting logs. I need to get a hardened railway sleeper to pound on. And I will.
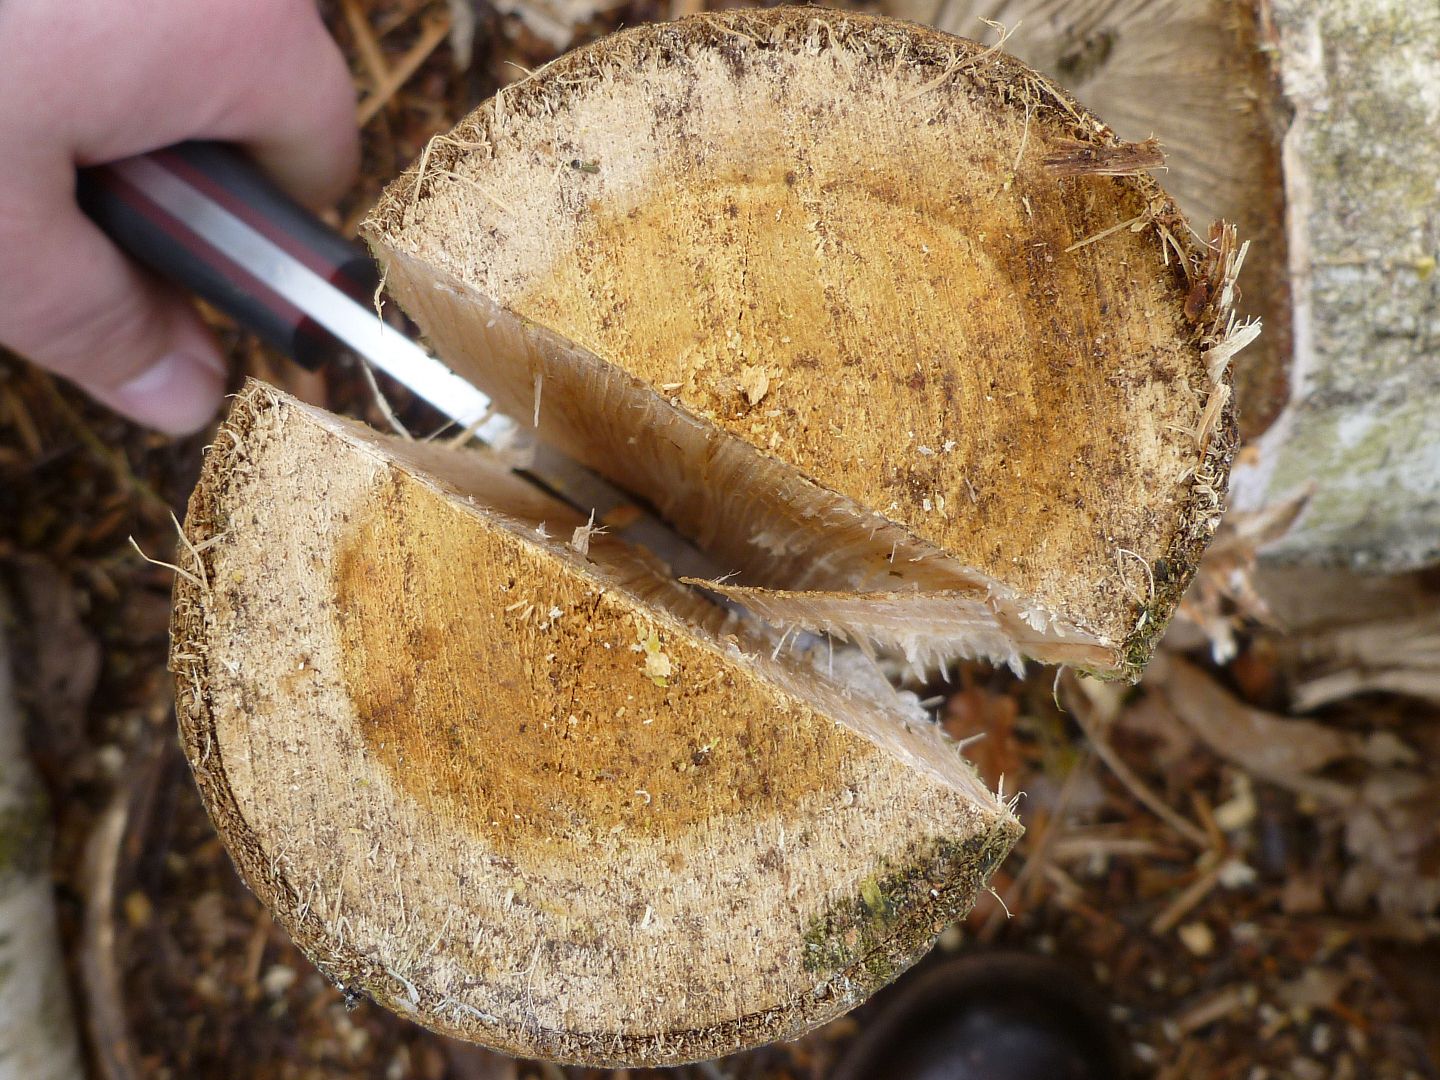
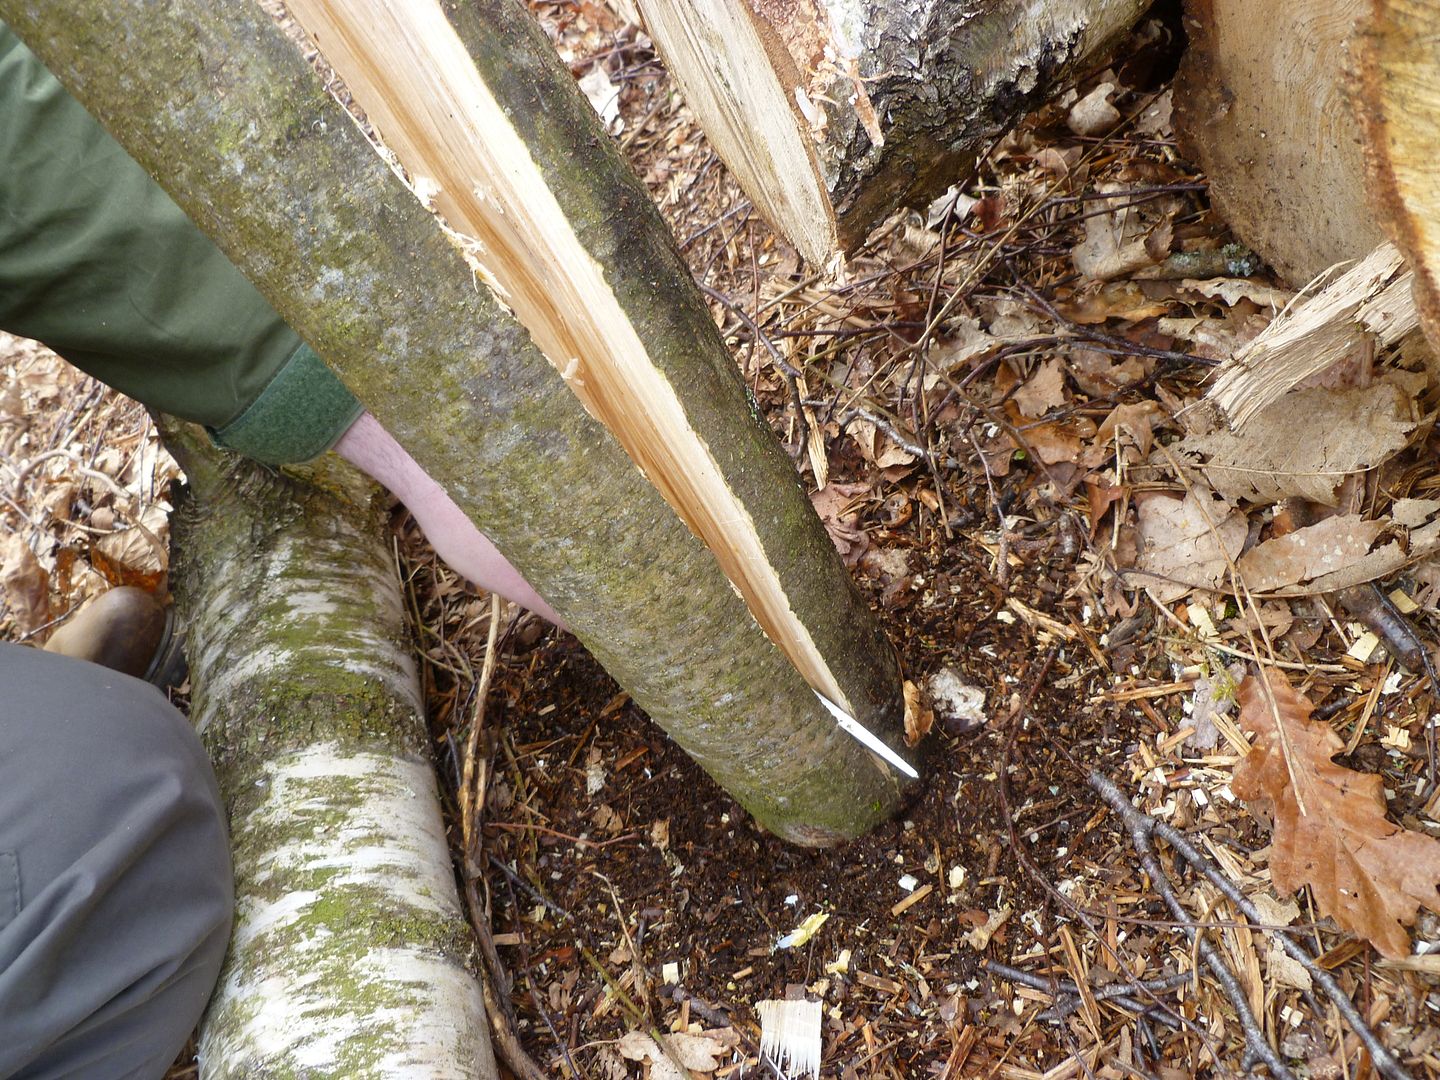
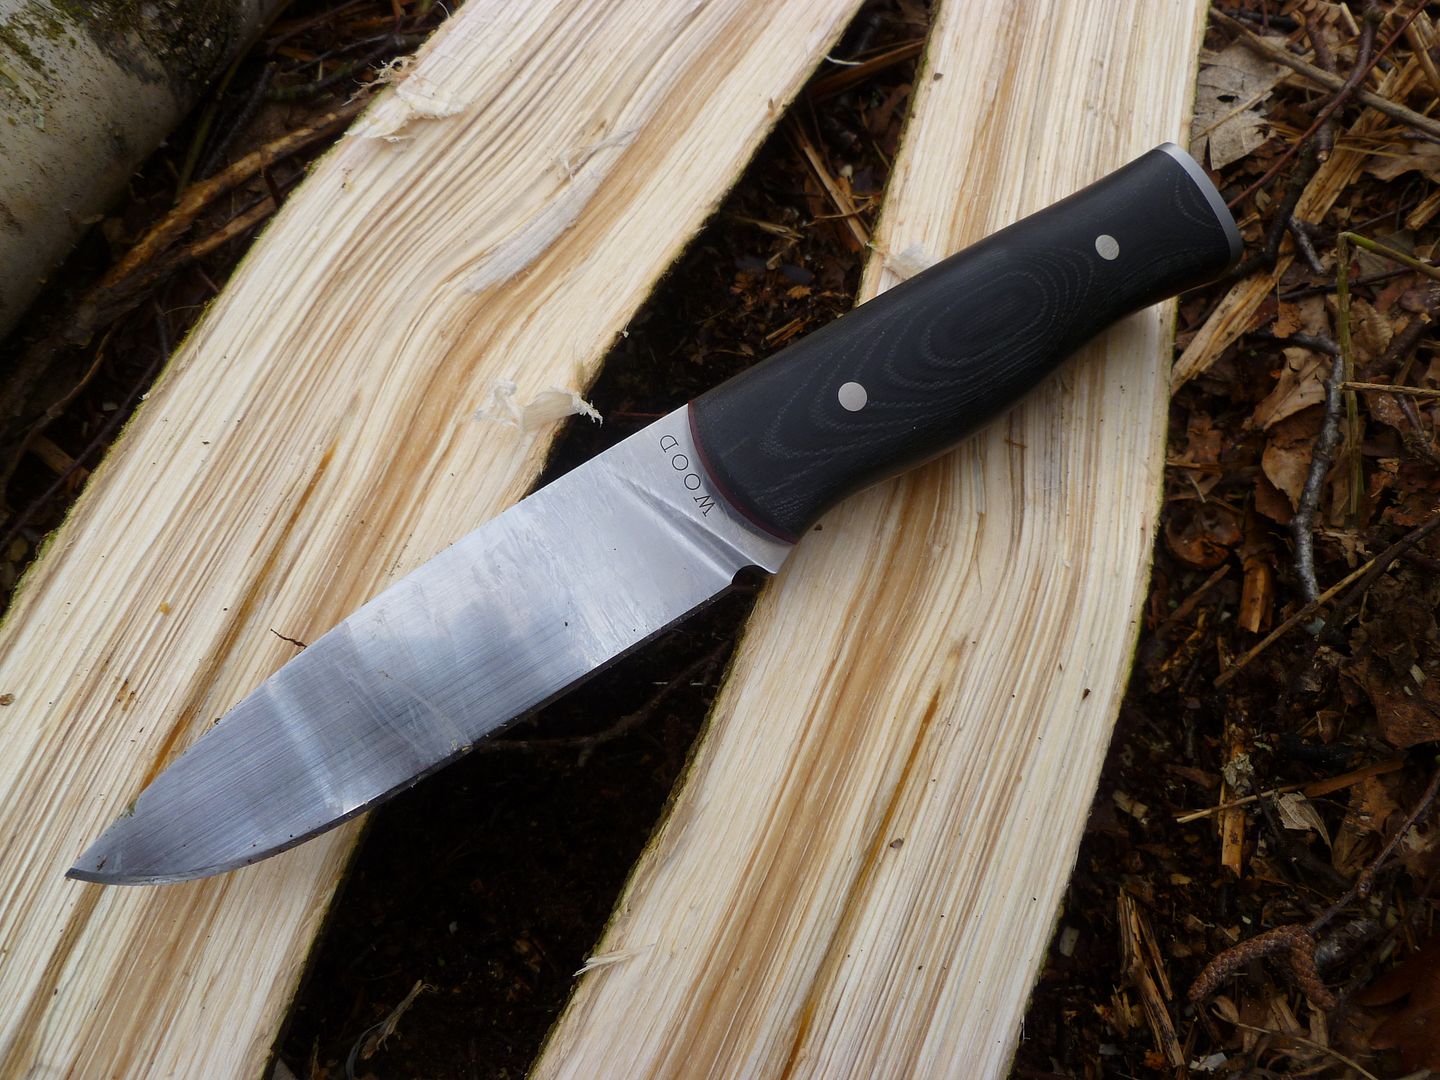


No blade warping at all and despite pounding on the very tip, no sign that it can ever get damaged doing this kind of work all day. And splitting in into finer segments down to matchstick thickness was no problem...
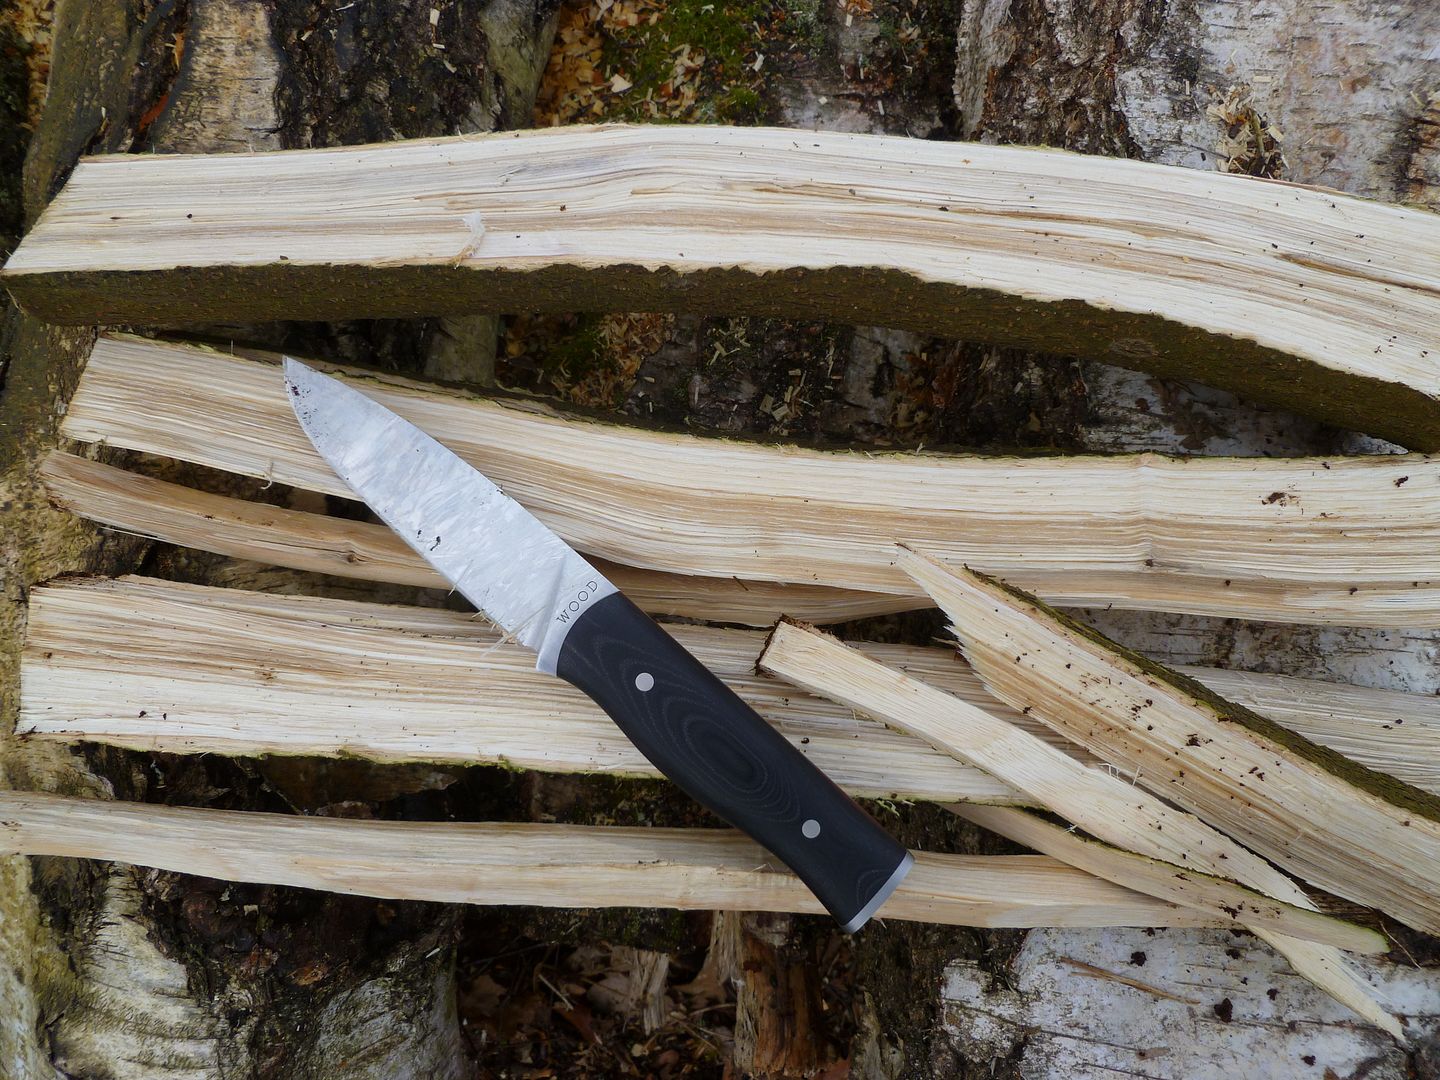
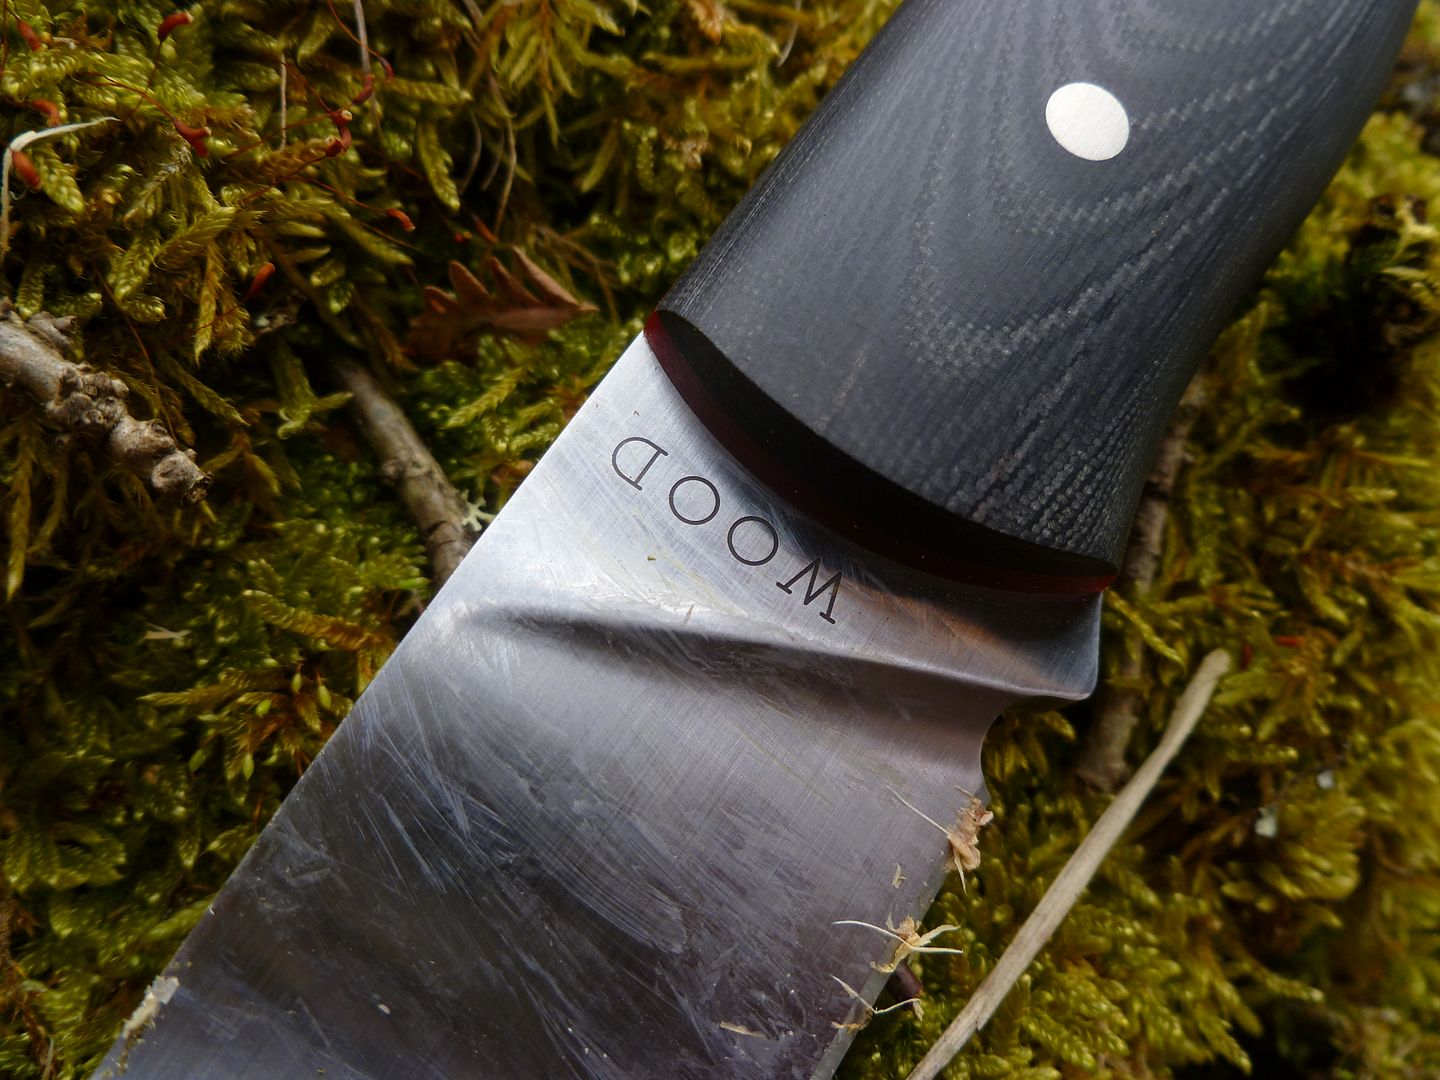


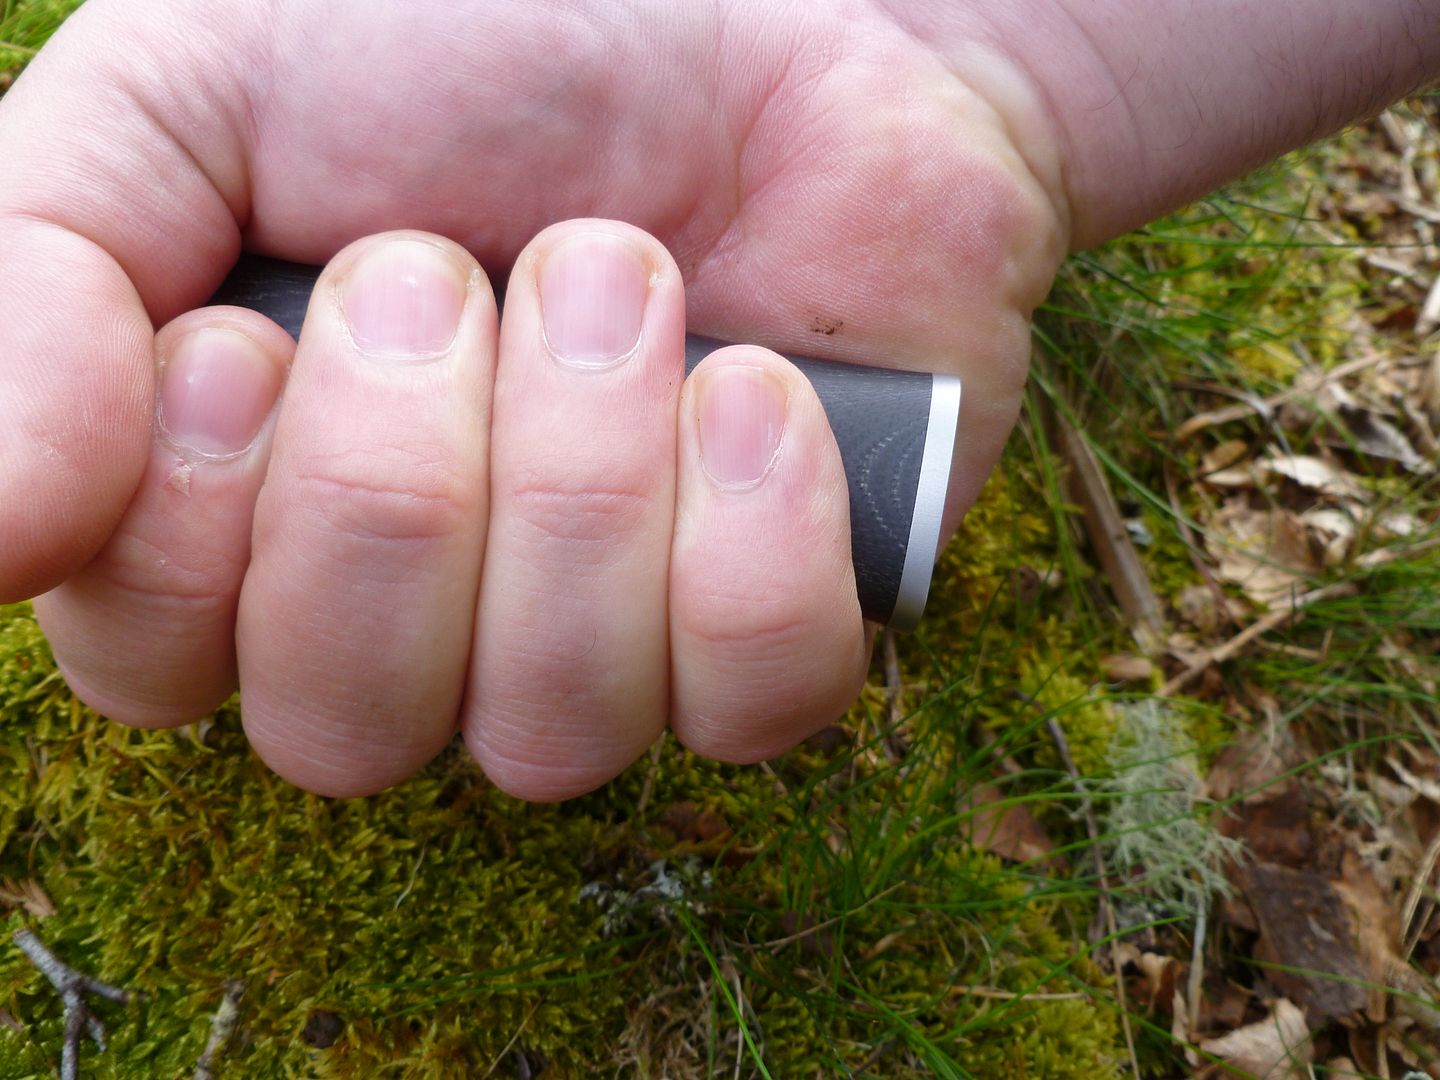
The only thing Clem could fault was the length of the handle for those big boxers paws of his. It was just about long enough, so ideally he would want another 10mm to 1/2 inch. My hands are not as big as his, so not a problem for me. Reporting back to Andy, he did acknowledge this and will offer a longer handle to suit.


After doing that test, I though I'd pick on what to me looked like the weakest link in the design and pound on that. So using the same huge Clem-baton, I pounded on the pretty screw end until the knife was end of grind deep in heart wood.


Apologies for the lack of pictures for this, but it was my intention to do this then stand on the handle, but every time I tried to do this, the log rolled over and I failed. I will do this test in future posts below, but it was a nightmare getting it out with just 3 inches of blade pounded in there. I had to baton the handle back and forth for ten minutes. No damage at all on getting it removed. To the butt plate or the handle slabs.



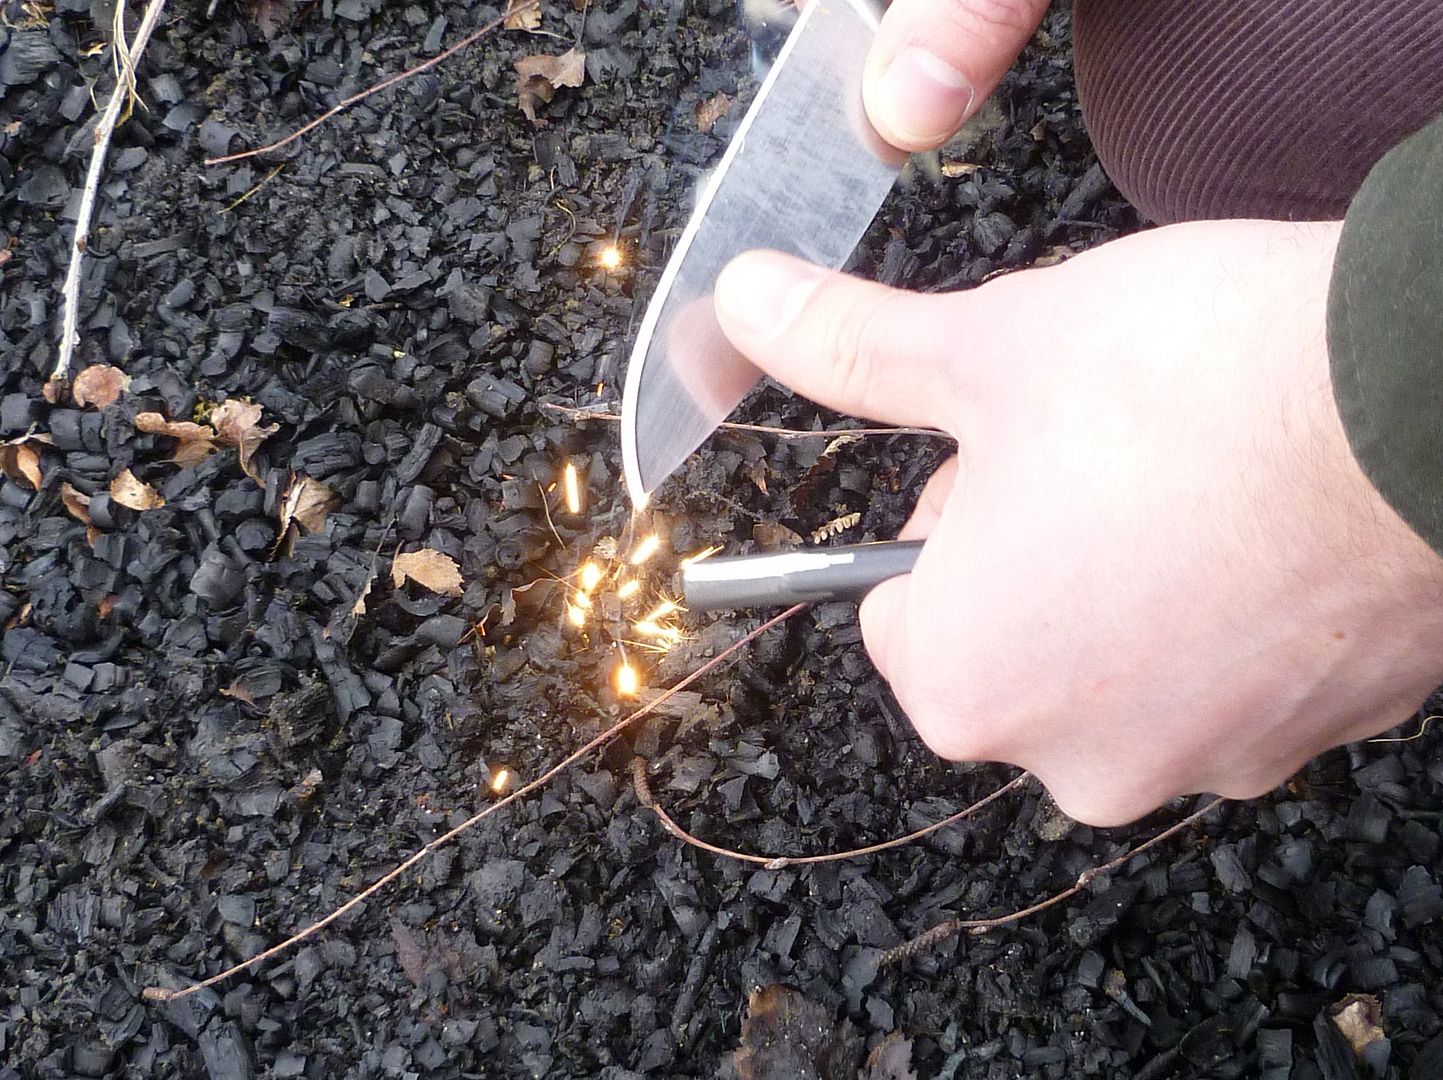
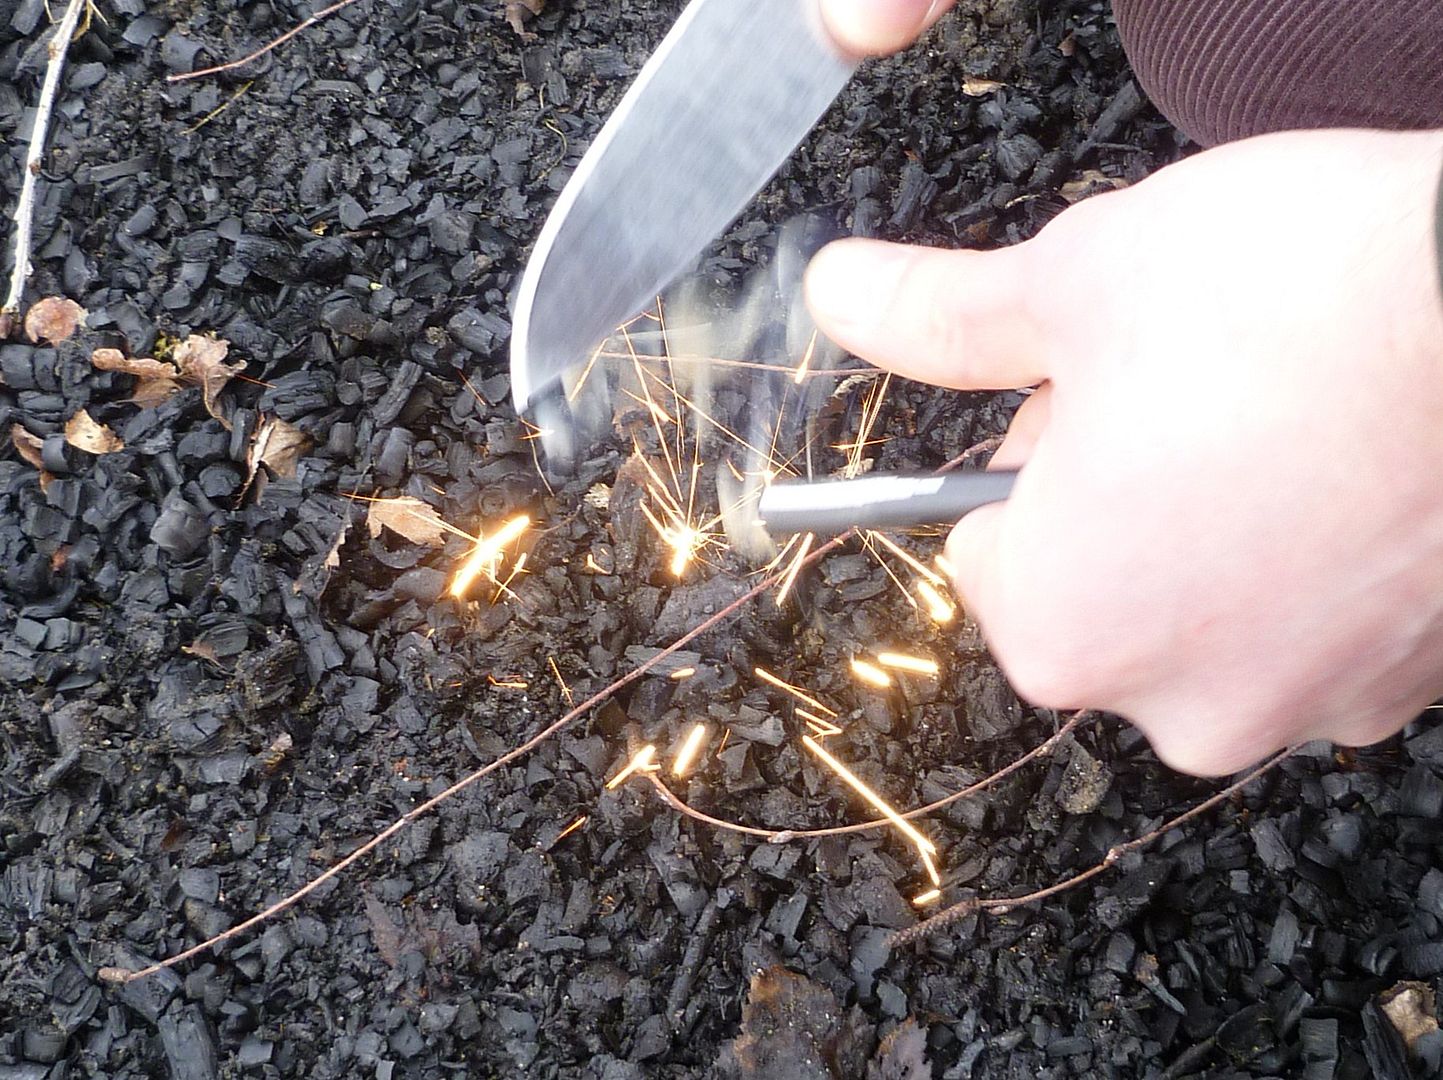
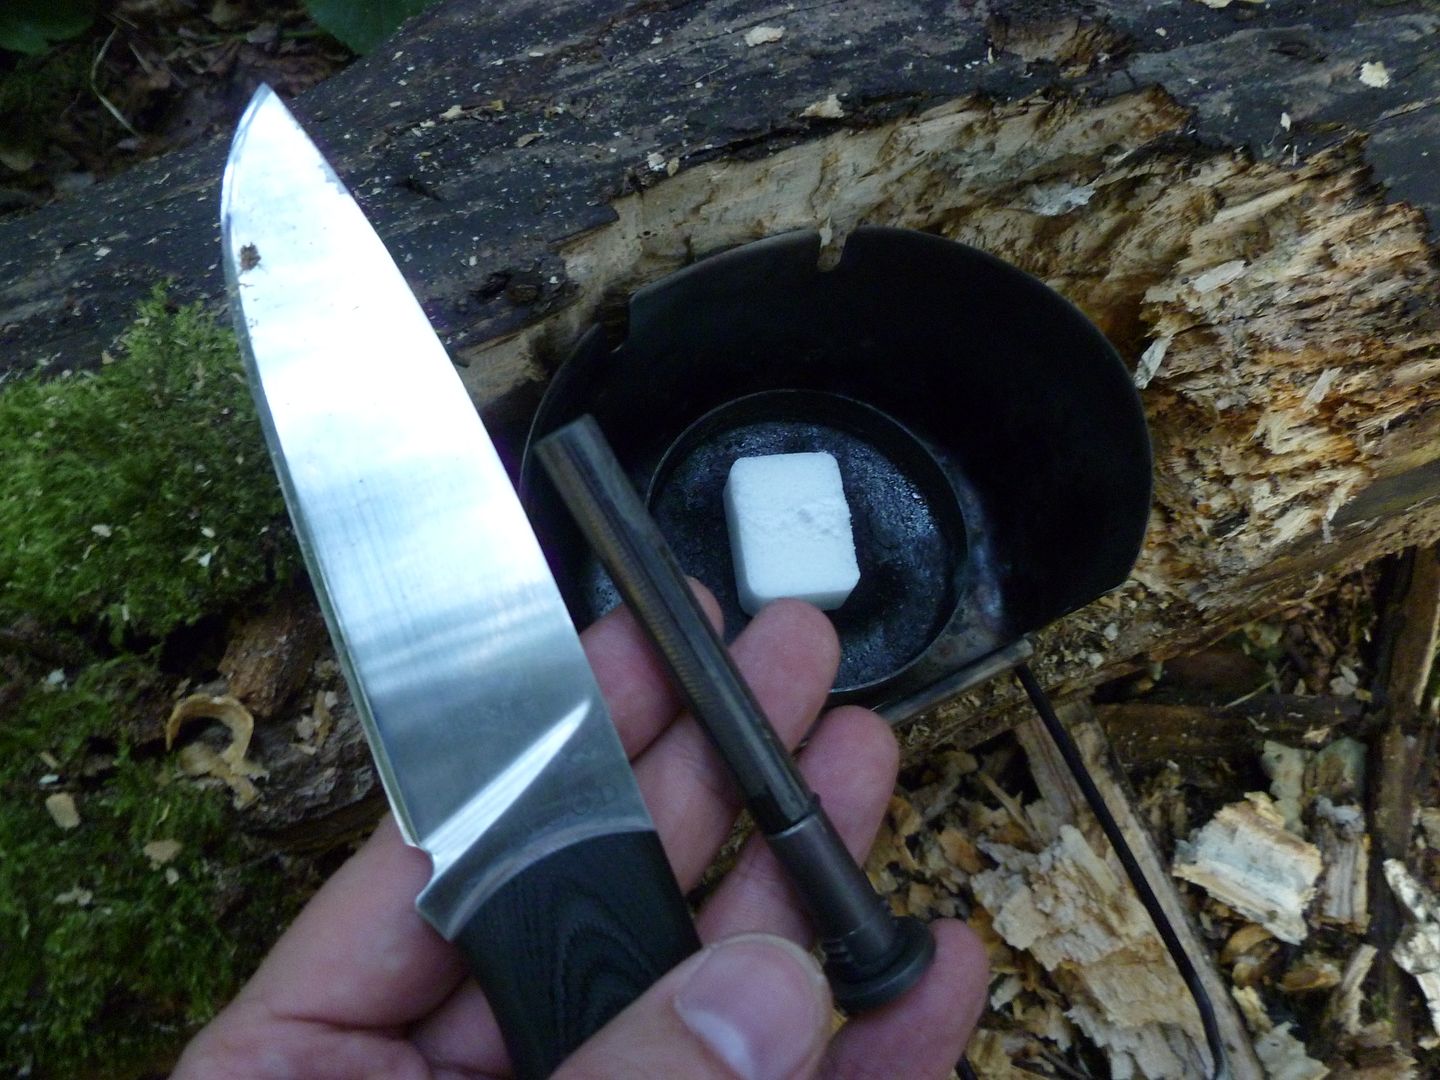
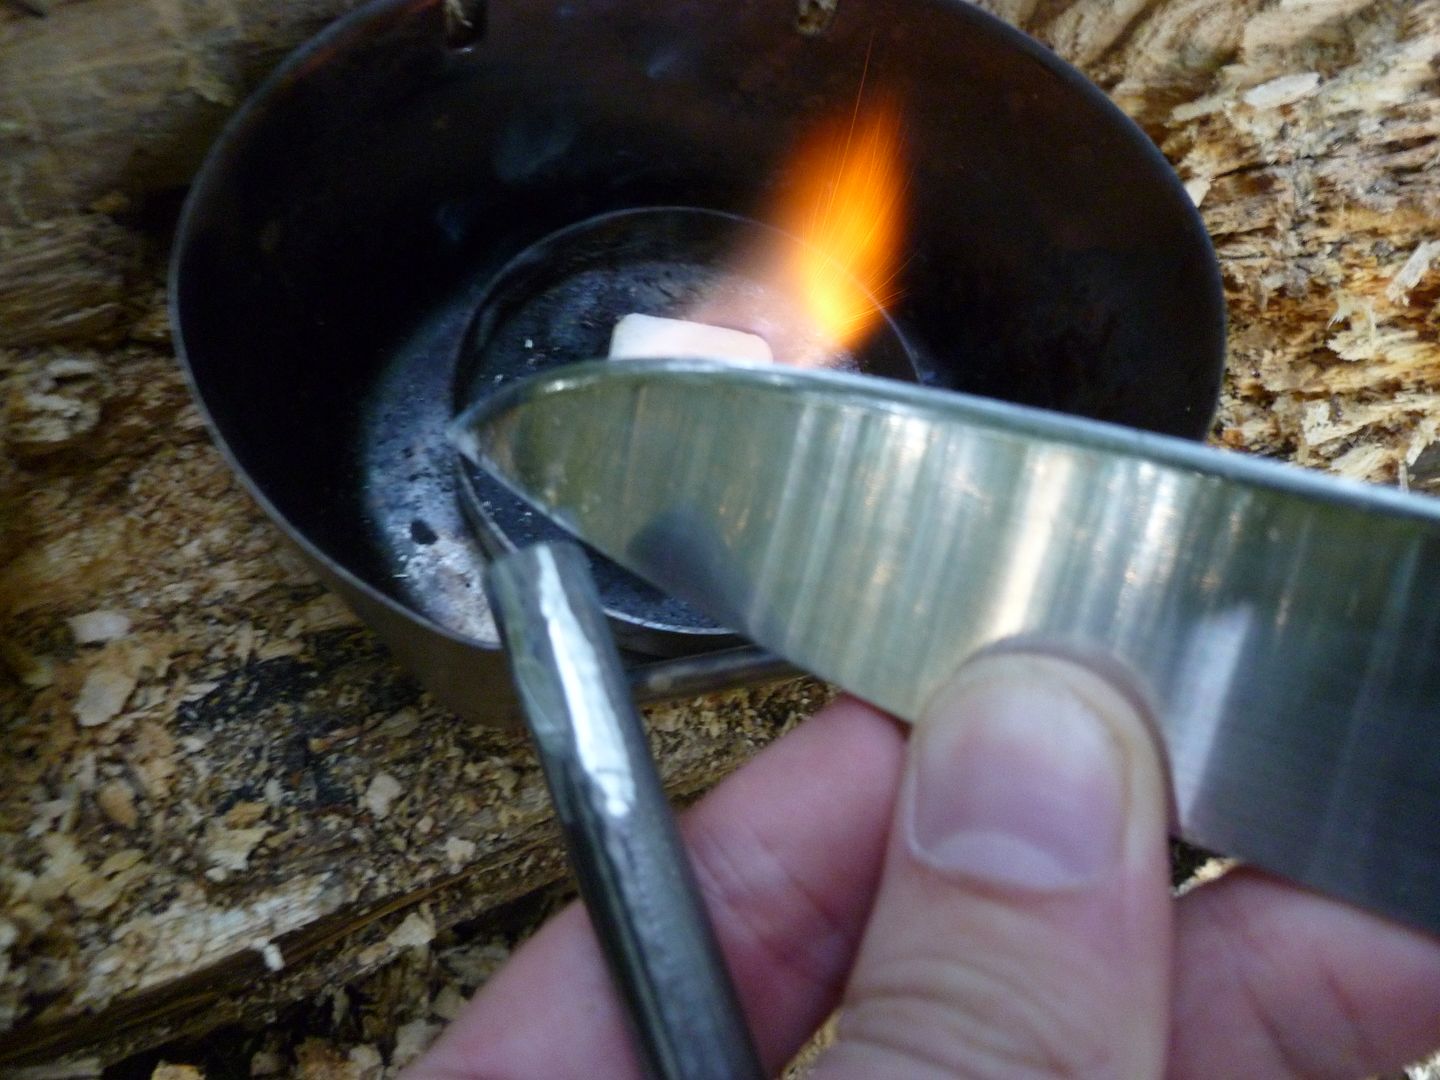
So how does the ferro rod perform with the blade spine?
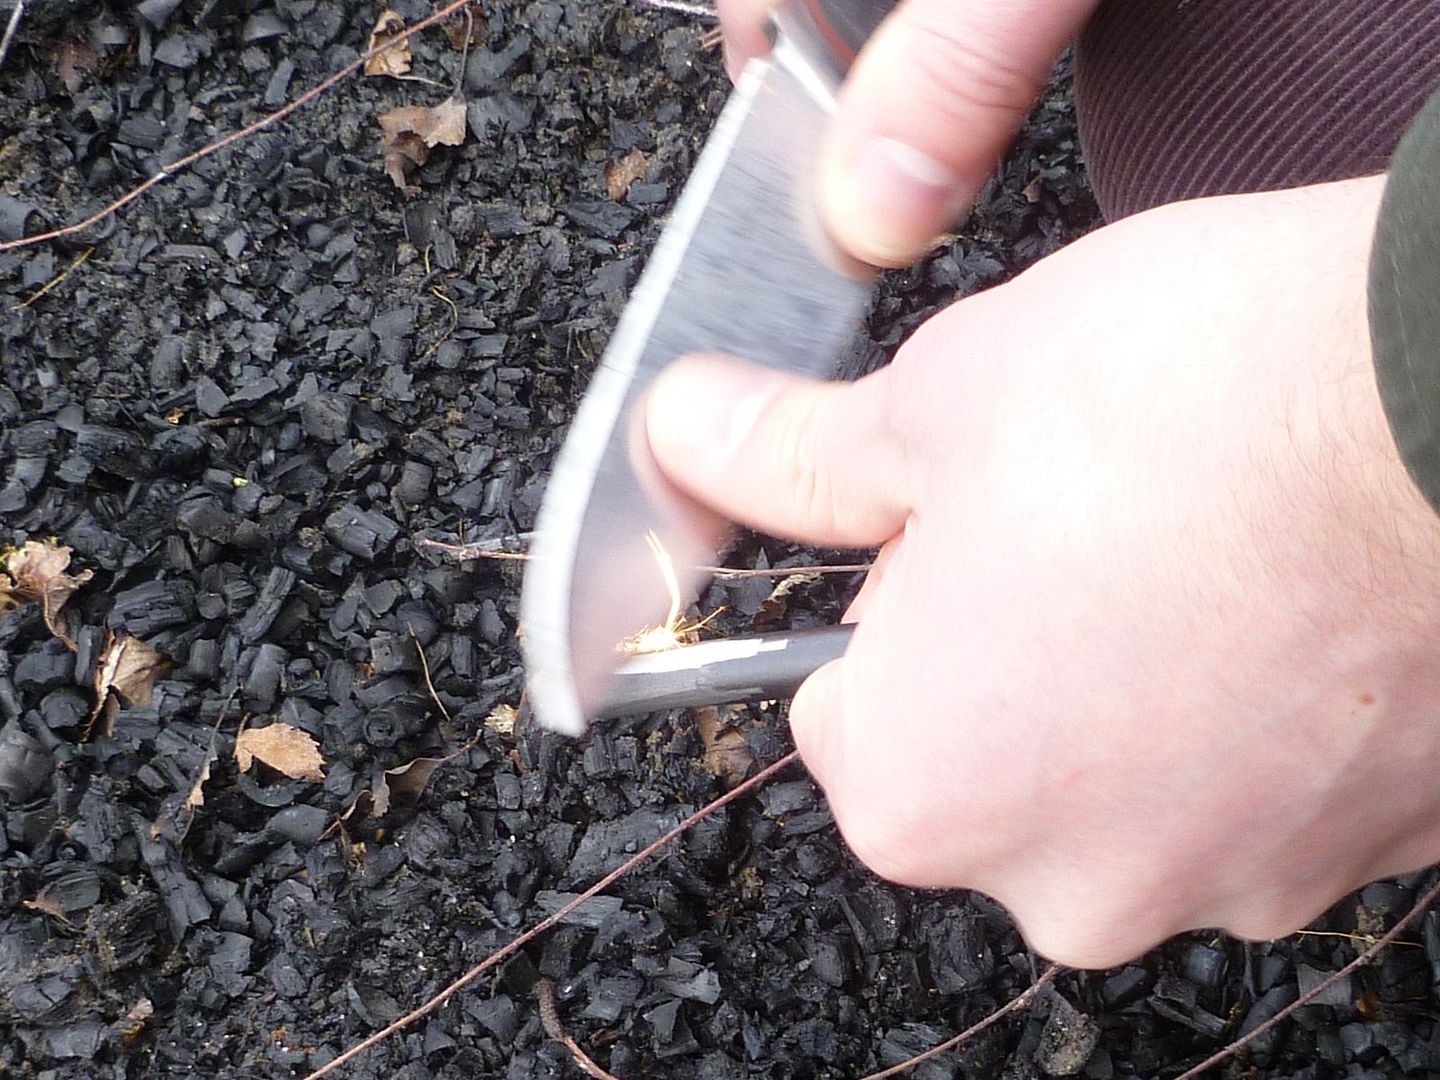


No surprise as to the quality of the ferro rod, Andy gets them from Woodlore. And we all know they are top notch.


And slightly more delicate work? No sharpening took place with this knife throughout all of this testing by the way. The first time I sharpened it was this afternoon after all the following jobs and more I've yet to write up.


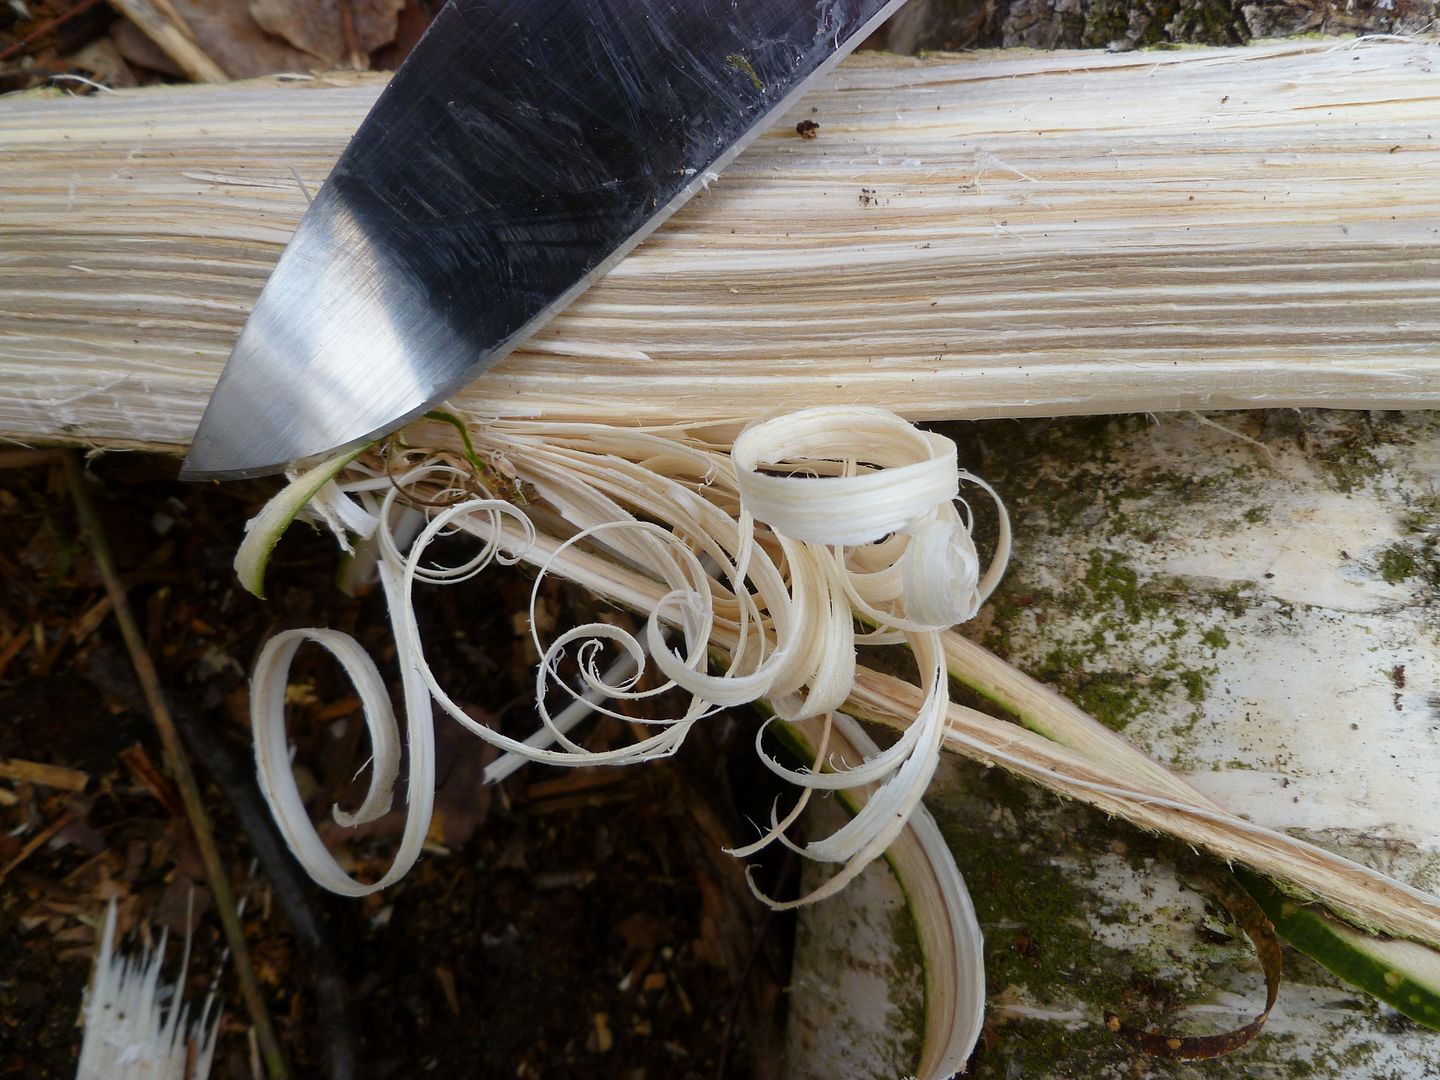
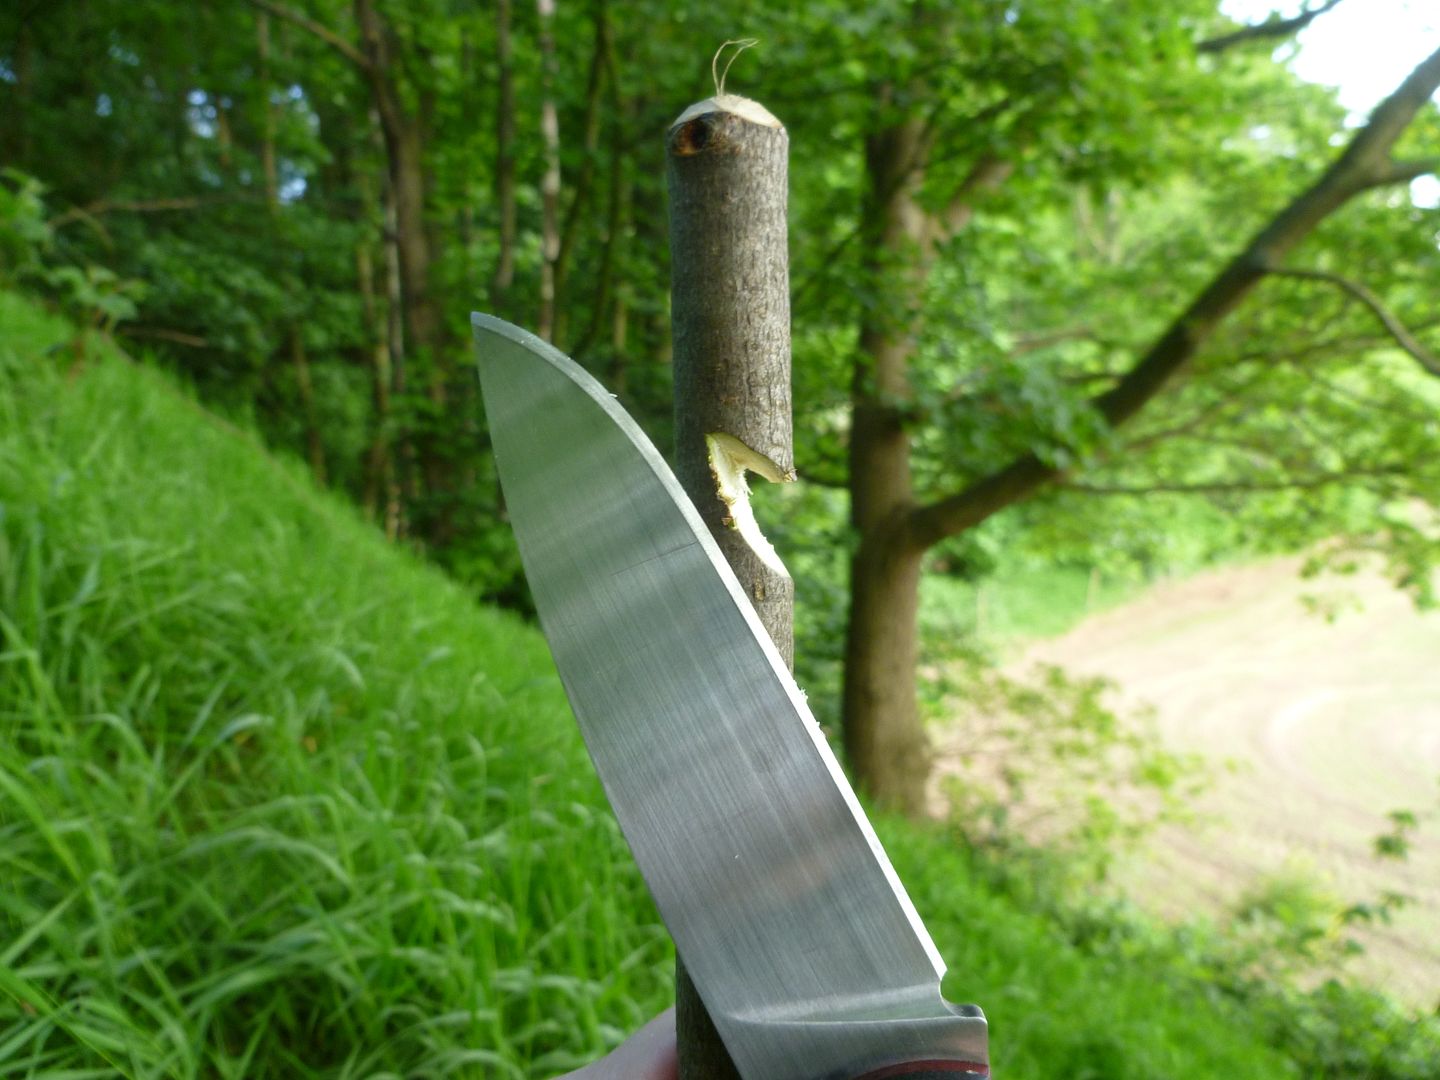
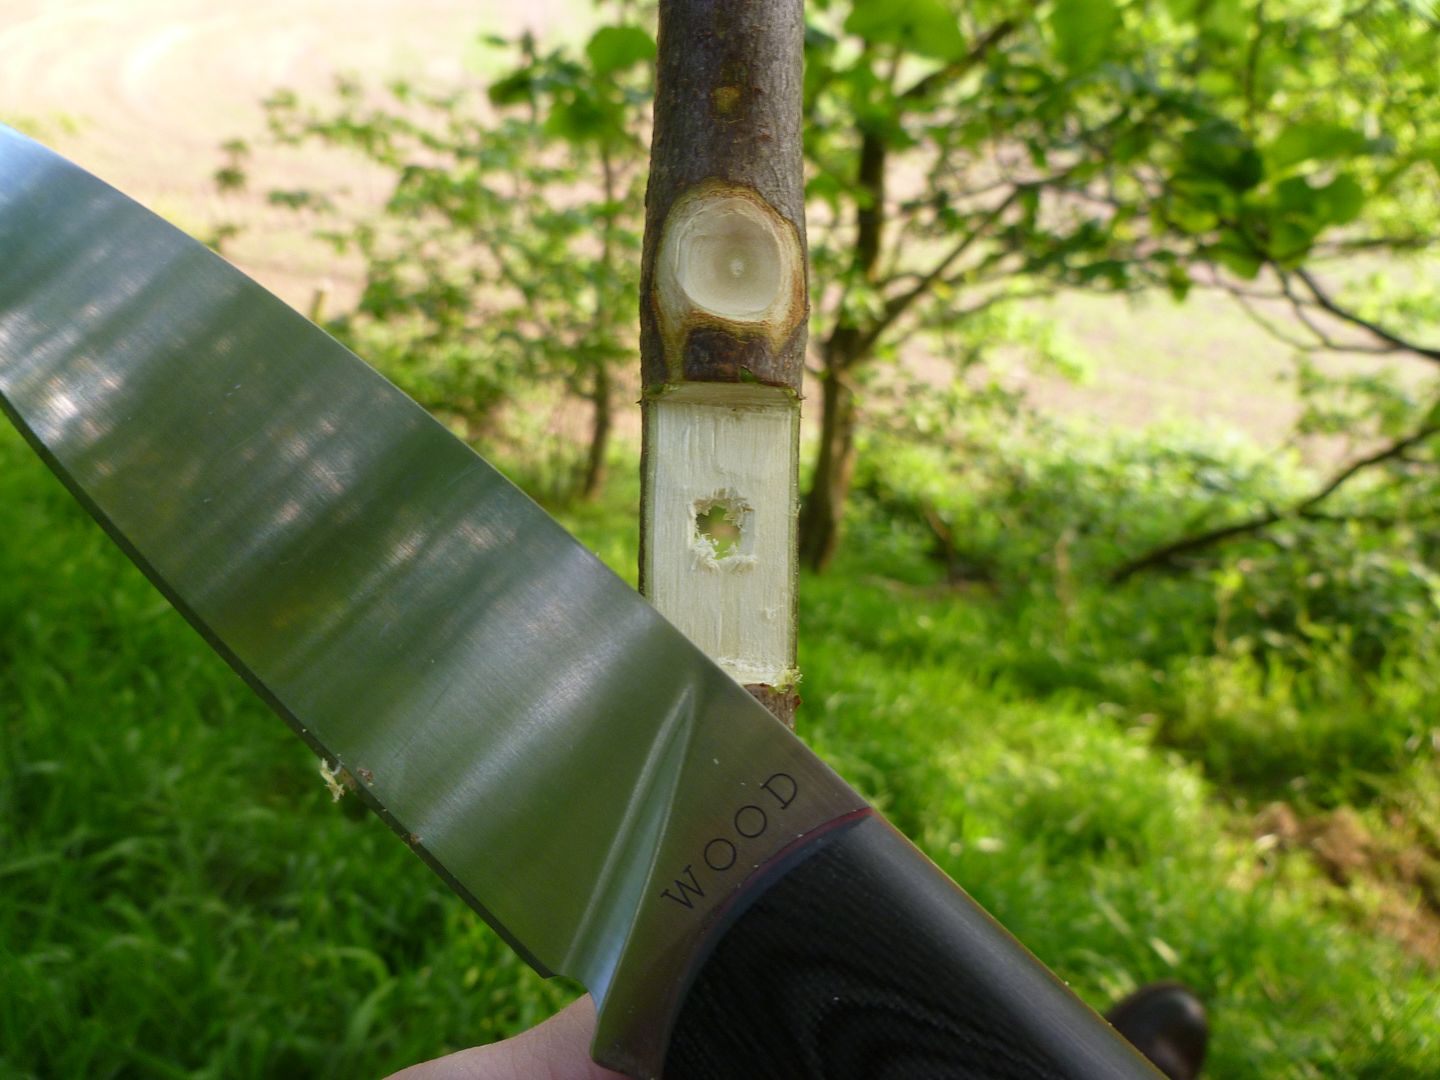
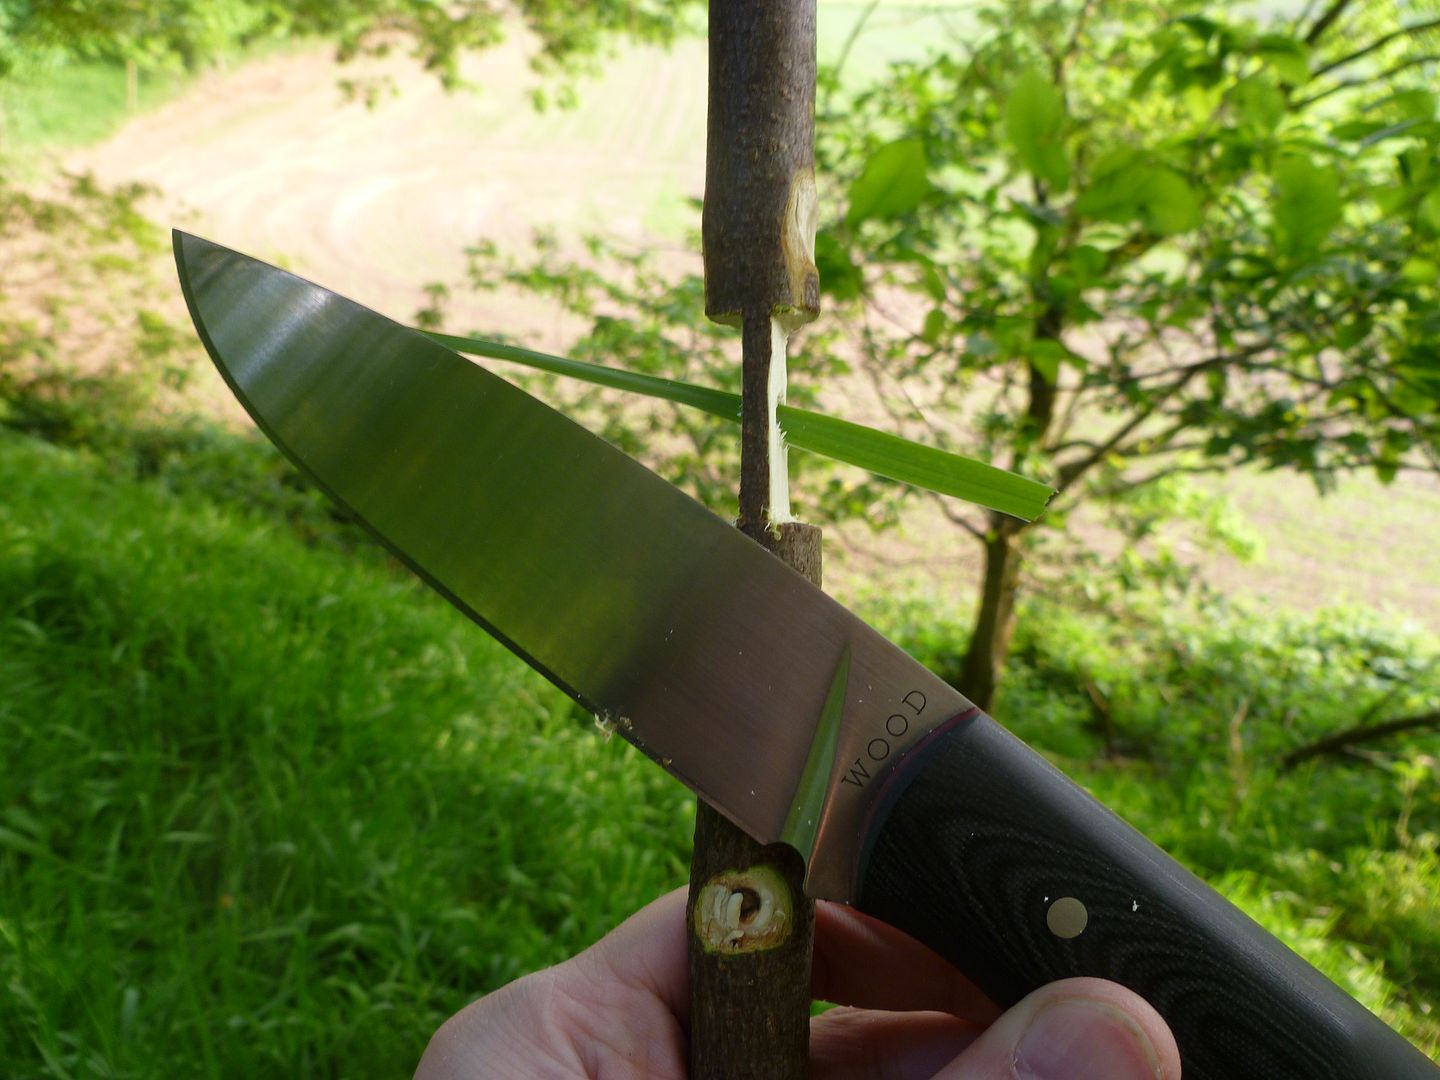
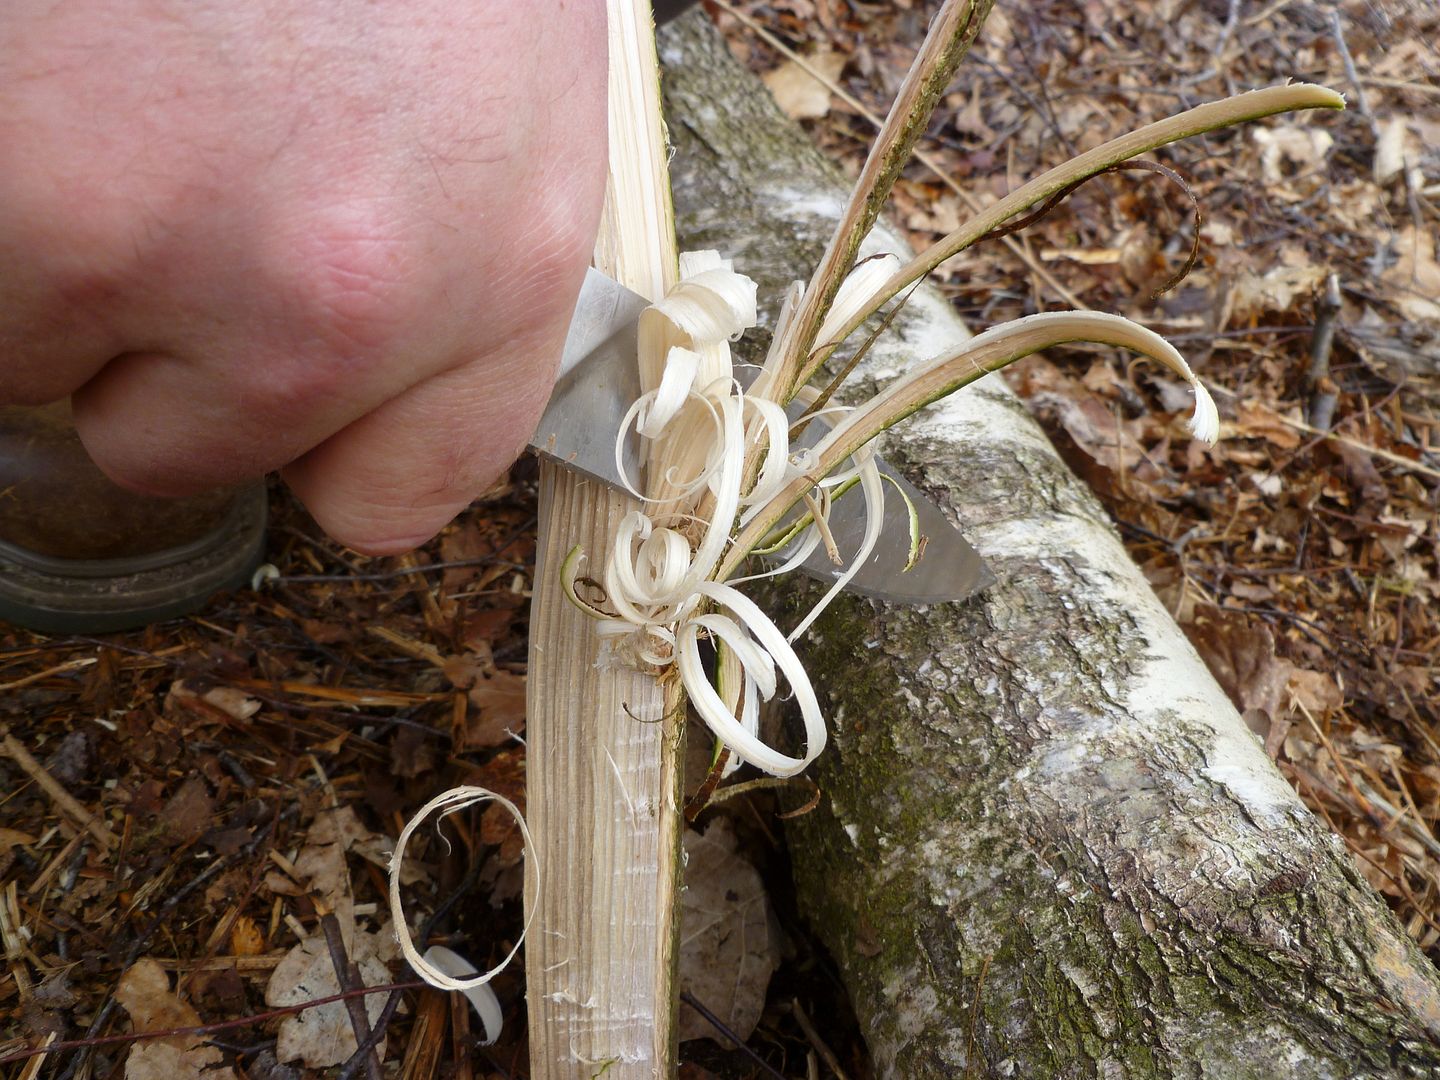
Feathersticks, no problemo...


And pounding through hard wood against the grain...
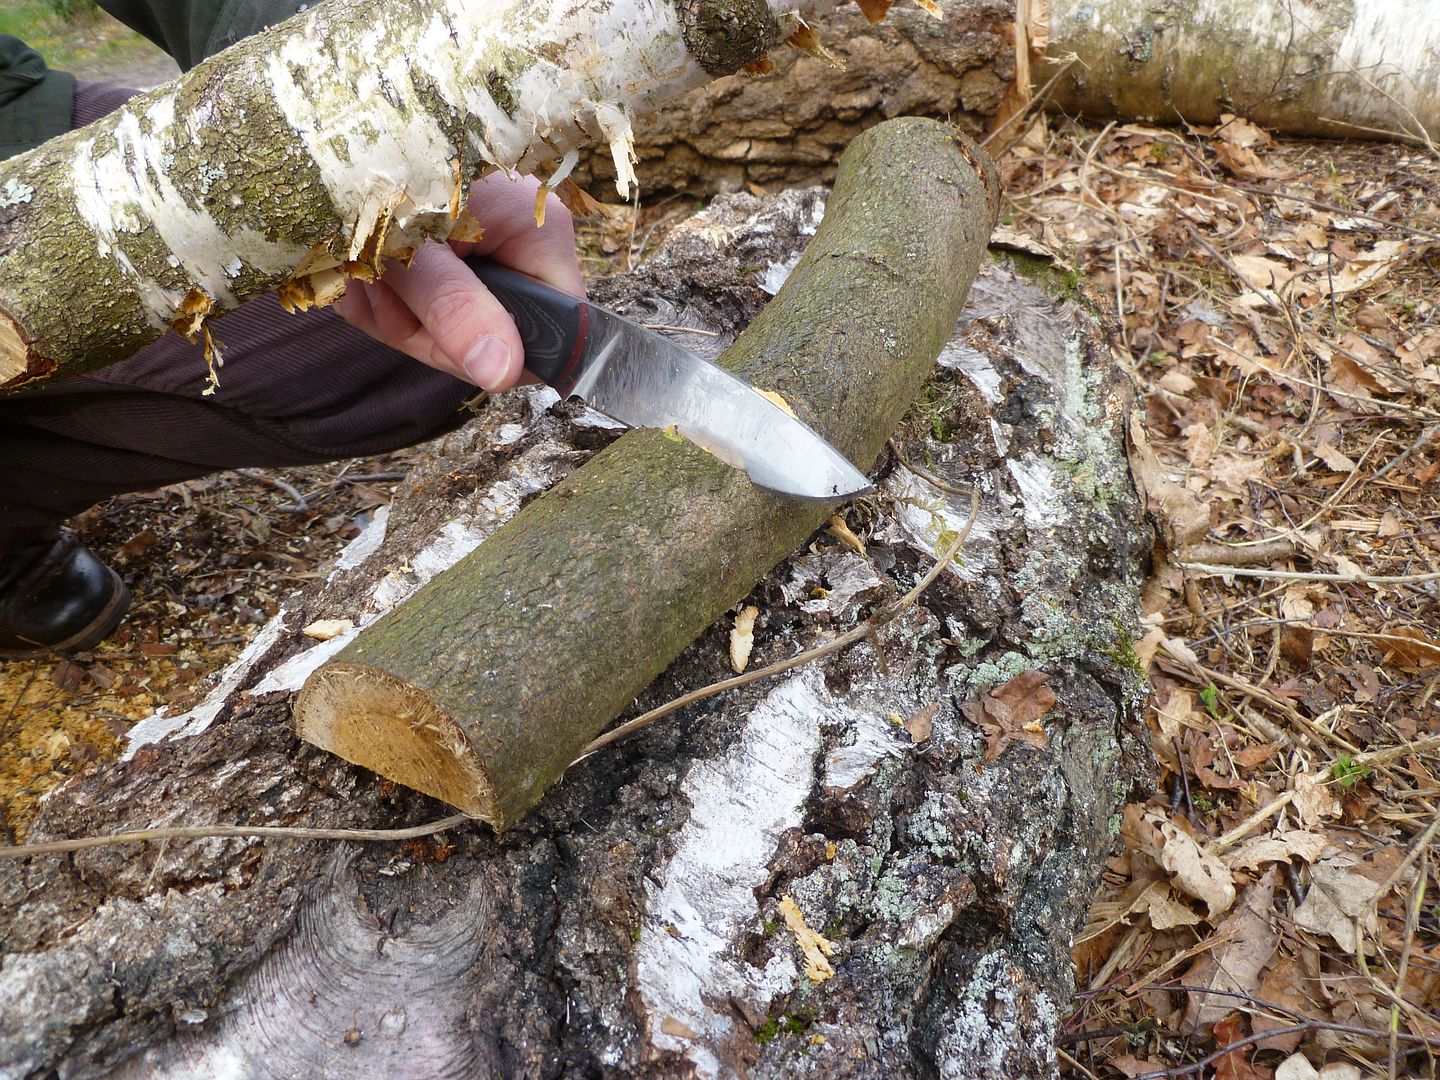


The blade is thick, so this work was hard. Chipping away back and forth with such a small half round caused a load of movement whci worked against me and the knife. If it was a fixed piece it would have been much easier. safe to say it can handle this work, but I planned to fell a tree with it anyway later on in testing.


It's a good looking knife. The G4 scales are smooth and very comfortable with a coke bottle profile that fits the hand well in a variety of tasks. The feel of the handle is noticeably different when held inverted in the palm. A much needed difference when reaching for your knife in the dark.


The blade is a classic spearpoint design which on this knife ends more abruptly than Andy would have liked due to a profiling error in the rush to get this prototype out to me before I left for Tanzania. I'll put up pictures of the refined version tomorrow as Andy only got it out to me last night. It's not a major difference, but I do think the correct centralised point will add to the usability during woodwork.


Prior to the testing with Clem here, I did test the corrosion resistance last year by leaving it out at camp in a puddle for two days.
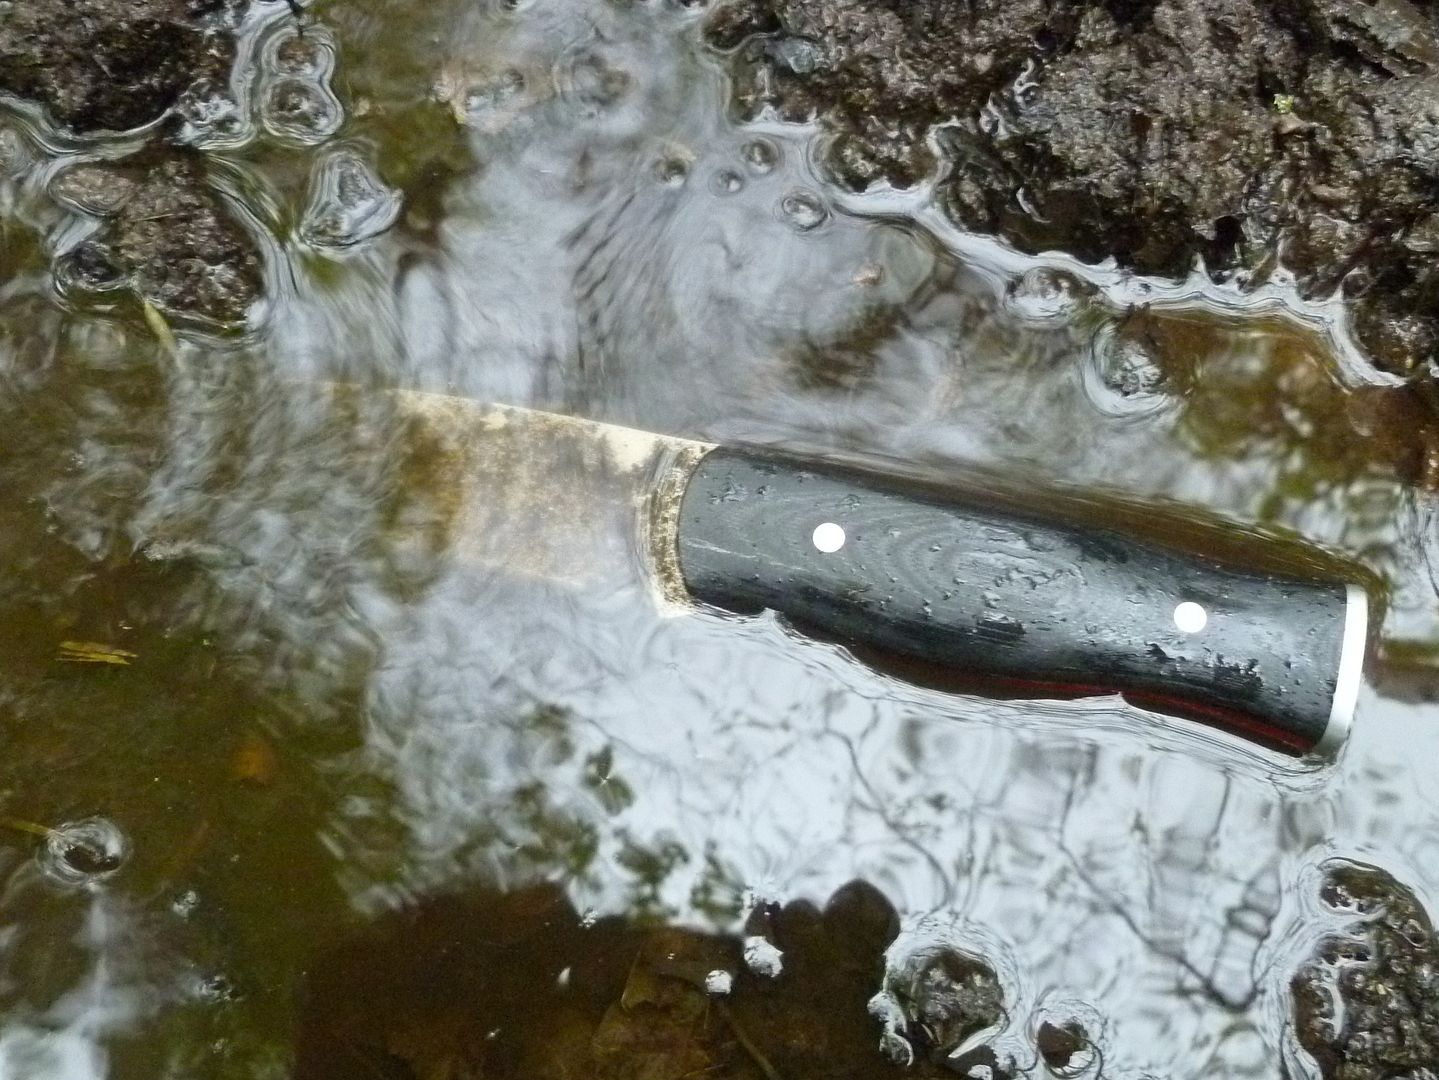
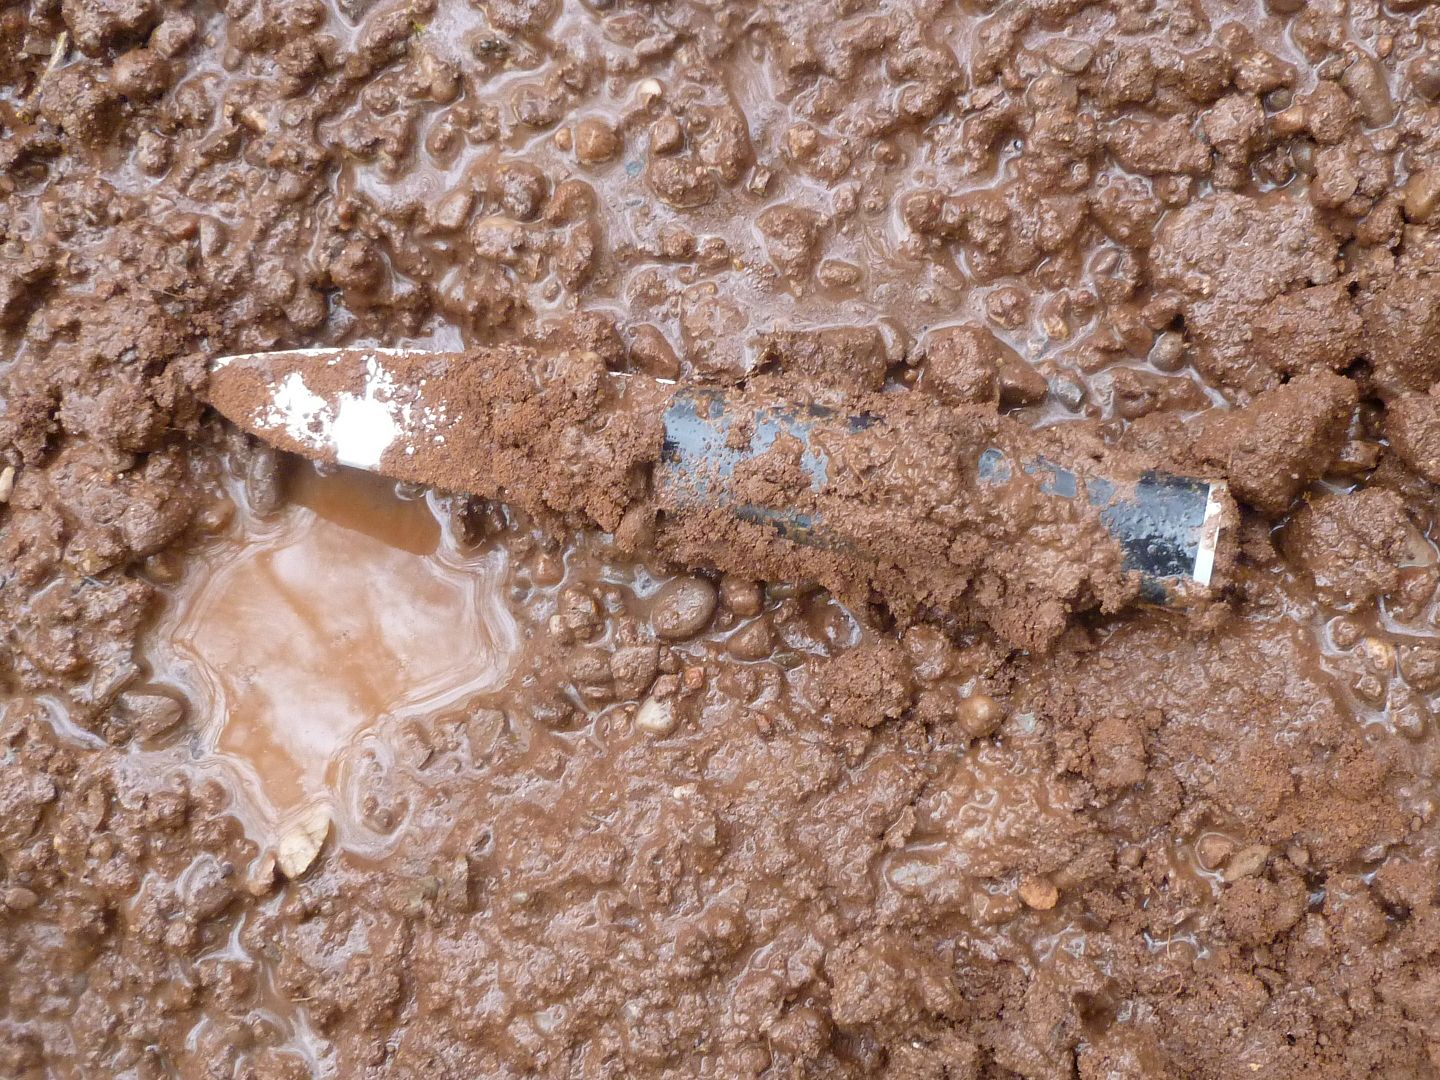


Apart from scratching up the blade and getting grit and muck in the handle release mechanism (which I wanted to test in this way anyway), there was no external or internal corrosion that I could see. It sat in a sheath for two months then. Still nothing to report.


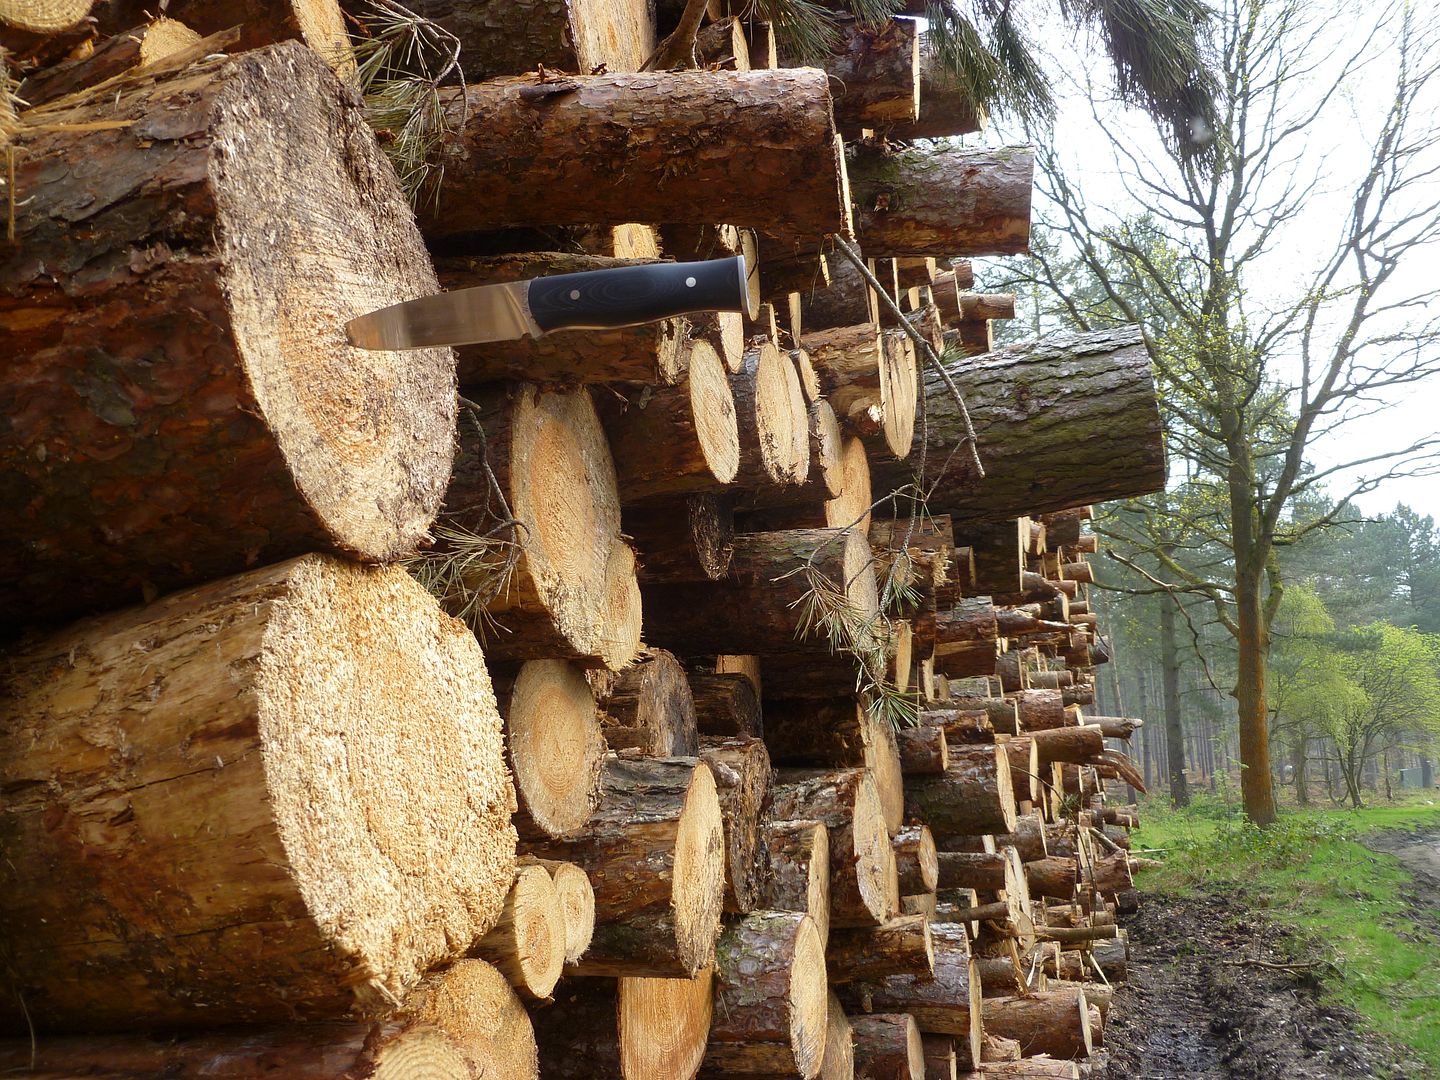
Back to the testing. I really did want to test felling a tree. Well, you see old Gryllsy et al making rafts, so maybe a knife needs to do such a thing.


First of all, these trees you see in the next tests are all being cleared to make way for deciduous woodland. So no harm done.
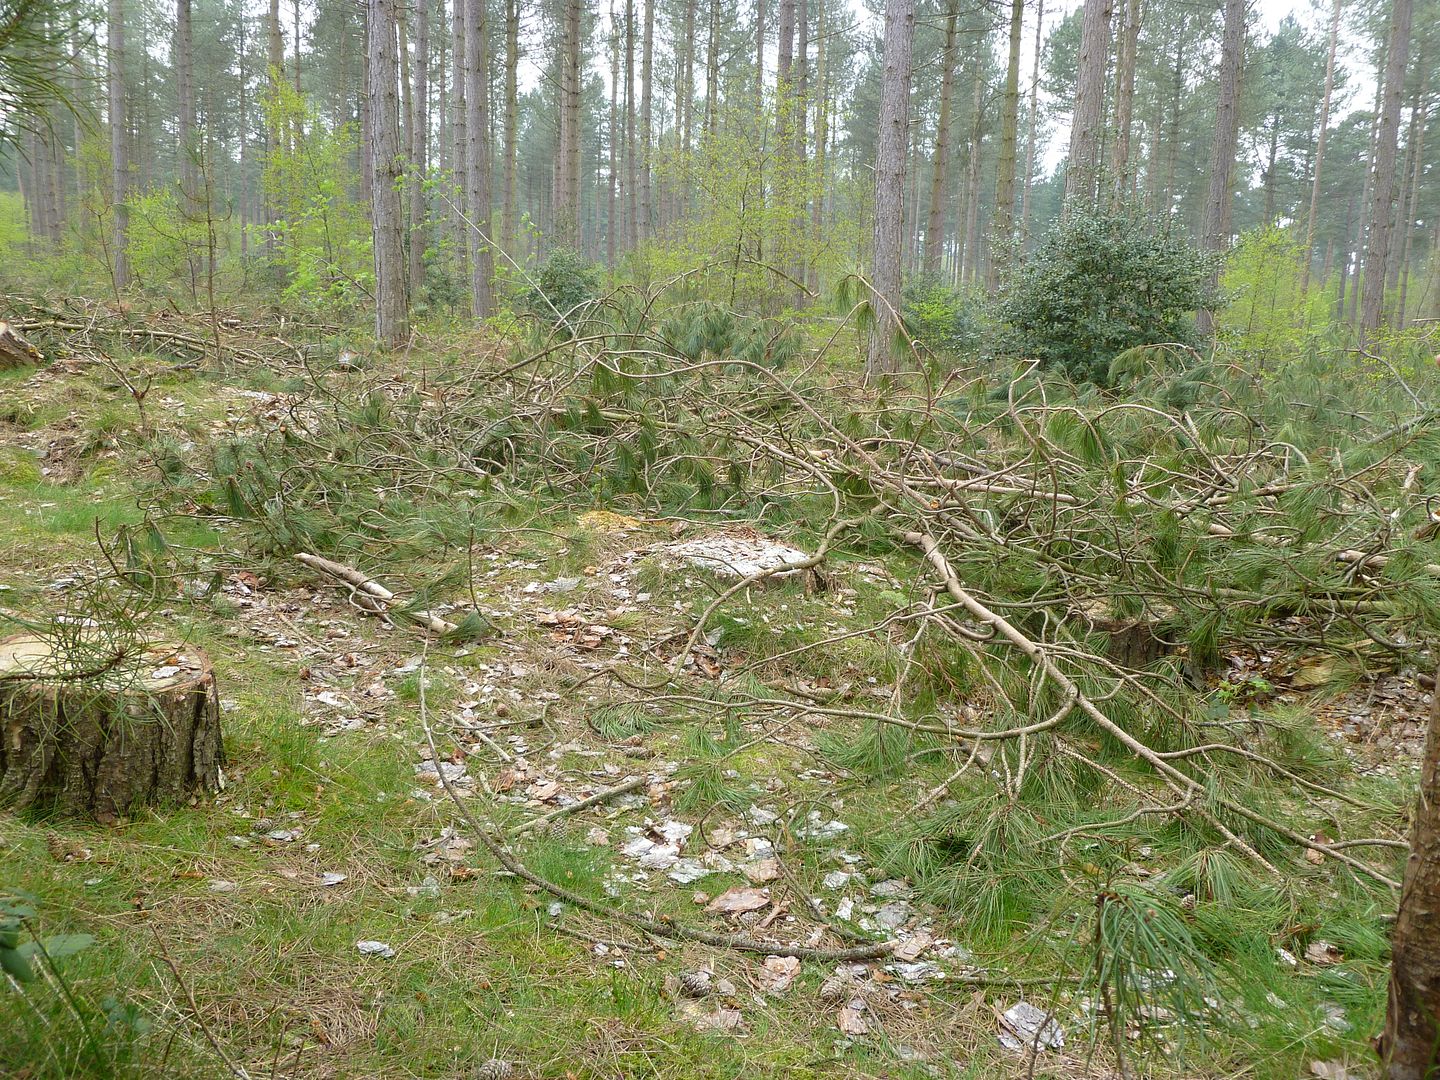
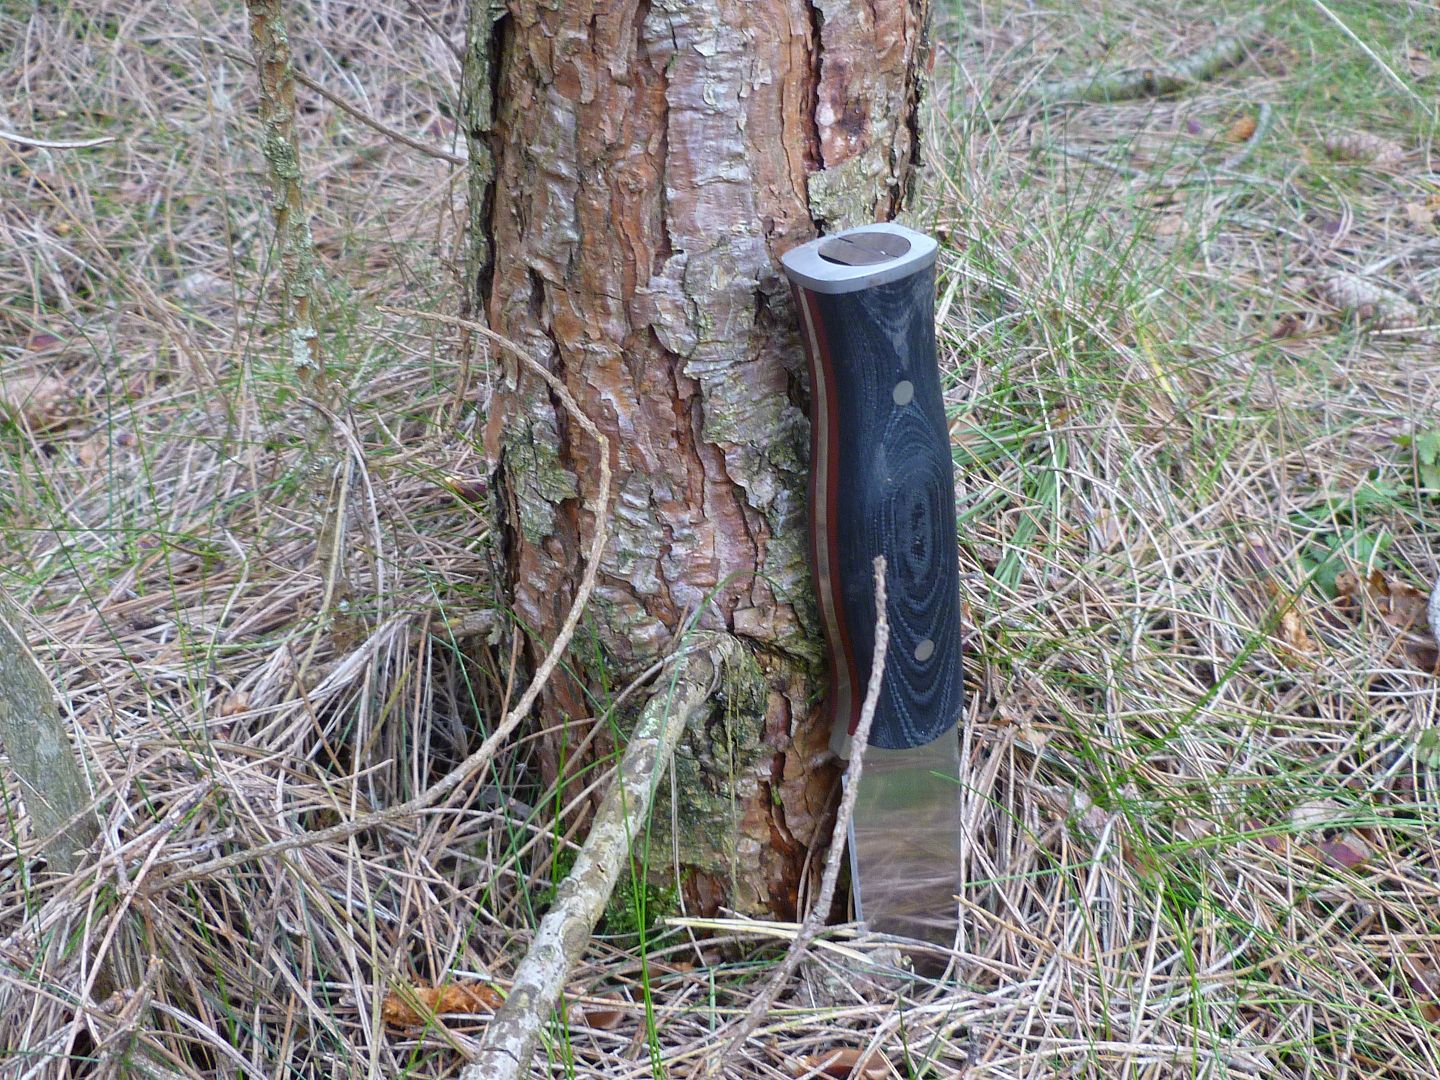

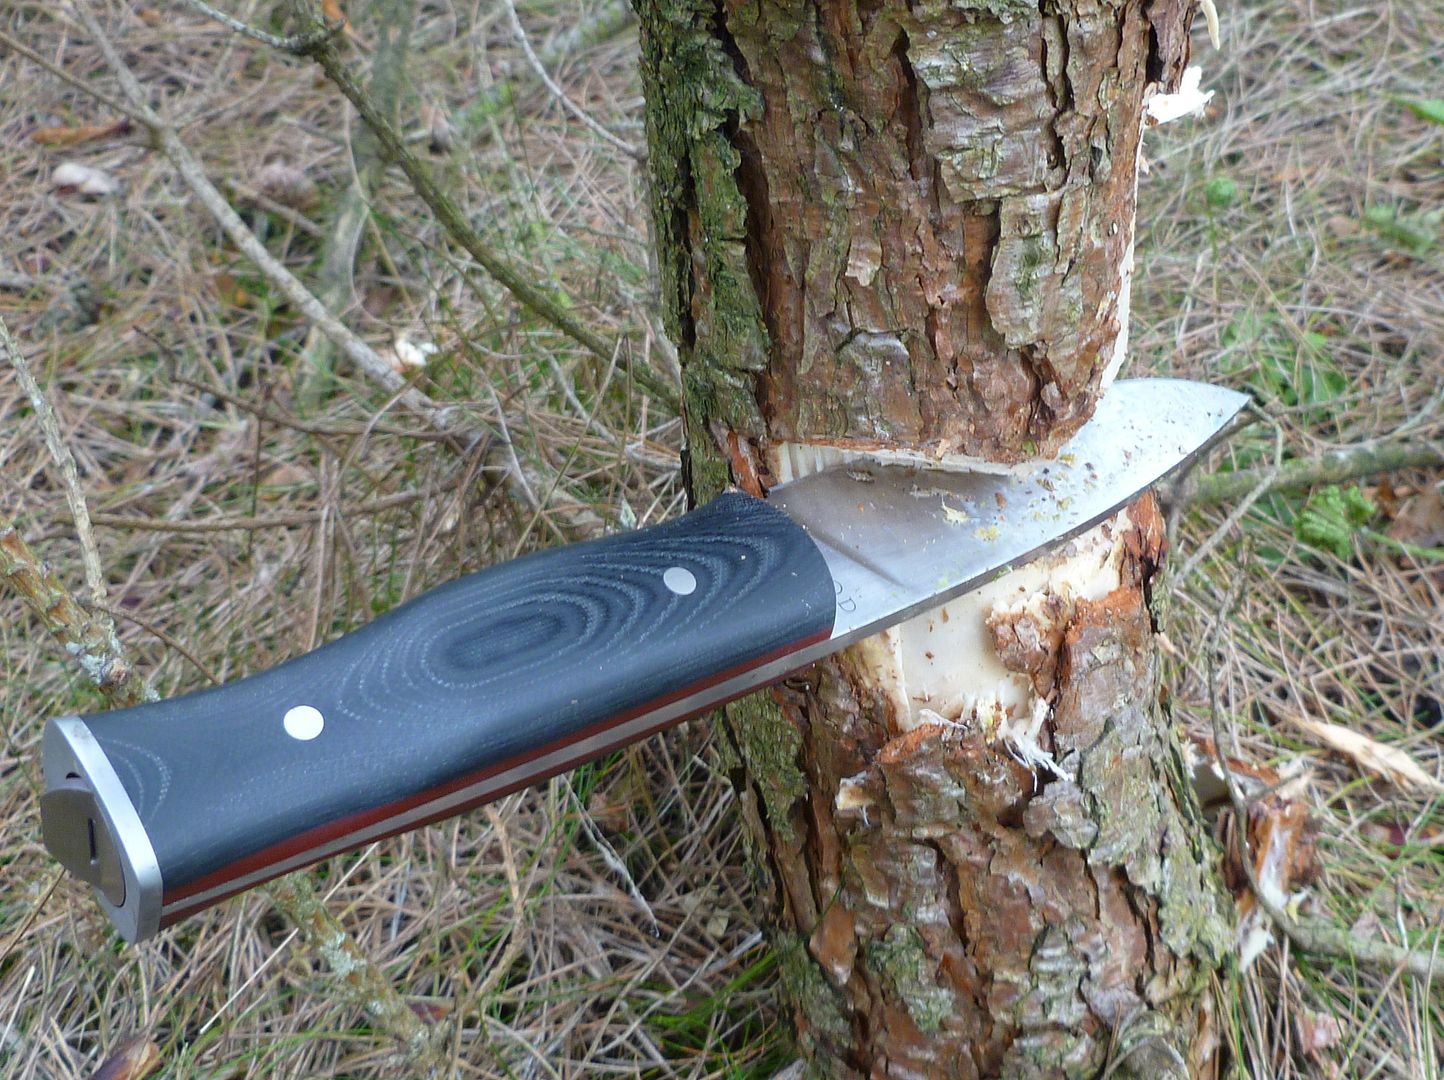
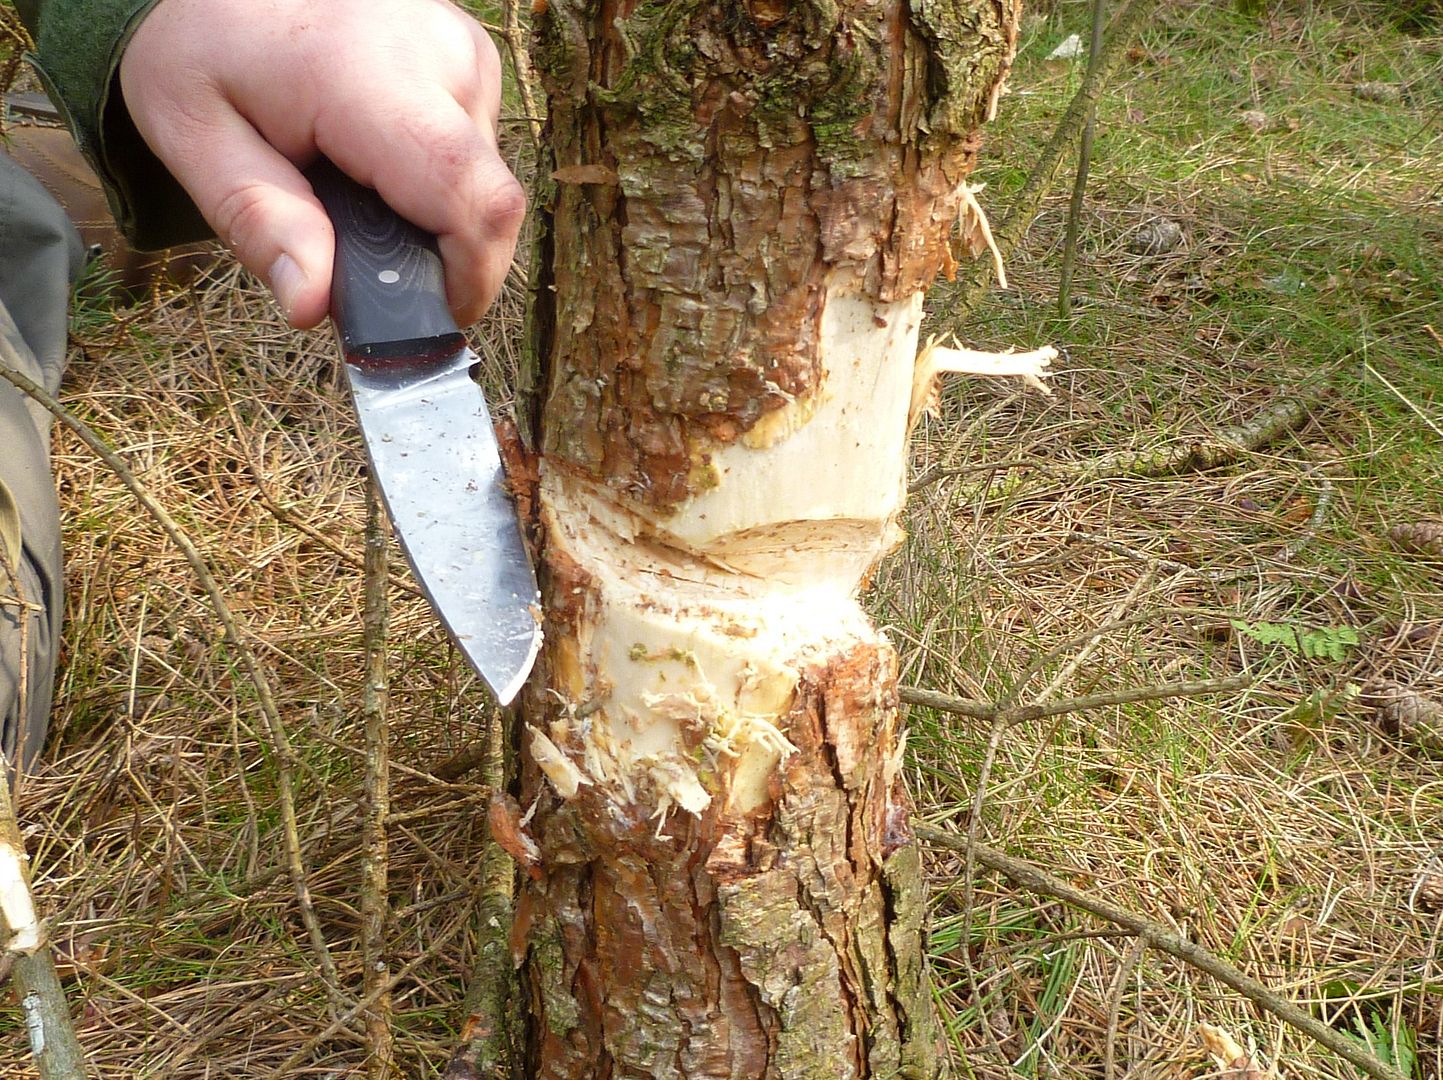


I chose the baton for this one. Like the tree it was pine. Clem chose a baton too. It was bigger than the tree we were felling.
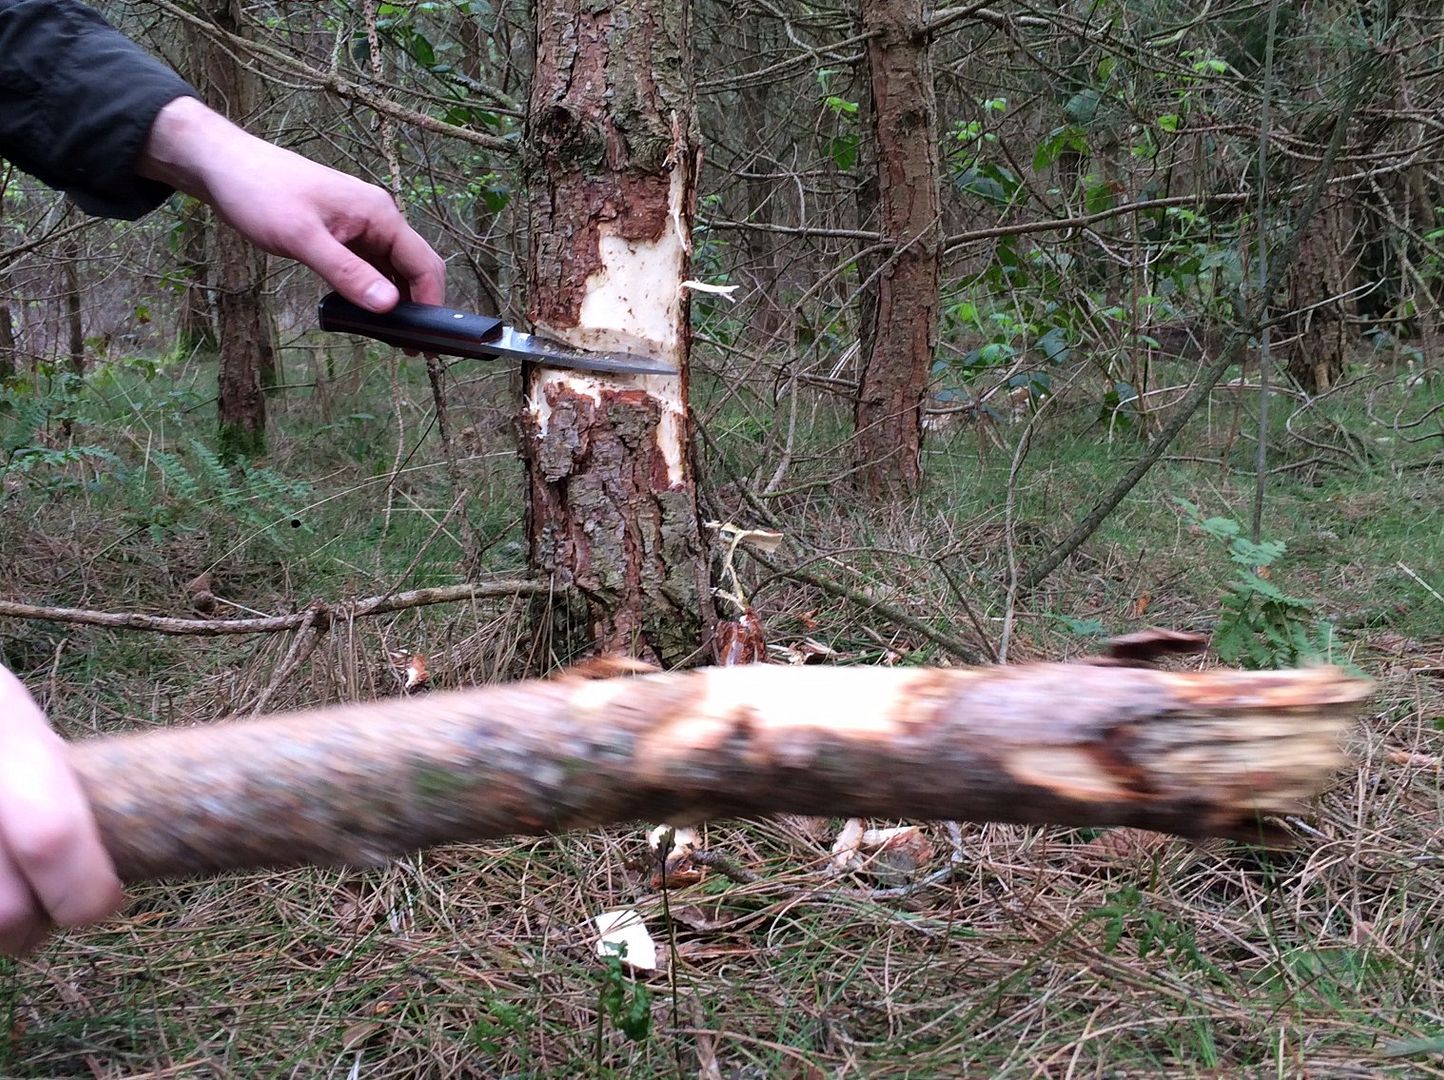


Chopping into this tree was much easier than the half round that moved about. I think from start to finish, including stopping to gob off and take pictures, it took about seven minutes. Knife through butter was a phrase overused by us both at this point.
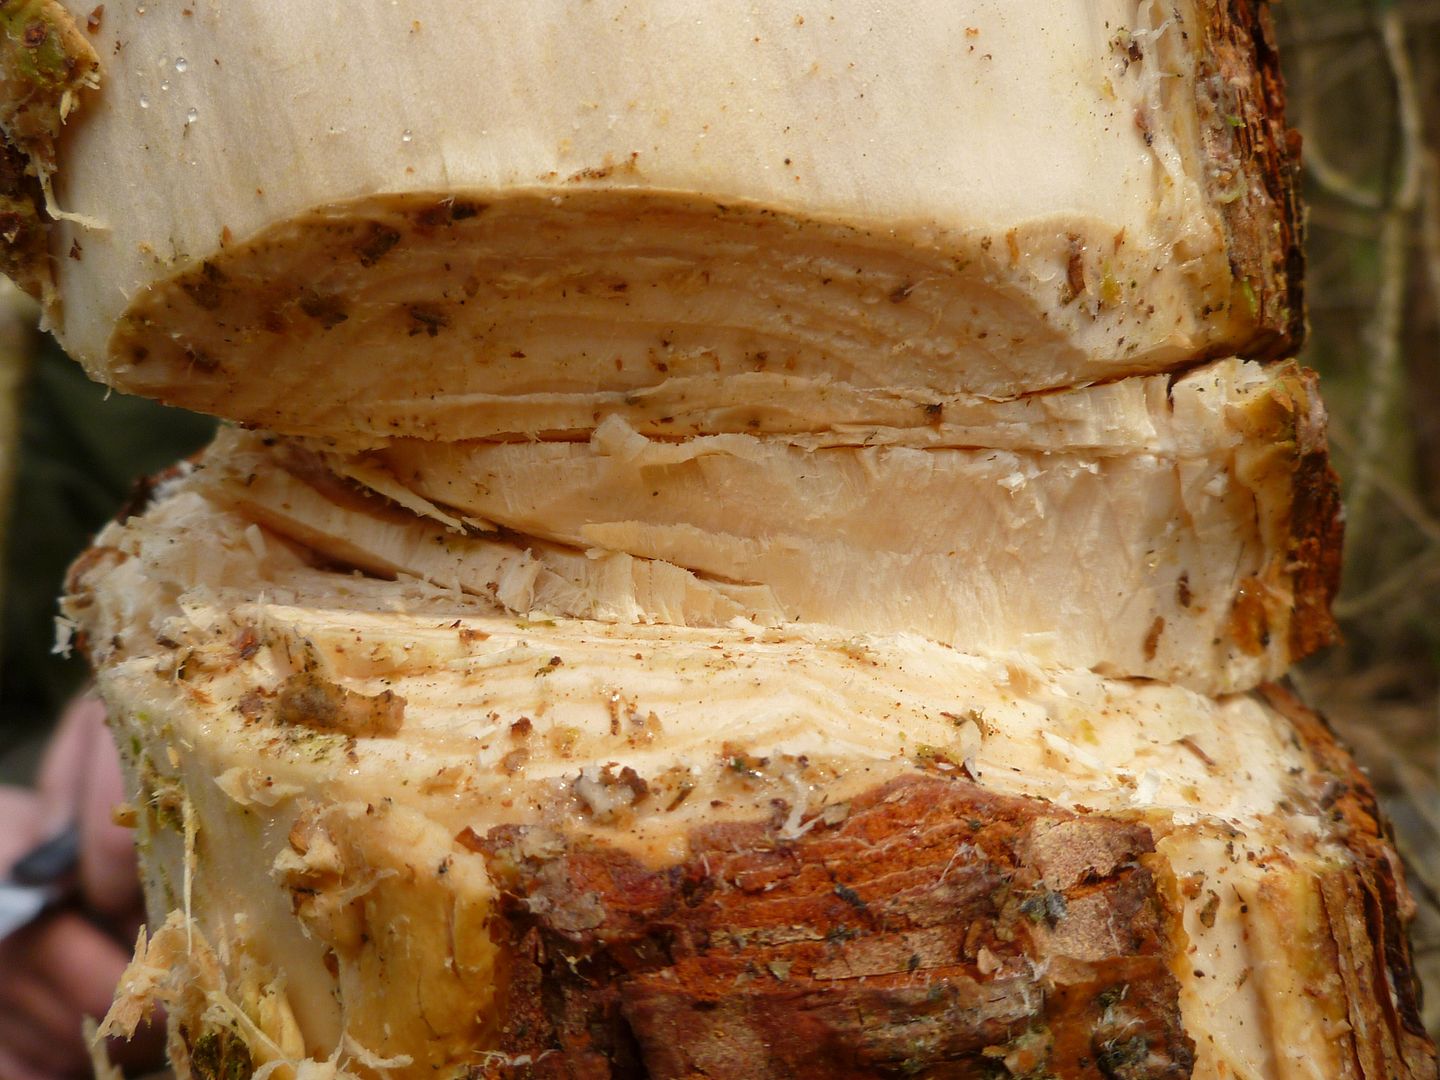


I did pound on that knife butt plate again when we were halfway through to ease things up, and just to check this as a weak point which I seem to have developed an OCD about.

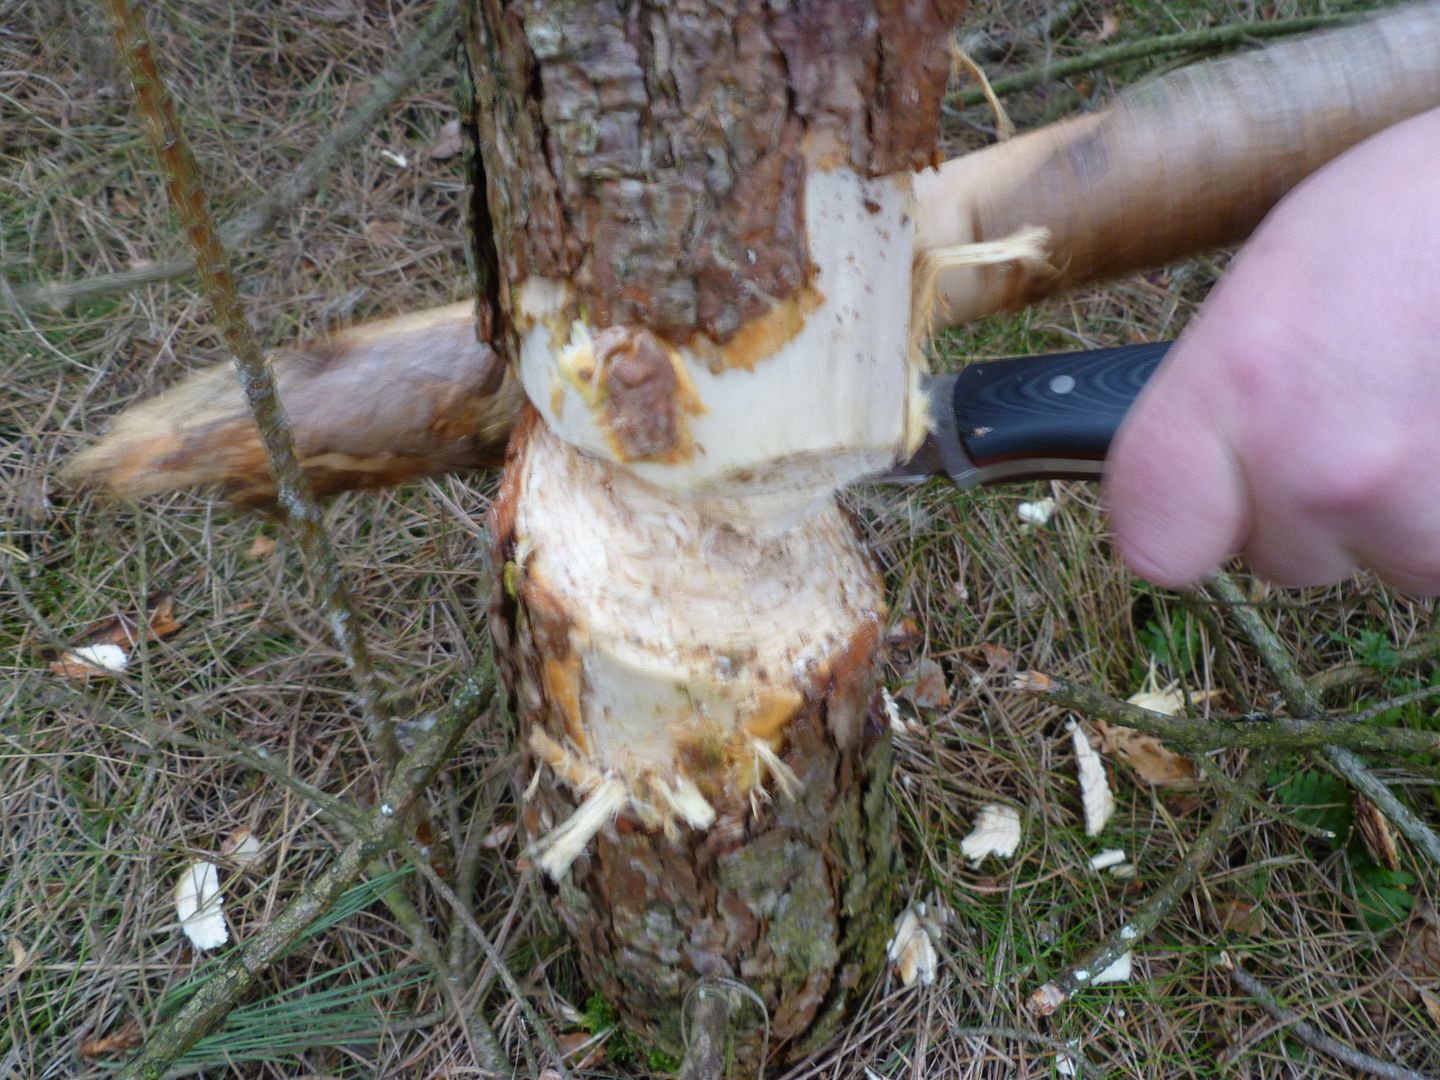
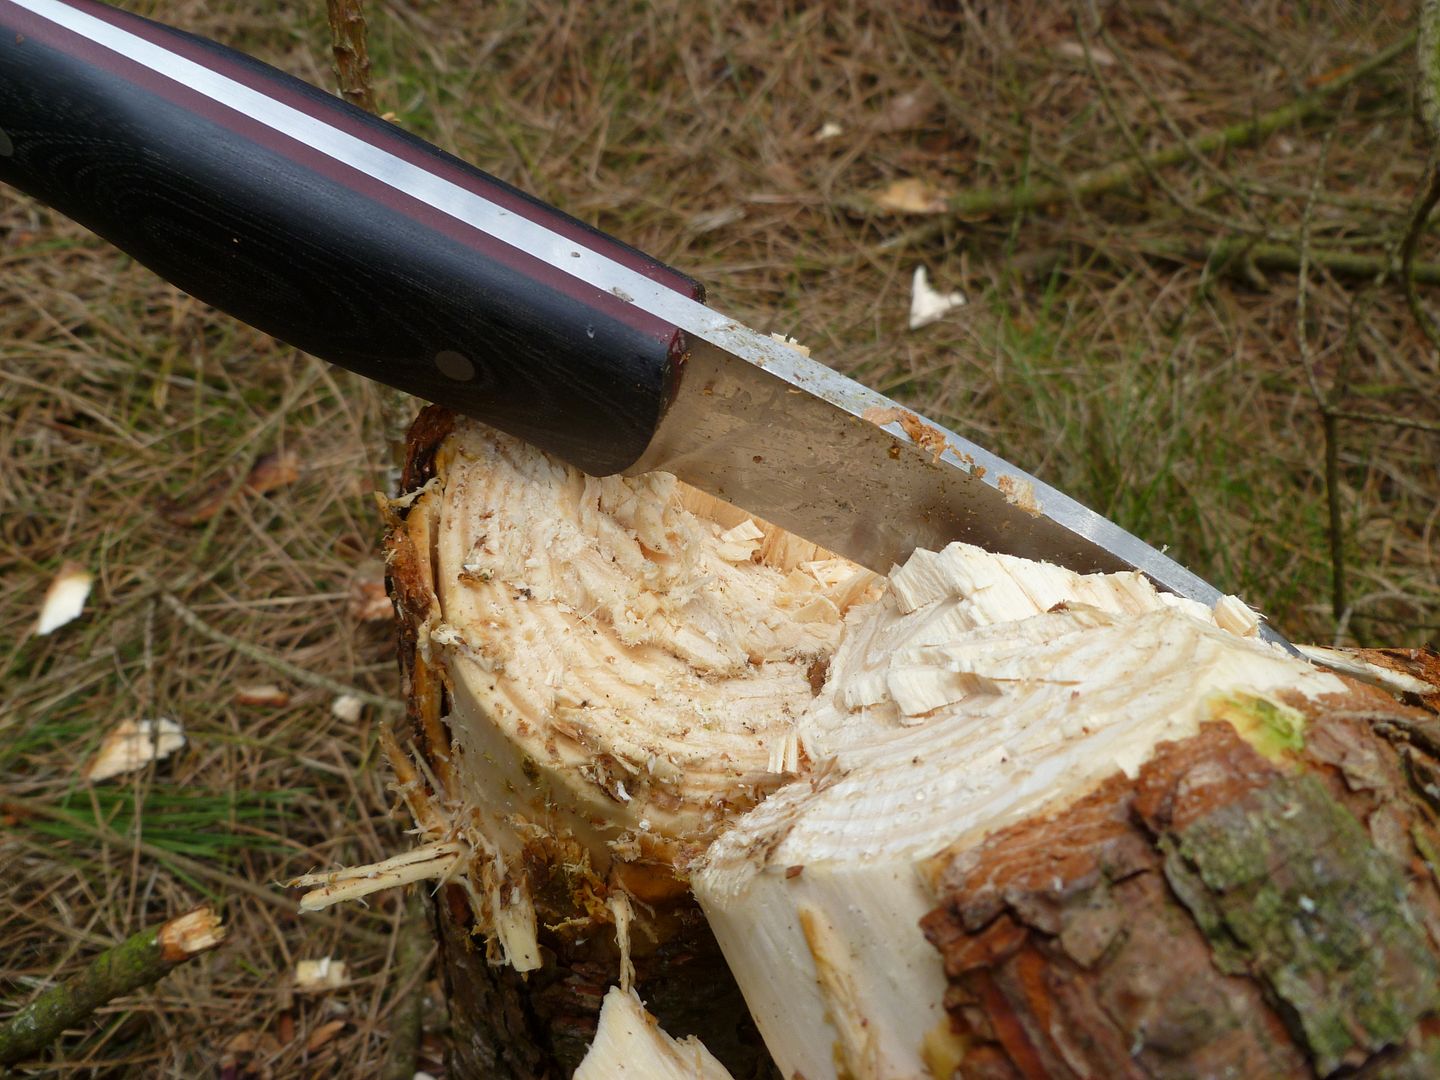
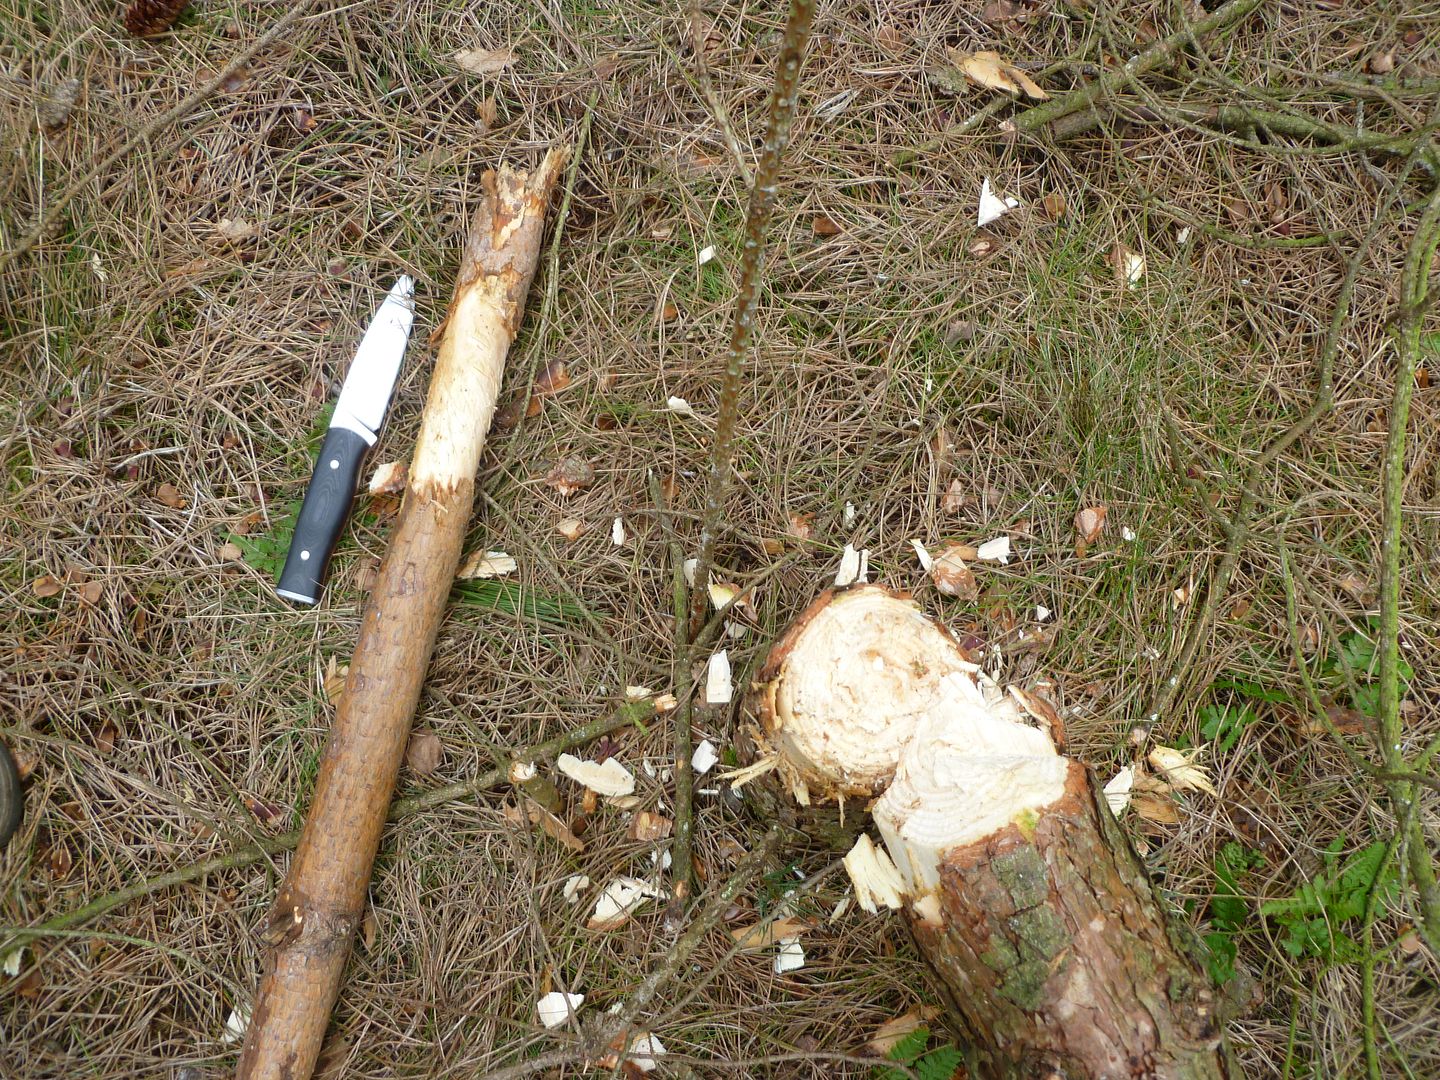


A picture tells a thousand words. Good job too, saves me typing and copying and pasting links is far easier.


Now for that butt...
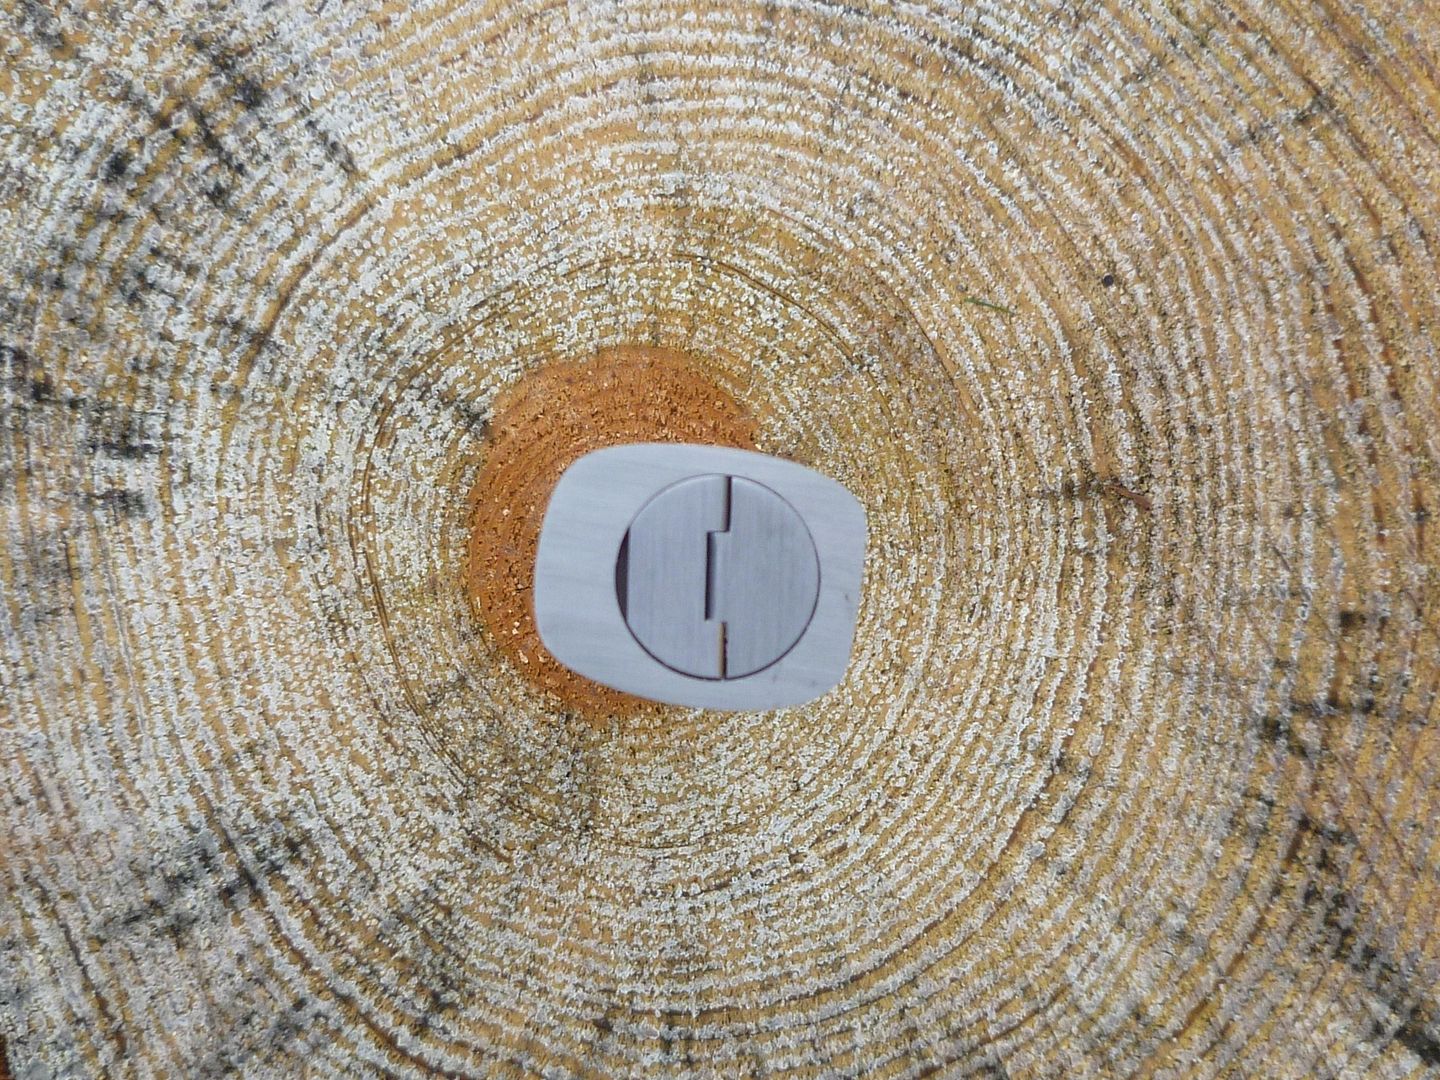


As I mentioned. The engineering here is absolutely sublime. I really should have taken pictures before I got it all bashed up and dirty, but he-ho. I'll put up more when I pick up the final version tomorrow, so you can really see what I'm talking about.


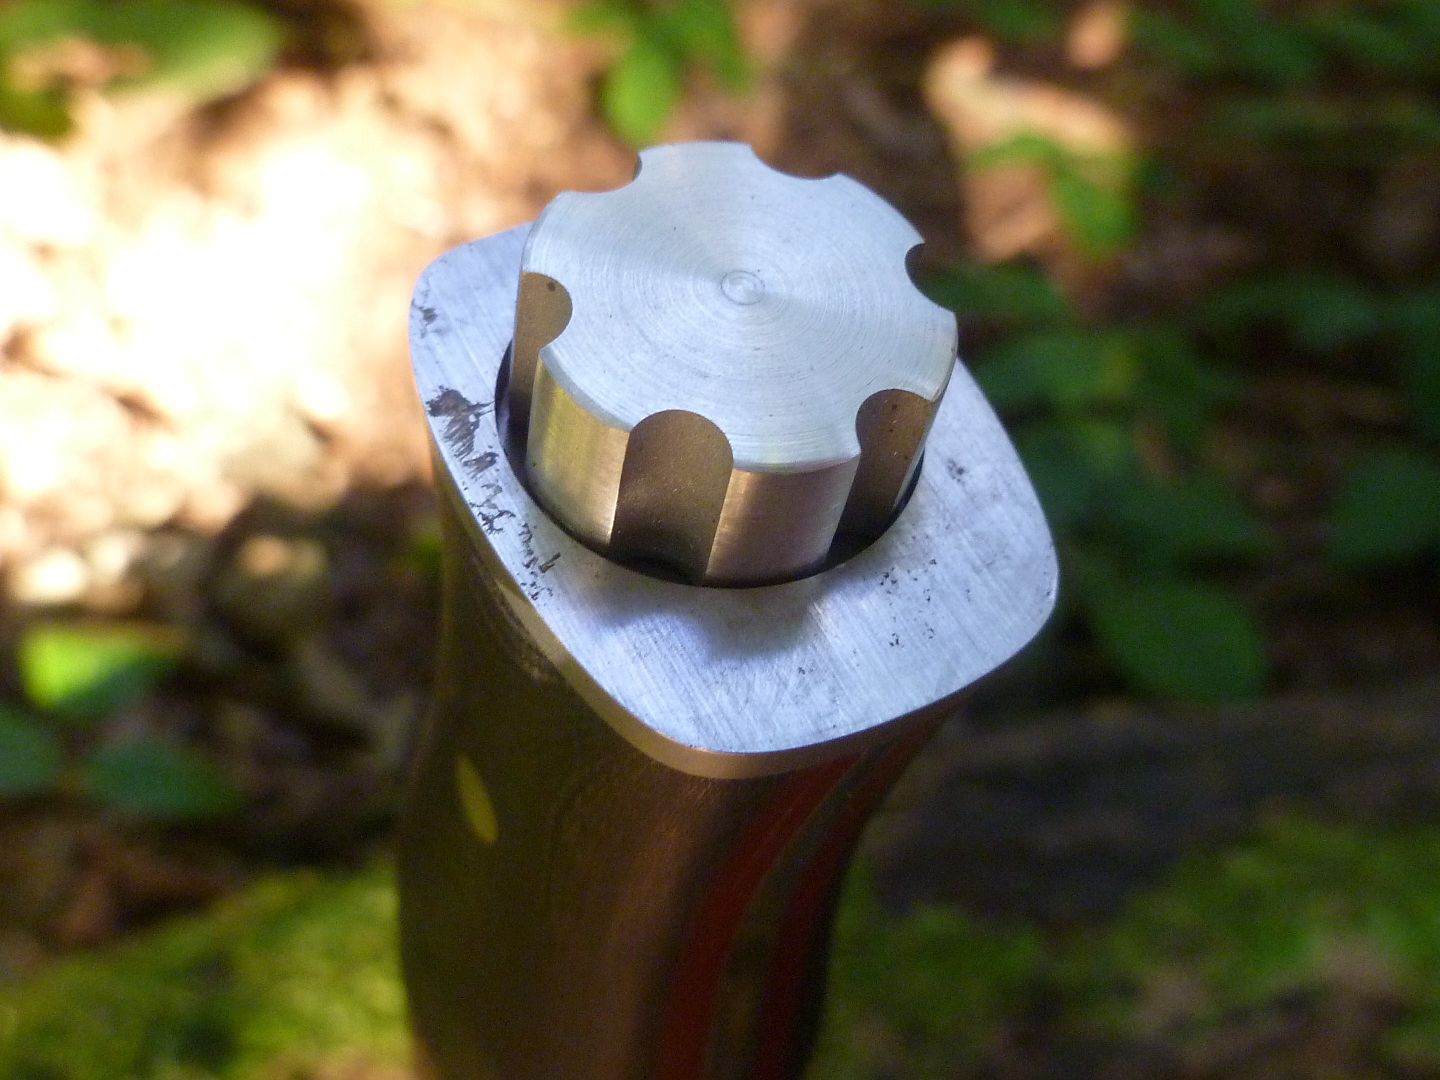
First of all, like the Wilky, that little lever flips up...
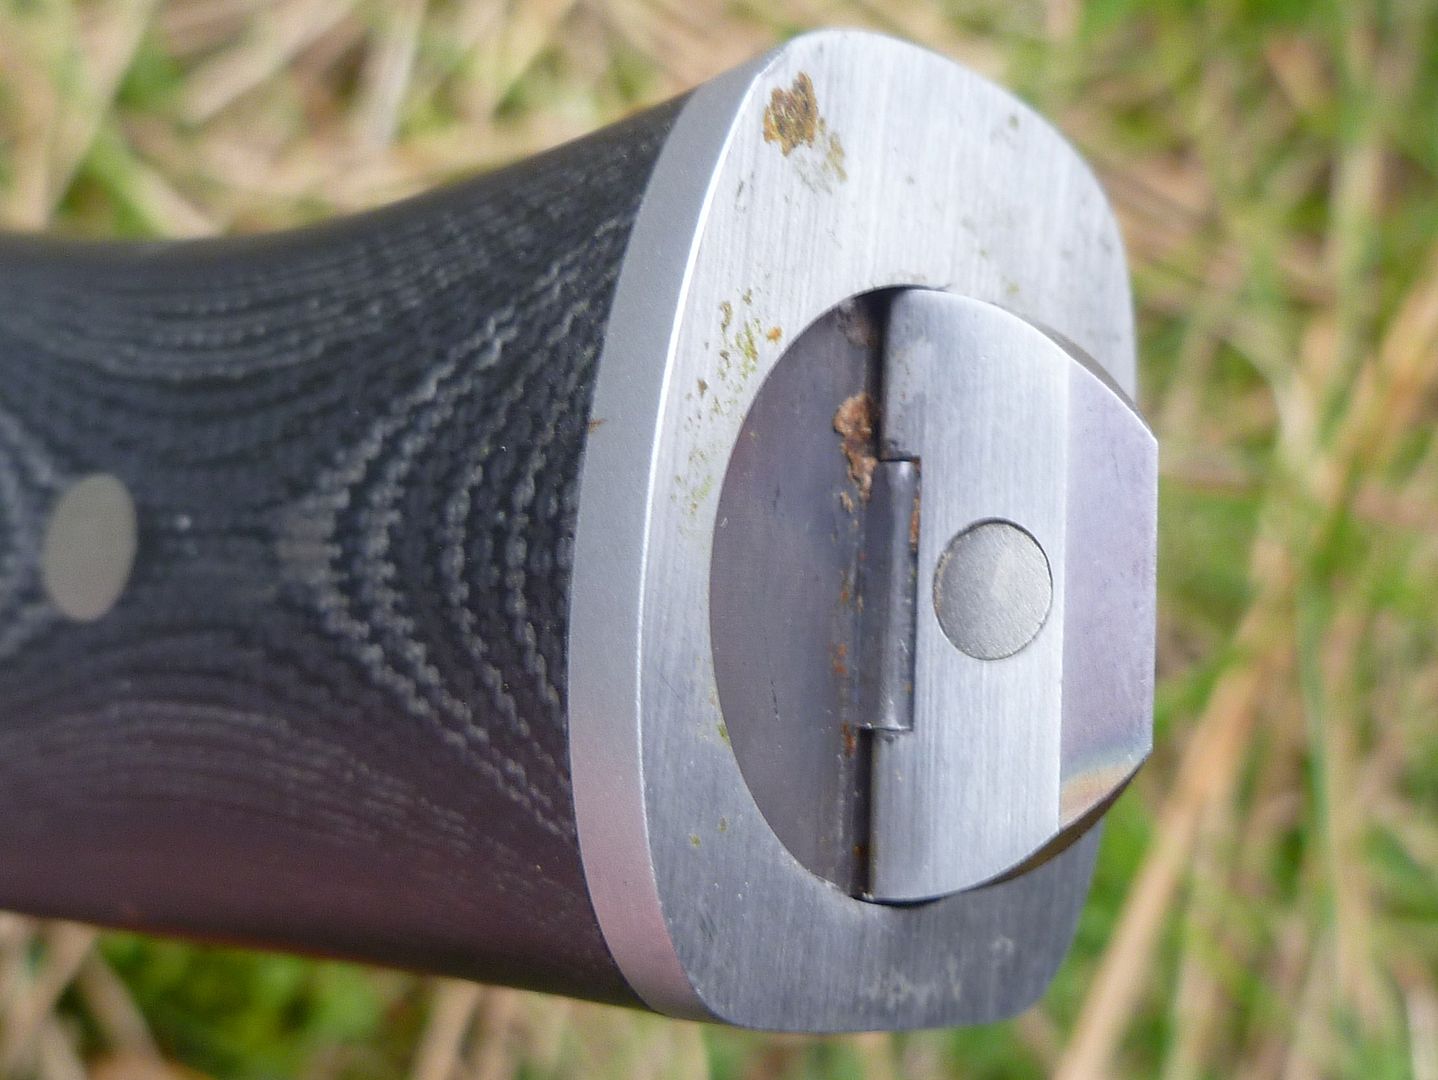


But see that circle thingy, the Wilky don't 'ave one of them puppies. That's a funky little flush fitted earth magnet which holds it all down. It isn't needed as the flippy but locks into place anyway, but Andy obviously has worse butt end OCD than me as he put that in as well. Just look at that engineering.
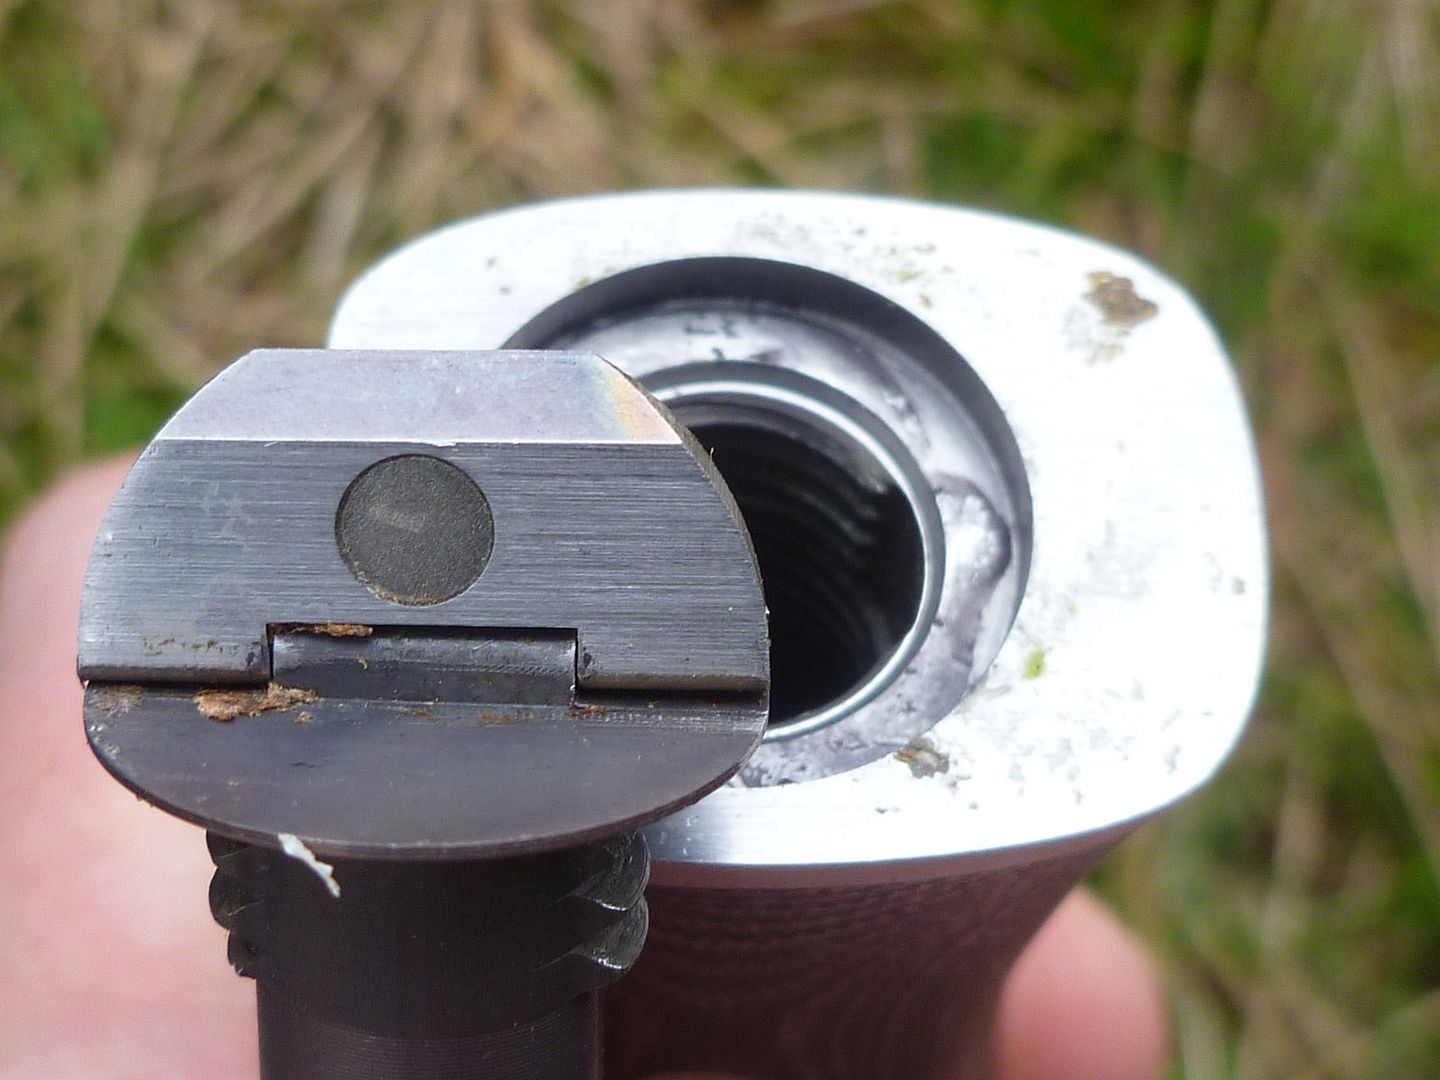


It's pretty cool don'cha think. I love details like this. It means the person really has thought about and cares about the product he's putting out there.
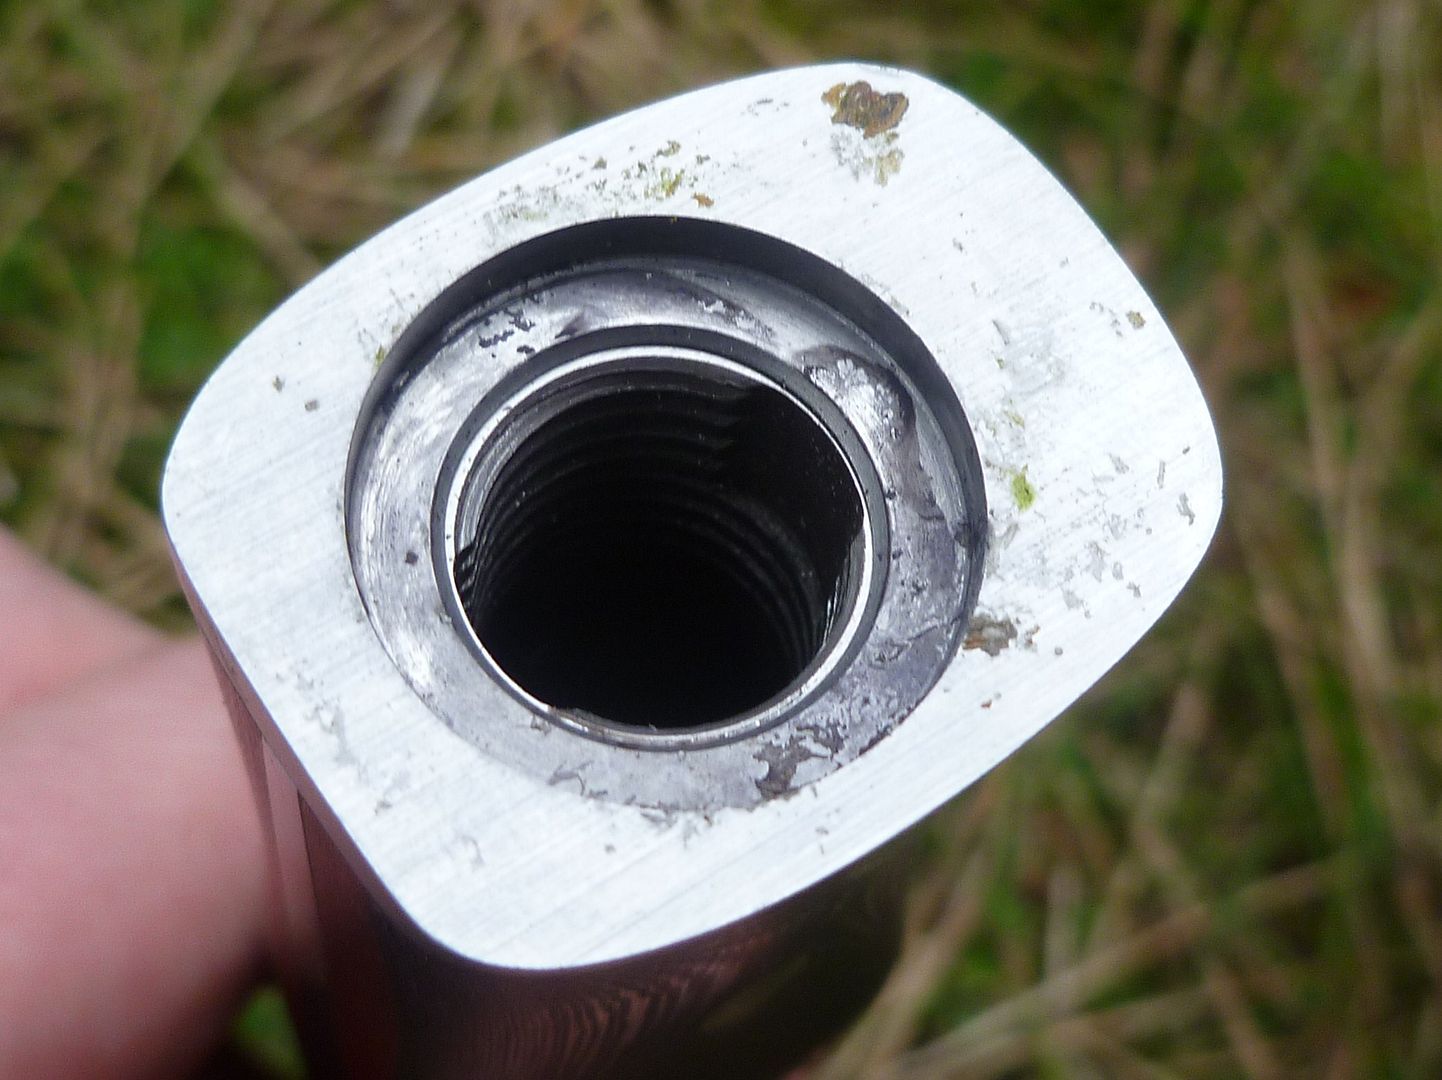


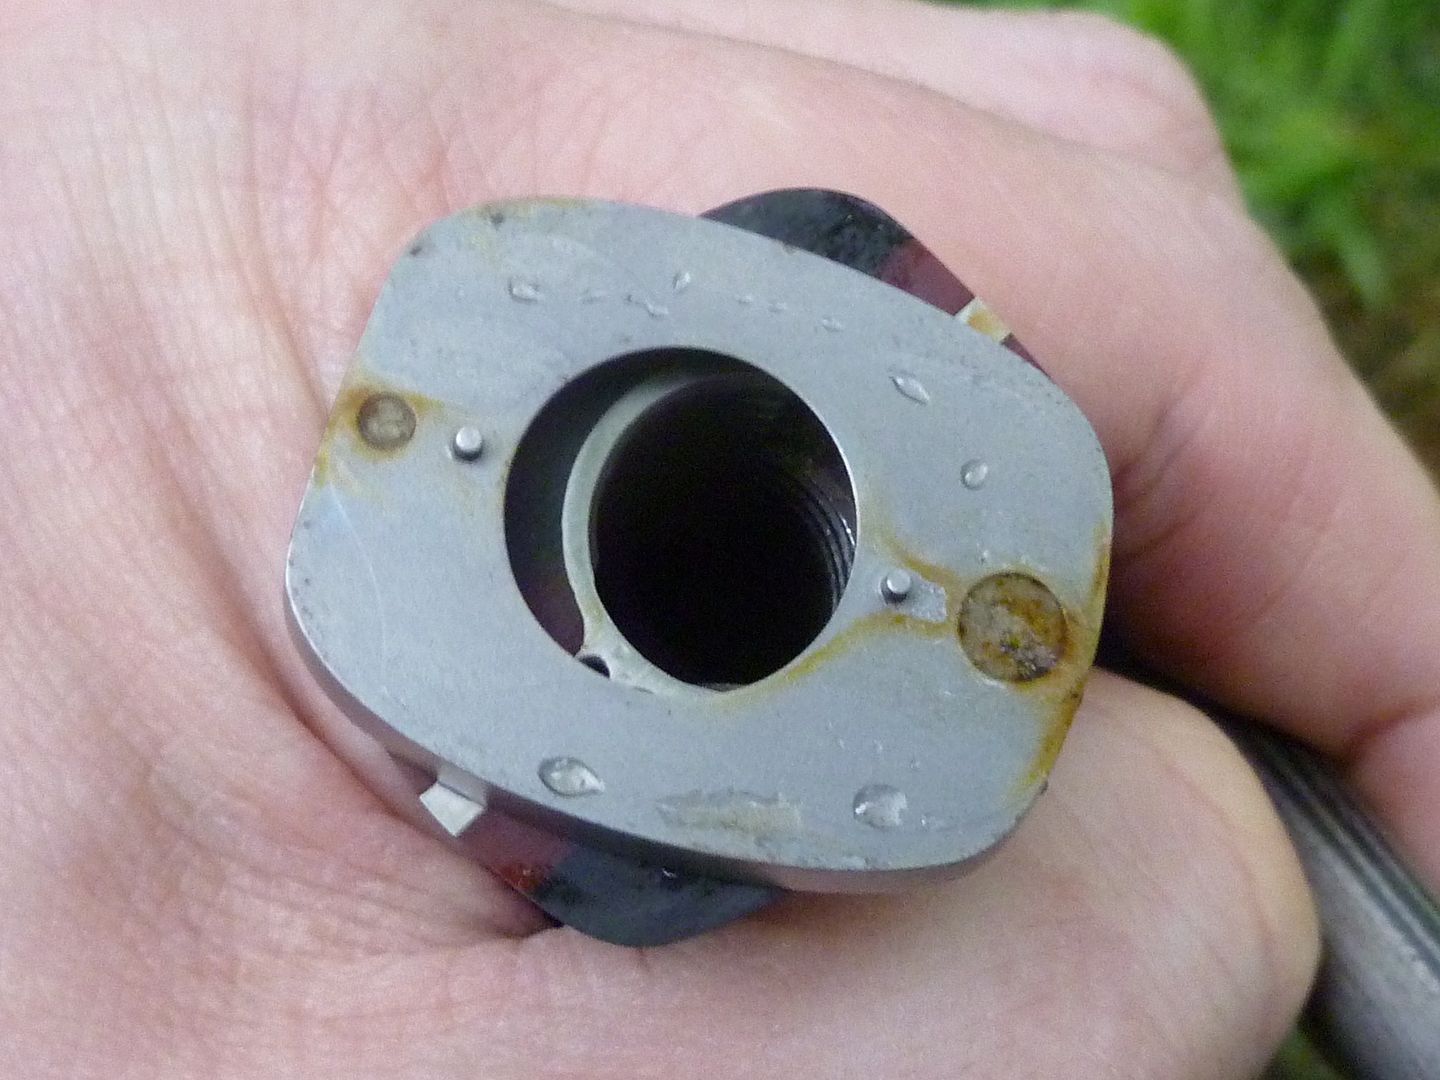
But looks at that. All that crud and moisture can get in there and do bad things. Screw threads and butt plates.. urrgggh, major attractors of grime and dirt in the outdoors. You think? Well yeah, I do too. But, or should that be butt...
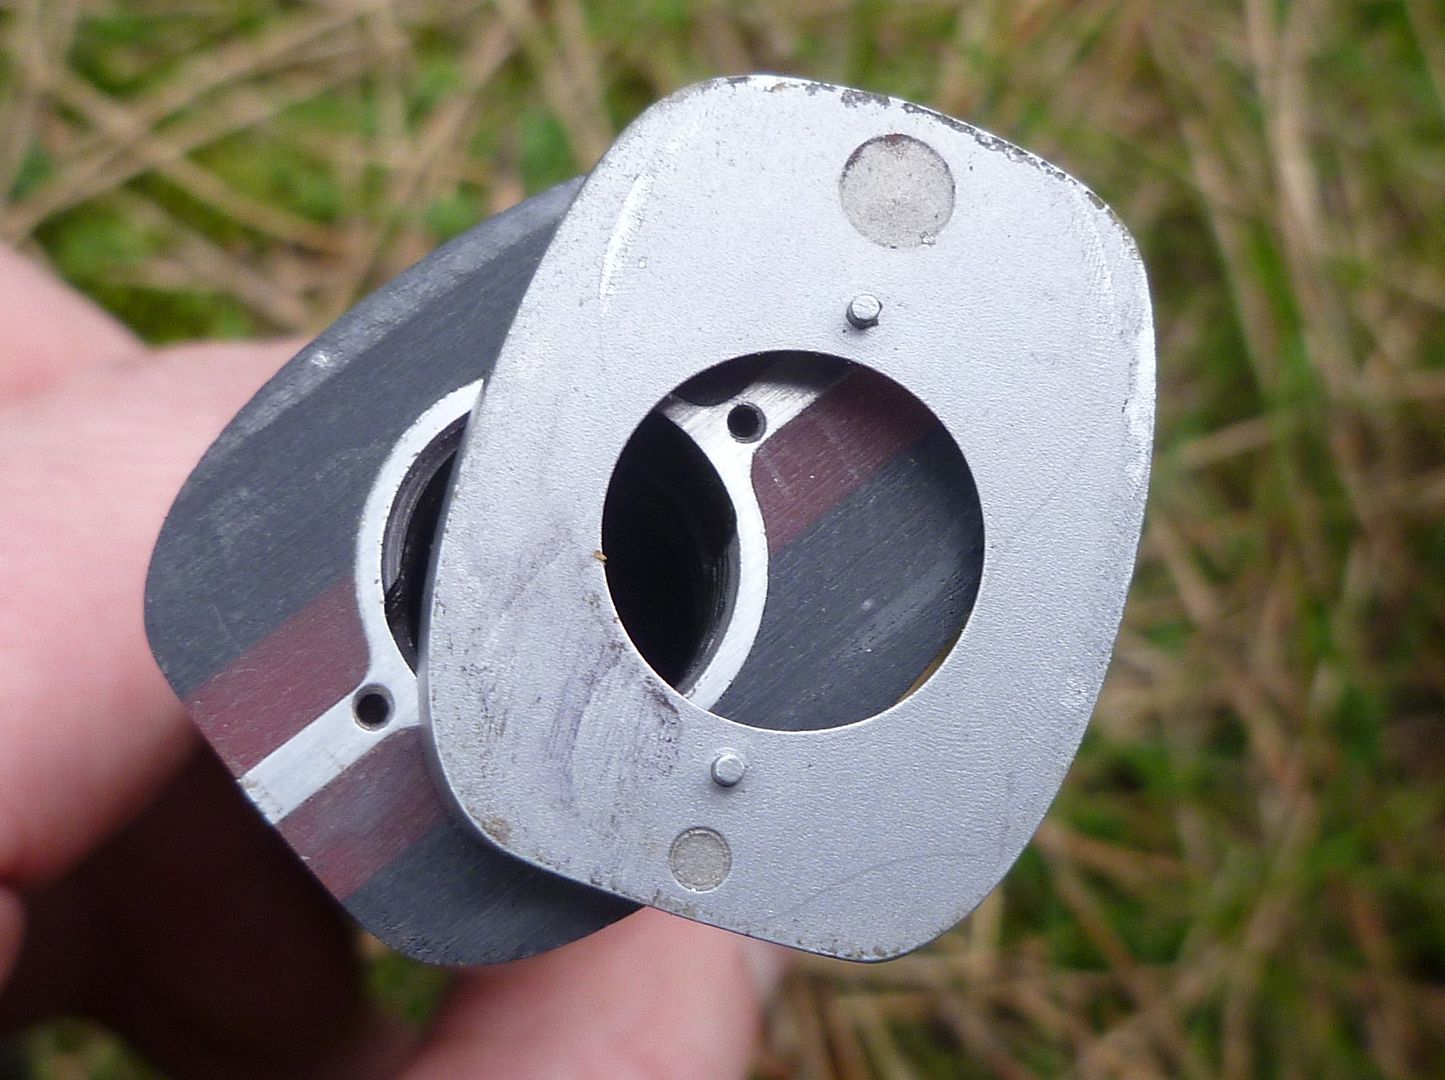


Yes, indeedy diddly do, the butt plate lifts off. Secured by two pins and again two utterly micron perfectly fitted earth magnets, it just lifts off after you remove the screw insert. Dishwasher safe too. Epic!!


But.. butt.. what happens if you lose this when stranded miles from civilisation with only your knife to save you. No problem. Without the butt plate it is just like a normal knife without a butt plate. The insert screws in still, although not so flush. No drama. Stop panicking!
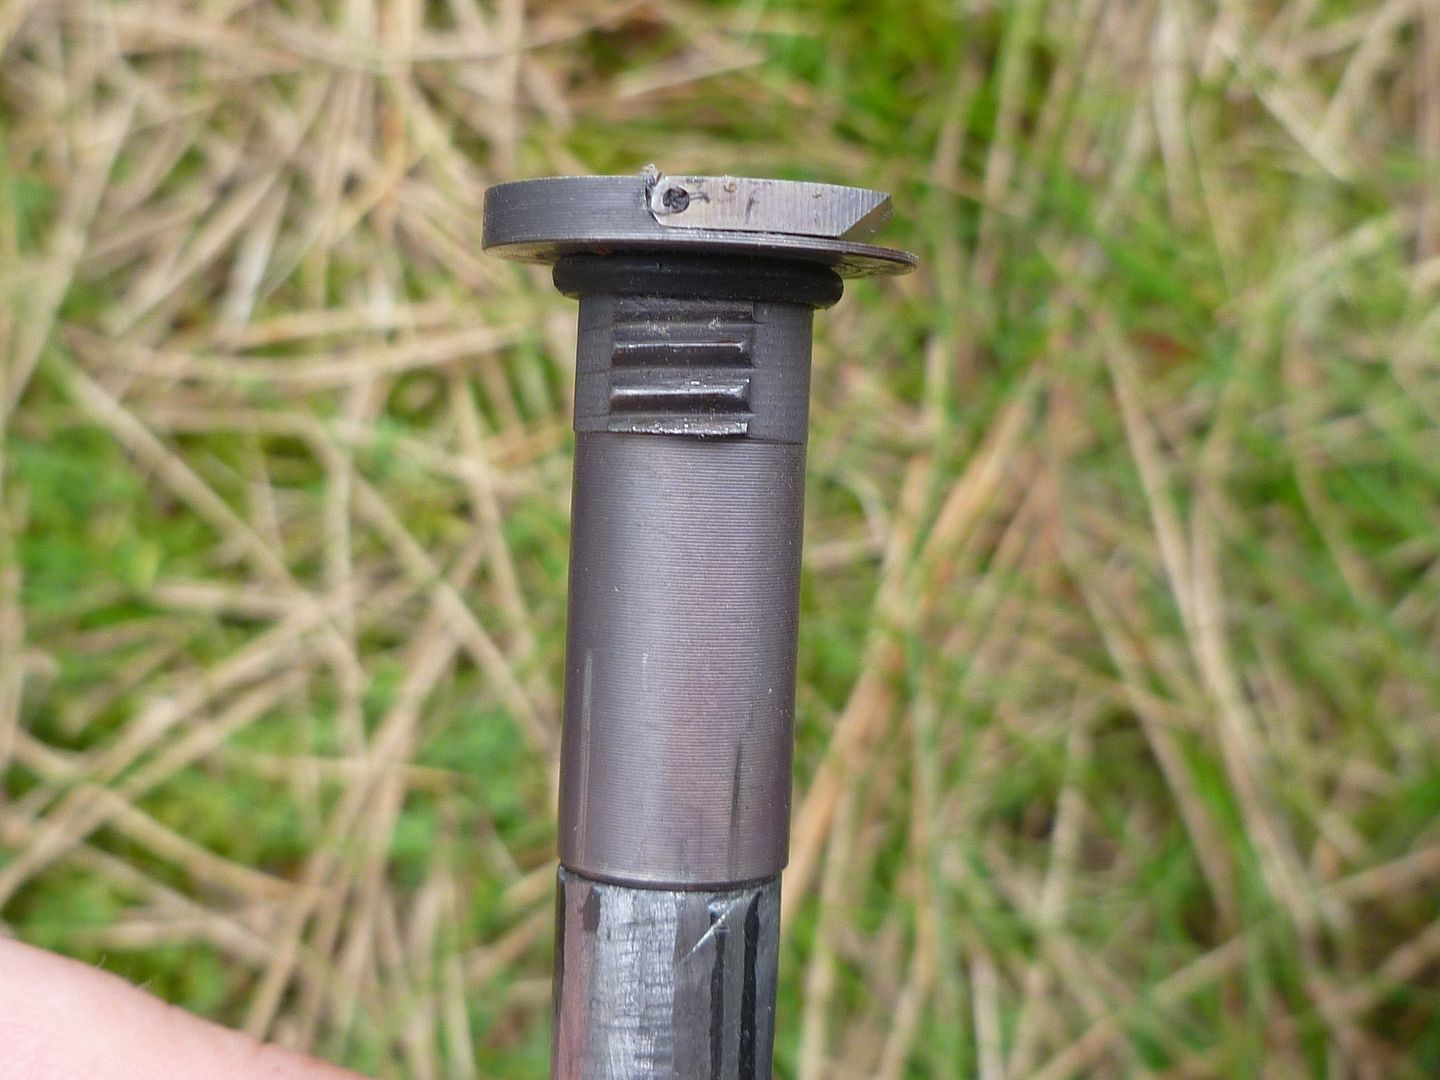


Check this out. There's more. Remember that over engineering thing I told you about. Check this out...
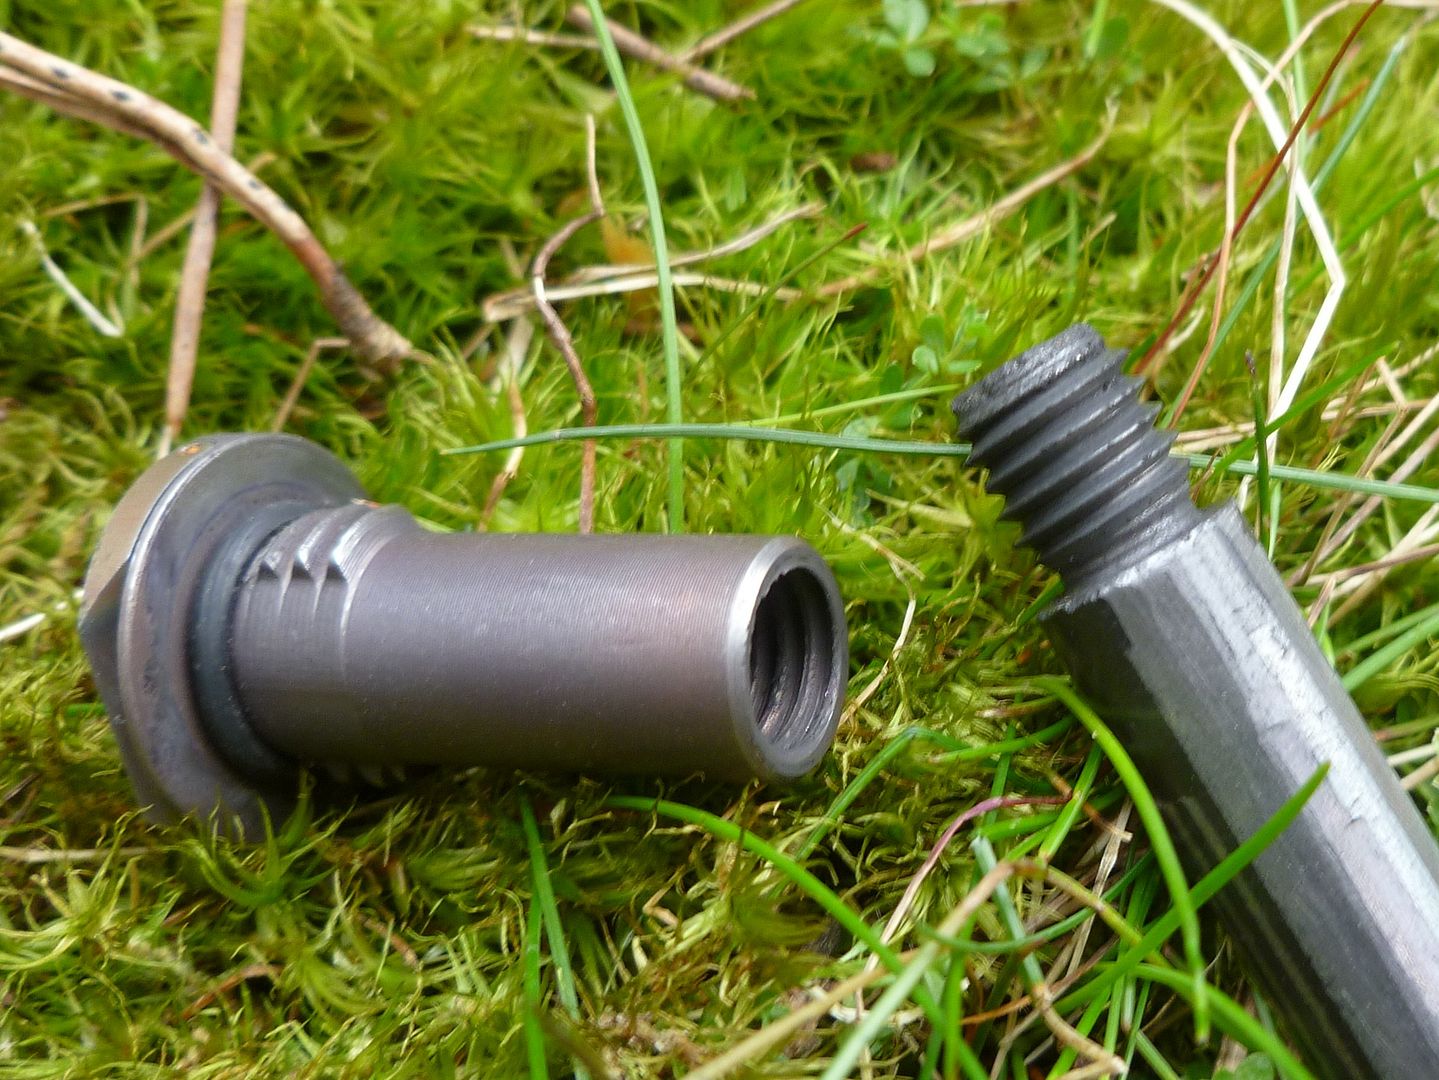


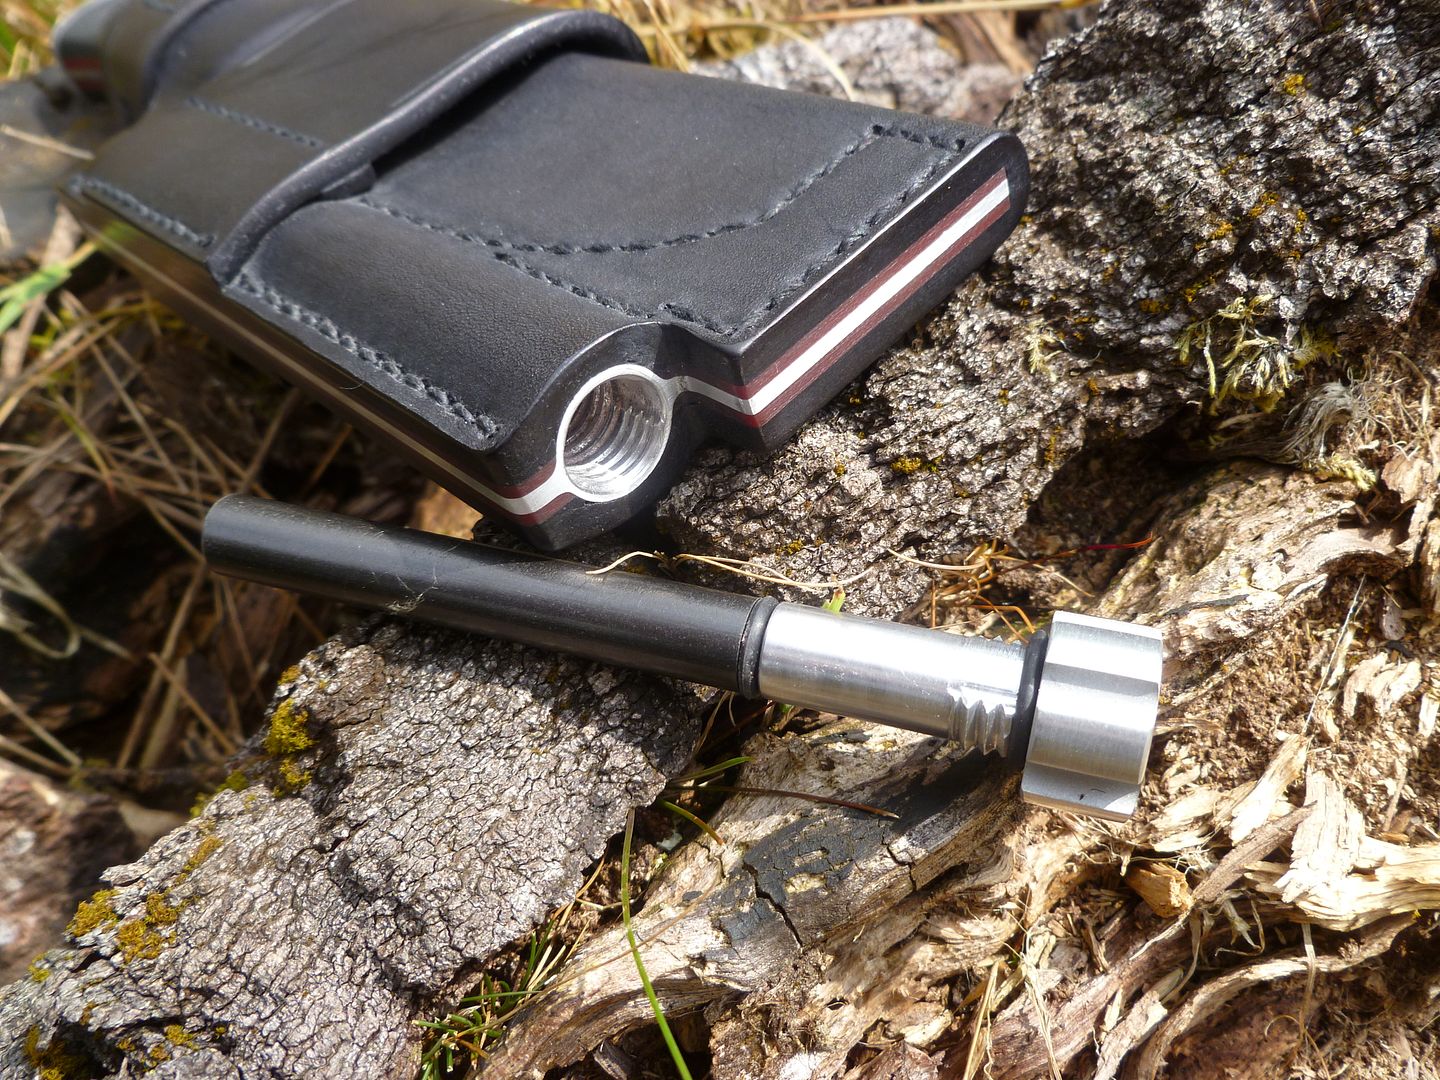
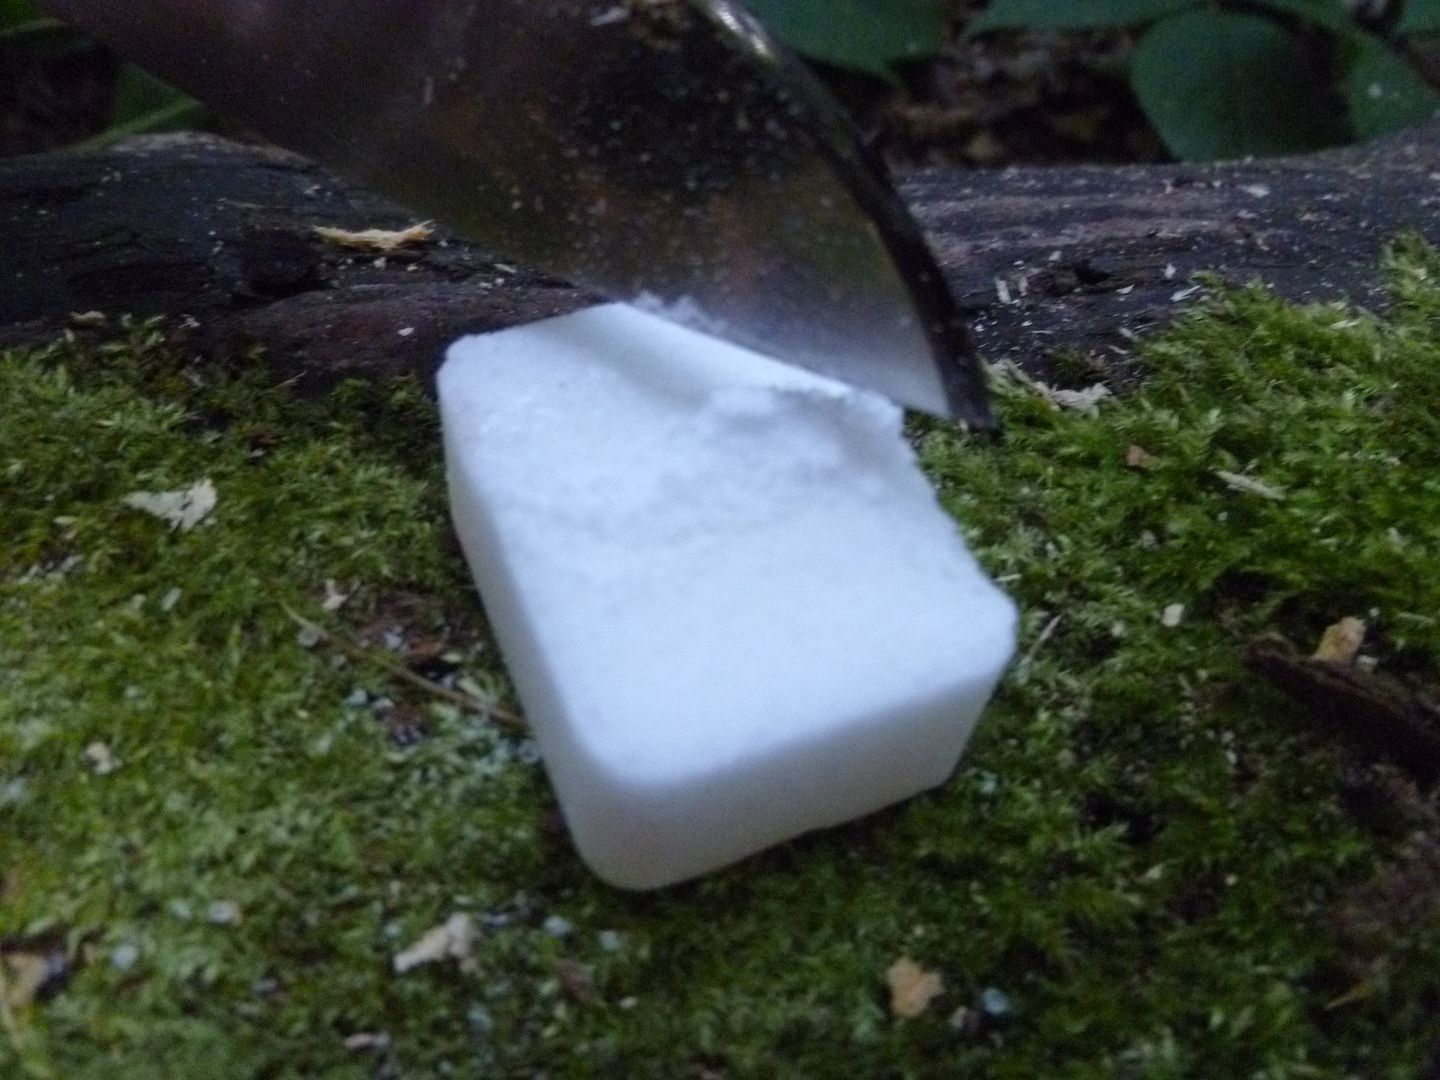
That's right, Andy has threaded the ferro rod. Not only for ease of replacement, but because there is a sizeable gap at the base of the screw insert for putting cotton wool, magnesium, or some other sort of fire starting tiny item. He did have a rubber O ring securing the ferro rod to the fitting, but throughout the tests so far, I managed to corrode it, so he is replacing it with fibre O rings. So that should fix that.


Back to the ferro rod. On the opposite end, Andy has machined it flat and bevelled it to make it visually more pleasing and less prone to chipping. I told you. He's nuts on detail.


Butt plate back in place, It is perfect for pounding on nuts (you innuendo lovers must be having a field day). I'll be using it on heavier duty items than this in the future tests. Let me know if you have any suggestions and I'll do it.


Got wood now?
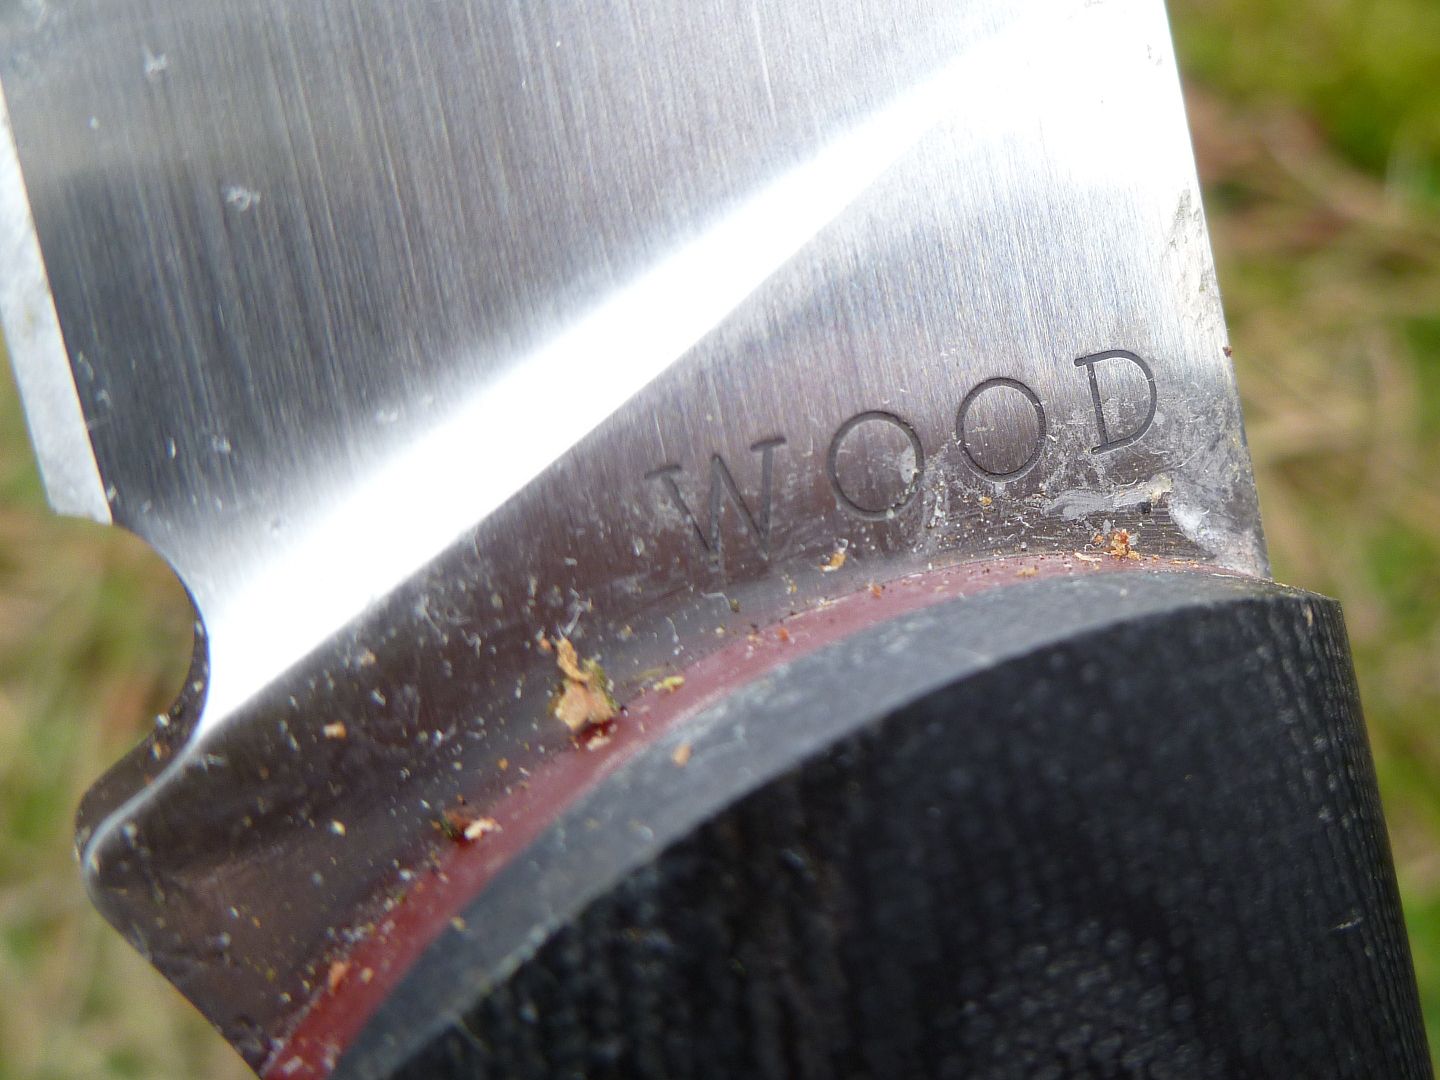


Oh yeah, I have. Big time...
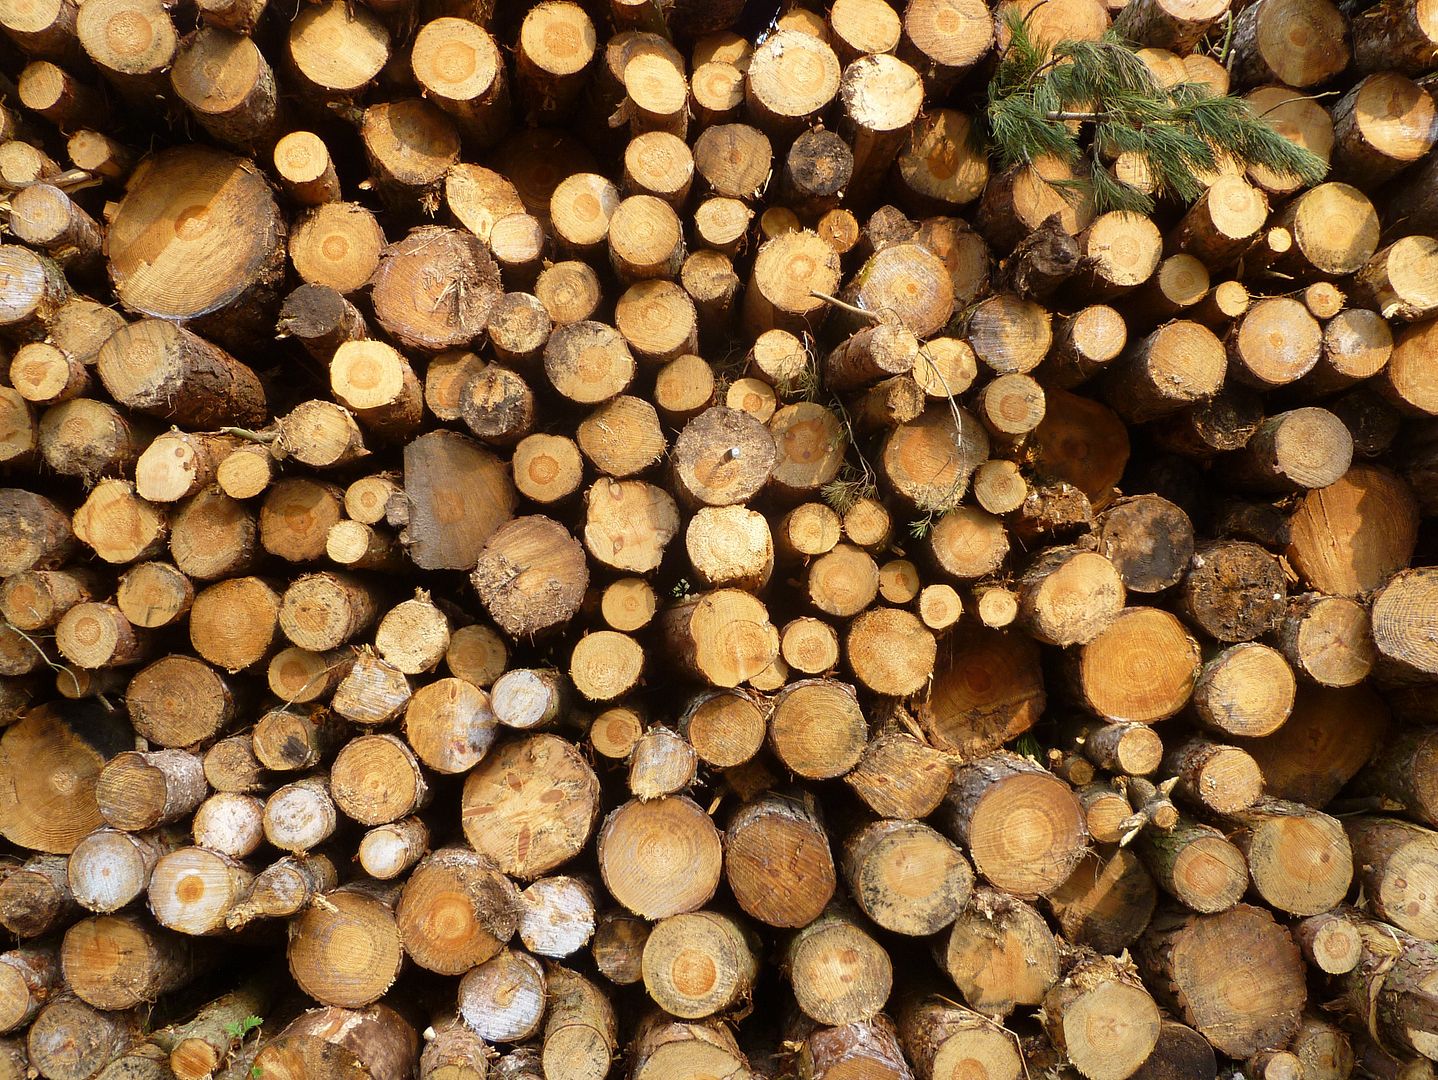


Today I tested it a bit more. Raining hard so pics were impossible after a time. But I did throw this knife (still unsharpened by me) into a tree about 100 times to detect any failure in fittings. It is a heavy knife so doesnt throw well, but when it lands right. It goes in deep and is needs batonning to get out.
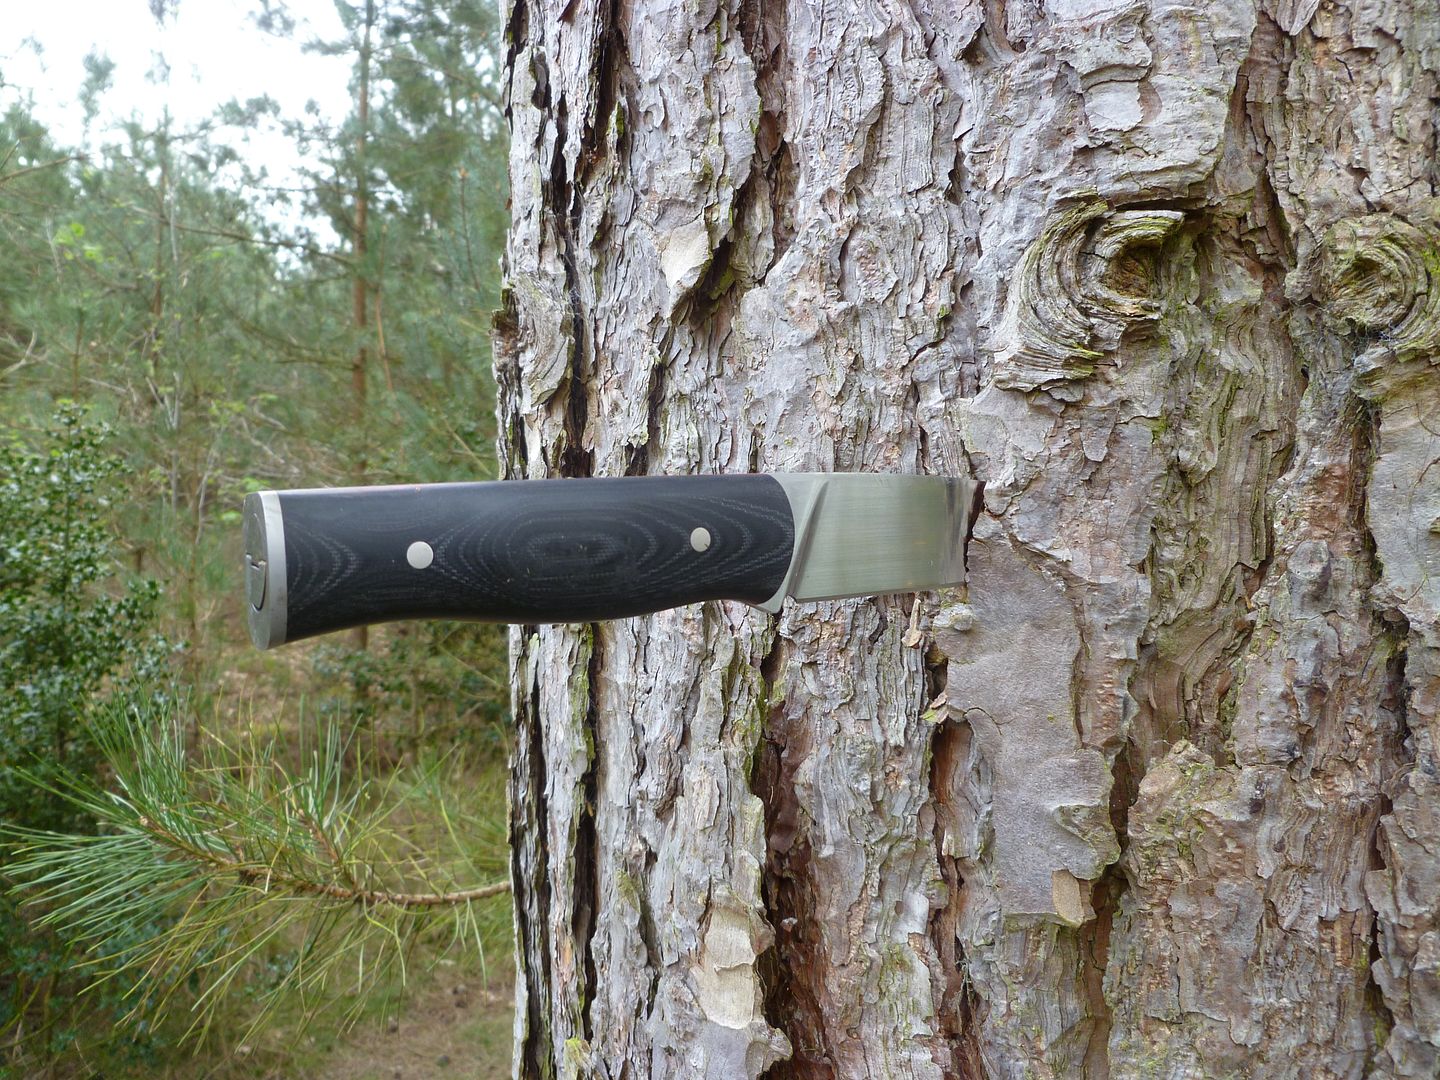


Luckily it lands butt first mostly.
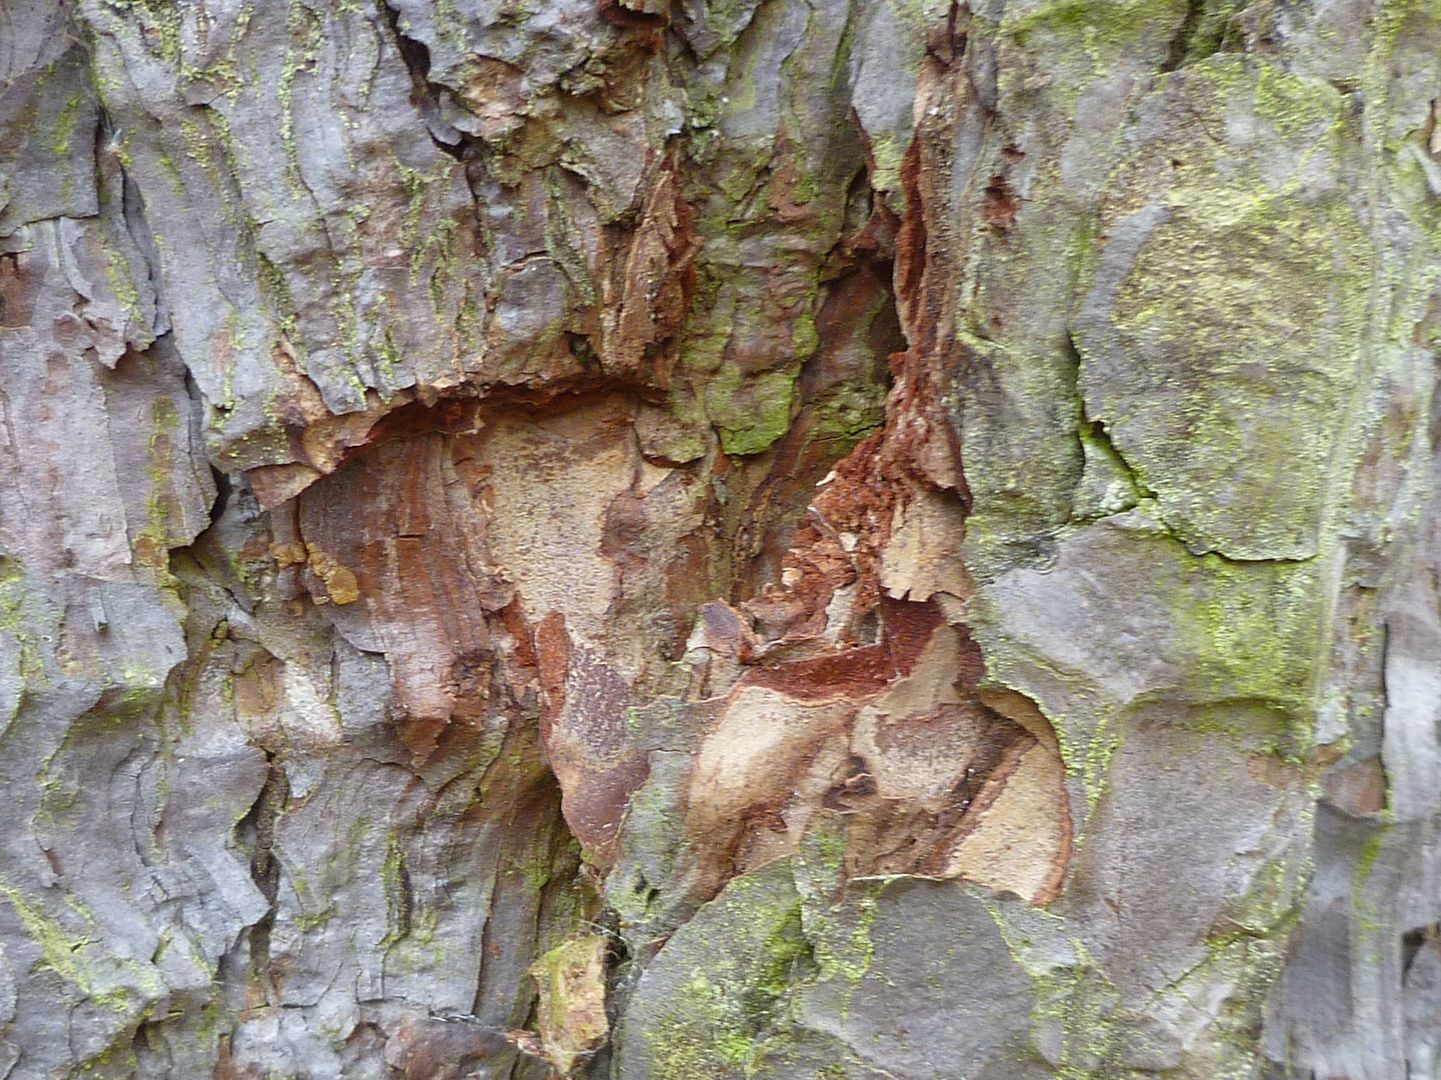


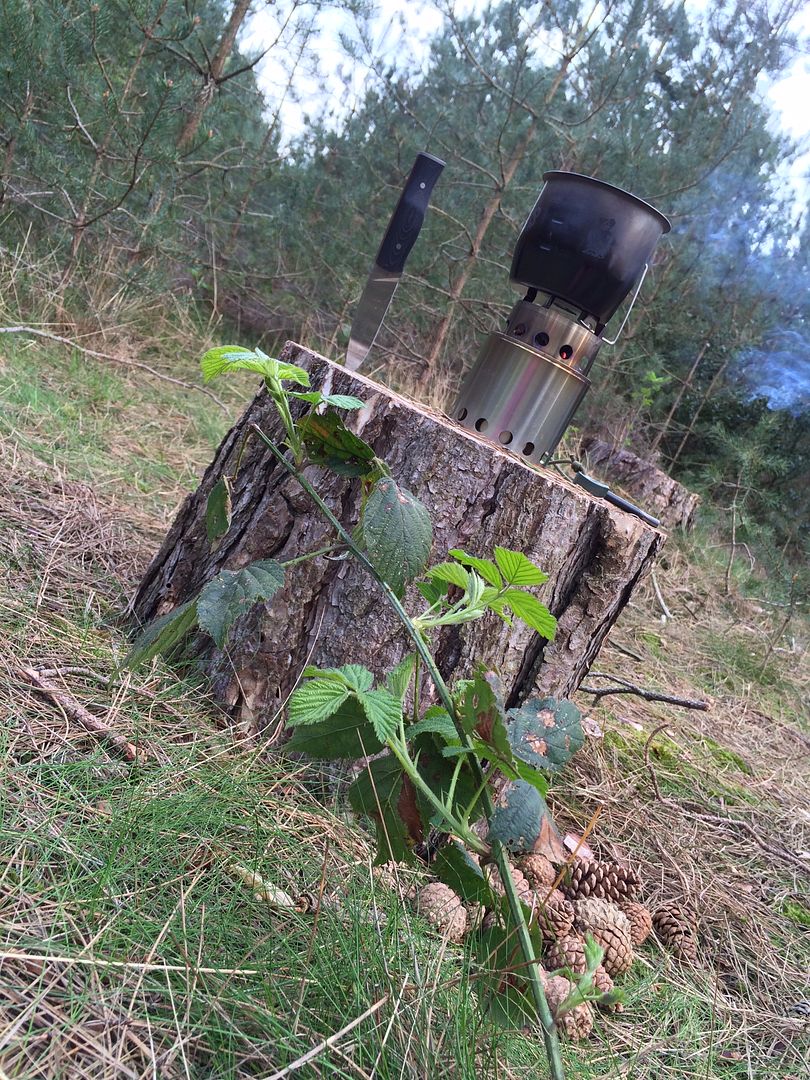
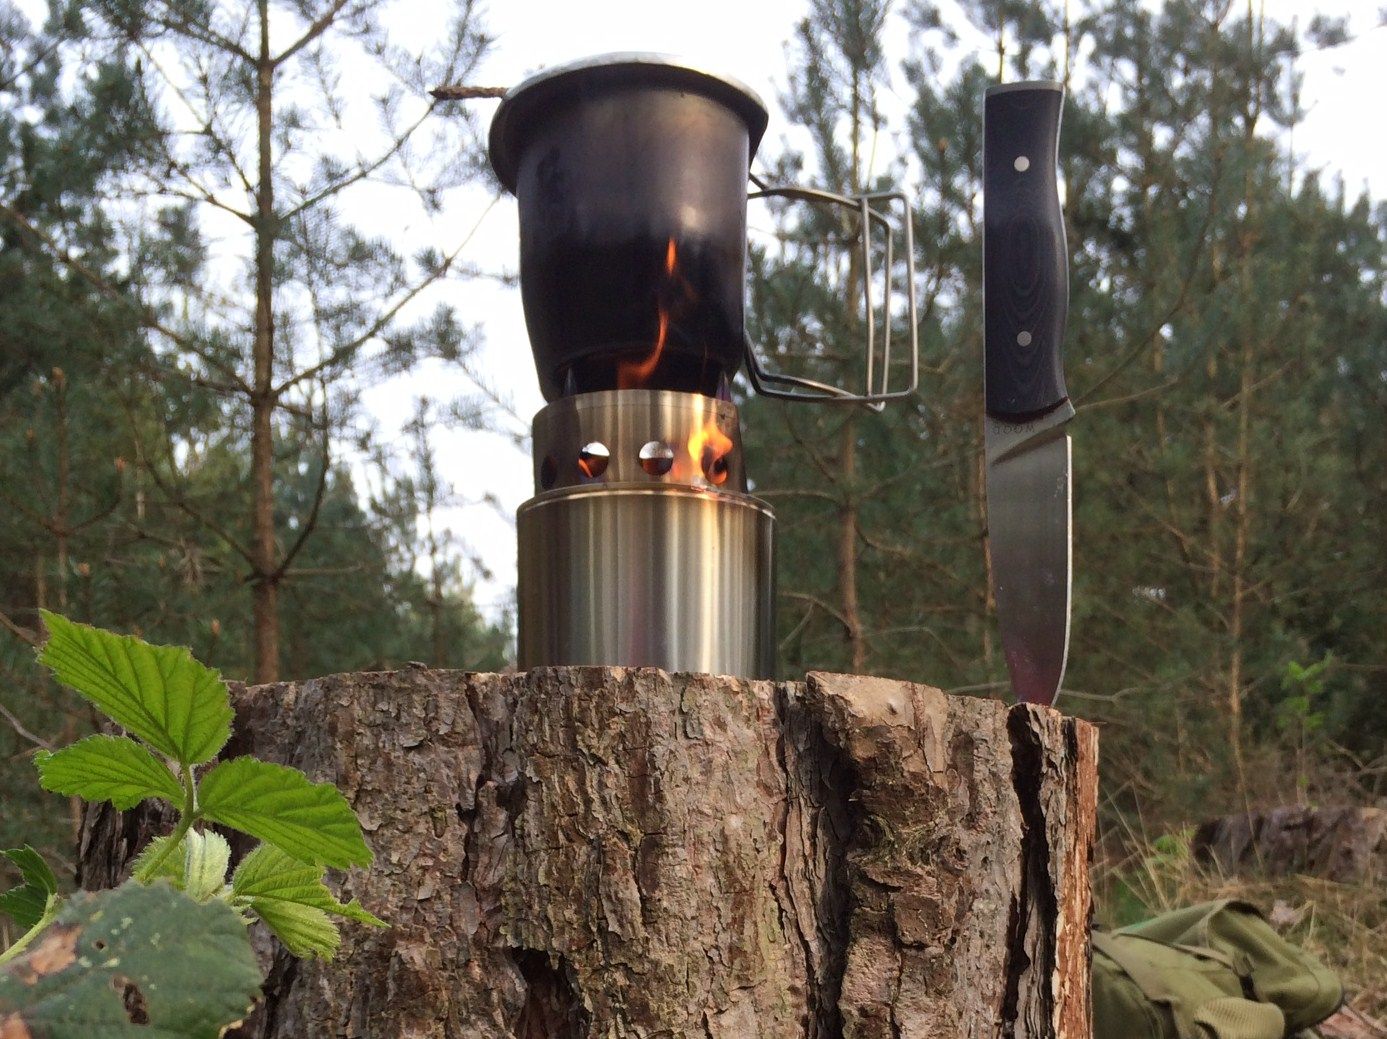
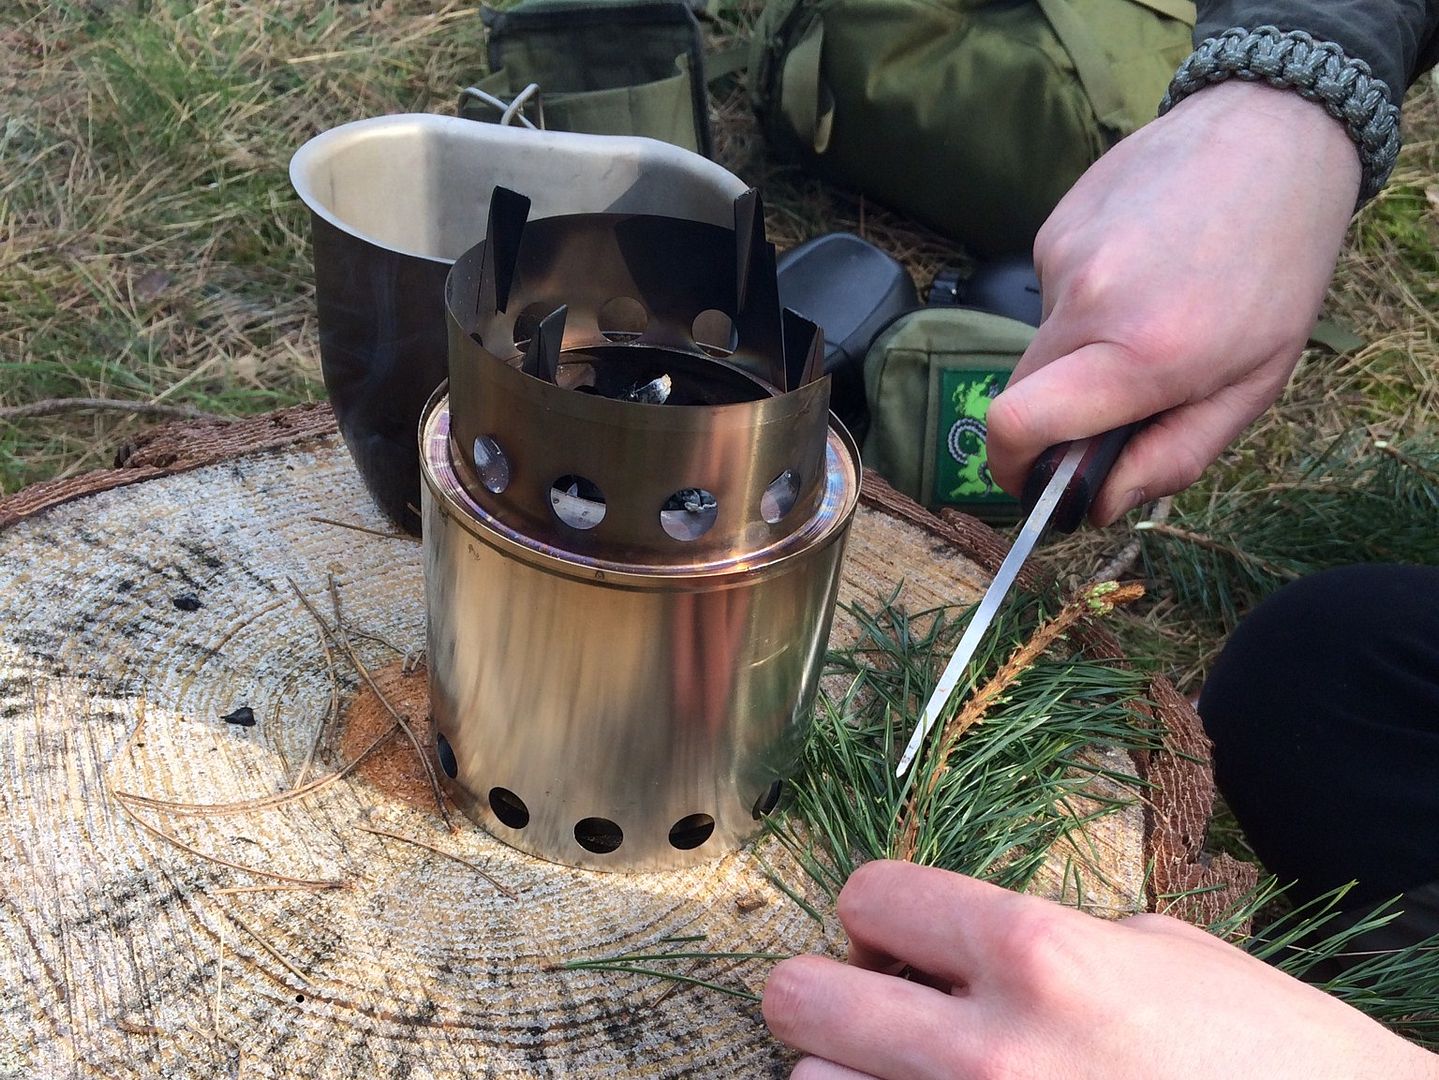
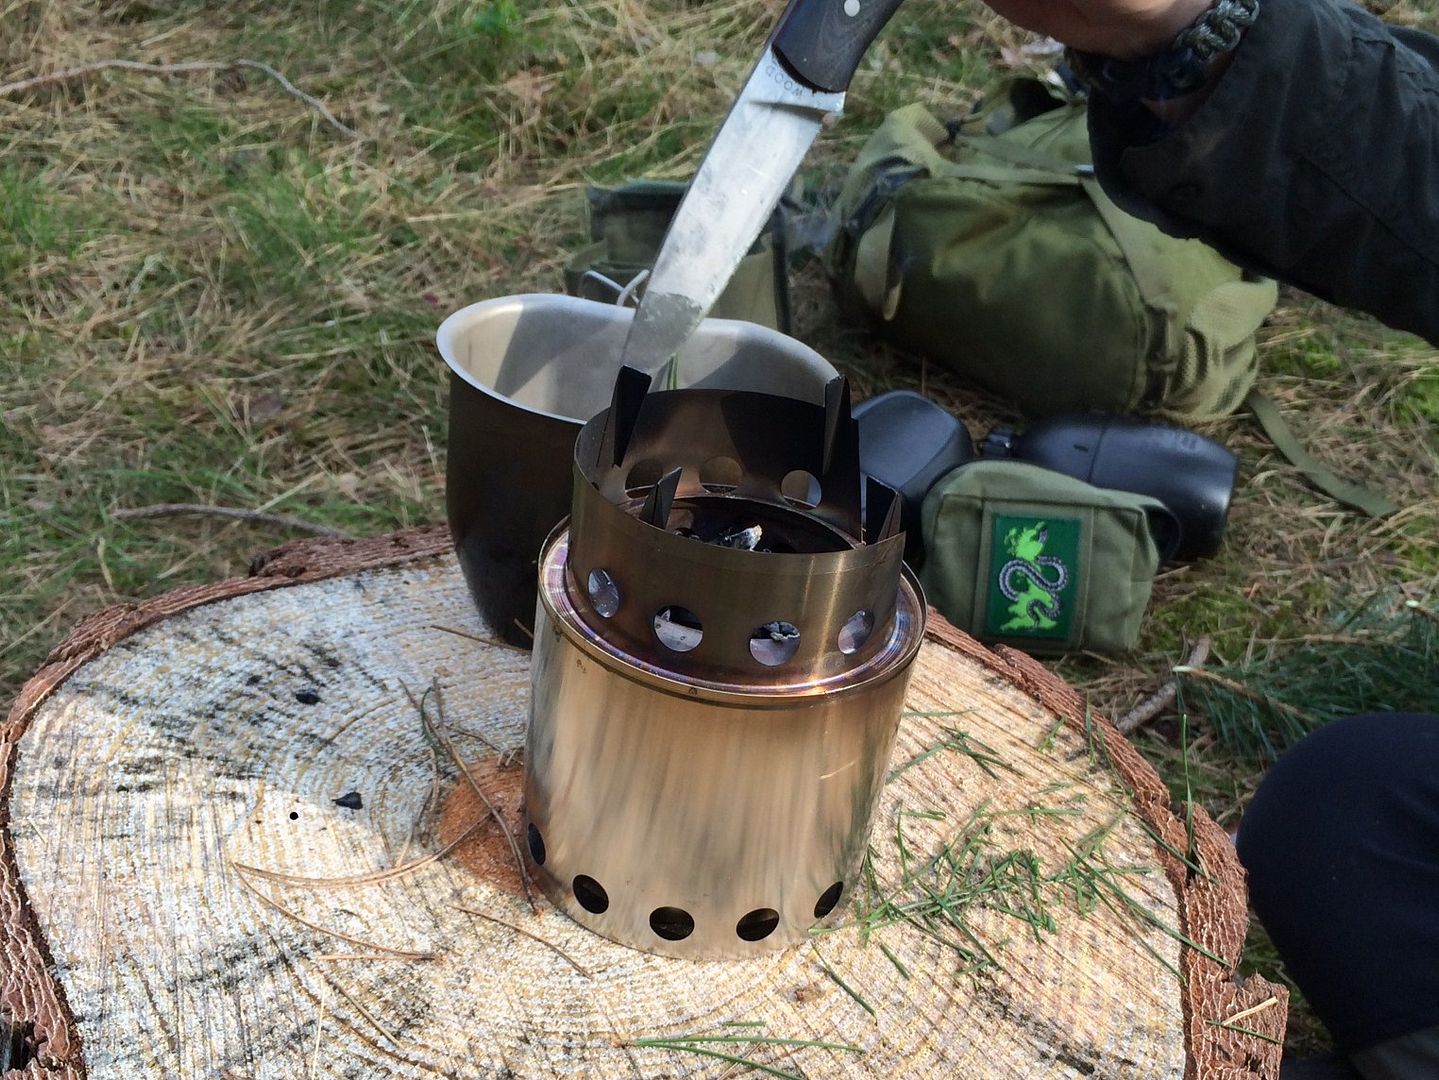
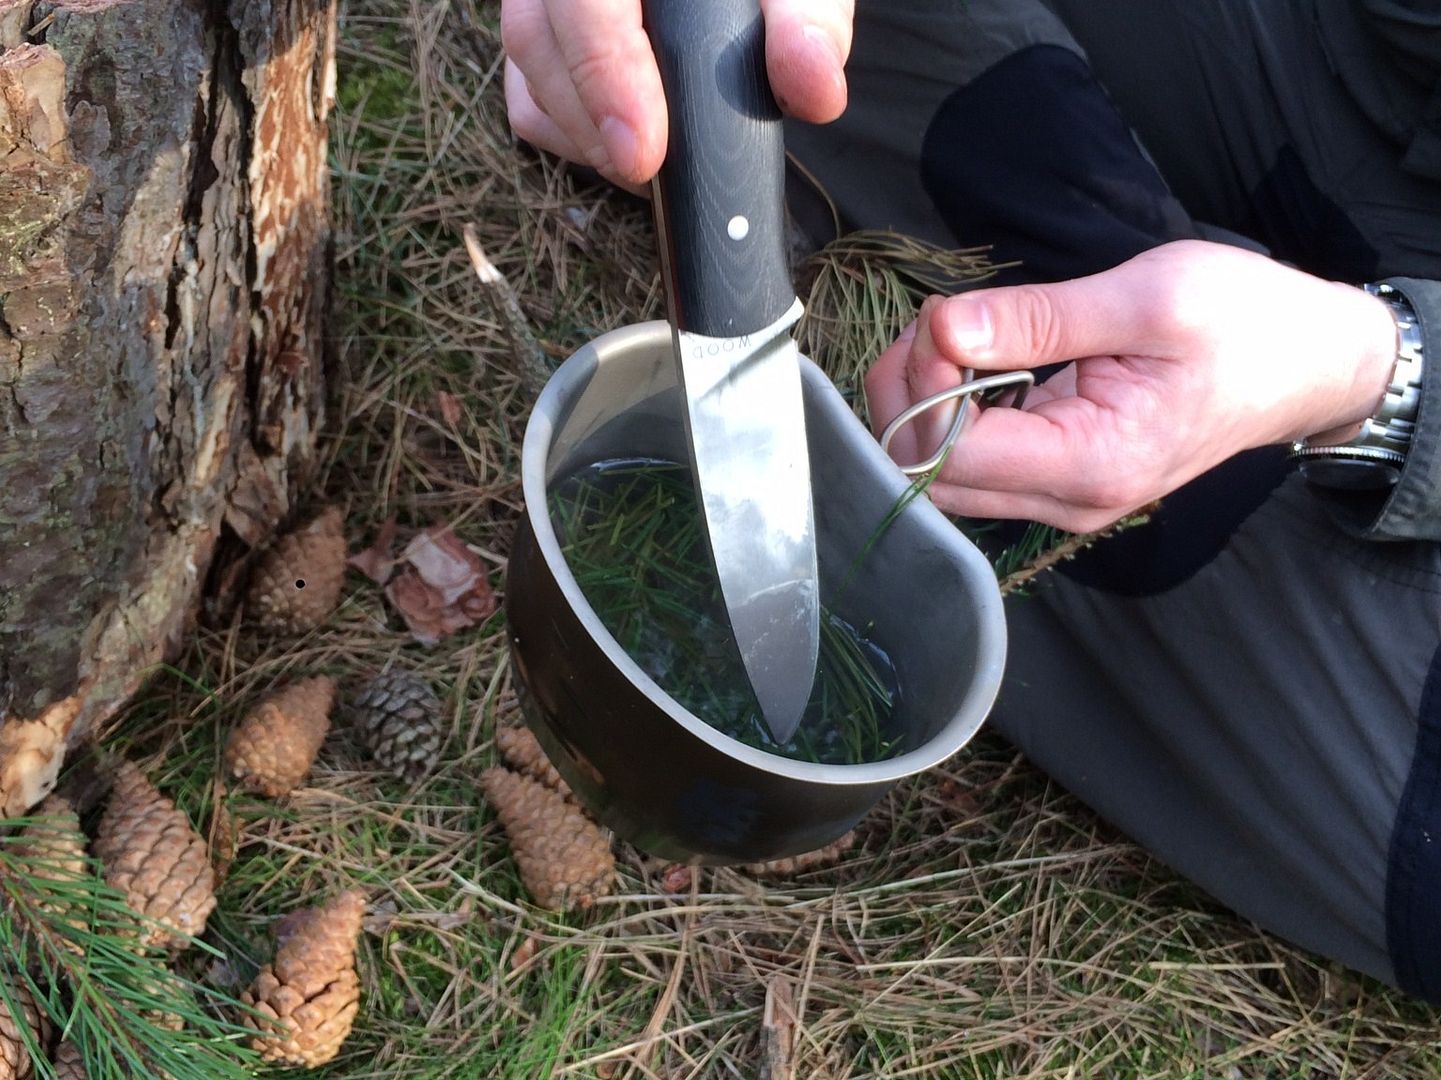
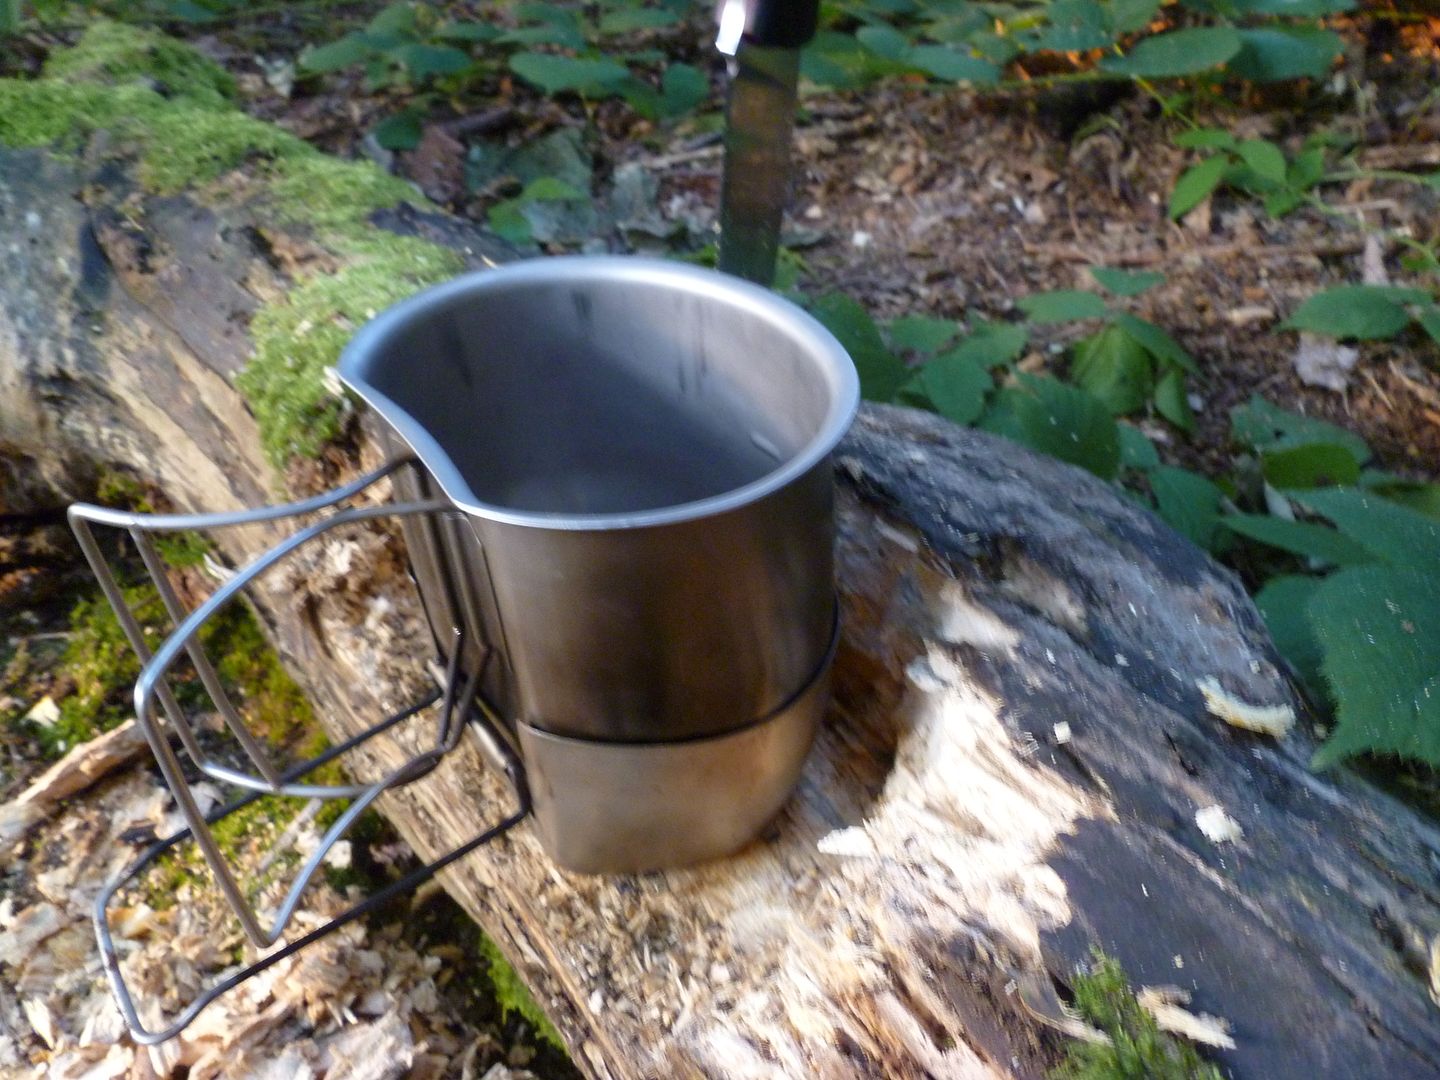
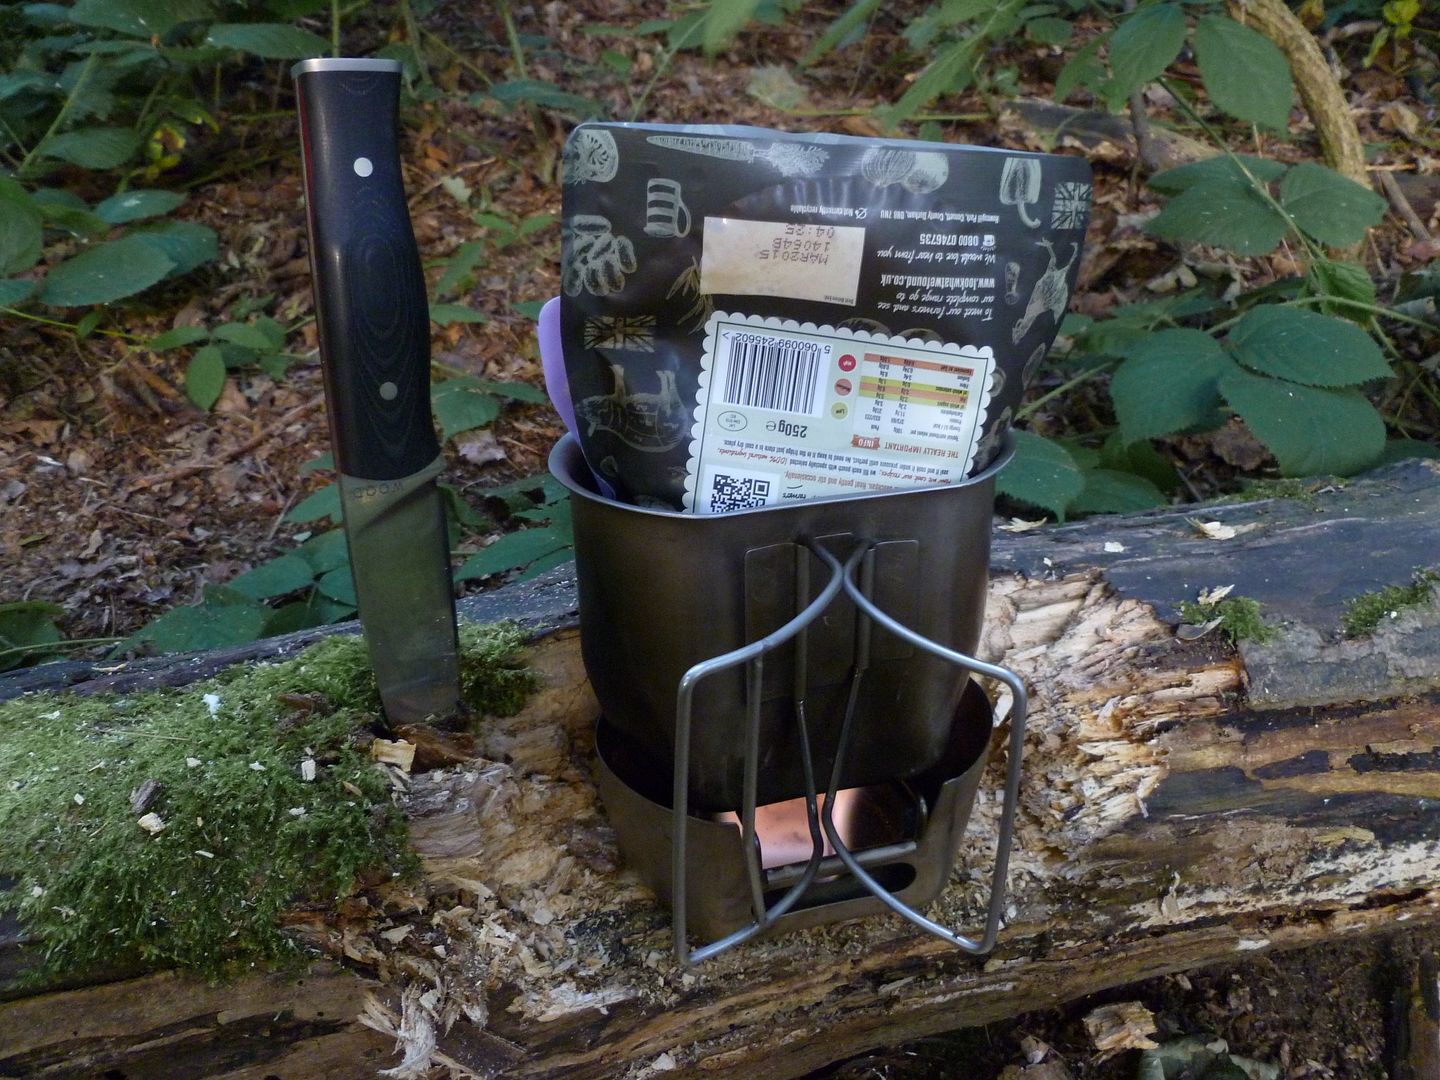
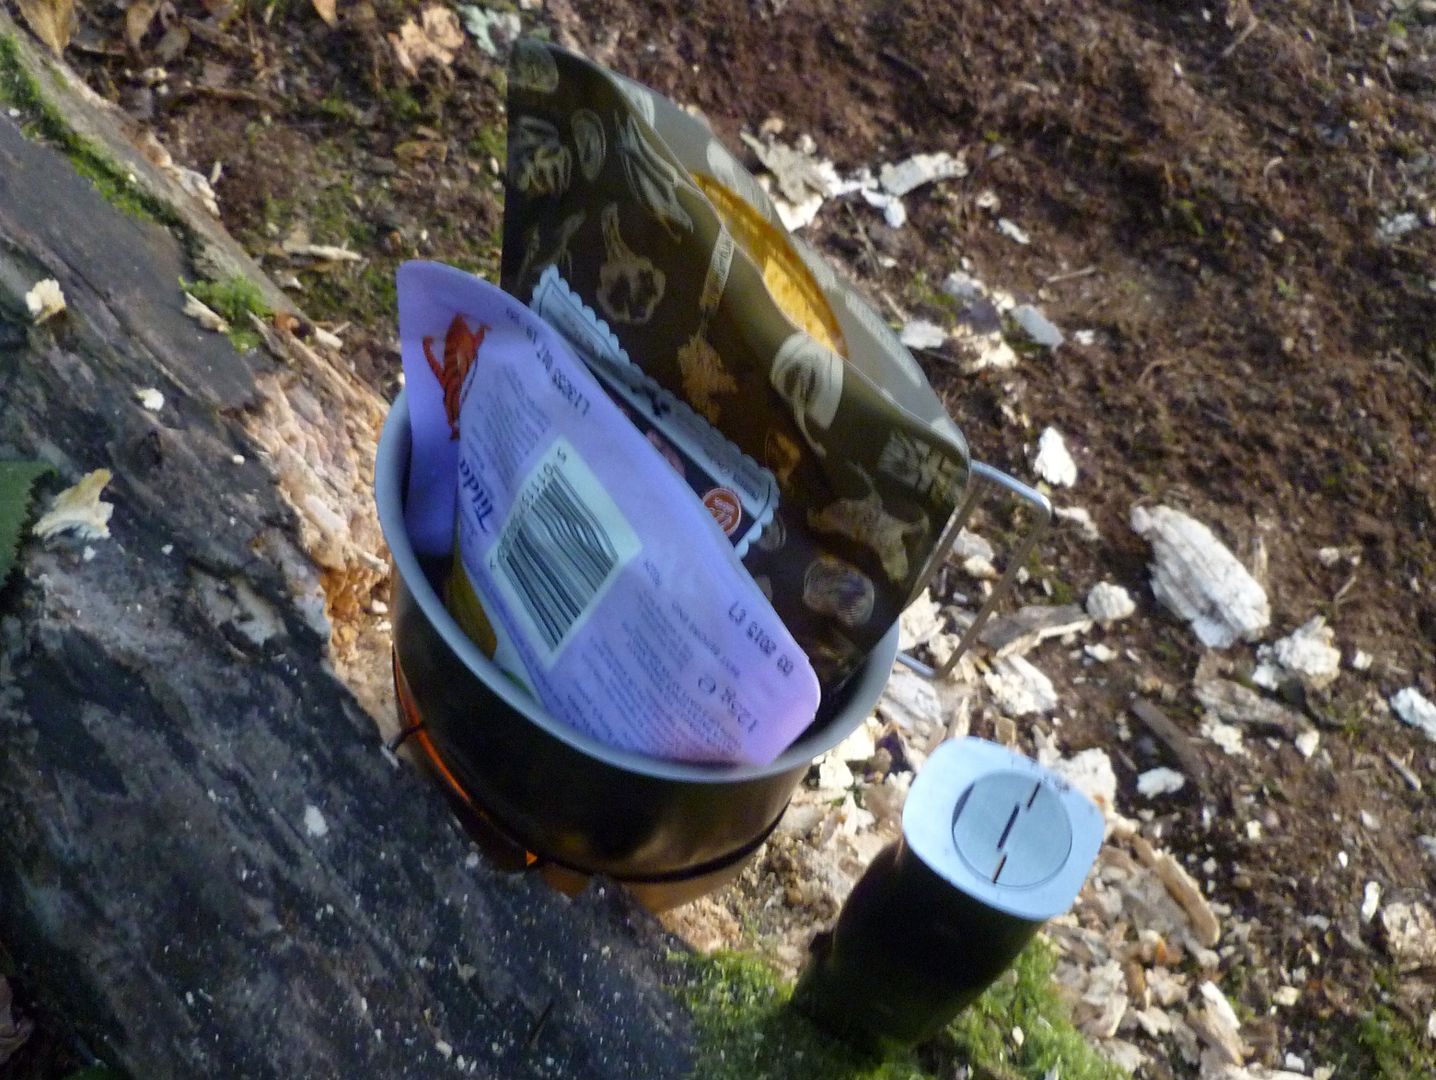
Time for a brew....
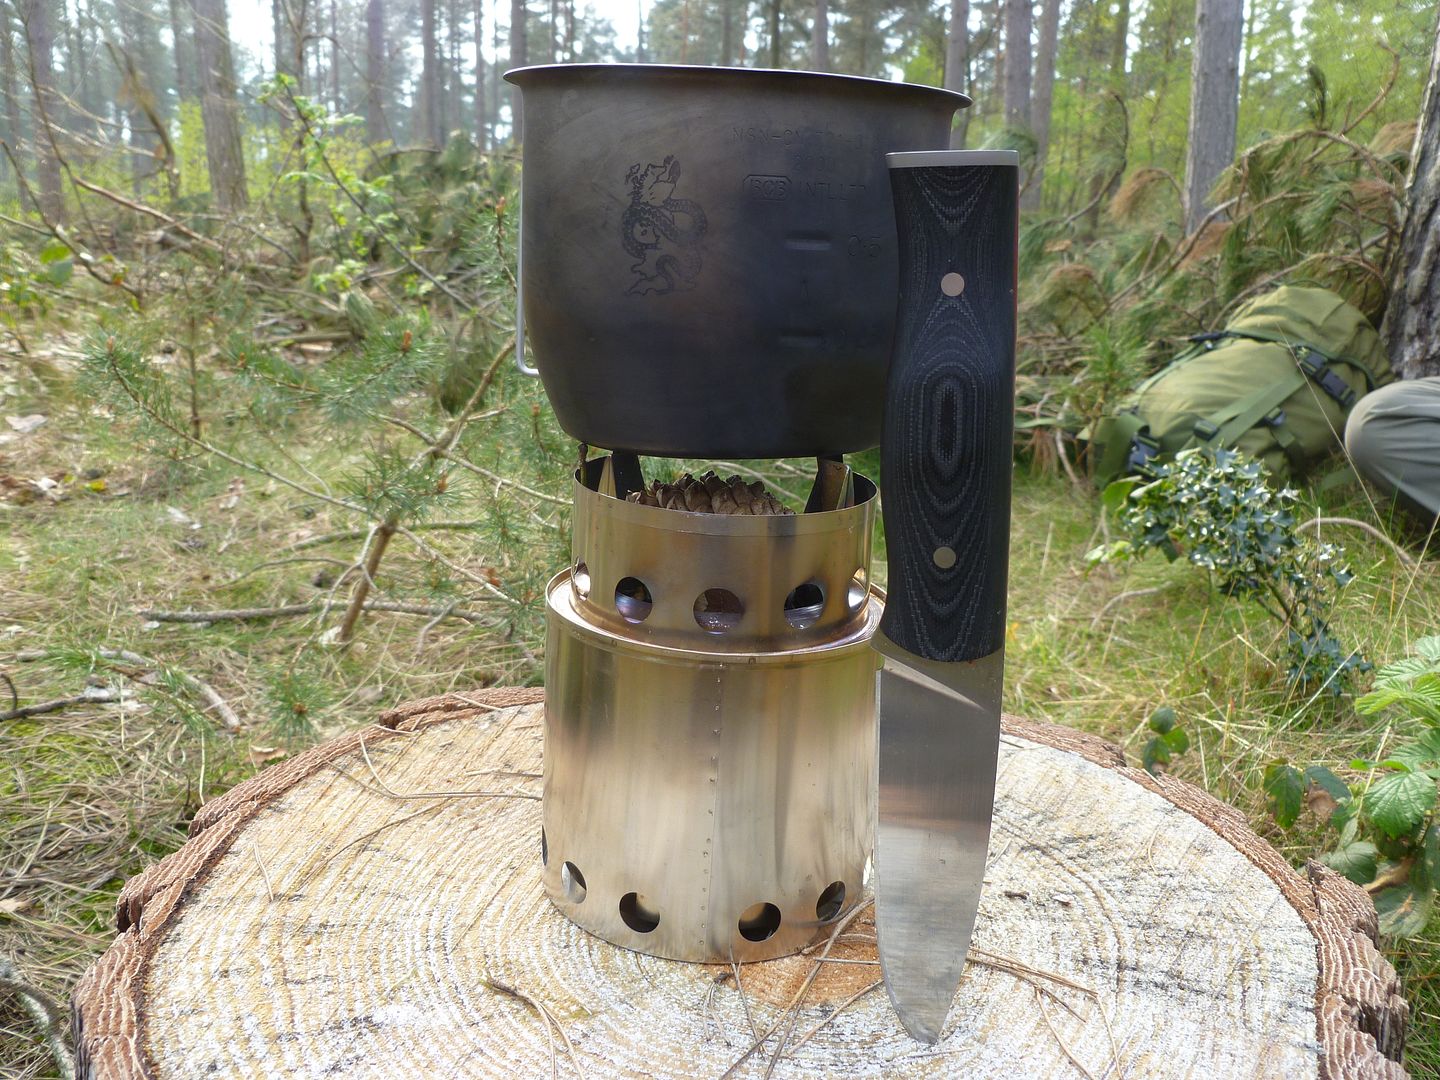


Tasted like boiled socks. Full of Vit C though.


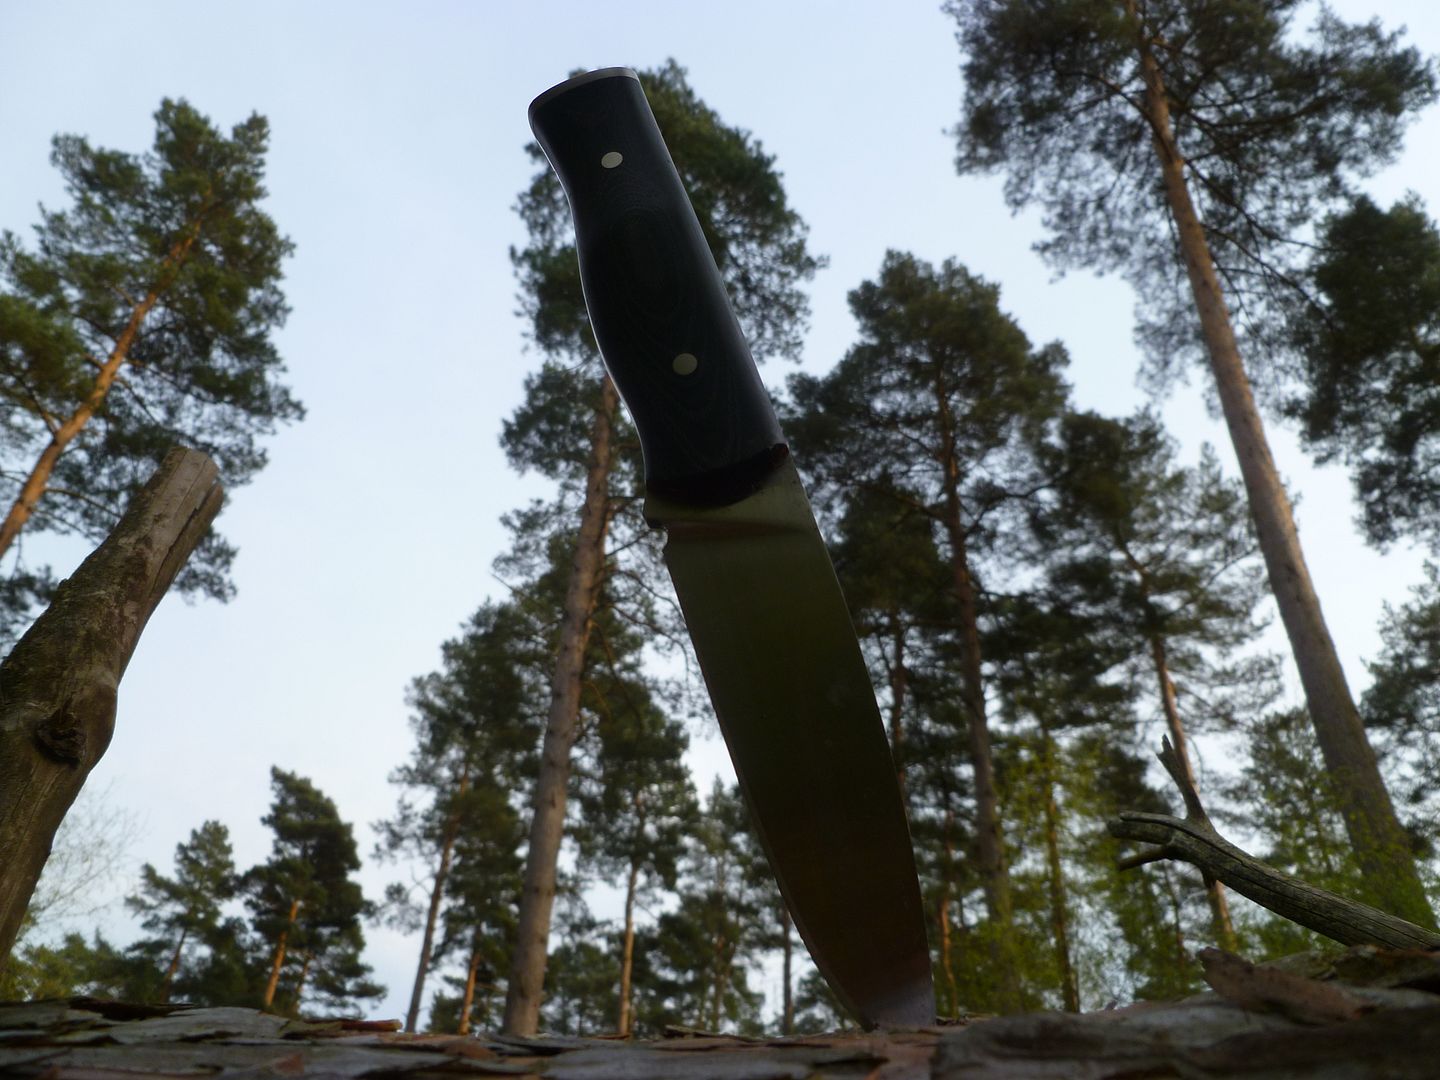
So there you have it for the first bit of testing. Let me know what you'd like to see it do and I'll try to oblige. I want to test this knife to destruction and have been doing so today. The blade is a bit worse for wear, but when you see why you'll blame me, the environment and not the knife. So far it has performed above expectations. I'll leave it there for now as there is a load to plow through with this round.

 
  • Like
Reactions: PoppyD

JonathanD

Ophiological Genius
Sep 3, 2004
12,815
1,511
Stourton,UK
Part Two

After several suggestions, most of which meaning the death of a blade. I decided that part 2 would show the finer things like food prep and carving.

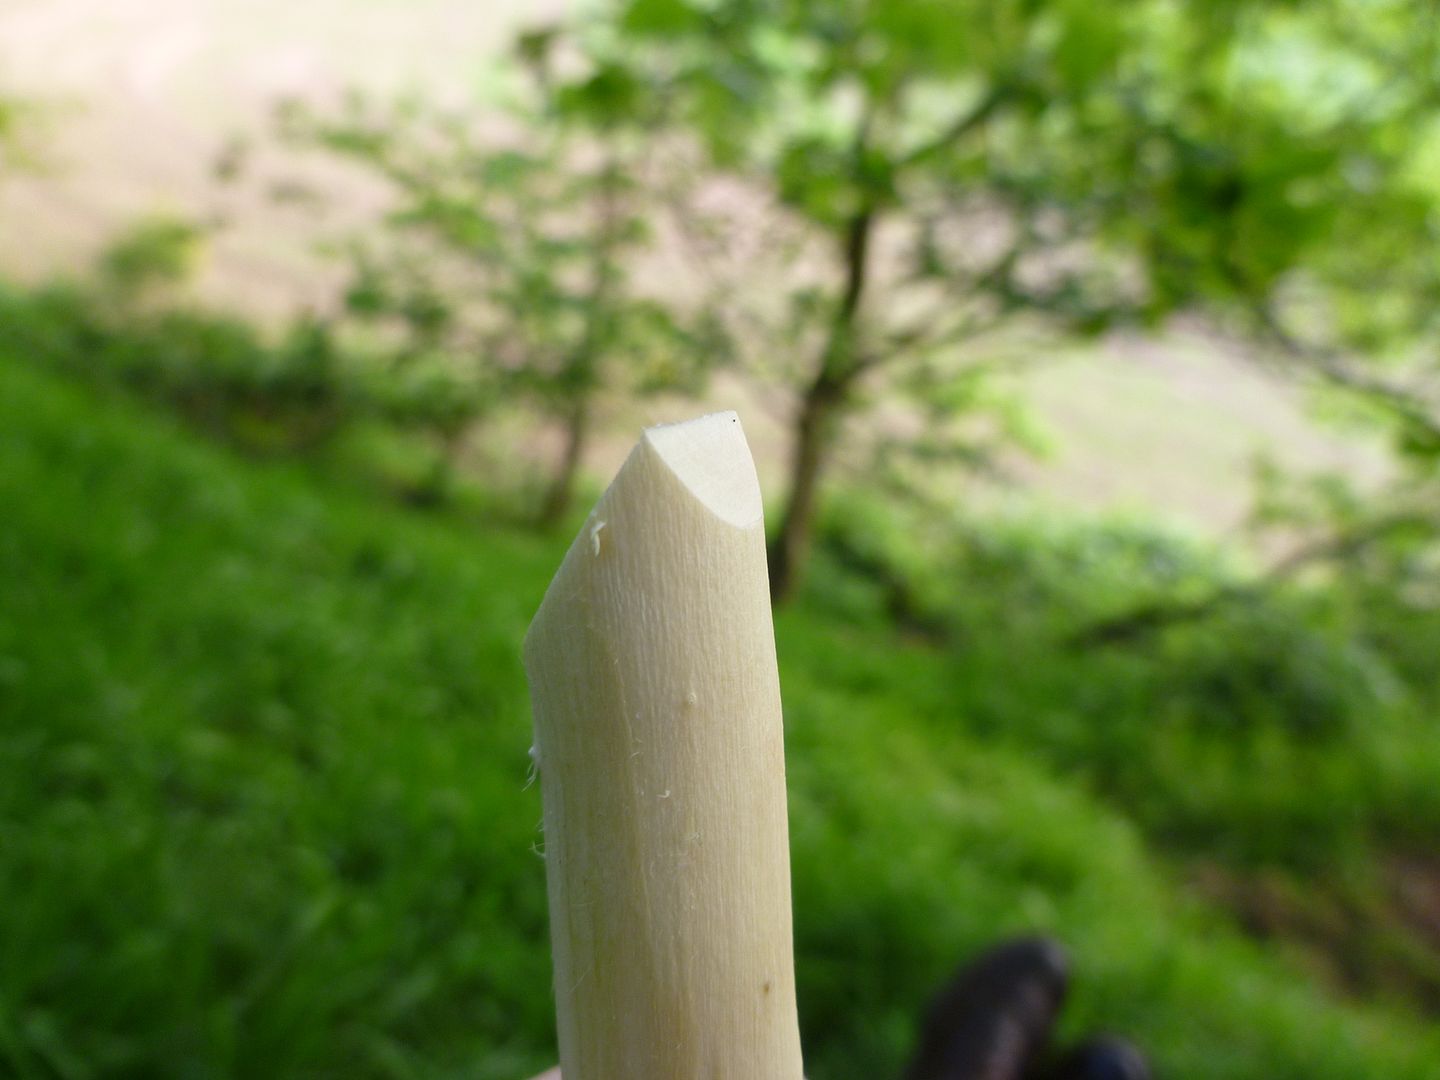
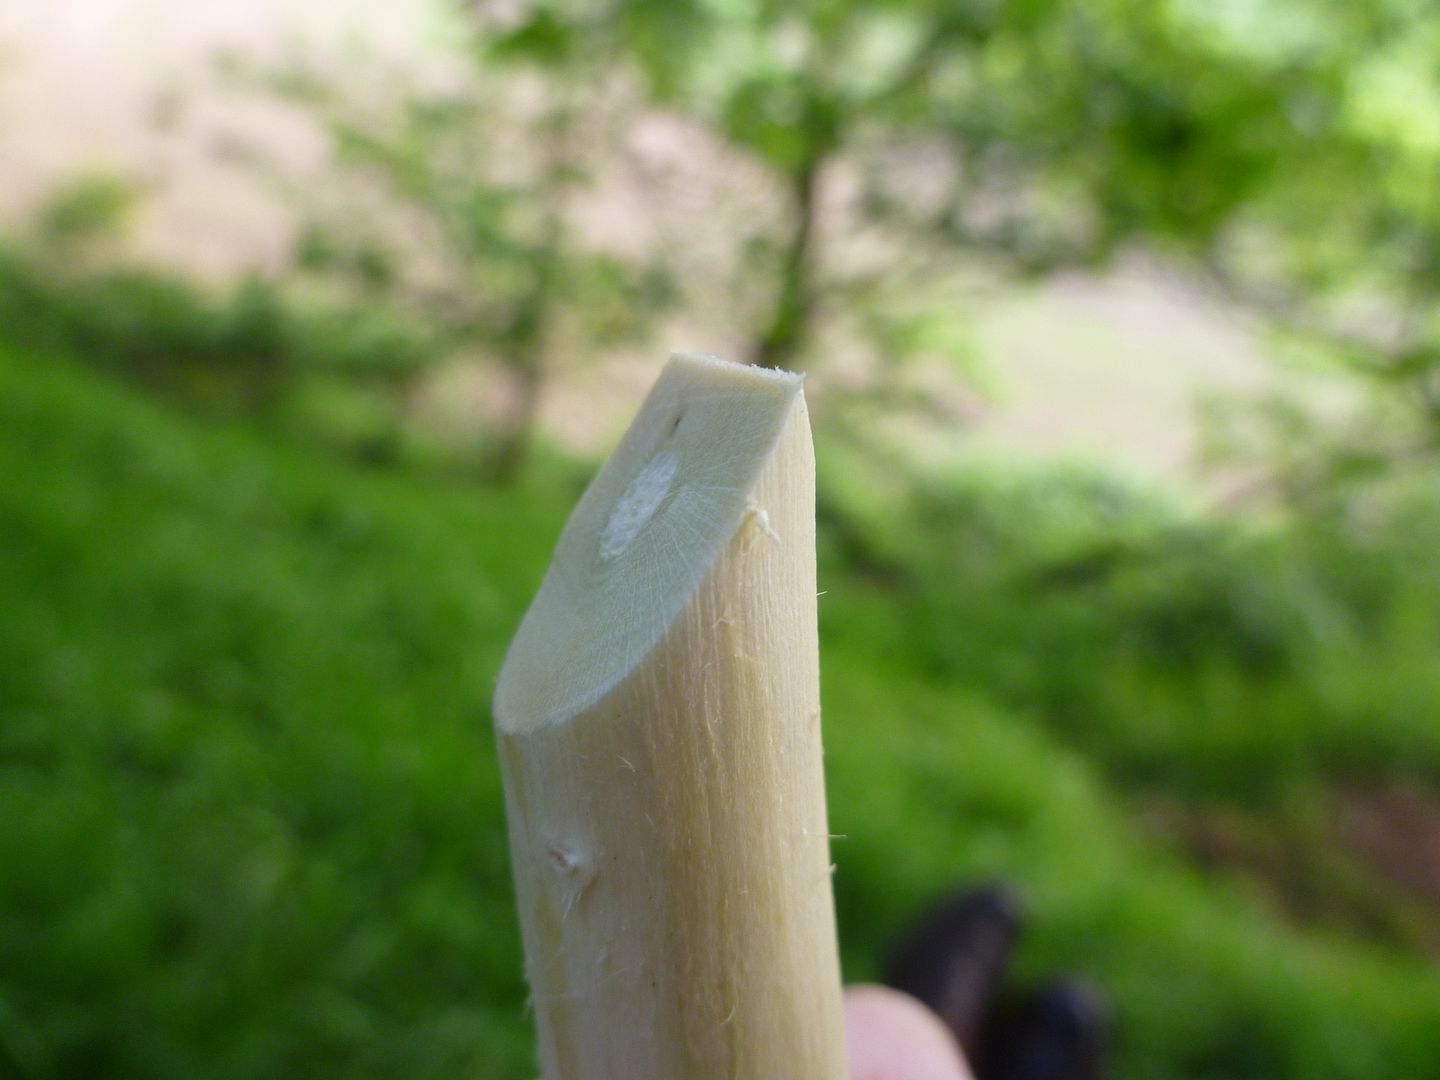
First of all, someone mentioned using it to dig up some roots. No doubt it could do this, but there is a better method which doesn't involve blunting the tip and edge. The humble dig stick.


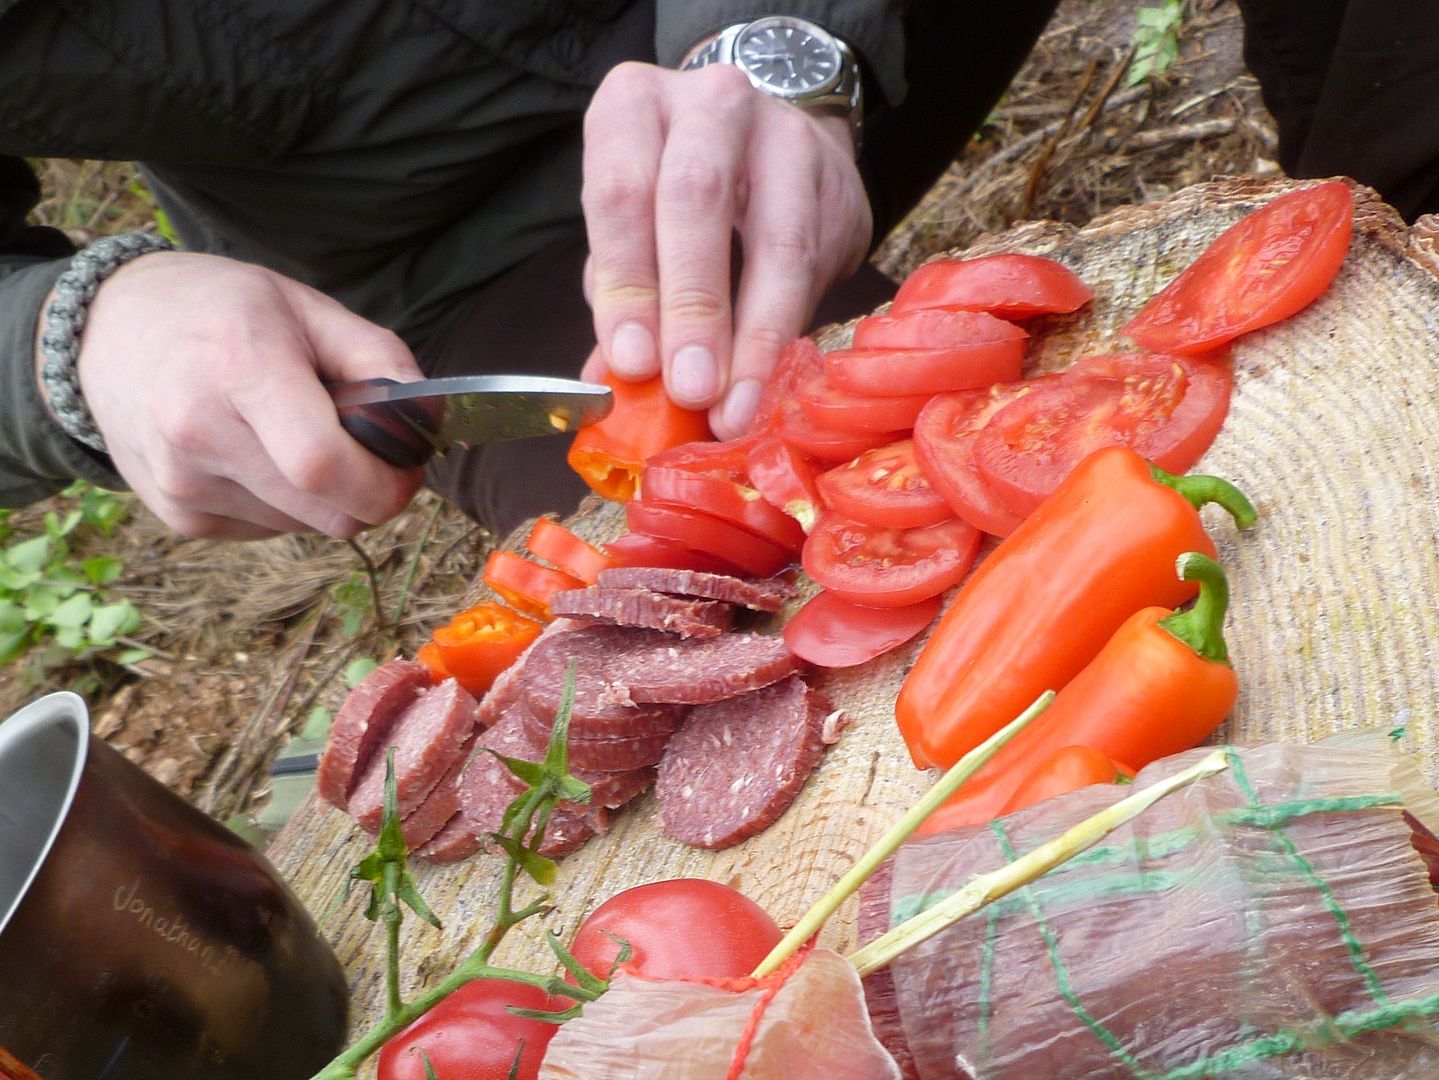
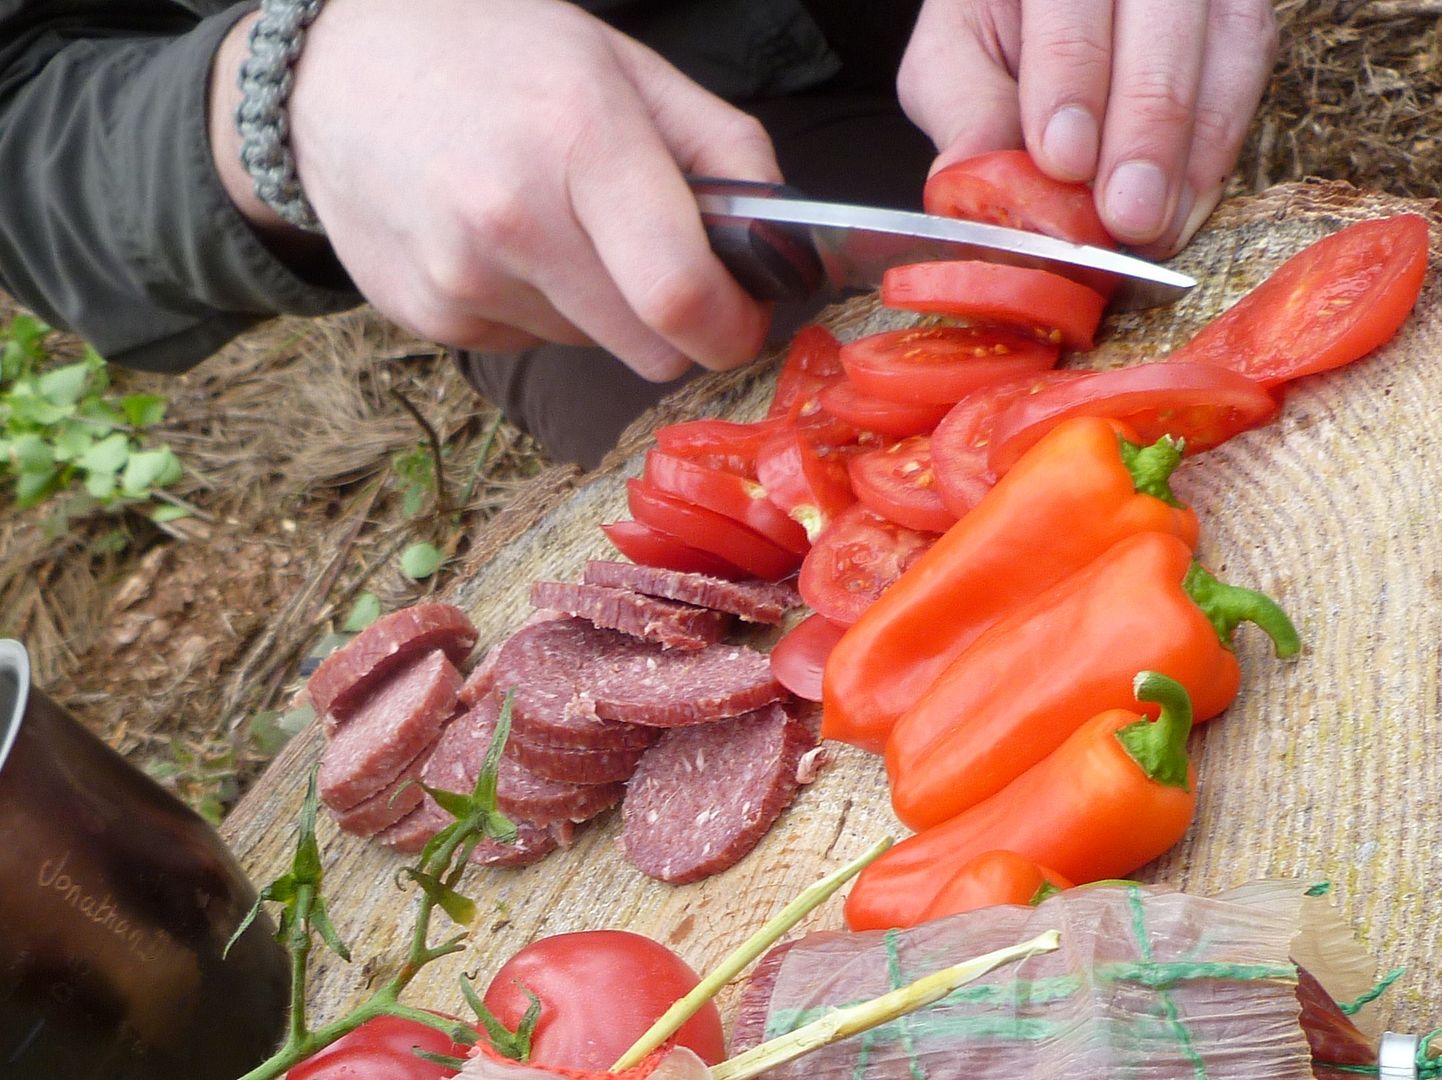
After all the abuse I'd put the blade through, I thought tomatoes would squash rather than cut finely at first, and I didn't sharpen the blade prior to this test, so I was quite surprised when it managed slicing quite easily. I thought I'd have to touch the edge up at least a little.


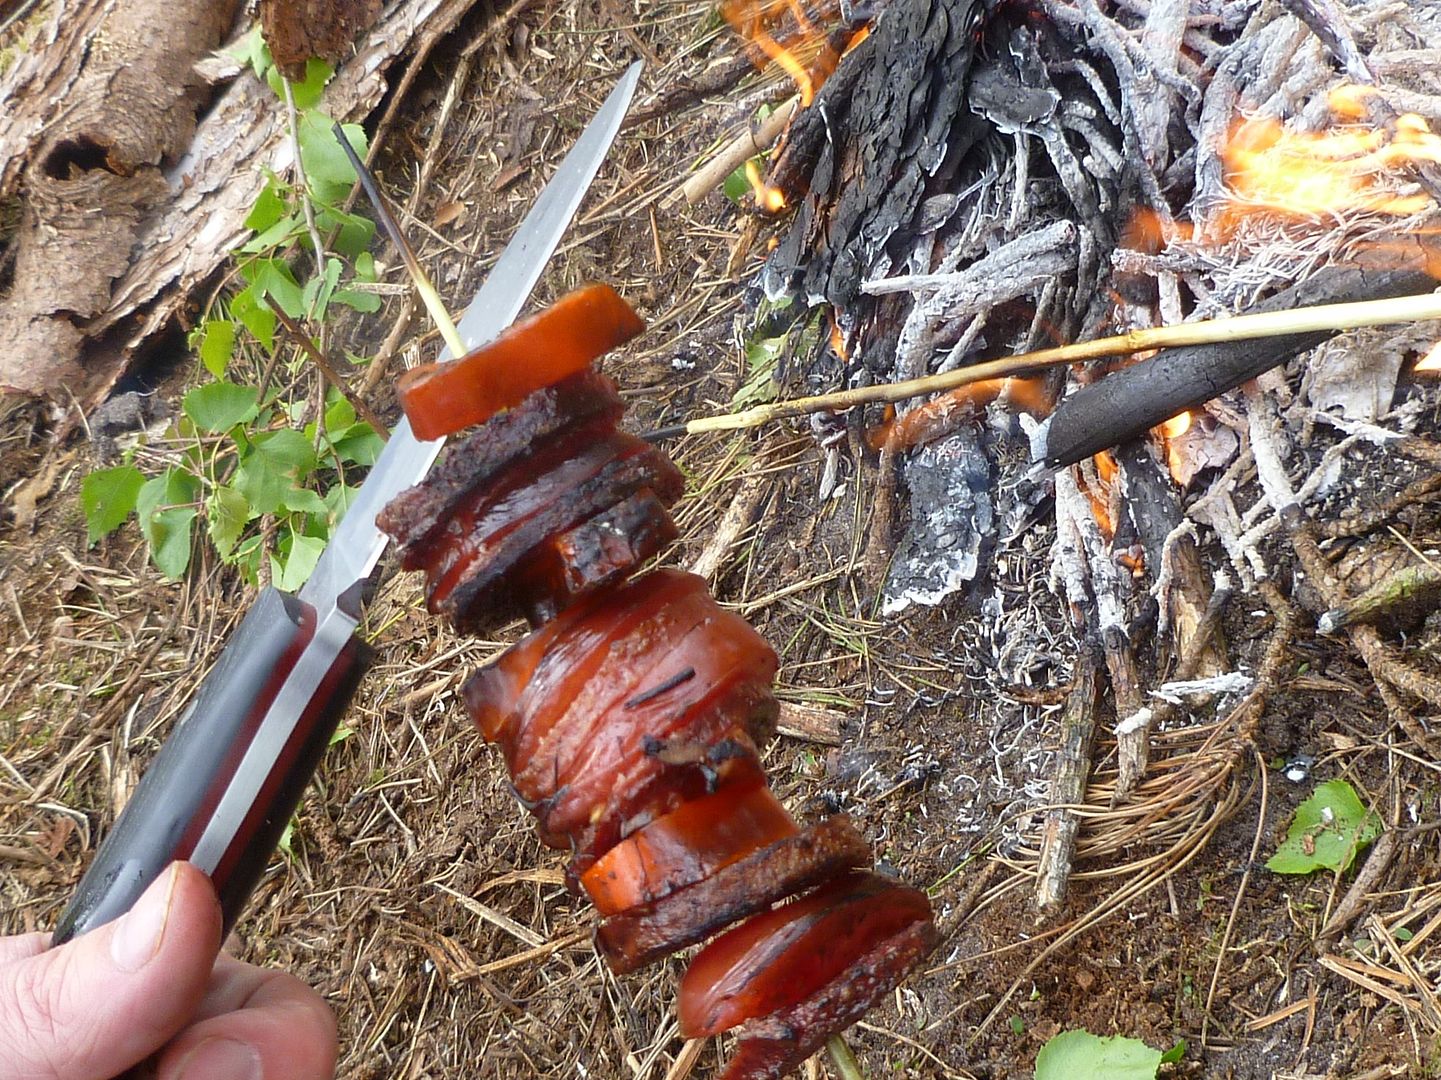
For those gourmands interested, this is venison and wild boar salami with fine peppers and plum tomatoes cooked over a pine fire. Tasted great.


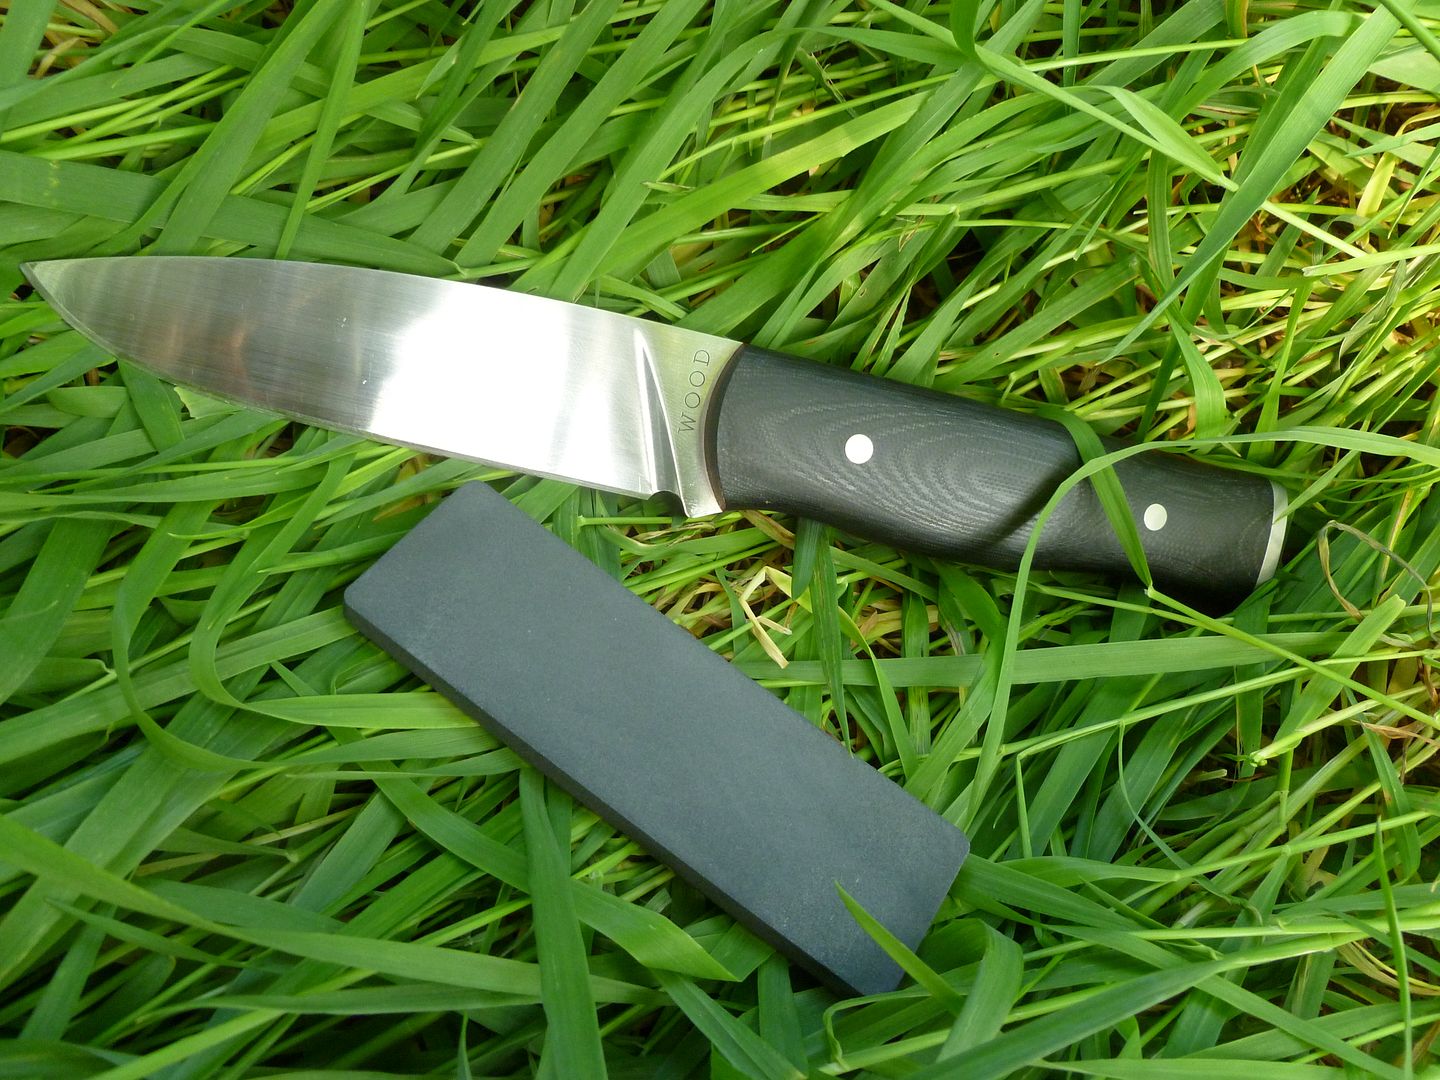
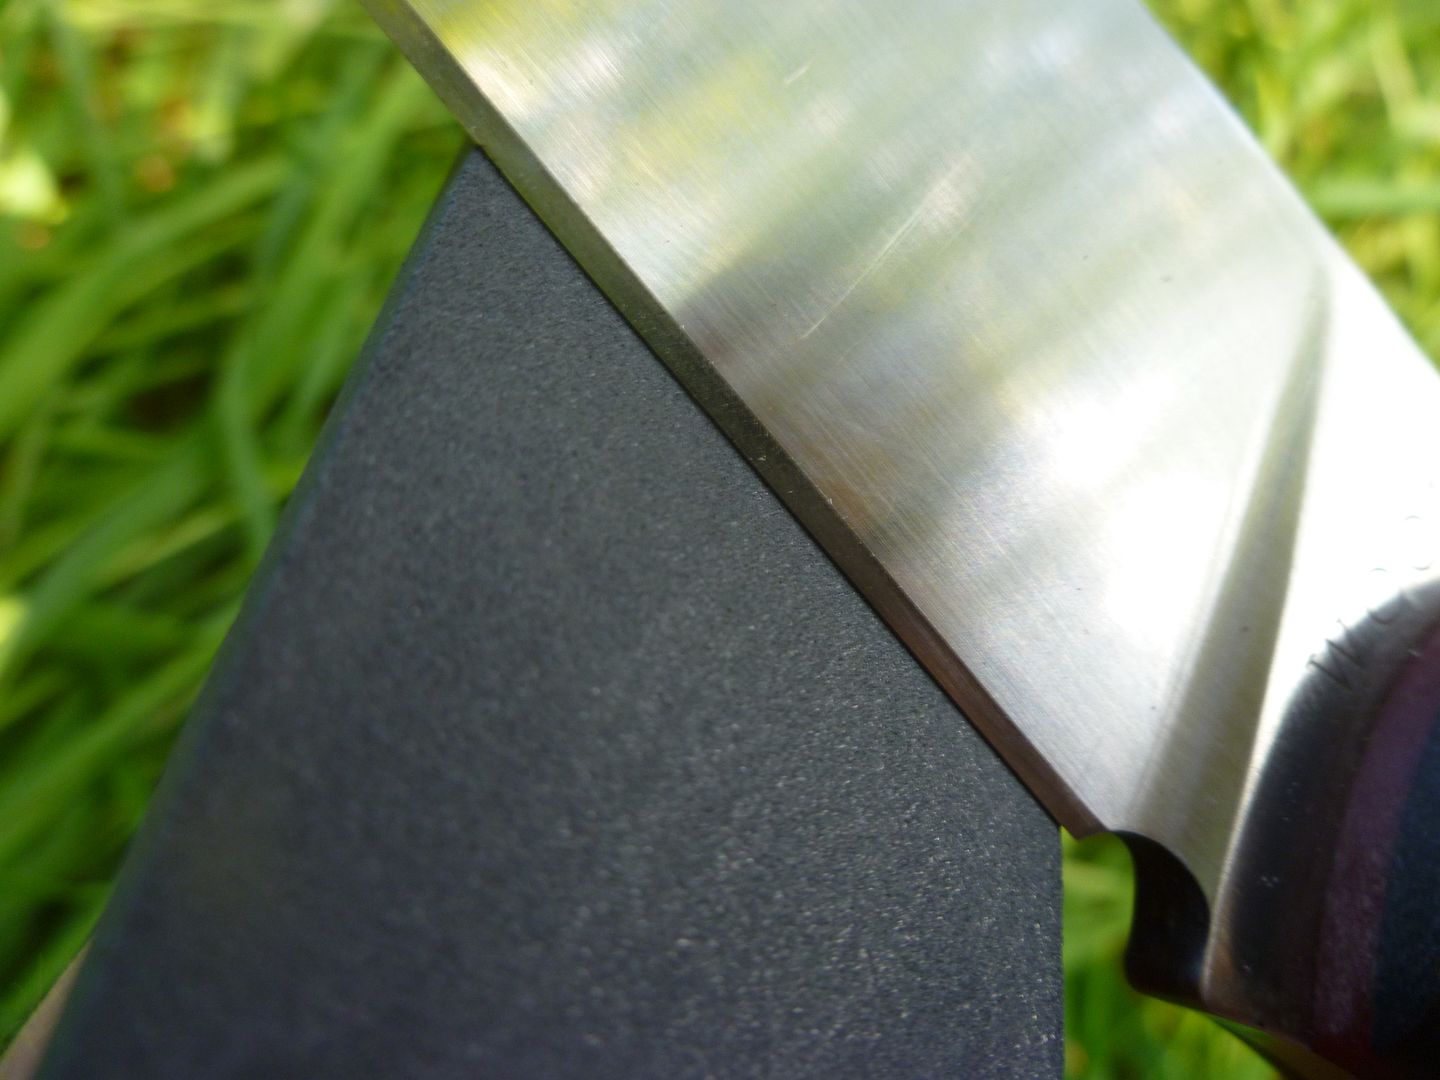
To sharpen the blade, I wanted to stay in keeping with the survival ethos, although I stopped at going as far as using flat river stones. I used the DC4. It's something that should be carried everytime you take a knife into the field and is small and unobtrusive. I'd heard nightmare stories about sharpening 440c, so I wondered how such a small stone would cope.


I'll be quite honest. Sharpening it with the DC4 was hard work. This is mostly my fault as I'd let the blade go without the usual touch up that is needed to keep an edge in the best condition. My knives are primarily RWL-34 so I'm used to sharpening a hard steel and knowing it needs touching up regularly to prevent a hard uphill sharpening slog once it get's blunt.

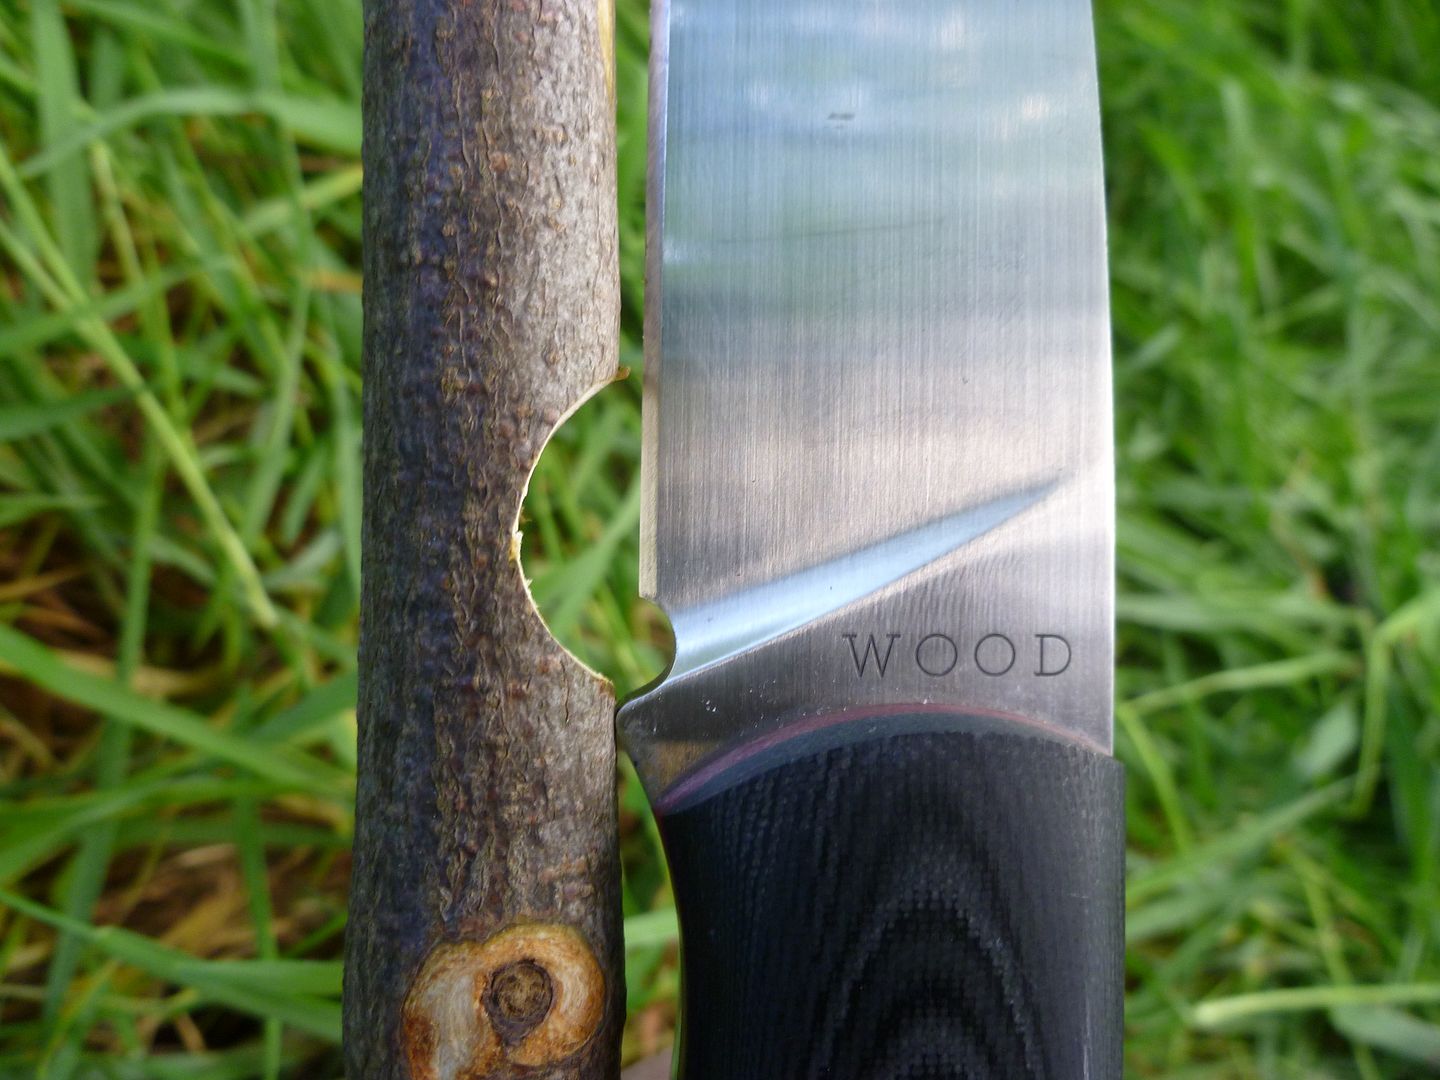
With the blade back to its original condition, it was back to the woods for a small go at a try-stick. At 5mm thick the blade is right at the outer extreme for wood carving, but it does have a nice wide secondary bevel on it.


All in all, it performed very well. No real hard work, although the blade thickness does effect the ability for the finer neat finish that I usually put on the tools and carving I make when out. I'm sure if I was given longer to test it out and became familiar with the blade, then things would get neater and cleaner as my familiarity increased.

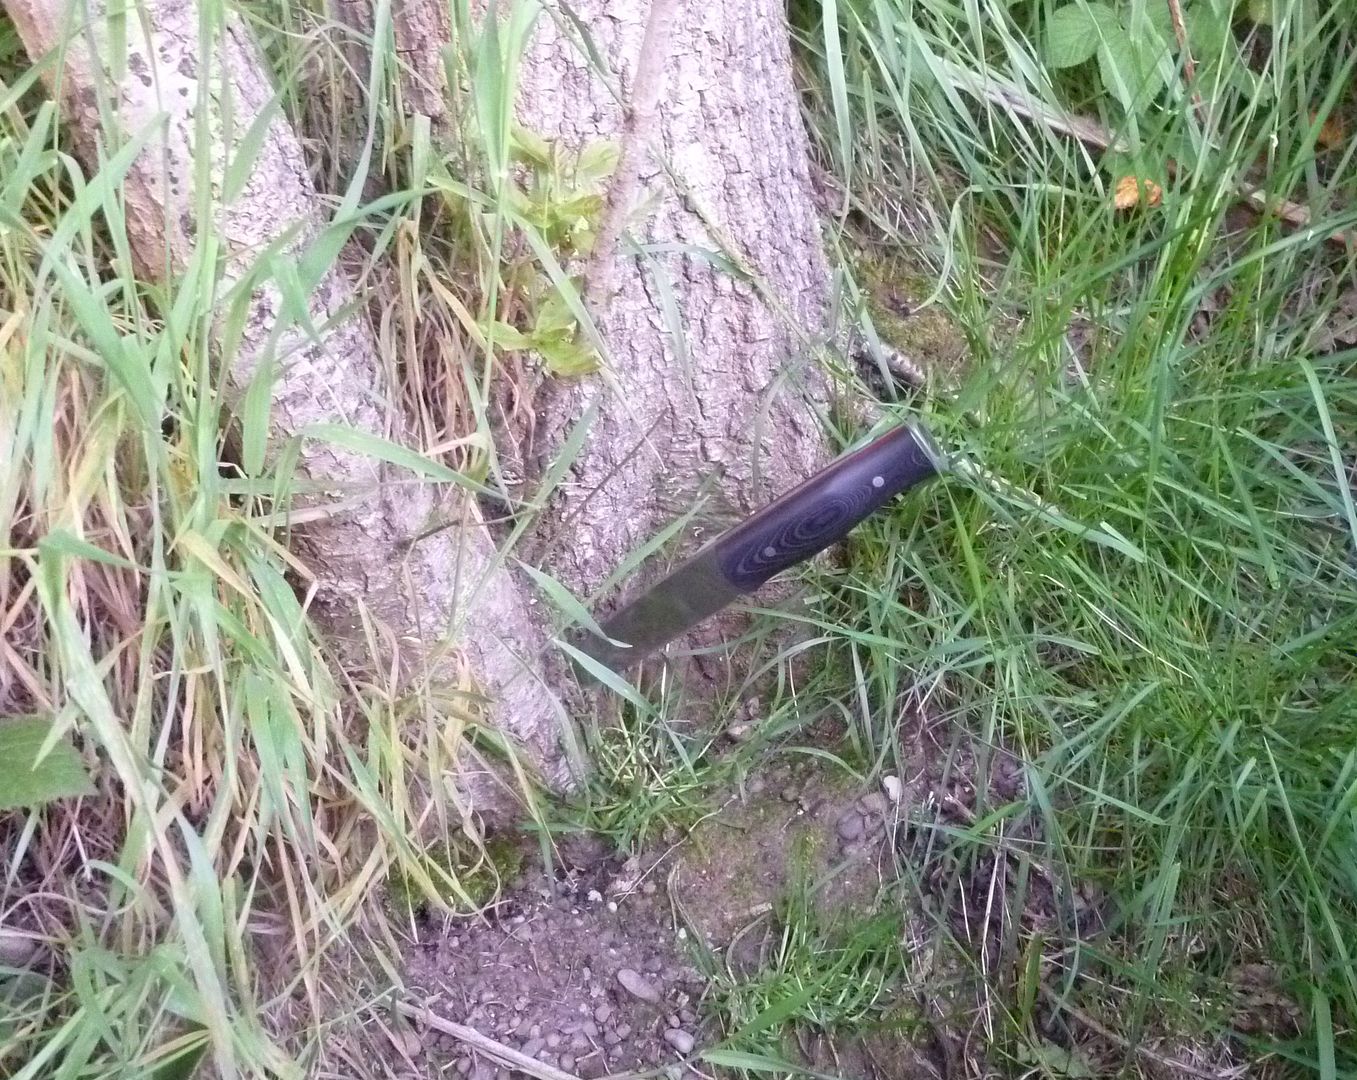
At the end of the carving session it started to rain. I wanted to further test the 440C and Andy's treatment of the steel, and the water tightness of the compartment, so with rain forecast for the following week. I stuck it into the base of the tree in a quiet part of the woods and left it there for a week.


I think most people can remember that week we had. It was torrential rain with breaks of bright sunshine. Not ideal weather for leaving a knife outdoors. Perfect for this test.

So when I picked it up that following Friday. Firstly relief that the badgers hadn't nicked it...


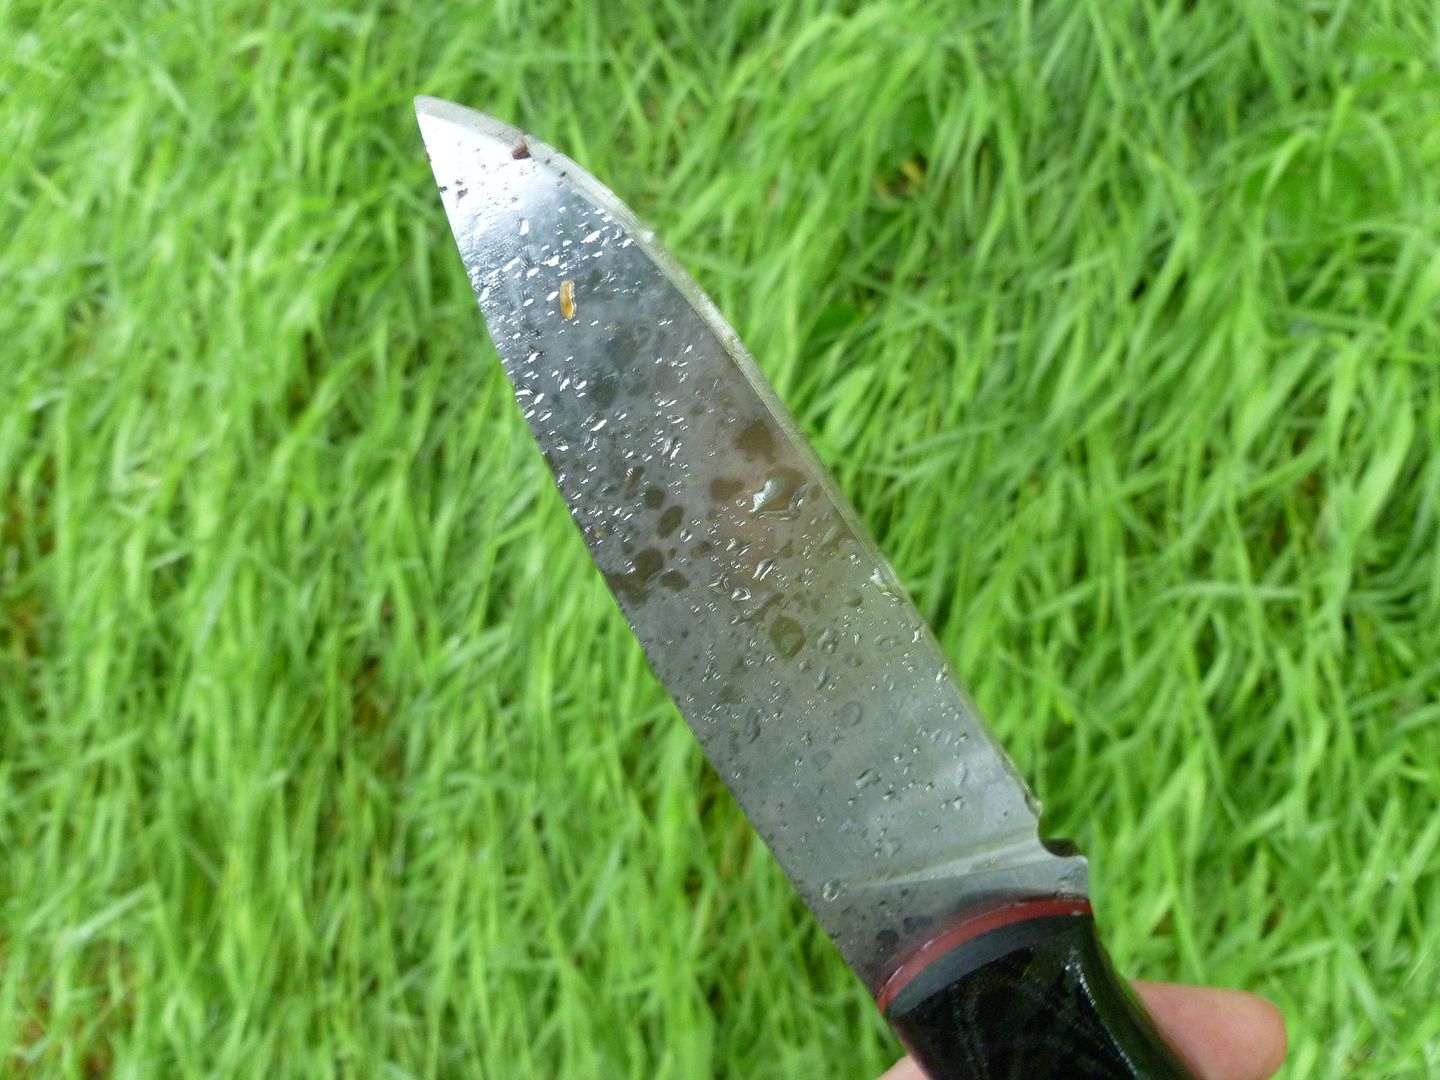
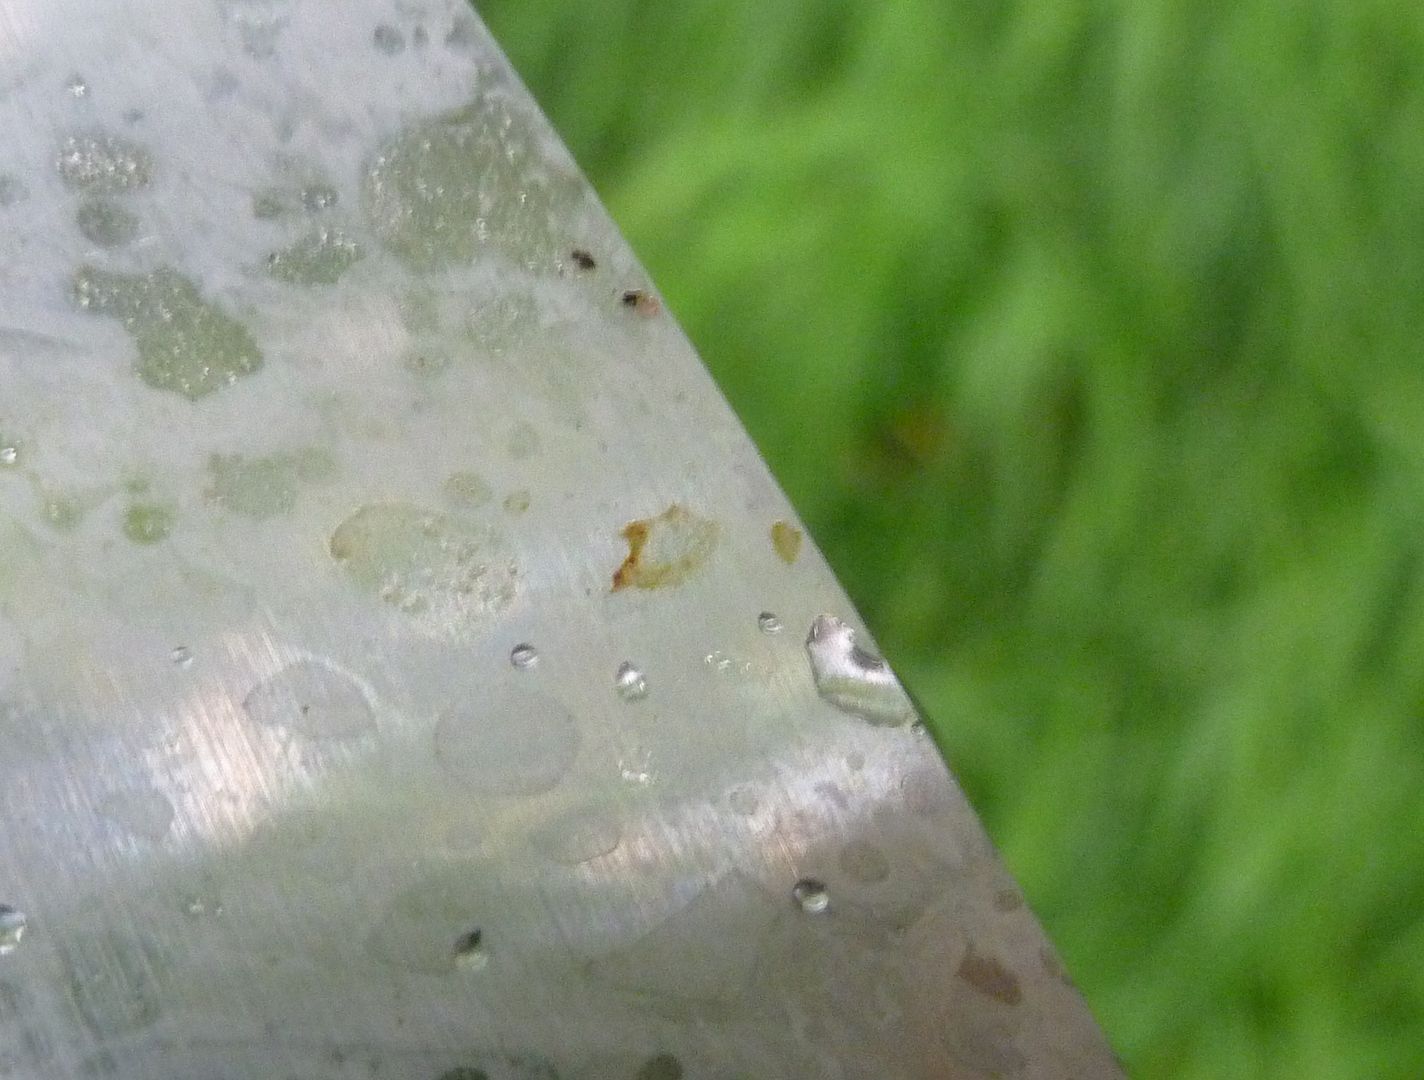
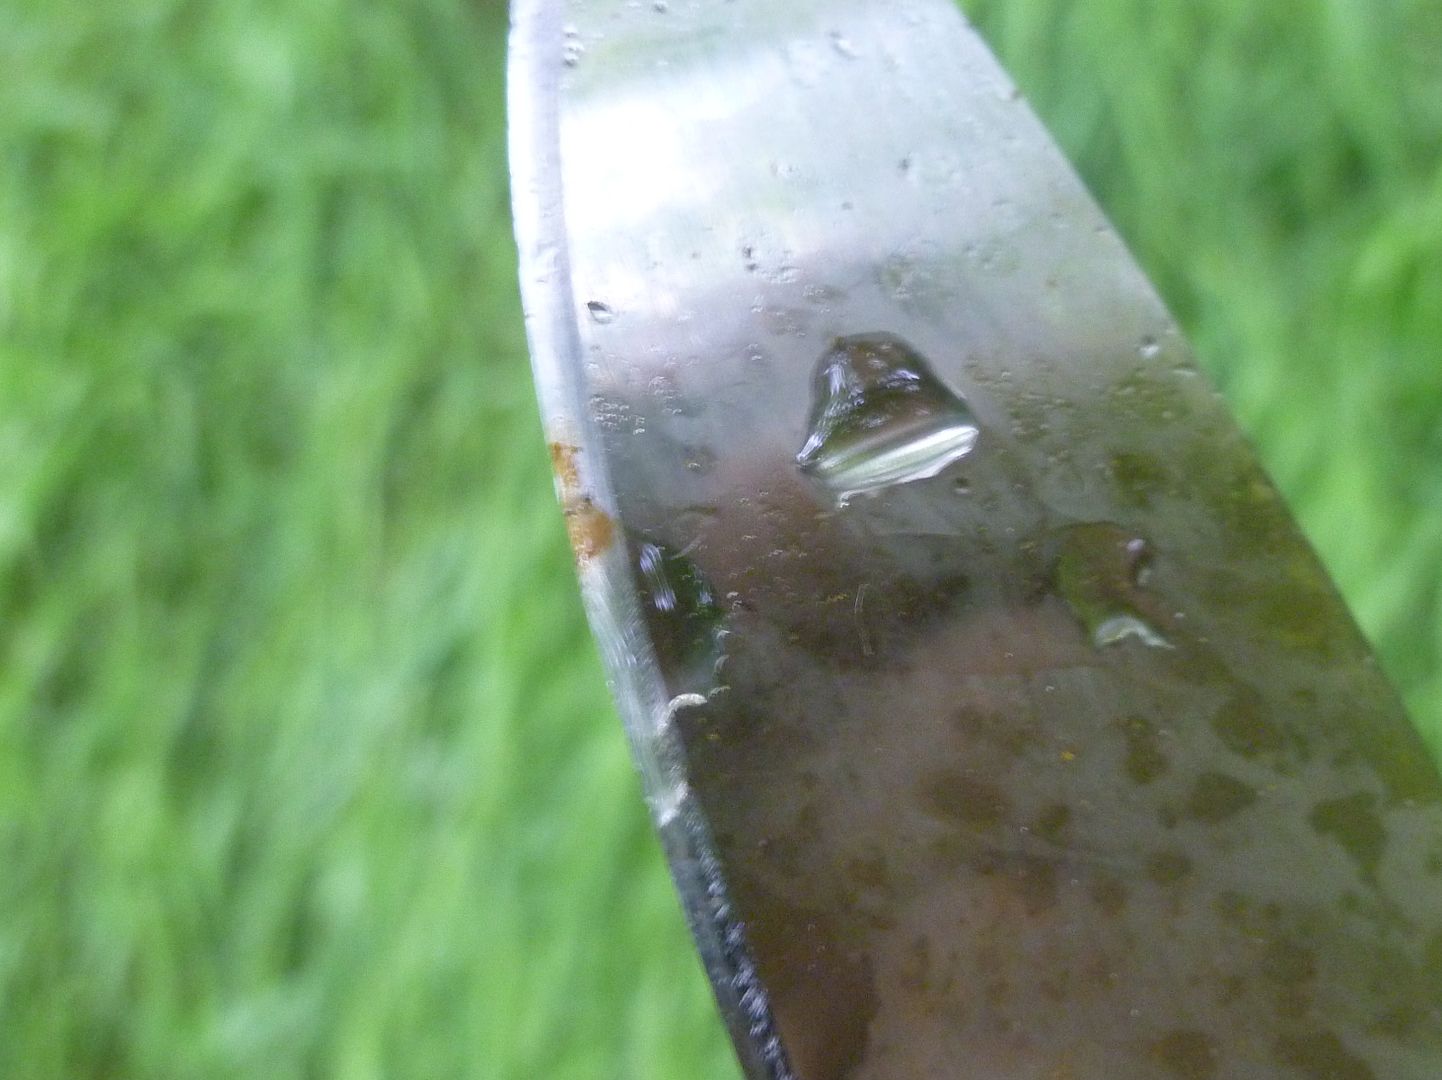
I've got to admit, I was expecting more rust spots. I could only see a couple on the blade, and these wiped off with just a rub of my thumb.


The ferro rod was bone dry with no water ingress whatsoever.


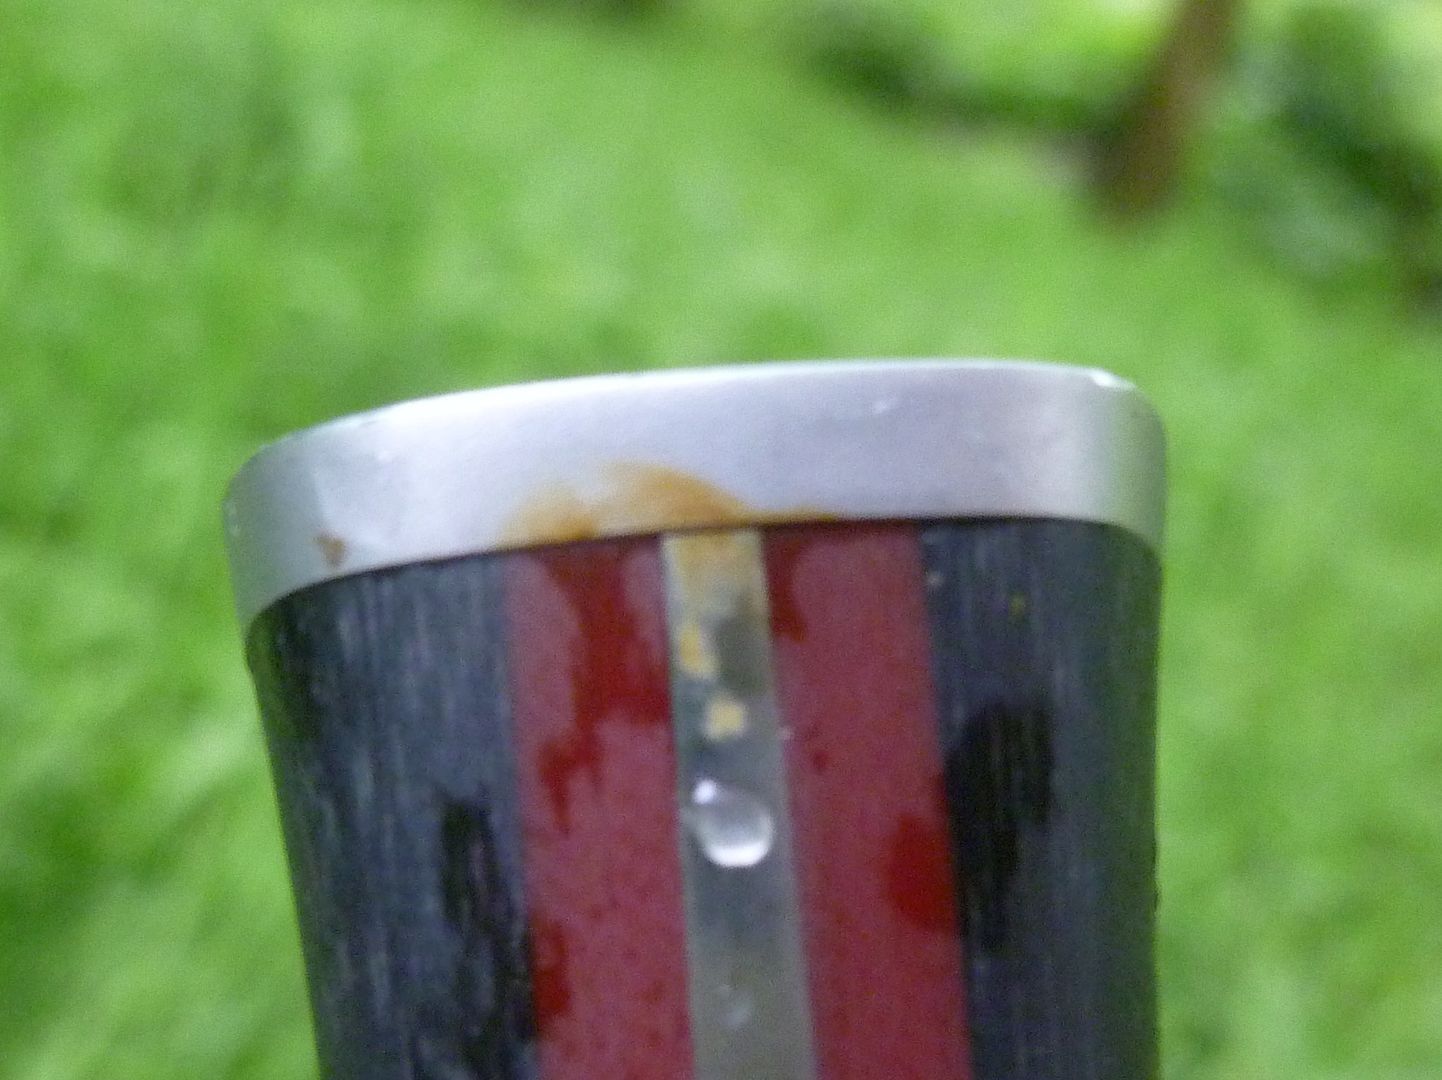
It was whilst I was putting the ferro rod back that I noticed this big rust stain...


On closer inspection I found it wasn't the 440C that had rusted, but the two flush set magnets that had oxidised and bled down the gap onto the tang.


That just goes to show how testing a knife that is to be used outdoors needs to be tested fully to allow for oversights like these. Andy will now recesses the magnets and they'll have a nickel plating on them. Maybe even an epoxy cap to prevent rusting on production models.

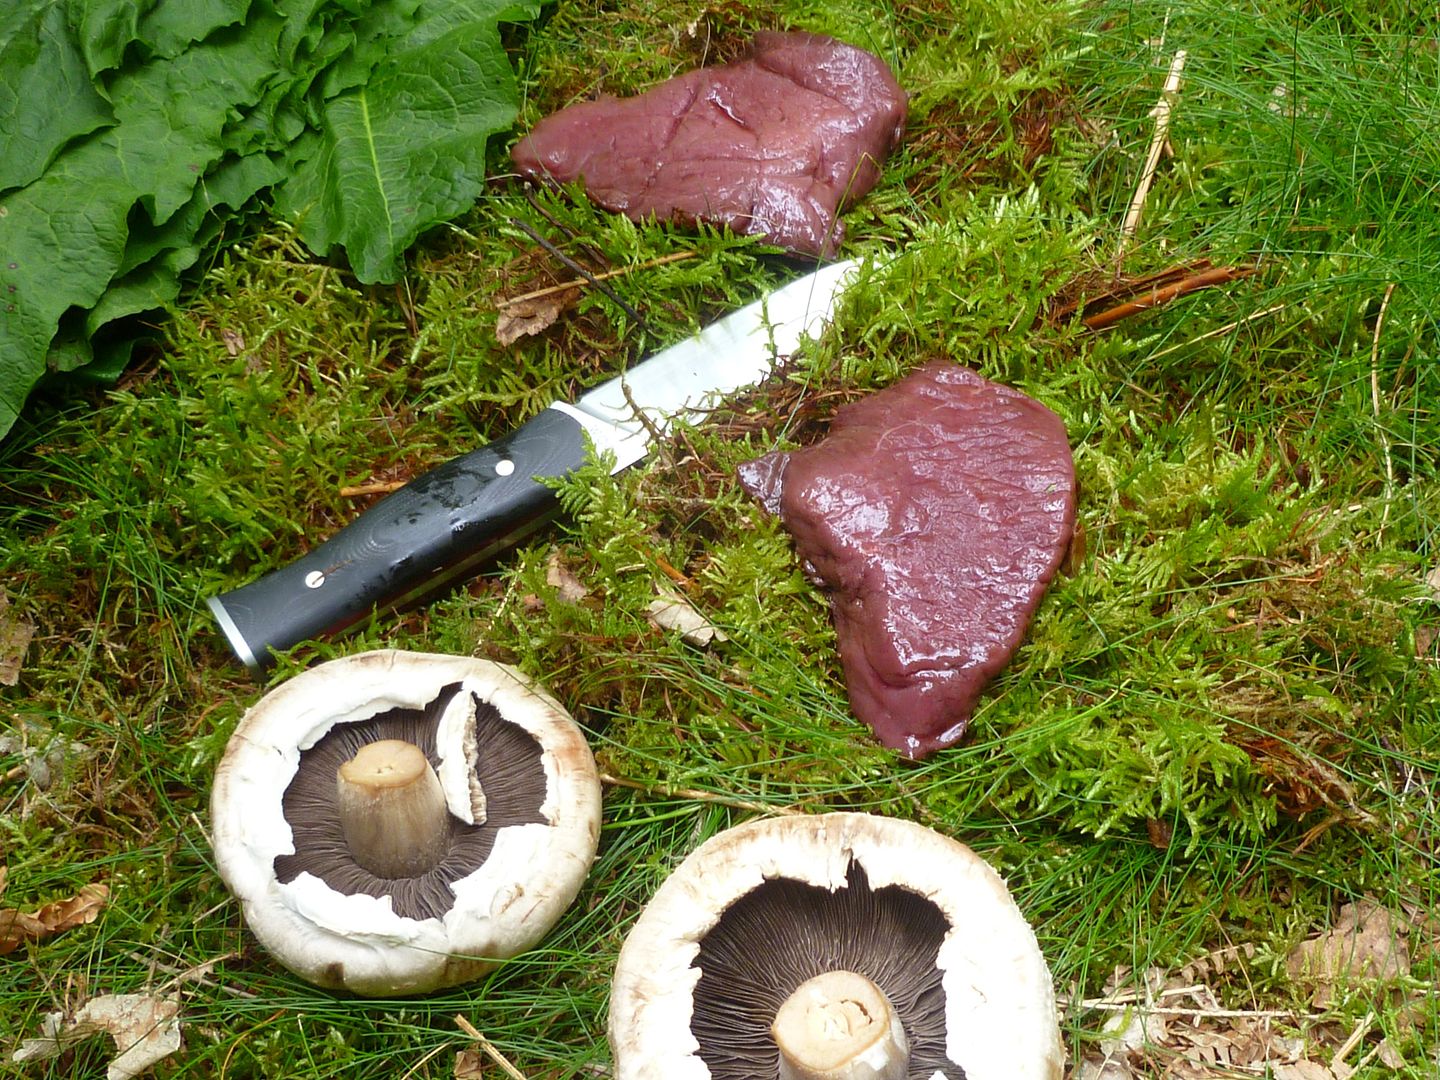
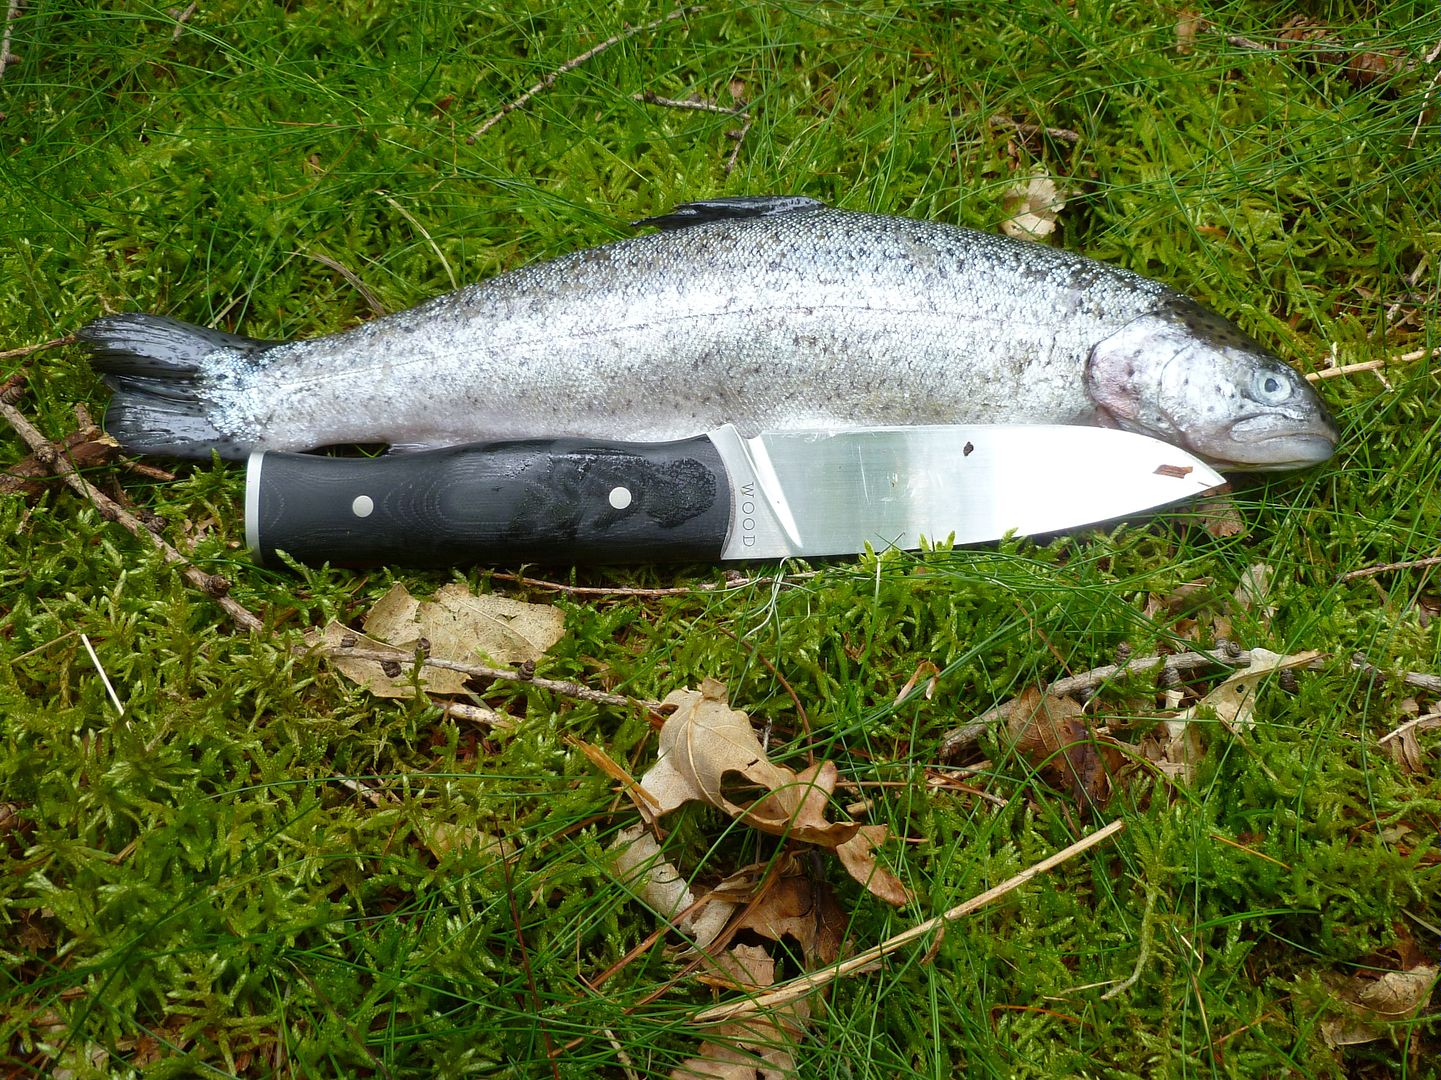
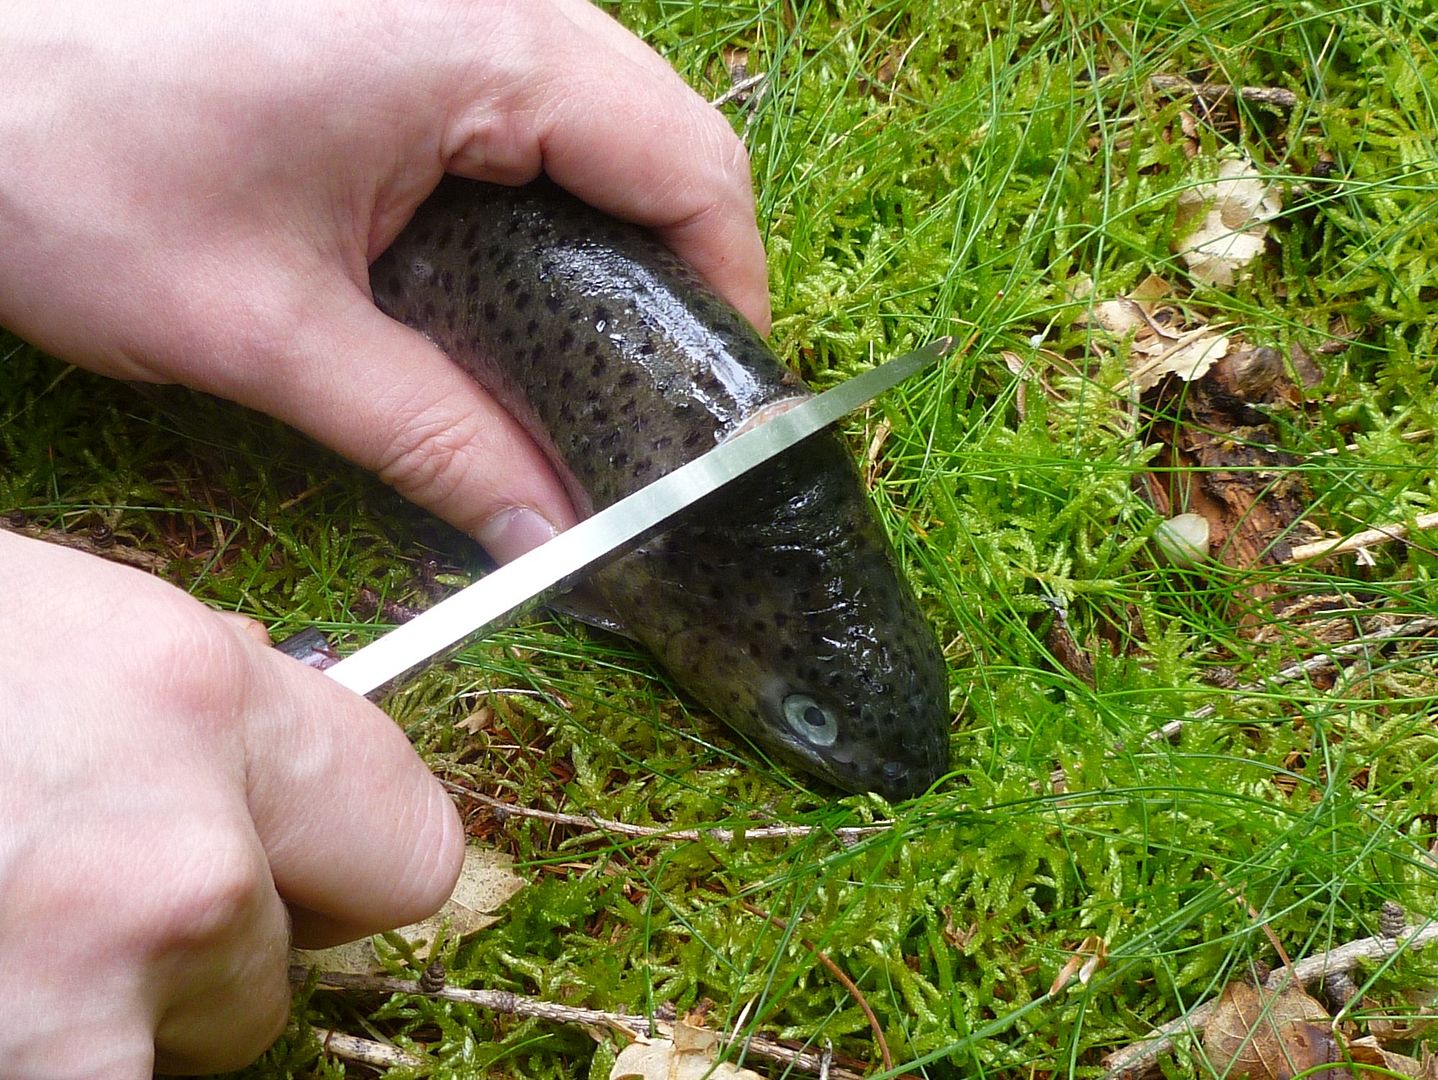
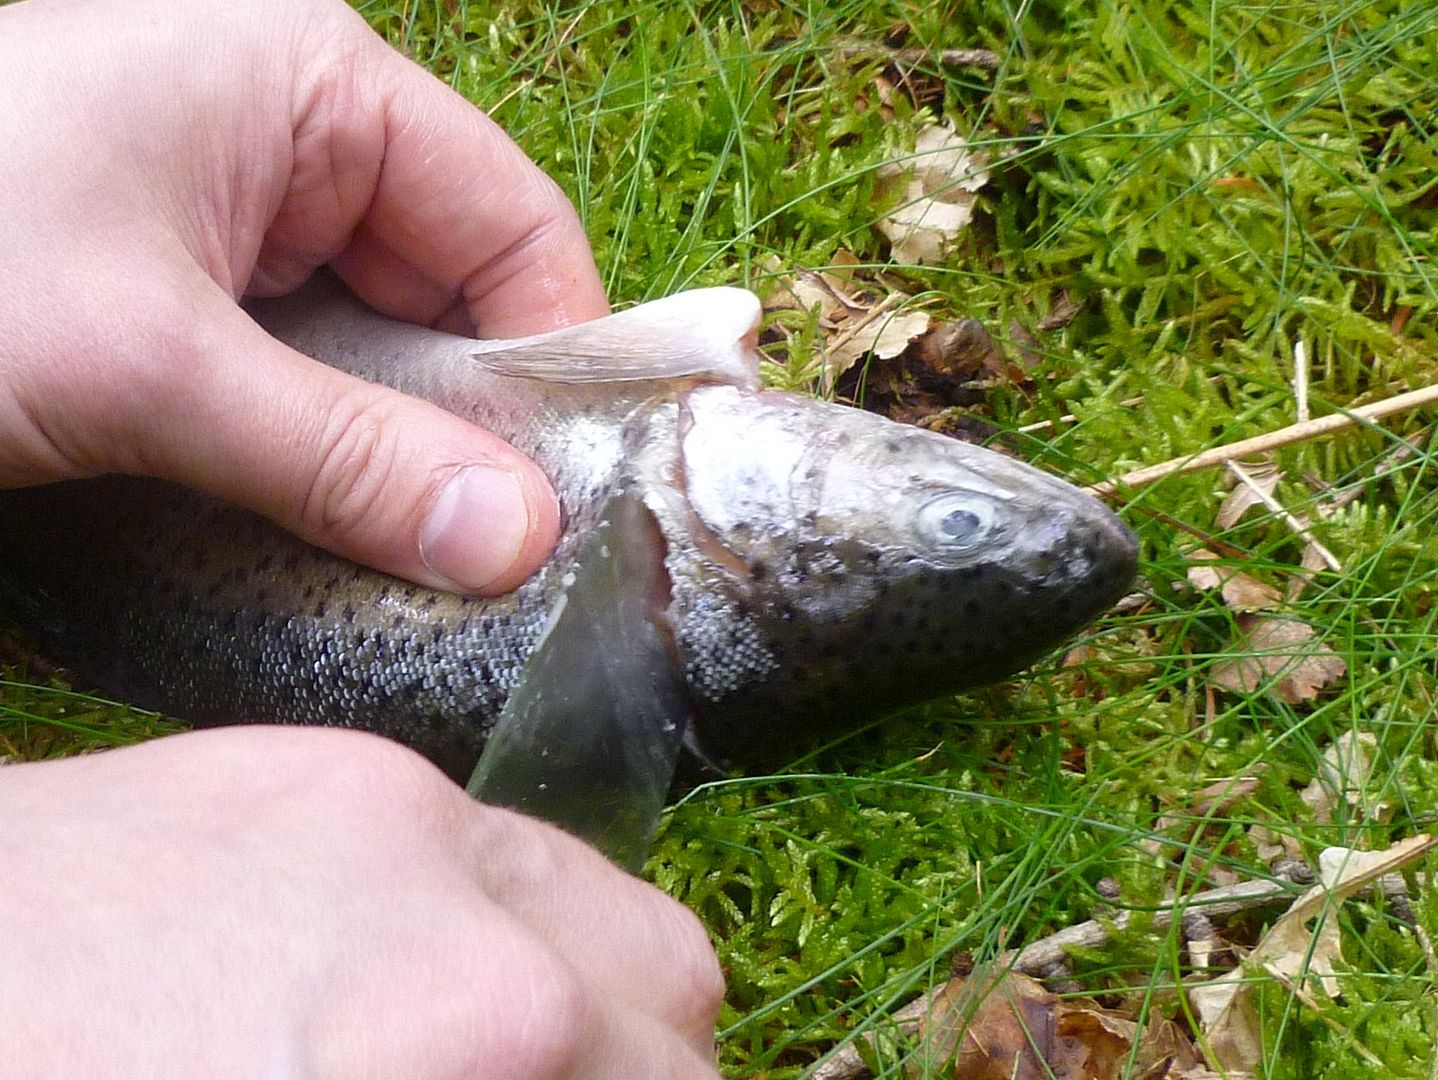
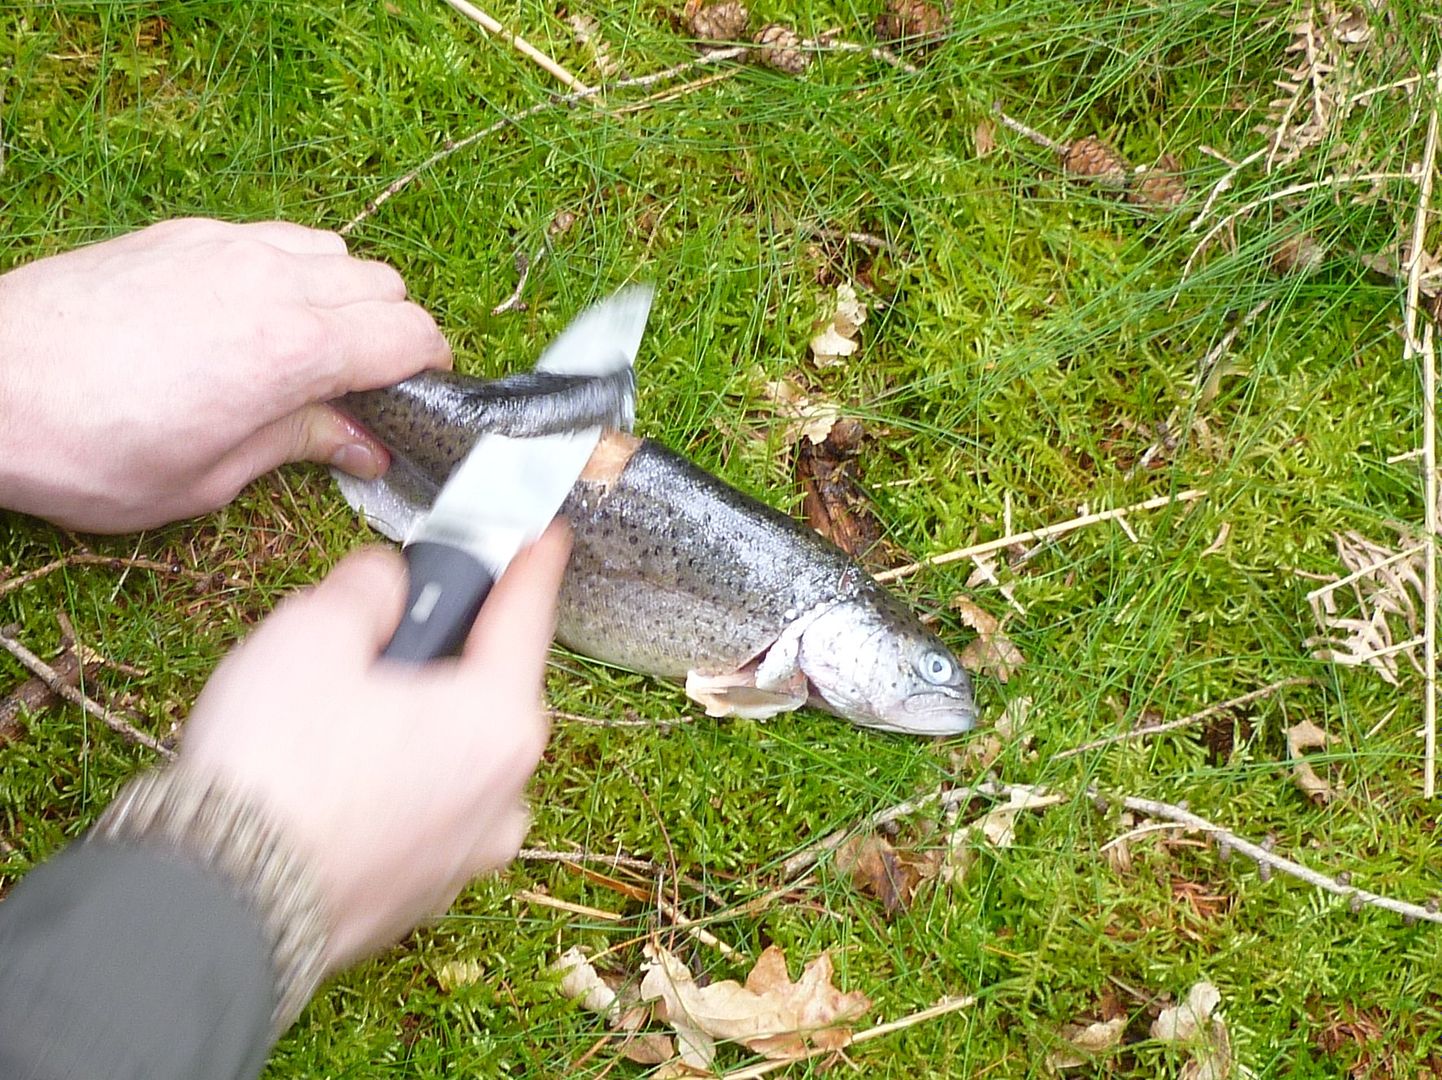
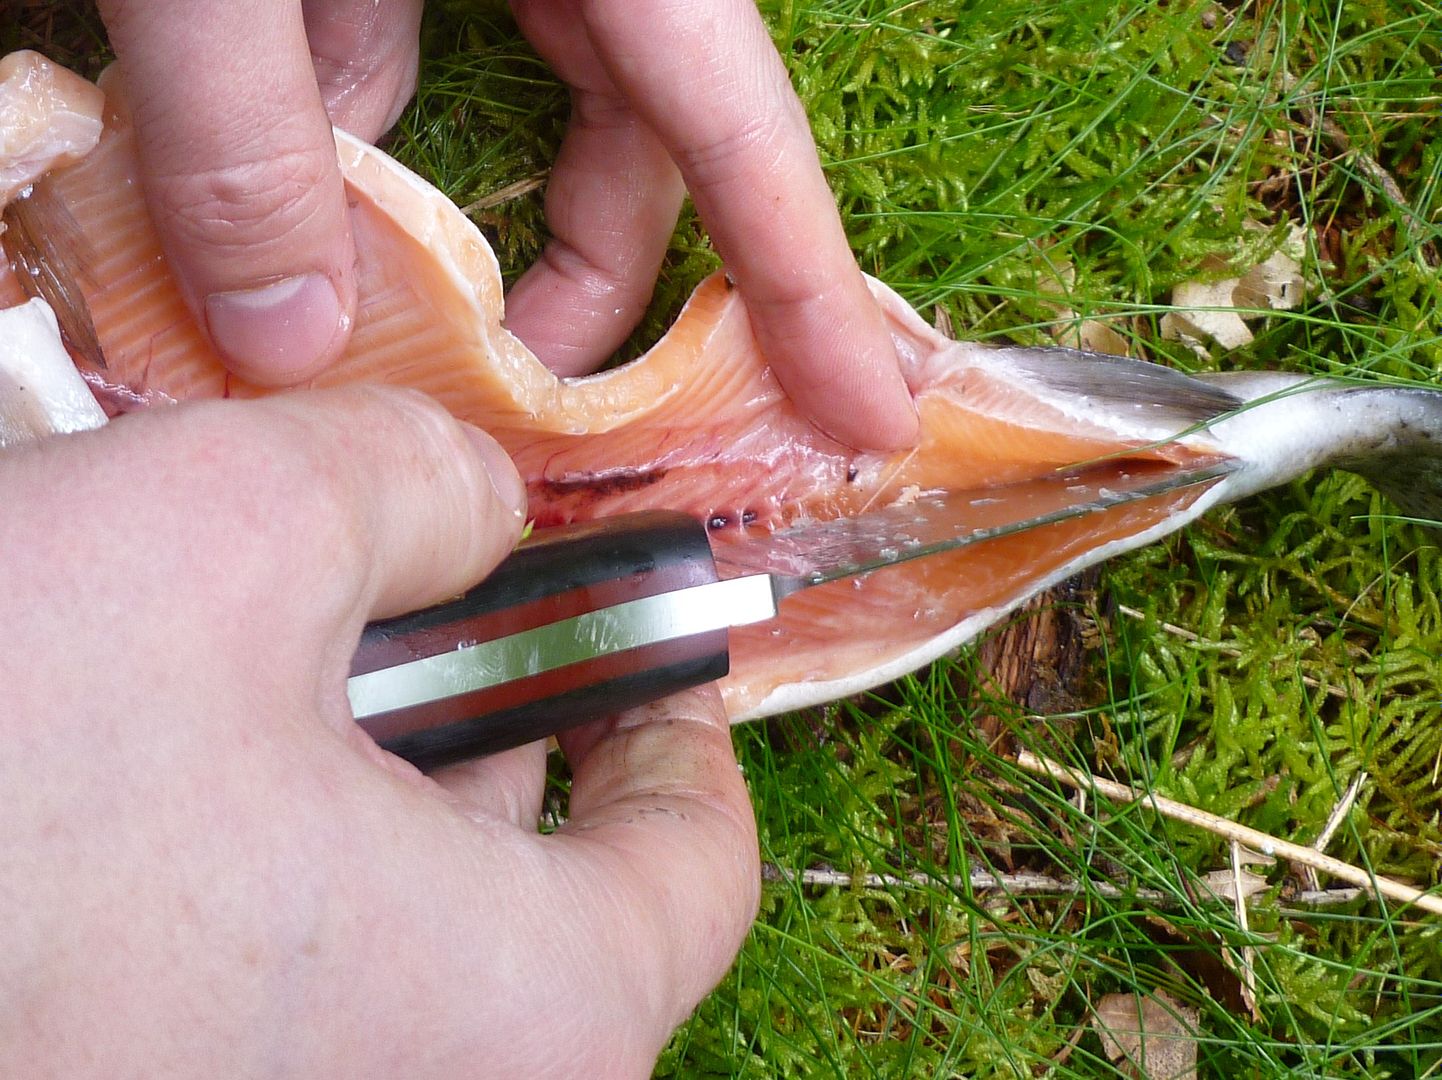
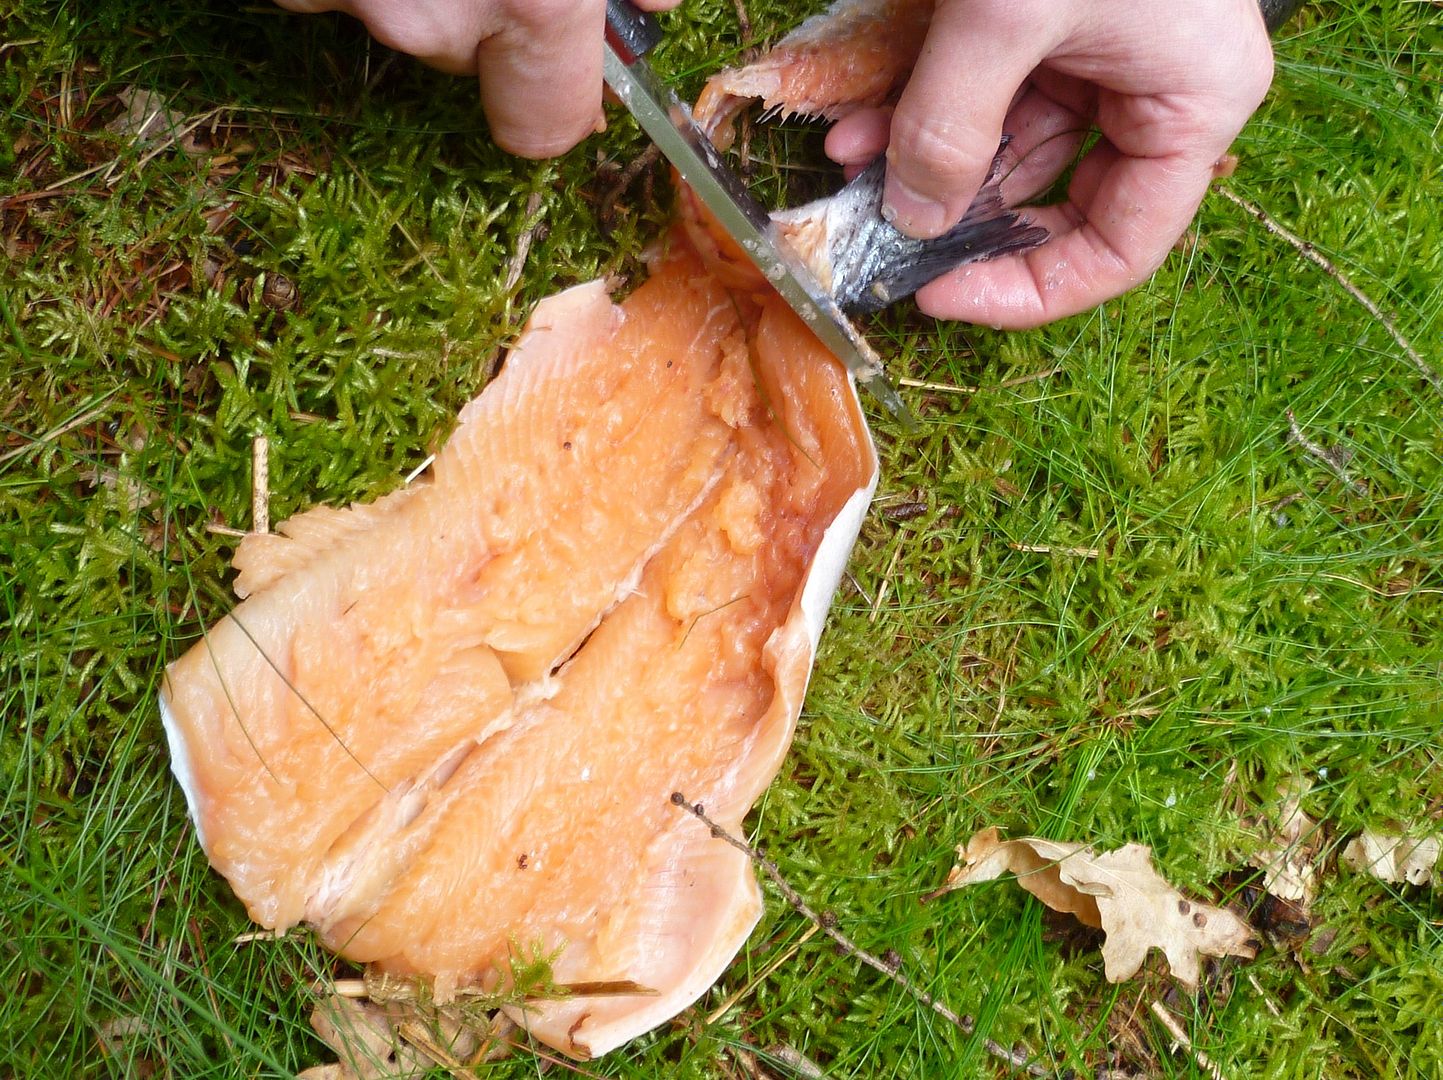
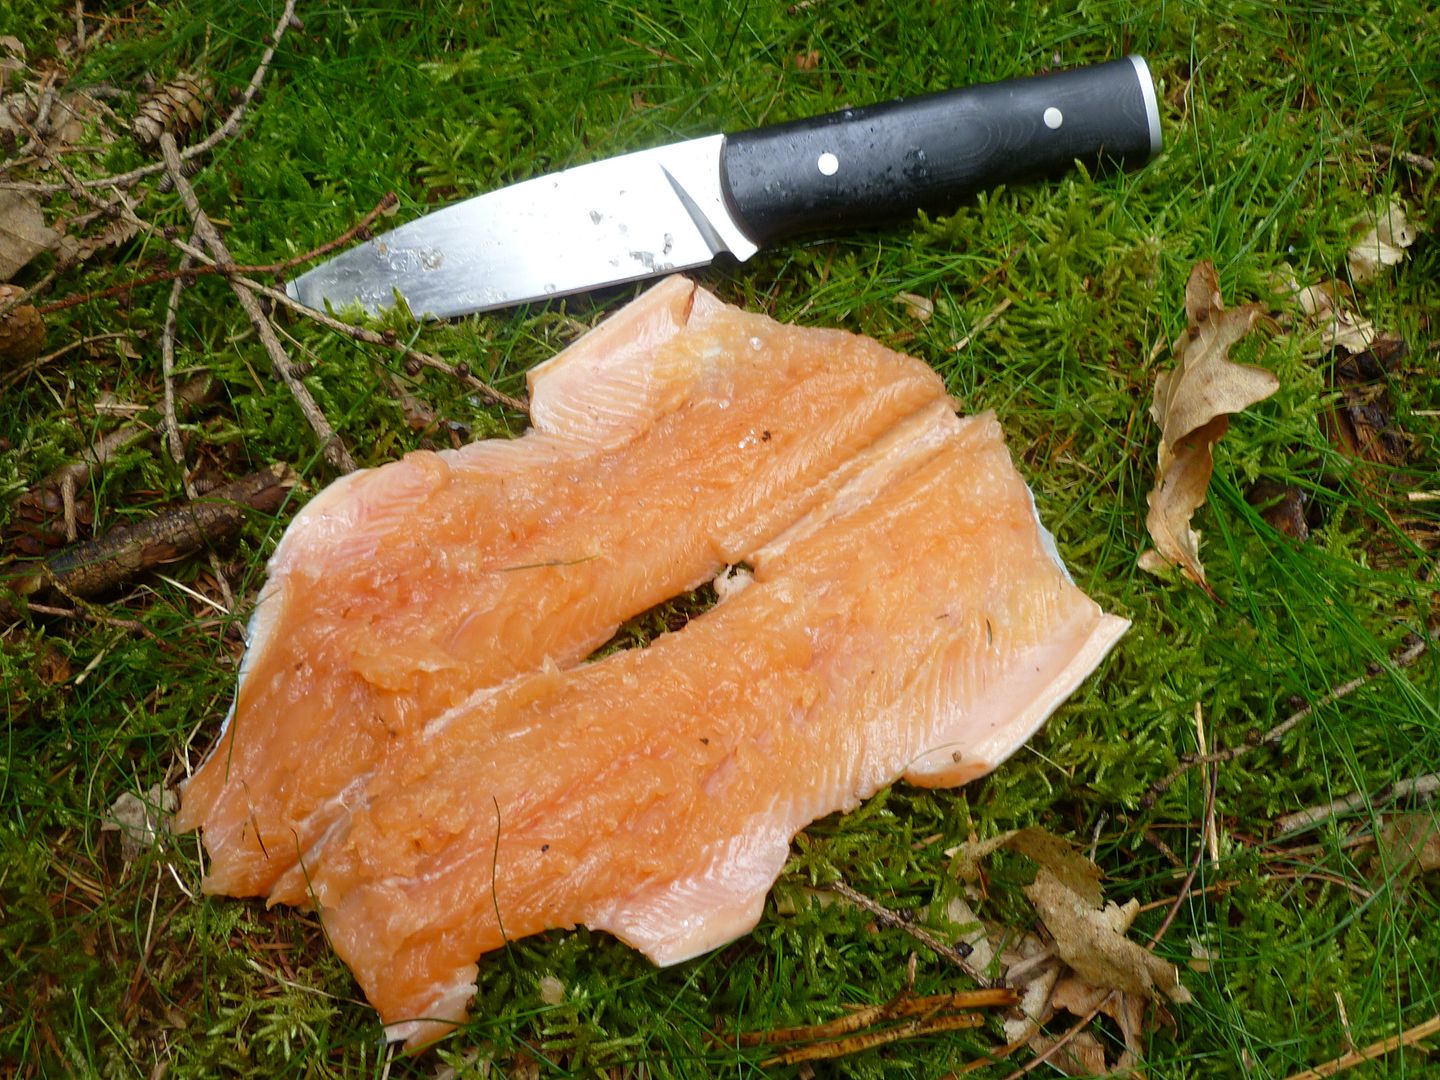
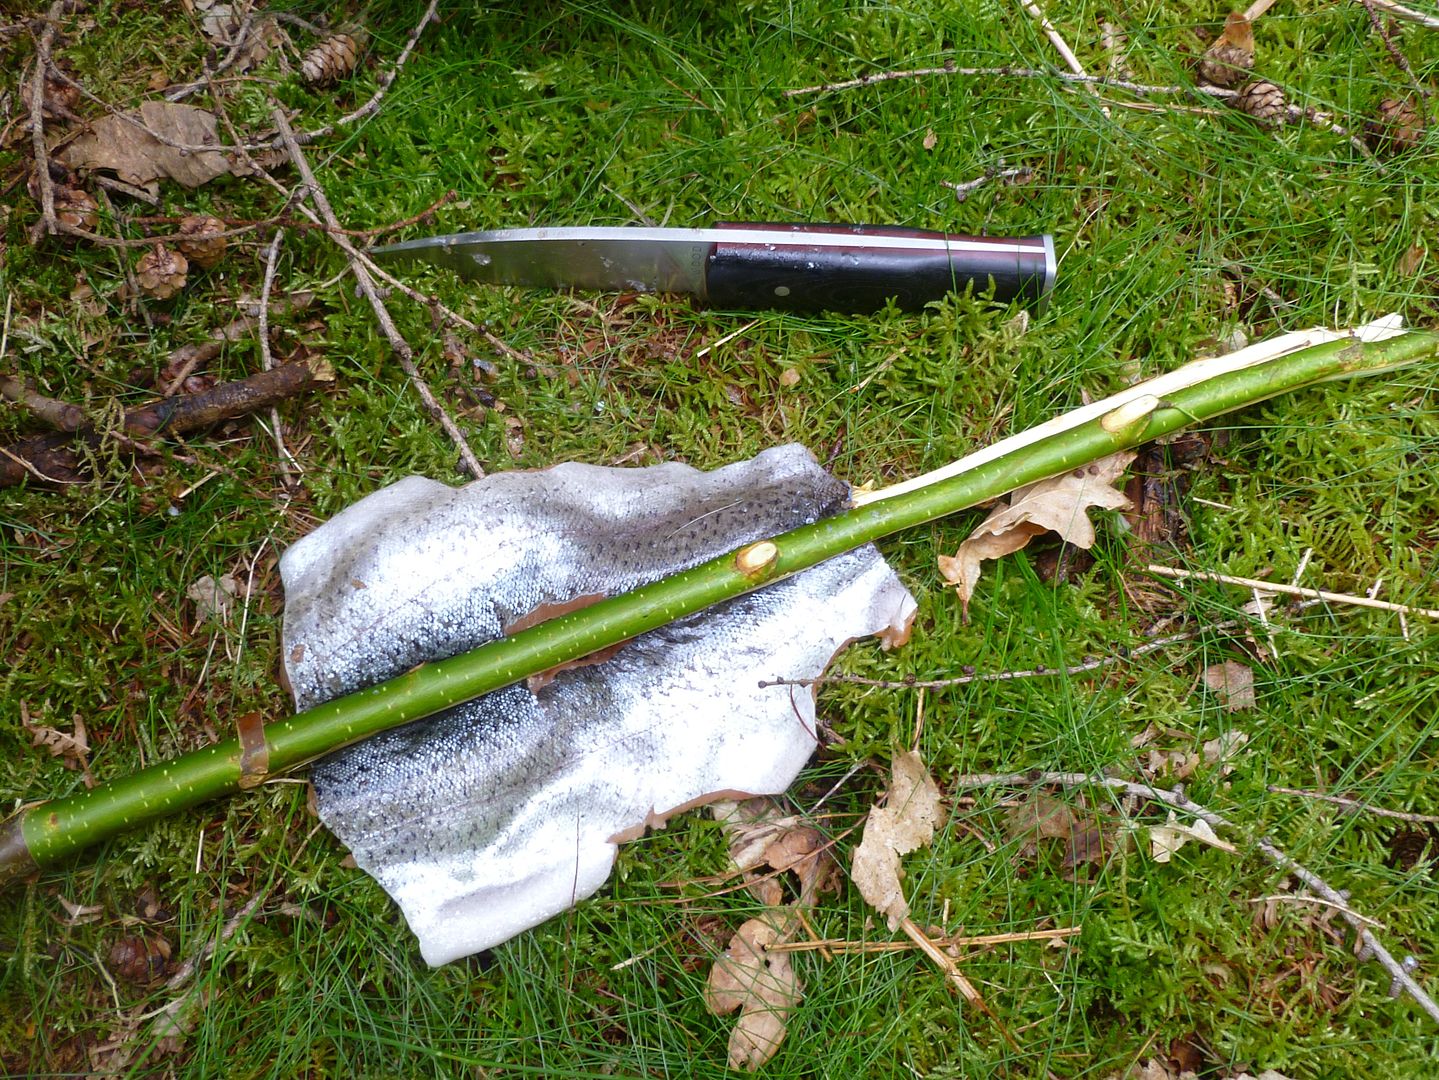
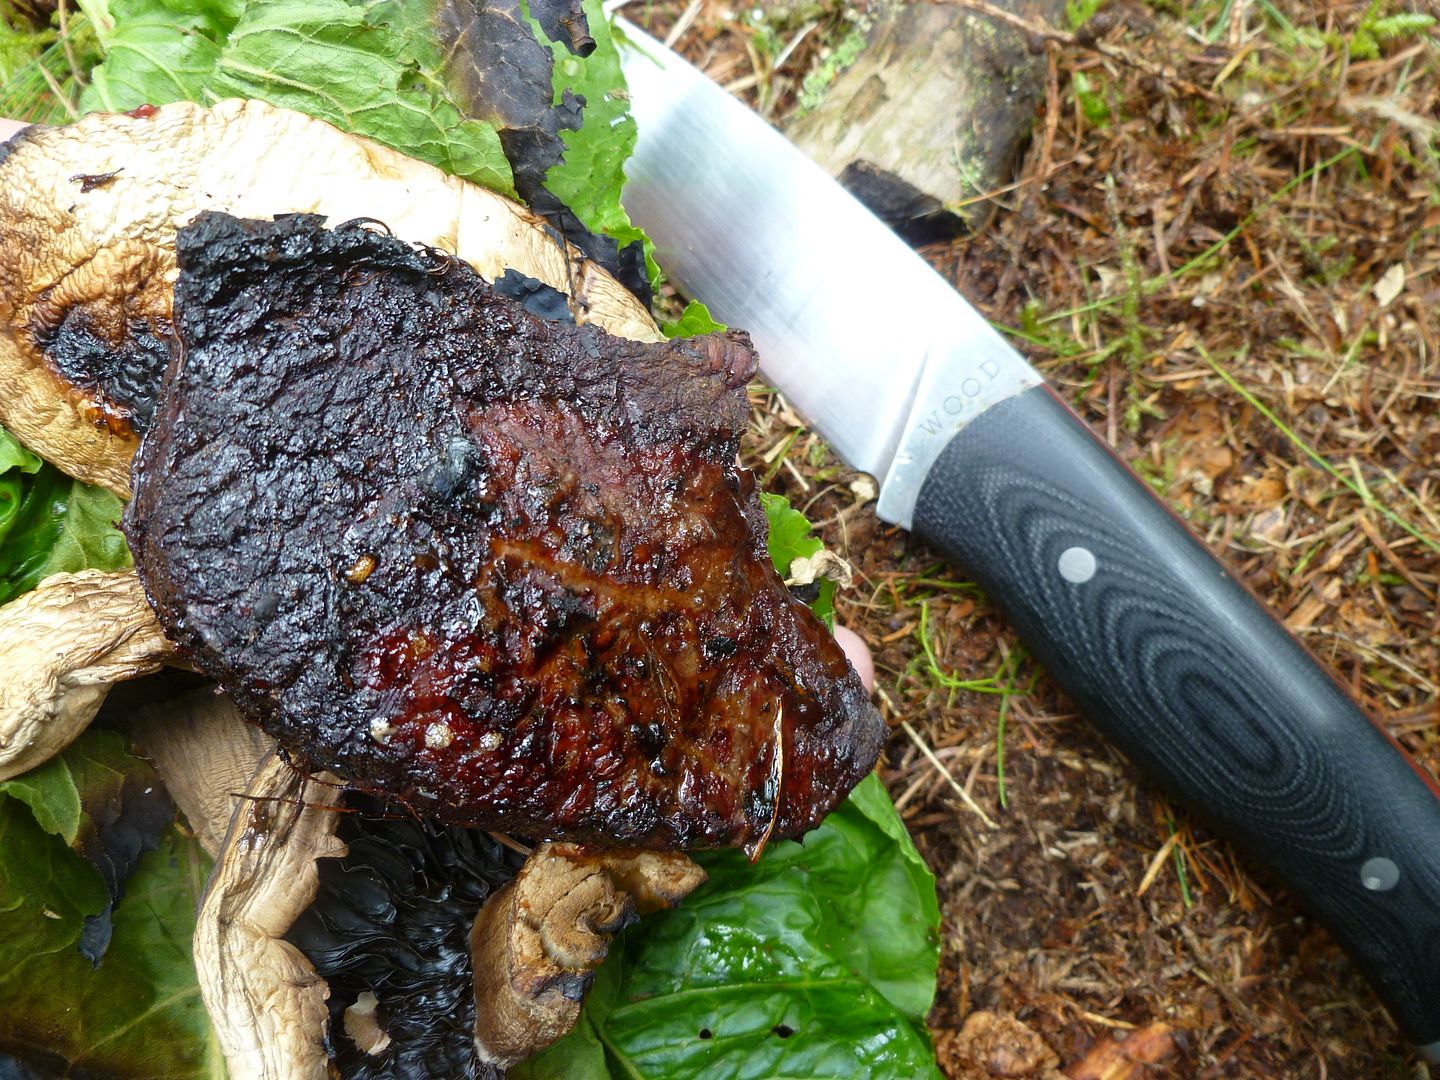
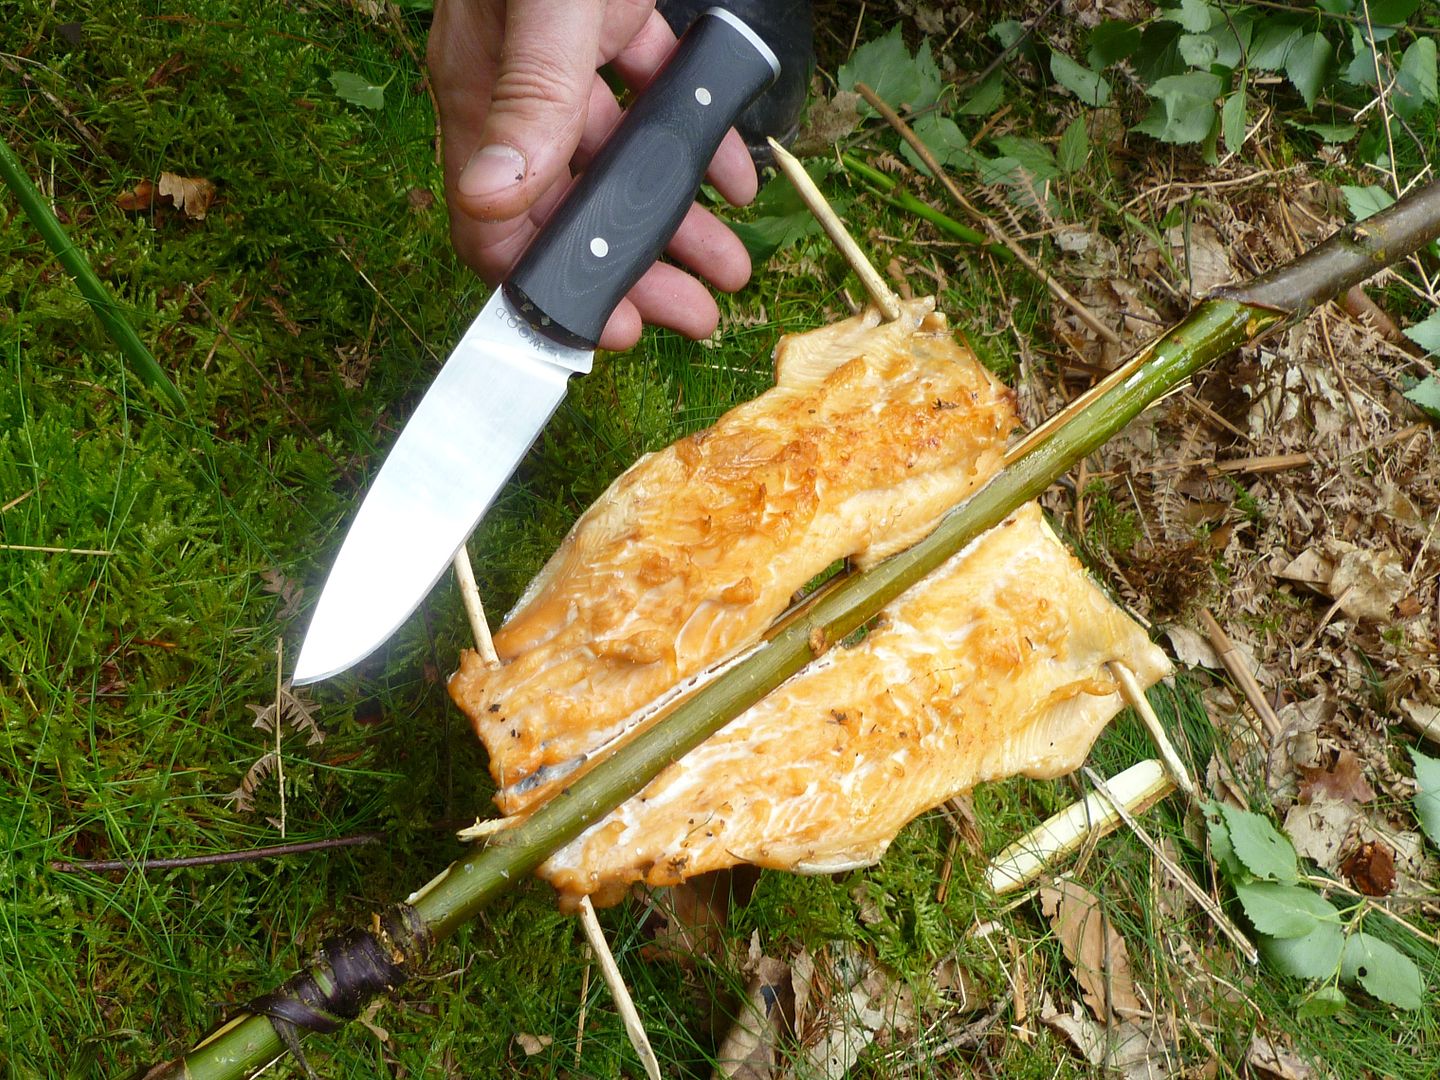
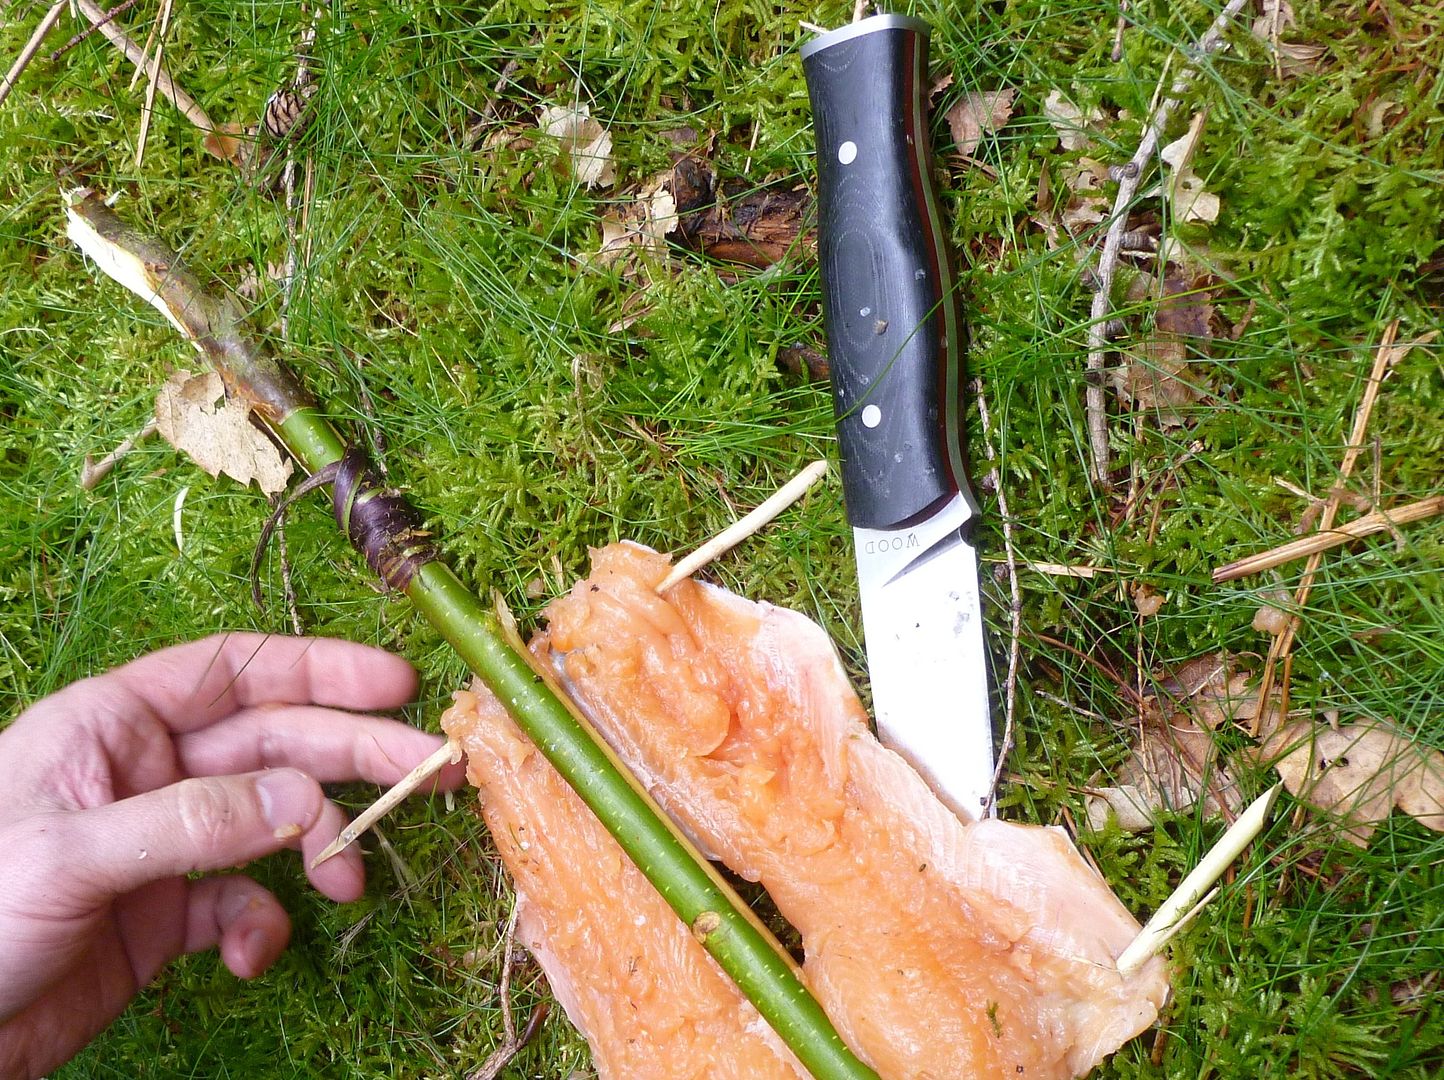
My last test for this segment was more food prep, venison steaks, more softer material in the form of mushrooms. Plus something I find a lot knives have trouble with. Fish skin. It's damned tough stuff. The pics say it all really...


The tough parts of the job like cutting off the fins didn't cause any problem at all. The initial cut didn't need the sawing motion sometimes needed in breaking the skin, and it just sailed through.


Last edited:
  • Like
Reactions: PoppyD

JonathanD

Ophiological Genius
Sep 3, 2004
12,815
1,511
Stourton,UK
Well, this is it. Part Three. The abuse test.

Since the last time, this knife has been away with two very experienced knife users. This first of which - I'll call him the Reverand. Well he went and put a convex edge on it which improved the performance. The second, AndyP, took it to the coast to gut fish with it in a saltwater environment. I know the 440C improved better than we thought with no rusting, but hopefully Andy will pop in and share his thoughts on the performance etc.

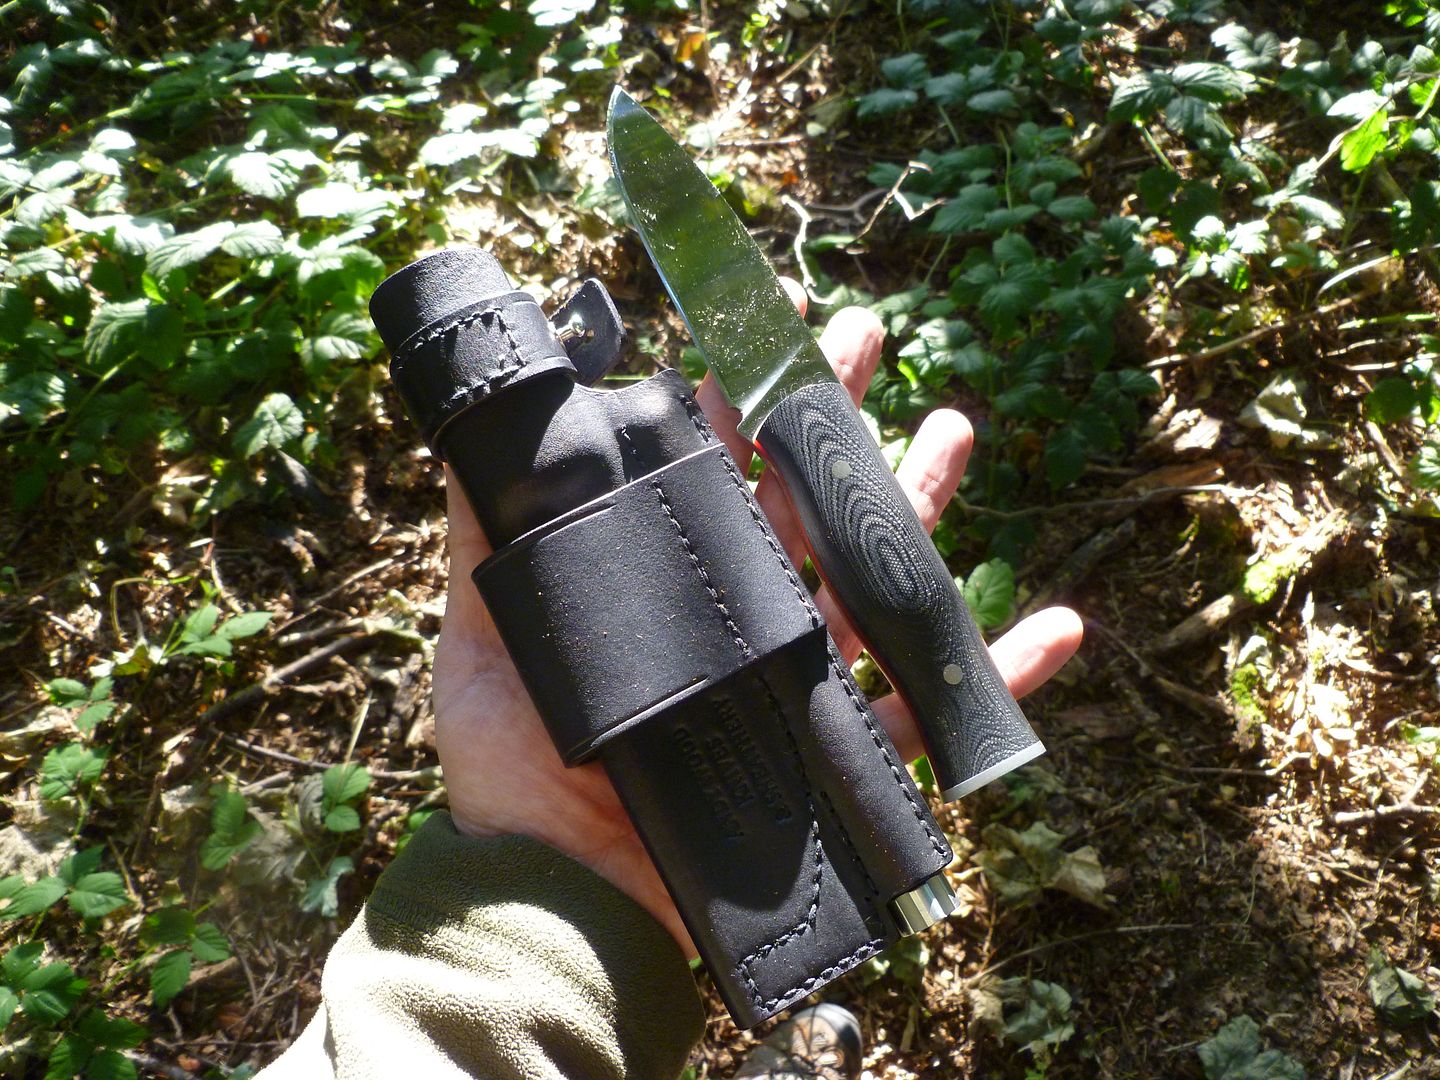
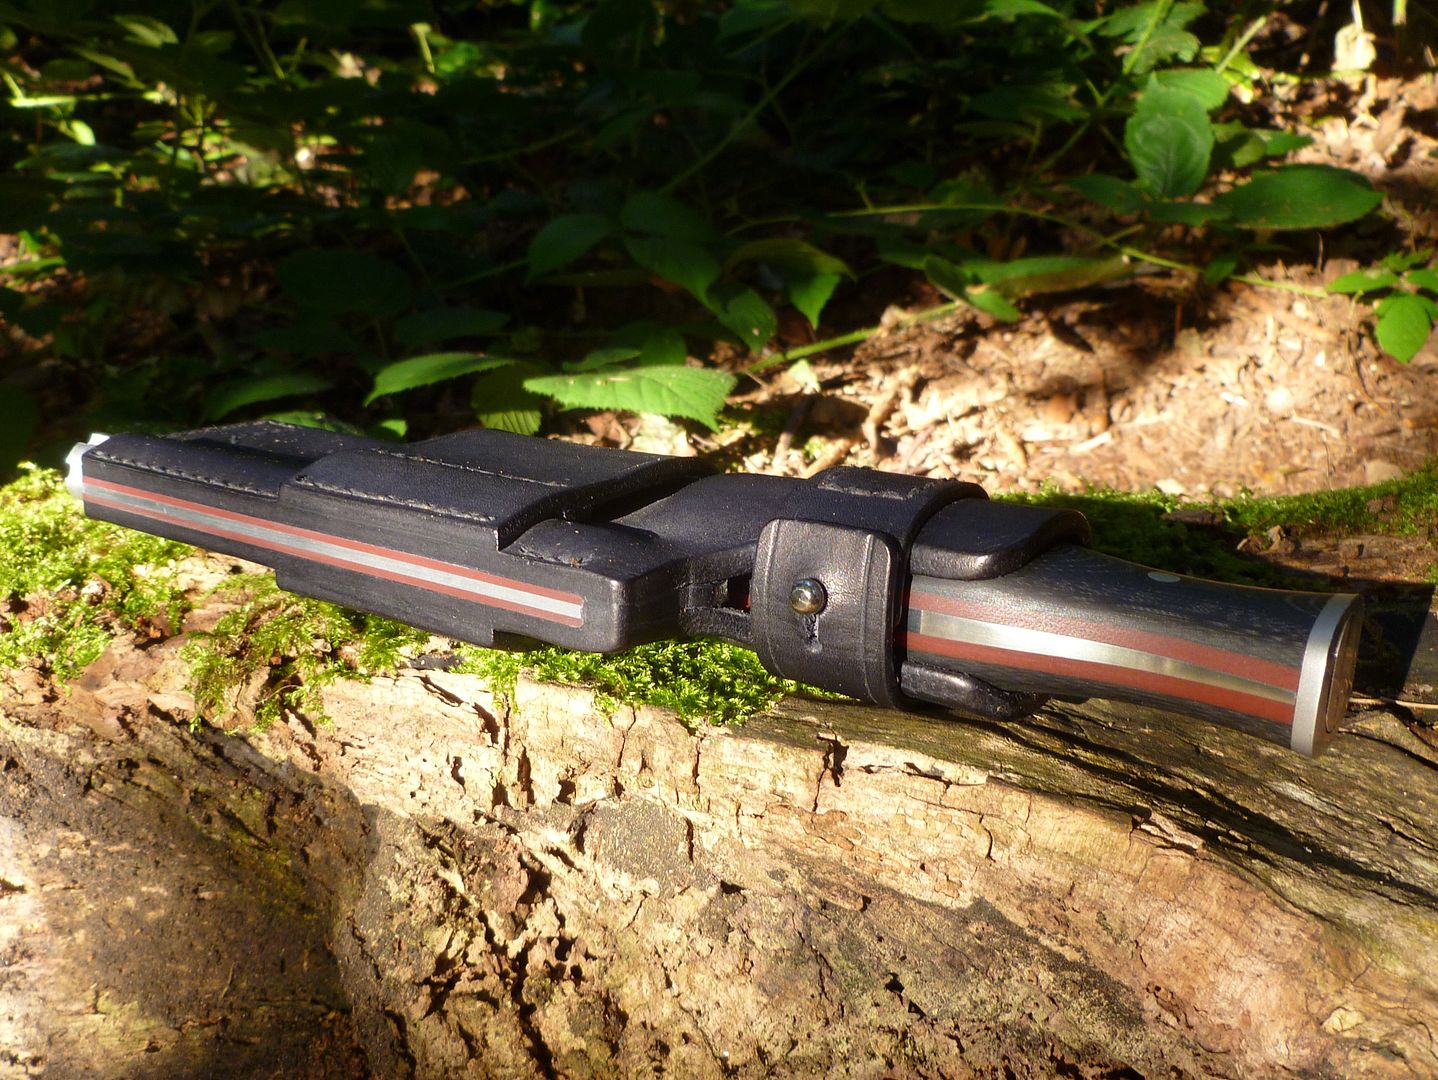
I've lived with this knife for about six months now, and had been waiting on Andy Wood's final sheath design. What he sent me was surprising. As someone said to me last week 'most people don't put this much thought into the knife design, let alone the sheath'.

So here it is...


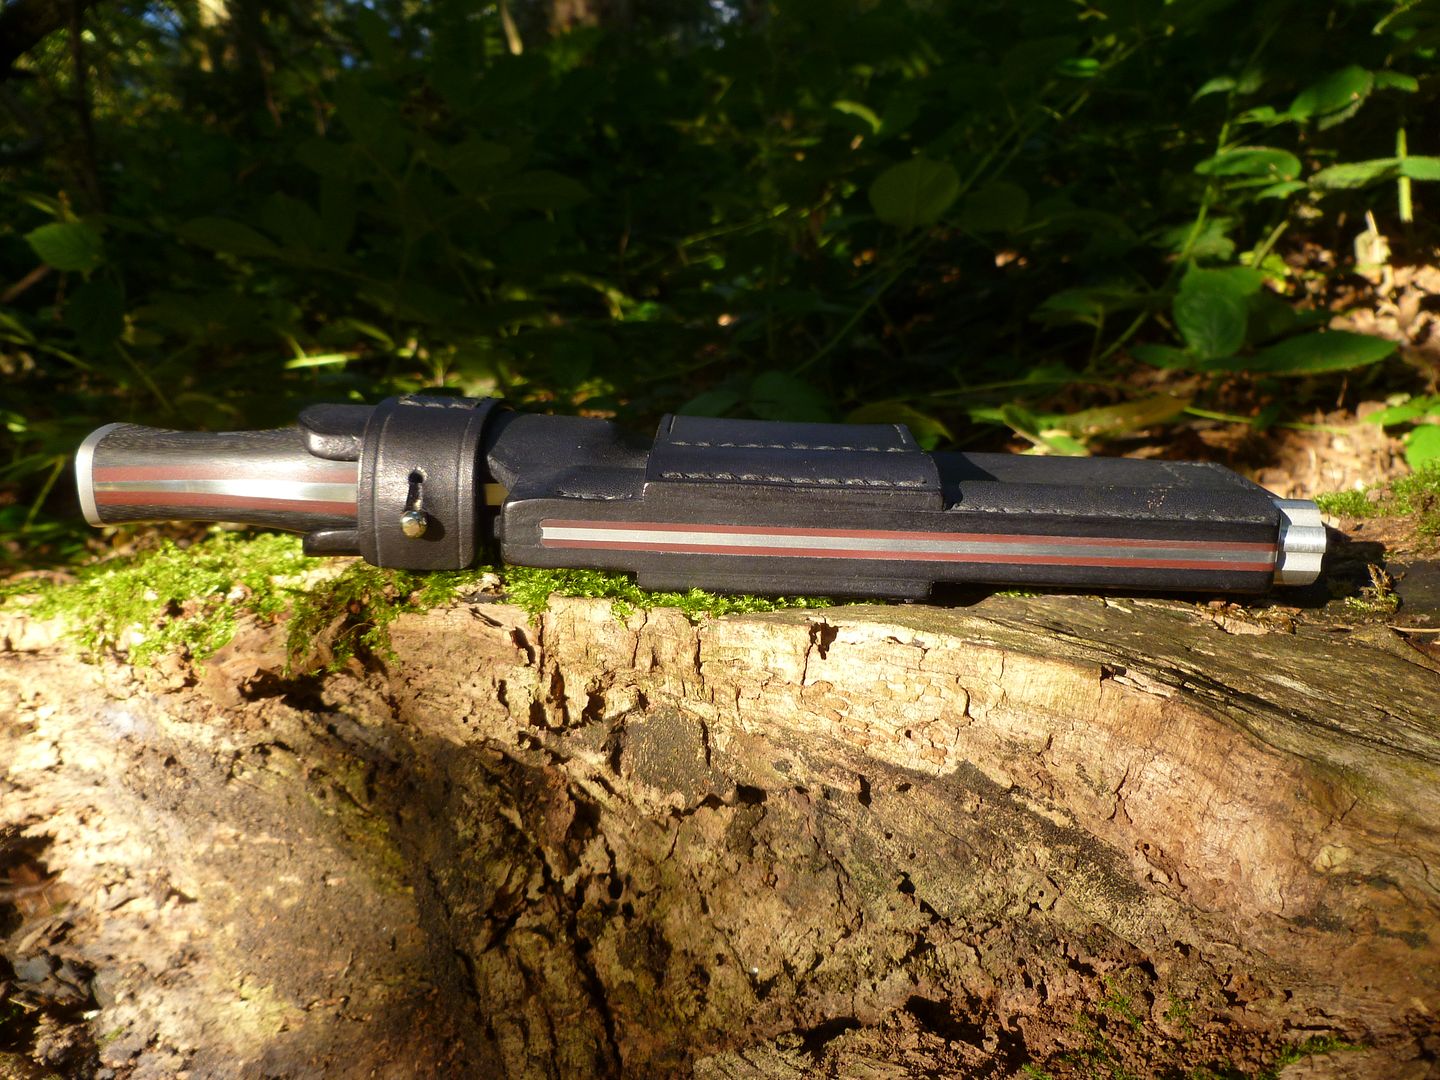
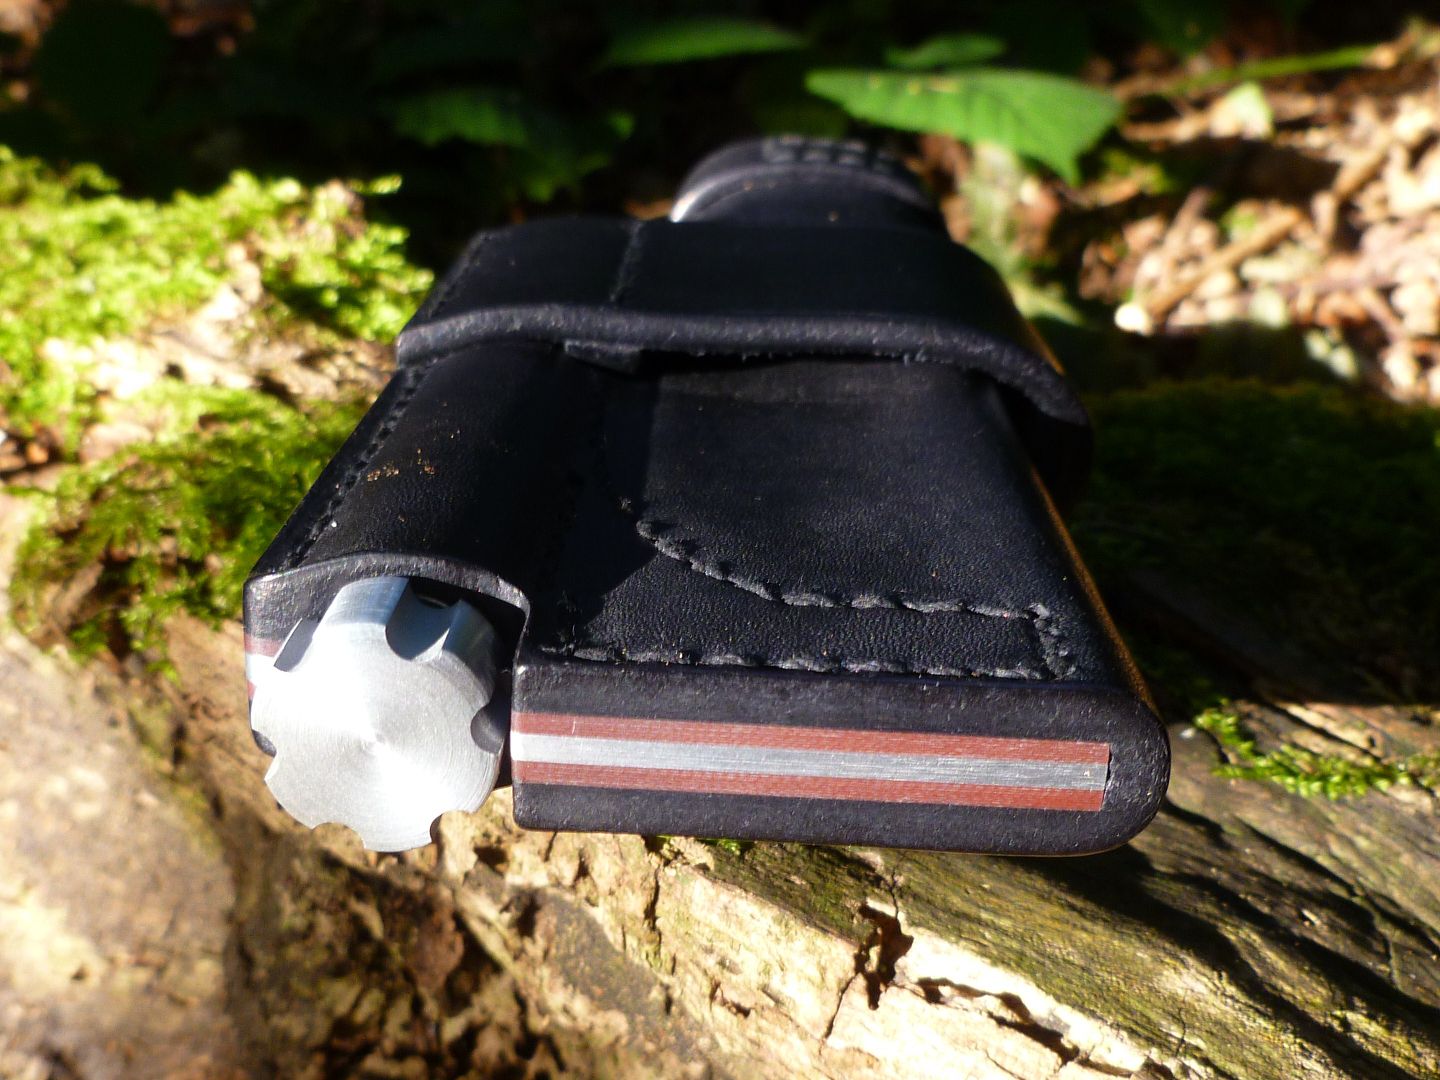
It's nuts. Made from top grain leather with the same custom made internal chamber you get on the knife and integral aluminium strengthening liner which is sandwiched between two sheets of G10 to match the knife scales.


As I said, the hollow compartment is pretty much the same as the one found on the knife and all parts are interchangeable. You can have a second ferro rod or sharpening rod in there. Andy said there will be more options in future. The sheath comes with two caps as standard - one aluminium version fitted and one steel version included as spare. And as I mentioned it has the added bonus that they fit the knife too. Which puts pay to any fears of failure in the flipper design, which some people mentioned as it can be swapped out with this. Andy includes two so you can swap and change to your preferred system.


I like the original flipper design, but I really really like this one. Solid, bulletproof, no moving parts and it looks good too. I think I'll be purchasing the sharpening rod to fit in the knife, whilst carrying the ferro on the sheath. Which also like the knife, is sealed against water ingress. Surprisingly, the sheath was very light and not much different from a robust leather one in weight. The aluminium cap obviously helps here.

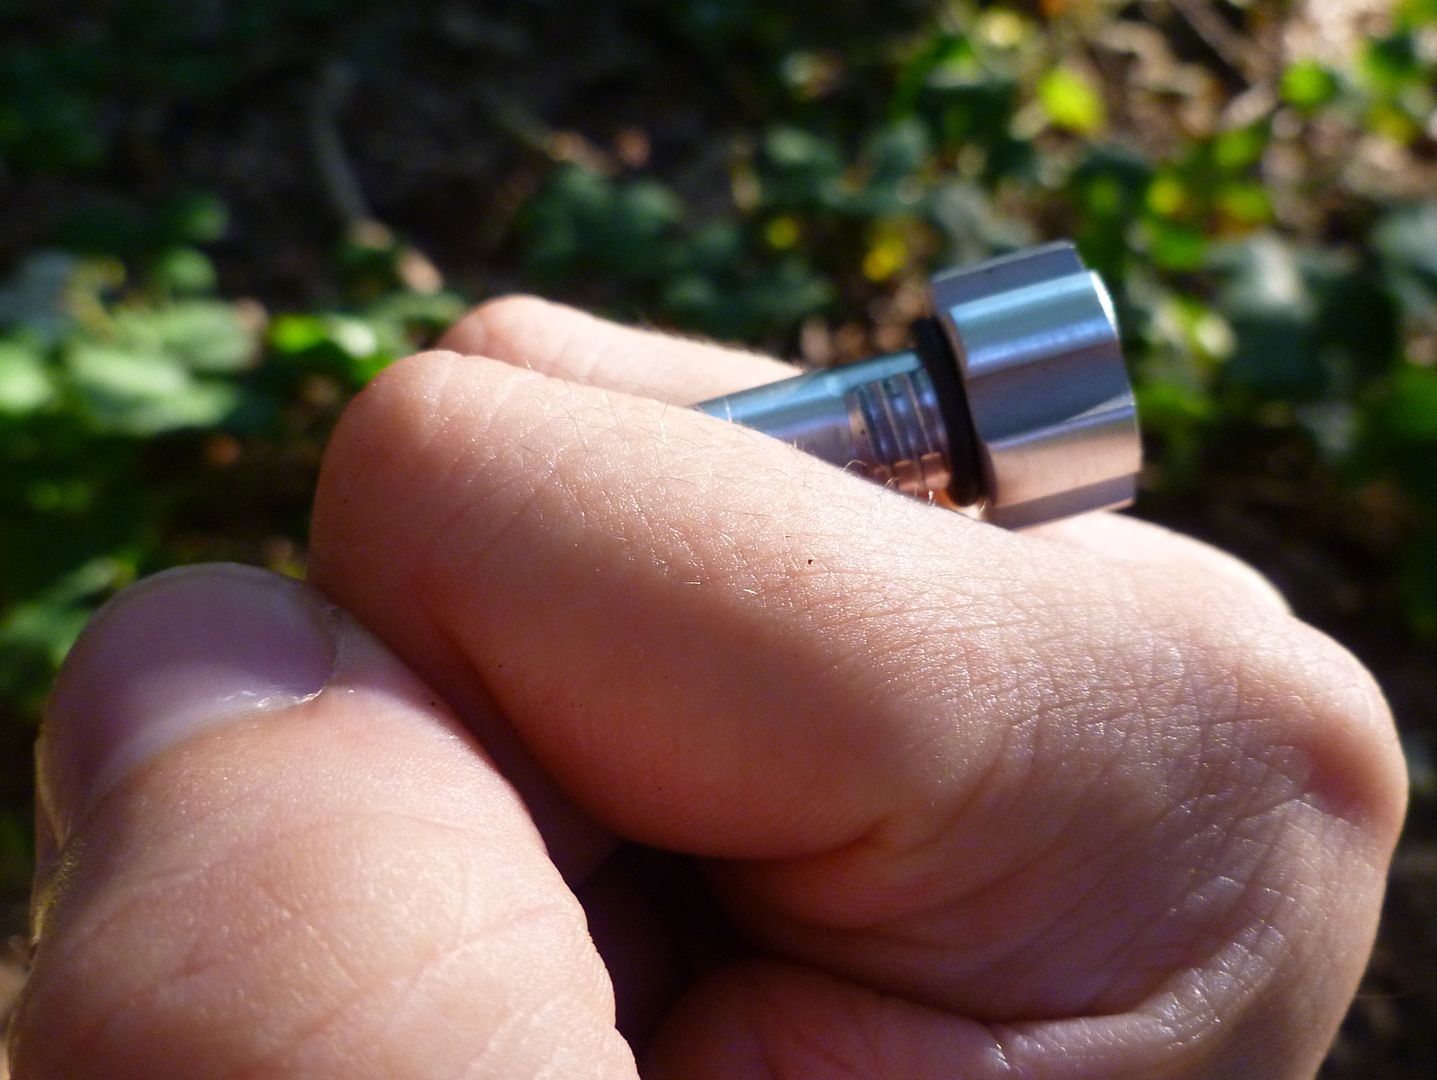
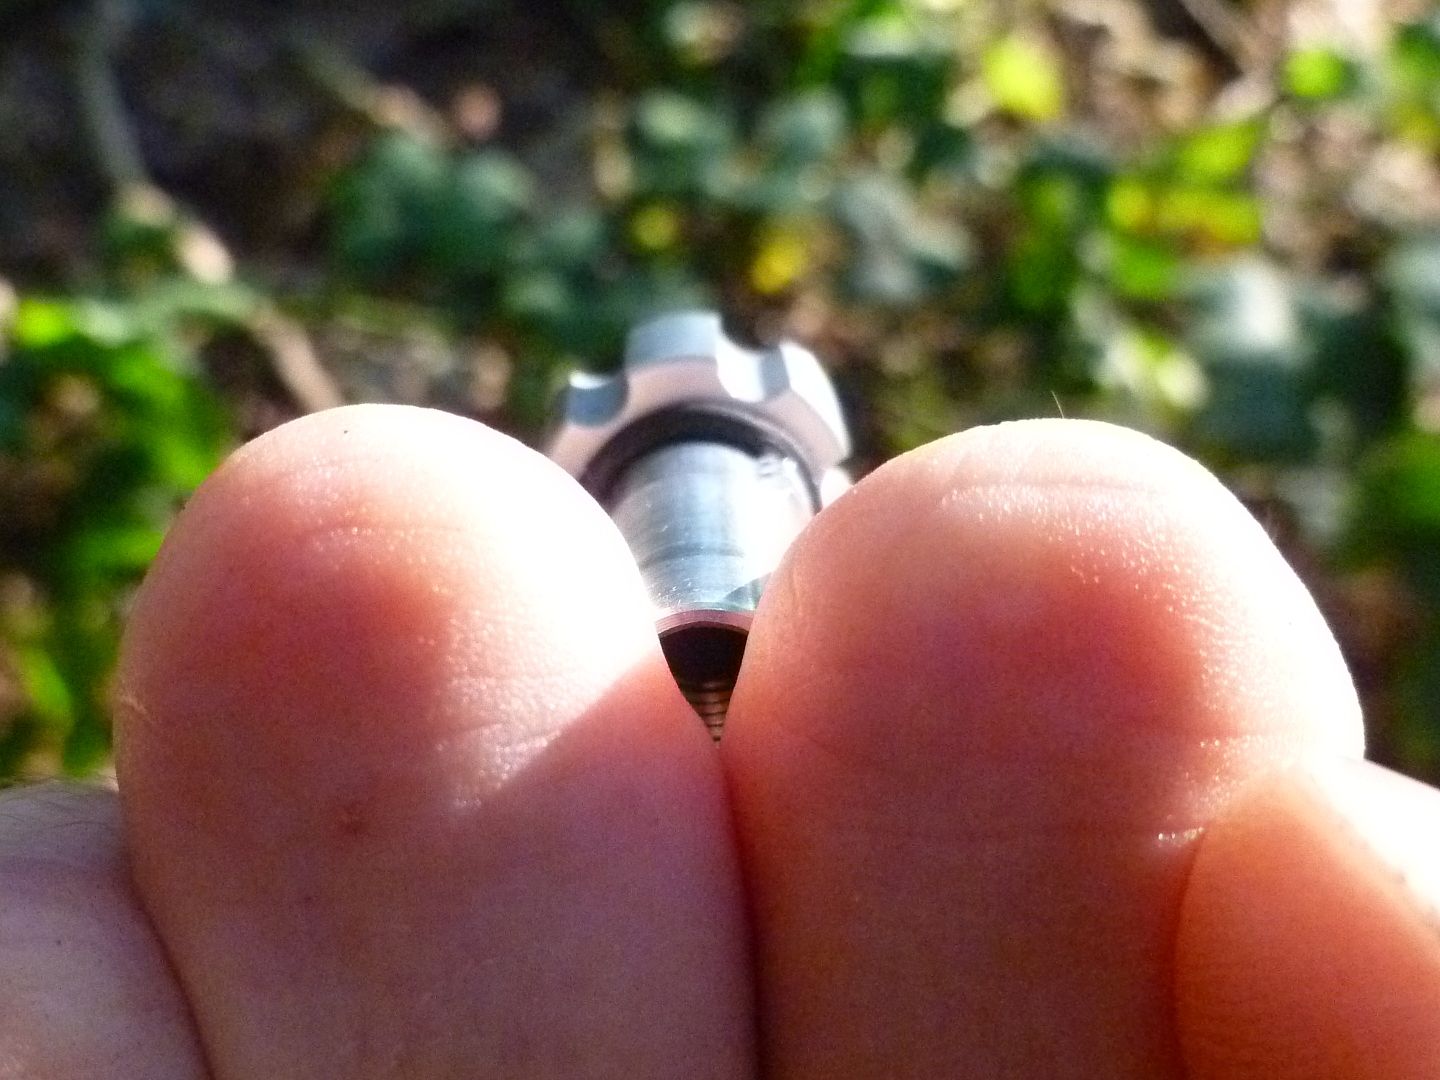
Another cool thing about the caps. You can use them as an emergency whistle. And it is very loud when you get it right. I'm talking Fox whistle loud. Very piercing and annoying when you do it indoors. Here's how you do it.


And then you just blow hard. We used to use dust caps off car tyres when we were kids, but because of the internal dimensions on Andys design - the tube being narrower and longer, it produces a much better and louder sound than the dust cap.

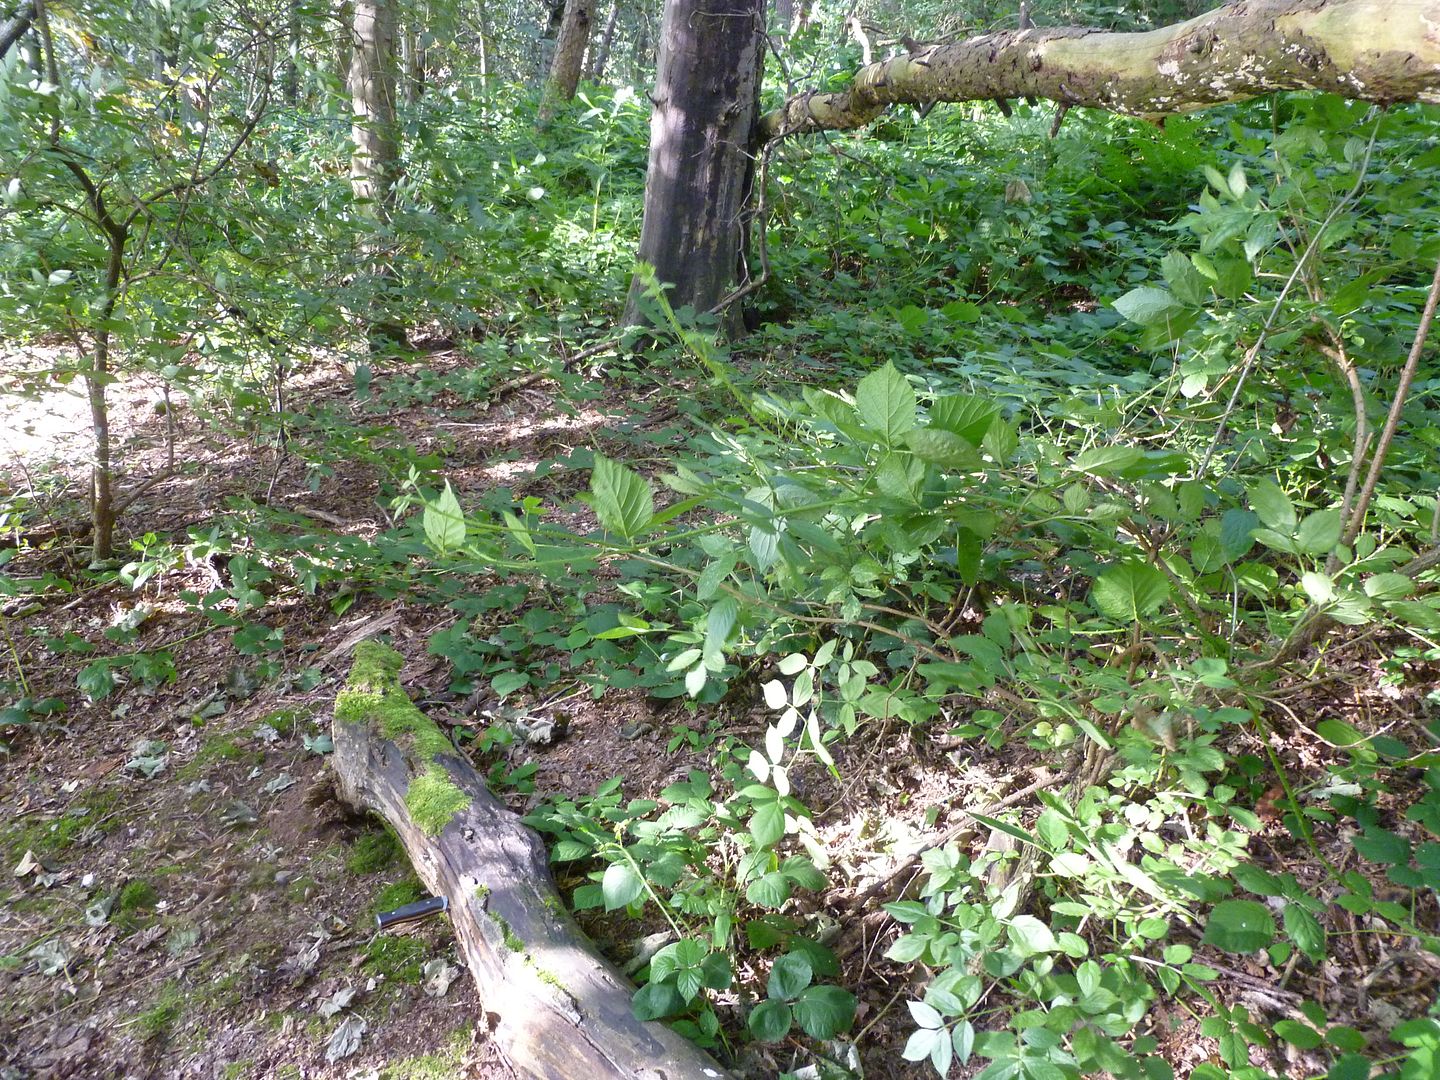
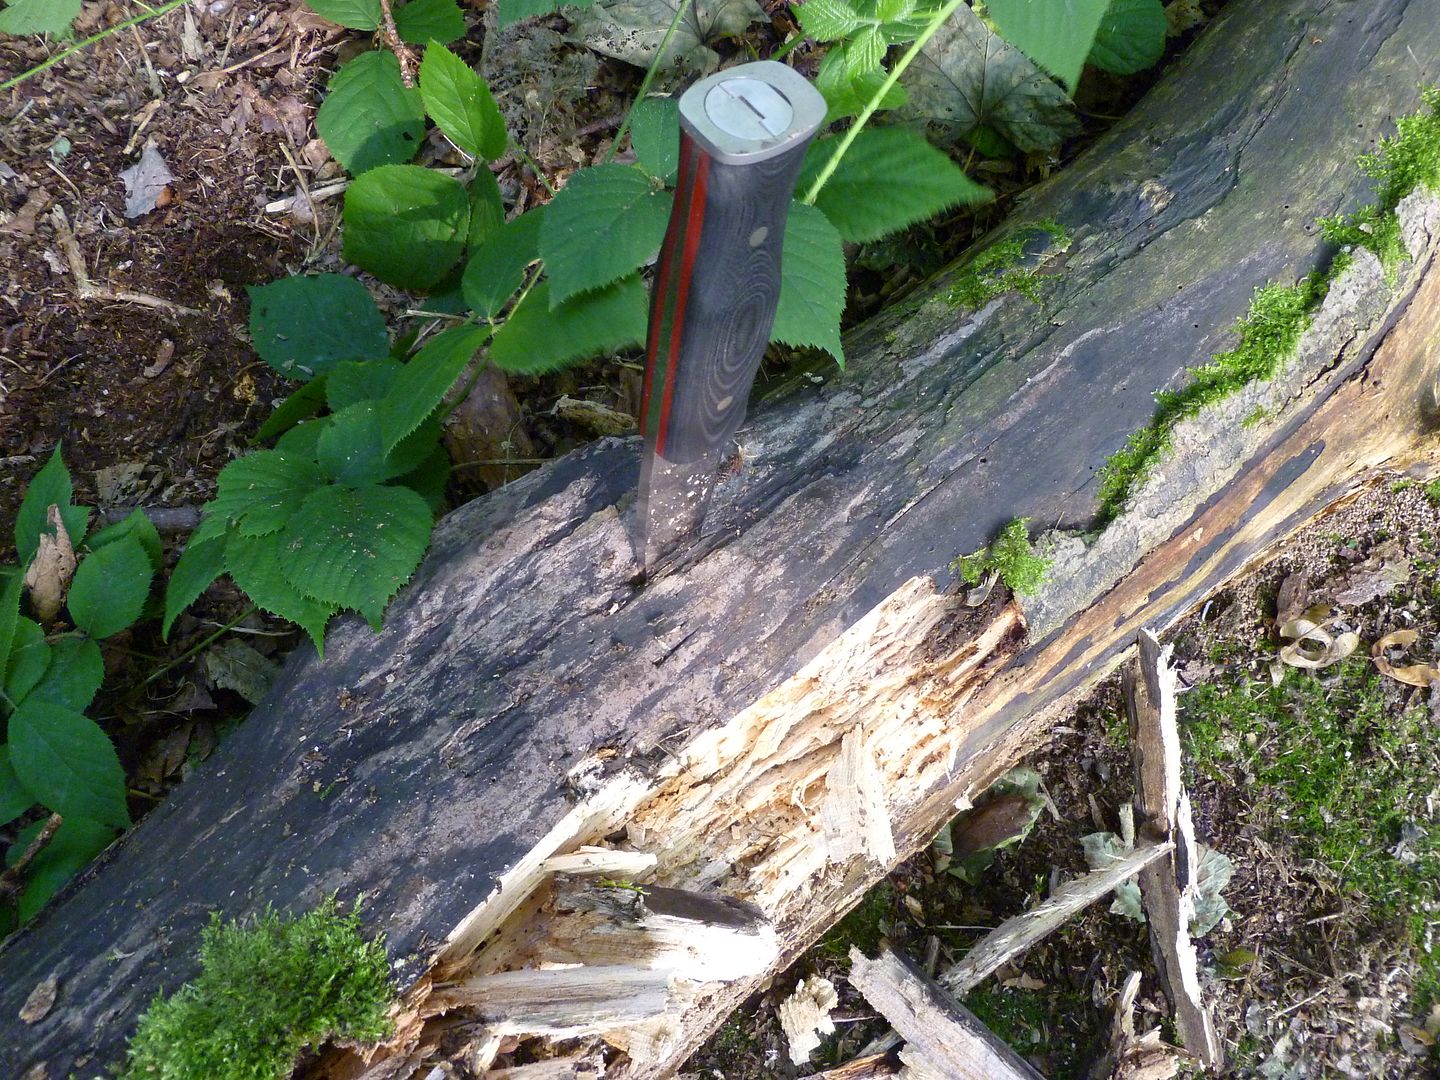
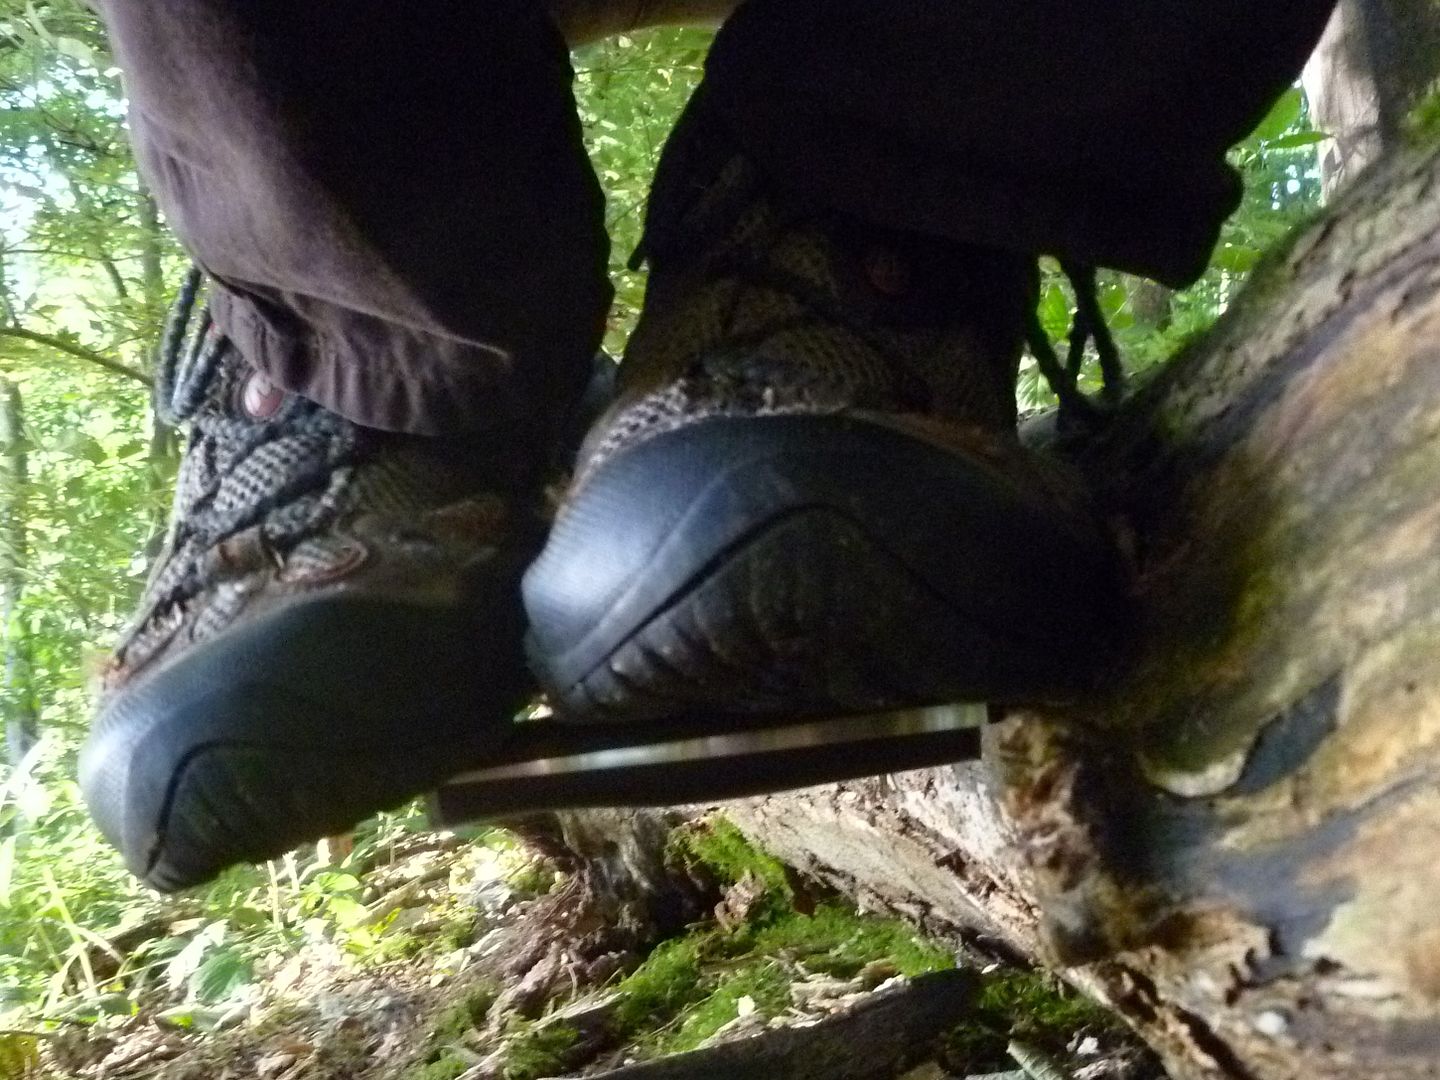
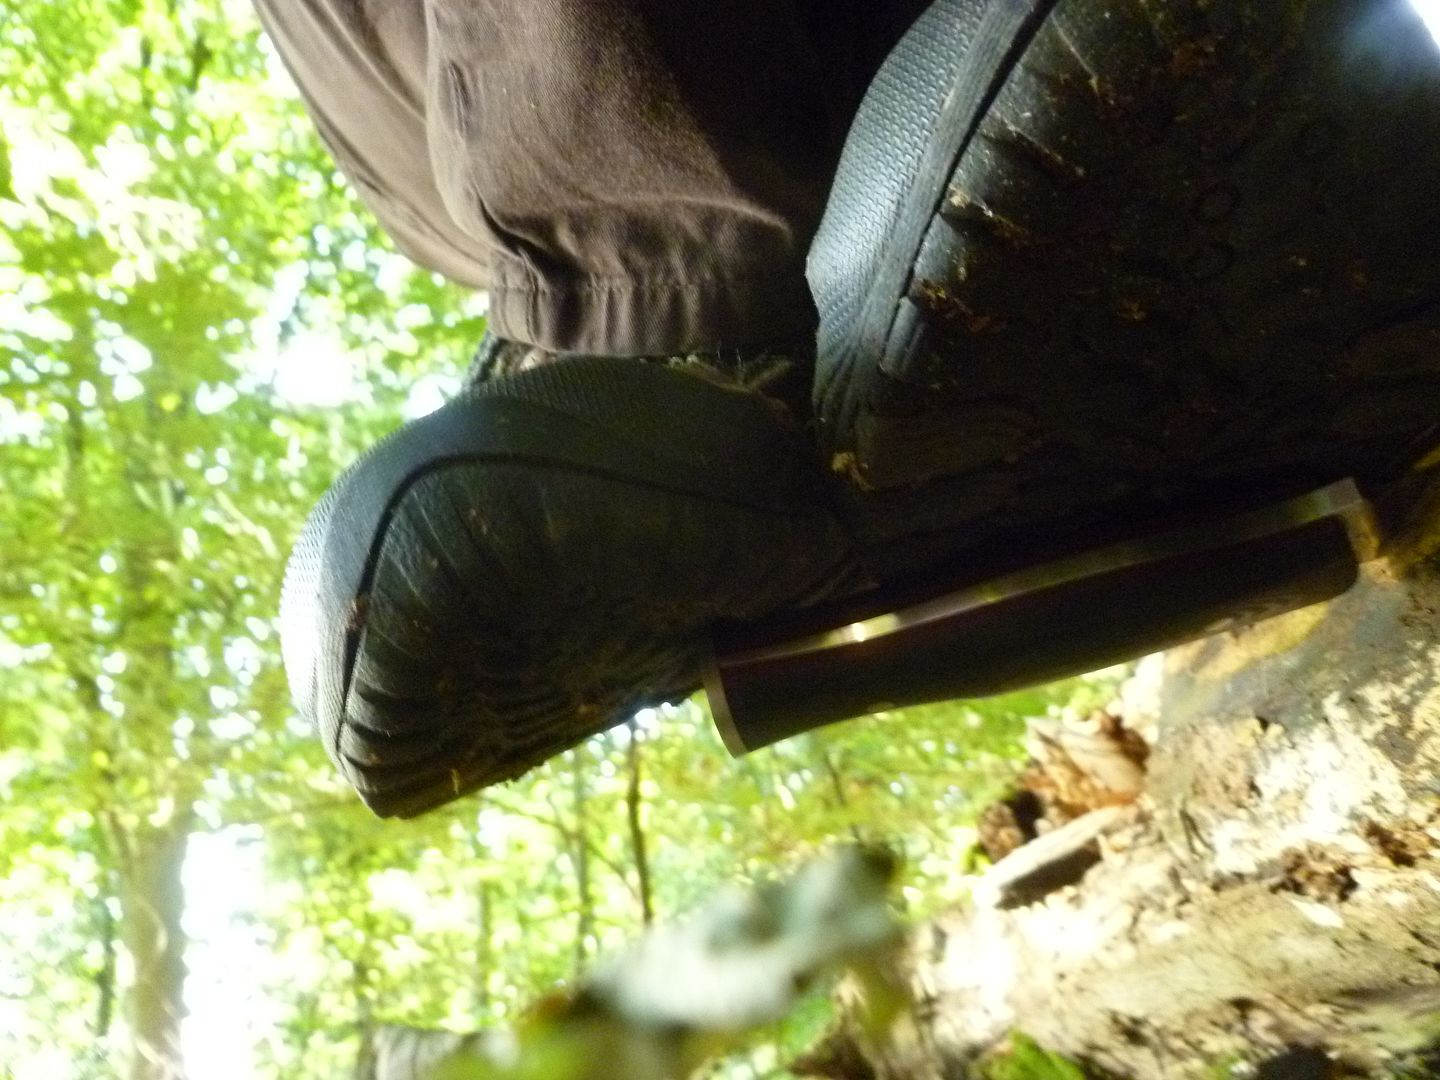
The next test was the last I planned as it stands a good chance of ruining the blade, tang and handle, as well as potentially leading to a complete break and personal injury. Choosing a suitable tree and area was difficult too. Yesterday, i found a fallen pine tree that was old but not gone to punk wood yet. Seasoned, but yet soft enough to drive the knife in. Large enough to not move when loads of pressure was applied.


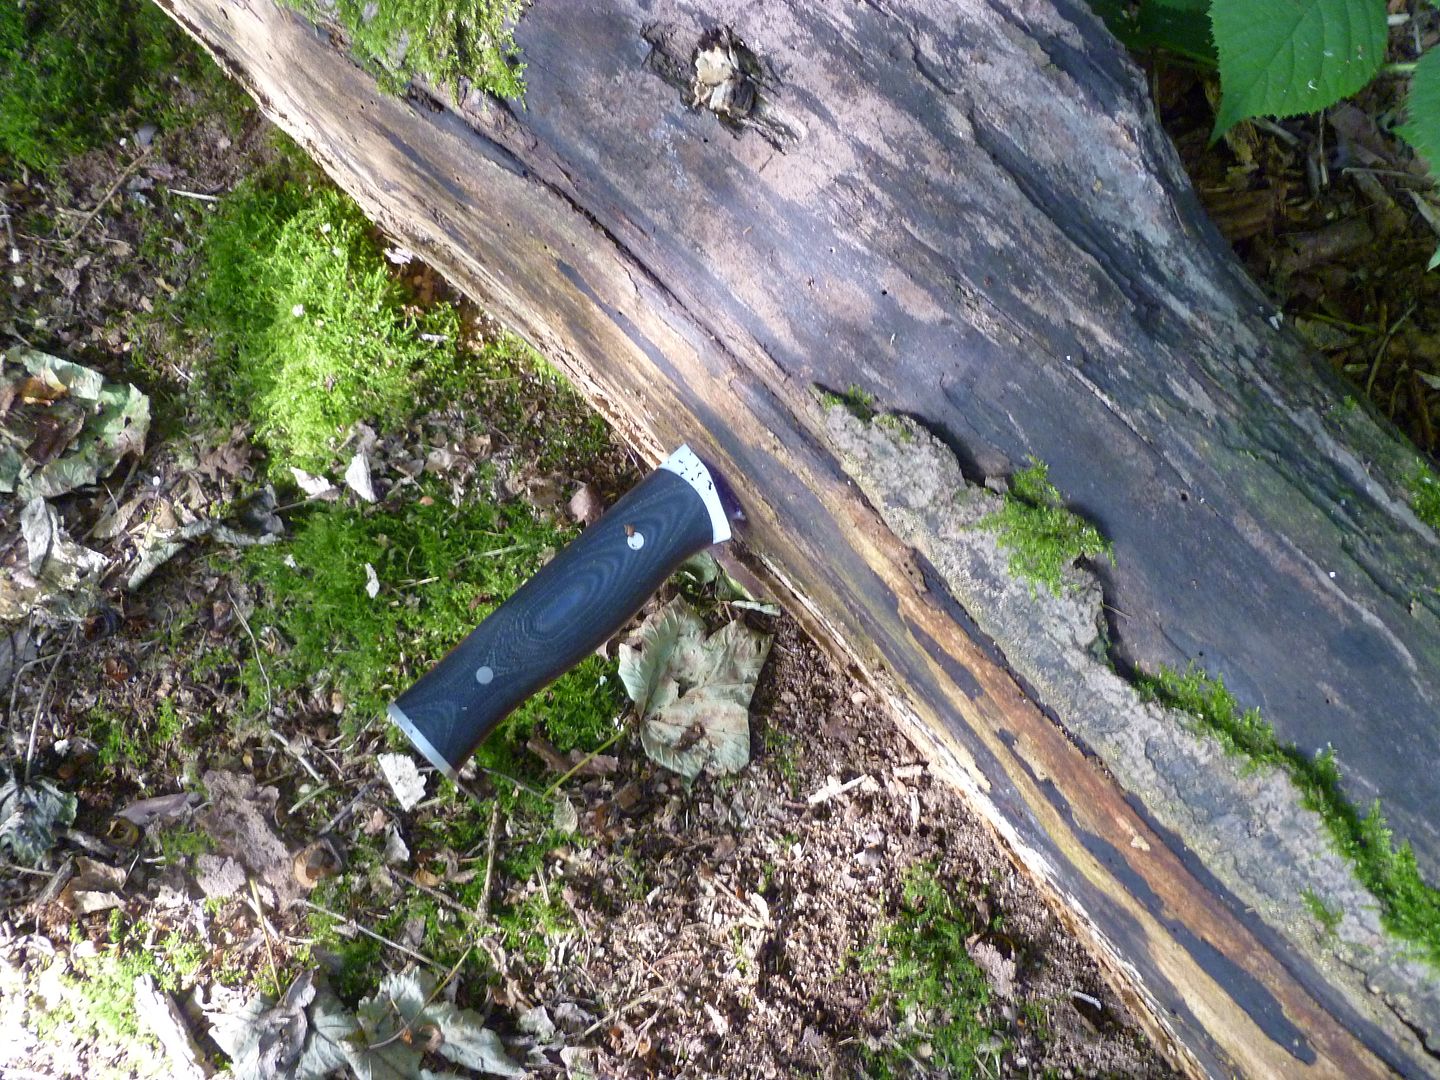
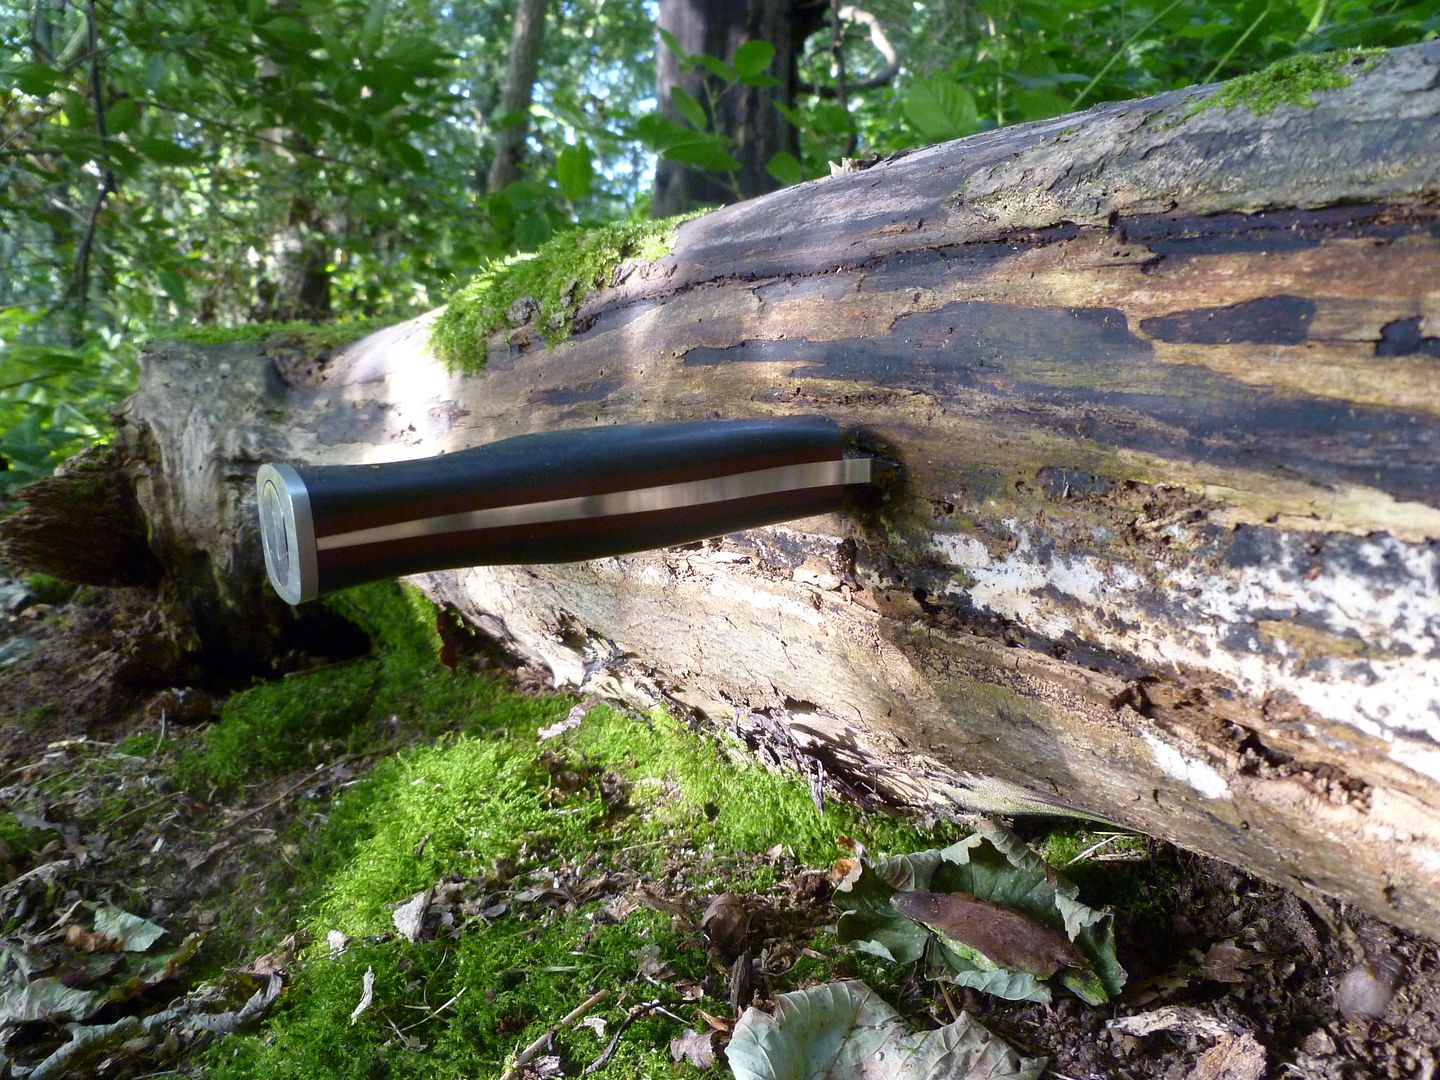
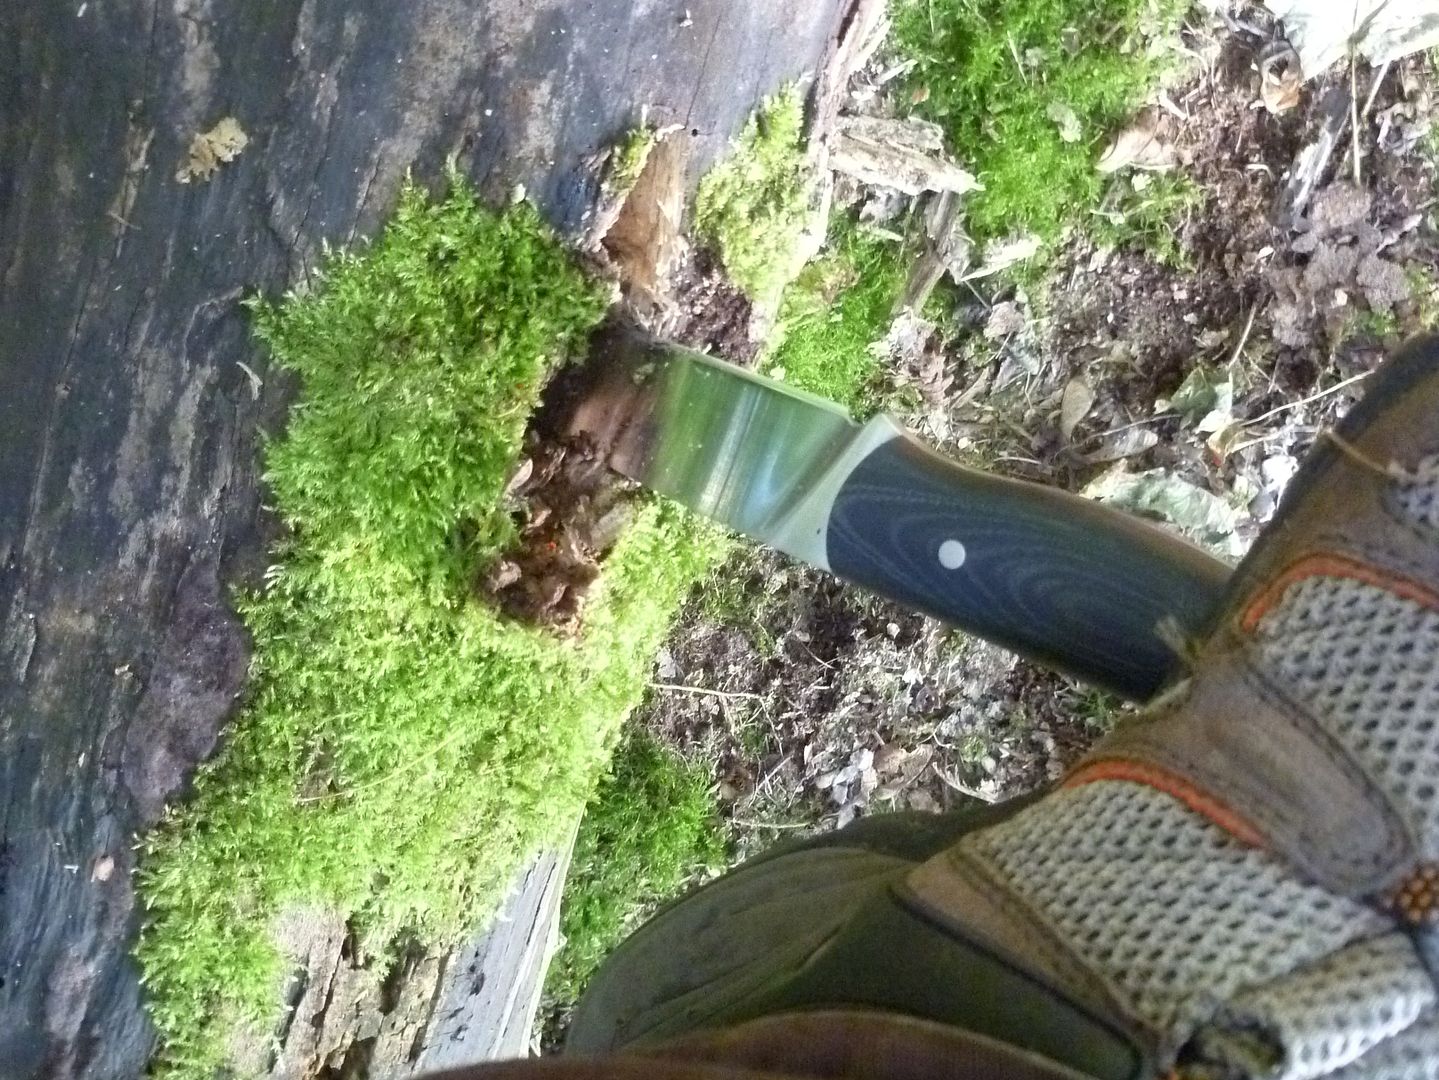
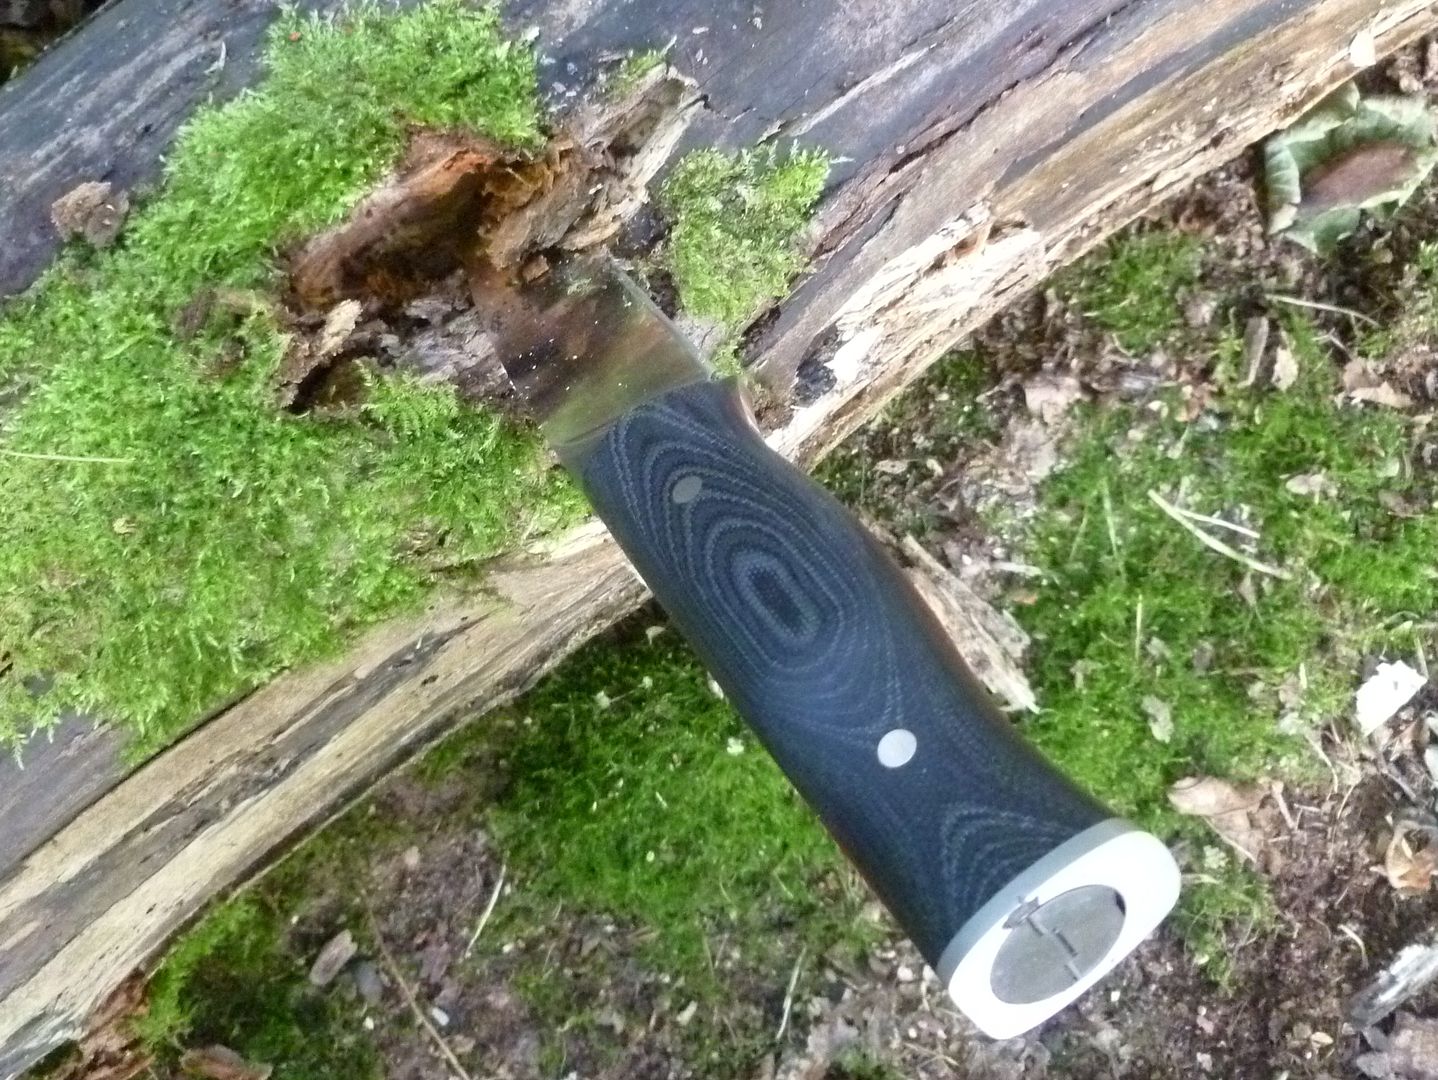
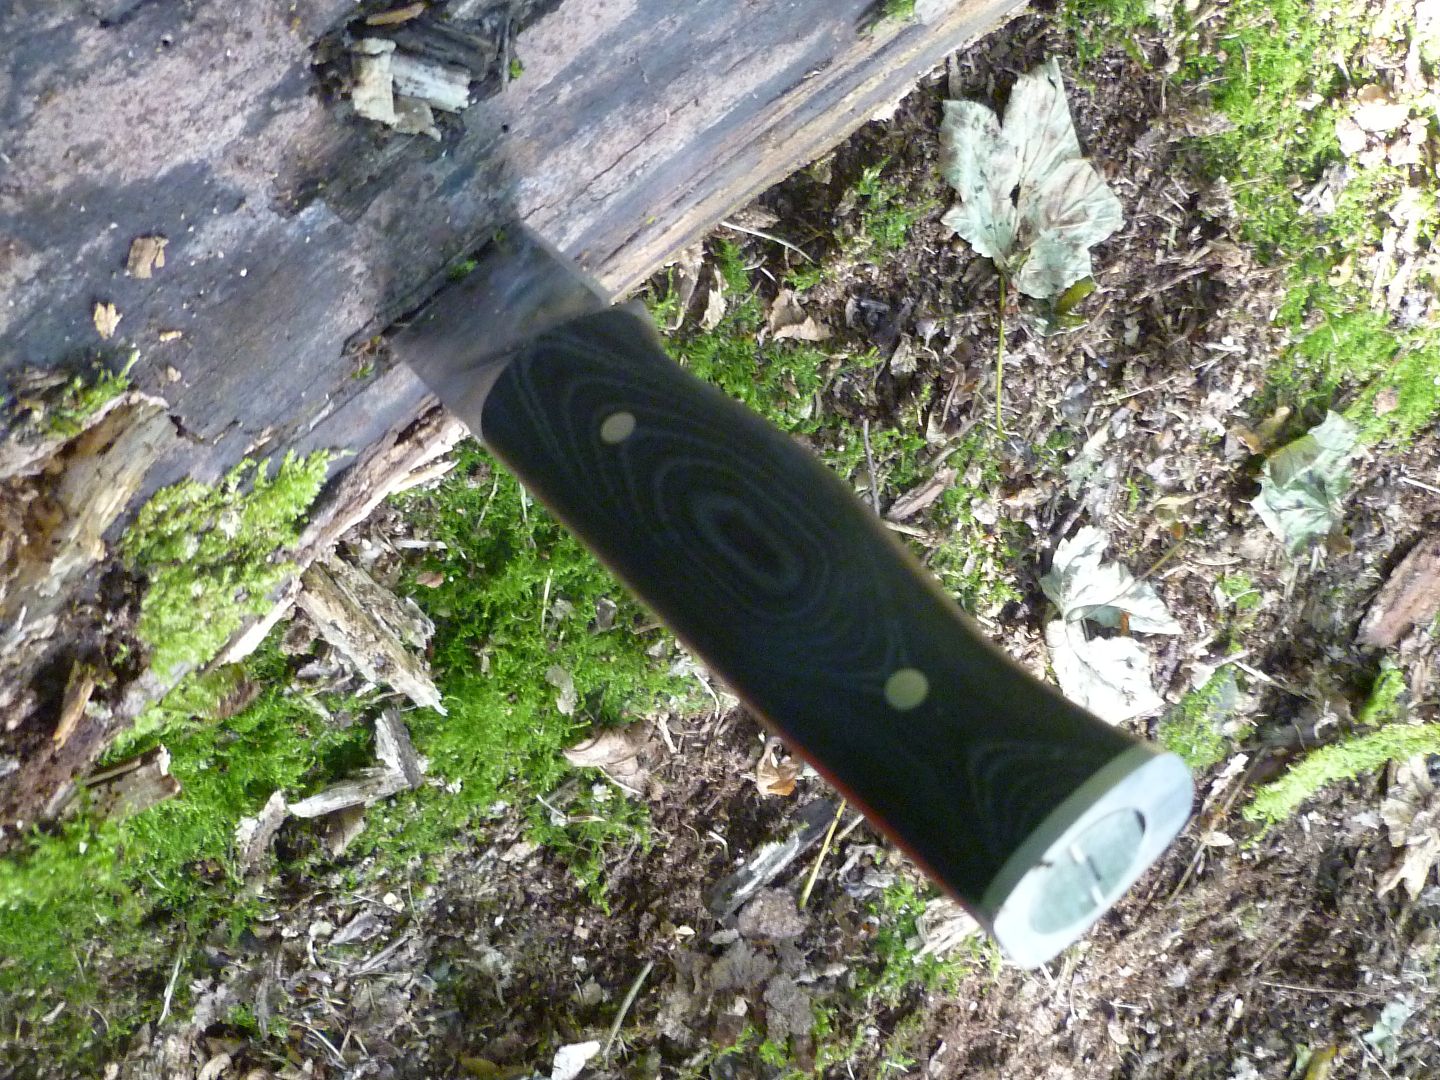
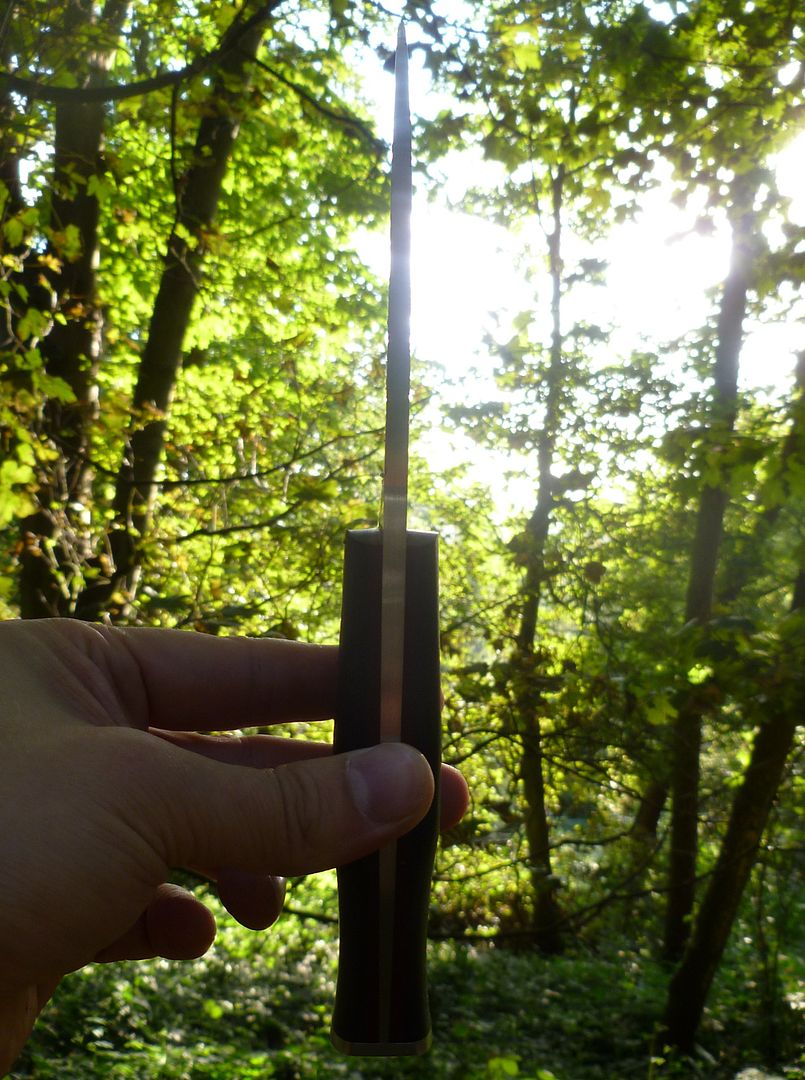
I thought this was perfect as it had a fallen tree running parallel which I could grab if I lost my balance, or use to force the knife sideways using pressure. So I banged it in all the way to the slabs...


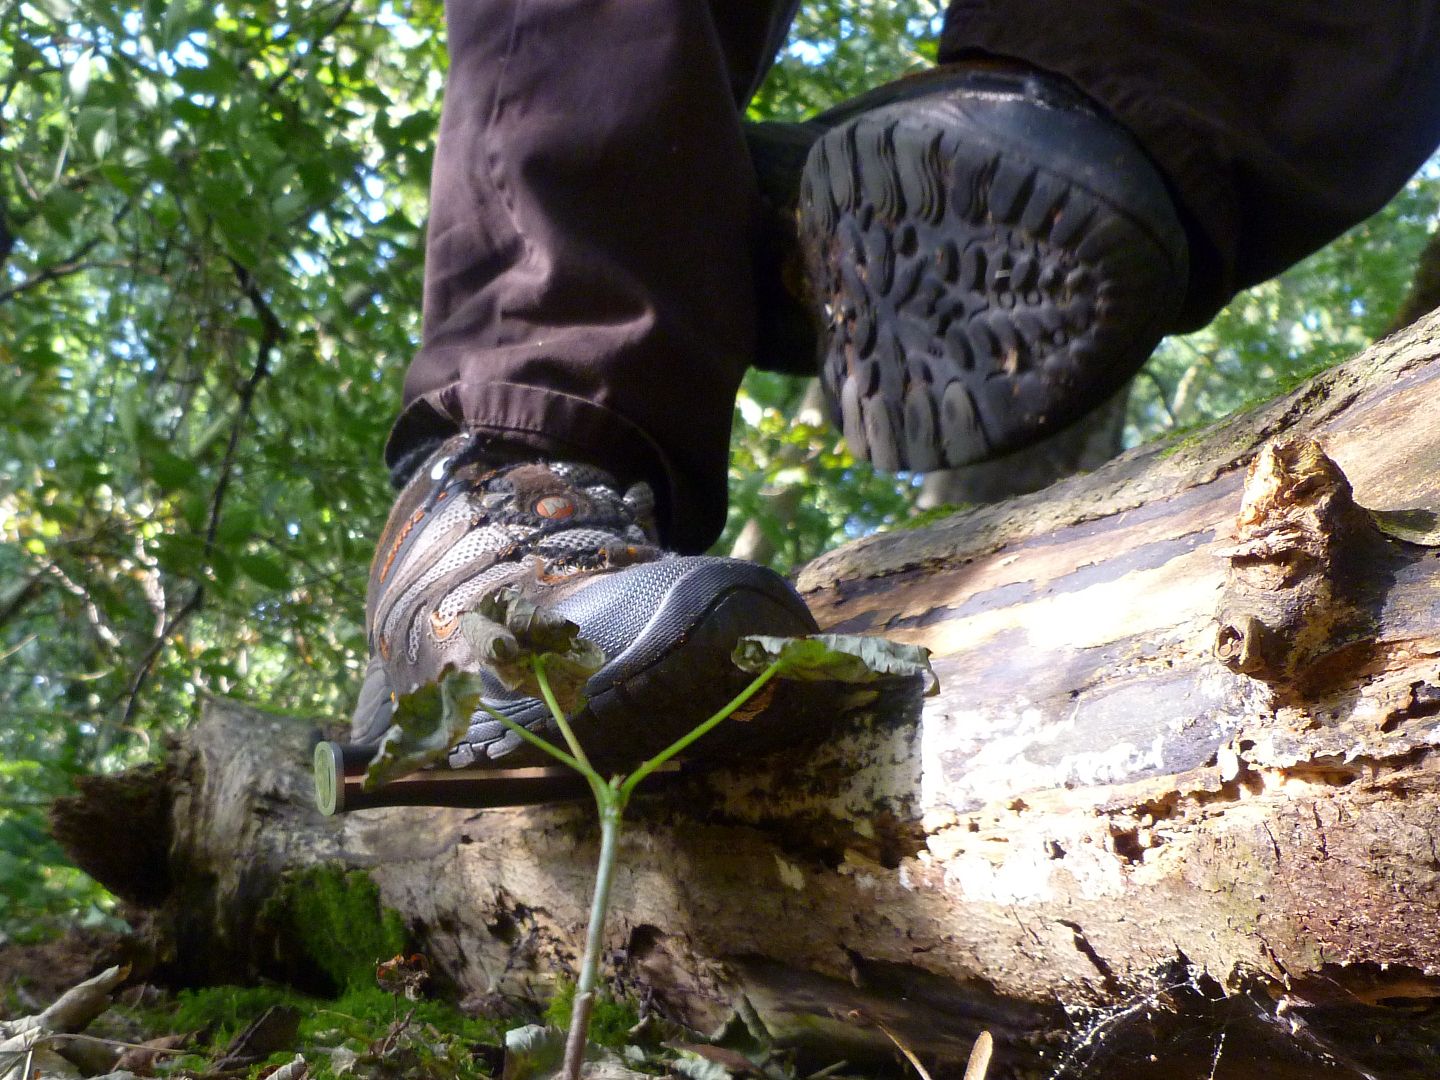
This is possibly the most dangerous thing to do with a knife. I find it odd that Mors recommends this method of testing a knife, but hey ho. He sets the pace and I had to follow. I was a bit concerned so used the other fallen pine as something to support me as I was only on one foot.


So that is 13-ish stone standing on that handle, with a bit knocked off as I was touching the other log with my outstretched arm for balance. It took some time to get the damned thing back out, but no harm was done. I doubt if I could say the same if there had been lightening holes in the tang.

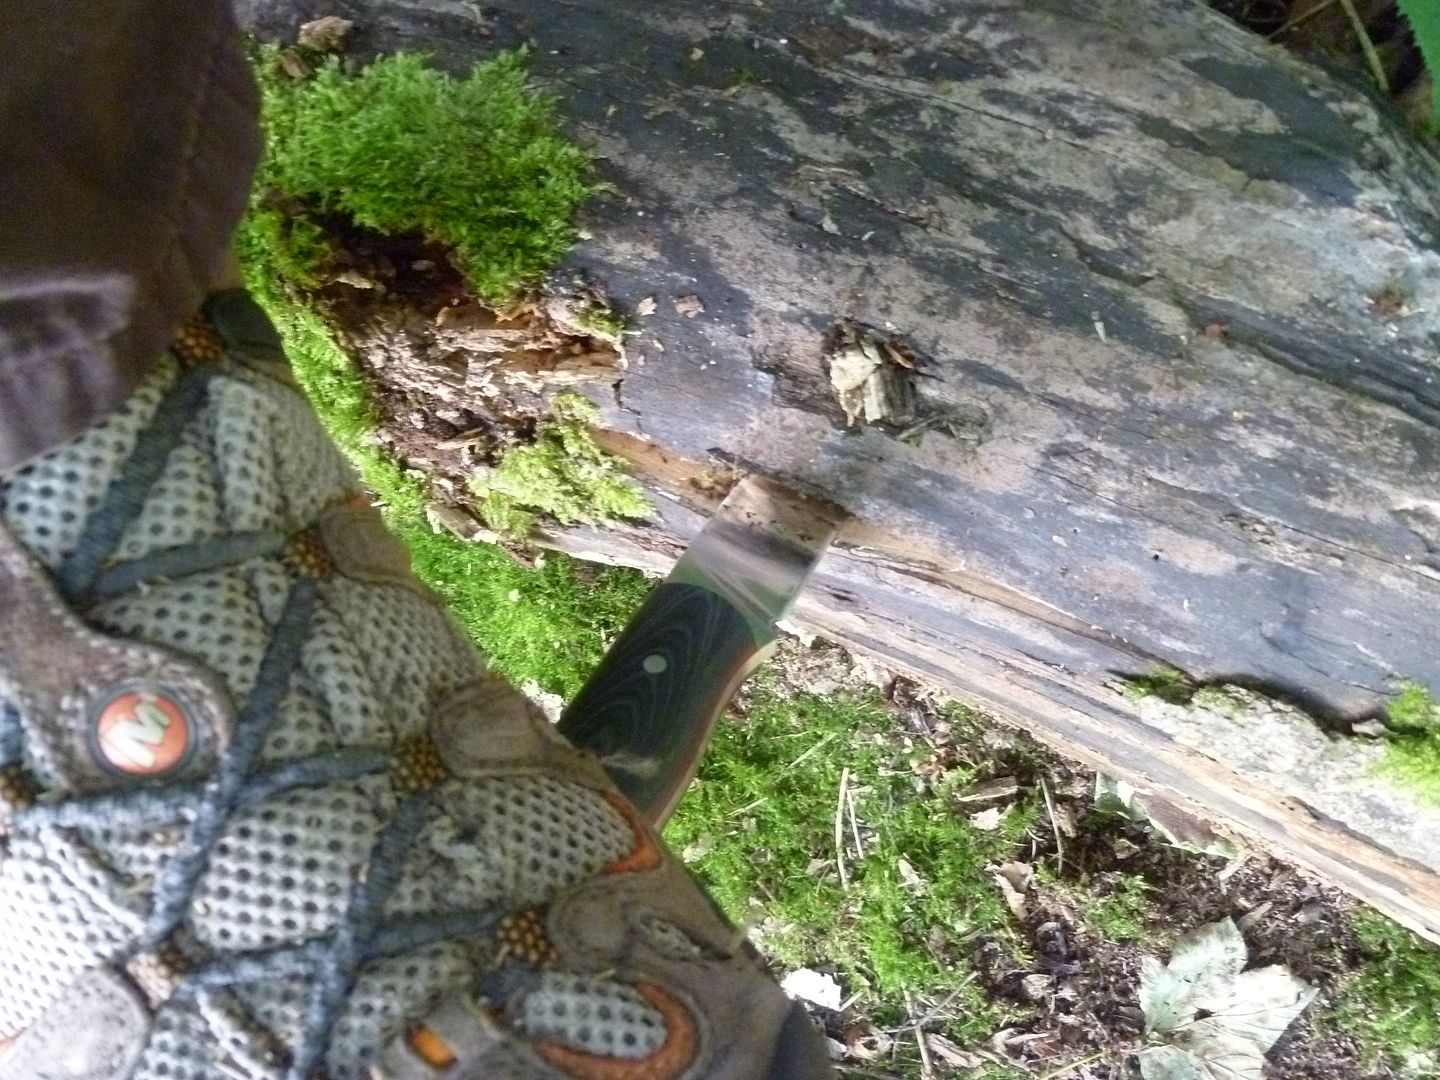
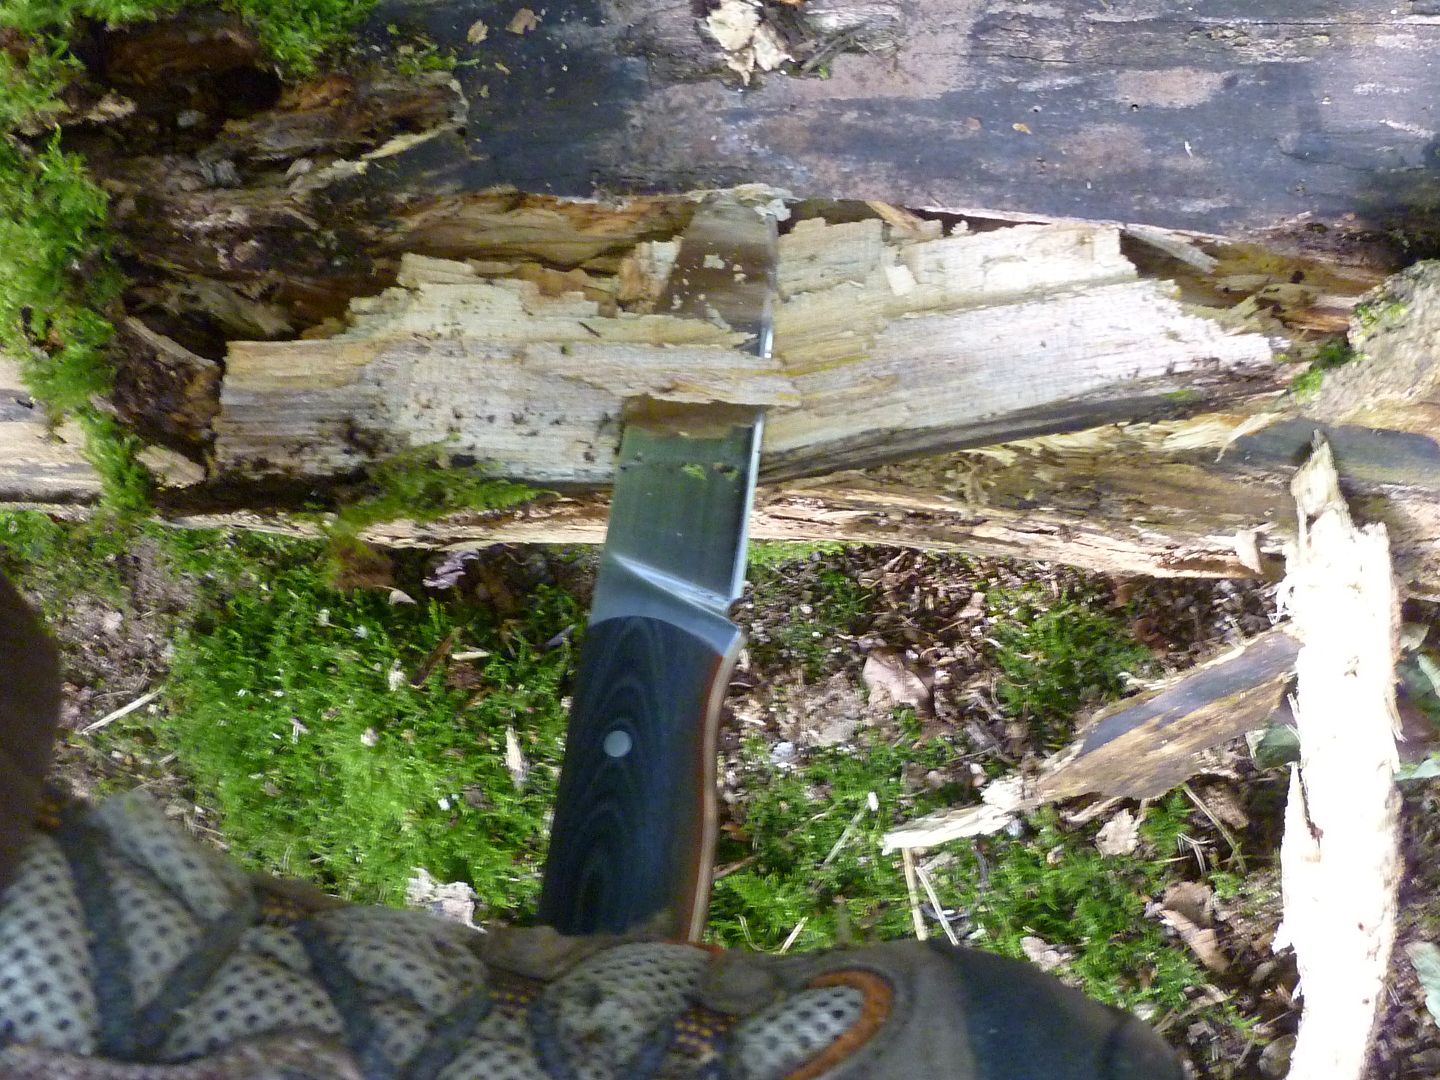
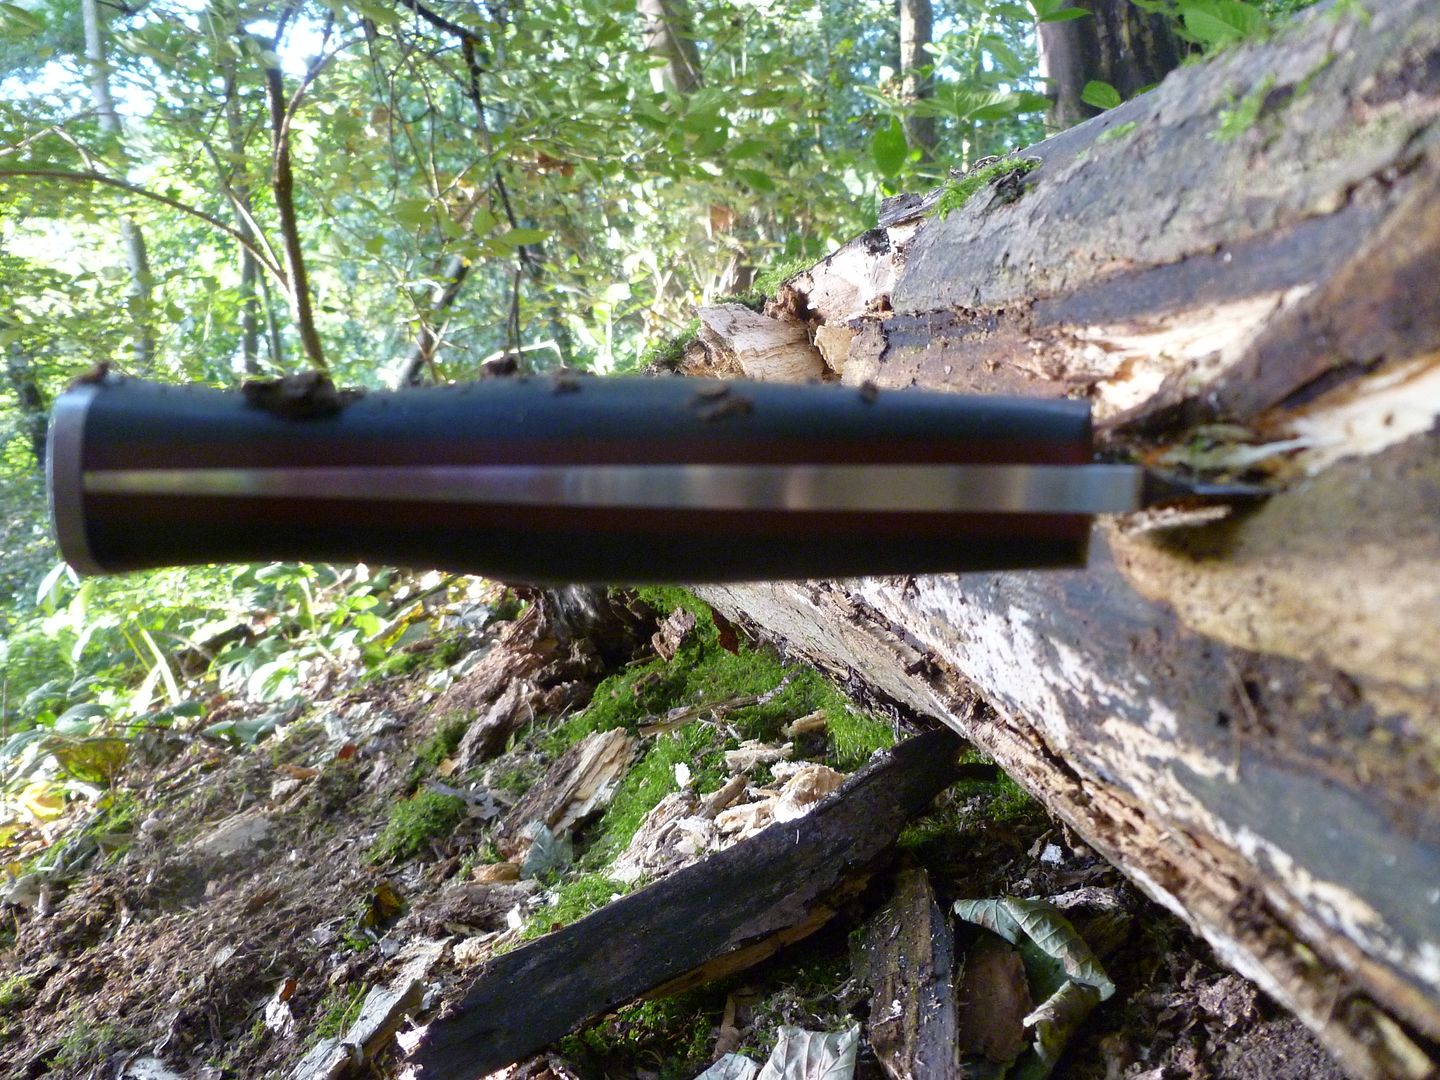
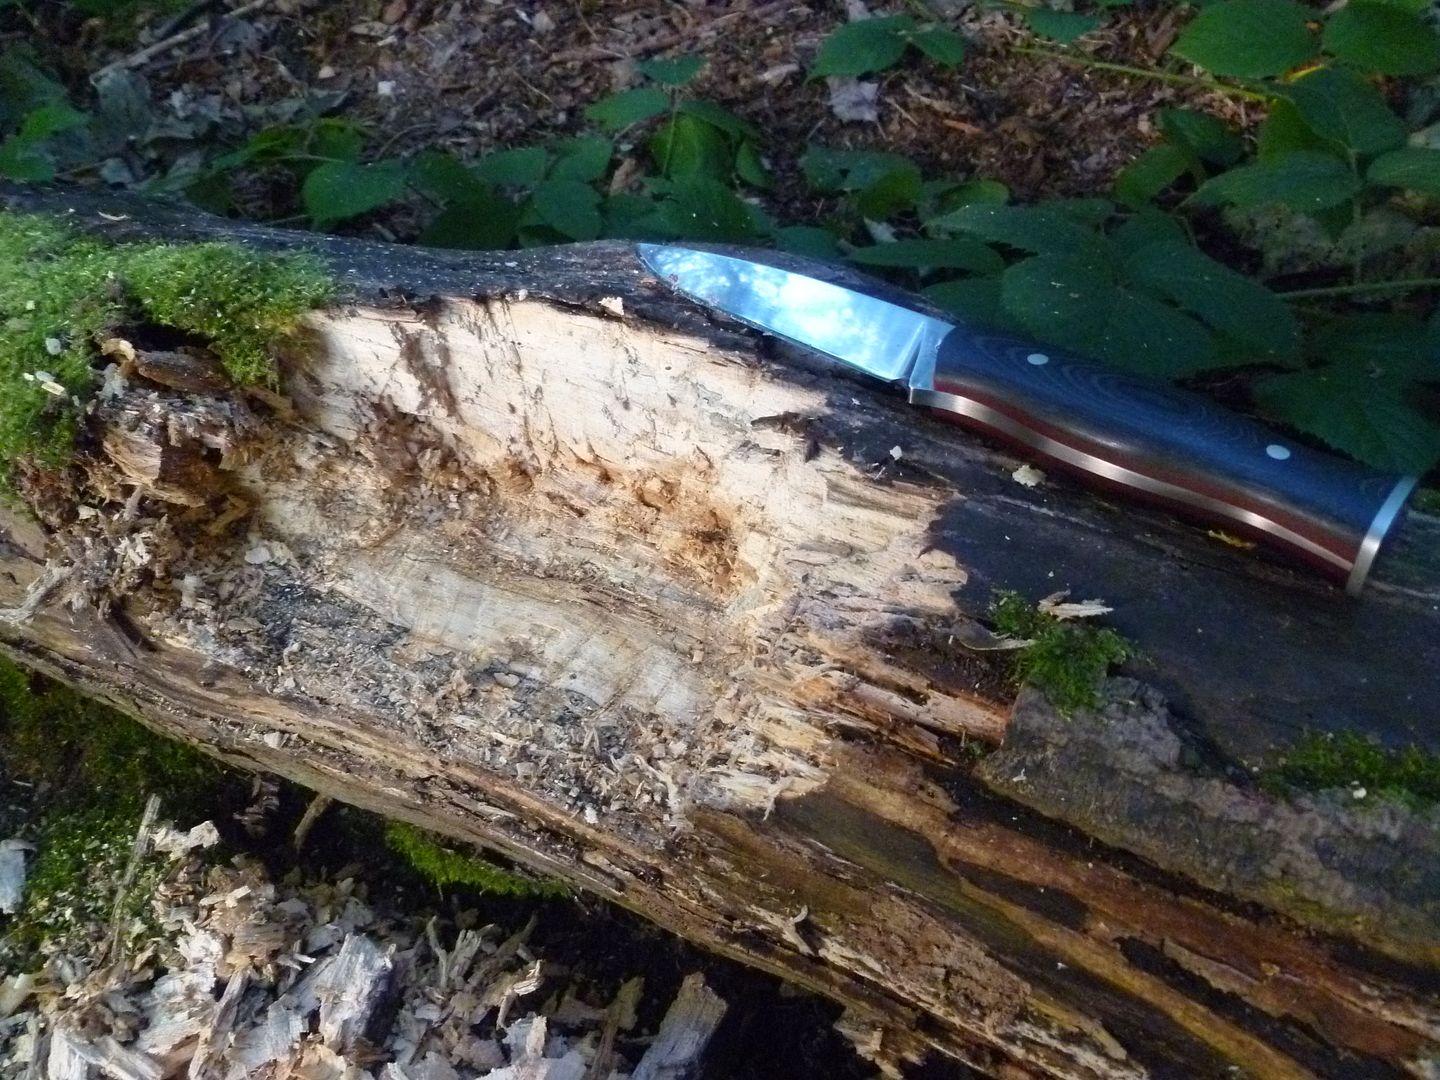
The second test was mentioned to me alot and people wanted to see this. To pry large chunks out of the log by driving the tip in and then applying force sideways to tear the wood fibres/chunks out. It's tough going and I expected the tip to snap as the wood was harder than I thought the more I got into the heart of the trunk, but I did have a purpose in doing this job. Albeit a pointless one.


After checking the tip and blade alignment, it looks as perfect as it was...


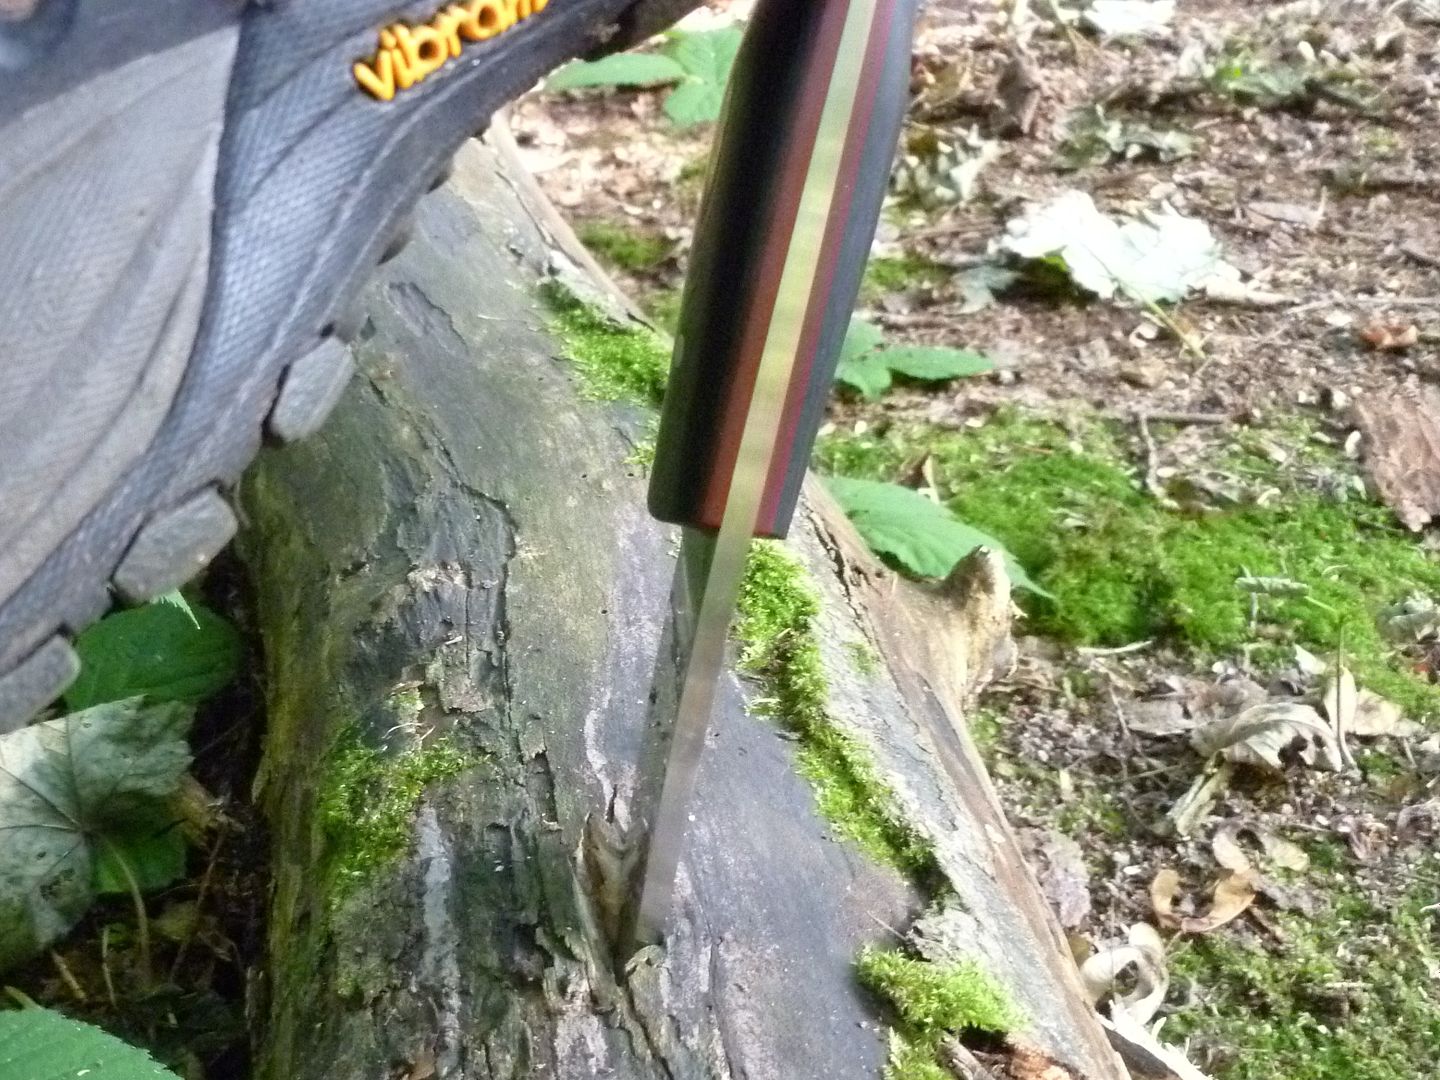
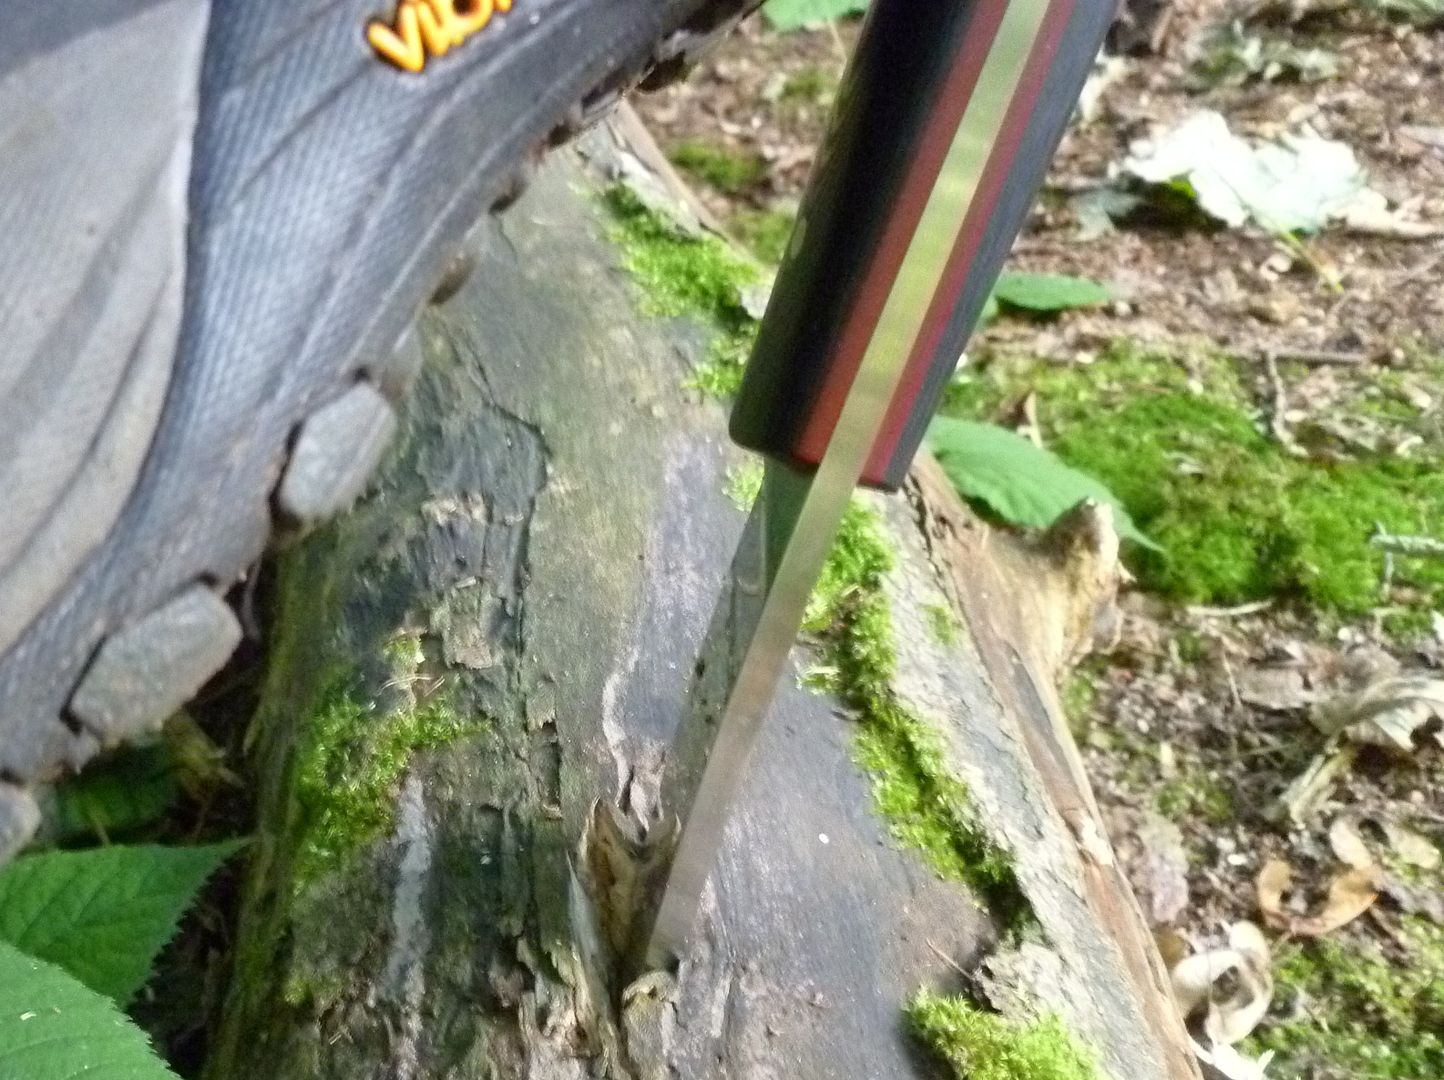
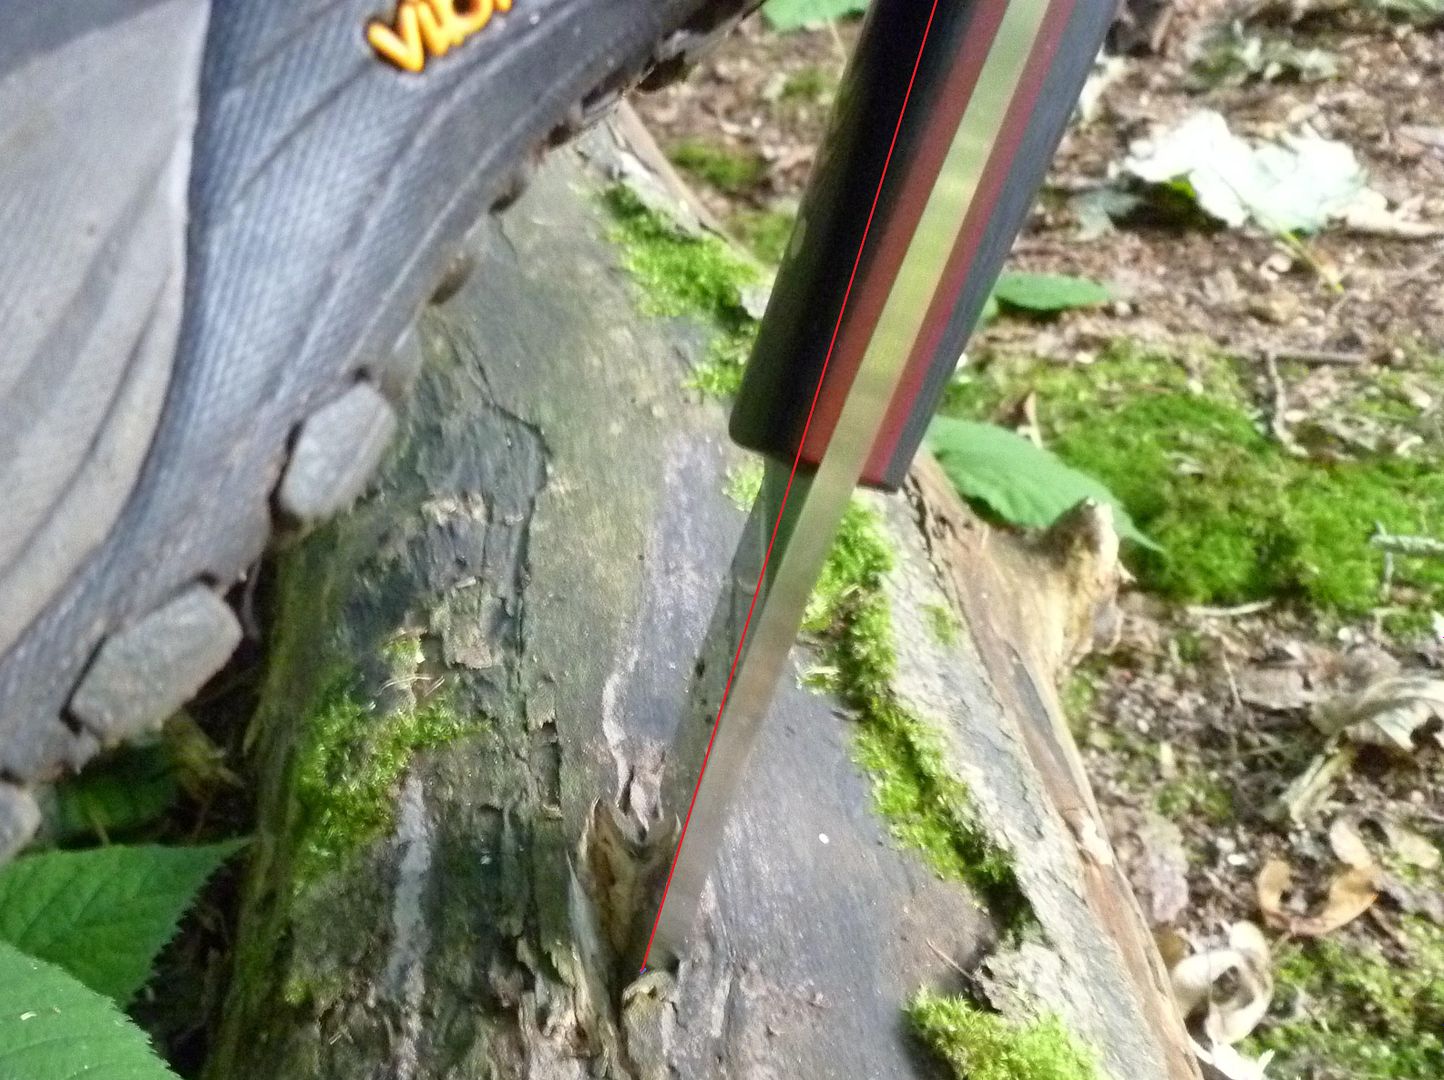
While I was doing that, I could feel the blade flexing loads as I put my bodyweight and legs into the task. So I really wanted to get some shots to see how much it was flexing. As I was on my own, this was difficult, but I did get a couple of shots after driving the knife into the top of the log and using leg force only to bend and flex the blade....


You can see some flex in the shots above, but these next two really show some. I've put a straight line on the second so you can see the degree of flex the blade achieved, I've only worked it out from where the blade enters the wood, so the angle would be much greater than I've shown. I played it safe to save arguments, but you can see how extreme it is for a 5mm, 4 inch short blade in the untouched picture...


I was pretty certain it went through more than that with my bodyweight on it in the previous test, so I bashed it into the log again (this time not full way, so I could use both feet to stand on it free from holding anything for balance). I know a lot of strength in the knife would be lost by doing that, but I had to push it as it was the final test. And prying is a legitimate use when in vehicles and boats or when trapped and needing the only pry bar to hand.


It bent alarmingly and bounced up and down as I shifted to lift my second foot on it. The result...


On centre, perfect. No damage, chips, bend or scales coming away from the tang. Impressive. Not doing it again though. It's extremely stupid and dangerous if it was to fail.

Now to use that excavated log and relax...


This test of the prototype has led to a few changes in the final design and the sheath and accessories that will be offered. From being a huge fan of Andy's FB knife and the detail and quality it exuded, I was excited about this knife, and testing it led me to buy one. Using and abusing this one for the last six months has been a great fun time.


Andy Woods Survival knife. Legend...

 
Last edited:
  • Like
Reactions: PREPER and PoppyD

swotty

Full Member
Apr 25, 2009
1,880
249
Somerset
Wow...it can certainly take a battering then! I like that a lot, great review and looking forward to your other posts! :)
 

bb07

Native
Feb 21, 2010
1,322
1
Rupert's Land
WOW!! This has to be the most comprehensive review I've ever seen, and it's only part one. Incredibly detailed and well done. And a very interesting knife design. I'm looking forward to the upcoming parts. A truly excellent job, thank you.
 

British Red

M.A.B (Mad About Bushcraft)
Dec 30, 2005
26,886
2,137
Mercia
Looks good Jon - I find I do horrible things to knives these days :eek:

Prying seems to be the easiest way to break one so dig some arrows out with it (or dig out some pine resin or whatever)

Cutting up rhubarb and onions seems most likely to stain a blade - the first hundred rhubarb cuts are the worst :)

The other one that seems guaranteed to do for an edge is slicing through 20mm mdpe pipe - try it on that!

Great review btw!
 

JonathanD

Ophiological Genius
Sep 3, 2004
12,815
1,511
Stourton,UK
Looks good Jon - I find I do horrible things to knives these days :eek:

Prying seems to be the easiest way to break one so dig some arrows out with it (or dig out some pine resin or whatever)

Cutting up rhubarb and onions seems most likely to stain a blade - the first hundred rhubarb cuts are the worst :)

The other one that seems guaranteed to do for an edge is slicing through 20mm mdpe pipe - try it on that!

Great review btw!

Cheers Red. I'll make a note of all those and get to work ASAP.
 
  • Like
Reactions: PoppyD

Mafro

Settler
Jan 20, 2010
598
2
Kent
www.selfemadeknives.co.uk
What a superb review. Really look forward to reading what else you put it through.

As an aside to harsh survival tests, what is it like for the more general tasks that the everyday bushcrafter would put it through. Spoons, tent pegs, game and food prep, skinning, bark stripping. I'm sure from the looks of it already it will sail through them all but it would be great to see.

A harsher test, use it to dig up a burdock root, and see how it fares against digging in stony ground.
 

JonathanD

Ophiological Genius
Sep 3, 2004
12,815
1,511
Stourton,UK
Clem is going to do some finer work. He started a spoon last week, but broke it halfway through :lmao:
OK, digging. Will do. Fine food prep and skinning etc are also in the works.
 
  • Like
Reactions: PoppyD

BCUK Shop

We have a a number of knives, T-Shirts and other items for sale.

SHOP HERE