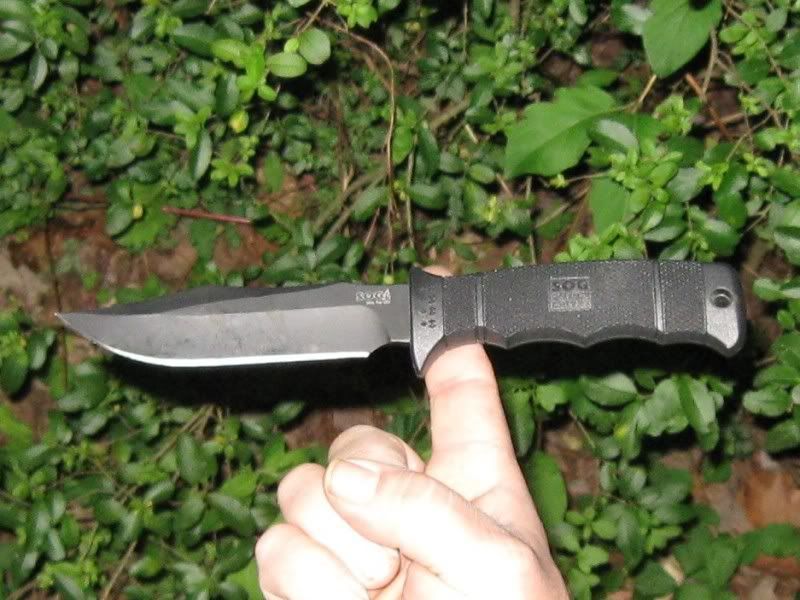
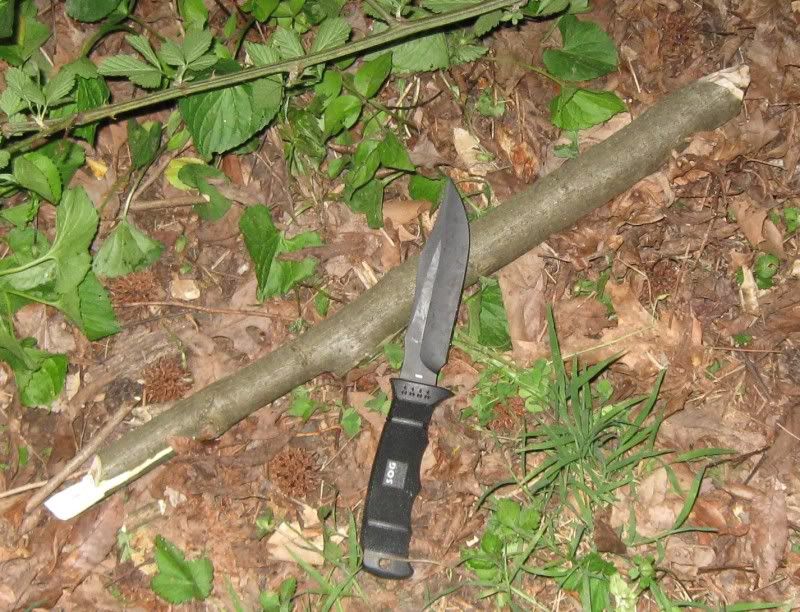
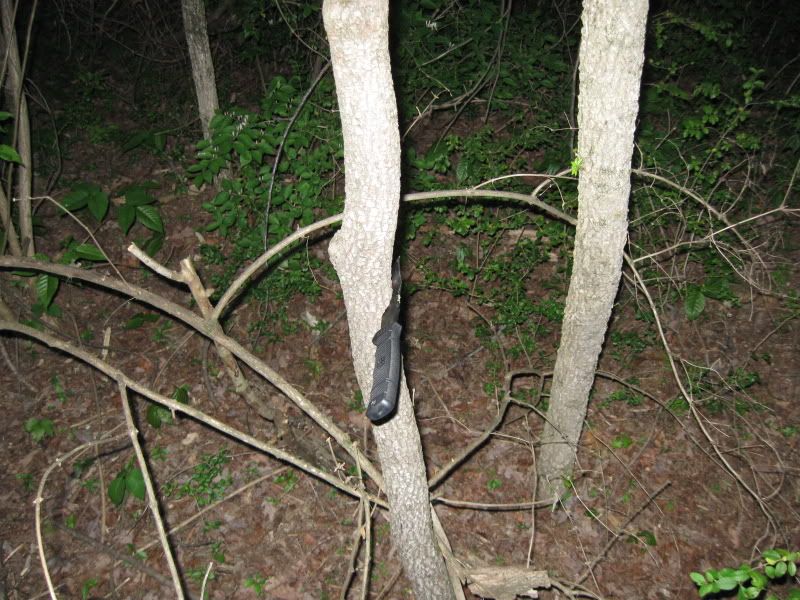
Earlier today went out in the woods behind the house to practice a few things. Since I had been sent a SEAL Pup Elite I wanted to work with it for a bit and see what it could do, maybe see how much the new design was an improvement over the old one. I bought an original Pup seven or eight years ago at Ranger Joe's Down in Columbus Georgia a few months after I had bought an original SEAL 2000. Being at that time more used to seven inch and larger blades, I decided the 5 inch/ 13cm blade was just smaller than what I personally wanted. I preferred its bigger brother so I gave the pup to a friend a few months later. Since lately I have been studying techniques from across the pond trying to get more into working with smaller knives, working with them from a different perspective, I guess it was only natural that I work my way back to the pup eventually. Actually, it’s a pretty cool knife to work with. It wears very comfortably. It’s light enough that I even forgot I had it on my belt until I went to drive to the store and went to put the seat belt on so it’s definitely not going to wear you down on a hike. I took a few pictures while working with it.
The first thing I saw and felt was the difference in the grip, the tapered shape of the new handle and the finger grooves it a very positive grip.


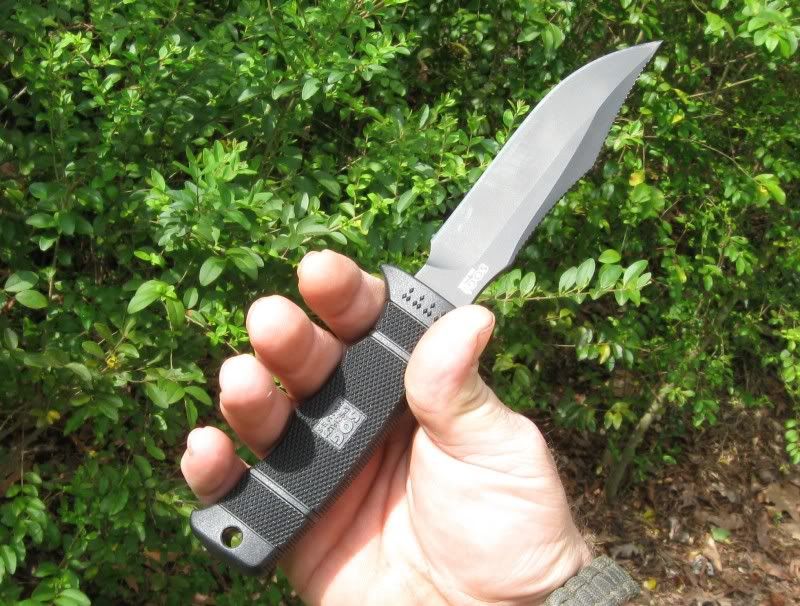

Then checking out the edge I tried it out and cutting some fatwood shavings for use as tinder for lighting with a fire steel. It whittled the thin shavings I wanted easily. The good grip and shorter blade allow for excellent control.


I noticed that the rasp spine had nearly the same profile as the sparker of a Swedish firesteel so I tried it out. It throws GREAT sparks using the rasp. It only took a few sparks and I had flames.
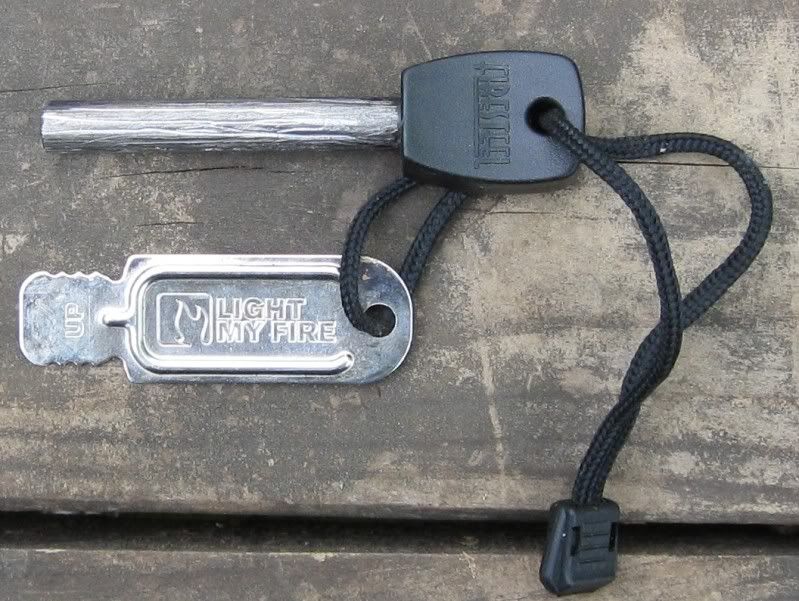

You can see how the dust was left on the blade and on the spine.
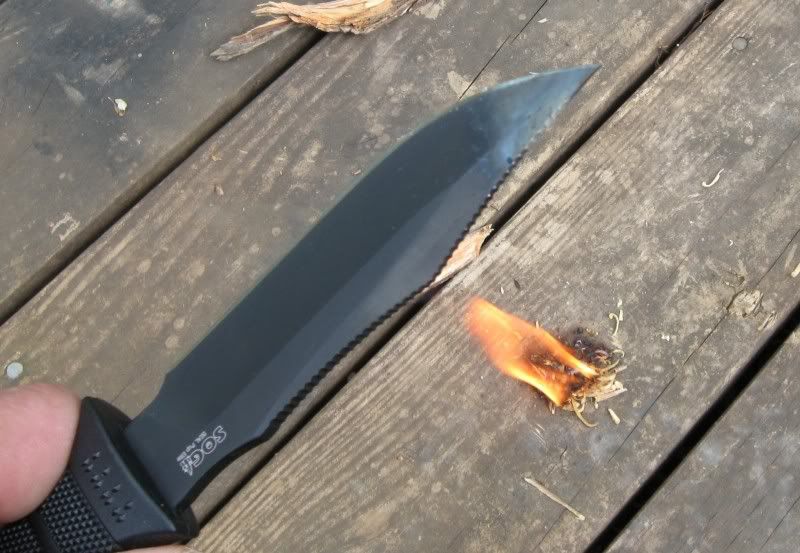
But it cleaned up with just a wipe on the pants leg, and only a little coating was worn off.

The rasp also helped some when using the point in small tedious work. It gives a more positive grip when holding the knife by the blade itself. I made a line tensioner for tying out a tarp or poncho shelter.
I started by splitting two sides off of a piece of Birch and then whittling it down flat. Then I used the tip to bore two holes. The tip did great and this whole thing only took about ten minutes.
***Note*** I meant to say that the trick to the tensioner is to not get your "working" hole too big, the line needs to fit in it snuggly and you should feel resistance when sliding it.


Then I cut the end on the paracord so I could melt it into a clean end and put it through the holes. This thing has a great edge’


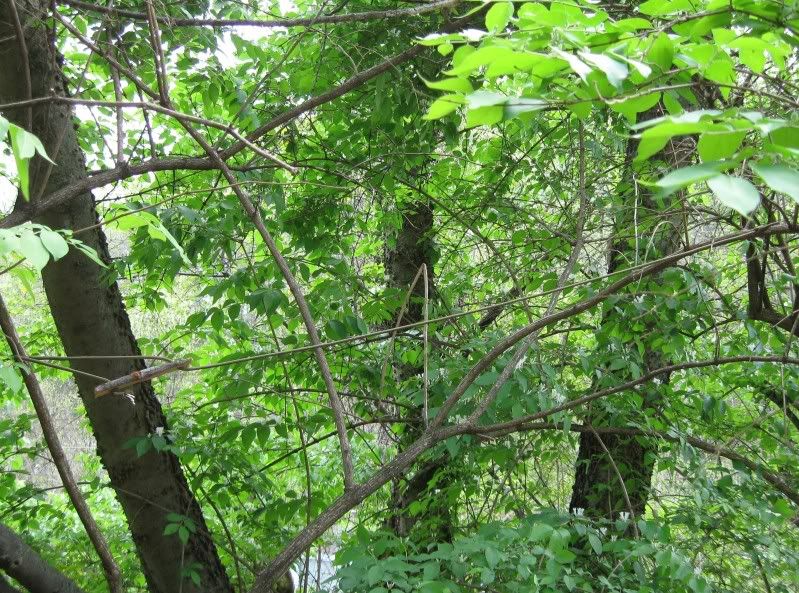
This isn’t the greatest lighting for these pictures; I’ll try to take some better ones tomorrow. But here you can see if you look hard enough the tensioner slack and the tightened. So far I like this little knife and not wanting to give this one away any time soon.


****EDIT****
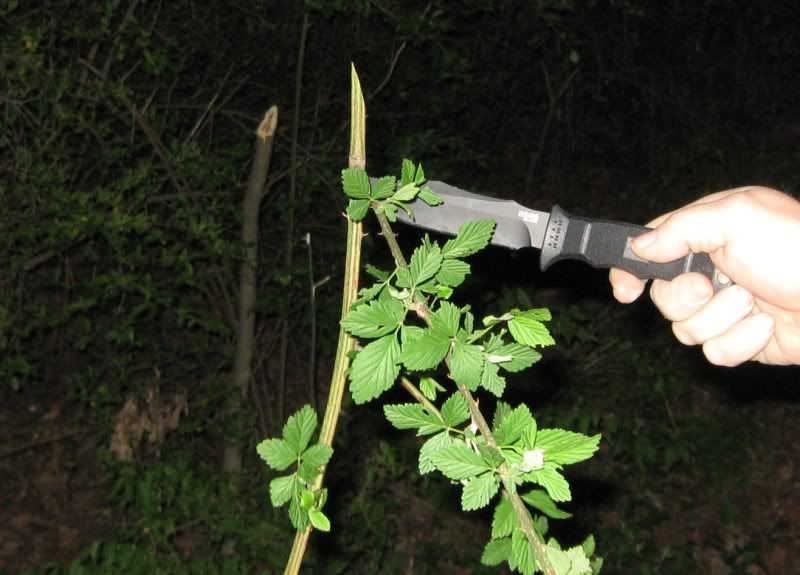
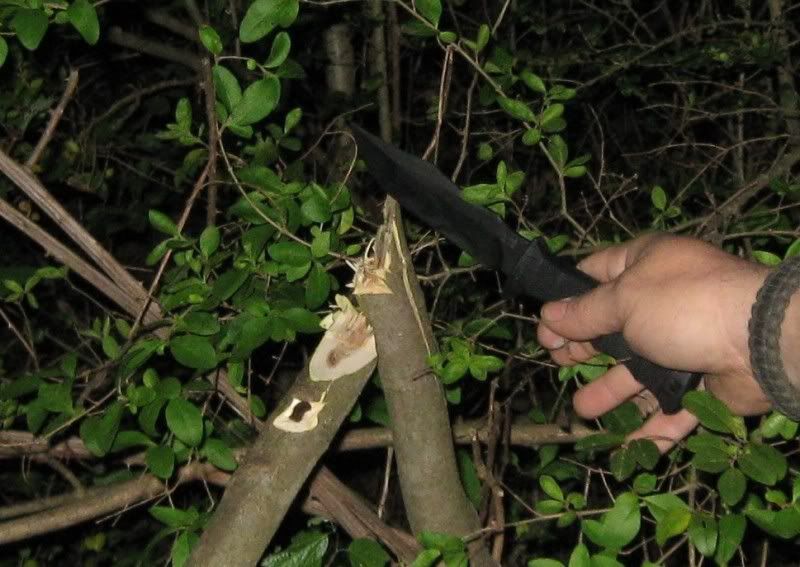
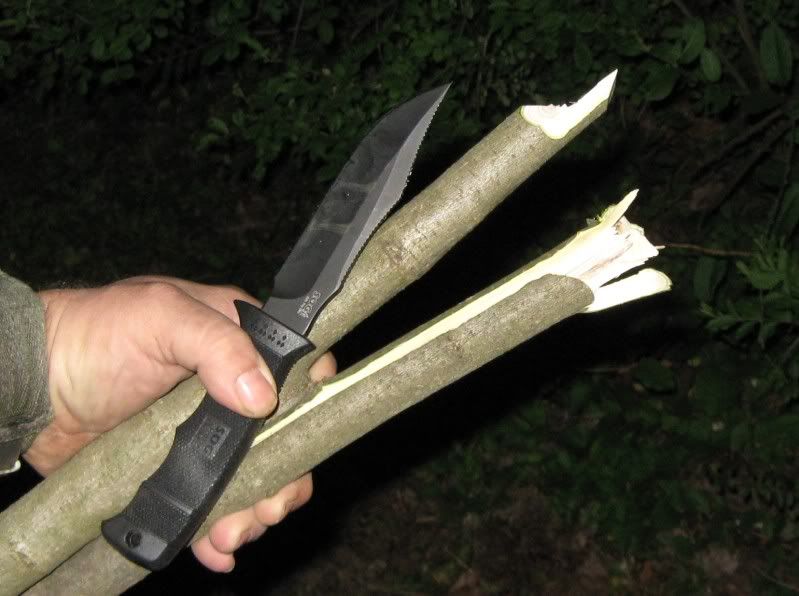
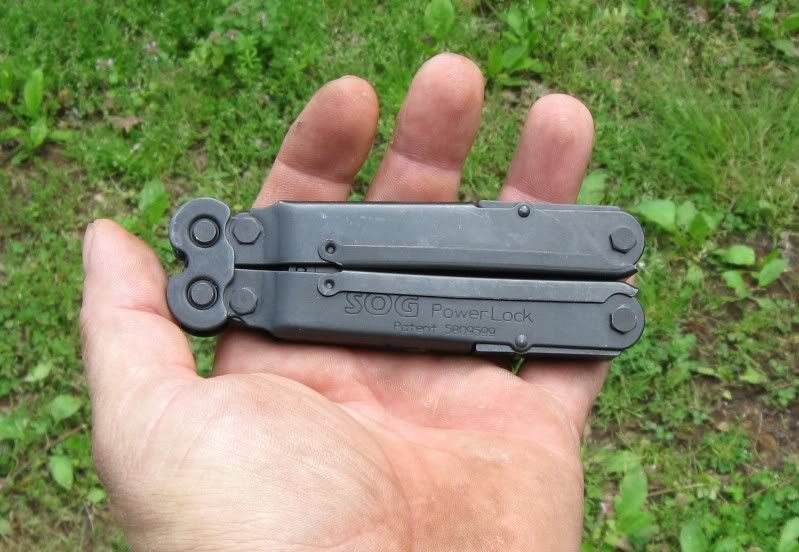
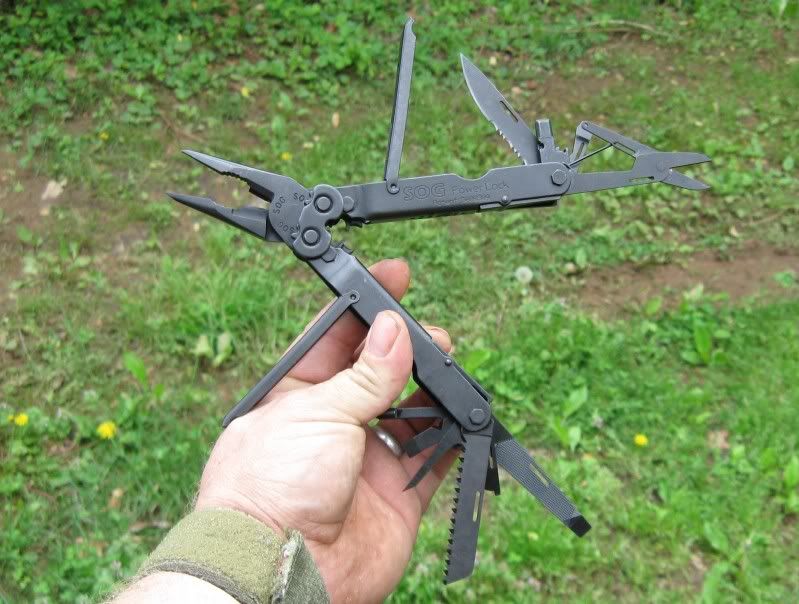
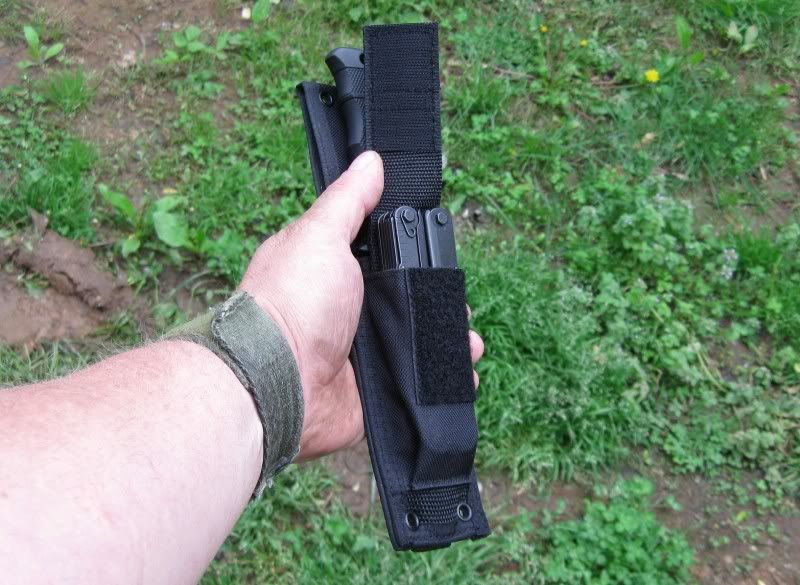
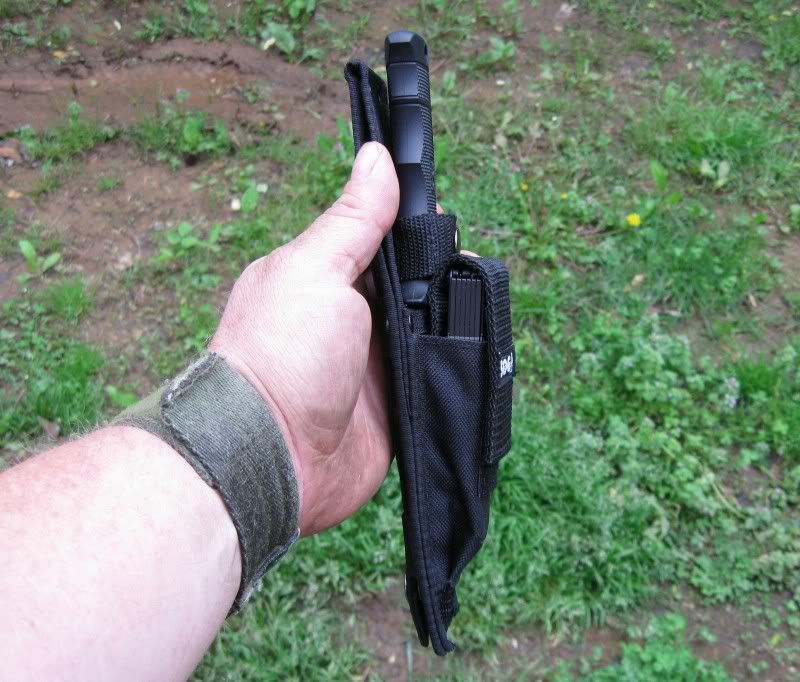
Just wanted to add a few pics that add a different dynamic to this knife...making it a GREAT wilderness tool
the addition of the SOG Power Lock. I'll post more with it later.
The first thing I saw and felt was the difference in the grip, the tapered shape of the new handle and the finger grooves it a very positive grip.


Then checking out the edge I tried it out and cutting some fatwood shavings for use as tinder for lighting with a fire steel. It whittled the thin shavings I wanted easily. The good grip and shorter blade allow for excellent control.


I noticed that the rasp spine had nearly the same profile as the sparker of a Swedish firesteel so I tried it out. It throws GREAT sparks using the rasp. It only took a few sparks and I had flames.


You can see how the dust was left on the blade and on the spine.

But it cleaned up with just a wipe on the pants leg, and only a little coating was worn off.

The rasp also helped some when using the point in small tedious work. It gives a more positive grip when holding the knife by the blade itself. I made a line tensioner for tying out a tarp or poncho shelter.
I started by splitting two sides off of a piece of Birch and then whittling it down flat. Then I used the tip to bore two holes. The tip did great and this whole thing only took about ten minutes.
***Note*** I meant to say that the trick to the tensioner is to not get your "working" hole too big, the line needs to fit in it snuggly and you should feel resistance when sliding it.


Then I cut the end on the paracord so I could melt it into a clean end and put it through the holes. This thing has a great edge’


This isn’t the greatest lighting for these pictures; I’ll try to take some better ones tomorrow. But here you can see if you look hard enough the tensioner slack and the tightened. So far I like this little knife and not wanting to give this one away any time soon.


****EDIT****
Just wanted to add a few pics that add a different dynamic to this knife...making it a GREAT wilderness tool
the addition of the SOG Power Lock. I'll post more with it later.


