MAKING AN ADZE – PART 2

Ok, now we have a lump of steel with a hole in it. Time then to turn it into an adze. (Link to part one)
Pt 2 – Making an Adze, by Dave Budd
I like to begin by isolating a lump to turn into the blade. This allows me to more aggressively fuller the metal without getting any deep cuts that could turn into cold shuts later.
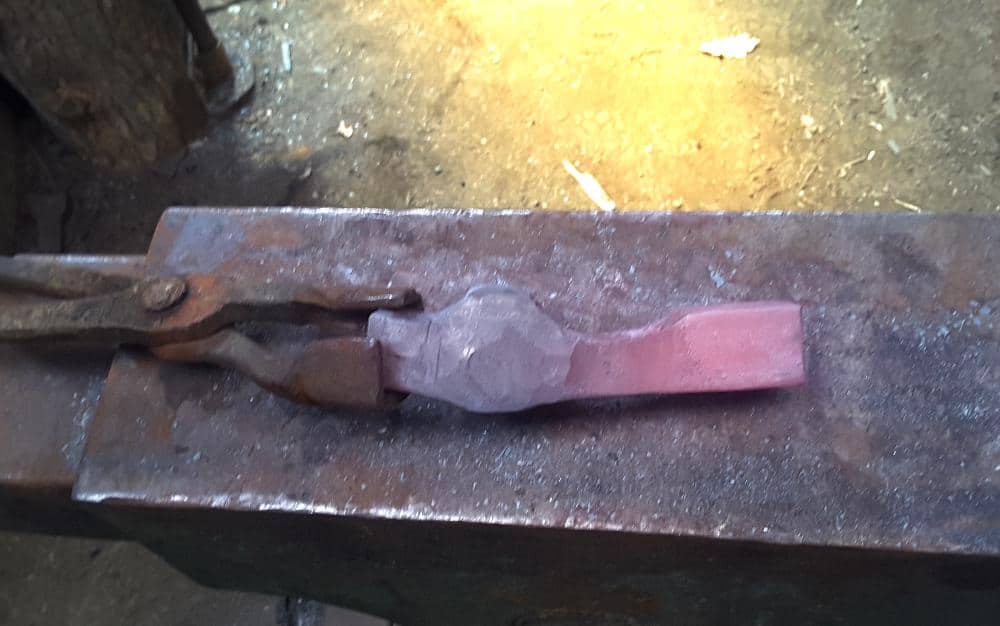
Once I have the edge material isolated, I start widening it until I get close to the desired width and thickness that the blade will end up. Most of this moving of the metal around is done using a fuller in the
The key is to place the fuller at 90 degrees to the direction that you want to move the metal. As the blade begins to appear, I can use that
Link to Part One – Making an Adze
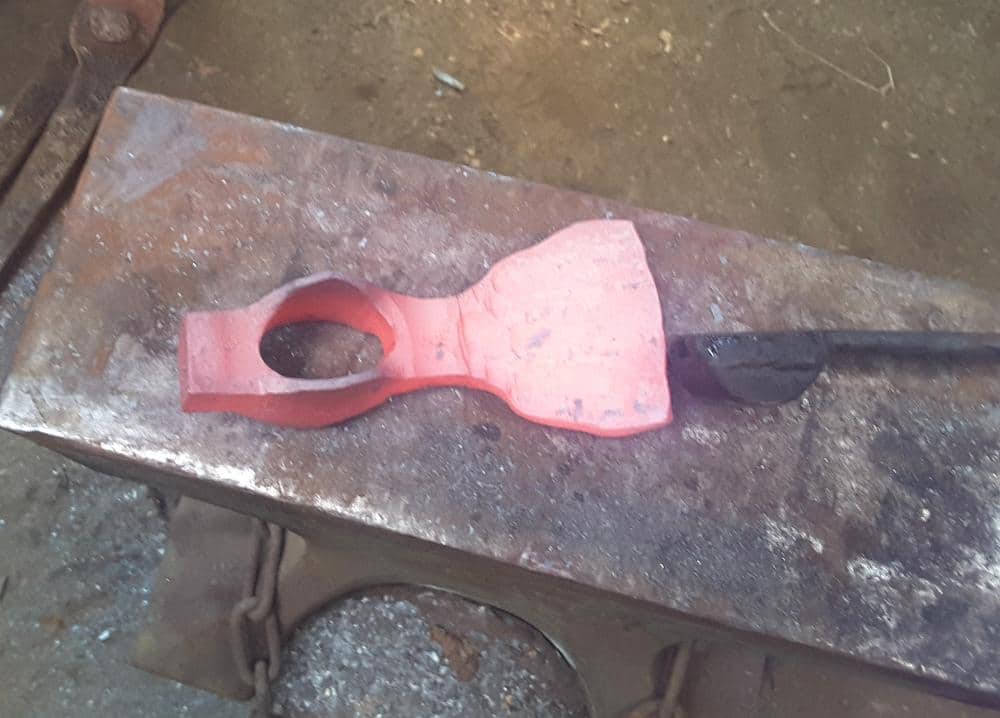
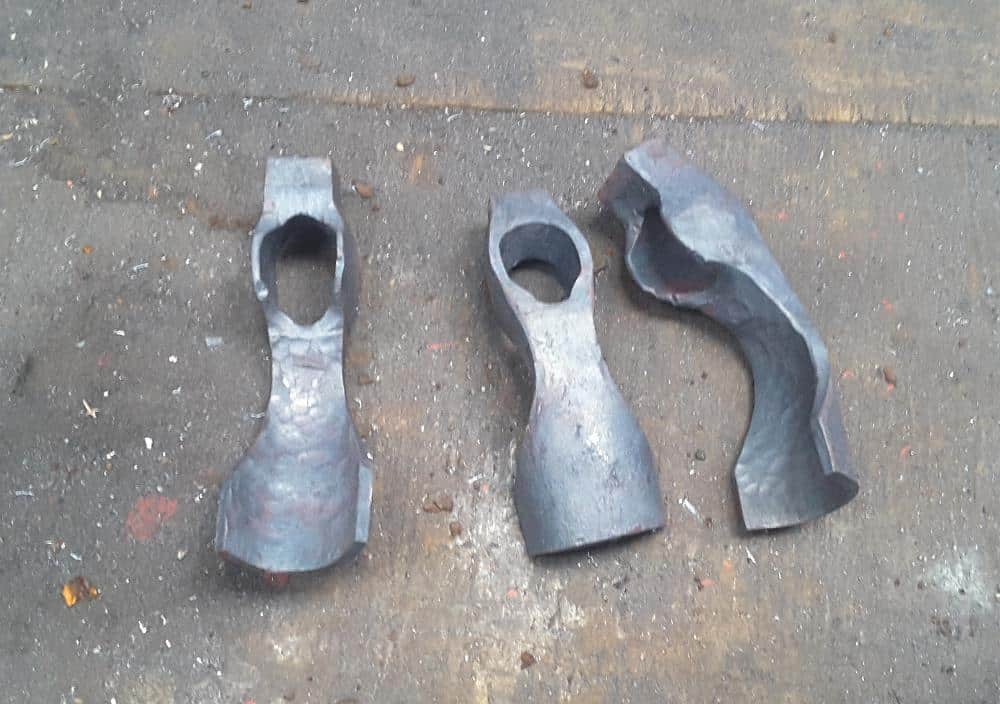
As soon as I have something that is looking like an adze, I flatten out all of the ridges, thin the blade to final thickness and tidy the shape of the entire head with my hand hammer. The closer I can forge to shape, then the less grinding I have to do later.
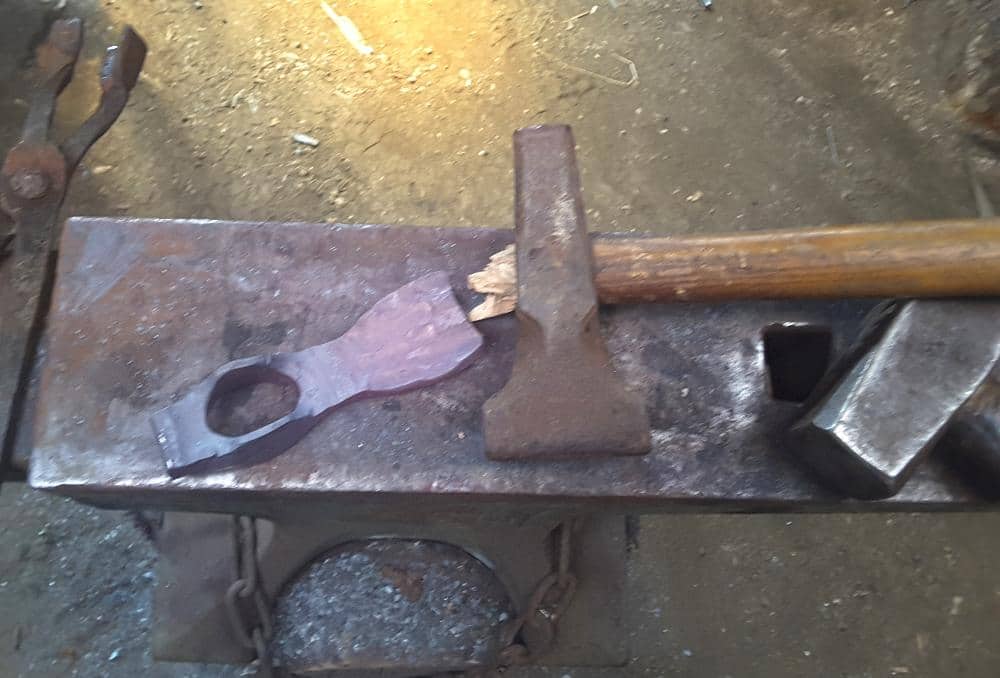
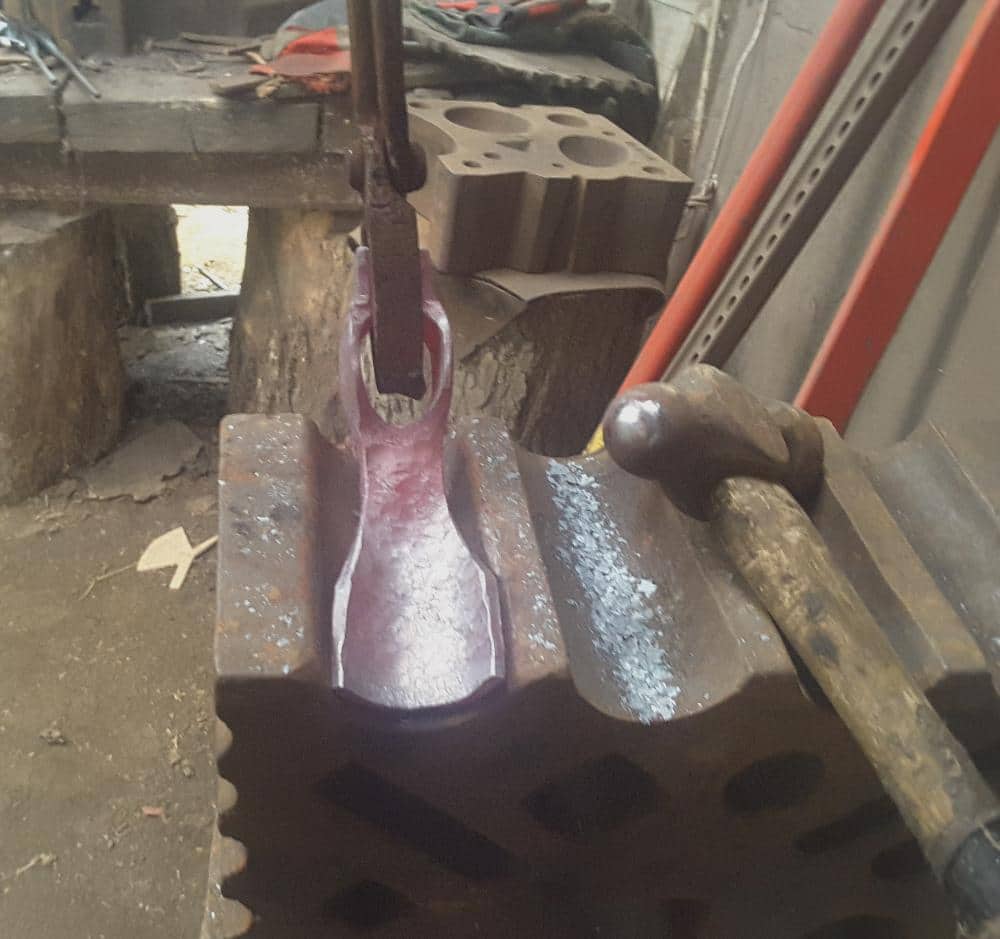
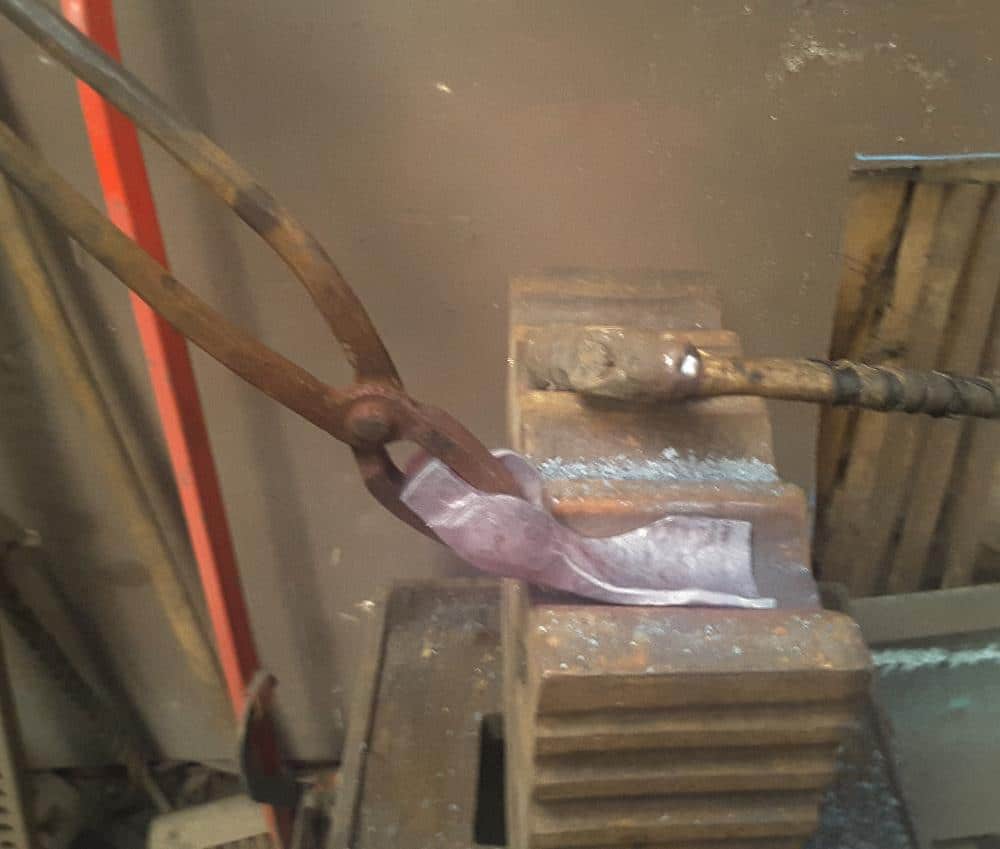
If this were an adze for cleaning flat surfaces, then I would just need to bend the blade a little when viewed from the side. But as this is a curved adze for hollowing out bowls and the like, it needs to be curved in both plains. I hammer the blade into a hollow form such as a swage block or even a groove in a log.
If I have a striker available, then a fuller can be used to drive the blade into a swage and if not, then I just use a
As with everything else that has been done so far, this is all easiest if done at the correct temperature: bright orange (a fine line that my students often don’t adhere to and either end up burning or struggle to bend cold steel!).
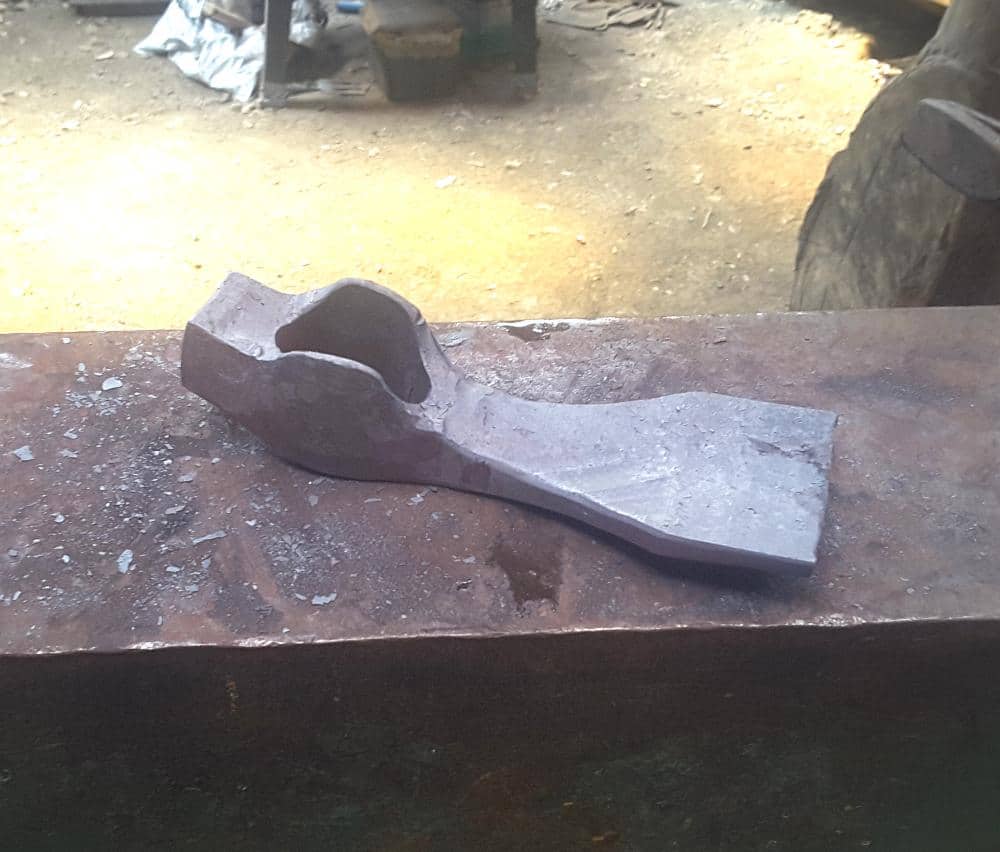
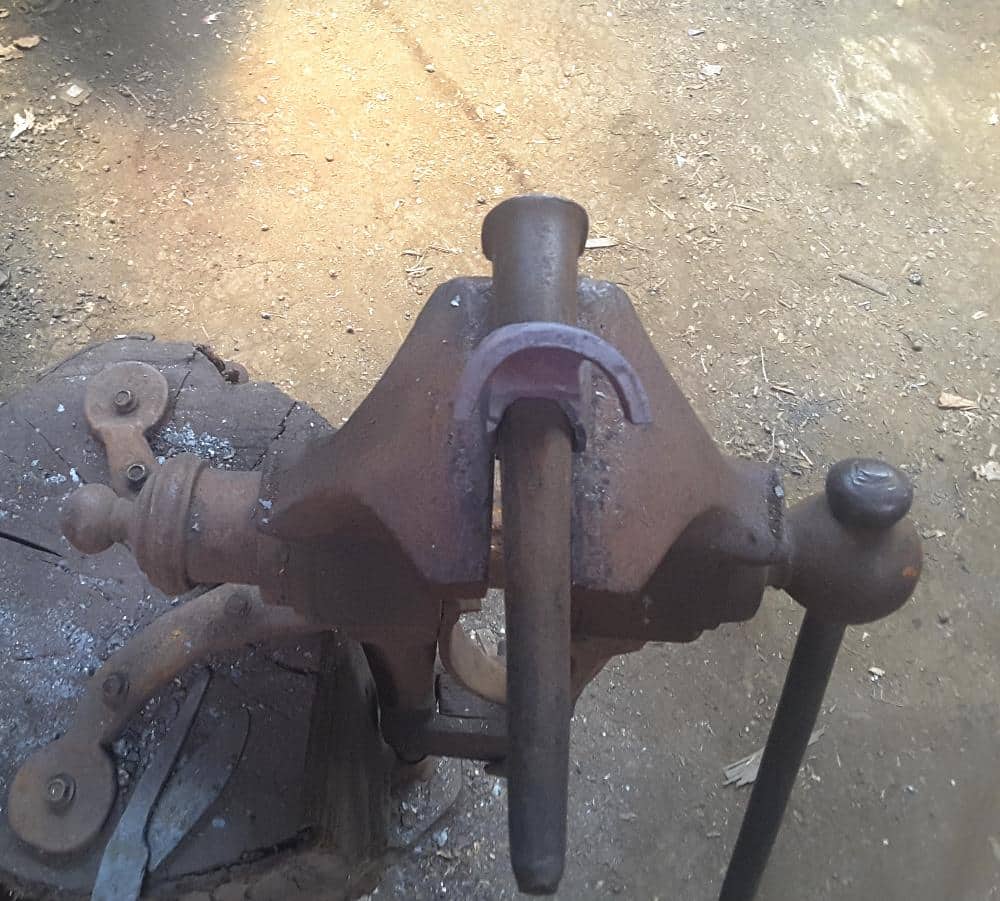
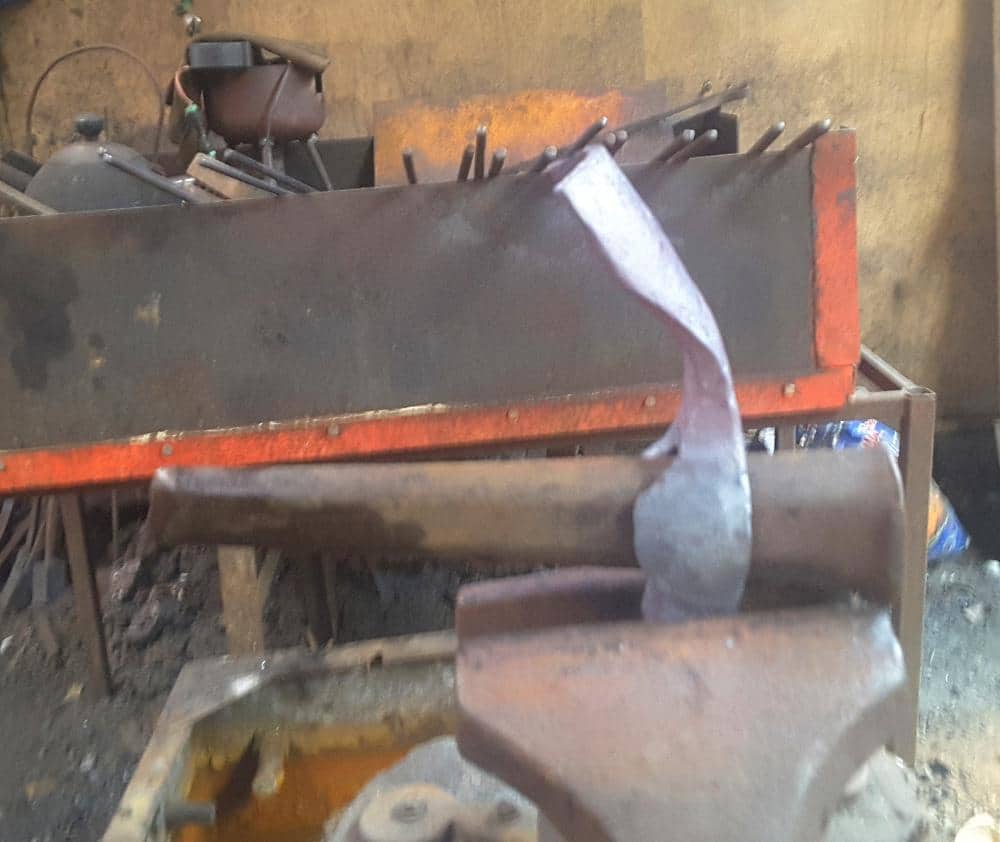
Whilst the forge is hot, the last thing to do is to straighten everything up and make sure that the edge is at the correct angle. I do this by placing the drift back in the hole, securing the head in a vice and twisting the blade with a big wrench. The drift lets me see what angle the handle will project at. As with all things in life, straightness is overrated and as long as everything is close enough for jazz, then small changes in the angle of the handle or edge are most easily made when the handle is fitted.
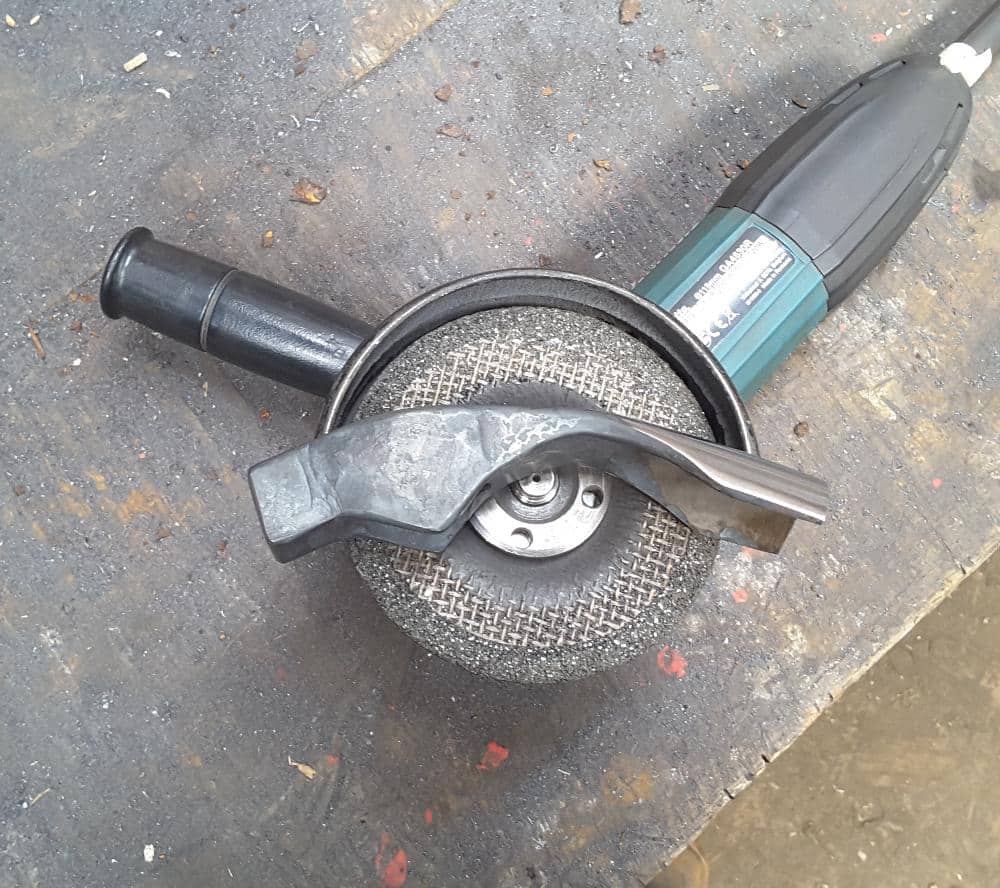
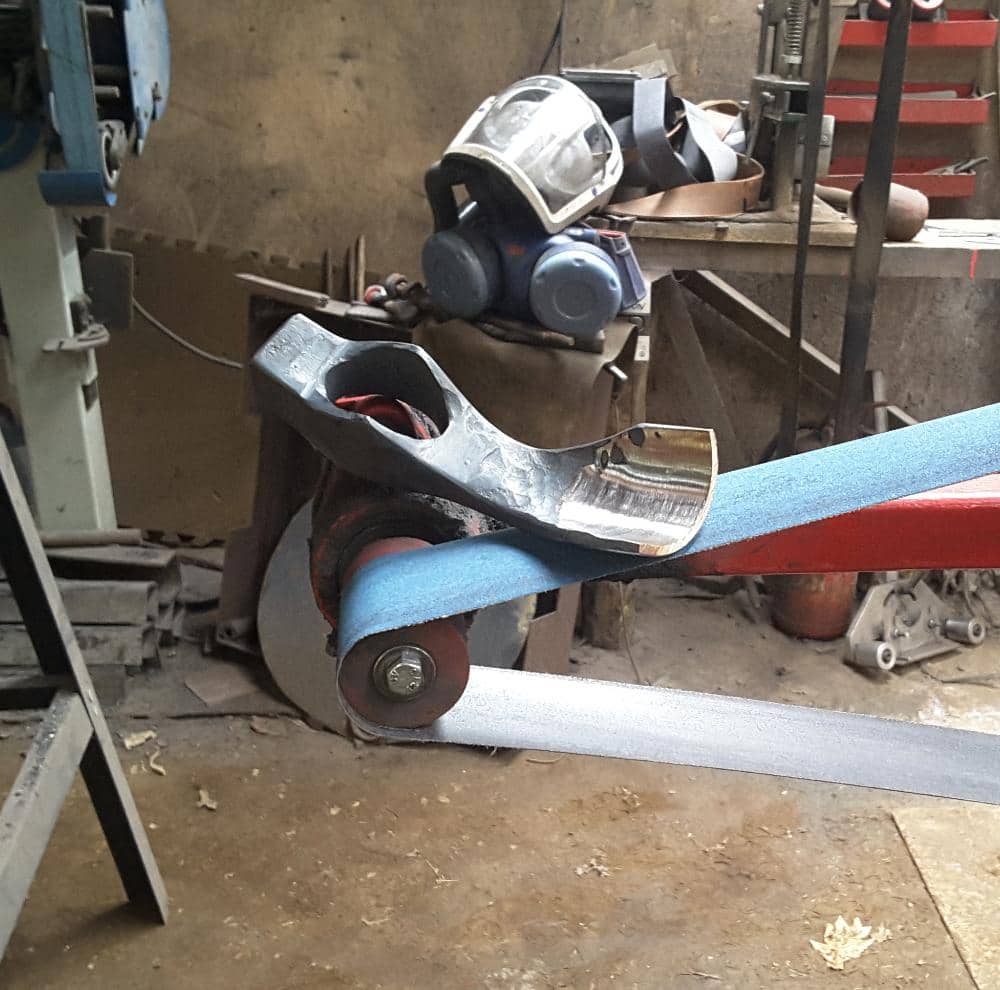
Before the heat treating starts I give the head a once over with a grinder to tidy up the langets, the shape of the cutting edge and the symmetry a little (also highly overrated). Mostly an angle grinder is my best friend here, but I also have a small wheel attachment for one of my belt grinders that allows me to clean up the curvature of the inside of the blade. In the absence of the small wheel then grinding wheels that fit into an electric drill, sanding drums for a Dremel or old fashioned scrapers can be used to do the same job. If you don’t mind a bit of a bevel on the inside, then you could even use a half round file to clean that section. I normally do the grinding of the inside part way into the heat treating, when the metal is at its softest and I can avoid carbon loss and excess scaling from the heat treating process.
On to heat treating then…
A whistle stop tour of this as it often gets covered in the forum and I can always write a piece on just that subject another time 😉 Basically there are three stages to heat treating: normalising, hardening and tempering.
Normalising involves bring the metal up to around the temperature at which it will harden and then letting it cool in still air. The main reason for this is that each time you normalise, the grain structure of the metal shrinks and will potentially allow for a tougher blade. Mostly normalising is done 3 times, after that you are into diminishing returns and can have trouble not fully hardening. If the last normalising is done from below the hardening temperature then the metal should be rendered soft enough that it can be filed, drilled and straightened cold (in the case of knives anyway); this is the point where I grind my inside curves and thin the blade to its final cross section. This isn’t the same as annealing, which involves cooling from the hardening temperature extremely slowly, which also renders the metal soft but doesn’t allow the grain size to refine.
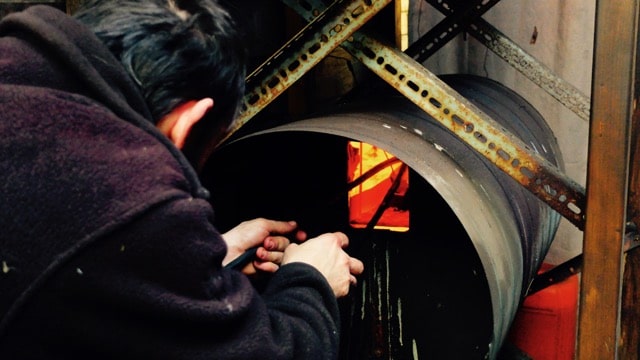
Hardening does what it says on the tin. You bring the metal to the correct temperature and cool it rapidly by quenching in oil, water or air; this steel is an oil quencher. Each steel is designed to be hardened from a given temperature (most carbon steels fall somewhere between 770C and 920C) and quenched in a particular medium. If you cool from too high, then it will cause grain growth, possible embrittlement and may not properly harden; too cool and it won’t fully harden. Once quenched the adze will be hard like glass and almost as brittle
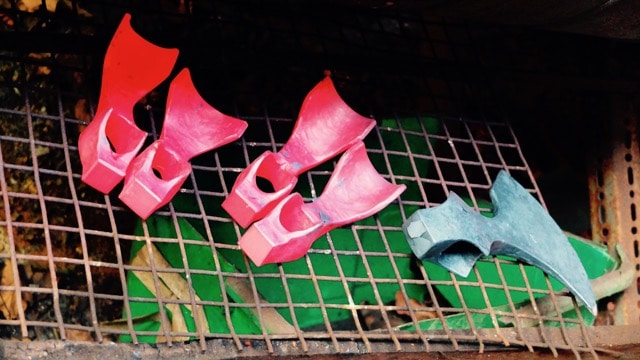
Tempering relieves this brittleness and reduces the hardness to something that you can sharpen. This is accomplished by reheating the adze to a lower temperature. The higher the temperature (normally 150-450C) the tougher it will be but the less well it holds an edge, so the same steel can be tempered to be used as a file or a spring.
If I’m doing the heat treating old school, such as when teaching groups, then I judge each of these temperatures by eye.
The
Going old school is always an art rather than a science and most people don’t have the luxury of keeping their eyes calibrated by using a temperature controlled furnace most of the time, so no matter how good a blacksmith style heat treat is, it will never be as good nor as consistent from piece to piece.
Once the heat treating is finished, I regrind the inside and grind the bevel on.
Then it’s time for a handle… Which we’ll cover in Part 3
This is the last second of our series on making an Adze by Dave Budd, you can read more about him and see his work on his website DaveBudd.com
Part one – Making an Adze is here
Part three – Making an Adze is here