Making an Adze by Dave Budd
Most folks that have seen me forging only get to see me making twiddly little things or a knife at events like the BushMoot. So I thought that I would share with you how I make something a little more meaty. Over the next few articles let me show you how to make an adze for hollowing out bowls and cups.
As pictures speak a thousand words, I have included some from courses where the students are doing all of the work by hand, and some from my workshop where I have a little more mechanical advantage.
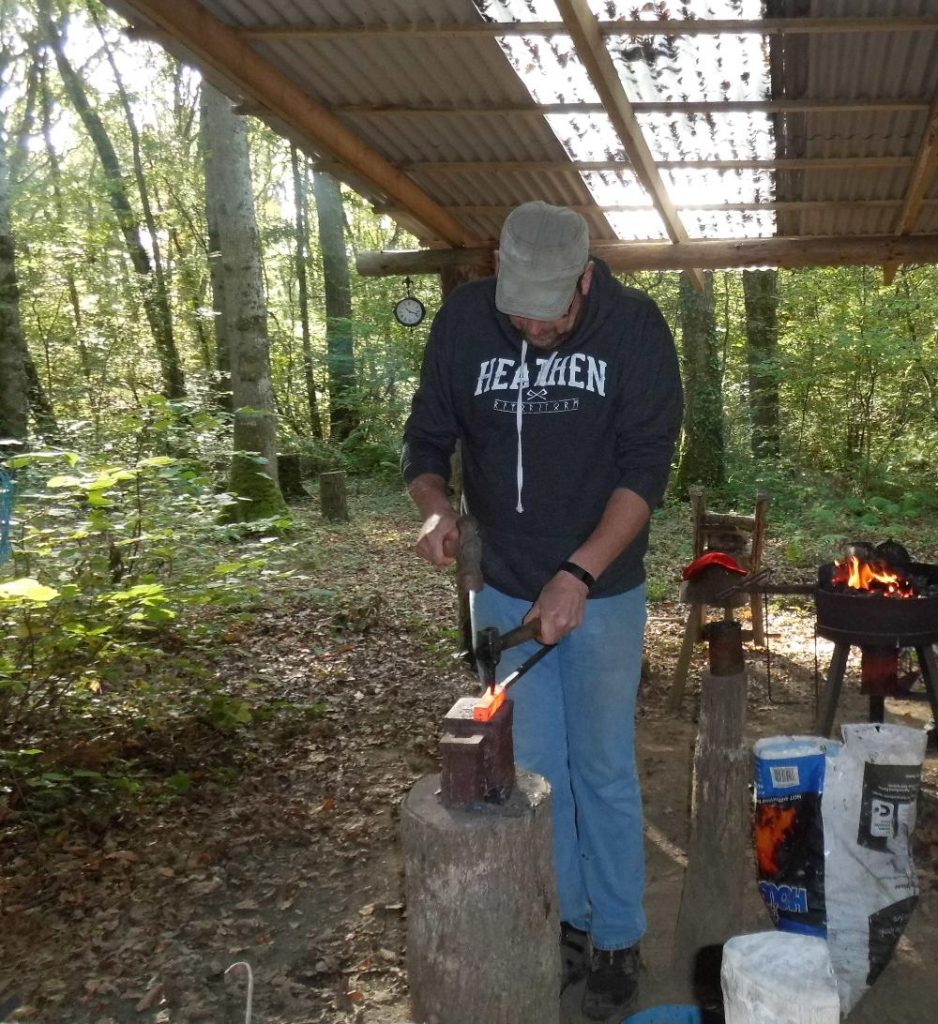
The starting material is a 120mm length of 25mm square EN9 spring steel. 25mm is a good size starting stock if making axes/adze by hand with only the strength of your own arm, normally producing a tool of 4-600g. These days I mostly hold the block in tongs, which let go and I spend a lot of time chasing hot metal around. So when teaching, I prefer to weld on a length of mild steel to act as a handle; this is both safer and saves an awful lot of swearing!

Starting point
The first step is to punch a hole for the handle to fit through. This is accomplished by driving a flat ended punch through the steel when it’s at a red or orange heat (the hotter it is, then the softer; but it also causes more deformation as described below).
If I’m doing it all by hand then I have a punch attached to a wooden handle and I drive it through with heavy hand hammer, the metal being worked on is supported on the anvil and held between my legs (the cold end, not the hot 25mm block!).
Punching solo
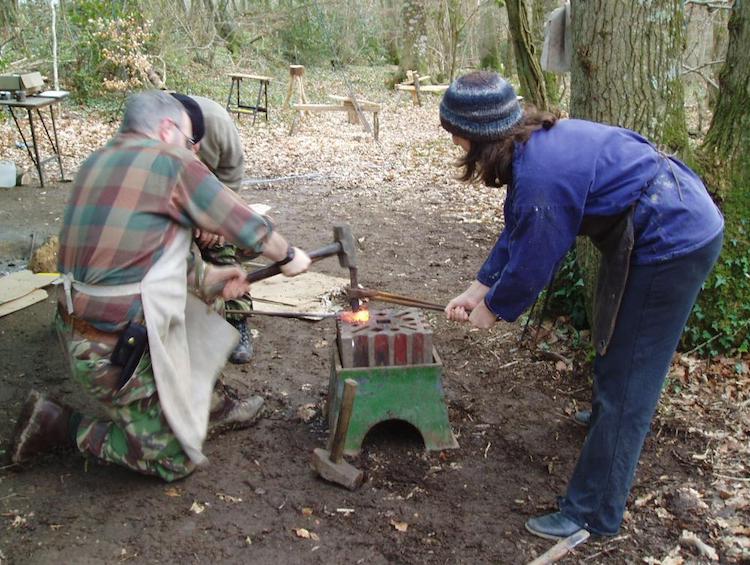
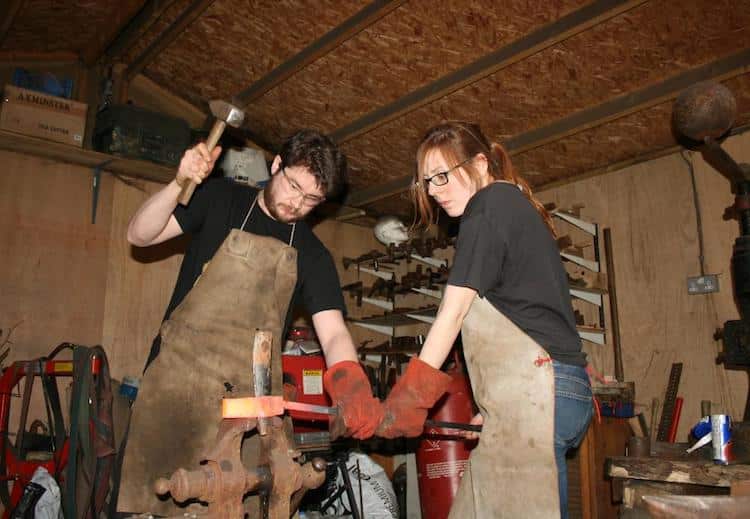
During courses, I have the students working in pairs, with one acting as ‘striker’ for the other.
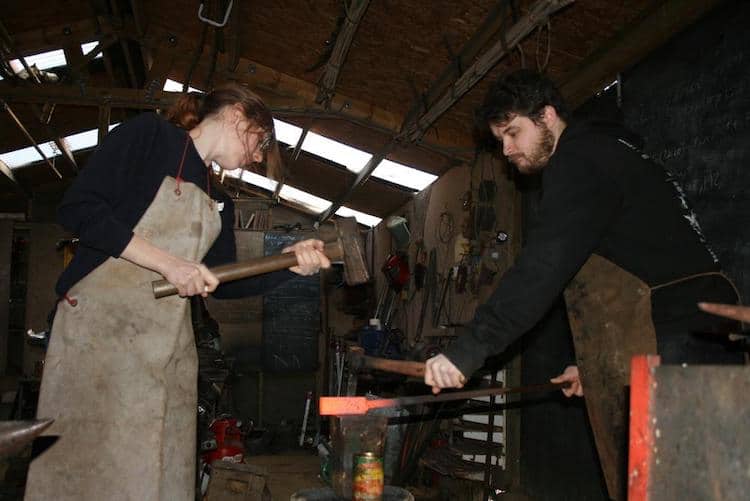
Punching in pairs
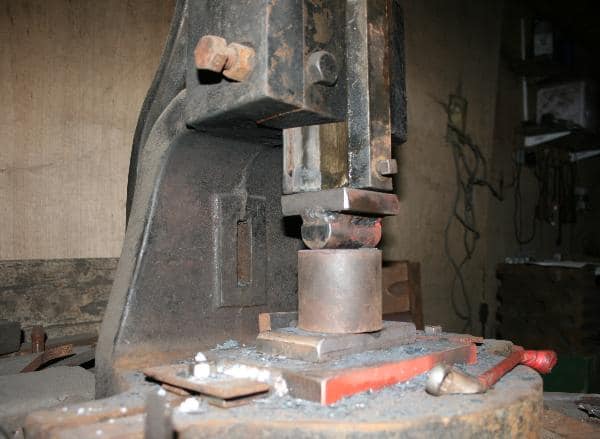
Otherwise, I use a punch in the flypress (a tool that uses a heavy fly weight and a screw to apply a great deal of power without needing electricity) or I use my power hammer in place of the sledge.
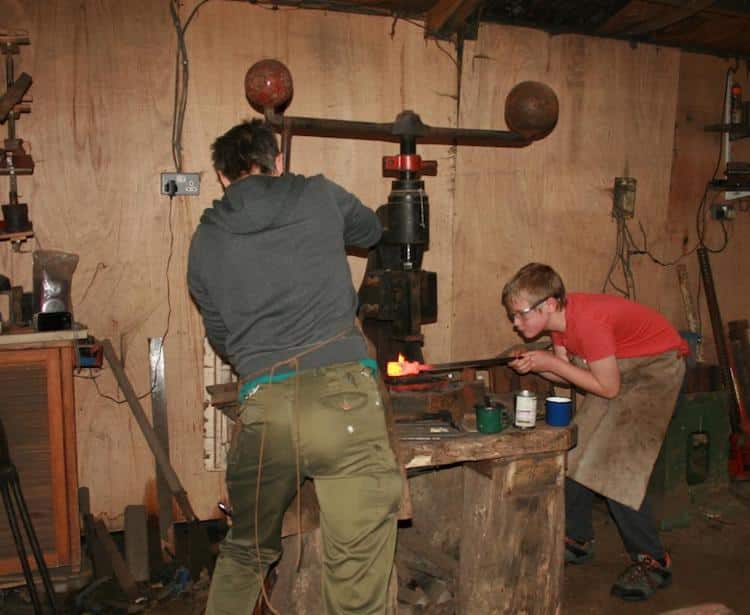
Punching with the press
Whichever method, the punch is driven into the hot steel a little over half way through, withdrawing and cooling it in water periodically. To stop the punch from sticking I lubricate it with grease and graphite powder. The block is turned over and the hole is completed from the opposite side.
The reason for this is that when the punch exits the steel, it leaves a sharp burr. If you punch through fully from one side, this burr requires considerable clean up with a grinder; but if you punch from both sides then the burr is in the middle of the eye and requires no clean up. The tricky bit is getting the punch in the right place and getting the two holes line up properly!!
When teaching I often drill a hole at either end of the slot so that the punch can be lined up more easily, it also gives a little wiggle room for the alignment of said punch.

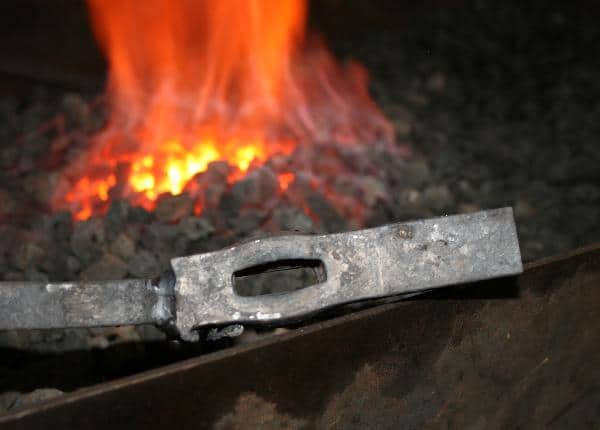
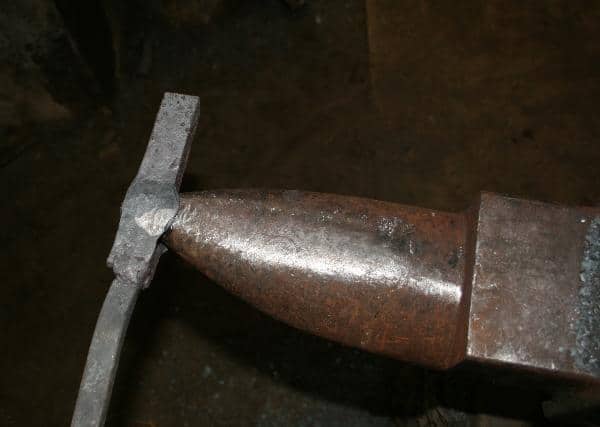
Finished eye
If done correctly a neat plug of metal should be ejected from the hole, with little flash (the burr) on the inside. If the hole is finished off when the metal is too hot (orange), then the metal is stretched as it is dragged through the first hole and the flash can be considerable, requiring chiselling or grinding out of the hole.
If the metal is in the reds when you finish off, then the metal shears and a neat hole results.
Now that we have a hole, it needs to be stretched. A tapered bar called a drift is driven through the existing hole at a nice bright orange (hot = soft remember) until the desired shape and size is reached.
Drifting in pairs
That’s the essence of it, but I’ll often use a couple of different drifts to allow me to draw out the sides of the eye and create a nice pair of langets (the bits that hang down the sides of the handle).
With the adze head supported over the hardy hole in the anvil or the jaws of a heavy leg vice, the drift is driven in as far as I can until the metal cools down to a dull red and becomes immobile.
Drifting on a vice
On the next heat, I work through from the other side of the block (less resistance that way) and repeat until the eye is almost fully open.
The sides of the eye are drawn out forming these langets to increase the amount of contact that the metal has with the wooden handle and so spreads the forces that could otherwise lead to the wood snapping, plus they look cool!
Drawing the langlets
In this case, I’ve used the bick of the anvil to do the bulk of the work and then the drift to support the metal for tidying up. I use the cross peen of the hammer (the narrow wedge side) or a fuller (a wedge shaped top-tool) to spread the metal in one direction, akin to squeezing clay between your finger and thumb. That way I can move the metal around very fast and accurately without the eye getting any larger.
Flypress fuller
I have a fuller that fits into the flypress when working solo and is very useful for isolating the eye area and accentuating the langets as well as straightening the head up after the drifting. With the langets drawn out and the eye stretched to size, I slip the drift in and tidy the metal around it, straightening the eye to the bar as I go.
Tidy eye
From here I could turn this lump into an axe, hammer or blacksmithing top tool such as a punch or fuller.
Next time: forging of the blade end…
This is the first part of our series on making an Adze by Dave Budd, you can read more about him and see his work on his website
DaveBudd.com
Part two – Making an Adze is here
Part three – Making an Adze is here
