I can remember my Grandad showing me how to make a whistle out of twigs years ago (Sadly can't remember how he did it), so I Googled it and Found an interesting link, and thought I would have a go and share my results with you!
As always ensure your knife is sharp and you have a first aid kit handy (As it turns out making this whistle it is a good job I did)
No matter how experienced you are you will get bitten by your knife at some stage
Any way on with it!!
Firstly pick a twig (I think this one is willow)
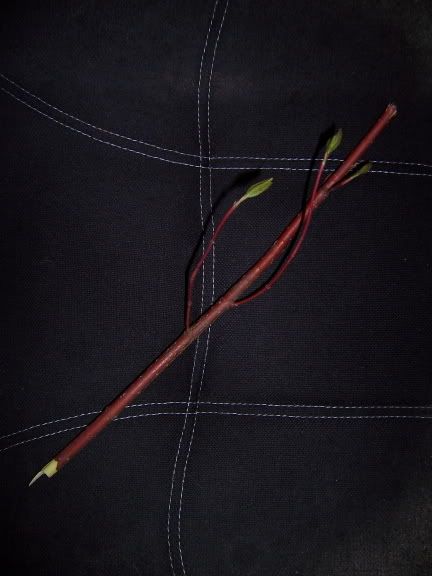
Find a section with no blemishes on the bark and preferably no small buds or branches. Cut this section free (Size is not crutial)
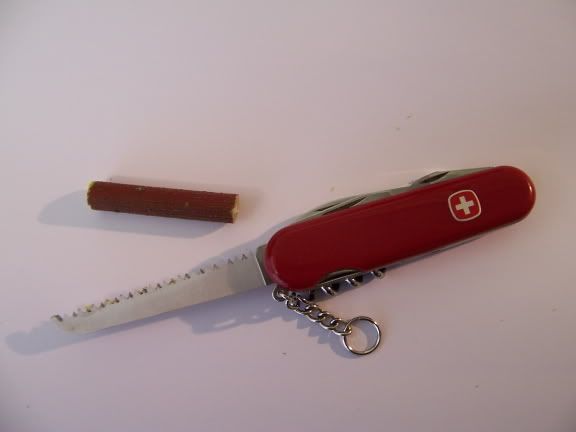
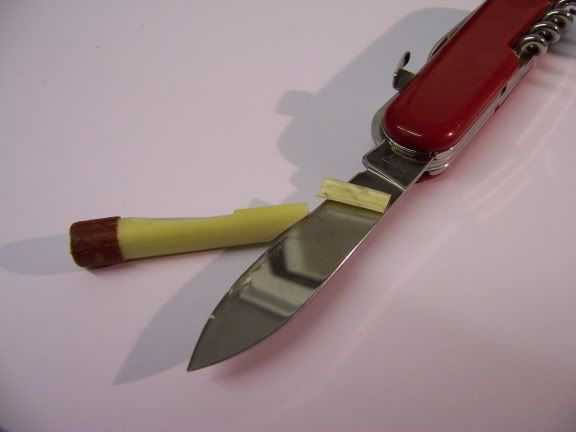
Next chamfer one end so it is fits your lip, only go about half way up the end of the twig
Take care not to tare the bark (A sharp knife is crutial) you should end up with this
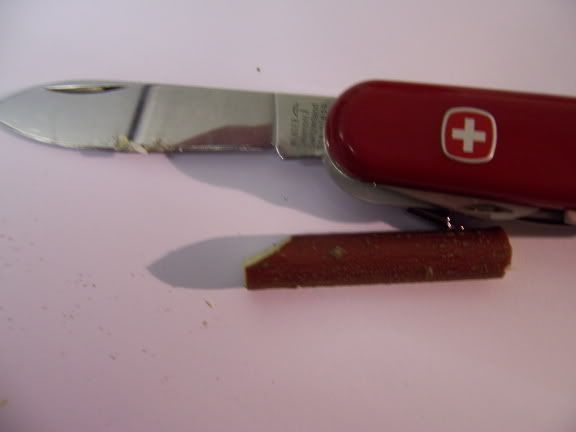
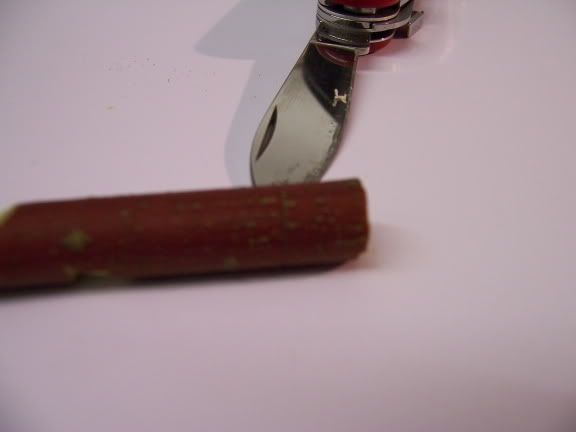
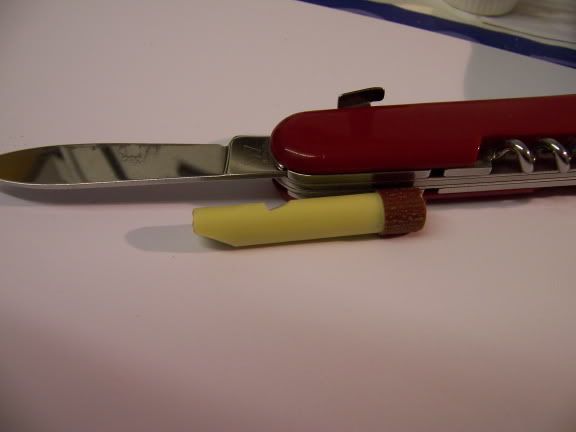
Next take a small notch out of the top of the Twig, the flat side of the notch should be facing your lip, with the sloped edge to the rear.
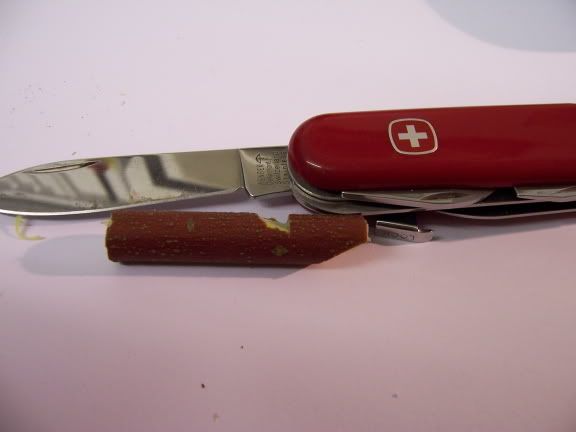
Now about 10mm in from the back of the twig score a line around the circumference (Ensure you cut all the way through the bark) it is difficult to see on the picture but the line is about level with the tip of the blade
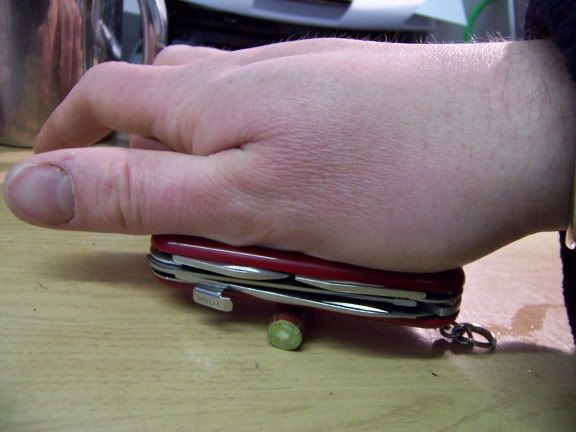
Now we need to loosen the bark without damaging it!
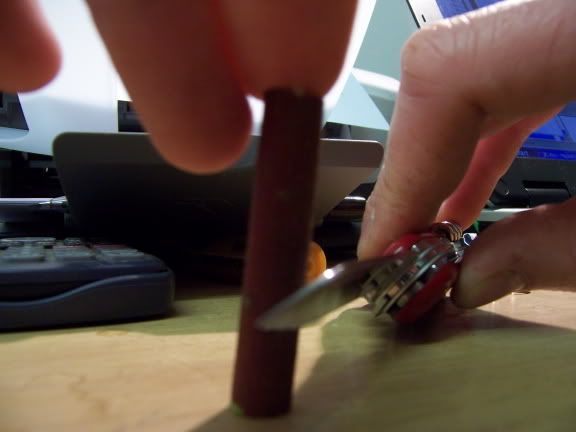
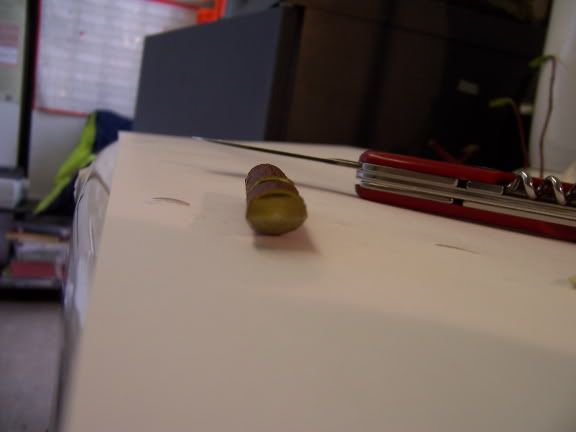
Roll the twig between a blunt object (The scale of my SAK) and a table, be firm but do not damage the bark!!!
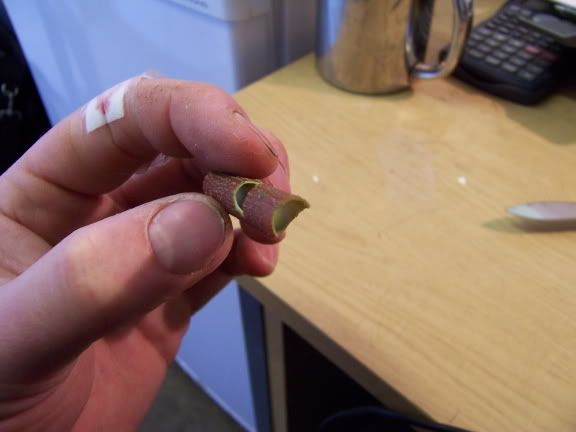
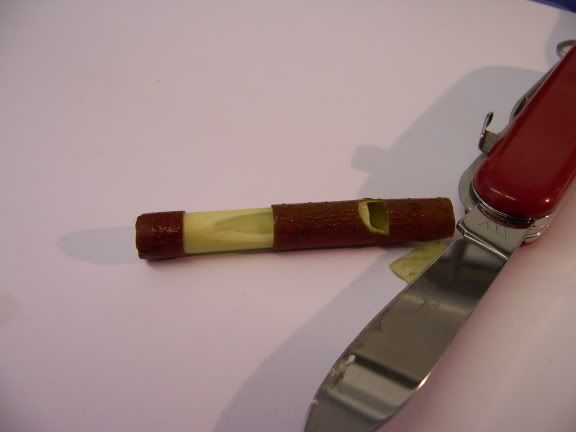
once this is done if you sqeeze the bark at one end of the twig you should see the bark lift free, gently pull and twist the bark with your fingers and it should start to come free.
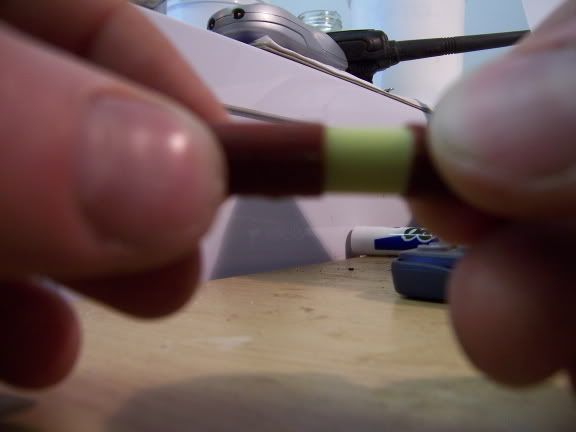
Try to only move the large section of bark, leaving the 10mm ring in place.
You will be left with a large section of hollow bark
(Go careful with those SAK saws, they are sharp, hence the plaster)
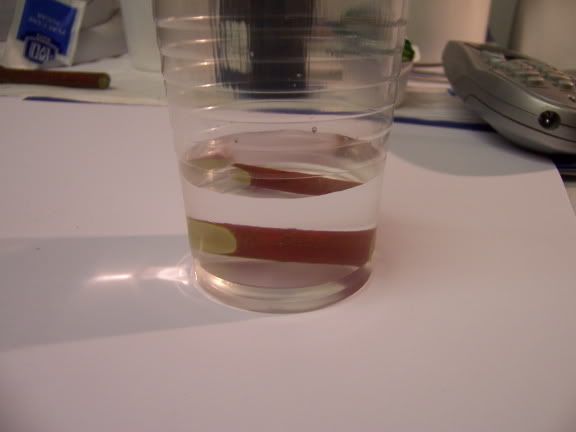
put this in a cup of water to prevent is drying and splitting
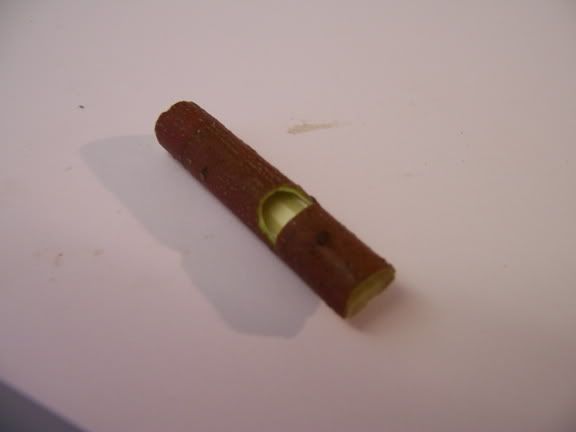
the notch cut into the wood needs to be made longer, and a little deeper, the size of the new notch will determain the pitch the whistle it should be something like this
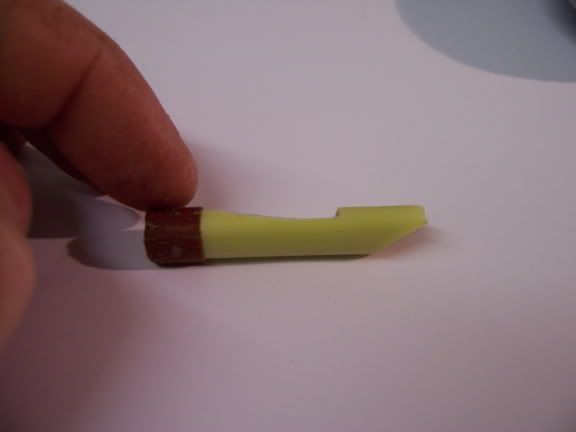
now for the fine work, a sliver of wood now needs to be taken of the front setion of the whistle above the notch about 1mm of wood worked for this whistle
now retrieve the bark tube from the water and slide it back over the wood, dont rip the bark or the whistle will be no use!!!!
Make sure everything lines up, the end should look like this
and the whistle complete!
Whilst dispite its small size this whistle has a mellow tone not as high pitched as you would expect!
Here is the link I found
Have fun!!
(Edit: Sorry bout the rubbish photos))
As always ensure your knife is sharp and you have a first aid kit handy (As it turns out making this whistle it is a good job I did)
No matter how experienced you are you will get bitten by your knife at some stage
Any way on with it!!
Firstly pick a twig (I think this one is willow)
Find a section with no blemishes on the bark and preferably no small buds or branches. Cut this section free (Size is not crutial)
Next chamfer one end so it is fits your lip, only go about half way up the end of the twig
Take care not to tare the bark (A sharp knife is crutial) you should end up with this
Next take a small notch out of the top of the Twig, the flat side of the notch should be facing your lip, with the sloped edge to the rear.
Now about 10mm in from the back of the twig score a line around the circumference (Ensure you cut all the way through the bark) it is difficult to see on the picture but the line is about level with the tip of the blade
Now we need to loosen the bark without damaging it!
Roll the twig between a blunt object (The scale of my SAK) and a table, be firm but do not damage the bark!!!
once this is done if you sqeeze the bark at one end of the twig you should see the bark lift free, gently pull and twist the bark with your fingers and it should start to come free.
Try to only move the large section of bark, leaving the 10mm ring in place.
You will be left with a large section of hollow bark
(Go careful with those SAK saws, they are sharp, hence the plaster)
put this in a cup of water to prevent is drying and splitting
the notch cut into the wood needs to be made longer, and a little deeper, the size of the new notch will determain the pitch the whistle it should be something like this
now for the fine work, a sliver of wood now needs to be taken of the front setion of the whistle above the notch about 1mm of wood worked for this whistle
now retrieve the bark tube from the water and slide it back over the wood, dont rip the bark or the whistle will be no use!!!!
Make sure everything lines up, the end should look like this
and the whistle complete!
Whilst dispite its small size this whistle has a mellow tone not as high pitched as you would expect!
Here is the link I found
Have fun!!
(Edit: Sorry bout the rubbish photos))


") .
.
