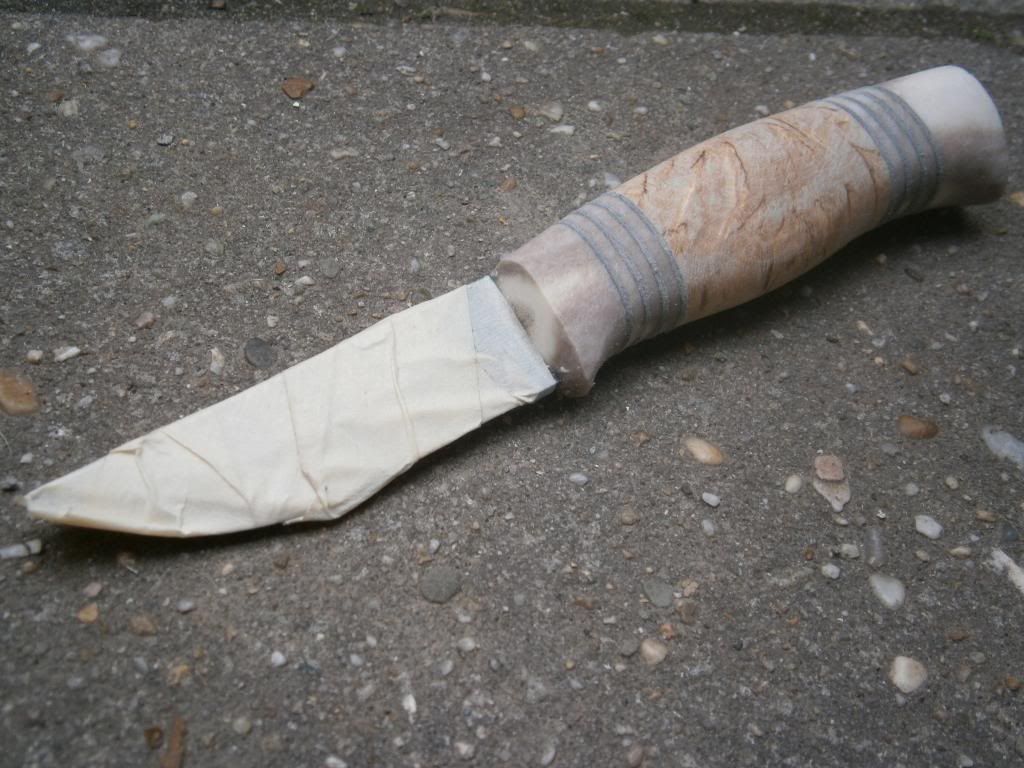
Small antler knife WIP finished

Niels

Full Member
Mar 28, 2011
2,582
3
27
Netherlands
This will be a small knife. The blade is a 3'' polar, and the handle will be curly birch, leather and antler.


2013-05-06 15.28.59 by Sami knives, on Flickr

The main work now is to get the bolster and pommel polished, as you can't do that when it's on the knife, and also to get all the spacers to the same thickness.

I use this piece of wood to hold the spacer while I thin it down with a coarse wood file.


2013-05-07 11.15.43 by Sami knives, on Flickr


I will keep you updated.:)
 
Last edited:

Niels

Full Member
Mar 28, 2011
2,582
3
27
Netherlands
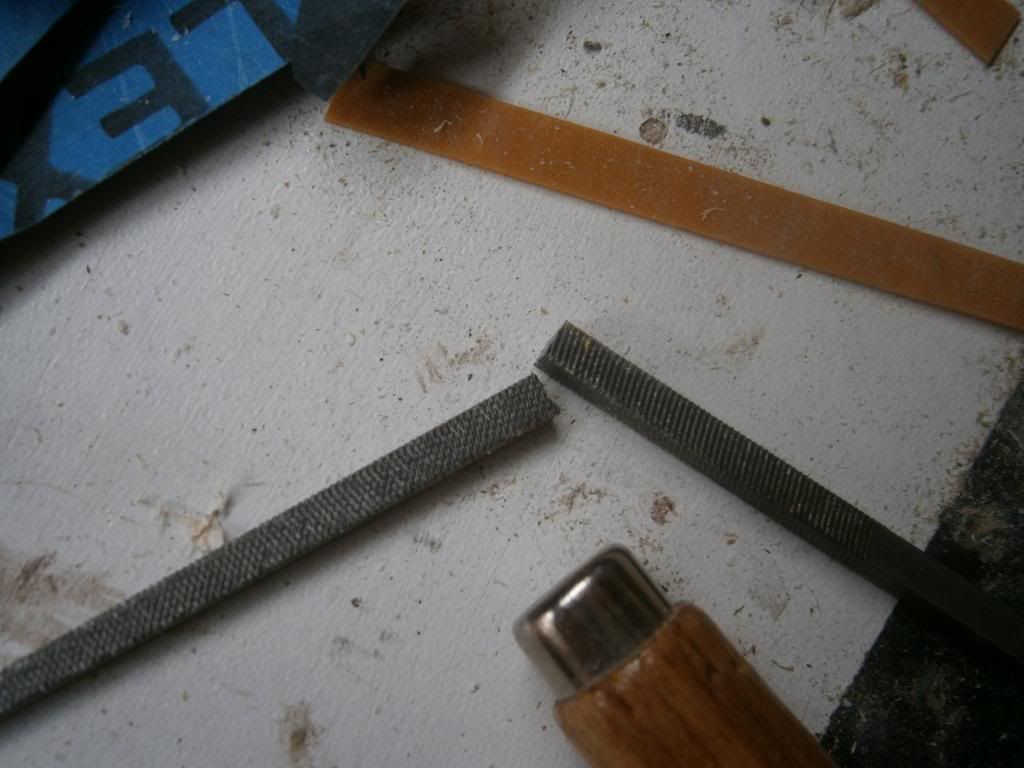
I was having a little problem with my most important file. Being, that it broke:


RIP, file.

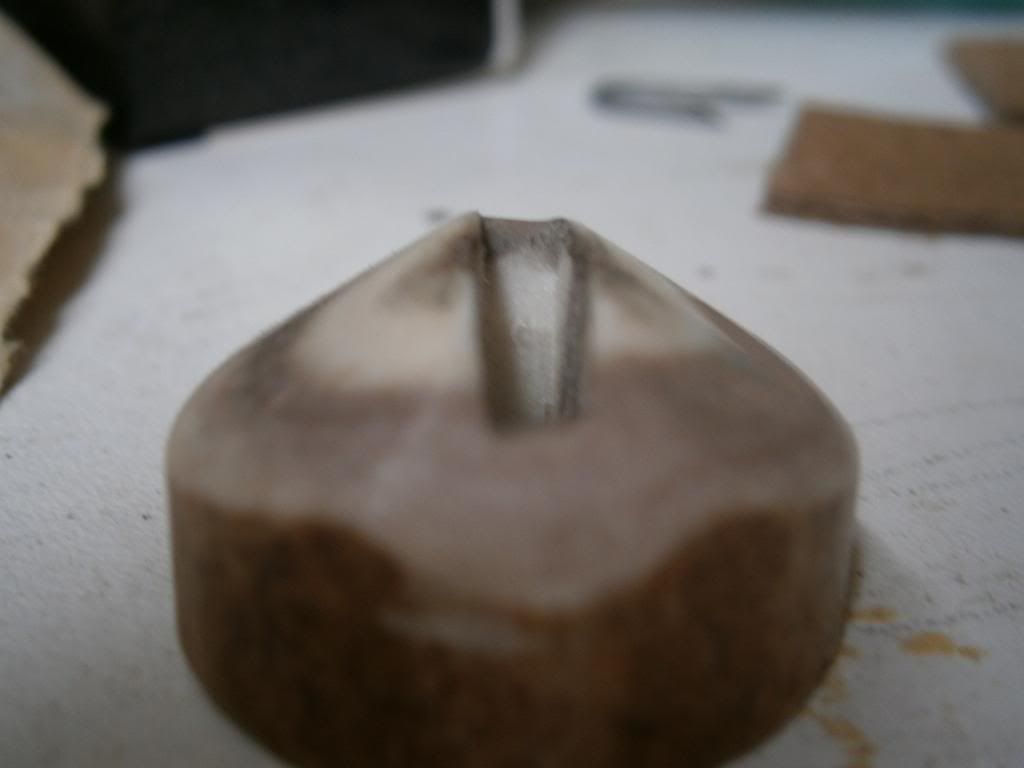
Luckily, I had already done the bolster. I made it in this pointier shape, so it would work better with power cuts.


As I said, I polish the bolster and pommel before assembly. I do this with the grits 100, 800 and 1500. It ends up looking like this:


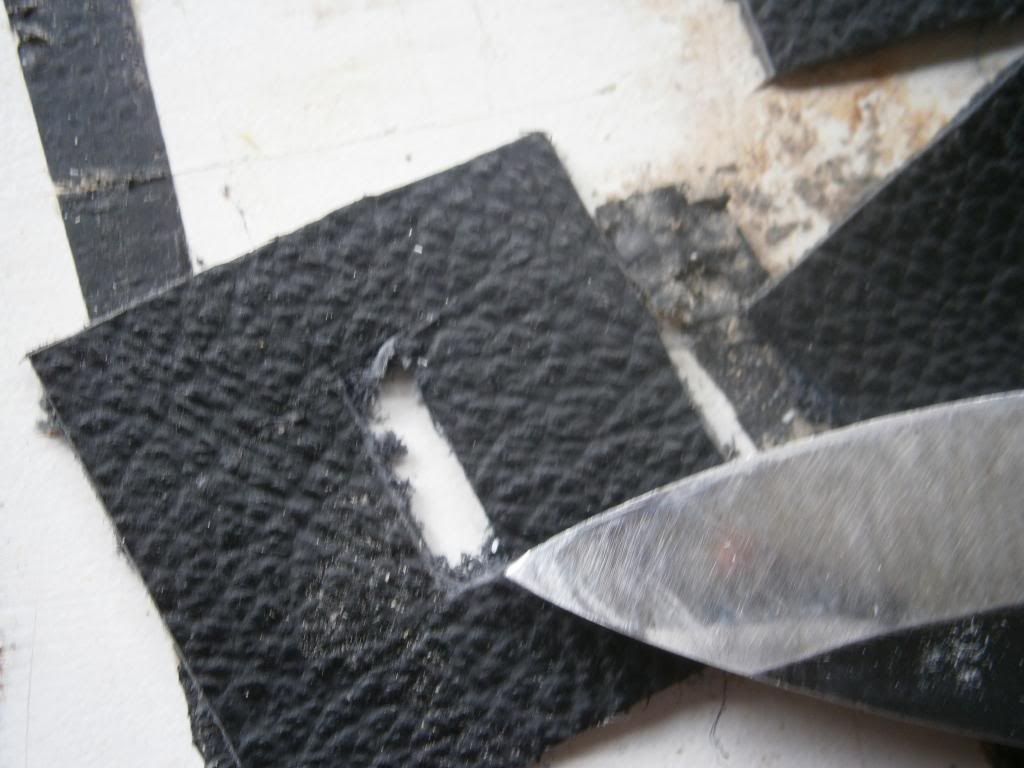
I simply use the tip of a knife to cut the leather spacers.


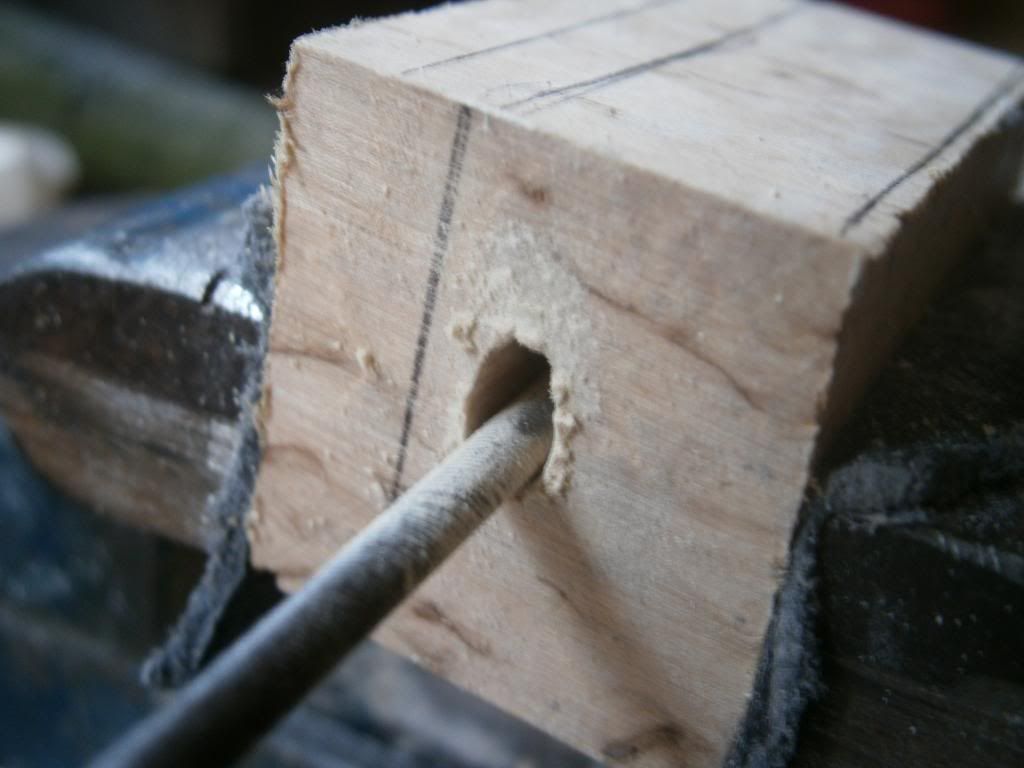
I'm using another file as the fit of the pieces behind the bolster isn't all that important. You could even go as far to say a bit of space is good because the epoxy can get in there later.


More to come.
 

Niels

Full Member
Mar 28, 2011
2,582
3
27
Netherlands
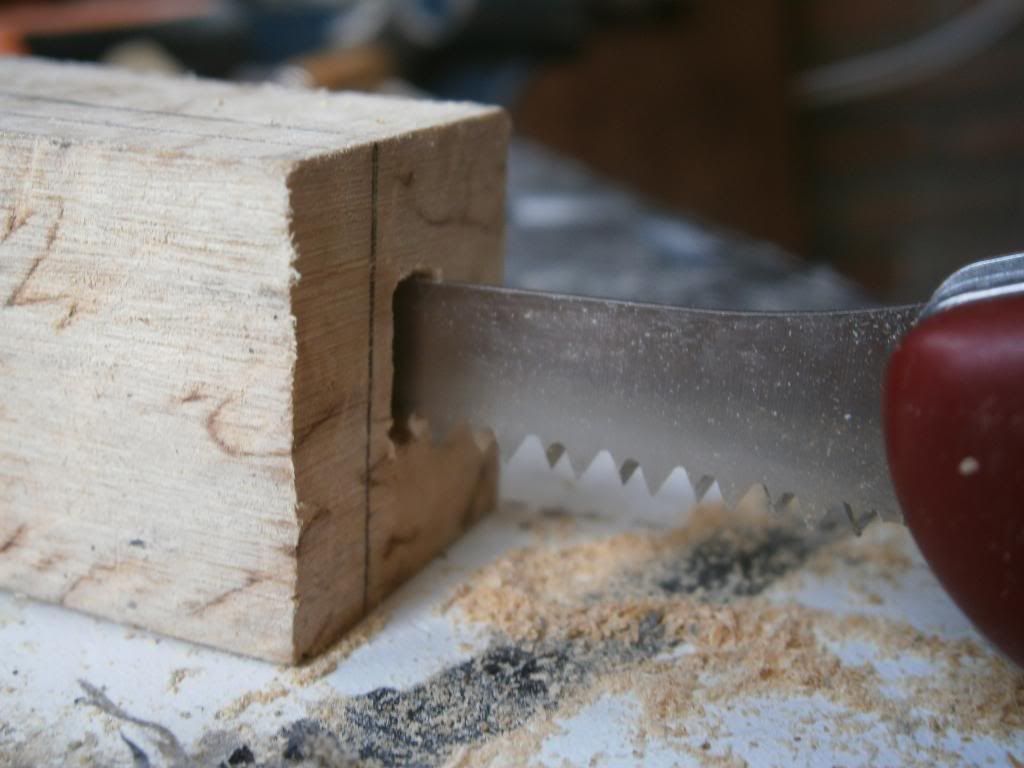
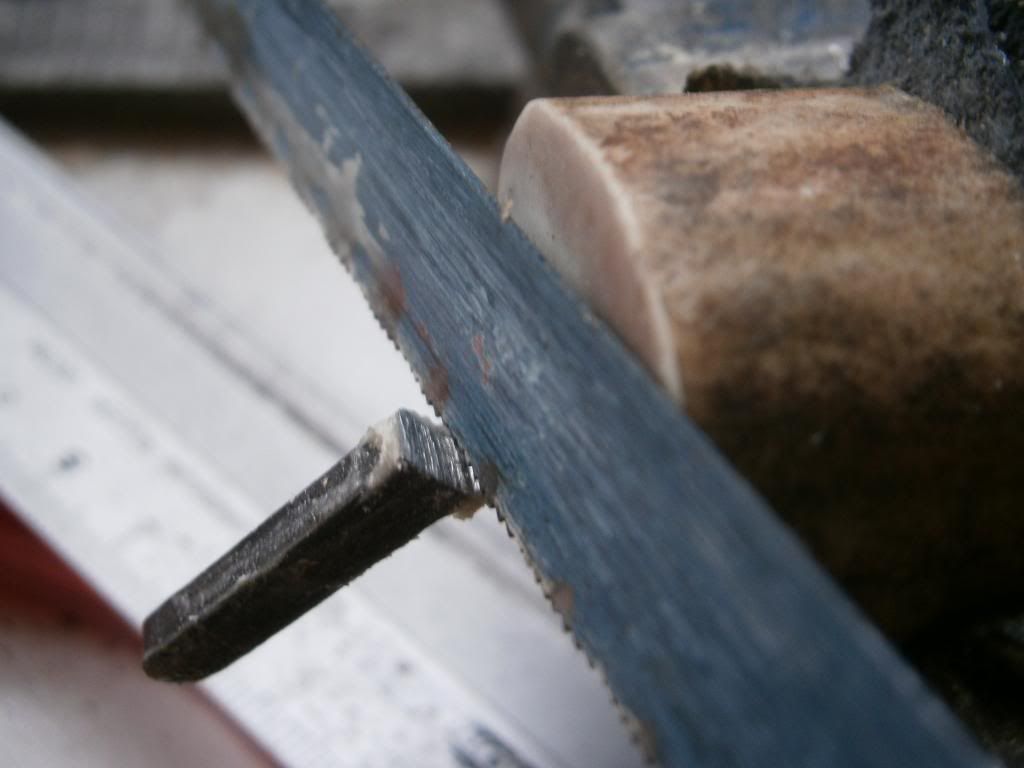
Once you can get a SAK saw into the block, life gets easier.


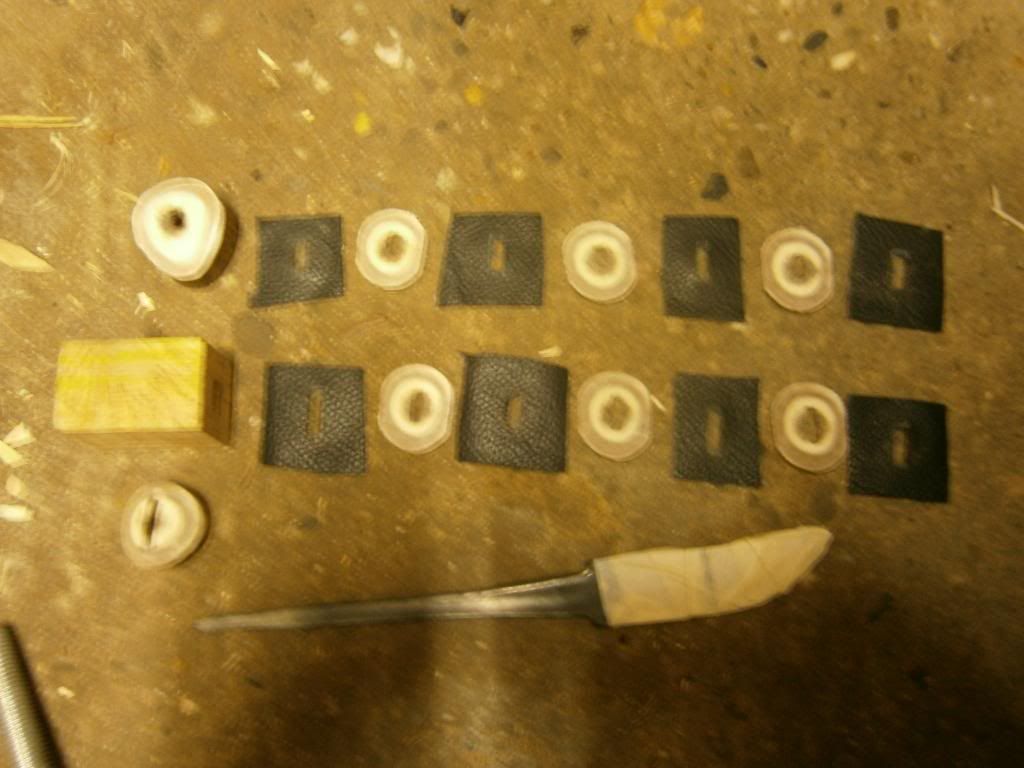
Before glueing, I like to place everything in the right order. This picture is terrible, I didn't notice on the LCD screen but here I do notice.


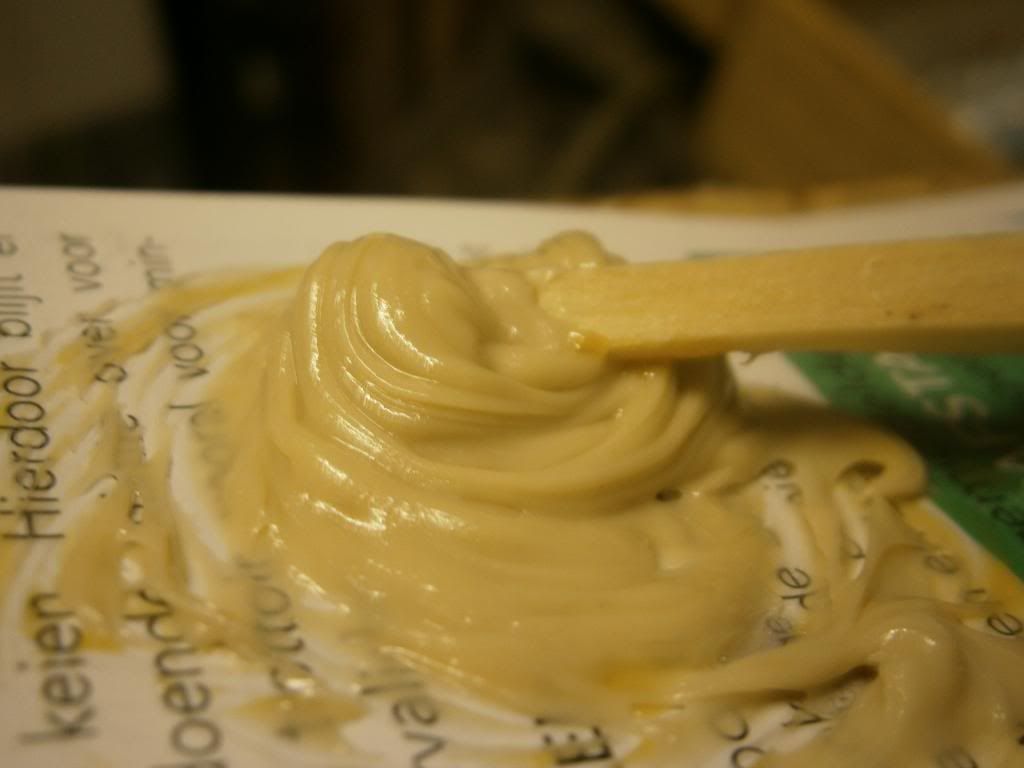
The glue I use is a saltwater-proof slow drying 2 component epoxy made by 'bison'.


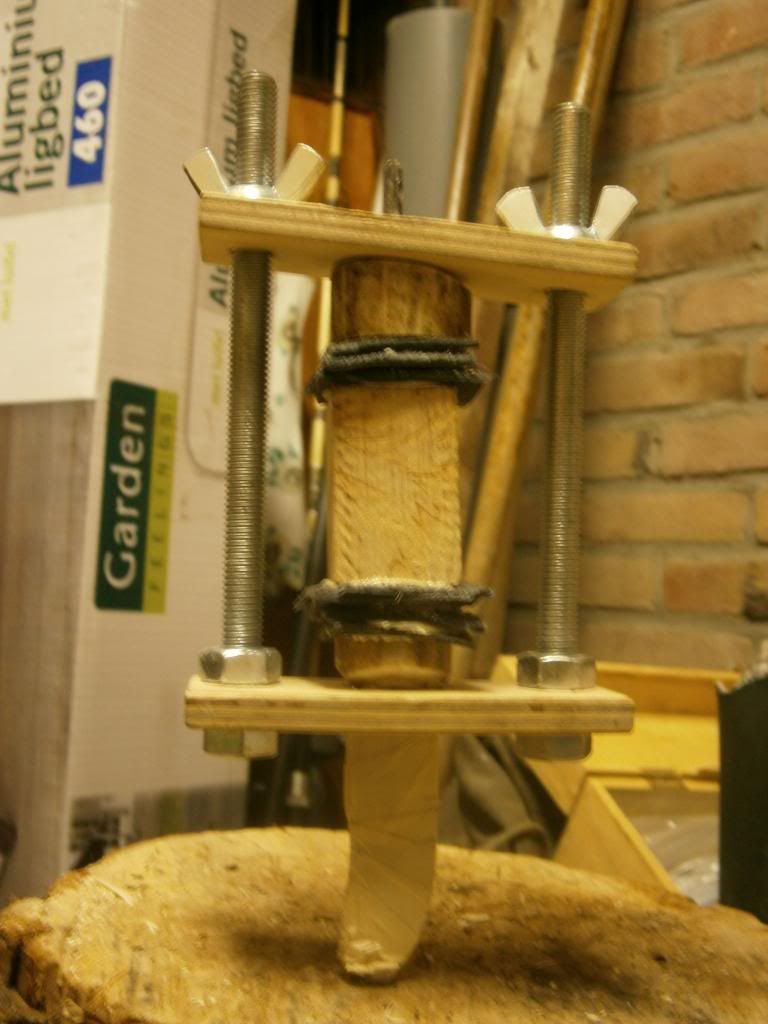
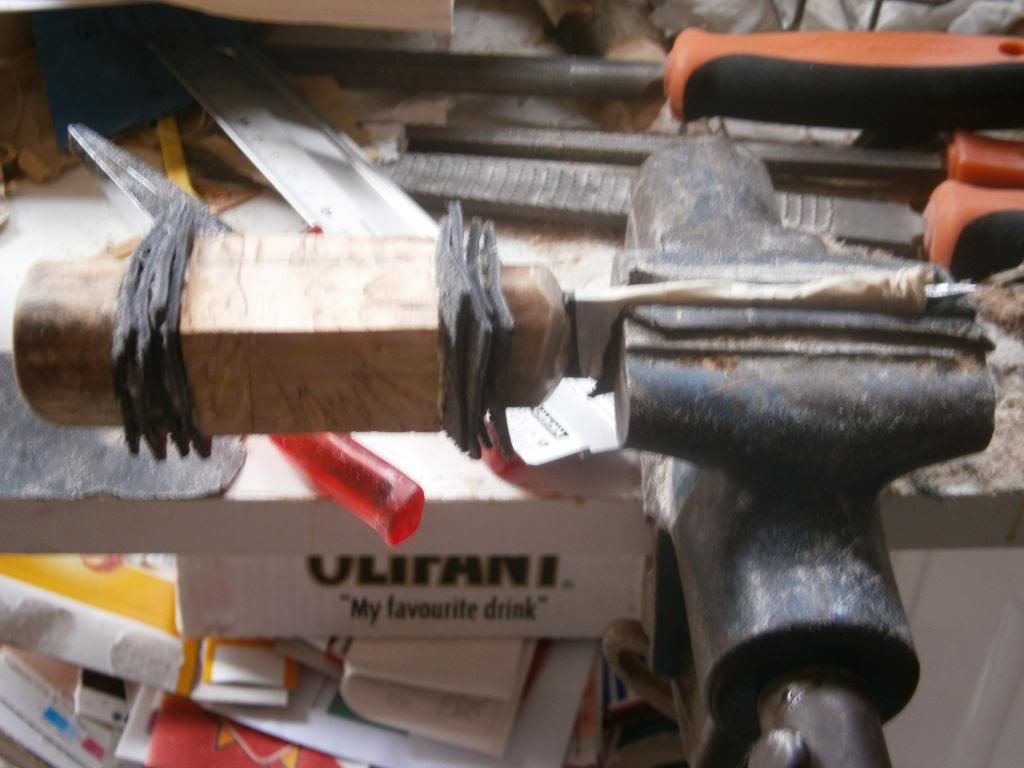
Then I put it all into a vice. You don't need a vice like this. Before I had one I just stuck the knife into a log and tapped all the components tightly on there. But this is quicker and easier.


After putting it in a vice, I give the whole thing a few ferm taps with a hammer. I do this, because this vice presses all the spacers together, rather than towards the shoulders of the blade. This causes the bolster to be pushed away from the shoulders of the blade. So pay attention.

You could also glue the bolster first, which would alleviate the problem, but would take longer.

The next installment, the real fun starts:D
 
Last edited:

Niels

Full Member
Mar 28, 2011
2,582
3
27
Netherlands
Finally, the glue has dried. Time to cut of the tang. I leave about 2-3 mm sticking out.


I then put the blade of the knife in my vice. You shouldn't put the handle in the vice, because you will be beating the blade out of the handle.

Make sure it's in nice and tight. Otherwise, you could beat the bolster against the vice and make an ugly dent in it, like I just did.:bluThinki Ah well, I can fix it.


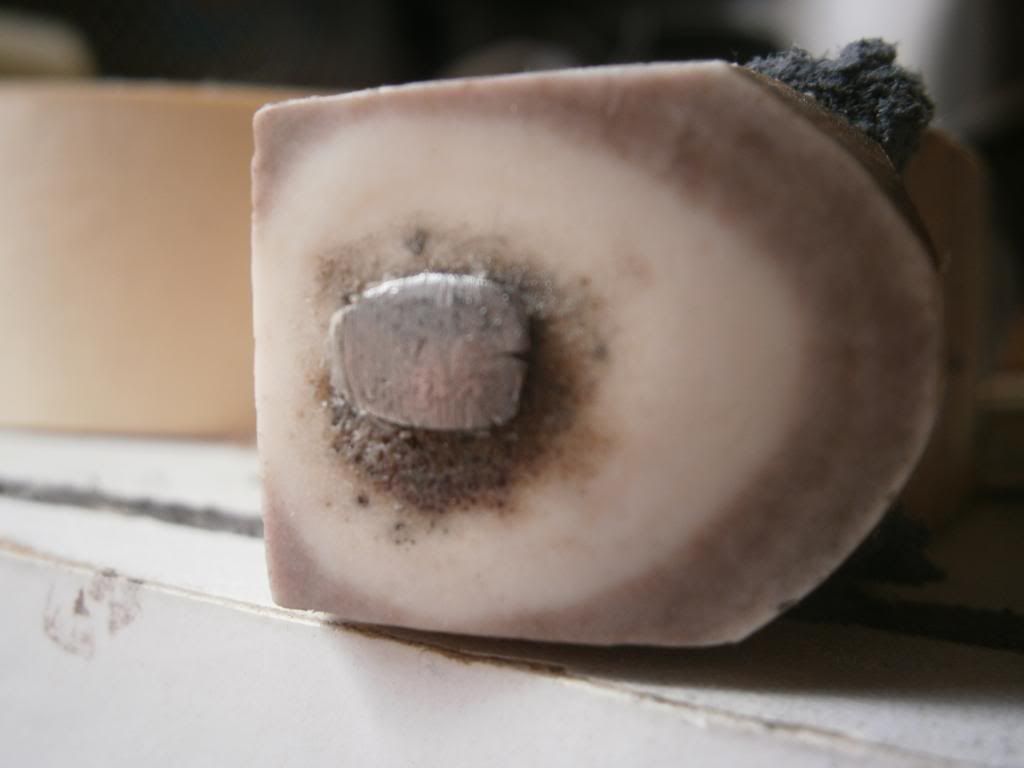
The end result, after hammering the rivet. I use a normal hammer, but you should really use a small round one, as there's a smaller chance of making cracks in the bolster. If you have left to much steel after sawing, simply file some material of the rivet.


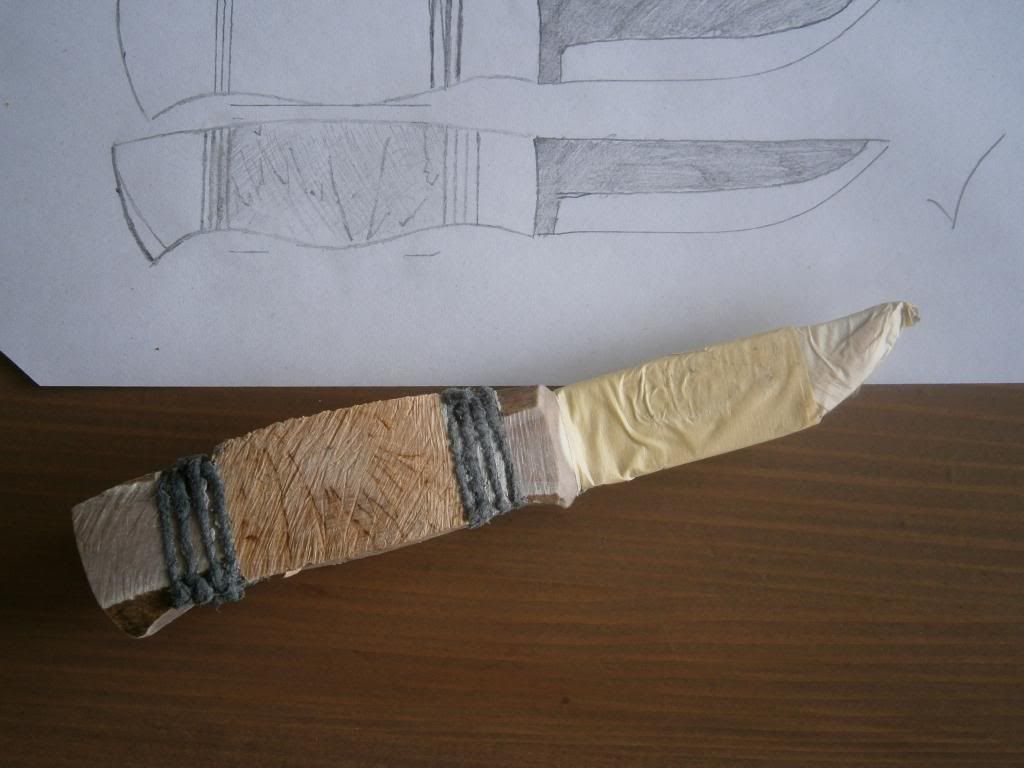
Now, as for shaping the handle, I always start giving it the correct profile as seen from the side, and then as seen from the top. So you end up with a square handle.

I do this because it's easier to keep everything symettrical that way, than if you would just make it round immediately. Here it is next to a drawing of what it should become.


Thanks for reading, I will keep you posted.:)
 

Niels

Full Member
Mar 28, 2011
2,582
3
27
Netherlands
Now that I have the square handle, I need to round it of to an upside down egg sort of shape.
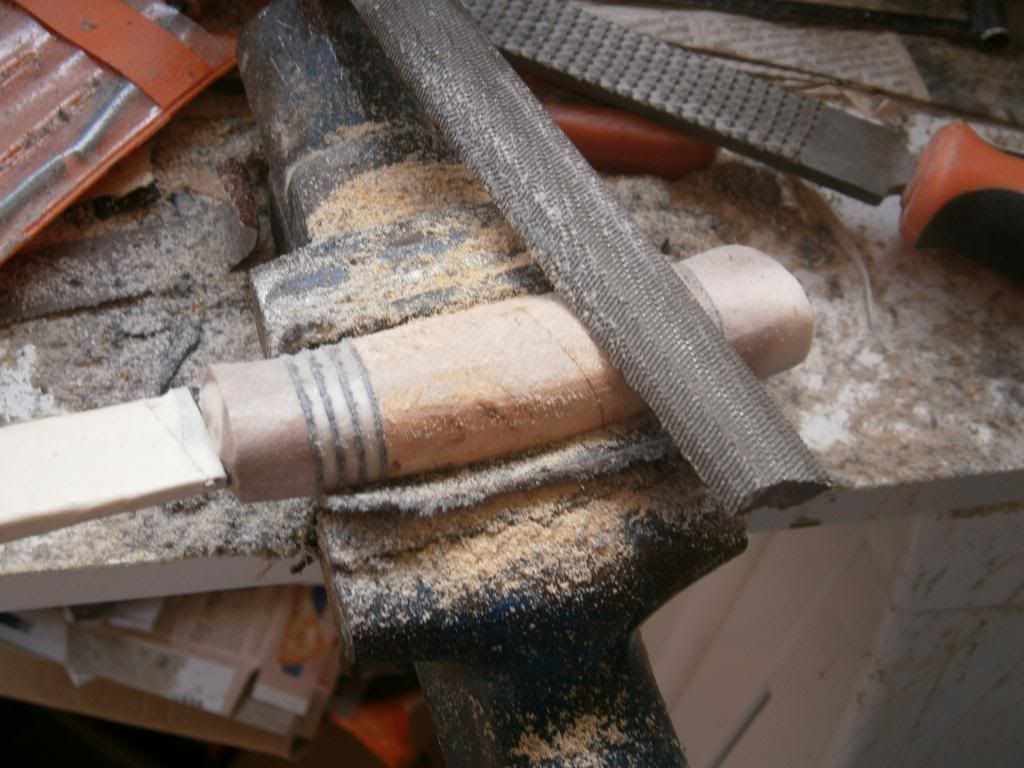
First I file all the corners of.


More of that with a file:


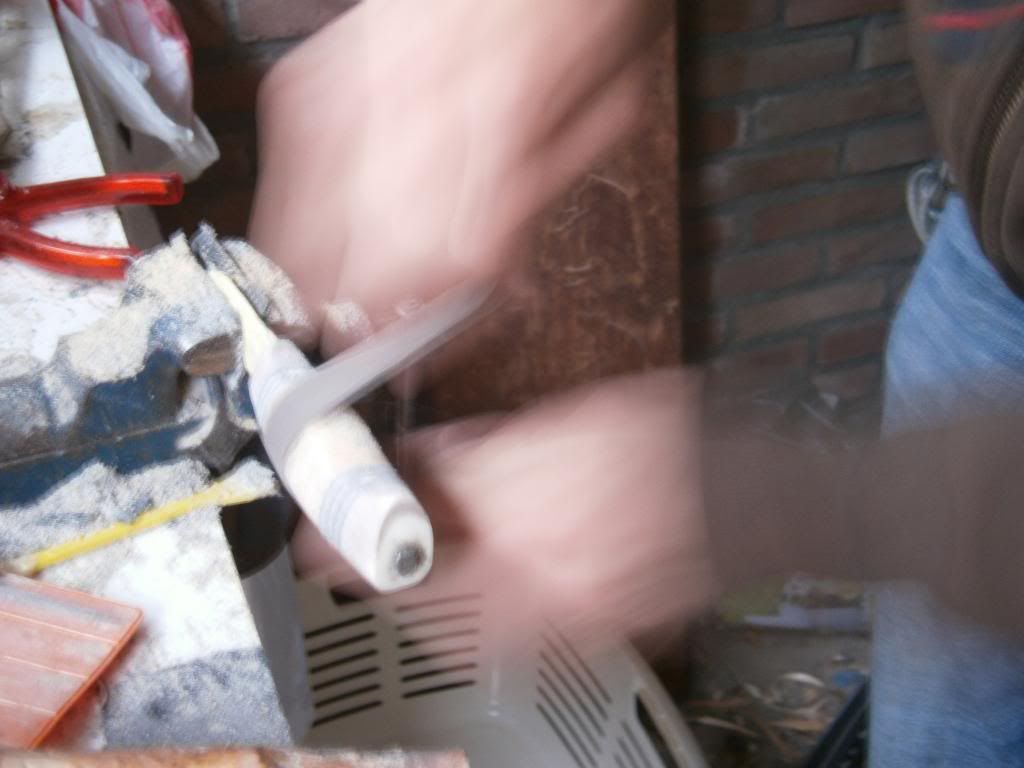
And then I use 40 gritt sandpaper to turn it into an actual oval, rather than just a rounded of square.


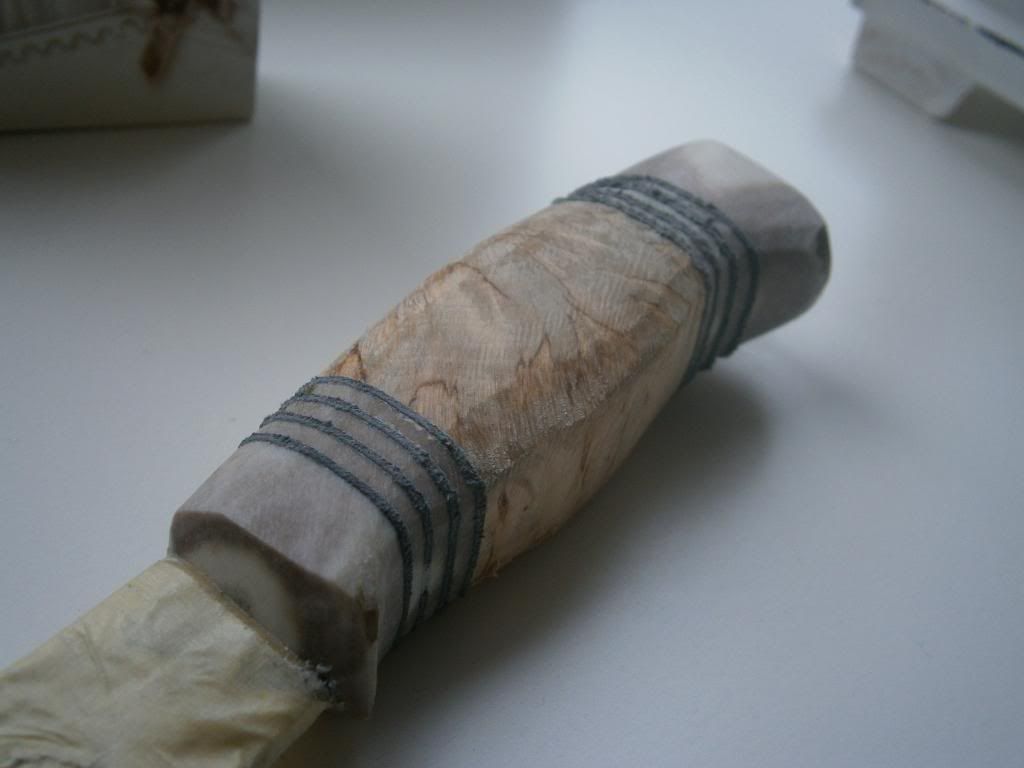
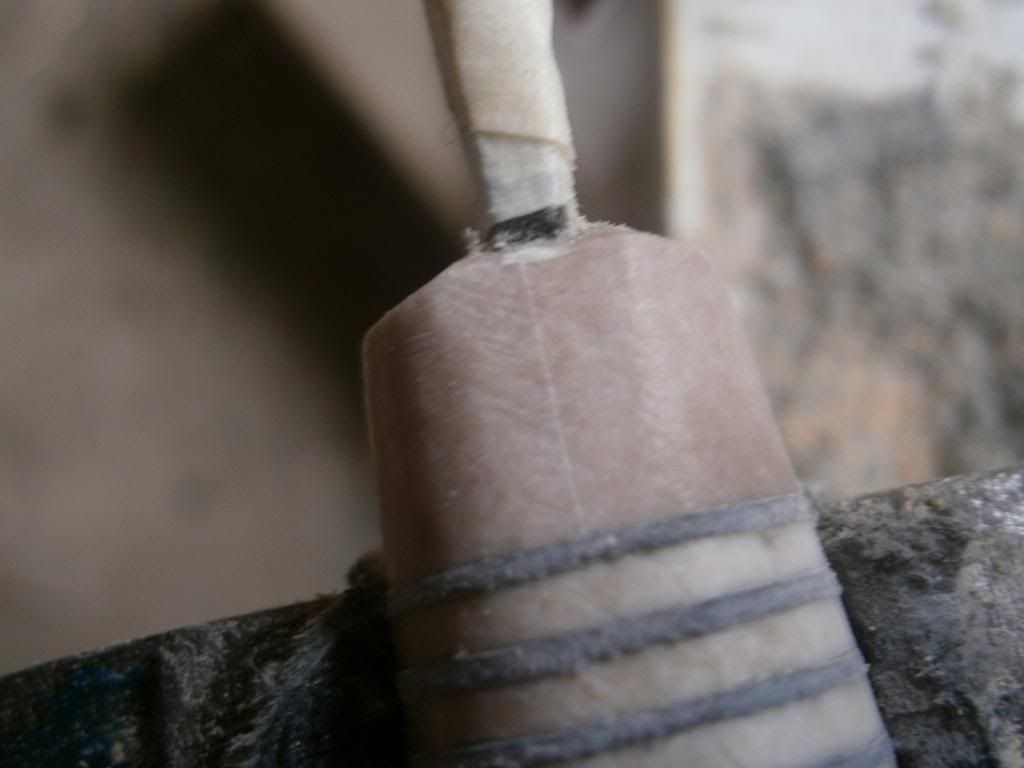
Then I got a minor setback. A little crack line appeared in the bolster. :cussing: I've had it happen before, and it doesn't really weaken the knife in any way. It's just not something I like to see, and I'm not sure where it's coming from. Maybe I need to make the antler bolster bigger, maybe I should just use a brass bolster. I don't really mind about this myself but ofcourse if I would want to sell the knife it wouldn't be worth as much. :bluThinki


Anyhow, here is the handle shaped, now ready to start sanding.


Thanks for reading, will keep you updated.
 
Last edited:
BCUK Shop

We have a a number of knives, T-Shirts and other items for sale.

SHOP HERE