I thought that I would take you with me while I made another knife sheath. This is going to be another SRK sheath. (Seems to be popular, lately)
My first step is always to finalize what Im going to do before I start. This way I can estimate the materials and time it will take to give the client a ballpark price. Here is the SRK along with a few different designs that the client and I discussed.
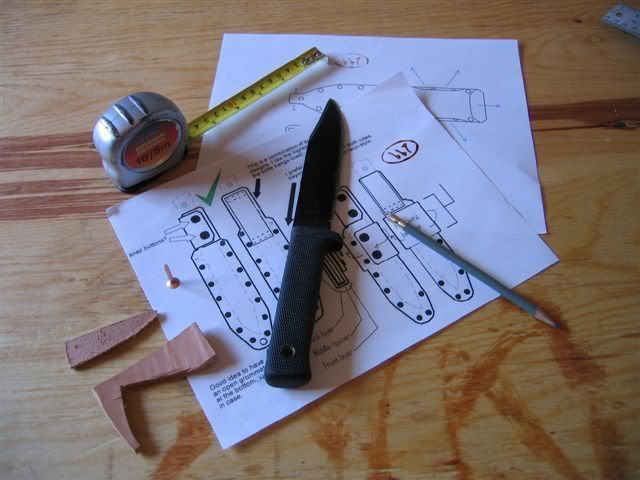
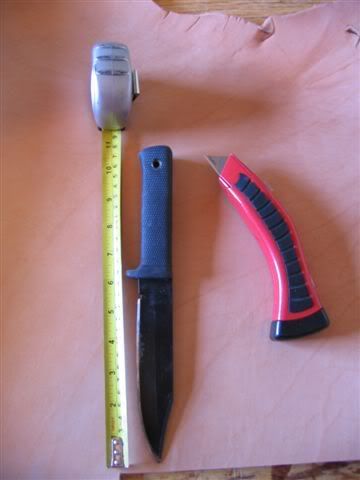
I have finalized the design and am going to measure the knife so I can cut the material. It will be a one piece design in which one continuous piece of leather will be the front, back, and belt loop panels. Basically, I nearly triple the length and add 1/2 on either side of the blade to allow for the spacer or welt that protects the stitching or in this case the rivets.
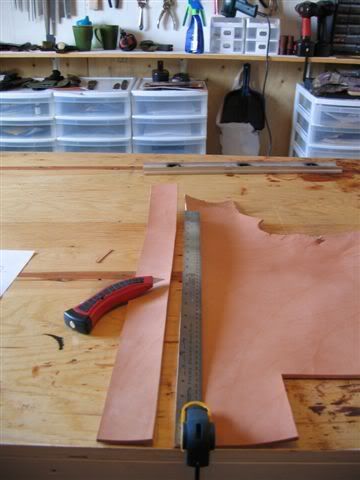
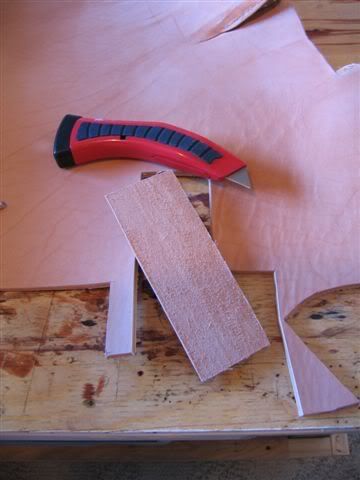
I mark the leather and cut the strip using a utility blade and a steel ruler as a guide.
Next I will measure the blade to make the piece that will be the welt
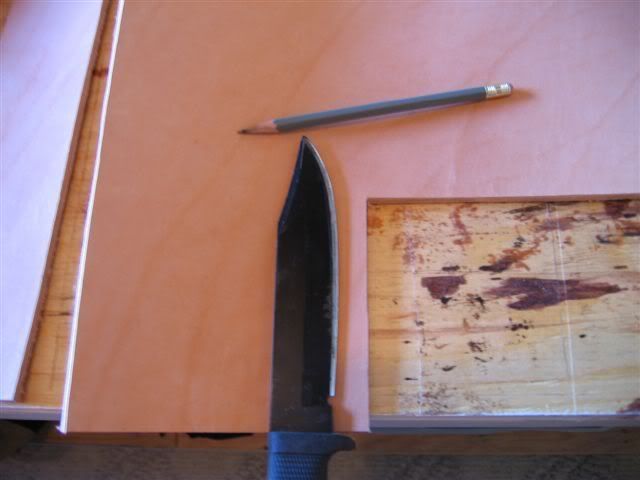
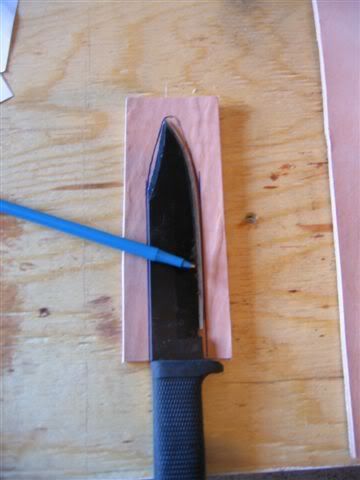
After I cut it out I trace the blade and make sure I add a little clearance so the blade doesnt get wedged in from too tight a fit...
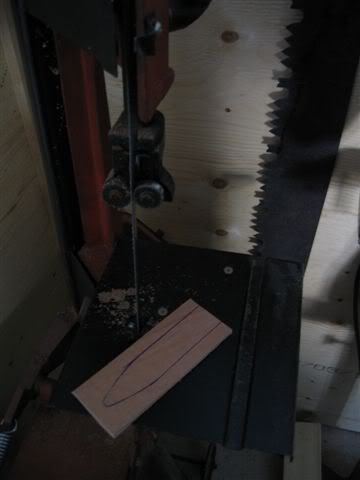
...Then I cut out the blade area with a band saw.
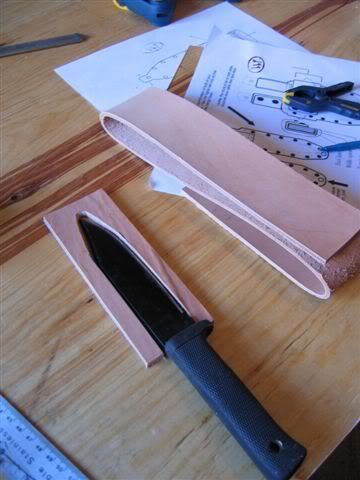
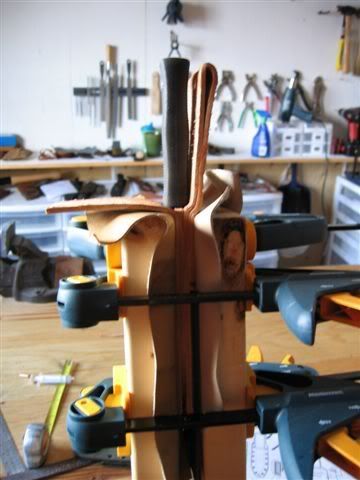
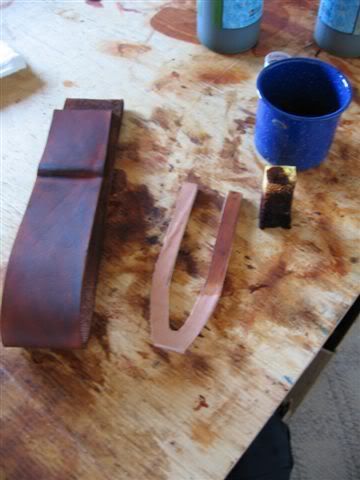
Now I can fold the large piece, add the welt and get an idea of how the sheath will come together.
I do a little wet forming to set the shape of the sheath around the knife. Notice how the leather is only wet where I intend to bend it. Dont wet the whole sheath because it is really easy to accidentally mark it with your finger nails. After its dry those mark will be permanent.
Its time to dye the leather. I do this now because when I bind it together I may unknowingly put glue marks on the leather and the dye wont take. (Learned through experience.)
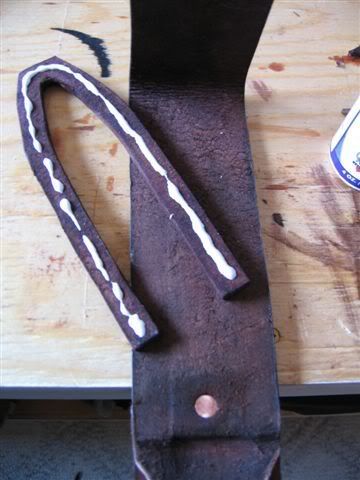
I cut the piece that will be the retaining strap and rivet it to the back panel as it will be difficult to do when glued together. I also do any contouring at this point and install the one hidden rivet for the belt loop attachment.

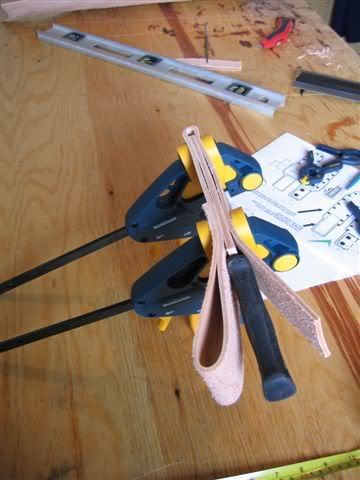
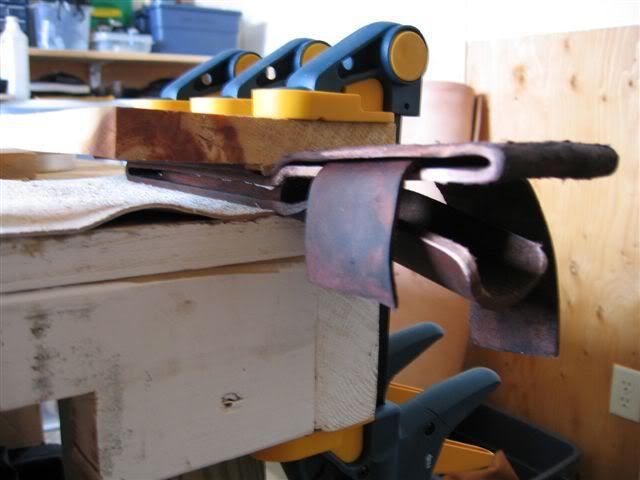
Now I can glue the welt in and clamp it to the bench to dry.
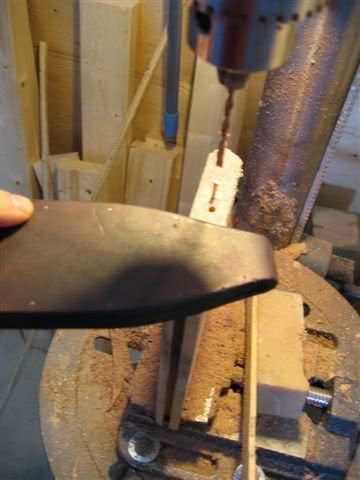
After its dry I trim off the extra leather and clean it up on the barrel sander. Then I dye the exposed leather and apply an edge finish to seal it. I jumped the gun and forgot to take some pictures so here is the finished edge and the drill press mounted sander I use. (Notice how I leave the folded tip of the sheath on to serve as a lanyard hole.)

I mark where my rivet will go and set up a jig on my drill press to assure proper distance from the edge.
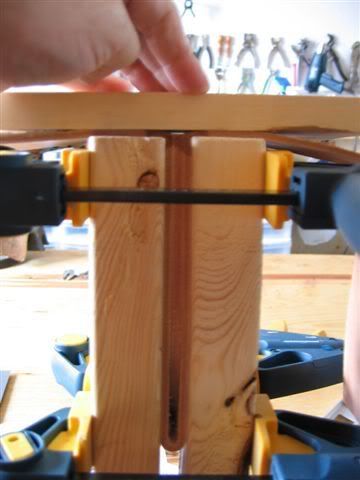
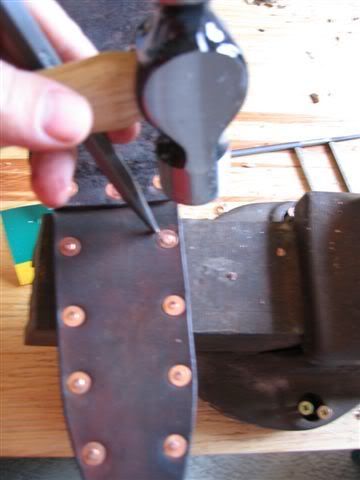
Then I install the copper rivets and snug down the backing washers
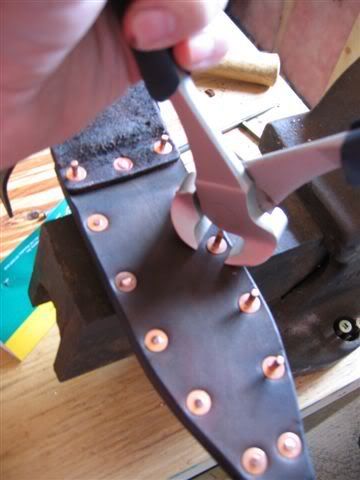
Snip the ends with a pair of cutters
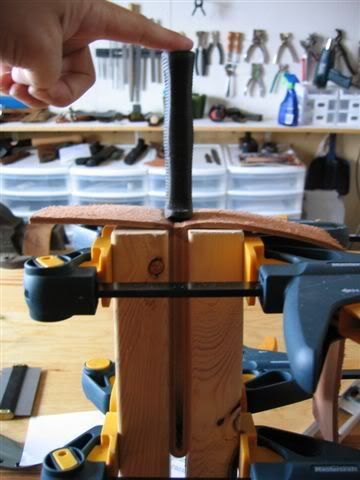
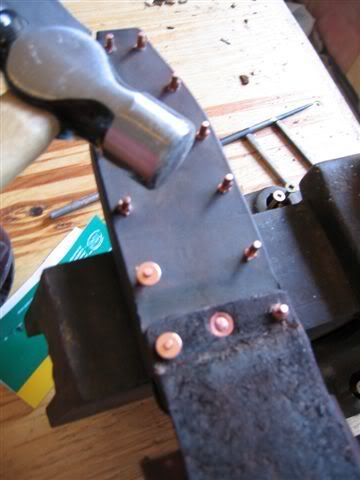
And peen the ends over with a flat punch.
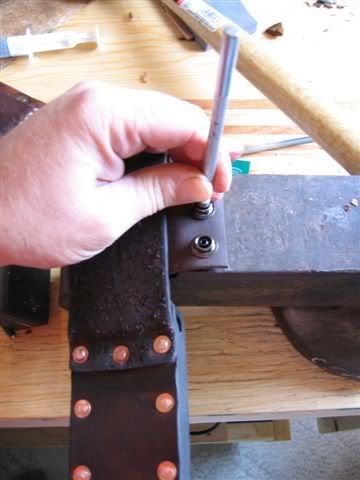
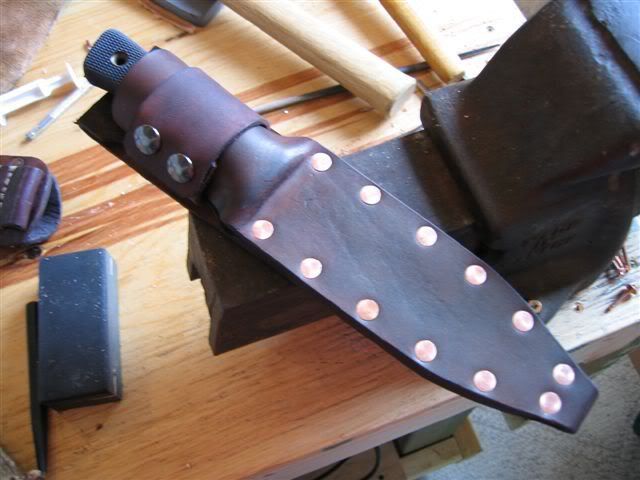
With the knife inserted, I measure the spacing for the snap closures, punch the holes and attach the snaps.
Finally, the sheath is assembled and ready for the final process of sealing the leather in a bath of a molten beeswax mixture . We will skip over that part I cant reveal ALL of my secrets mooahh haa ha ha ..
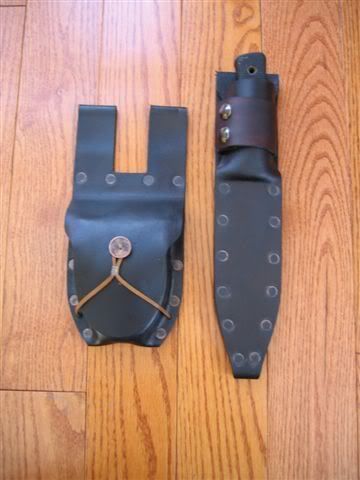
Here is the final product after the hot dip and a little gun blue on the copper rivets per the customers request. (Pictured along side a matching Firepouch.) Thanks for taking the time to hang out with me during this process. I hope you had fun.
Rick
My first step is always to finalize what Im going to do before I start. This way I can estimate the materials and time it will take to give the client a ballpark price. Here is the SRK along with a few different designs that the client and I discussed.
I have finalized the design and am going to measure the knife so I can cut the material. It will be a one piece design in which one continuous piece of leather will be the front, back, and belt loop panels. Basically, I nearly triple the length and add 1/2 on either side of the blade to allow for the spacer or welt that protects the stitching or in this case the rivets.
I mark the leather and cut the strip using a utility blade and a steel ruler as a guide.
Next I will measure the blade to make the piece that will be the welt
After I cut it out I trace the blade and make sure I add a little clearance so the blade doesnt get wedged in from too tight a fit...
...Then I cut out the blade area with a band saw.
Now I can fold the large piece, add the welt and get an idea of how the sheath will come together.
I do a little wet forming to set the shape of the sheath around the knife. Notice how the leather is only wet where I intend to bend it. Dont wet the whole sheath because it is really easy to accidentally mark it with your finger nails. After its dry those mark will be permanent.
Its time to dye the leather. I do this now because when I bind it together I may unknowingly put glue marks on the leather and the dye wont take. (Learned through experience.)
I cut the piece that will be the retaining strap and rivet it to the back panel as it will be difficult to do when glued together. I also do any contouring at this point and install the one hidden rivet for the belt loop attachment.
Now I can glue the welt in and clamp it to the bench to dry.
After its dry I trim off the extra leather and clean it up on the barrel sander. Then I dye the exposed leather and apply an edge finish to seal it. I jumped the gun and forgot to take some pictures so here is the finished edge and the drill press mounted sander I use. (Notice how I leave the folded tip of the sheath on to serve as a lanyard hole.)
I mark where my rivet will go and set up a jig on my drill press to assure proper distance from the edge.
Then I install the copper rivets and snug down the backing washers
Snip the ends with a pair of cutters
And peen the ends over with a flat punch.
With the knife inserted, I measure the spacing for the snap closures, punch the holes and attach the snaps.
Finally, the sheath is assembled and ready for the final process of sealing the leather in a bath of a molten beeswax mixture . We will skip over that part I cant reveal ALL of my secrets mooahh haa ha ha ..
Here is the final product after the hot dip and a little gun blue on the copper rivets per the customers request. (Pictured along side a matching Firepouch.) Thanks for taking the time to hang out with me during this process. I hope you had fun.
Rick