Figured some of you guys across the pond might like this. ") <Let me know if this post is inappropriate for whatever reason>.
<Let me know if this post is inappropriate for whatever reason>.
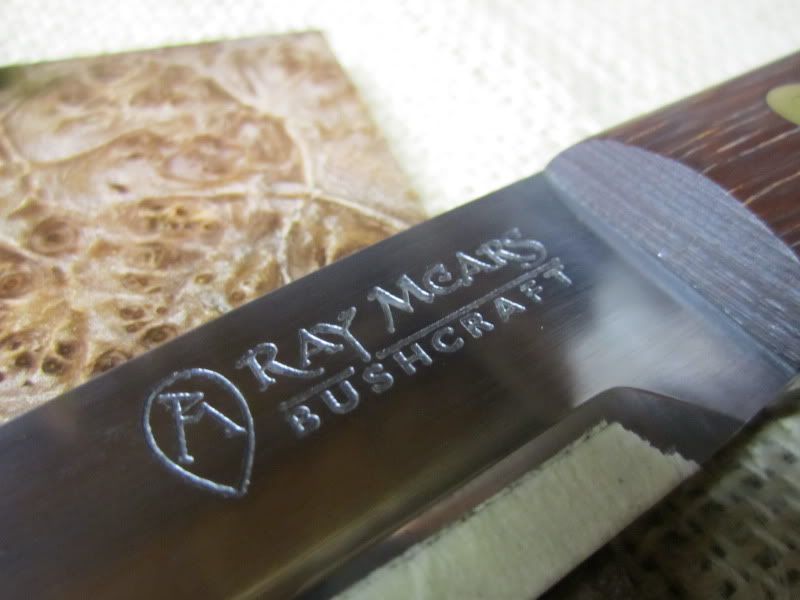
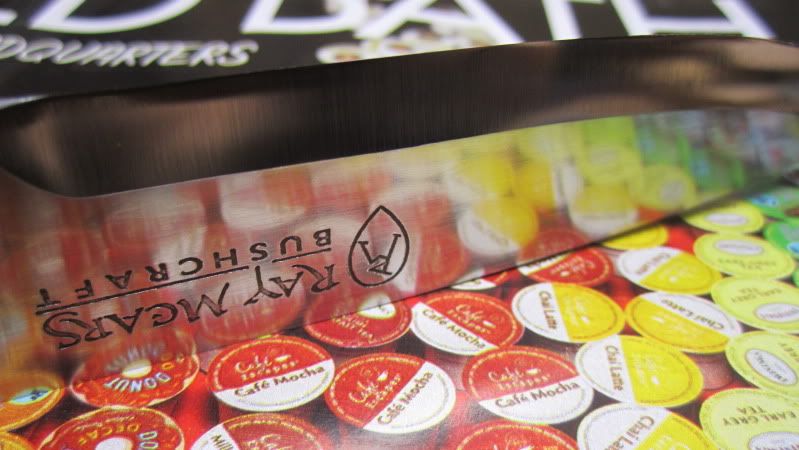
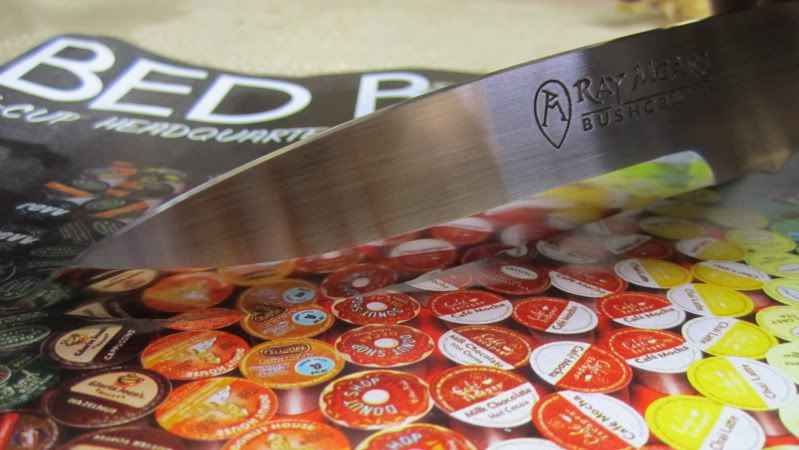
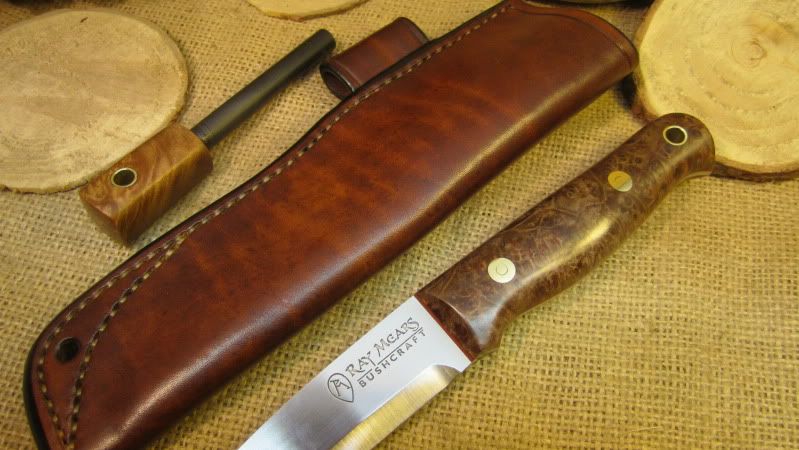
I just recently finished rehandling & touching up a Ray Mears SWC Bushcraft Knife with iriko scales. I took some progress photos for you fellas, because the re-handling of the BCNW-O1 was a bit hit.
The guy who sent it to me clearly has a high respect for the knife. He did like the handle, but had one problem; in the humid environment where he lives (southern US), the non-stabilized scales were acting up a bit. So he wanted me to replace the handle with stabilized maple burl instead. Here's what he wanted all-in-all:
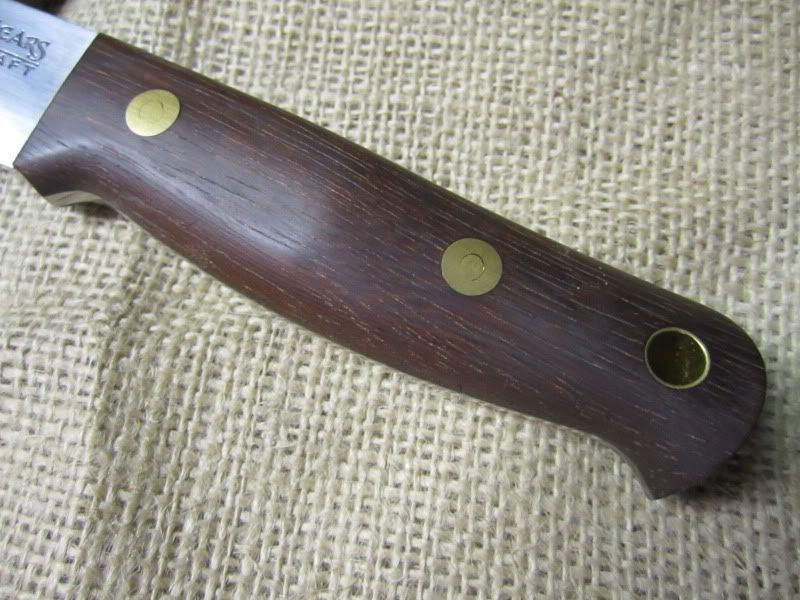
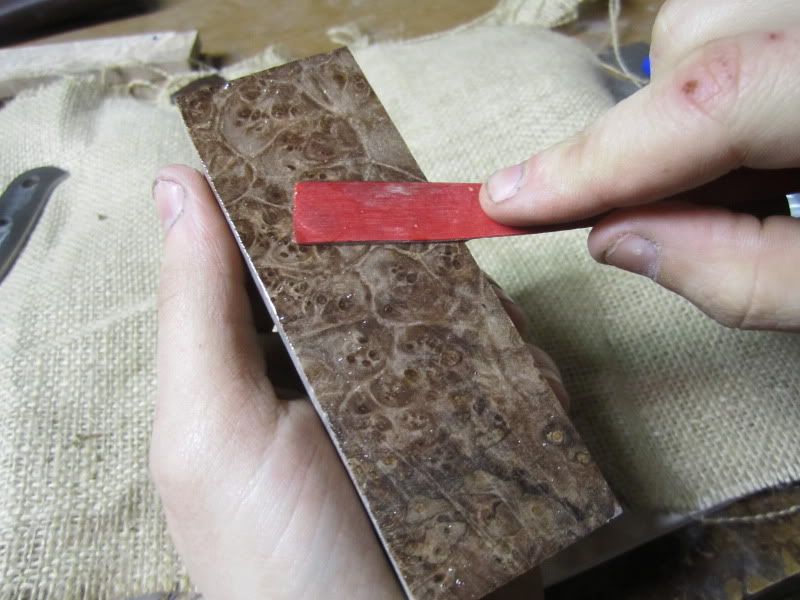
- Replace the scales with stabilized maple burl, brass hardware, cinnamon red liners
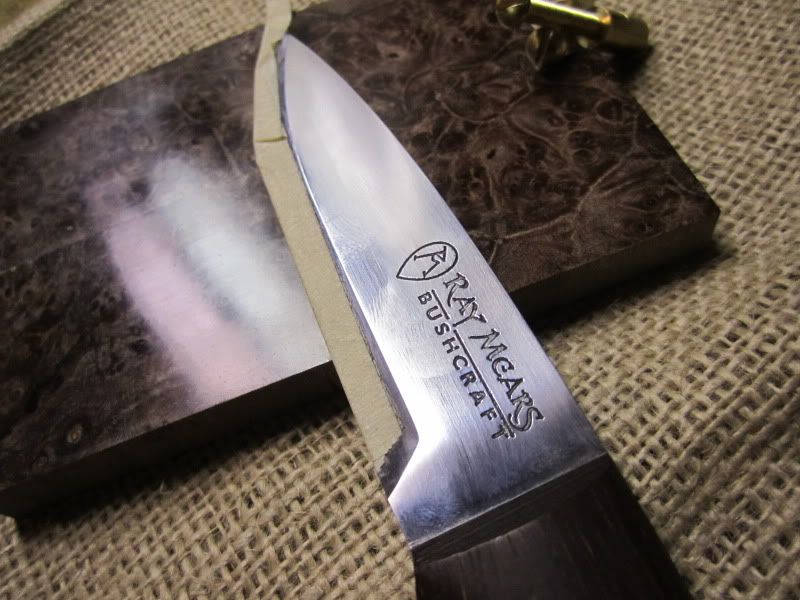
- Regrind the edge back to flat true-scandi, sharpen & polish it
- Take out the faint scratches from the satin finish
- Make a matching firesteel
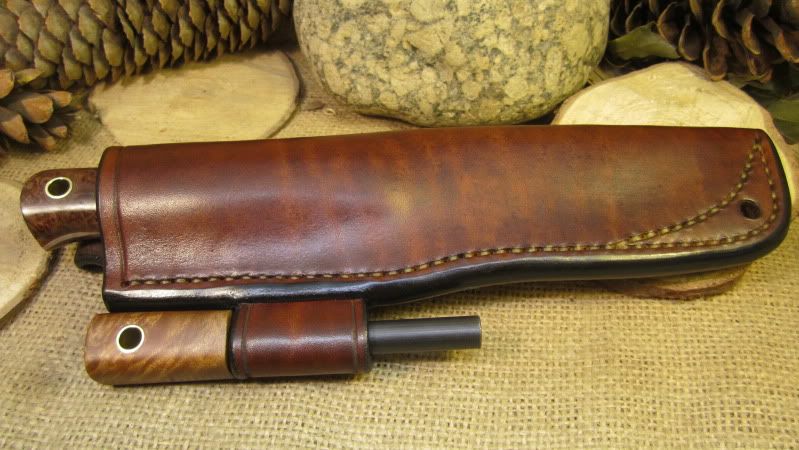
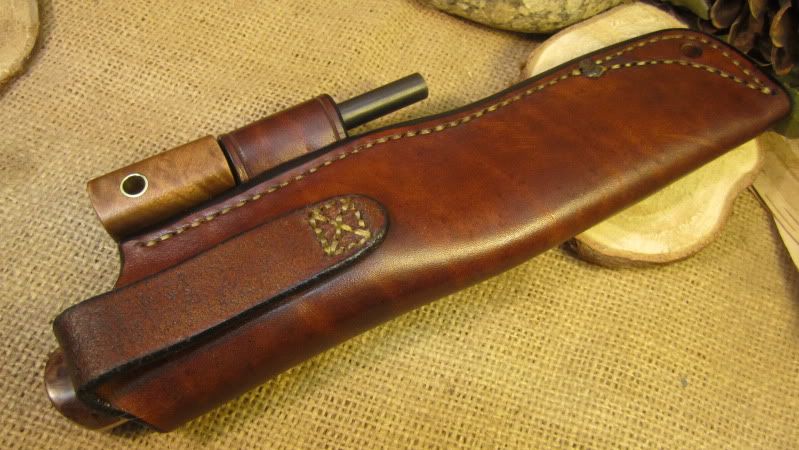
- Make a new sheath, java brown with a firesteel loop & dangler
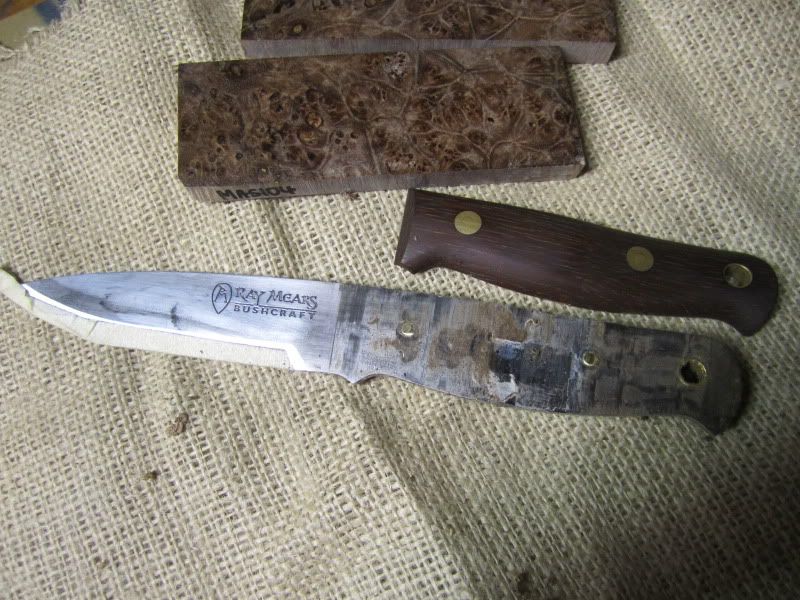
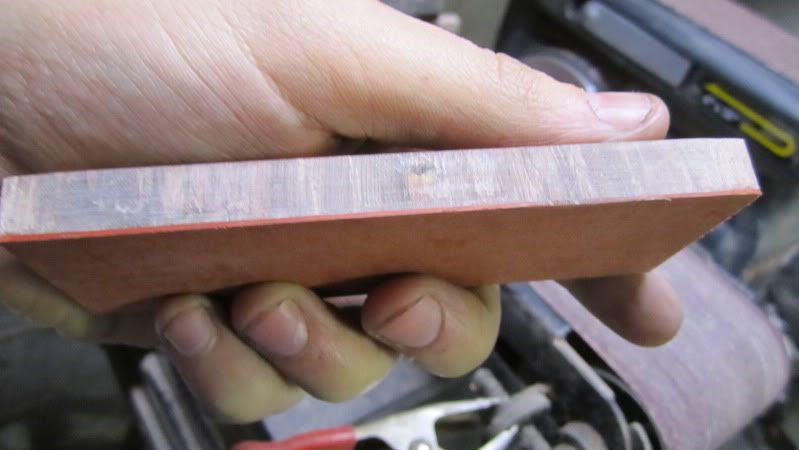
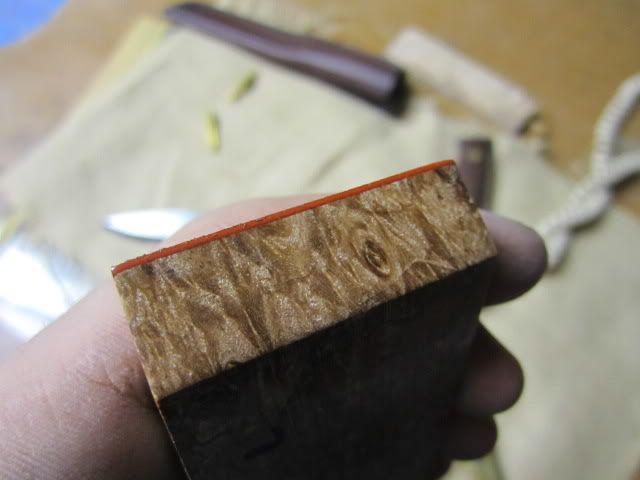
So as you can see it's a pretty impressive knife. The scales in the background are what I'd be using.

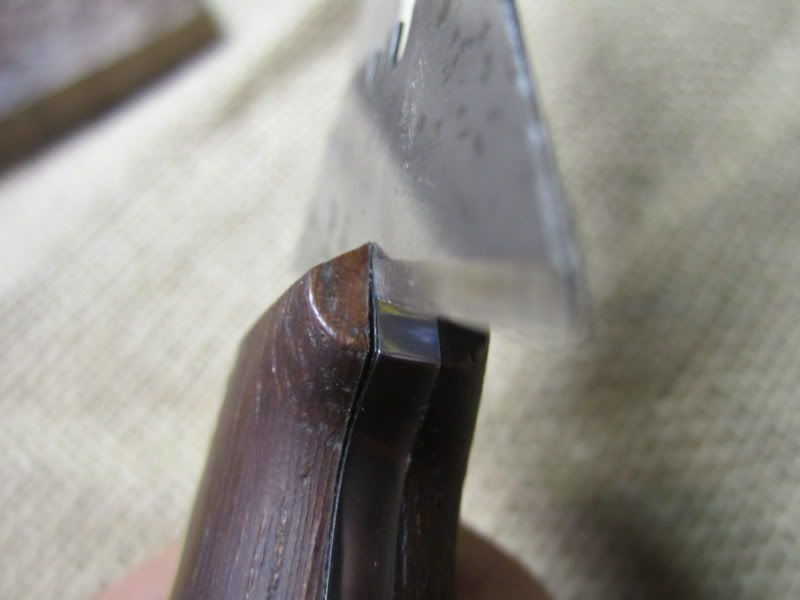
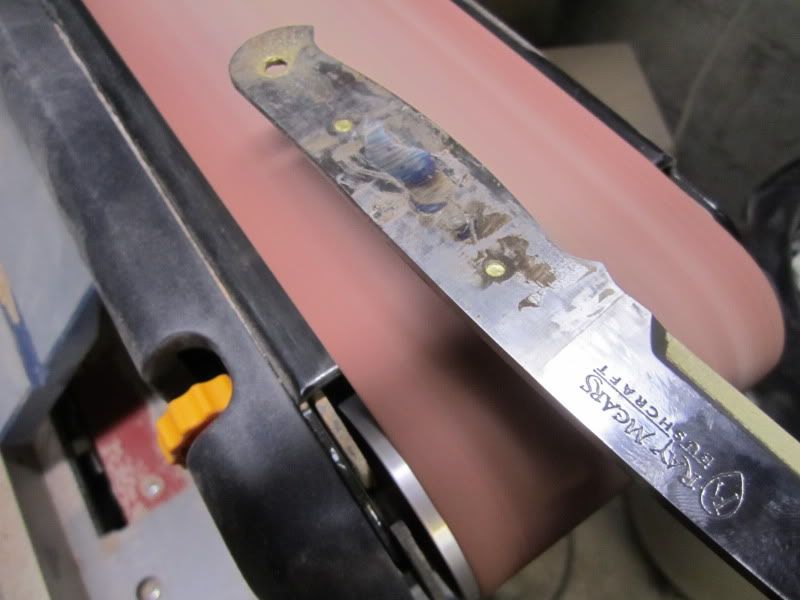
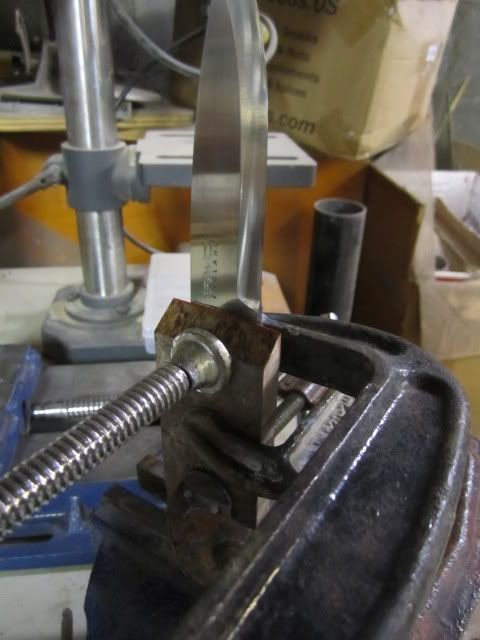
Time to get to work. The scales weren't prying off easily, kind of expected when you use epoxy and loveless bolts. To the bandsaw.
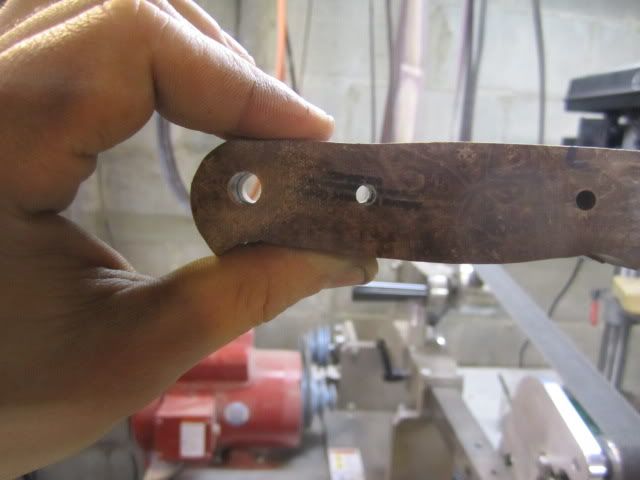
Cleaning it up a bit.
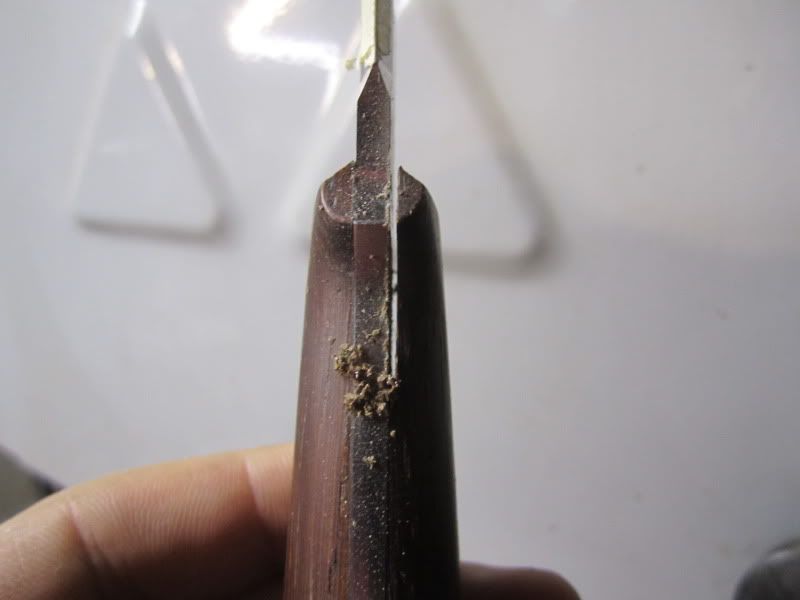
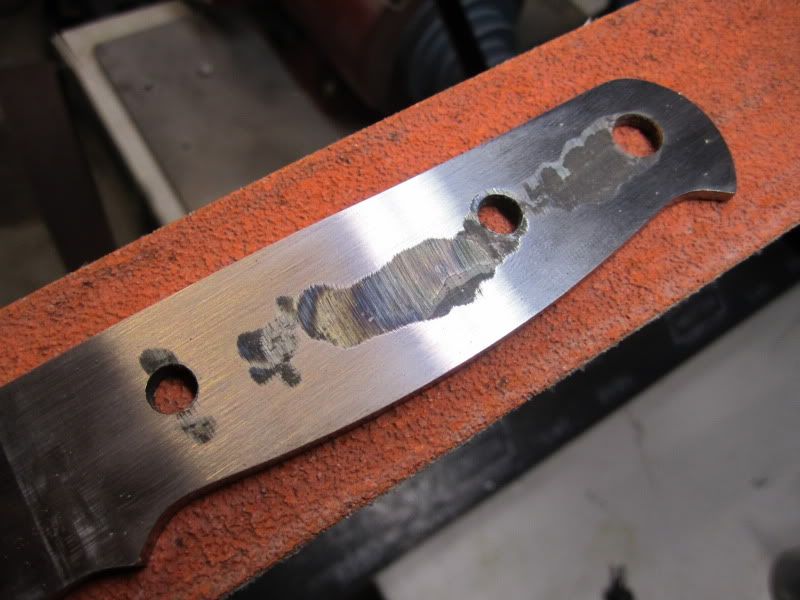
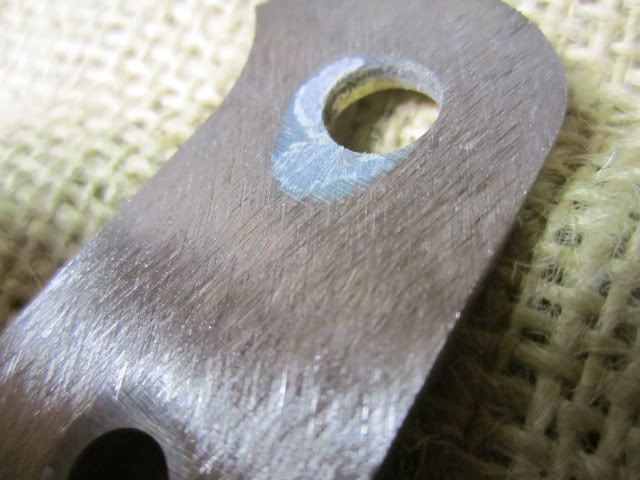
The indents in the center are just from when he tapered the tang.
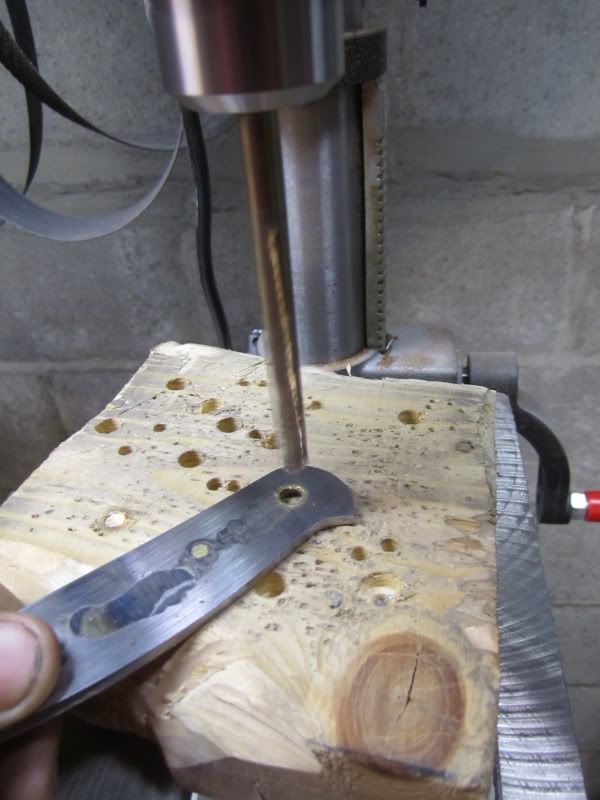
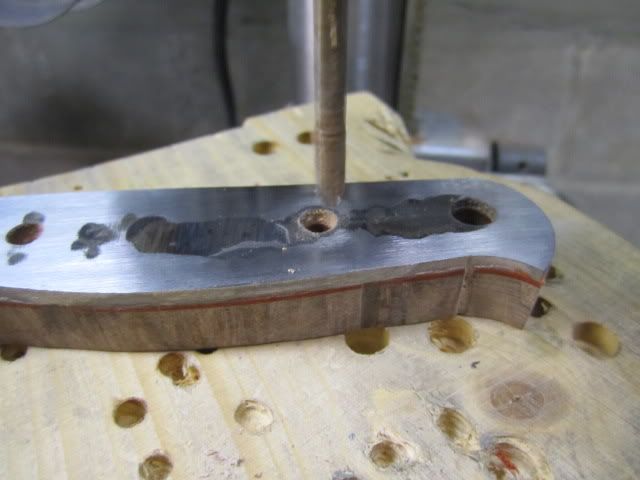
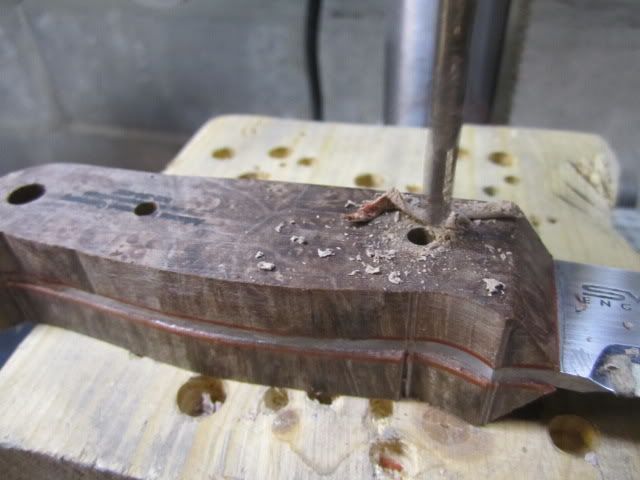
Drilling the glue out of the holes.
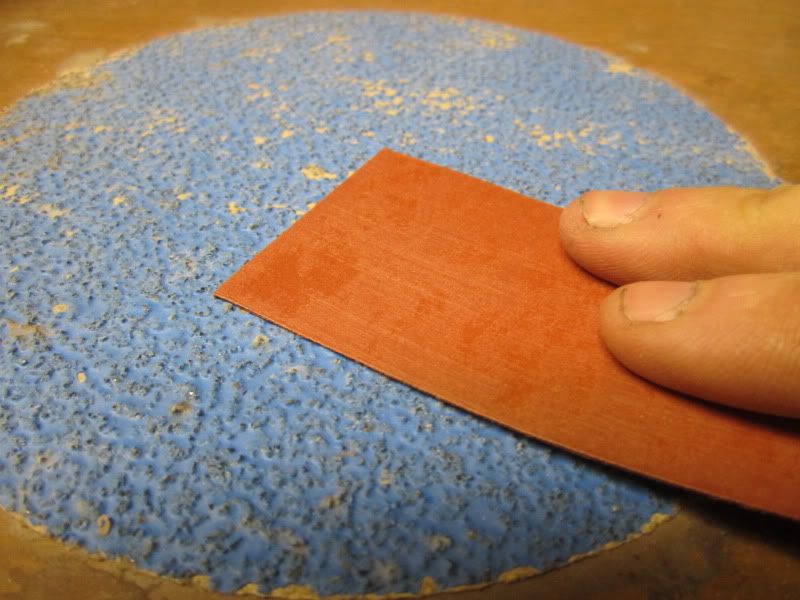
Flattening and roughing up the scales & liners, 35 grit pad glued on to the bench

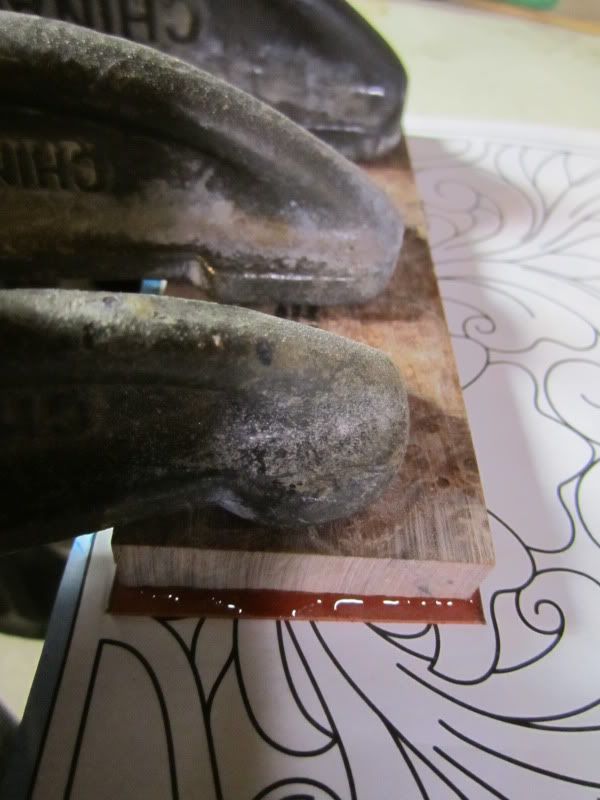
Glue & clamp, first scale down
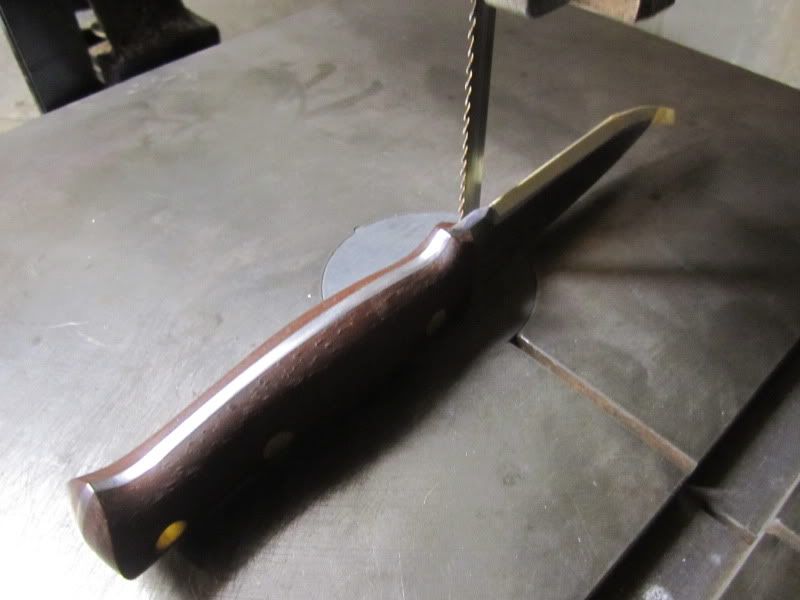
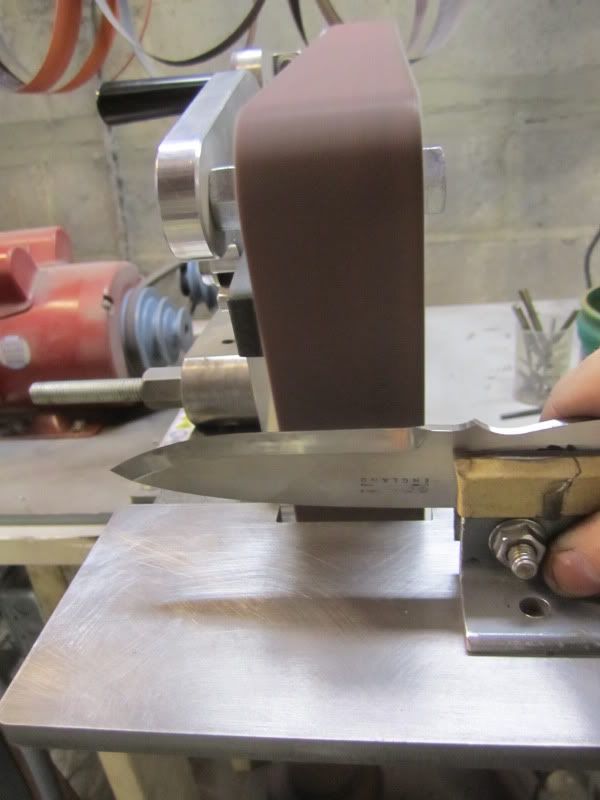
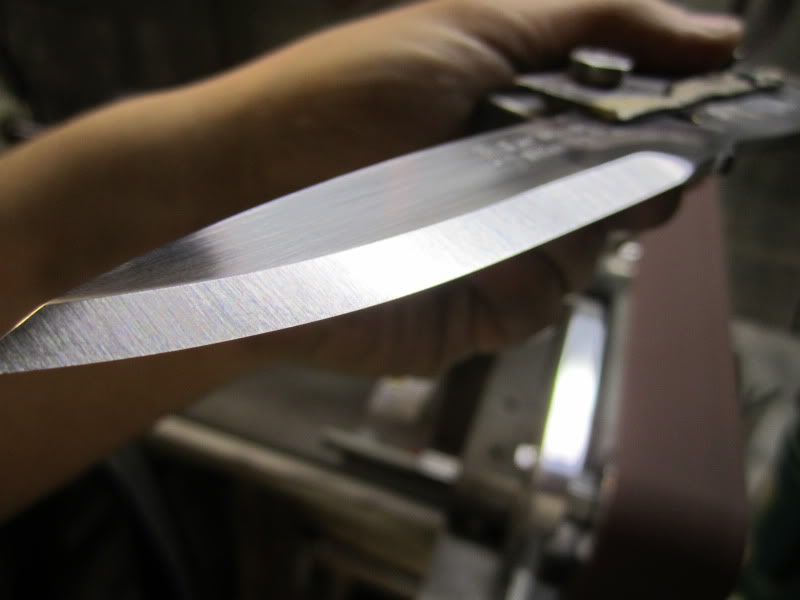
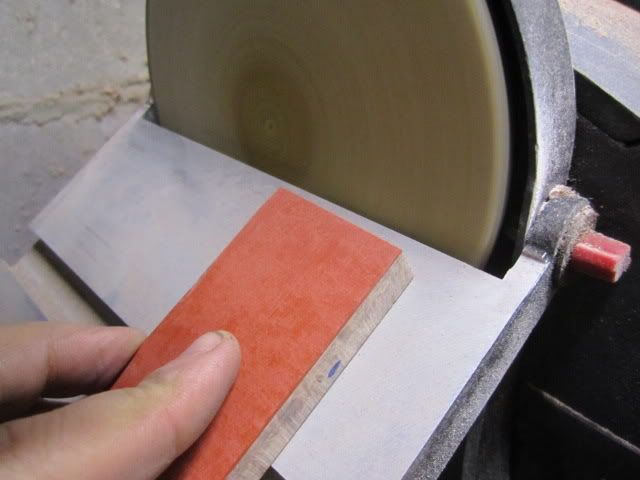
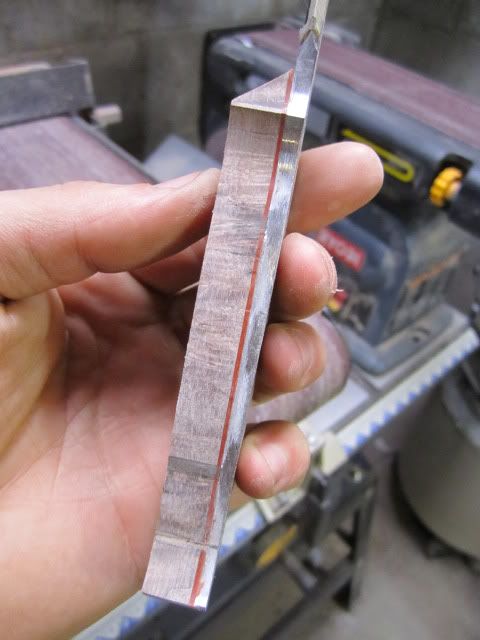
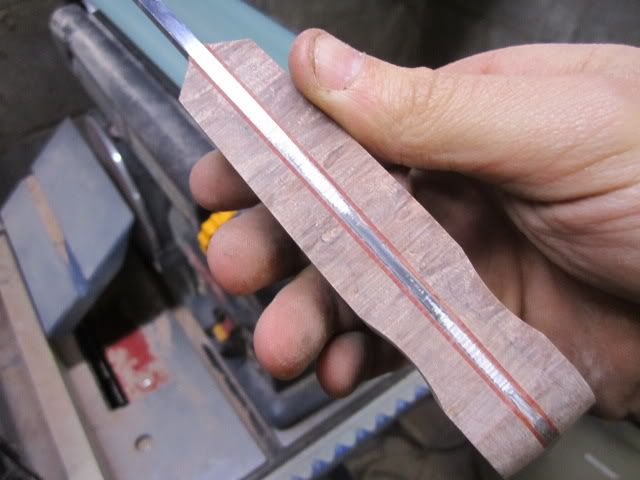
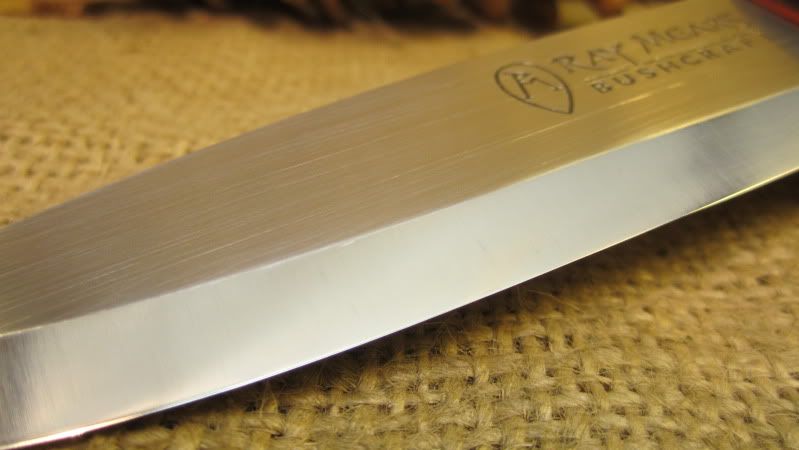
Meanwhile, while the glue settles, grinding the edge back to flat with the KMG
Found the proper angle, covered the entire edge, then moved up the 8 different grits or so until polished.
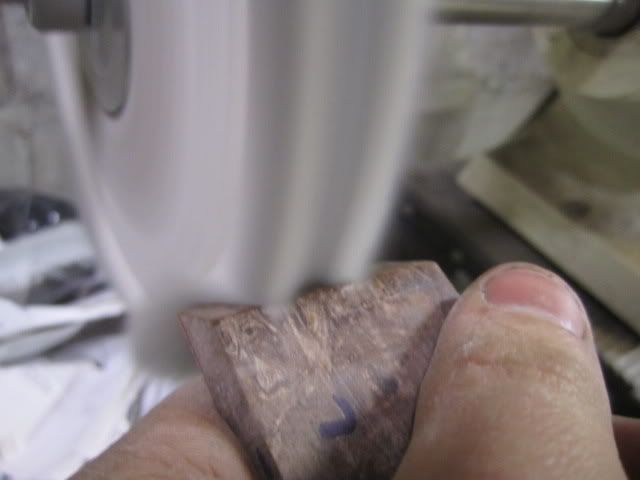
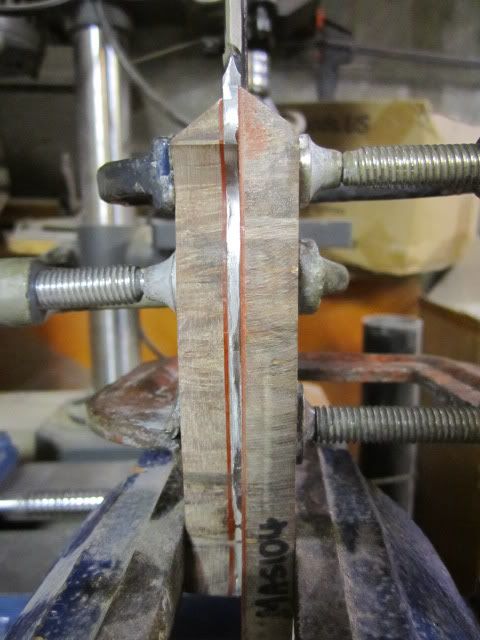
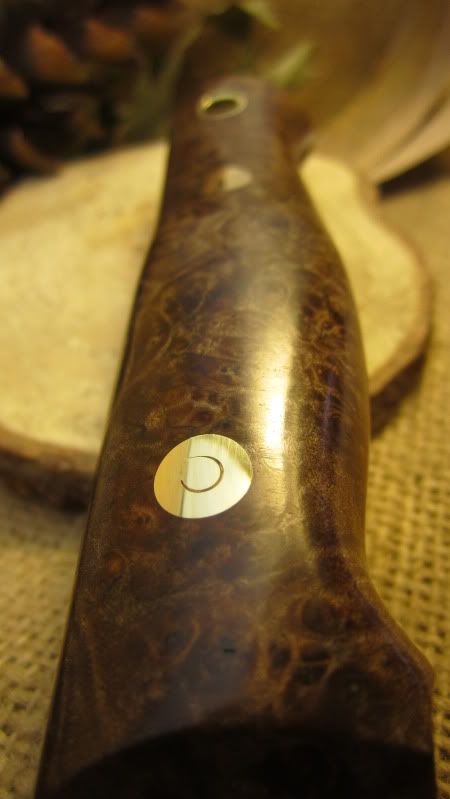
Glue dried, put on the 45 degree angle at the tops of the scales.
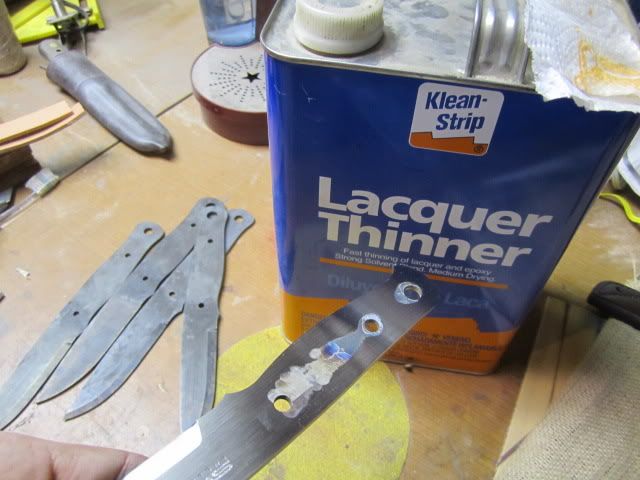
Laquer thinner, knock any oils off
I use a particular technique to rough up the steel like crazy. Allows for the glue to get a good grab.
First scale clamped on. Have to wait a bit, good opportunity to work on the next knife.
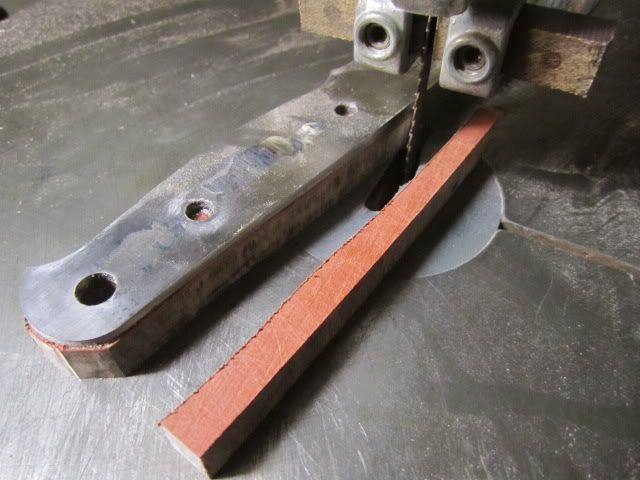
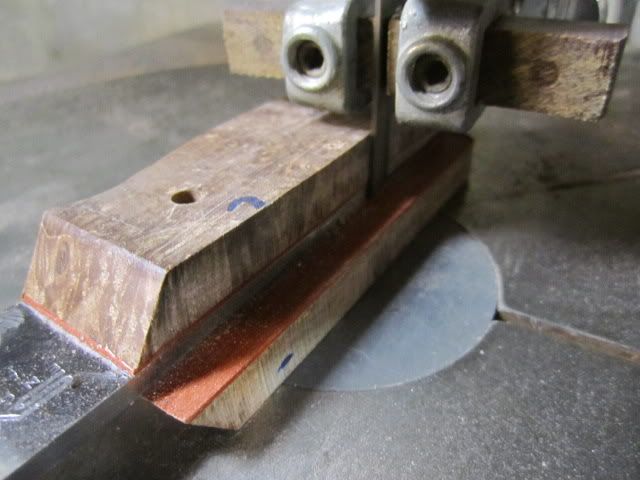
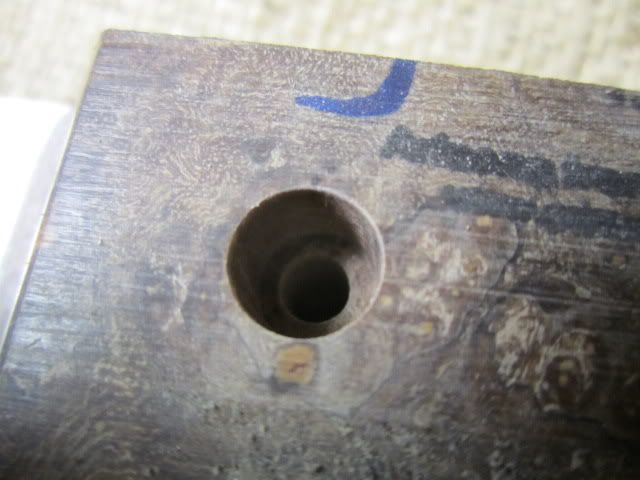
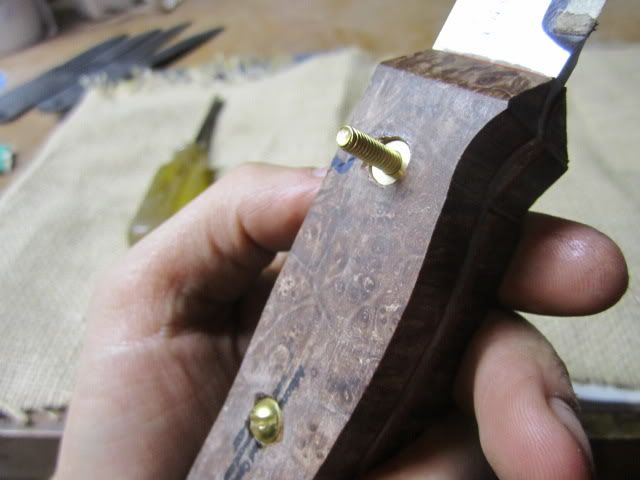
Glue done drying, time to saw off the excess & drill holes
Second scale assembled. A lot of folks don't realize just how much assembling is required in knifemaking... it's a big part of it!
Excess
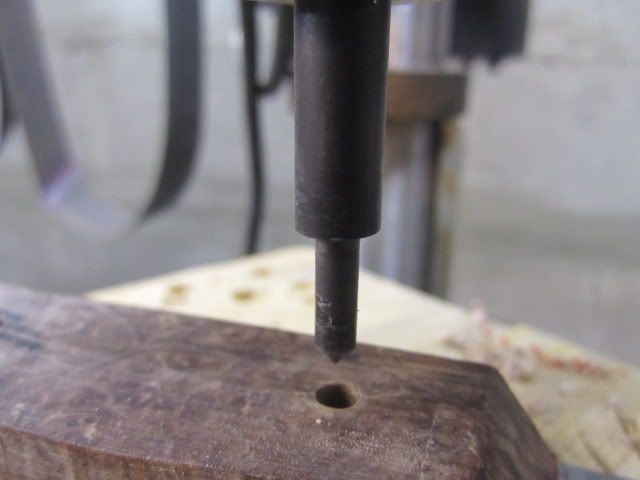
Drill back through the other side.
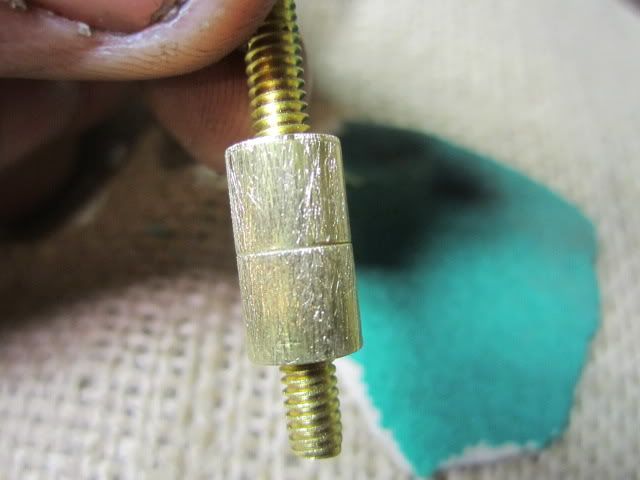
Loveless bolt drill bit.
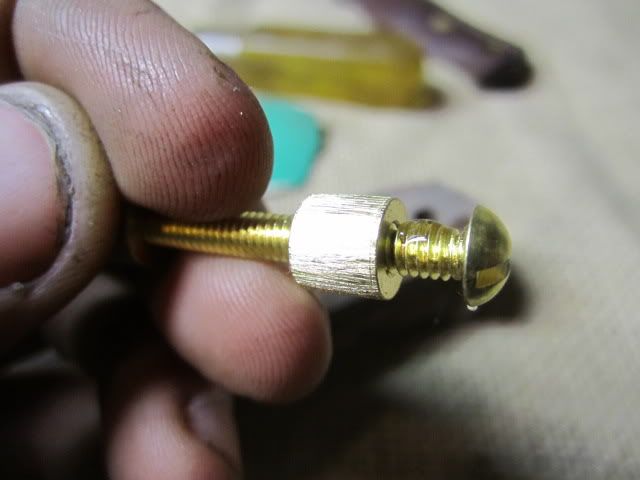
Next stage in assembling; the bolts & tubing. I rough up anything which is going to be glued, including the nuts for the bolts.
Make sure to glue all threads which could ever come loose.
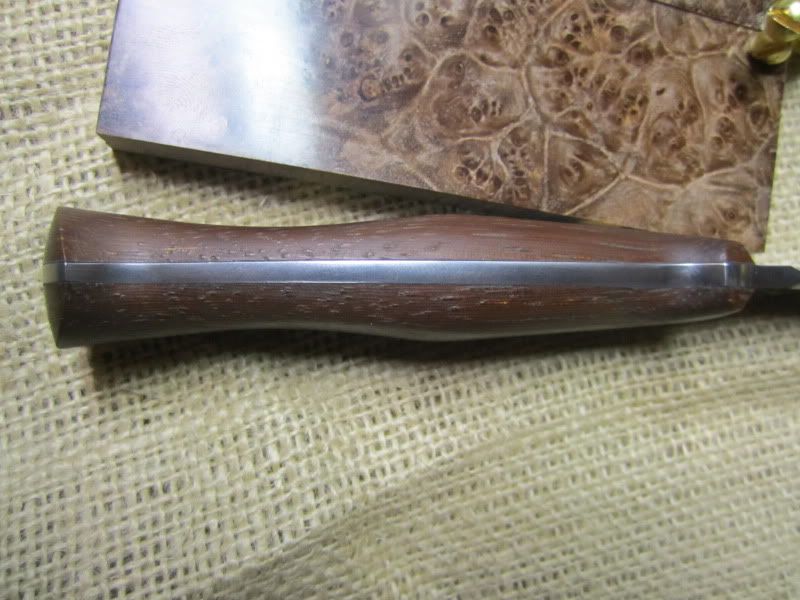
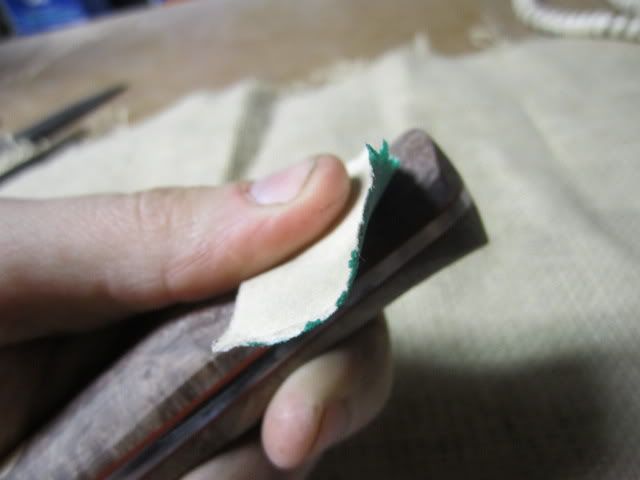
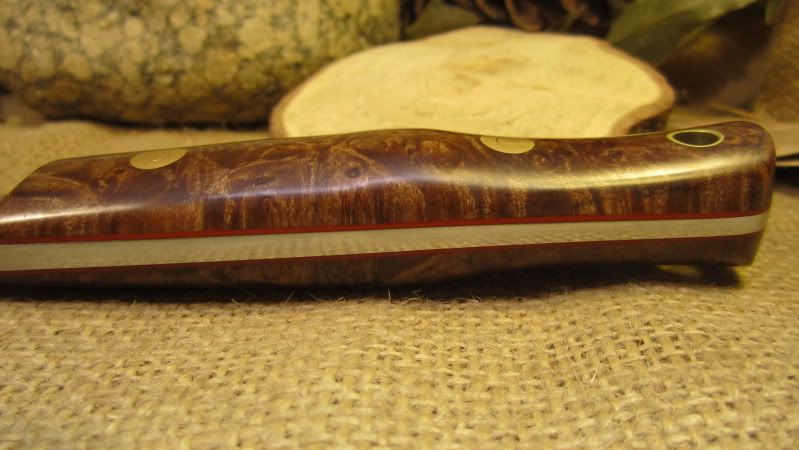
Begin the shaping on the 4x36 belt sander. Not my usual handle shape, as SWC does do things a bit differently with his profiles, so I had to kind of adapt and follow his contours.
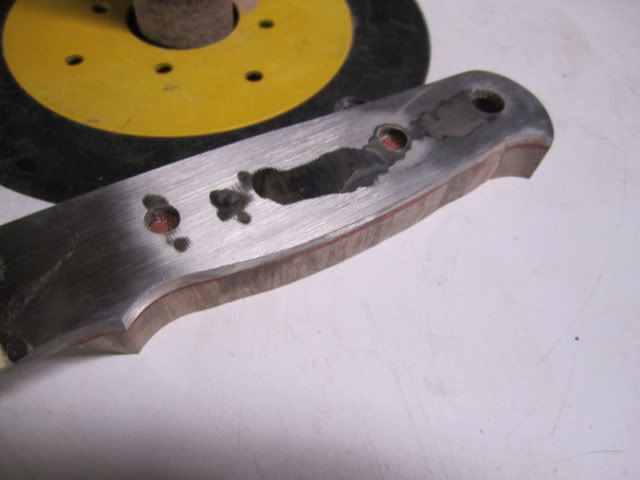
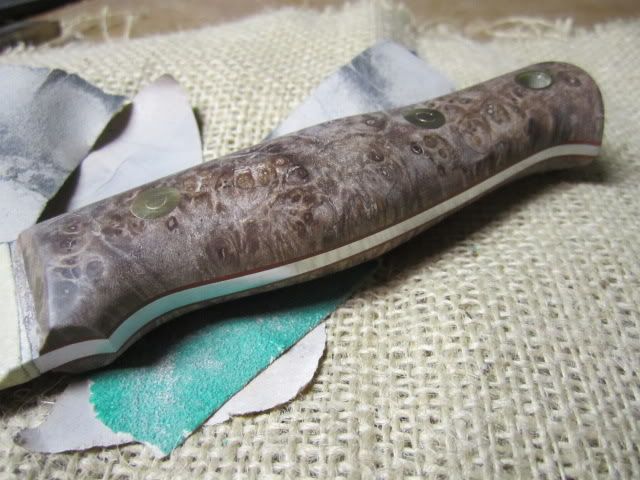
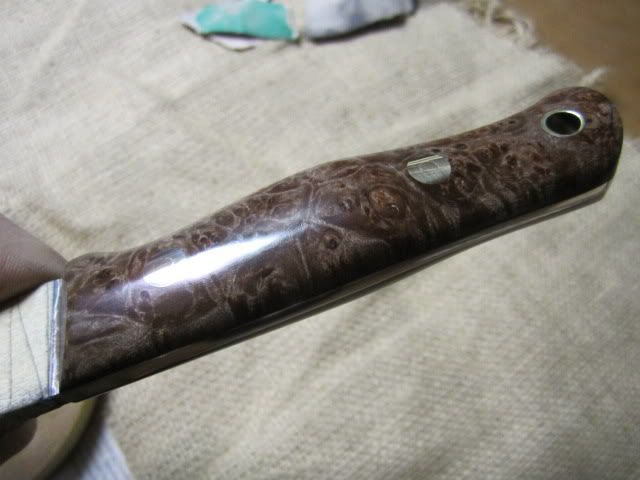
I get it about this close with the belt sander, spindle sander, and 2x72. I also take the time to use the 2x72 to get any bumps & deep gouges out of the tang before I go to hand sanding.
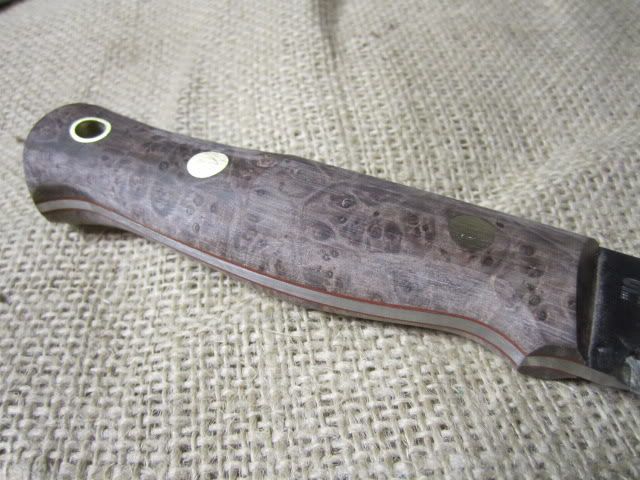
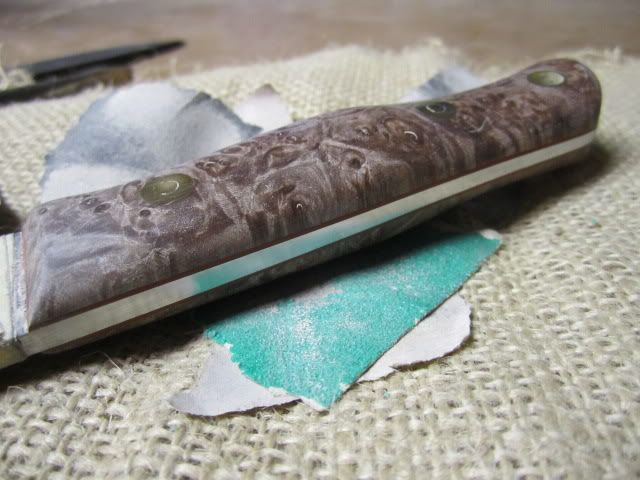
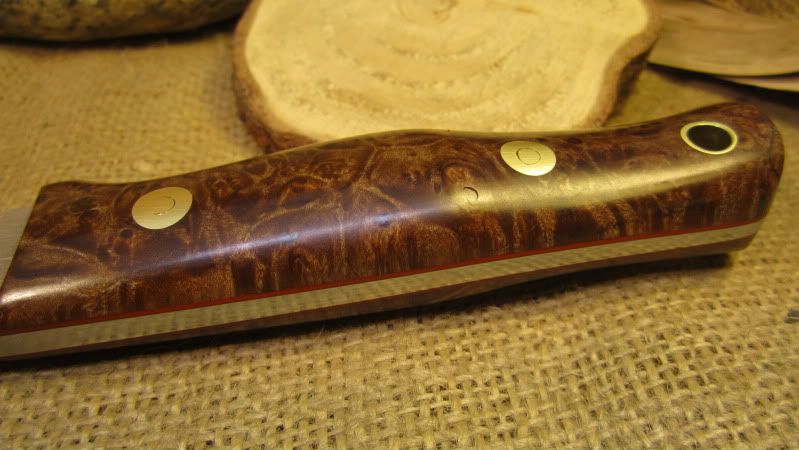
80 grit, 180 grit, 320 grit, buffing wheel.
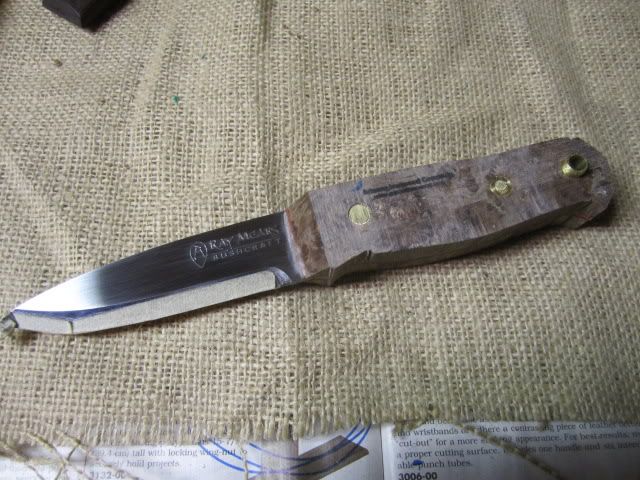
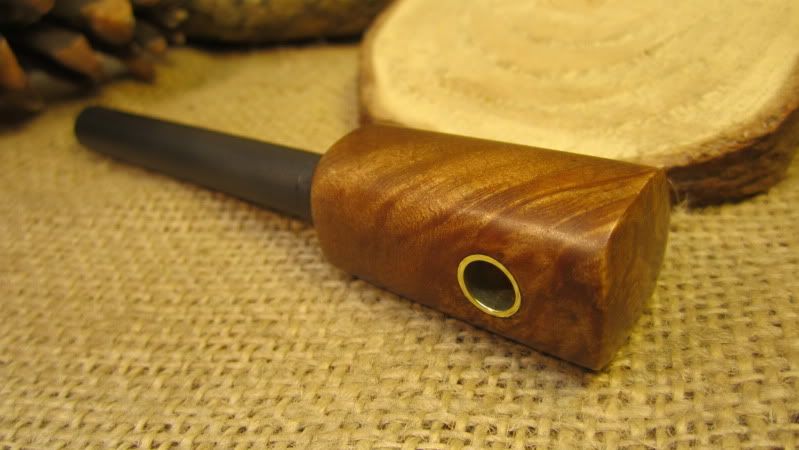
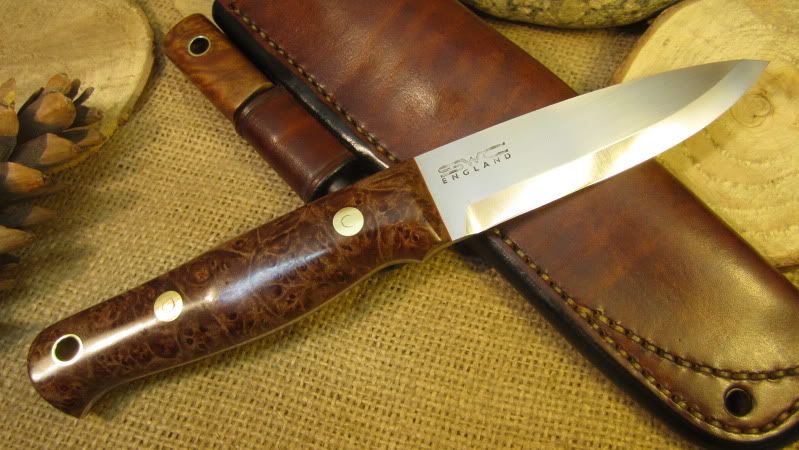
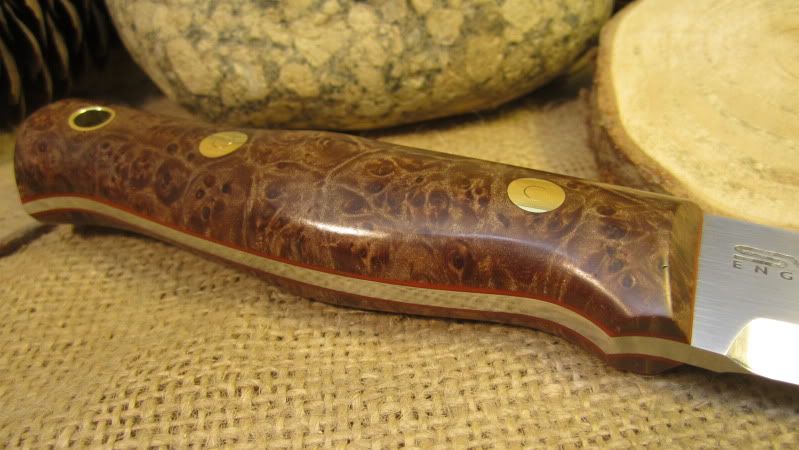
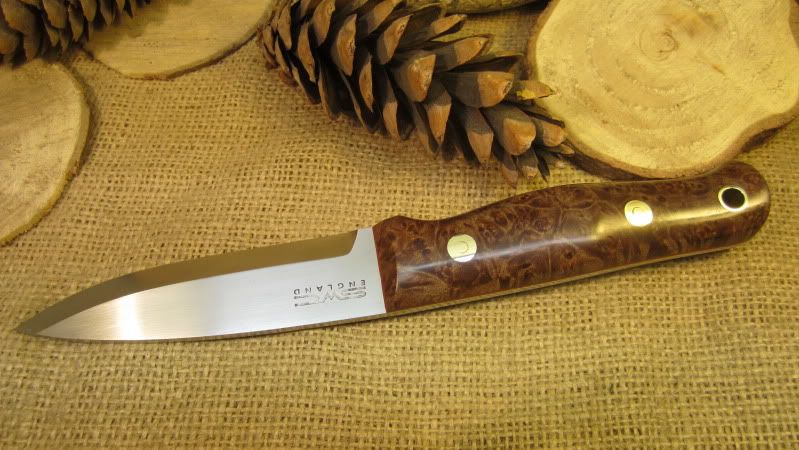
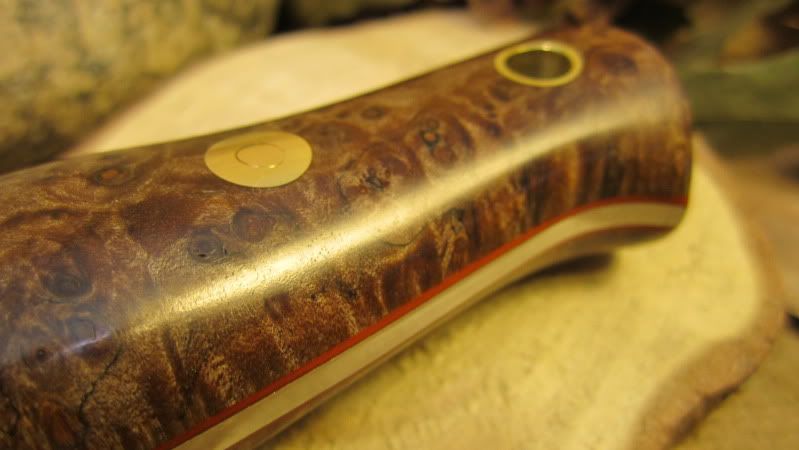
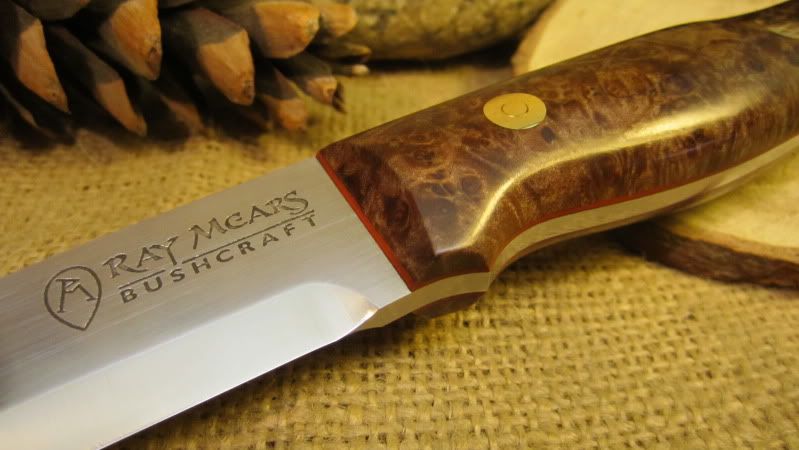
And here we are. I finished up the firesteel shortly after, & Amber finished up the sheath right around the same time.


Hope you like it guys.
Thanks,
Cody
<Let me know if this post is inappropriate for whatever reason>.I just recently finished rehandling & touching up a Ray Mears SWC Bushcraft Knife with iriko scales. I took some progress photos for you fellas, because the re-handling of the BCNW-O1 was a bit hit.
The guy who sent it to me clearly has a high respect for the knife. He did like the handle, but had one problem; in the humid environment where he lives (southern US), the non-stabilized scales were acting up a bit. So he wanted me to replace the handle with stabilized maple burl instead. Here's what he wanted all-in-all:
- Replace the scales with stabilized maple burl, brass hardware, cinnamon red liners
- Regrind the edge back to flat true-scandi, sharpen & polish it
- Take out the faint scratches from the satin finish
- Make a matching firesteel
- Make a new sheath, java brown with a firesteel loop & dangler
So as you can see it's a pretty impressive knife. The scales in the background are what I'd be using.
Time to get to work. The scales weren't prying off easily, kind of expected when you use epoxy and loveless bolts. To the bandsaw.
Cleaning it up a bit.
The indents in the center are just from when he tapered the tang.
Drilling the glue out of the holes.
Flattening and roughing up the scales & liners, 35 grit pad glued on to the bench
Glue & clamp, first scale down
Meanwhile, while the glue settles, grinding the edge back to flat with the KMG
Found the proper angle, covered the entire edge, then moved up the 8 different grits or so until polished.
Glue dried, put on the 45 degree angle at the tops of the scales.
Laquer thinner, knock any oils off
I use a particular technique to rough up the steel like crazy. Allows for the glue to get a good grab.
First scale clamped on. Have to wait a bit, good opportunity to work on the next knife.
Glue done drying, time to saw off the excess & drill holes
Second scale assembled. A lot of folks don't realize just how much assembling is required in knifemaking... it's a big part of it!
Excess
Drill back through the other side.
Loveless bolt drill bit.
Next stage in assembling; the bolts & tubing. I rough up anything which is going to be glued, including the nuts for the bolts.
Make sure to glue all threads which could ever come loose.
Begin the shaping on the 4x36 belt sander. Not my usual handle shape, as SWC does do things a bit differently with his profiles, so I had to kind of adapt and follow his contours.
I get it about this close with the belt sander, spindle sander, and 2x72. I also take the time to use the 2x72 to get any bumps & deep gouges out of the tang before I go to hand sanding.
80 grit, 180 grit, 320 grit, buffing wheel.
And here we are. I finished up the firesteel shortly after, & Amber finished up the sheath right around the same time.
Hope you like it guys.
Thanks,
Cody
