I had a chap brave the storms a week or so ago to come on a blade making course. He had tried to come down from London earlier in january, but the weather and trains conspired against him(he got as far as Gillingham before the replacement bus service was cancelled due to bad weather  ).
).
When Andrew did make it, he spent a few days camping in my woods whilst making himself a new knife for bushcraft and honing his sharpening skills (see what I did there?") ). He had been using a normal scandi ground bushy, like everyone does for some reason, but had decided that it was no good for cutting his food up and was just too heavy to carry all day. Also, it was just so boring and 'standard' despite being custom made for him by Ben Orford.
). He had been using a normal scandi ground bushy, like everyone does for some reason, but had decided that it was no good for cutting his food up and was just too heavy to carry all day. Also, it was just so boring and 'standard' despite being custom made for him by Ben Orford.
So, what did he want to make? A full flat ground, full tang blade from damascus (pattern welded) steel! Never done any forging, stock removal or other knifemaking before, but was game to try. I mostly teach people to forge blades from a single piece of good steel and I have had a couple who wanted to make 3 layer laminated blades, but this was the first time that I have taught anybody to make damascus.
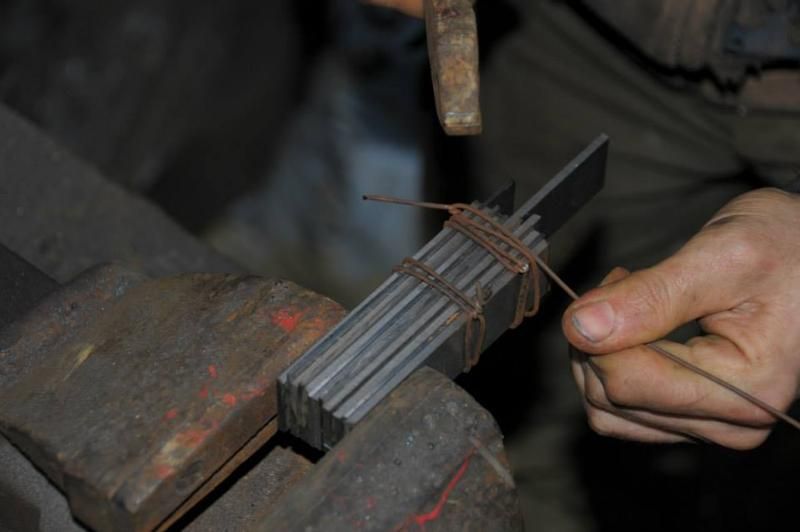
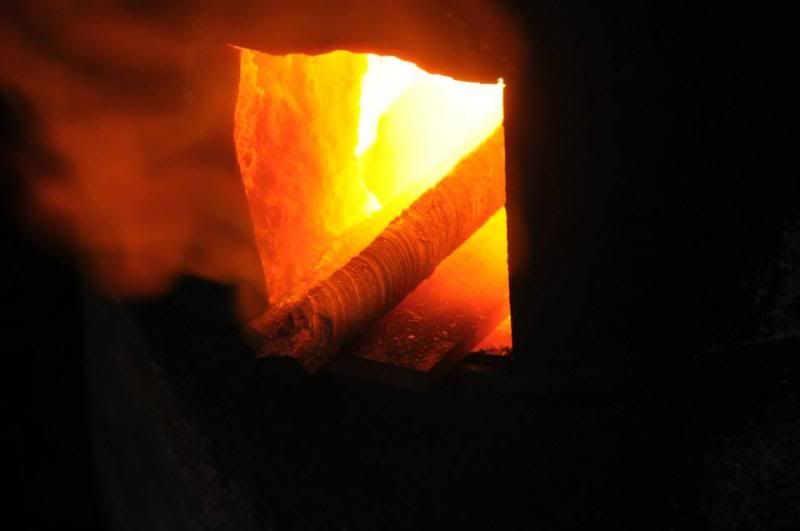
We started with a stack of 11 layers, 15n20 and O1 in the mix. Bound them in wire to hold them together (normally I would tack weld them, but my genny is playing up and had just killed my welder ) and got them hot in the gas forge before a gentle fluxing.

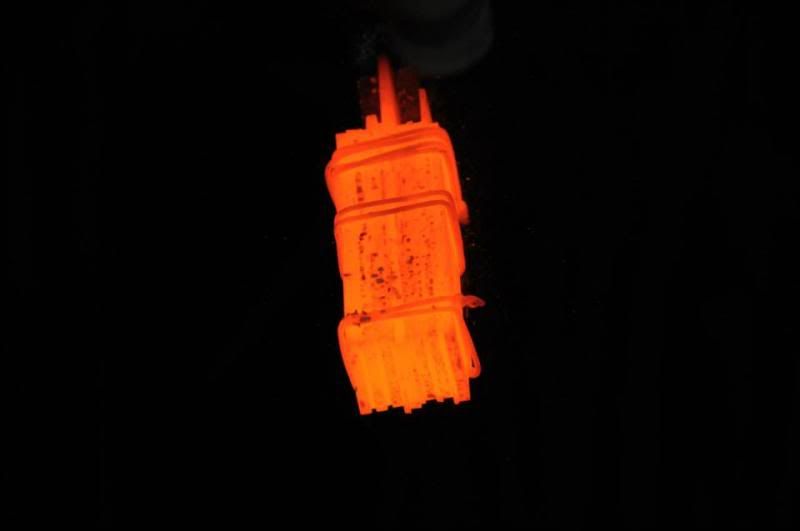
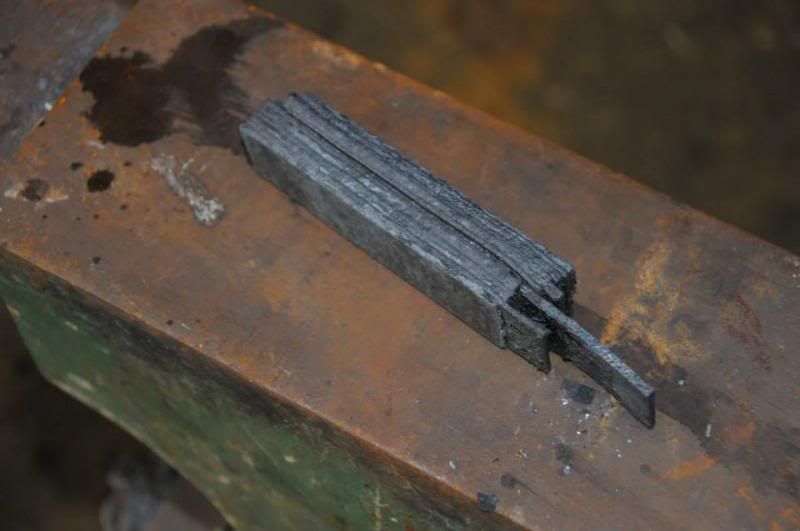
The first weld is set with my fly press. This makes sure that the layers of thin material are all pushed together without bubbles as well as the tendency for a hammer strike to blow them apart at this stage (not a problem with thicker stock normally). After a few welding passes, the scabby billet is ground on the edges to check that it is (apparently) flawless. Looking good so far")


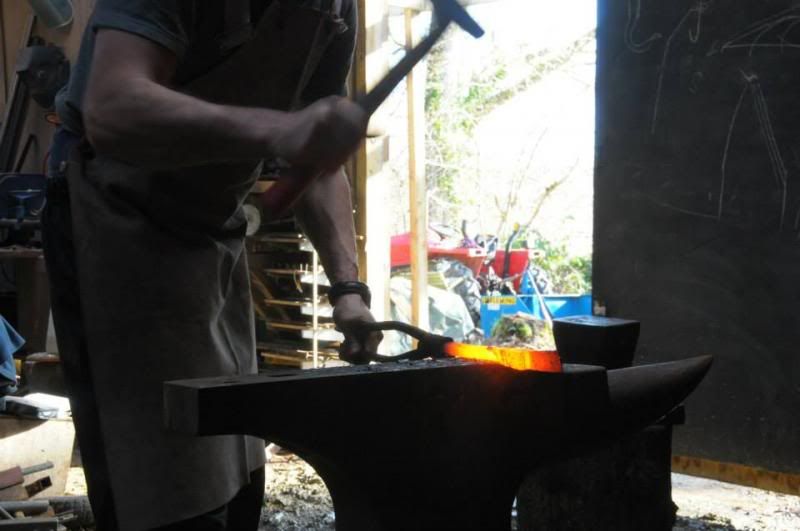
Now that we have made a block of steel from thin strips, it is time to draw it out and develop a little patterning! So using the flypress again and hand hammers, the bar is forged out to a 14mm square before twisting all but the last couple of inches. All of this has to be done HOT and while keeping a watchful eye for any welds coming apart (especially when it comes to the twisting!)
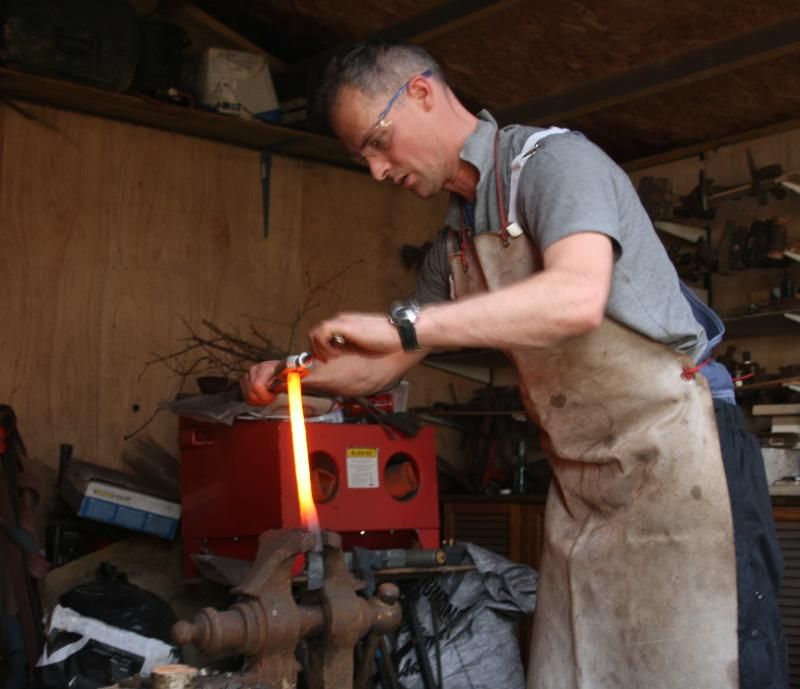
The twisted billet (good name for a pub that) is forged flat and to a thickness suitable for getting our blade from. The last couple of inches was drawn out a bit further and folded over to give us 22 layers. At this point we were running out of time, so we stopped at one fold; had we had the welder and more time available I did think about bringing the layers up to a hundred or so. Andrew forged his out into a random pattern, while I had a suspected flaw in the final weld (steels with lots of chromium, like O1, don't really like sticking to themselves) so I threw caution to the wind and gave it a good twist as well. Twisting puts a lot of strain on all of the weld boundaries, so is make or break in many cases. A bit of tidying up with a grinder and we have two knife shaped bits of metal! So far we have spent most of a day just making flat bars of steel.
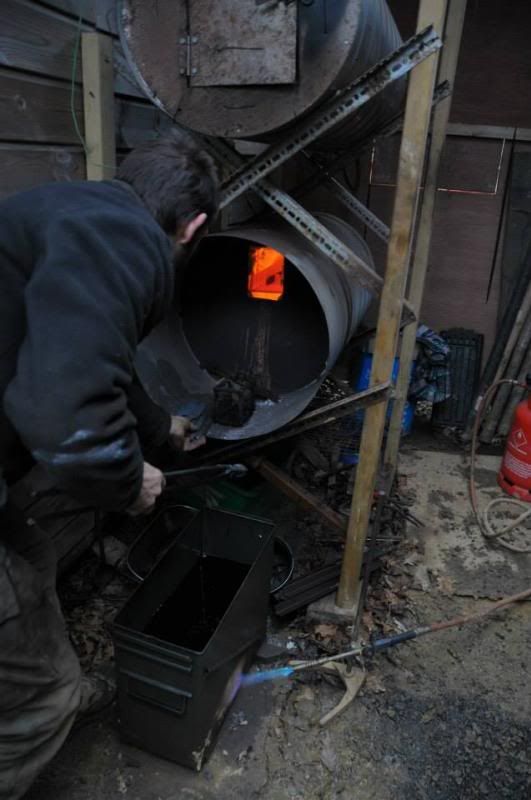
Heat treating next. Using my temperature controlled heat treating furnaces, we normalise, harden and temper the blades to around 58-60RC.
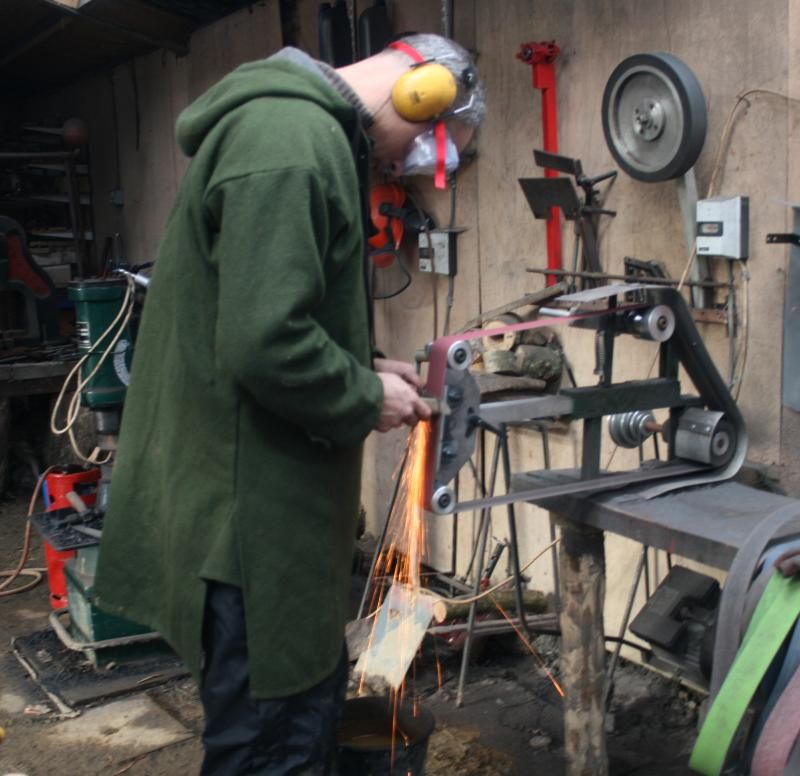
Now we become stock removal knife makers for the day I don't like grinding blades, it always seems so wasteful as well as being dull, noisy and dangerous. But it is the only way to get a pattern to show up after we have spent so much time, energy and materials making a bar of pattern welded steel! All of the blade grinding is done after heat treating in my workshop. This is partly do that we can reduce the risk of and remove any warpage from heat treating and also because the hardened steel is less sticky and so is easier to grind than soft blades; certainly when working with big grinders like these The full tang knife was tackled first and since I learnt to grind free hand without the aid of jigs and gadgets, that is how I taught Andrew to do it. Full flat grind with a tapered tang.
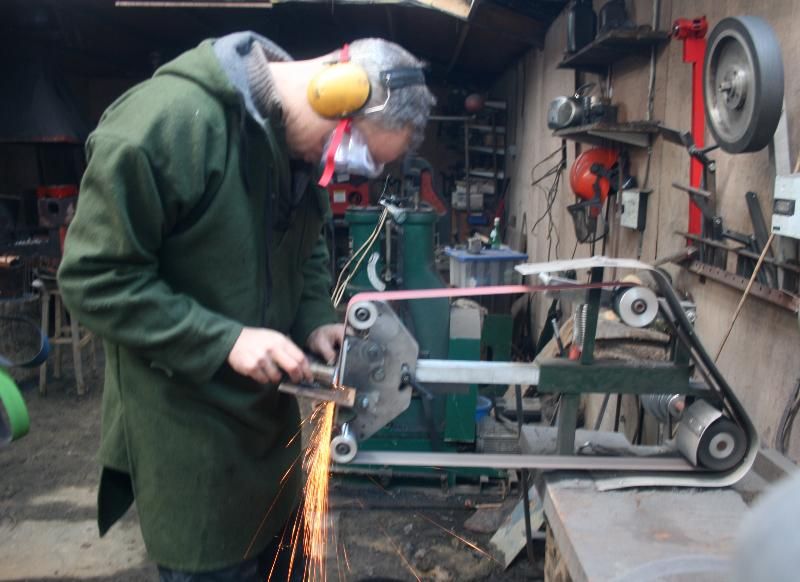
For the second blade (the stick tang), I thought we would speed up the process by using a jig. I find freehand grinding MUCH quicker since I don't have to set anything up and I can automatically adjust to what is happening, but then I have been doing it a while. When you first start out, keeping things level, and even is tricky, so the safety net of jigs takes out a lot of the skill required. I have recently adopted the use of jigs for grinding my carving knives, simply because it makes repetitious grinds on uniform sized and very small (fiddly!) blades much easier. For full flats and any other knife I make, it is free hand all the way baby. Andrew mostly ground one side of his blade before agreeing that the jig was too much fiddling about and decided to just finish off without it Good man!
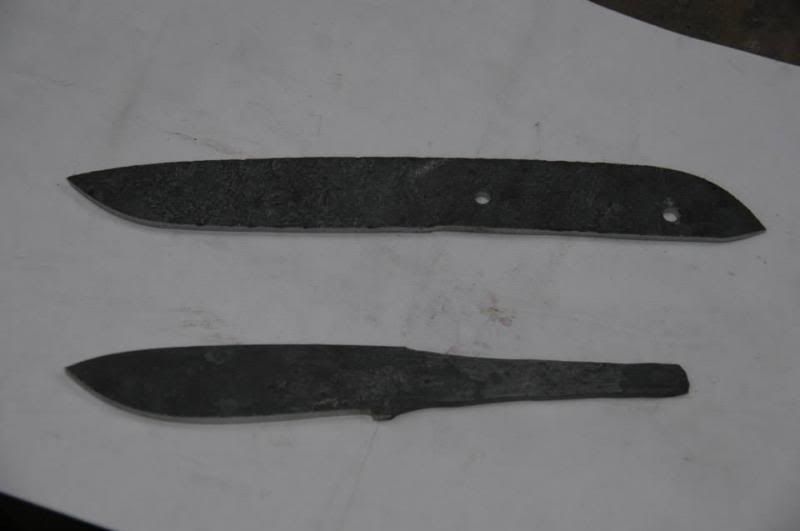
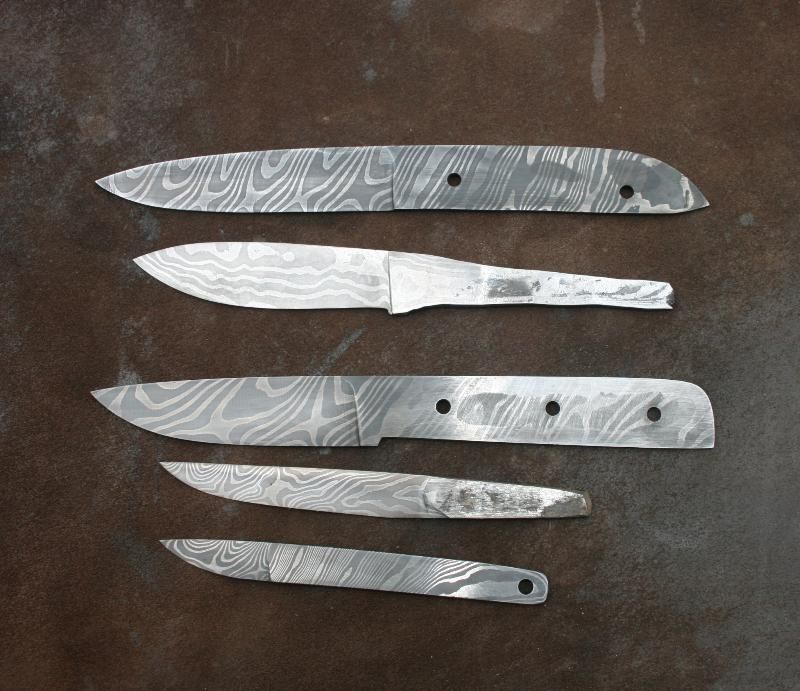
After all of the dusty grinding the blades were dipped in ferric chloride to etch the steel and reveal the patterns. My second billet did have a small flaw that was exposed by the twisting (which is why I did it), so I cut it at the flaw and got two perfectly good smaller blades from it Here they are, in all of their glory! The top two are Andrew's
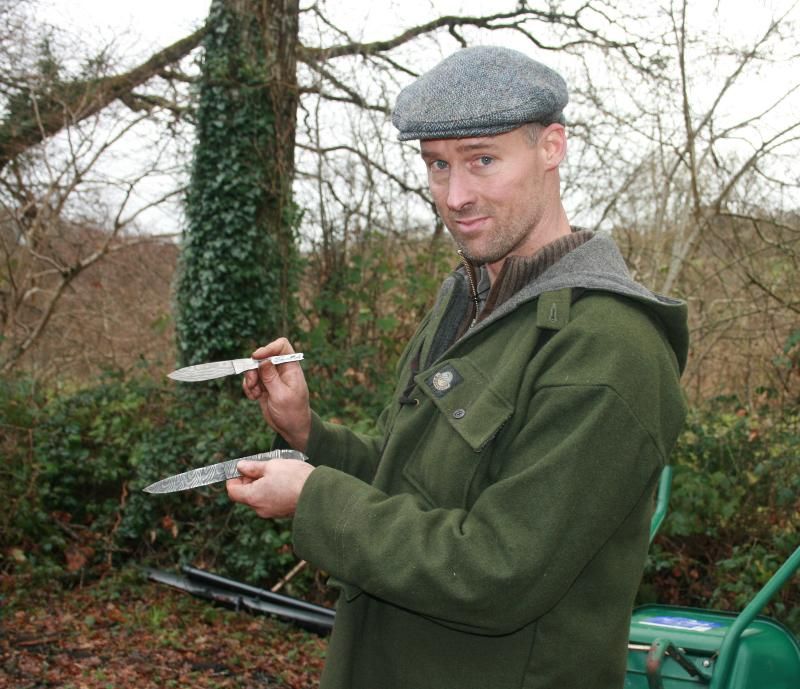
Another satisfied customer. Well done Andrew, not an easy thing to accomplish and you now have a couple of blades that will not weigh you down and will cut stuff without making hard work of it or throwing carrots across the campsite! Also, thanks to Andrew for many of the pictures used, mine were mostly awful
I've re polished an etched the blades this week and next week (when some more glue arrives) I shall be fitting handles. The small blade is having holly (and will be all mine for a change), the larger one is getting desert ironwood and maybe mosaic pins. The small kiri is just getting a sheath
Thanks for looking folks and who knows maybe inspired to have a go yourselves
).When Andrew did make it, he spent a few days camping in my woods whilst making himself a new knife for bushcraft and honing his sharpening skills (see what I did there?
). He had been using a normal scandi ground bushy, like everyone does for some reason, but had decided that it was no good for cutting his food up and was just too heavy to carry all day. Also, it was just so boring and 'standard' despite being custom made for him by Ben Orford. So, what did he want to make? A full flat ground, full tang blade from damascus (pattern welded) steel! Never done any forging, stock removal or other knifemaking before, but was game to try. I mostly teach people to forge blades from a single piece of good steel and I have had a couple who wanted to make 3 layer laminated blades, but this was the first time that I have taught anybody to make damascus.
We started with a stack of 11 layers, 15n20 and O1 in the mix. Bound them in wire to hold them together (normally I would tack weld them, but my genny is playing up and had just killed my welder
) and got them hot in the gas forge before a gentle fluxing.


The first weld is set with my fly press. This makes sure that the layers of thin material are all pushed together without bubbles as well as the tendency for a hammer strike to blow them apart at this stage (not a problem with thicker stock normally). After a few welding passes, the scabby billet is ground on the edges to check that it is (apparently) flawless. Looking good so far


Now that we have made a block of steel from thin strips, it is time to draw it out and develop a little patterning! So using the flypress again and hand hammers, the bar is forged out to a 14mm square before twisting all but the last couple of inches. All of this has to be done HOT and while keeping a watchful eye for any welds coming apart (especially when it comes to the twisting!)


The twisted billet (good name for a pub that) is forged flat and to a thickness suitable for getting our blade from. The last couple of inches was drawn out a bit further and folded over to give us 22 layers. At this point we were running out of time, so we stopped at one fold; had we had the welder and more time available I did think about bringing the layers up to a hundred or so. Andrew forged his out into a random pattern, while I had a suspected flaw in the final weld (steels with lots of chromium, like O1, don't really like sticking to themselves) so I threw caution to the wind and gave it a good twist as well. Twisting puts a lot of strain on all of the weld boundaries, so is make or break in many cases. A bit of tidying up with a grinder and we have two knife shaped bits of metal! So far we have spent most of a day just making flat bars of steel.

Heat treating next. Using my temperature controlled heat treating furnaces, we normalise, harden and temper the blades to around 58-60RC.

Now we become stock removal knife makers for the day
I don't like grinding blades, it always seems so wasteful as well as being dull, noisy and dangerous. But it is the only way to get a pattern to show up after we have spent so much time, energy and materials making a bar of pattern welded steel! All of the blade grinding is done after heat treating in my workshop. This is partly do that we can reduce the risk of and remove any warpage from heat treating and also because the hardened steel is less sticky and so is easier to grind than soft blades; certainly when working with big grinders like these The full tang knife was tackled first and since I learnt to grind free hand without the aid of jigs and gadgets, that is how I taught Andrew to do it. Full flat grind with a tapered tang.
For the second blade (the stick tang), I thought we would speed up the process by using a jig. I find freehand grinding MUCH quicker since I don't have to set anything up and I can automatically adjust to what is happening, but then I have been doing it a while. When you first start out, keeping things level, and even is tricky, so the safety net of jigs takes out a lot of the skill required. I have recently adopted the use of jigs for grinding my carving knives, simply because it makes repetitious grinds on uniform sized and very small (fiddly!) blades much easier. For full flats and any other knife I make, it is free hand all the way baby. Andrew mostly ground one side of his blade before agreeing that the jig was too much fiddling about and decided to just finish off without it
Good man!
After all of the dusty grinding the blades were dipped in ferric chloride to etch the steel and reveal the patterns. My second billet did have a small flaw that was exposed by the twisting (which is why I did it), so I cut it at the flaw and got two perfectly good smaller blades from it
Here they are, in all of their glory! The top two are Andrew's 
Another satisfied customer. Well done Andrew, not an easy thing to accomplish and you now have a couple of blades that will not weigh you down and will cut stuff without making hard work of it or throwing carrots across the campsite! Also, thanks to Andrew for many of the pictures used, mine were mostly awful

I've re polished an etched the blades this week and next week (when some more glue arrives) I shall be fitting handles. The small blade is having holly (and will be all mine for a change), the larger one is getting desert ironwood and maybe mosaic pins. The small kiri is just getting a sheath
Thanks for looking folks and who knows maybe inspired to have a go yourselves
Last edited:
