I had some time to myself on Monday so decided to make myself a rocket stove. I don't really have a purpose for it but had some 4 inch box section that was left over from another project and it's been getting in my way so after seeing them online I thought I'd get the tools out.
After settling a rough design and dimensions I designed and cut some parts out of 3mm steel on the CNC plasma cutter, these consisted of the feet (or fins) the pot support and also the grate.

Next I cut the two main components and trial fitted them.

Then welded the two together.

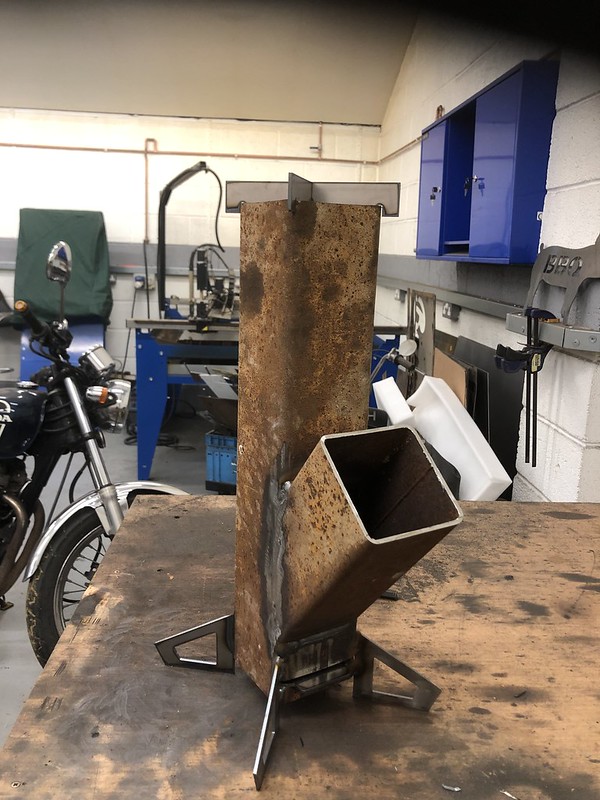
With the main components welded I welded the feet on and test fitted the pot support. All looked ok so far.
The last thing to hot glue was the supports for the grate.

I ran out of time on Monday as I only had a couple of hours free but today I found a bit of time to get it shot blasted and painted. This is the final results.


Looking forward to giving it a try.
After settling a rough design and dimensions I designed and cut some parts out of 3mm steel on the CNC plasma cutter, these consisted of the feet (or fins) the pot support and also the grate.
Next I cut the two main components and trial fitted them.
Then welded the two together.
With the main components welded I welded the feet on and test fitted the pot support. All looked ok so far.
The last thing to hot glue was the supports for the grate.
I ran out of time on Monday as I only had a couple of hours free but today I found a bit of time to get it shot blasted and painted. This is the final results.
Looking forward to giving it a try.


")


