Seemed a shame to waste the remaining half of the oak stave I had left so decided to tiller into a cross-breed. It has some of the attributes of a flat bow, but the length of an English longbow.
Started by roughing out the basic shape. 2" wide at the handle gradually tapering to 1/2" at nocks. Depth at handle only 1" (so added a riser to the belly) again tapering to 1/2" at nocks. A jig saw to remove most of wood, then spokeshave to reduce to my lines.
This is the basic shape

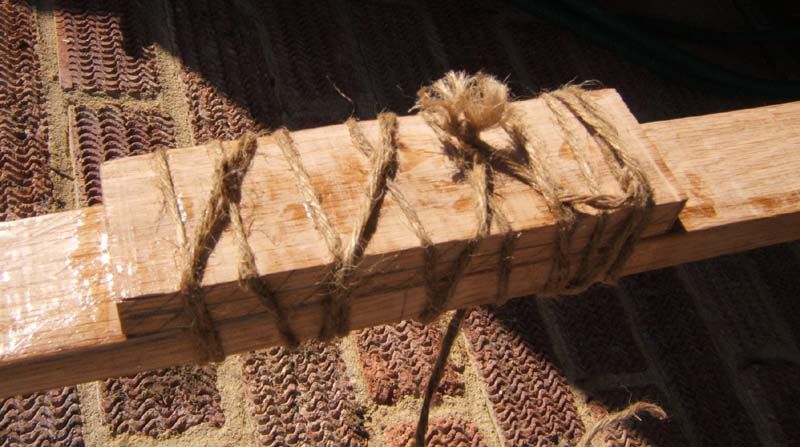
Handle glued in place with resin-based adhesive and held in place with cordage.
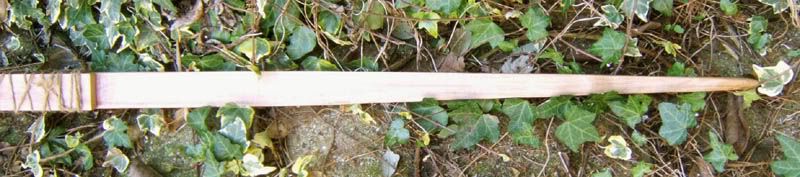
This is the basic shape completed

Detail of one limb
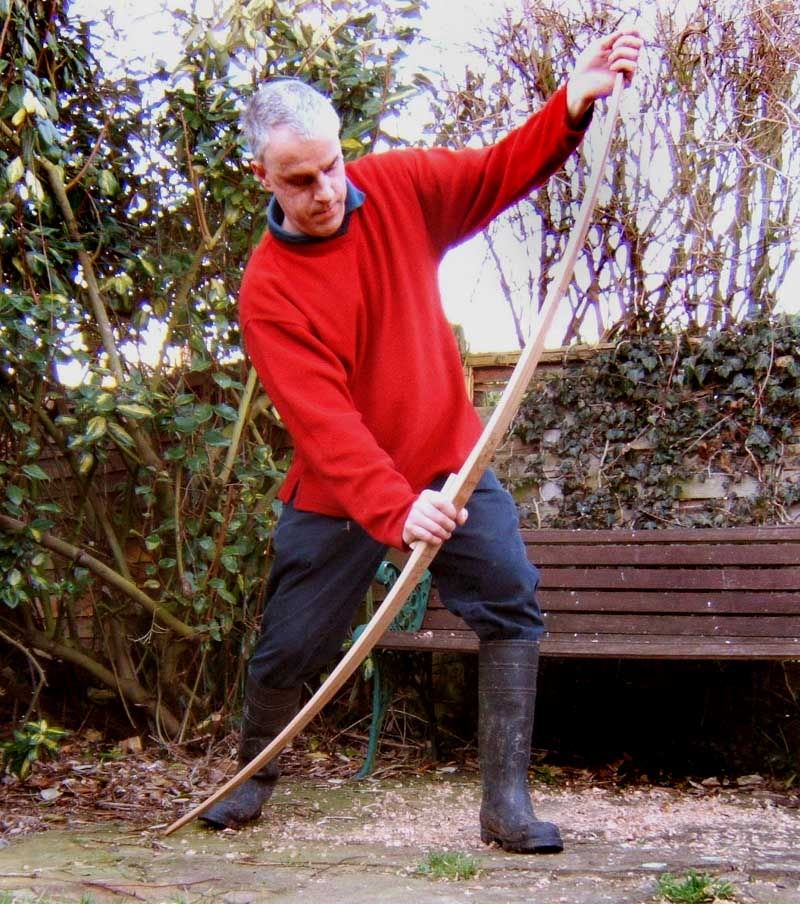
At this stage the bow is effectively floor tillered. From now on its softly softly with the spoke shave set very low and a rasp (ignore the footwear; pond cleaning, or so my dear wife thought") )
)
I cut nocks in in order to use the tillering string (fatter and stronger than a normal string so it don't break)

After a few hours of shaving and tillering I ended up with this
The secret is to look, see stiff points, take a little wood off the belly/sides at that point and look again. There is no quick fix, just eye and shave. Very therapeutic.
Next the handle was shaped and the fades blended into the belly

Several grades of sandpaper are used, and between each sanding the wood is wiped down with a damp cloth. This brings the grain up (fluffy-like) which is then sanded by the next grade of paper. In the end it produces a lovely finish.
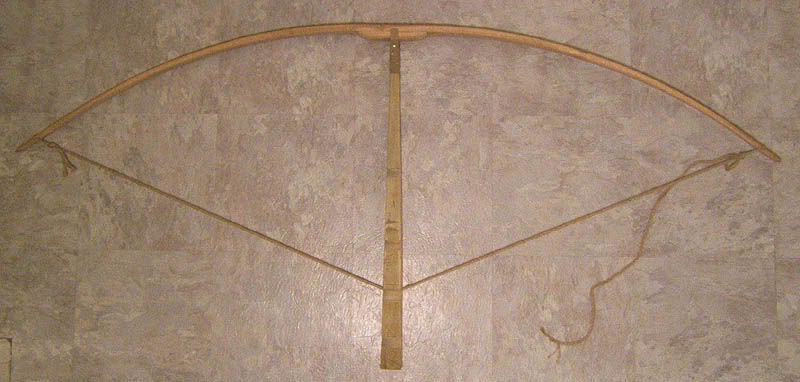
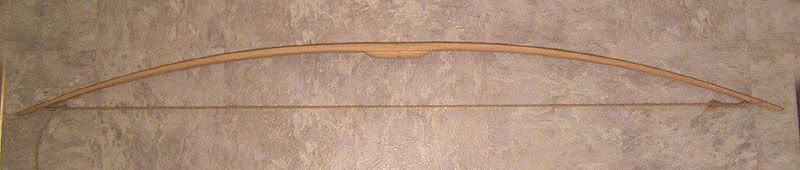
This is the bow braced. It draws around 55# @ 28", which will fall to around 50# when I have finished sanding and shot it at the weekend.
Will add a full draw picture when I'm next out.
And that's all there is to it.
Started by roughing out the basic shape. 2" wide at the handle gradually tapering to 1/2" at nocks. Depth at handle only 1" (so added a riser to the belly) again tapering to 1/2" at nocks. A jig saw to remove most of wood, then spokeshave to reduce to my lines.
This is the basic shape
Handle glued in place with resin-based adhesive and held in place with cordage.
This is the basic shape completed
Detail of one limb
At this stage the bow is effectively floor tillered. From now on its softly softly with the spoke shave set very low and a rasp (ignore the footwear; pond cleaning, or so my dear wife thought
)
I cut nocks in in order to use the tillering string (fatter and stronger than a normal string so it don't break)
After a few hours of shaving and tillering I ended up with this
The secret is to look, see stiff points, take a little wood off the belly/sides at that point and look again. There is no quick fix, just eye and shave. Very therapeutic.
Next the handle was shaped and the fades blended into the belly
Several grades of sandpaper are used, and between each sanding the wood is wiped down with a damp cloth. This brings the grain up (fluffy-like) which is then sanded by the next grade of paper. In the end it produces a lovely finish.
This is the bow braced. It draws around 55# @ 28", which will fall to around 50# when I have finished sanding and shot it at the weekend.
Will add a full draw picture when I'm next out.
And that's all there is to it.

