Some great ideas in this thread, of which I've borrowed quite heavily. So in the spirit of fairness, I thought I'd show you mine, and maybe add some new thoughts.
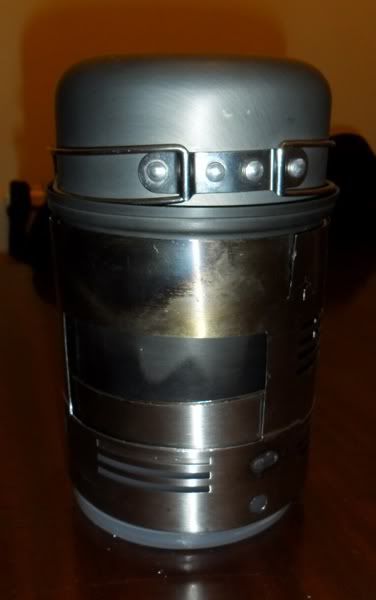
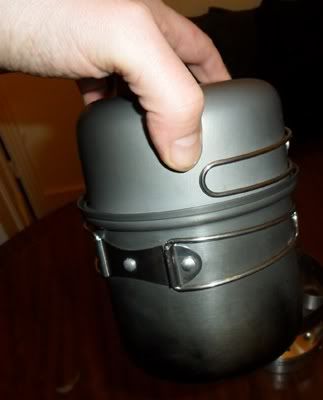
It all stowed.
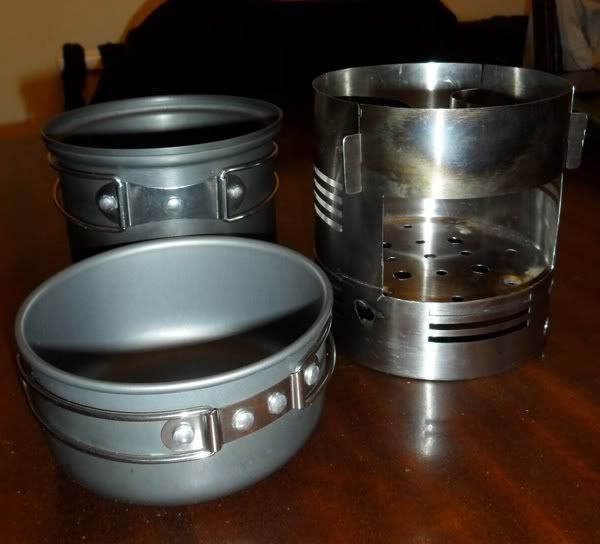
Unpacked.
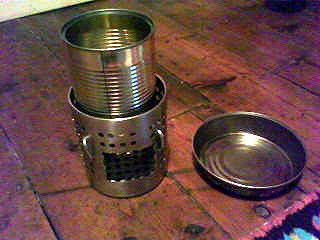
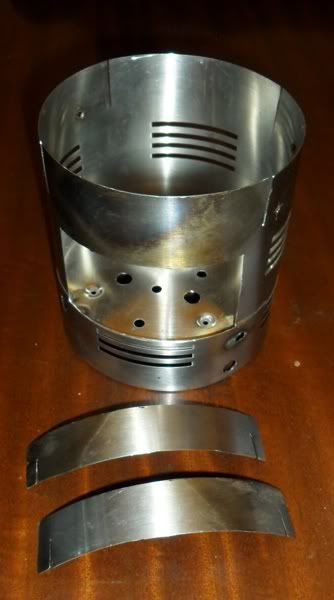
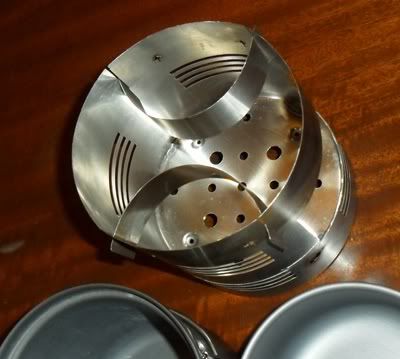
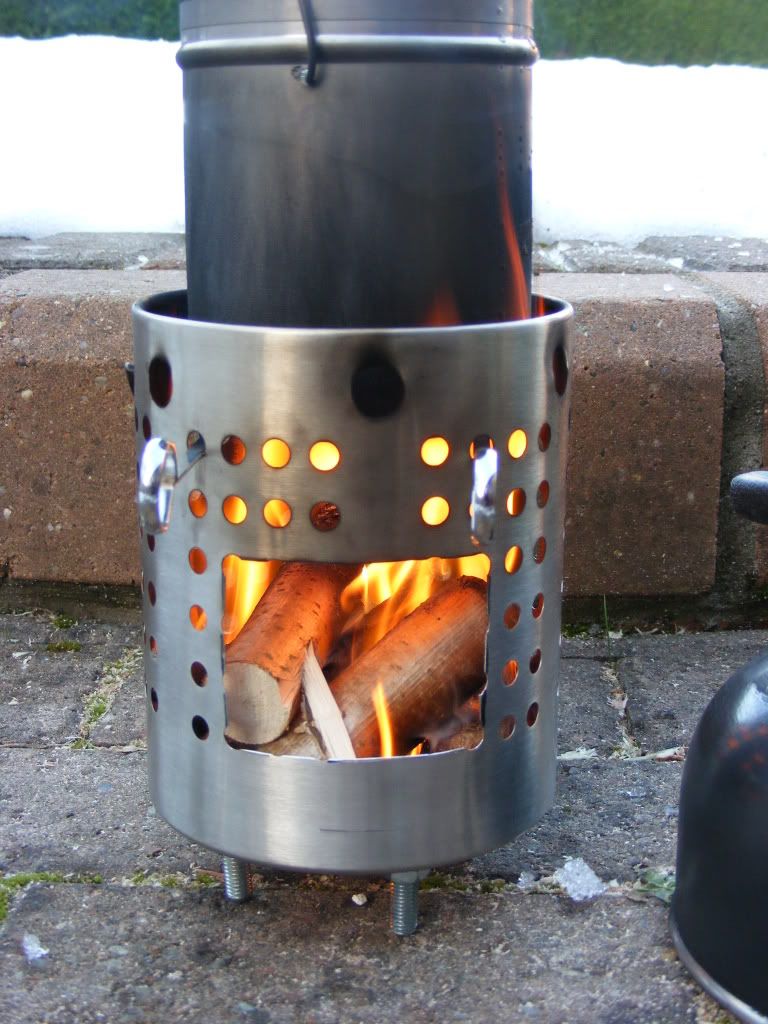
Rather than use pegs, I used some of the metal that I cut off to fashion the pot stand. These bend and slot into cuts on the side of the Tesco strainer.
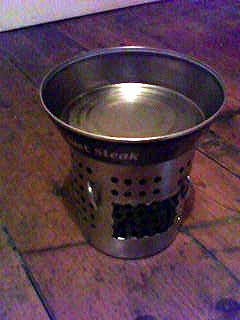
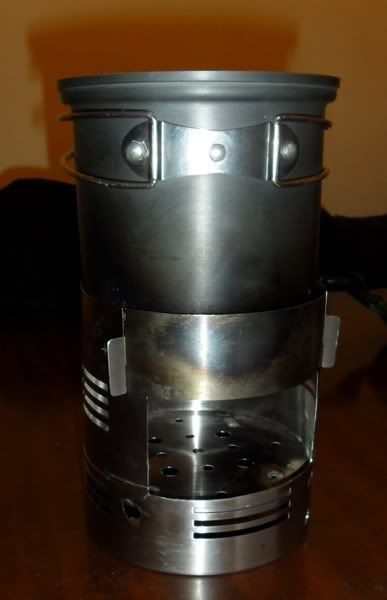
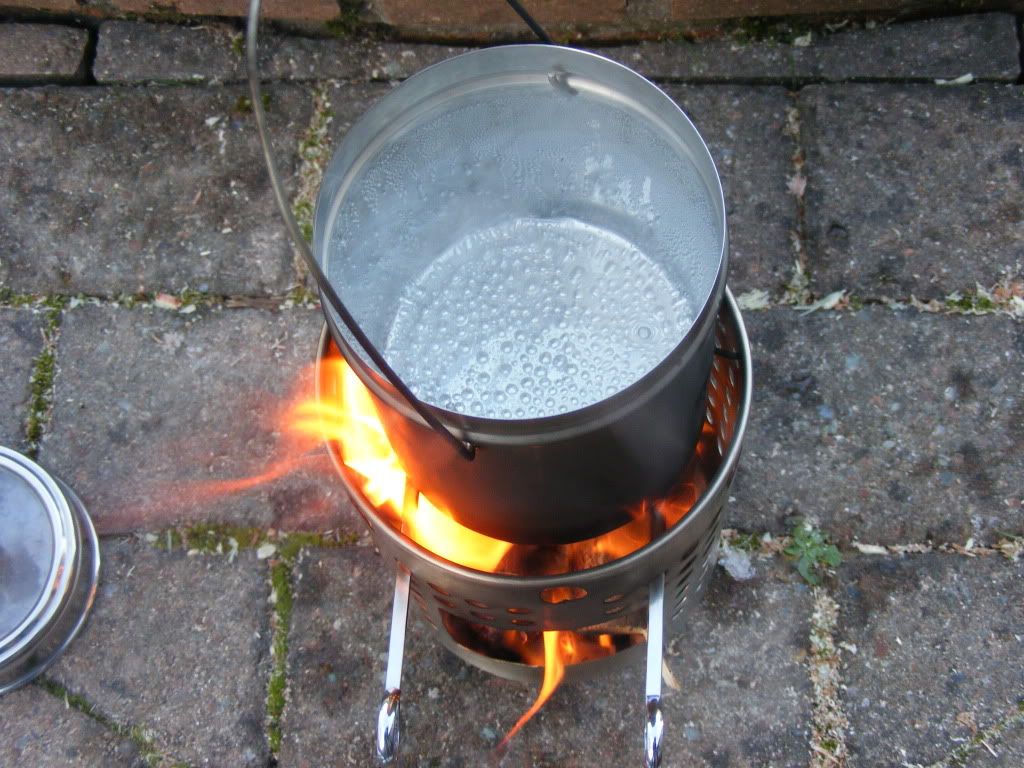
As you can see the pot sits quite happily on top.
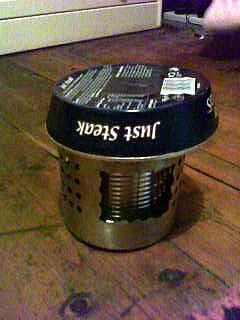
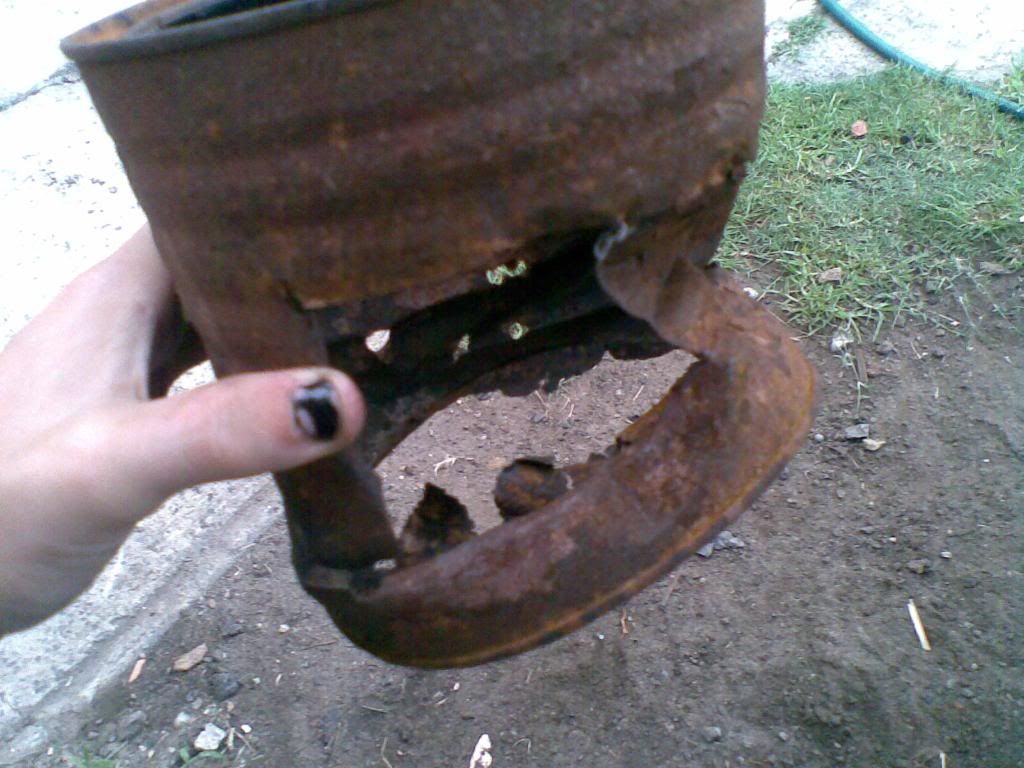
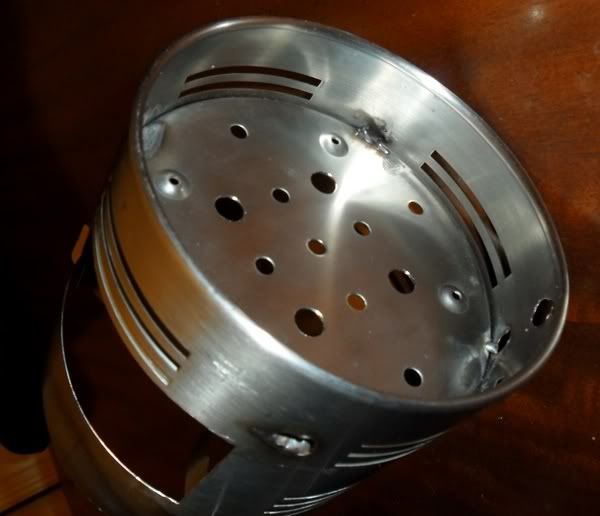
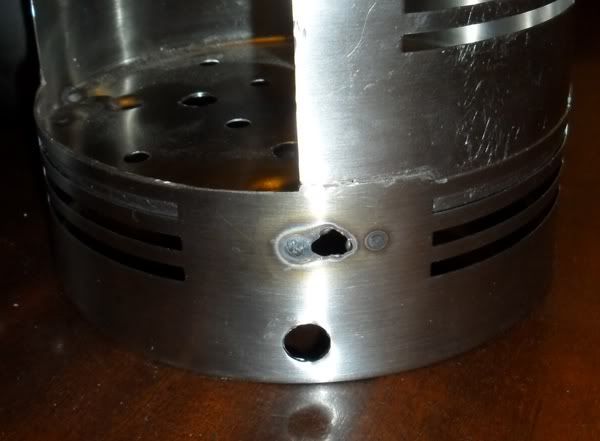
I cut off the top of the strainer, and forced it onto the bottom, to raise the fire plate up, to allow air in through the bottom.
Some holes have been drilled in to allow me to peg the stove into the ground for stability. I also had a mate weld the two pieces together, and as you can see, the weld ate some of the steel away, but as the purpose of the top on the bottom was to allow air in, it's not a problem.
The base has enough space to store my alcohol stove and some hexi tabs in a plastic tub I had to hand. It'll also serve as storage for cleaning sponge to stop things rattling.
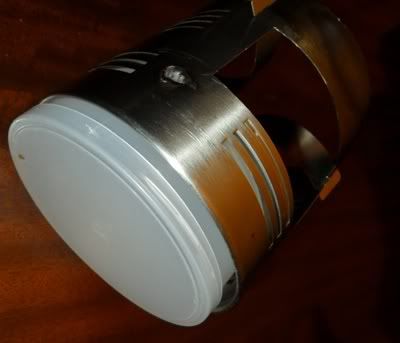
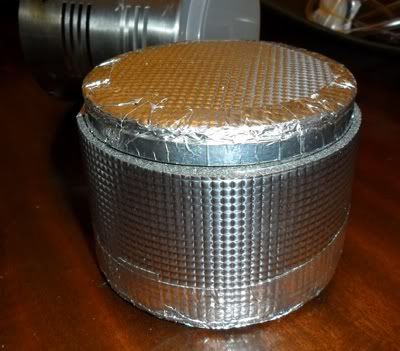
I made an insulated pot out of an old sponge pudding tin and plastic lid you get off ghee tins, so that you can rehydrate food without wasting fuel.
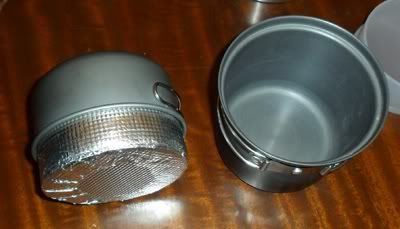
This fits snuggly into the top pot...
...and the main pot. Again no rattles
As you can see, it's not Guuchi, and in this form hasn't been out on trial yet, but it has been used in anger previously. I'm hoping that these few mods will improve on it's last outing.
Cheers for looking.


")