I had fun making this today, so I thought I'd share my attempt at an aluminium bottle stove (apologies for the quality of the pics!).
It all started when I noticed that Caffrey's had brought out aluminium bottles, and since I'd always wanted to try my hand at making a more sturdy alcohol stove I decided to get a three pack")
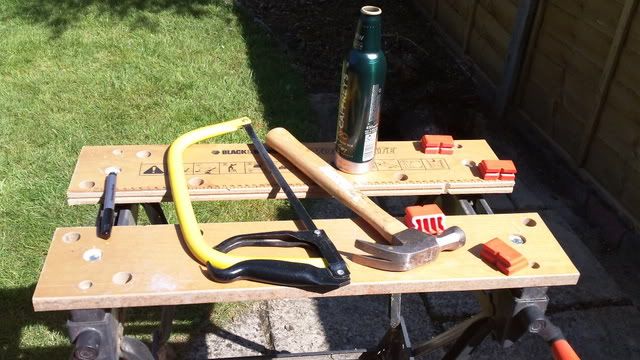
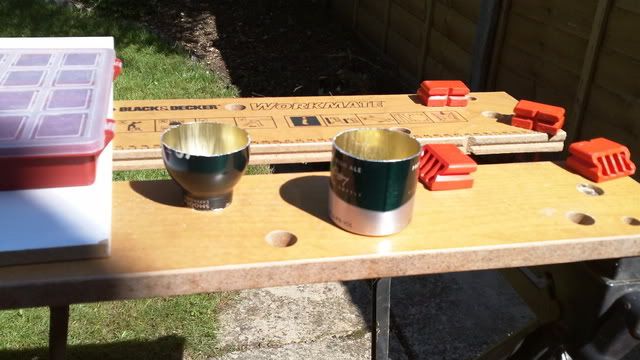
Step 1
Empty bottle (using the method of your choice) and assemble tools (hacksaw, hammer, drill, marker pen, and file).
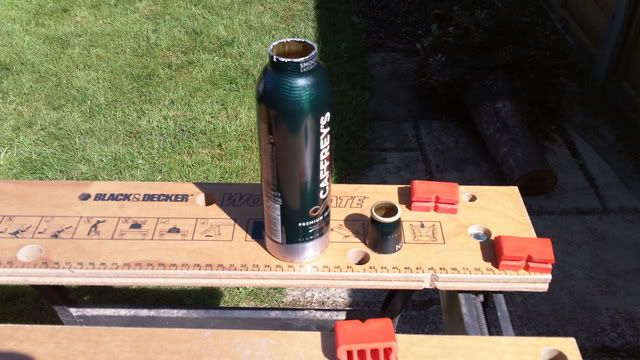
Step 2
Mark and hack off the top of the bottle. The best way to get a level cut is to "block up" a marker pen to the level needed and rotate the bottle against it to get a level line, then carefully follow the line with your saw.
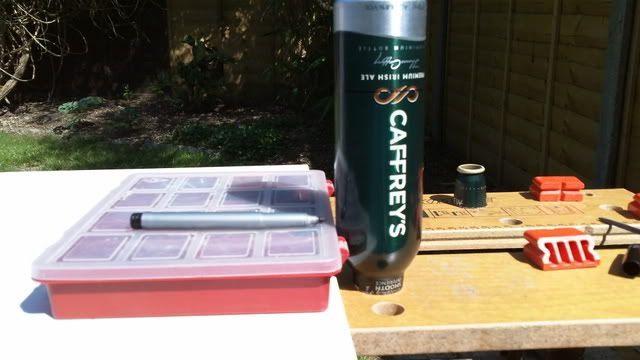
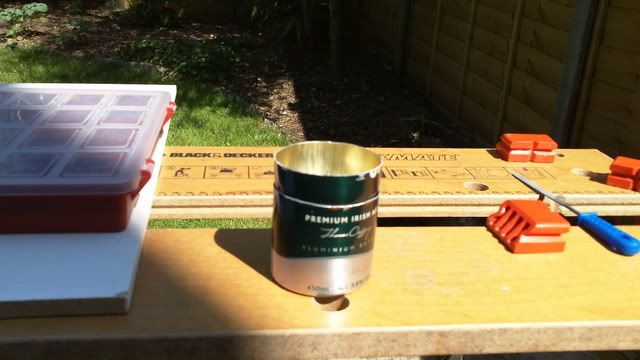
Step 3
Once the top is removed, cut eight small slots vertically in the top of the bottle (these will let the meths into the double wall of the stove). Using the same line drawing technique mentioned in step 2, mark up the base and top of the bottle. The base needs to be about 5mm taller to account for the doming in the bottom of the bottle. In this case I used a thin board in the block for the pen, and marked the base.

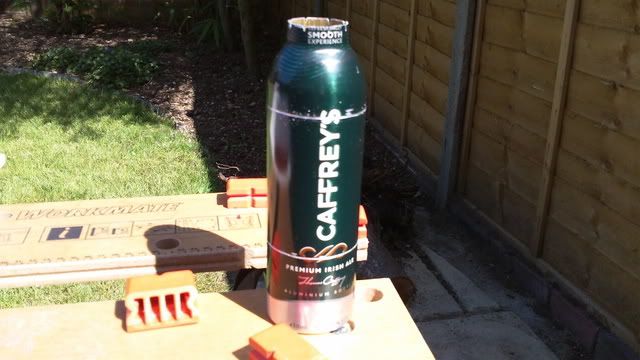
Step 4
Remove the board and do the same for the top.
Step 5
I score the lines using the hacksaw (as a means of keeping my cuts straight), before cutting all the way through.
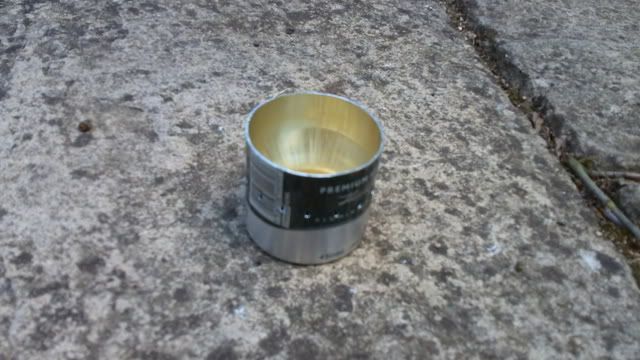
Step 6
Deburr the three pieces left (the middle section is not shown in the picture, but I cut it down the middle to use as a windshield).
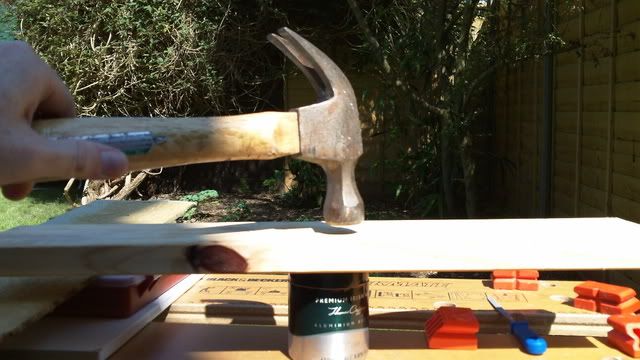
Step 7
Press the top section into the bottom using a board and hammer. Make sure to keep the board level to ensure the top section goes in straight.
Step 8
Mark and drill 16 1.5mm holes all around. The holes needs to pierce the outer wall of the stove, but not the inner wall, around about where the neck of the bottle slopes inward. Once drilled, I also used the blunt end of the drill bit to angle the jets upwards.
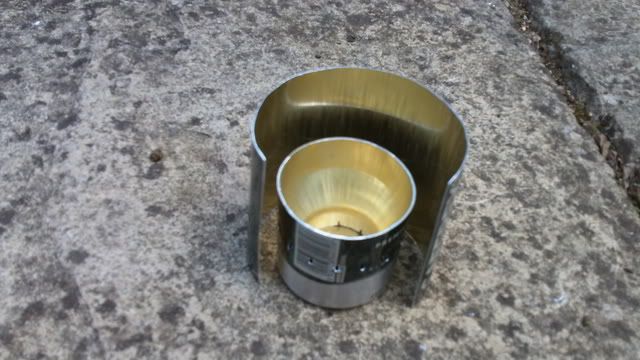
Step 9
Add windshield!
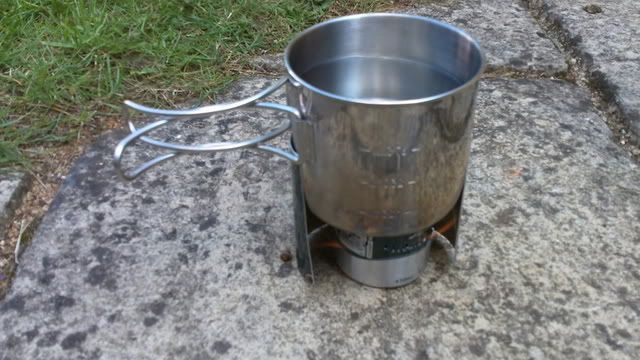
And here it is with my mug, all aflame! Total time about 1hr
It all started when I noticed that Caffrey's had brought out aluminium bottles, and since I'd always wanted to try my hand at making a more sturdy alcohol stove I decided to get a three pack
Step 1
Empty bottle (using the method of your choice
) and assemble tools (hacksaw, hammer, drill, marker pen, and file).
Step 2
Mark and hack off the top of the bottle. The best way to get a level cut is to "block up" a marker pen to the level needed and rotate the bottle against it to get a level line, then carefully follow the line with your saw.
Step 3
Once the top is removed, cut eight small slots vertically in the top of the bottle (these will let the meths into the double wall of the stove). Using the same line drawing technique mentioned in step 2, mark up the base and top of the bottle. The base needs to be about 5mm taller to account for the doming in the bottom of the bottle. In this case I used a thin board in the block for the pen, and marked the base.
Step 4
Remove the board and do the same for the top.
Step 5
I score the lines using the hacksaw (as a means of keeping my cuts straight), before cutting all the way through.
Step 6
Deburr the three pieces left (the middle section is not shown in the picture, but I cut it down the middle to use as a windshield).
Step 7
Press the top section into the bottom using a board and hammer. Make sure to keep the board level to ensure the top section goes in straight.
Step 8
Mark and drill 16 1.5mm holes all around. The holes needs to pierce the outer wall of the stove, but not the inner wall, around about where the neck of the bottle slopes inward. Once drilled, I also used the blunt end of the drill bit to angle the jets upwards.
Step 9
Add windshield!
And here it is with my mug, all aflame! Total time about 1hr