Making your tools
Now, if you have £30-£40 to invest in a set of water stones, plus £20 for a razor strop and £20 for a great chef steel, you can get a razor edge on your knife. I do mean shaving sharp. But what if you havent? Well a friend of mine challenged me to get a beaten up Mora to shave for under five pounds. I do love a challenge
")
!
I openly acknowledge that all the ideas shown here have been robbed from a variety of sources - not least Mors Kochanski, however a personal experience may be interesting (and the techiques do work) so heres how I went about it. Total cost to me? About £4 max.
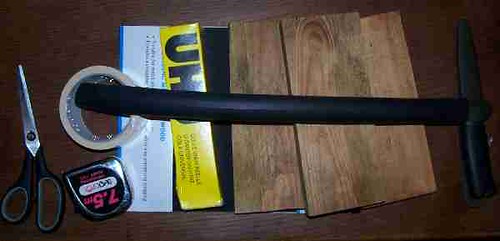
You will need..
Three FLAT pieces of wood around 9 by 4. Actually anything very flat that you can cut to about that size is great tiles work well, thick glass is fantastic, sheet metal, whatever)
A pack of mixed grade wet & dry paper from the local DIY store (240, 400 & 600 grit or close)
A pair of scissors
A piece of old inner tube from your firelighting kit (or a bit of old leather or cork or anything non slip)
Some glue
Some double sided tape (carpet laying tape from the same DIY store is great)
Step 1
Cut your boards to size. They need to be the as long as the width of your wet&dry and about 4 wide. You will need 3 of them
Step 2
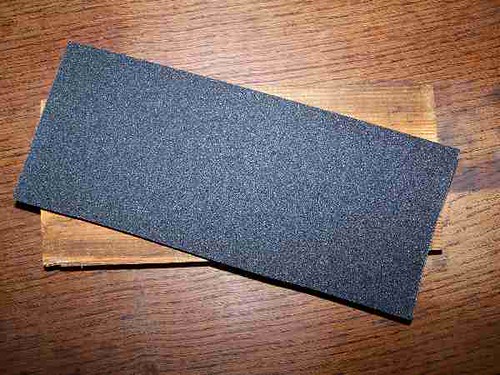
Cut a piece of your first wet&dry to fit your board
Step 3
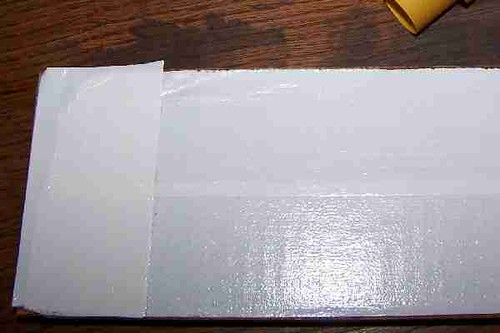
Cover the flattest side of the board in double-sided tape
Step 4
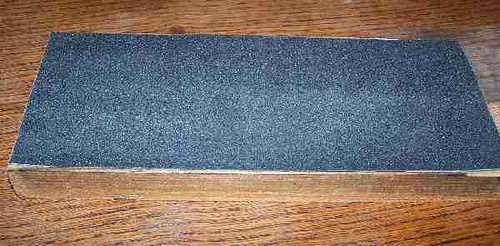
Stick the wet&dry onto the tape. Turn over and press flat
Step 5
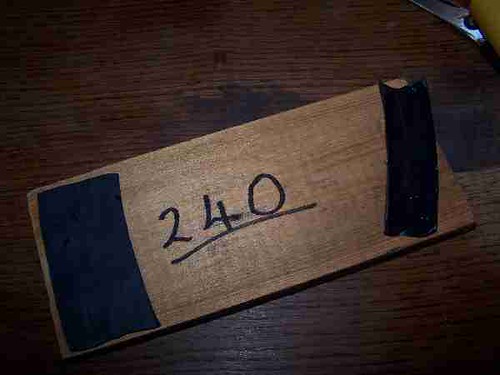
Cut up a bit of inner tube to make non slip feet for your board. Glue into place. Using a permanent marker, write the grit size on your board.
Step 6
Repeat for the other grit sizes
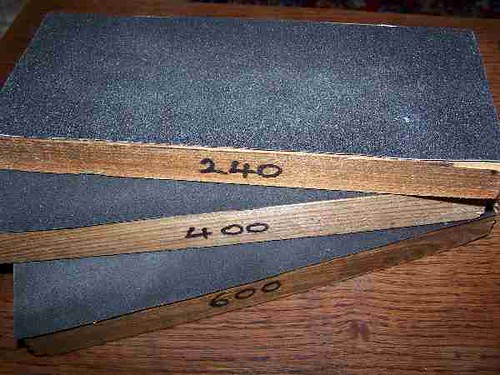
You now have a matched set of 3 sharpening boards!
Basic Honing
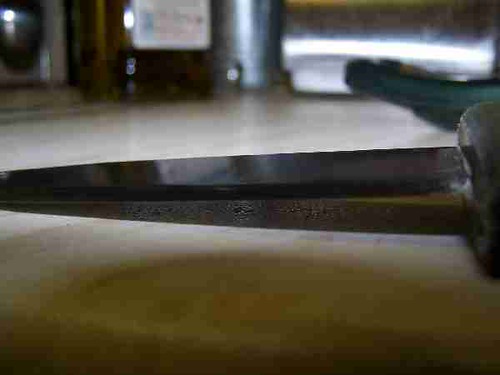
Now, looking at the knife Im teaching you to sharpen (A Frost Mora), you will notice that it only has a primary grind, and no secondary bevel. This makes it a great bush knife as sharpening is relatively simple even in the field.
So, lets get a working edge.
Step 1
Examine the cutting edge. Are there any nicks or dings in the edge? If so, we need to get rid of them. We do this by placing a metal file flat to the bevel and filing the bevel, for the full length of the blade. Use five strokes on one side followed by five on the other. As the ding disappears, reduce the number until you are alternating sides. As soon as you have a nice straight edge, stop.
Step 2
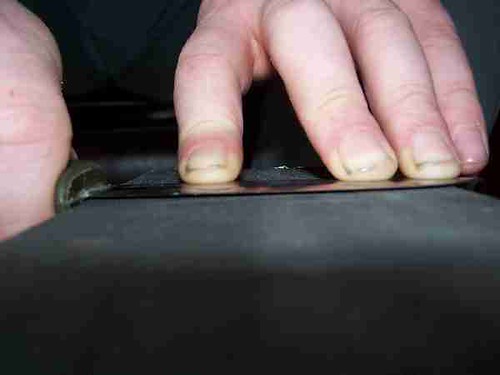
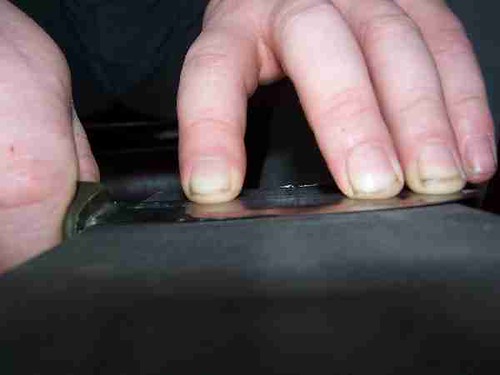
Take your 240 grit sharpening board. You dont need to wet it. Lay the flat side of the knife flat on the board. Hold the handle of the knife in your right hand and push the hilt up to the board. Using your left hand, spread your fingers and brace the blade evenly across the board.
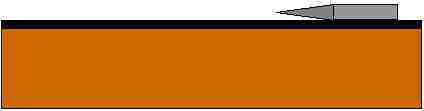
Here is the angle
Here is what it looks like
Step 3
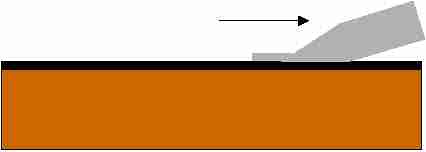
Rock the knife blade towards the cutting edge so the bevel is flat to the board.
The angle should now be like this
Step 4
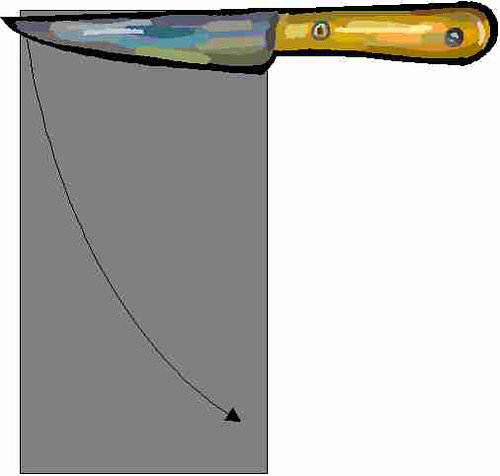
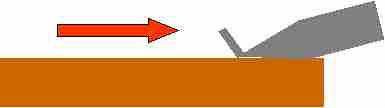
Pushing the bevel flat to the board, push the knife away from you as though trying to shave off the tope atom of the paper.
You will find that the tip of the knife overhangs your board, and if you sharpen in a straight line, the tip gets no attention, so sharpen on a curve so that the tip is sharpened in the same stroke.
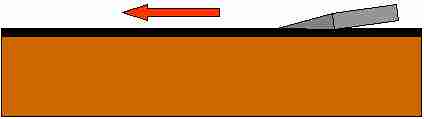
Lift the knife off the board, turn it over and, with the bevel facing towards you, shave in the opposite direction. Heres a picture.
Note.
Never pull the knife towards you. In honing a knife, you are pulling the metal around. If you pull the knife, you built a soft burr or wire in front of the cutting edge. Magnified, it would look like this:
Step 5
How many passes (a pass is one shave each way)you will need depends on the steel of your knife and its condition. Try 50 passes to start with.
Step 6
Repeat steps 2 to 4 with your 400 grit board. This time you need 100 passes
Step 7
Repeat steps 2 to 4 with your 600 grit board. This time 150 passes.
Note
The exact number of passes will vary as stated a light re-touch can be achieved with just a few passes of your 600 grit.
Conclusion
By now, the bevel of your knife should look clean, unscratched and quite shiny. The purpose of the different grades is to create a smoother and smoother finish to the blade edge. With the coarse stone, you get the right angle, but the cutting edge is almost like a saw blade under a microscope. Each successive stone smoothes out the size of the teeth. We now have a knife that is sharp to a working edge. Holding a piece of paper in one hand, you should be able to slice it cleanly with the knife.
The blade is still not surgically sharp, and well look how to achieve that next.
Strop and steel
Now in the first stage of this process we have sharpened up a working edge. In this step we will polish it to shaving sharpness! This needs a strop and a steel.
Step 1
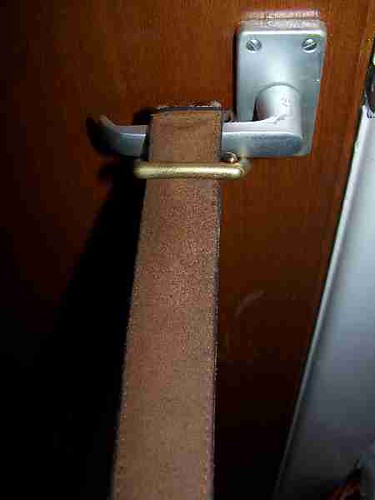
To strop a blade you need a soft and finely abrasive surface one of the best is a leather belt (use an old one). The leather belt works well because you can make a loop with the buckle and fasten it round a door handle, your foot, a branch etc. I tend to use rough side then smooth side.
I find that this action is improved by the application of a finely abrasive paste. I have heard of people using scouring cream, but I use.toothpaste! Weird, but it works. You may want to skip this if wearing the belt later!
So, form a loop and secure your strop. Pull tight with your left hand.
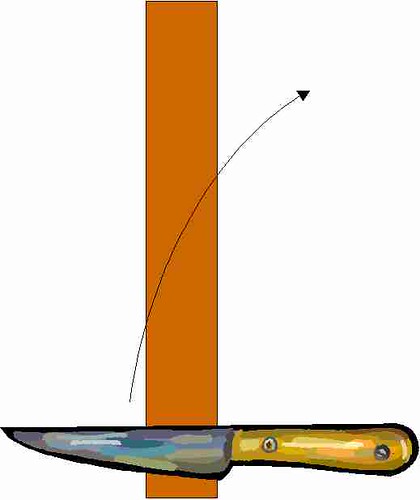
Now this time, you want to push the spine away from you with the bevel toward you and resting firmly on the leather (the other direction). It should go like this:
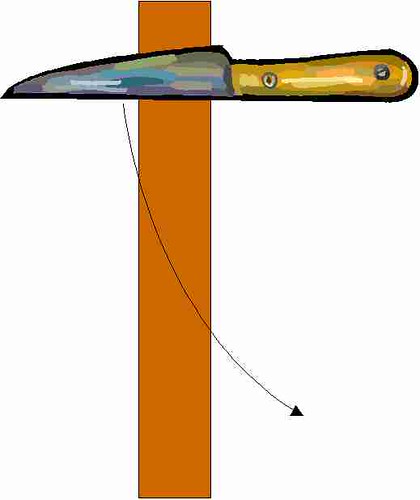
Then turn the knife over and drag the other side of the bevel towards you spine first like this.
The purpose of this is to give the bevel the finest of polishes and to move the burr and possibly break it off the effect is shown below.
You will need to strop 200 times in each direction (more if you can this is hardly abrasive at all). You would of course do this with a razor strop if you had one, in the same way as you would use a water stone instead of the honing block.
Step 2
Finally we need to remove any remaining burr. This is achieved by Lightly running the bevel along a slightly rough surface. If you have a chefs steel in your carving set, thats fine. If not, use the edge of an old ceramic tile or even the lowered window of your car. Do it very lightly, no more than 6 times in each direction.
Now, you should be able to shave with your knife with a kit that cost a few quid!
Hope thats interesting to someone!
Red


![IMG_5153[1].JPG](https://bushcraftuk.com/community/data/attachments/49/49328-c87a3508a556b1f372e8f9471ffa3d77.jpg?hash=yHo1CKVWsf "IMG_5153[1].JPG")