Hey All,
I have recently returned from Rome, which is an amazing city and would recommend it to anyone.
Anyways after filling up a 4GB card with raw photos I now have the job of going through them all. Some of them need a bit of editing to get just right as the appeared a bit flatish/dull without any work to them. First off any ideas as to what I can do to improve the colours of a photo while taking the shot? Is this just down to a lens/camera thing?
My current Rig is a Canon EOS 400D, with the 18-55mm kit lens, a 55-250mm IS Canon Lens and a 70 - 300 Canon Lens. All I have filter wise is a polariser which is mainly planted on my 18-55mm lens. I would like to get a replacement for the kit lens at some point as to which I am not sure yet. Any advice from anyone on this?
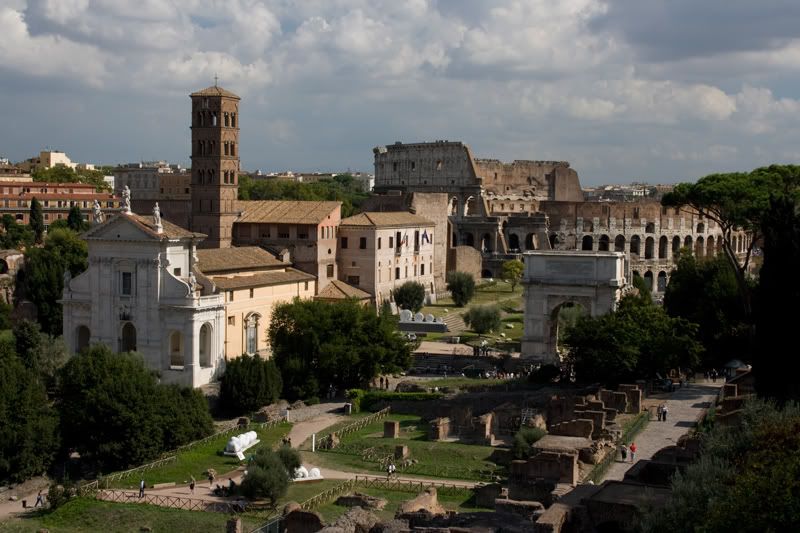
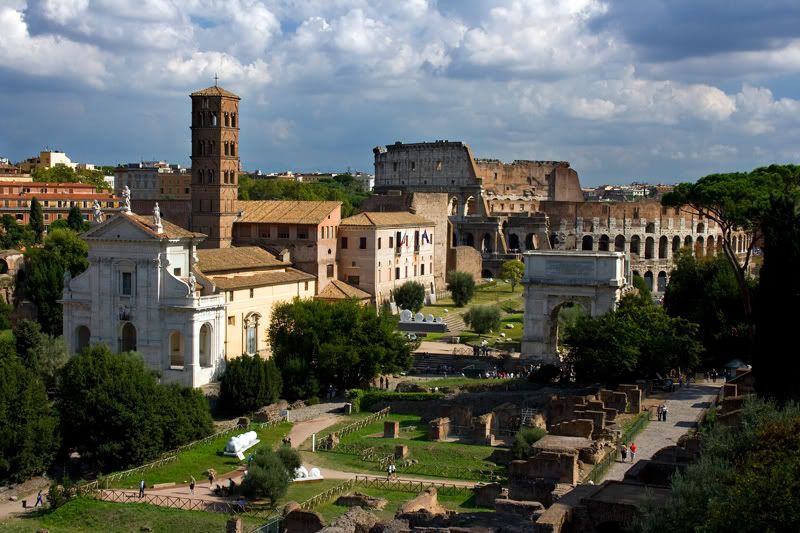
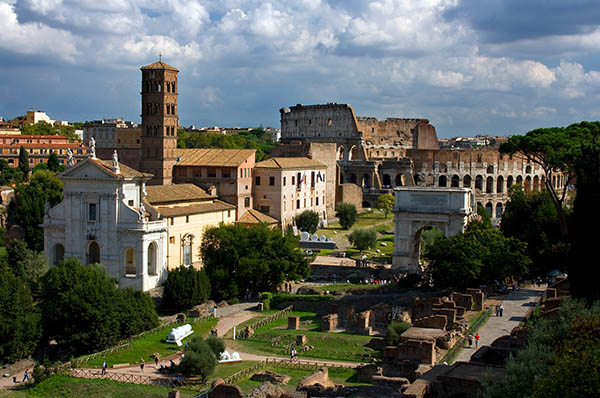
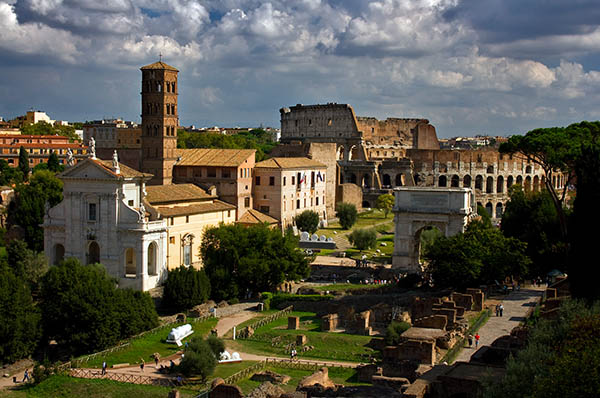
The other thing I wanted to ask was about one of the photos I took while in rome:
http://pandabean.deviantart.com/art/Imperial-Rome-139711061
I was wondering if anyone had any advice on how to get the clouds looking better?
Apologies for the link to another site but I cant upload photos to any of the usual sites while at work.
Thanks,
Andy
I have recently returned from Rome, which is an amazing city and would recommend it to anyone.
Anyways after filling up a 4GB card with raw photos I now have the job of going through them all. Some of them need a bit of editing to get just right as the appeared a bit flatish/dull without any work to them. First off any ideas as to what I can do to improve the colours of a photo while taking the shot? Is this just down to a lens/camera thing?
My current Rig is a Canon EOS 400D, with the 18-55mm kit lens, a 55-250mm IS Canon Lens and a 70 - 300 Canon Lens. All I have filter wise is a polariser which is mainly planted on my 18-55mm lens. I would like to get a replacement for the kit lens at some point as to which I am not sure yet. Any advice from anyone on this?
The other thing I wanted to ask was about one of the photos I took while in rome:
http://pandabean.deviantart.com/art/Imperial-Rome-139711061
I was wondering if anyone had any advice on how to get the clouds looking better?
Apologies for the link to another site but I cant upload photos to any of the usual sites while at work.
Thanks,
Andy