Custom handle on Benchmade Ritter Griptilian

  • Hey Guest, Early bird pricing on the Summer Moot (29th July - 10th August) available until April 6th, we'd love you to come. PLEASE CLICK HERE to early bird price and get more information.

C_Claycomb

Moderator staff
Mod
Oct 6, 2003
7,353
2,364
Bedfordshire
Thought I would share some photos of this.

Not perfect, but it was a first attempt, lets call it a first development standard :rolleyes: This was something I have wanted to do, for me, for a very long time.

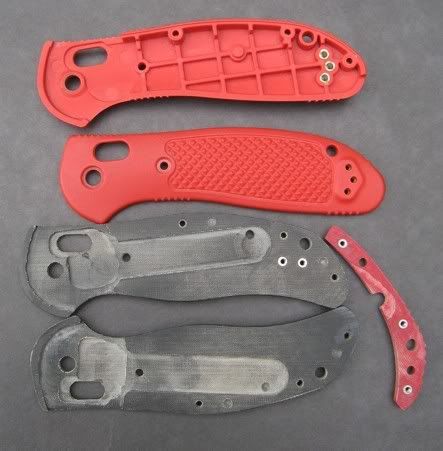
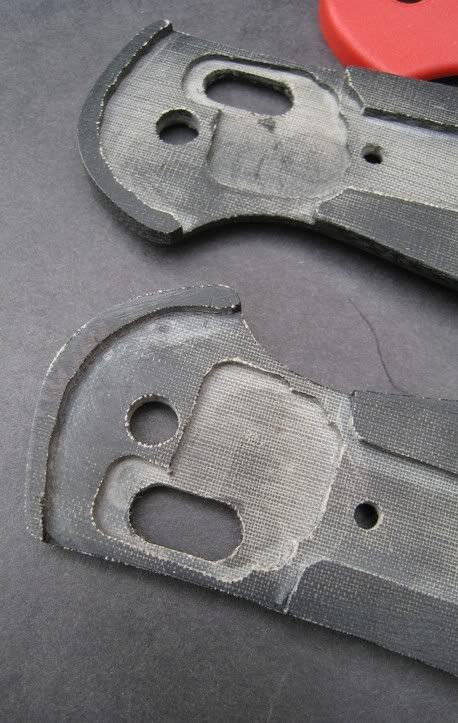
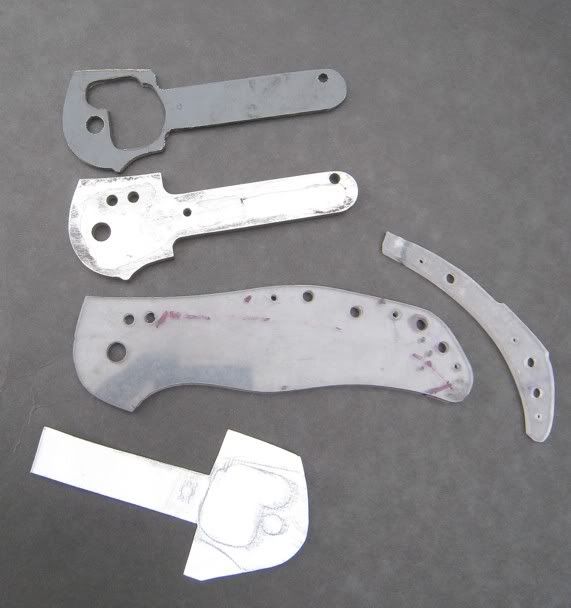
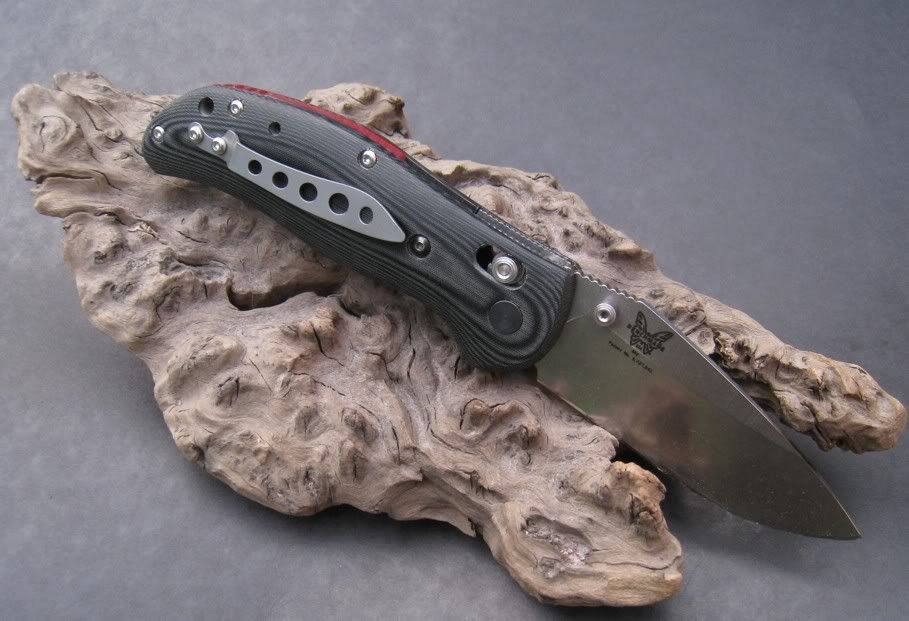
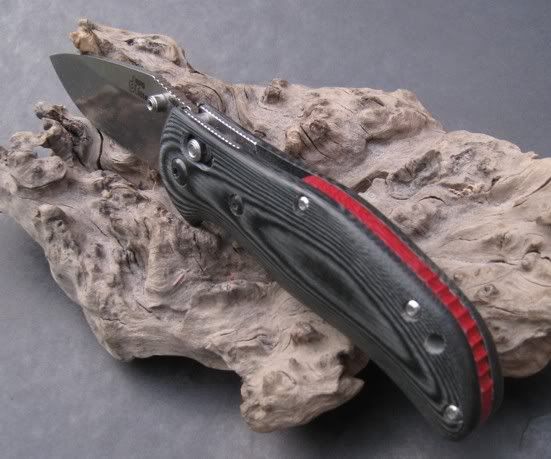
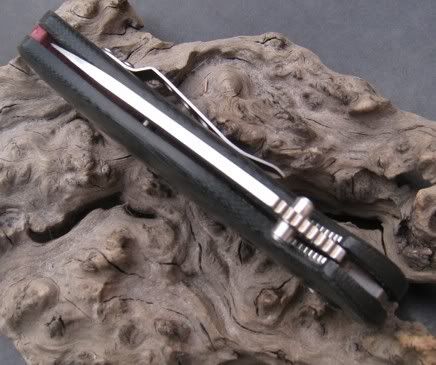
Originally a Benchmade Ritter Griptilian. New handle of black linen Micarta, back spacer of red linen Micarta. Various pins, inserts and new clip of stainless steel. I know that G10 is the material of choice, and it would have looked better, but I had the Micarta and it is less abrasive on cutting tools. Cheaper too...important on this first try.

IMG_5925.jpg


IMG_5929.jpg


IMG_5927.jpg


IMG_5931.jpg


IMG_5932.jpg


IMG_5933.jpg


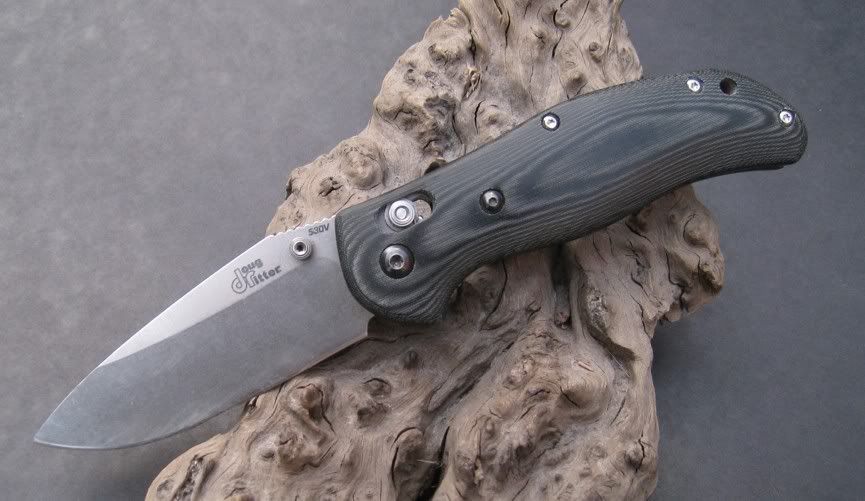
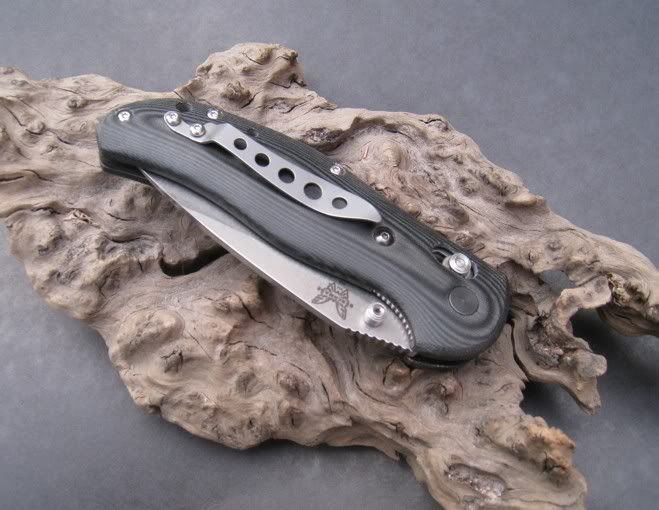
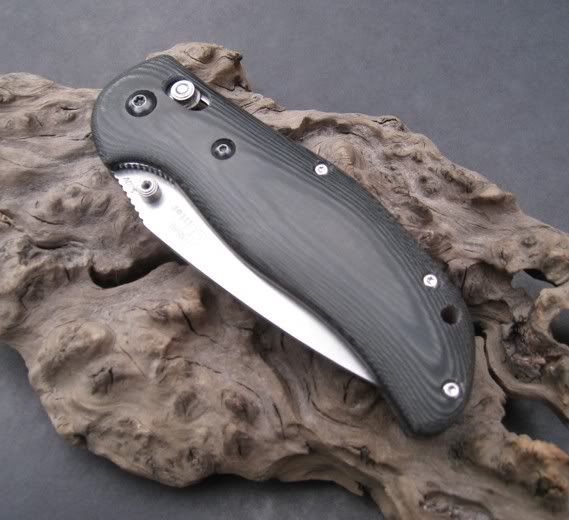
Now to carry it around and see how it works. I already know it needs a slightly longer handle, and some more file work for grip. Still very happy with it :cool:

And sorry, no, I am not taking any orders and have no plans to do so in the forseeable future.:sad6:
 

Barn Owl

Old Age Punk
Apr 10, 2007
8,245
5
58
Ayrshire
That's just smashing Chris.

The next grip i get i'm keeping, in the hope that i can get the scales done.

Tom.
 

Graham_S

Squirrely!
Feb 27, 2005
4,041
65
50
Saudi Arabia
I've always felt that the handle on the BM Griptillian let it down, great lock, great ergonomics, great blade, but the handle just feels cheap and nasty.
That looks like great work Chris (as usual)
 

C_Claycomb

Moderator staff
Mod
Oct 6, 2003
7,353
2,364
Bedfordshire
Good thing that the photos don't show all the screw-ups I made then, hey? LOL.

I think the handle only needs to be about 3mm longer, give a little more grip, and a little more room for the back spacer where the tip of the blade sits when closed. The ergonomics of the original are scarcely to be improved on, the only thing I didn't like was the depth of handle that my little finger had to wrap around when in a hammer grip. I think that the hump on the back of my handle could do with shifting about 3mm back as well, but we'll see how it works over time.

This was a very rewarding, and trying, project, lots more planning needed than for a typical fixed blade bushcraft knife. LOTS of drilling. Making the counterbore bits was a pain, and none of them are quite as good as I want.

If there is one thing I have learned, it is not to buy any more drills or bits from knife supply companies. 30%-50% of the fine number drills I have were bent fron new, as was a reamer, and the purchased counterbore, bought from the same place as the 2-56 screws and meant to go with them, was too small, such that the screw heads would fit. :banghead: Hopefully the next try at one of these will run smoother now that I have worked some of this stuff already.
 

Longstrider

Settler
Sep 6, 2005
990
12
59
South Northants
Like Bardster says, it's now far more 'you' Chris. Executed with your normal attention to detail and very nicely done :)

You of all people should know that buying drills and reamers from knife supply companies is a hit and miss afair. I have a set of lovely Ti-Ni drill bits that were far from cheap, and even they all seem to make holes that are about 0.05mm smaller than they ought to be. Fine if you're drilling a pilot hole for a wood screw but a PITA if you're trying to fit a 6mm pin into a 5.95mm hole ...
 

ged

Bushcrafter (boy, I've got a lot to say!)
Jul 16, 2009
4,976
13
In the woods if possible.
That is a nice result. I have to agree about the original handle, and I won't name any other makes but I think people will know what I mean when I say that other well-known products suffer in just the same way. It's almost as if some accountant somewhere said "use thinner materials, it's cheaper". It might be cheaper but it leaves me wondering why they bother with exotic blade steels when they're going to put such a crummy handle on it.
 

C_Claycomb

Moderator staff
Mod
Oct 6, 2003
7,353
2,364
Bedfordshire
Yeah Ian, there is clearly a REASON that they drills from the US knife supply places are cheap! I really think that figuring a way of grinding ones own counterbores would be worth while! http://www.drill-service.co.uk/ are going to get a lot more of my business in the future!

Here is a little more info on how I did them.

These pictures are of the inside before I realised I hadn't quite got the spring recess deep enough. Had to go at it with a B&D Wizard and little burr to shave out a little more space.

IMG_5917.jpg


IMG_5918.jpg


I want to post pictures of the tools and jigs that I used, but that is going to have to wait till later as I am going away for a little while and haven't got all the photos and explanations laid out.

This is the best I can do now:
IMG_5922.jpg


I milled the main recess with a 13mm diameter slot drill, one spring recess was done with a 6mm diameter cutter and the other with an 8mm cutter. The 8 was a better choice, fewer steps. The first scale also used more steps with the 13mm cutter, but I got my drawing wrong, so milled the pocket a little too small and had to go back and touch it up.

I had a Wilkins handle apart and did the rubbing from his spring recess. Used that as a basis for a drawing and basis for the cutter moves. I made the micarta template so I could mill the first level recess, then have something to scribe around so that I could tell when I was cutting the spring recess in the right place (botched one scale by getting the datum out of position and milling a perfect shape spring recess in the wrong place!).

I drilled the pivot hole after milling. Used the steel pattern as a guide. My datum set up, or how I indexed the parts, was not spot on and I had to touch up the inside of the 4-40UNC liner screw hole in the scale with a fine round file to stop the screw from rubbing the micarta and pulling the liner out of position.

Inserts were first glued in a nice slide clearance hole with regular cyano adhesive. Bad choice. They came loose when drilled. Next try was a tight press fit (carbide stub drill for better size control on my rattley drill press) and Loctite 326 + activator. They stayed where put that time.

Cheers all :D
 

steven andrews

Settler
Mar 27, 2004
528
2
50
Jersey
That looks great. I like how you have maintained the Grip's neutral handle profile.

Most of the after-market handles (Wilkins/Cuscadi etc) have too many lump, bumps and grooves for my liking.
 

BCUK Shop

We have a a number of knives, T-Shirts and other items for sale.

SHOP HERE