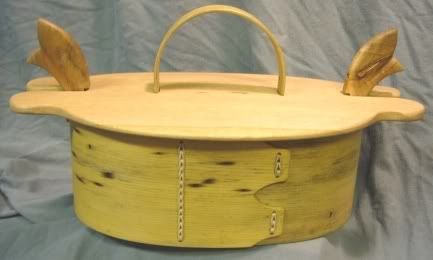
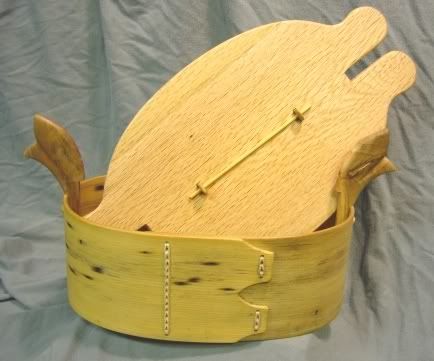
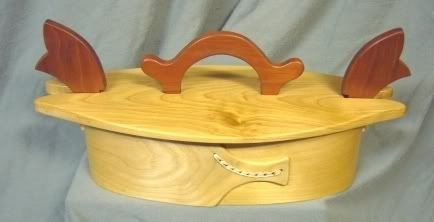
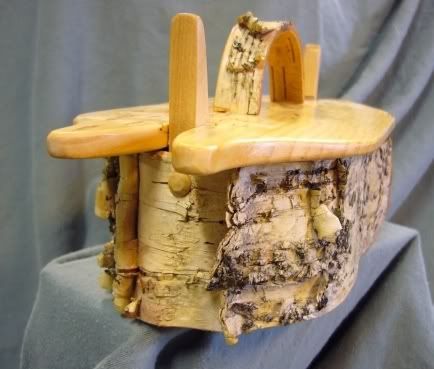
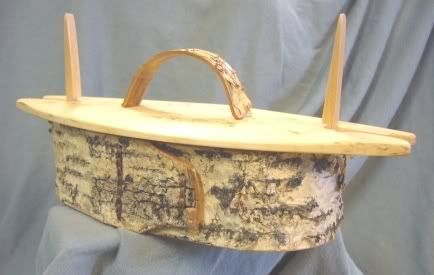
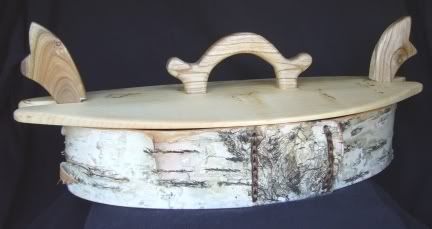
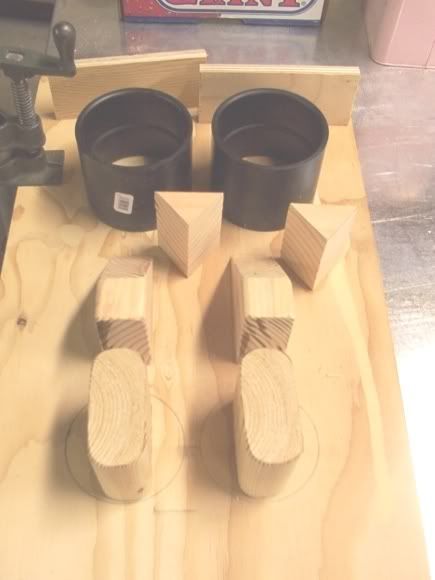
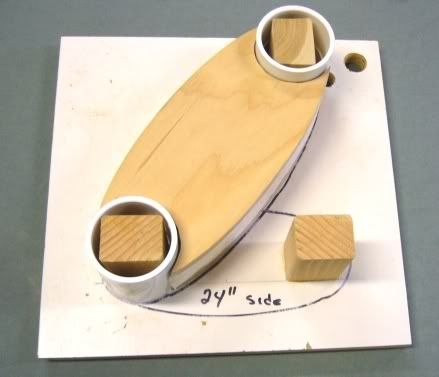
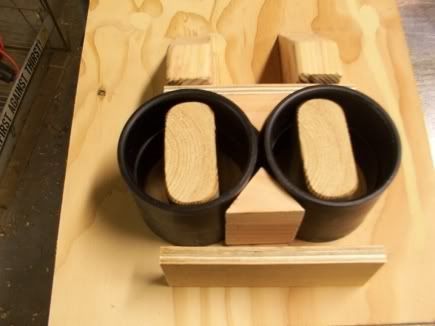
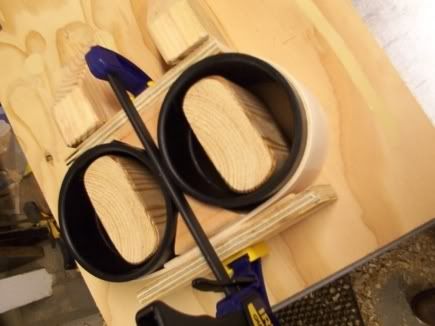
The original tiner was made with hand tools and using no glue or nails. There is a lot of pride in still making them this way.
I have to admit, I cheat a little and use power tools and a little glue.
The heart of the tine is the thin wooden side, usually about 3mm thick. It is boiled then shaped around a form and left to dry for 2 days.
The hardest thing to come by, when making a tine', is a pan to boil the side pieces.
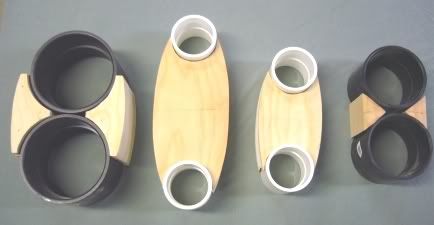
Some craftsmen soak the sides in trays made of PVC pipe. You add boiling water and let it set.
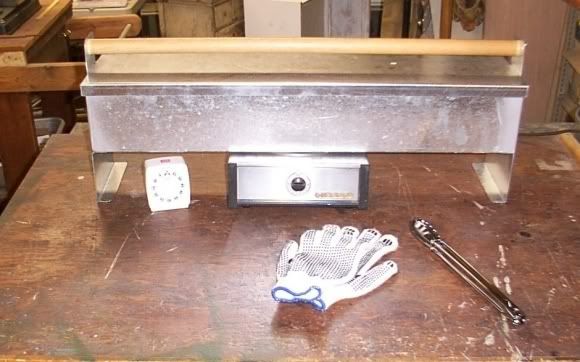
I boil the sides for 20 to 30 minutes in a long pan heated by a hot plate.
This is my first pan. It is 18cm wide, 13cm deep and 76cm long. Legs to fit height of hot plate. lid to fit, long wooden handle.
The gloves are used when I work root. You can handle a hot side once it is lifted out of the pan with the tongs
As I started building larger tiner I needed a larger pan, my present pan is 1.22m long.
Other side material you may consider, bendable plywood, thick leather and birch bark.
Only boil plywood for 2 minutes or it will come apart. Voice of experience.
Leather and birch bark can be soaked in hot water in a large round pan. Birch bark will curl up.
You will find you get many comments on the lacing on your tine'.
End posts, bottom and lid are cut out of wood 1cm thick.
I will add instructions to this thread as I get them written. I will start with form building.
Harmony

