SWC/ Ray Mears Bushcraft Knife - Re-handled
- Thread starter MartinK9
- Start date
-
Come along to the amazing Summer Moot (21st July - 2nd August), a festival of bushcrafting and camping in a beautiful woodland PLEASE CLICK HERE for more information.
You are using an out of date browser. It may not display this or other websites correctly.
You should upgrade or use an alternative browser.
You should upgrade or use an alternative browser.
Biker
Bushcrafter (boy, I've got a lot to say!)
Rather you than me Chad, I'd have been a nervous wreck working on someone else's knife let alone a genuine Woodlore!
Superb workmanship there, and i never knew you did sort of thing. Well impressed with that. Well done!
Superb workmanship there, and i never knew you did sort of thing. Well impressed with that. Well done!
Right, this is about to go pic heavy. Sorry for everybody that knows the process already!
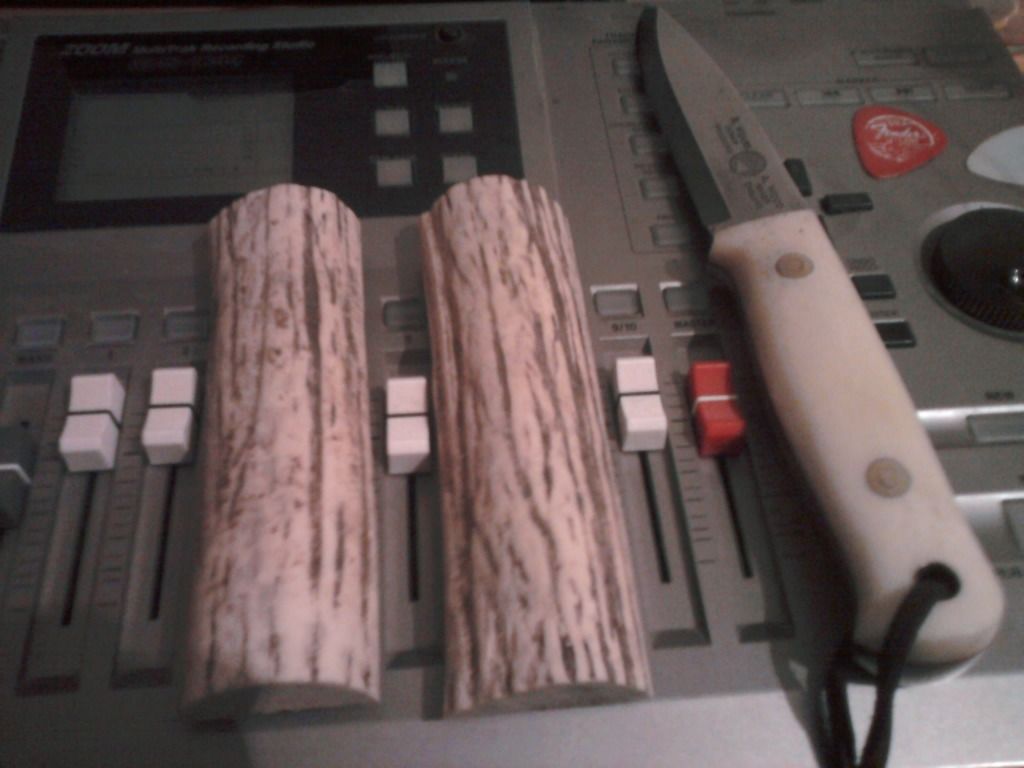
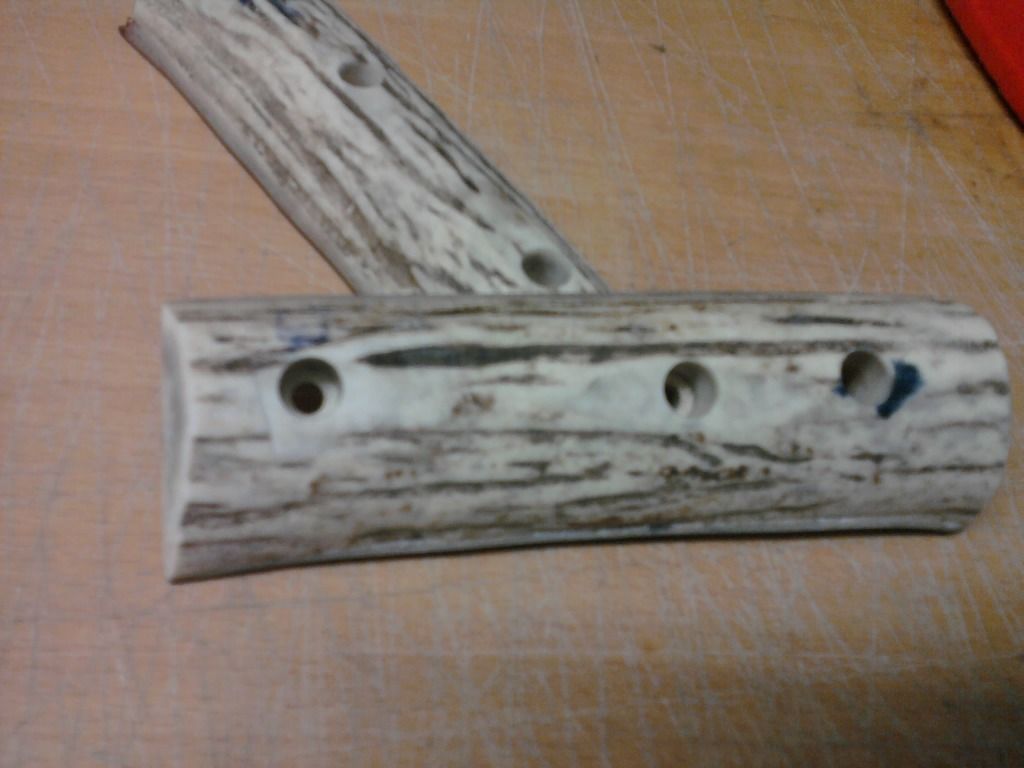
This was what I sent Martin to make sure he was happy with the Reindeer antler I had before starting.
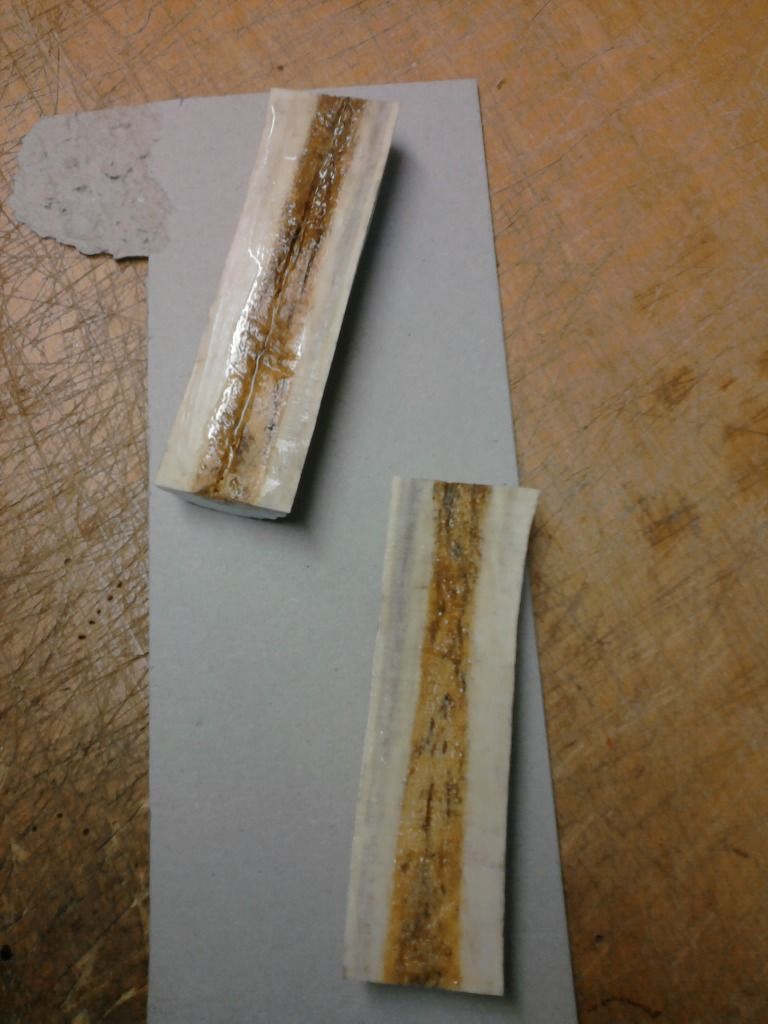
Once he gave me the green light I added runny ca glue to fill the pithy bit and kept sanding it flat before adding liners.
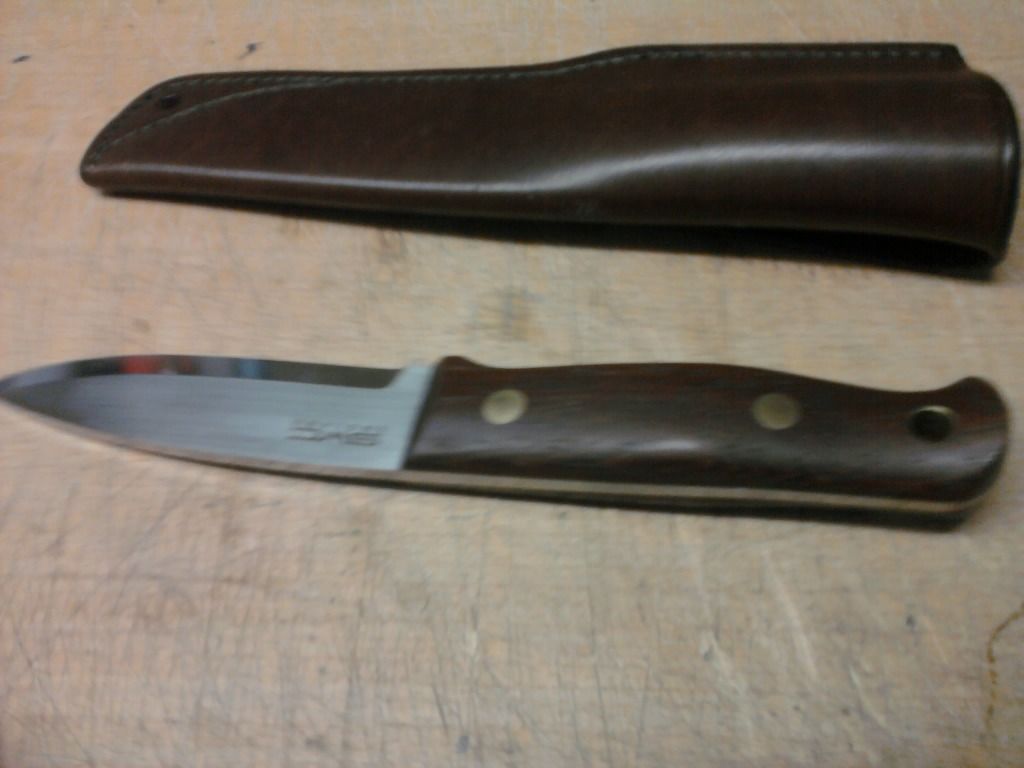
Here's the original.
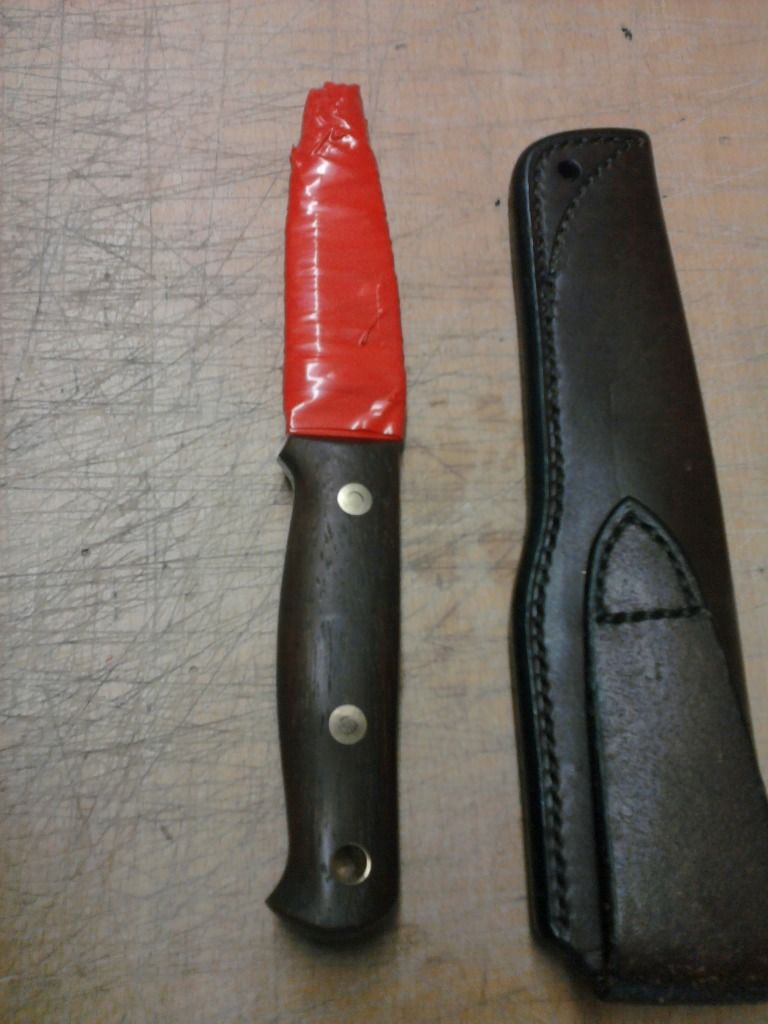
Taped up immediately to avoid any dings
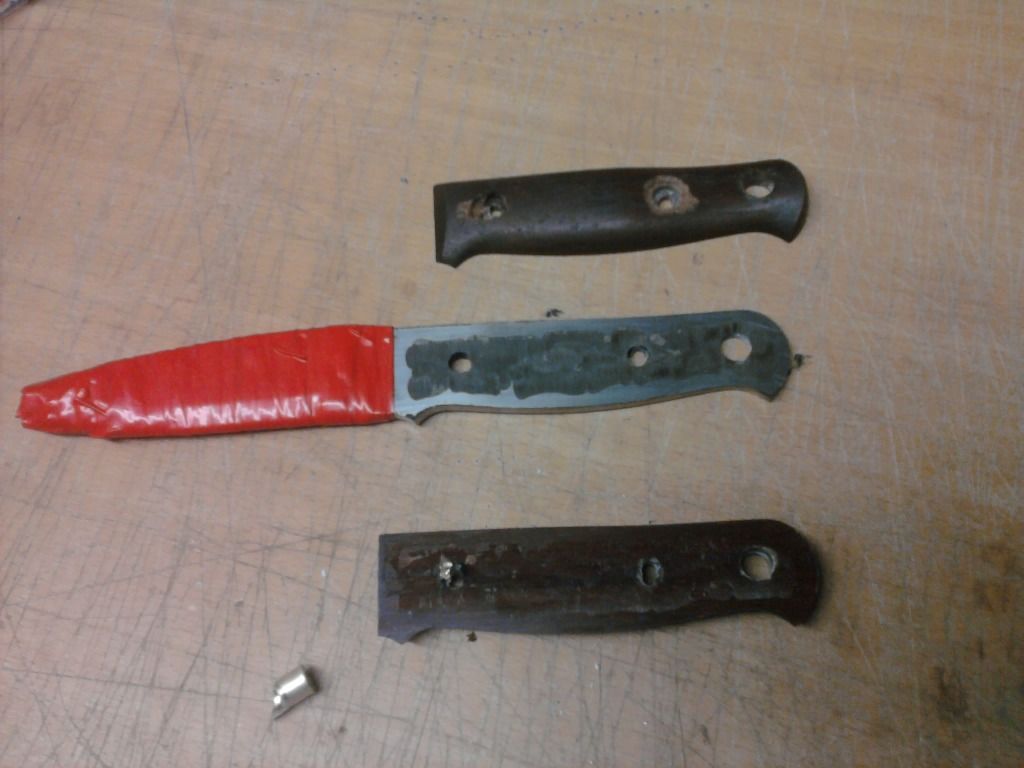
Scary bit done, scales removed. This made my bum go tight as it wasn't my knife!
I tried to get a couple step bits in the right size for this but failed miserably. I ended up doing it by hand and eye on a pillar drill and ground the bit for the larger hole flat to avoid the angled shoulders inside that could crack the scales when the loveless bolts are tightened. Worked alright but certainly wasn't easy.
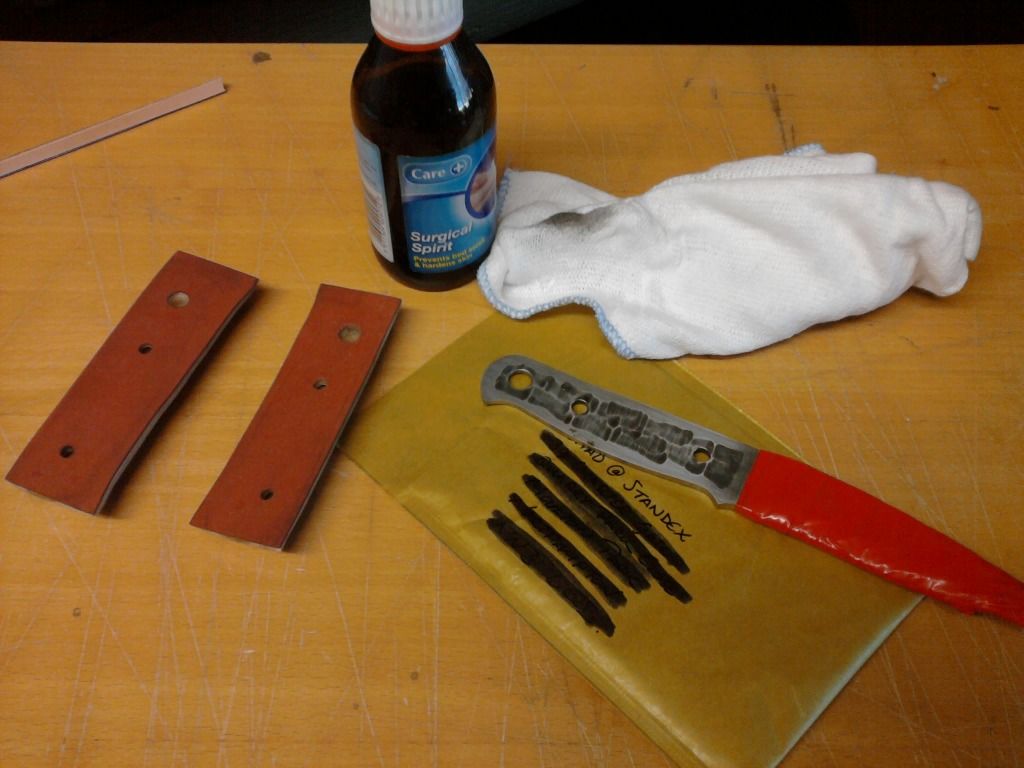
All ready to assemble and the epoxy just needs mixing.
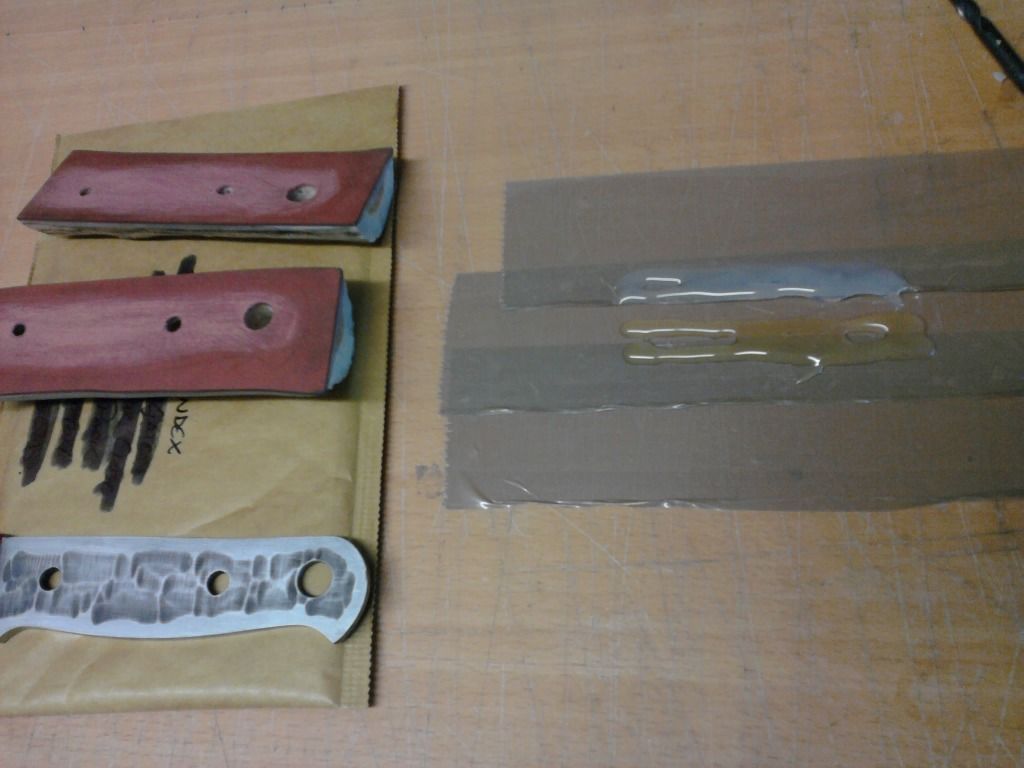
Metal cleaned, liners roughed up and epoxy poured.
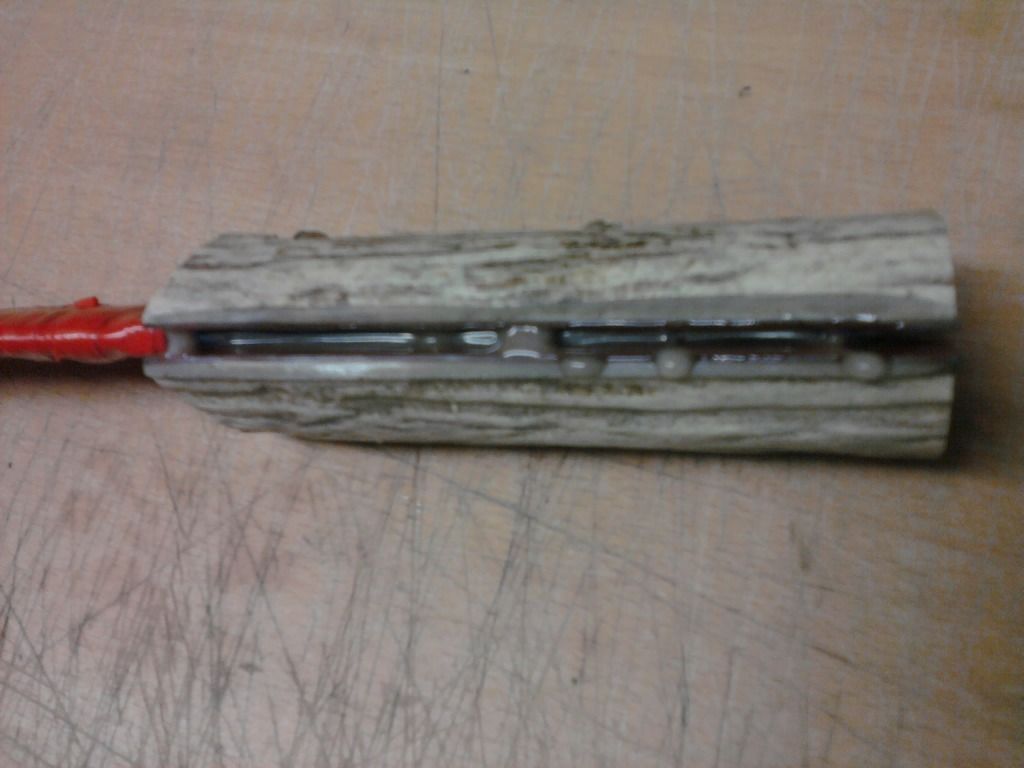
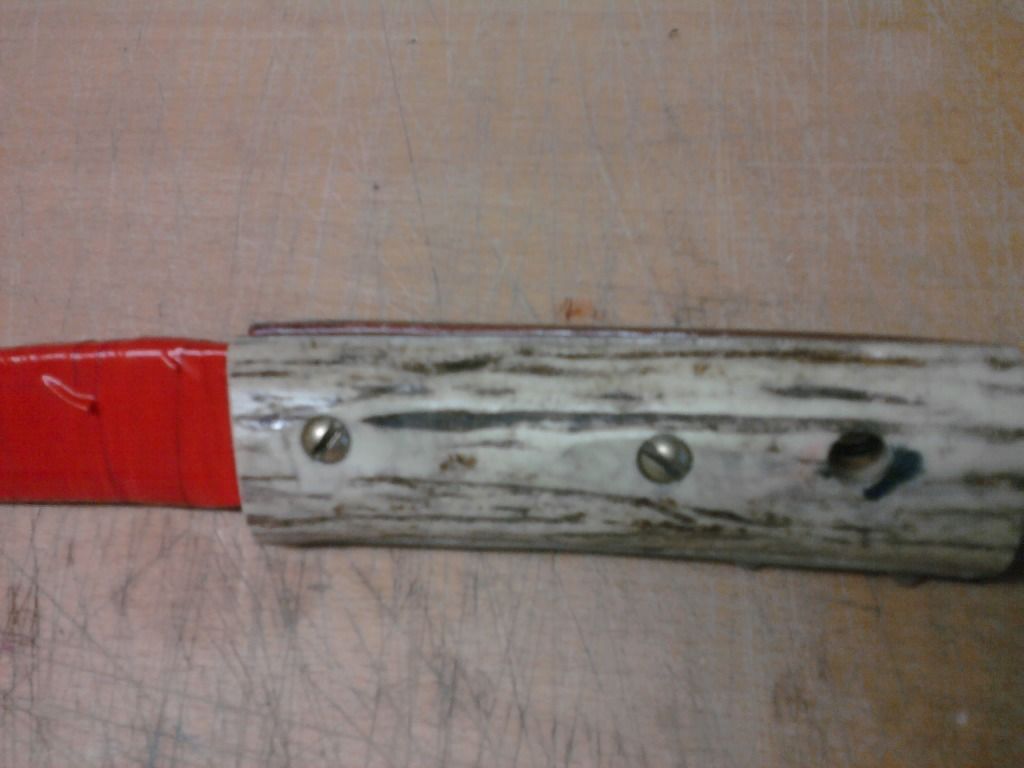
Bolts tightened and it gets clamped for a couple days and I was left with this.
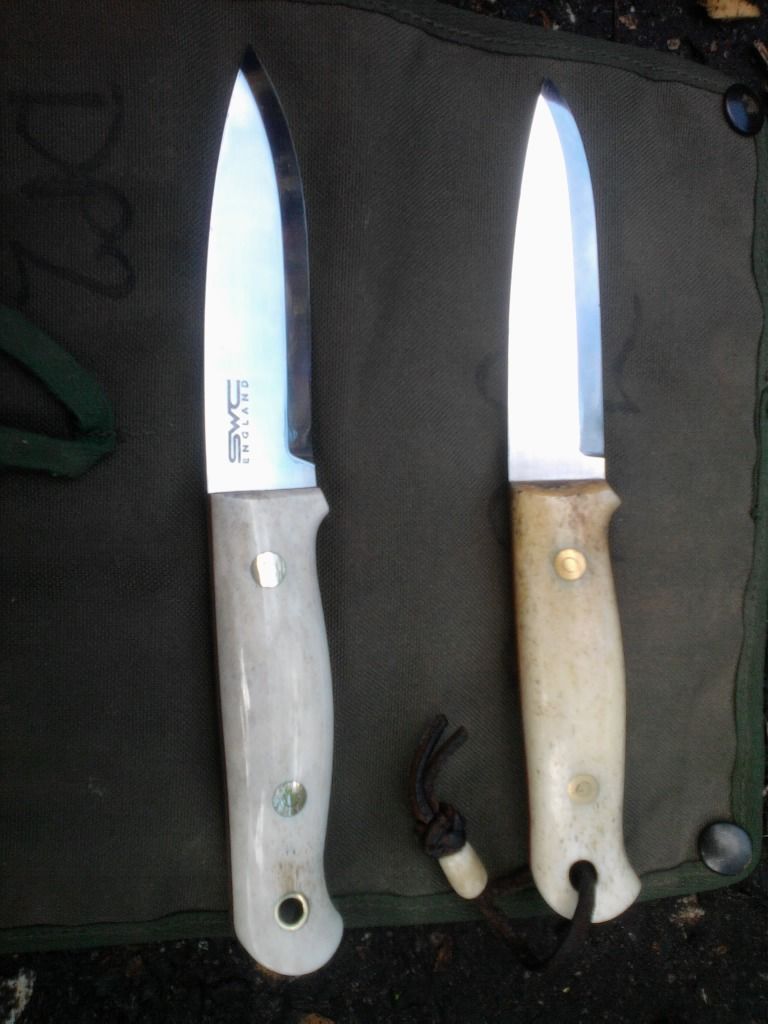
Sadly I didn't take any pictures of the interesting bit which is shaping the handle scales. I used a rasp and file to rough shape it then hand sanded. Once the main shape is there I tend to clamp the blade in a vice and cut long strips of 120 grit sandpaper and buff it to the desired size. I then do the same through to 1000 grit and take it to the polishing wheel.
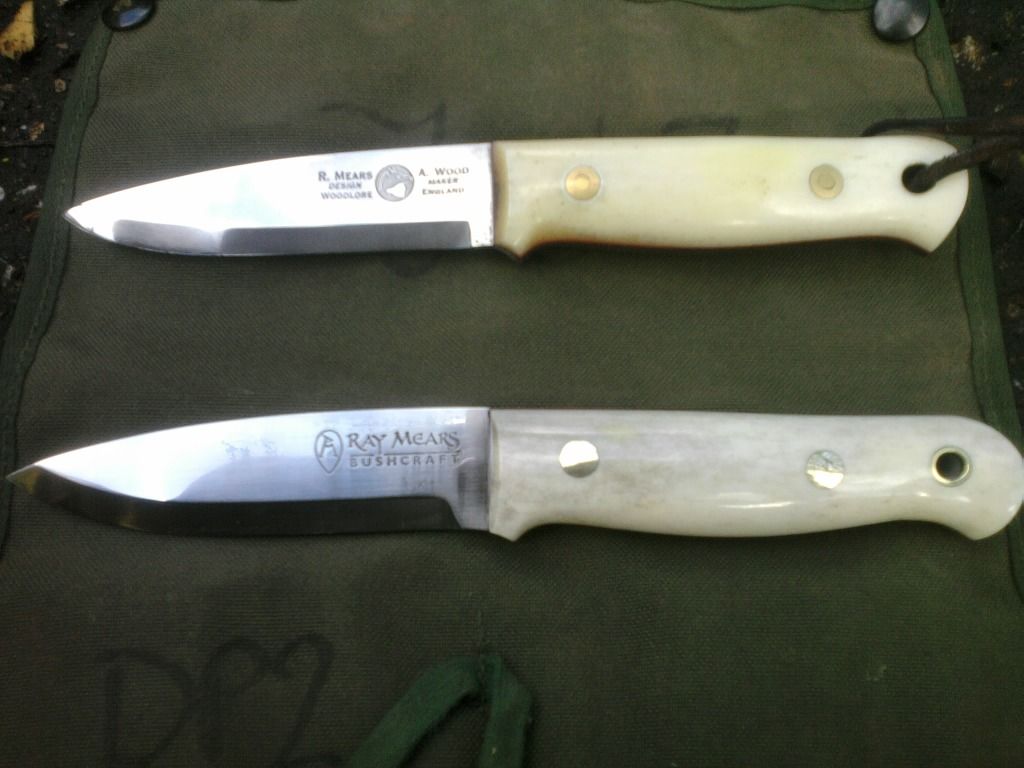
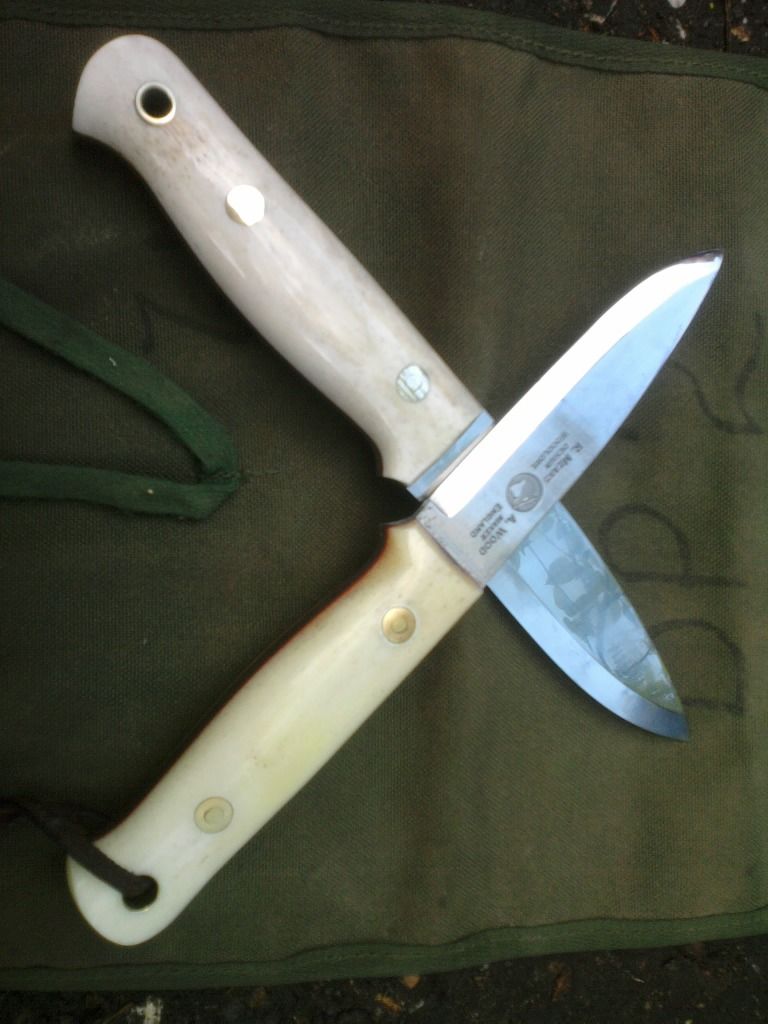
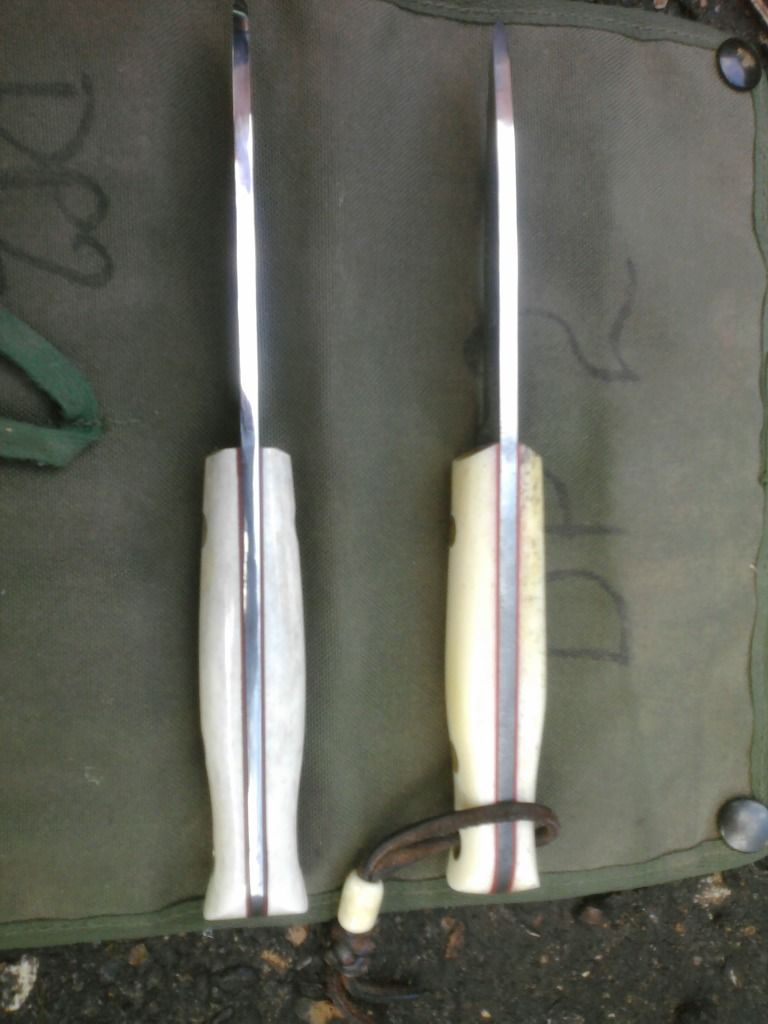
Of course there are smarter faster ways to do this, like buy a linisher. I really should oneday but I enjoy using hand tools and elbow grease wherever possible for some reason. Thanks for looking and enjoy the knife Martin!

This was what I sent Martin to make sure he was happy with the Reindeer antler I had before starting.

Once he gave me the green light I added runny ca glue to fill the pithy bit and kept sanding it flat before adding liners.

Here's the original.

Taped up immediately to avoid any dings

Scary bit done, scales removed. This made my bum go tight as it wasn't my knife!

I tried to get a couple step bits in the right size for this but failed miserably. I ended up doing it by hand and eye on a pillar drill and ground the bit for the larger hole flat to avoid the angled shoulders inside that could crack the scales when the loveless bolts are tightened. Worked alright but certainly wasn't easy.

All ready to assemble and the epoxy just needs mixing.

Metal cleaned, liners roughed up and epoxy poured.


Bolts tightened and it gets clamped for a couple days and I was left with this.

Sadly I didn't take any pictures of the interesting bit which is shaping the handle scales. I used a rasp and file to rough shape it then hand sanded. Once the main shape is there I tend to clamp the blade in a vice and cut long strips of 120 grit sandpaper and buff it to the desired size. I then do the same through to 1000 grit and take it to the polishing wheel.


Of course there are smarter faster ways to do this, like buy a linisher. I really should oneday but I enjoy using hand tools and elbow grease wherever possible for some reason. Thanks for looking and enjoy the knife Martin!
If I may say that it looks better than the origional..< (spelling mistake )..is that the £350 knife?
If I may say that it looks better than the origional..< (spelling mistake )..is that the £350 knife?
Yes. I bought it when they were going for £250 though.
No, sorry, they look horrible, terrible job, all wrong. wrong wrong wrong.
I mean, look at the shape, the blade is all wrong.
Tell you what, I'll do you a favour and take them off your hands for a tenner, and I'm being generous there, you don't want them cluttering up your workshop do you?
Jealousy is a terrible thing
Seriously, nice work there., very nice work.
I mean, look at the shape, the blade is all wrong.
Tell you what, I'll do you a favour and take them off your hands for a tenner, and I'm being generous there, you don't want them cluttering up your workshop do you?
Jealousy is a terrible thing
Seriously, nice work there., very nice work.
That looks so amazing, I so want to by a ray mears knife, I've got name on the waiting list but I may need to by a ray mears knife to fill my needs while I wait.
Similar threads
- Replies
- 0
- Views
- 1K
- Replies
- 1
- Views
- 568
- Replies
- 16
- Views
- 5K
- Replies
- 4
- Views
- 1K

