So, after receiving a brand new orange handled Svord peasnt knife in a trade I decided to have another try at rehandling one in wood (my last two attempts went a little.. wrong).
And as I had enough time to take pictures and all that I figured it could also act as a type of walkthrough/tutorial for any other wanting to try their hand at it. Now, as an experienced tinkerer I still found this pretty tricky to do right. My last two attempts were a mixture of bad wood, rushing it and not planning ahead!
Now for pictures.
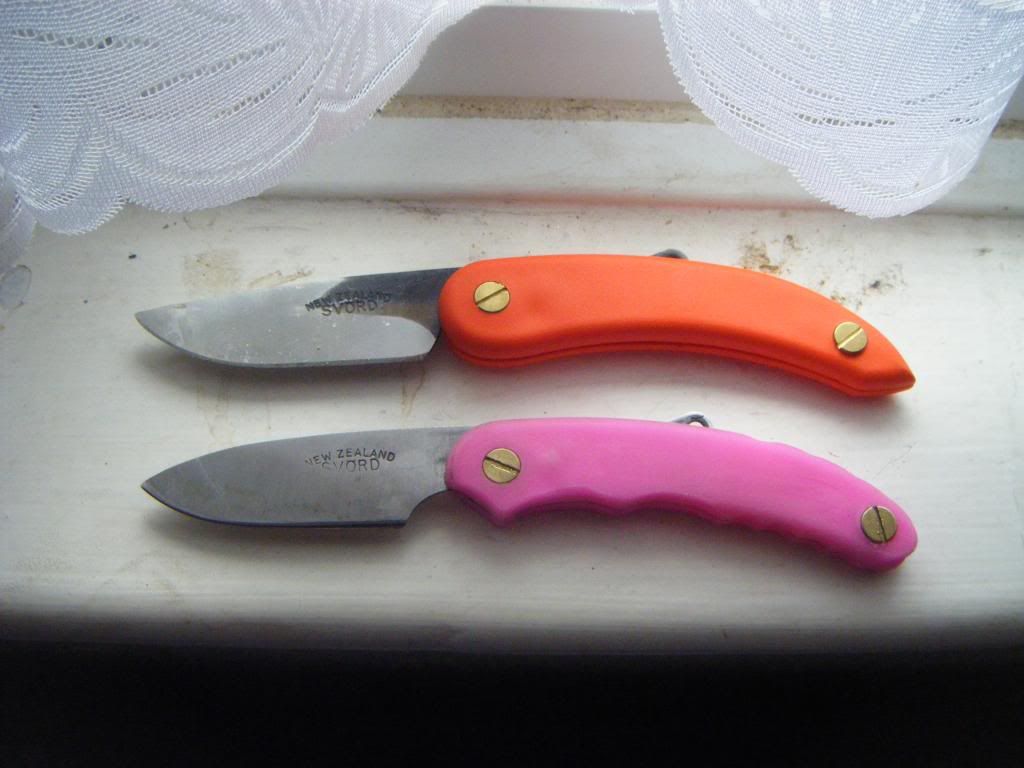
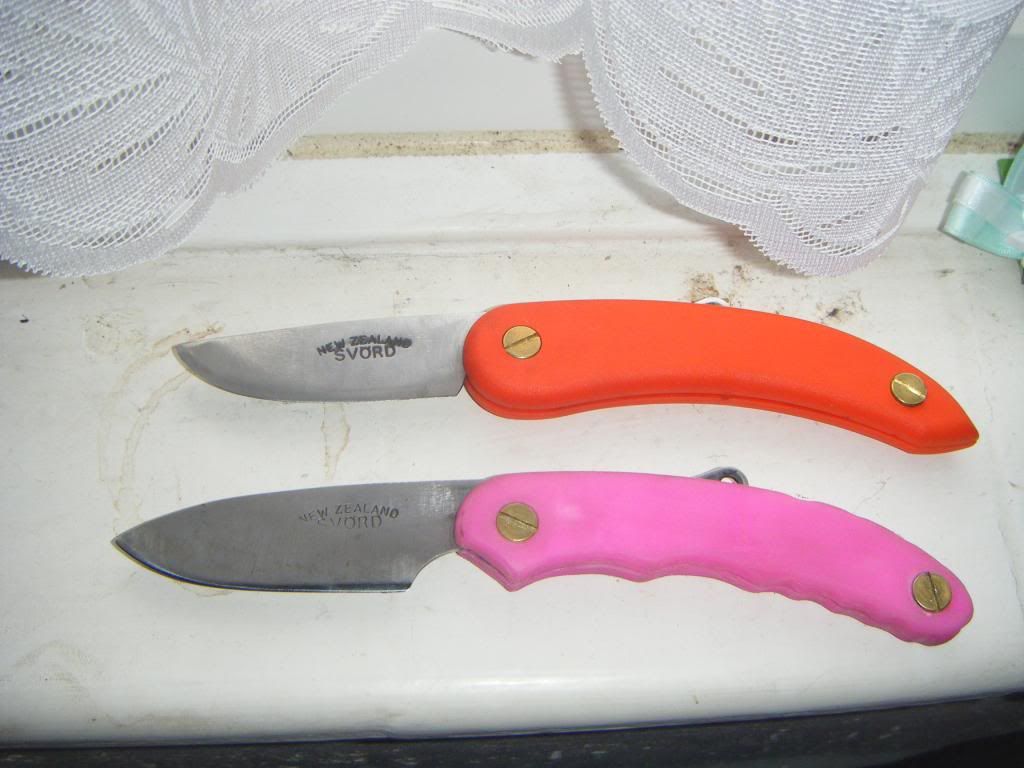
Out of the box next to one of my other Svords..
I won't be going over each step as I'm lazy, but the pictures will show you most of the steps that needed to be done.
For this mod I wanted to not only dock the blade to make it shorter but to compeltely mini-fy the blade, so it was simular in size to the mini model they already make.. BUT! with a thicker blade and without that strange grind.
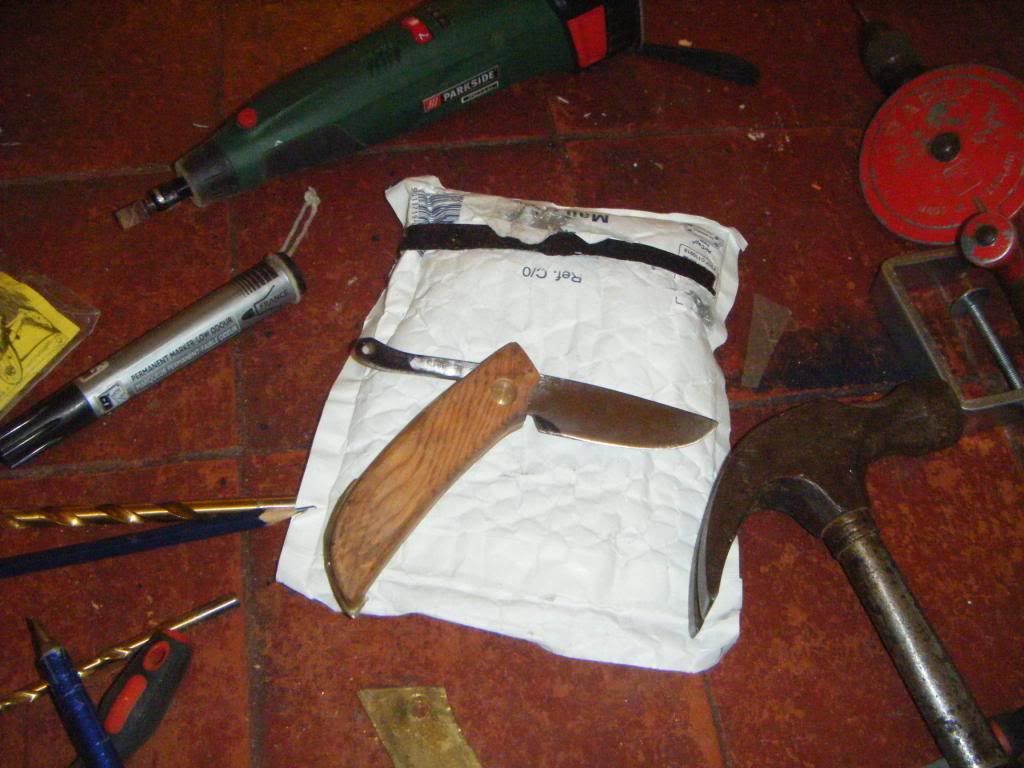
The blade needed alot of regrinding to make each side of the blade even. I did this job and the entire shrinking job on an upturned belt sander that was clamped to a piece of wood.. on the floor.
Sadly I did this bit ina burry and didn't have a camera at hand, but it was simple. I penned the shape and size I wanted, made a few cuts with a dremel tool and cleaned it up on the sander.
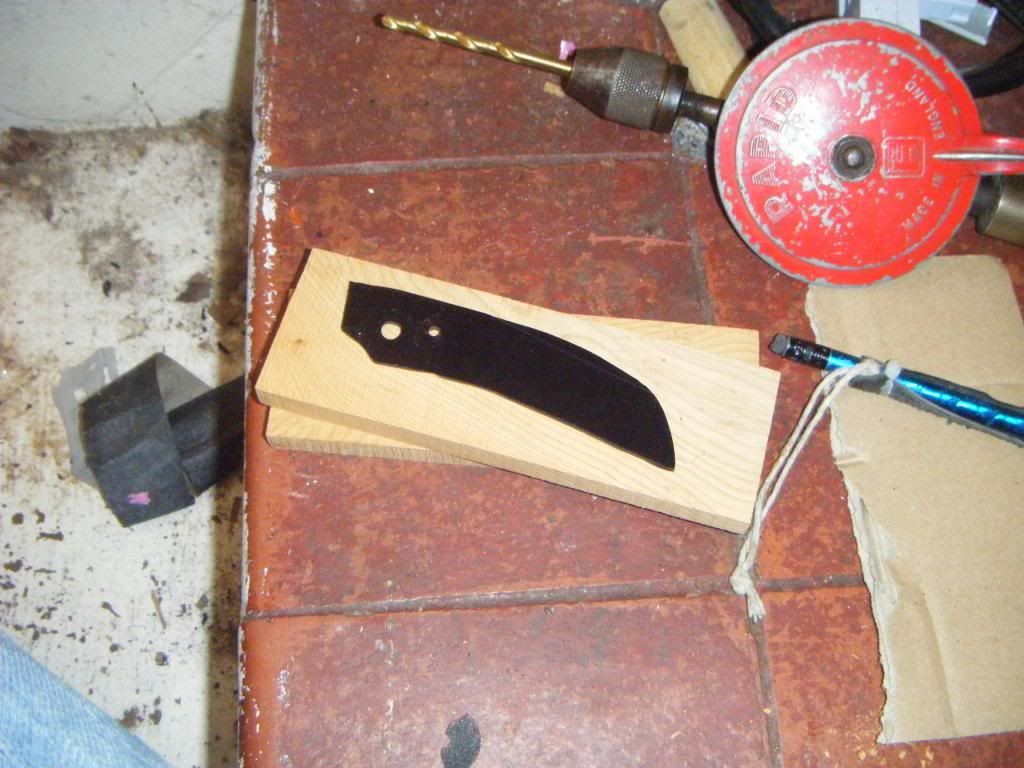
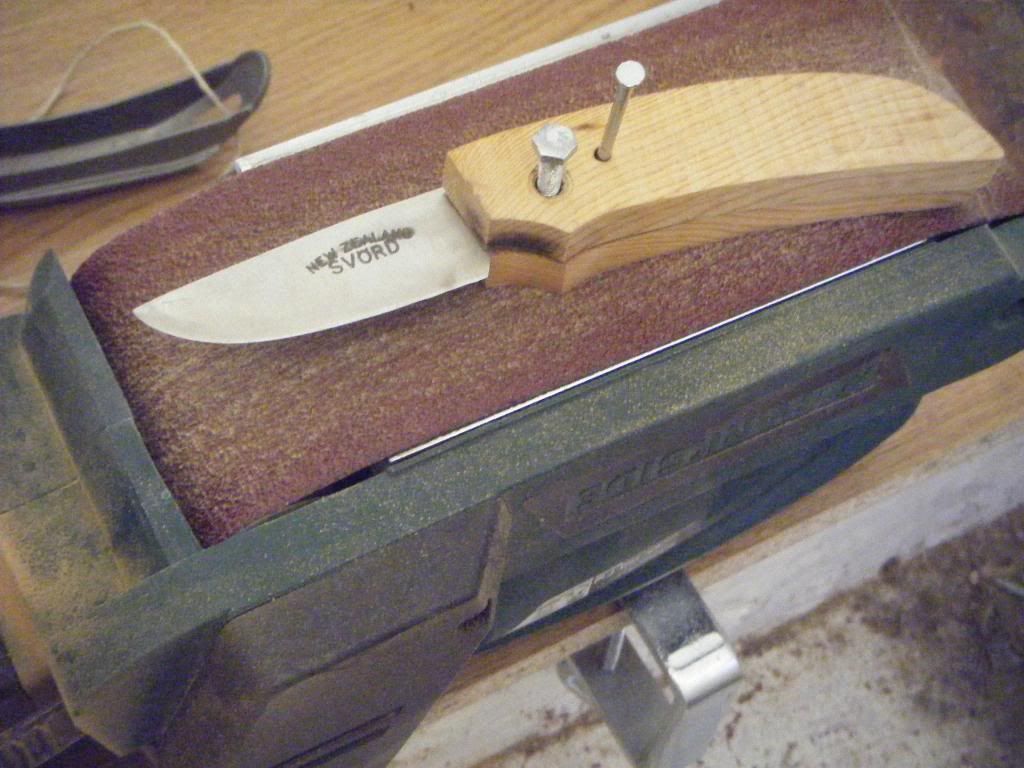
This is what it looked like once finished.
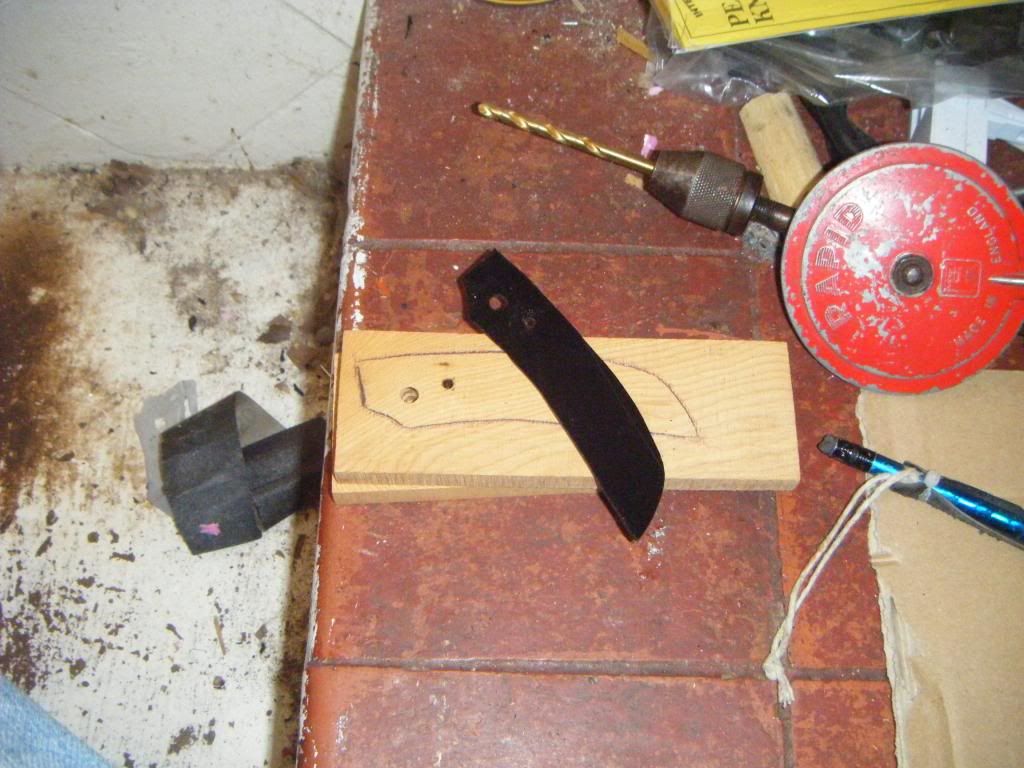
Next I made an important part of the whole process, something that involves forethought and not rushing into a fresh set of wooden slabs..like last time. A template! essential to a less hassel filled job. Thankfully I had some 2mm black plasticy stuff and spent a little while drawing my would be handle shape and drill holes into it.
Once the drawing was done, the holes were drilled and the action was tried and tested. It worked and looked nice so I cut it out and filed it to shape. The I pinned the blade and componants together with the template and traced it onto the wood. The wood is Yew.

I then cut most of the excess wood off with a junior hacksaw (cost £2! bargain lol)
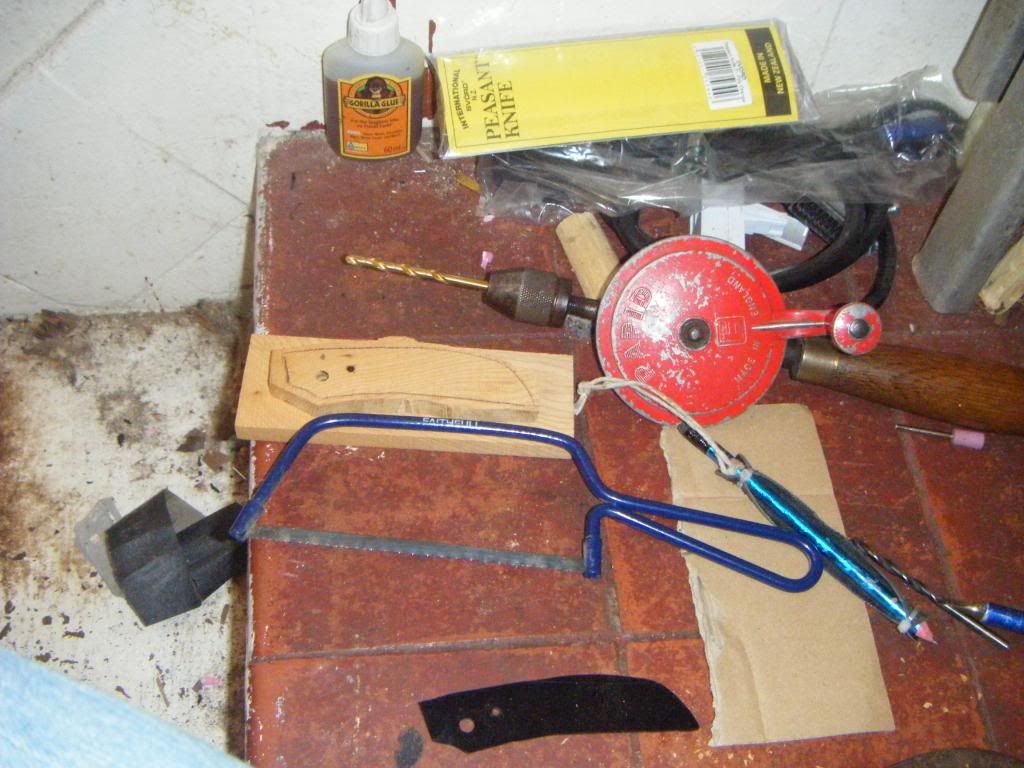
I then bolted it together and began trimming away untill I hit the trace line, all done on the £25 Lidl sander!
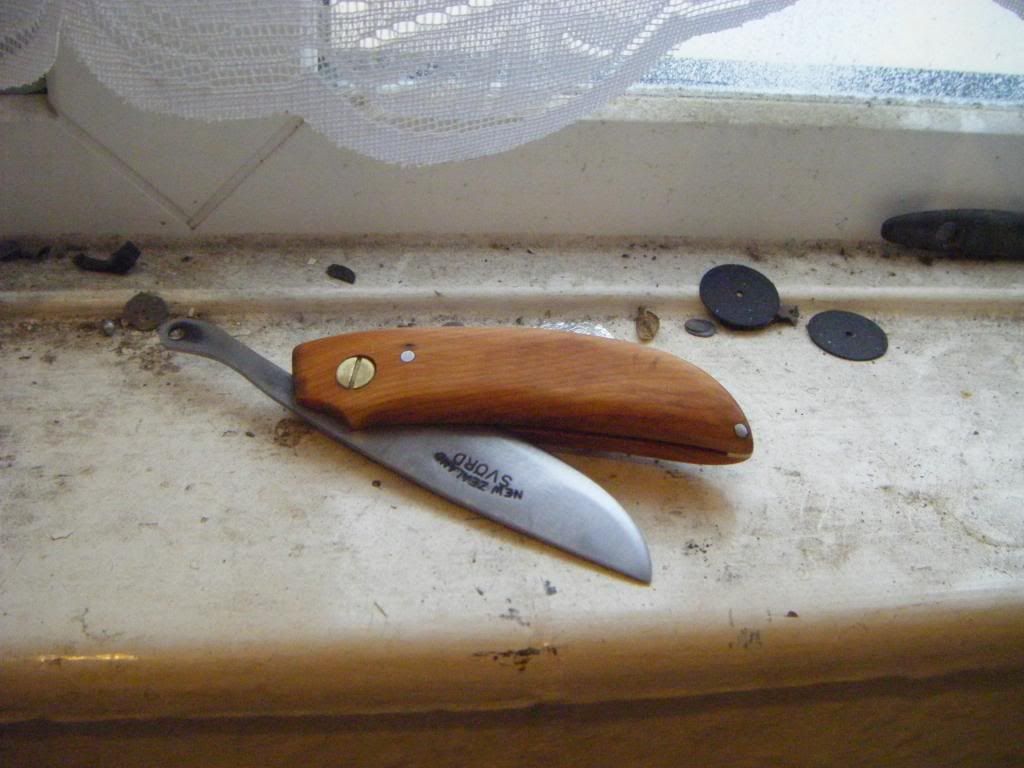
Then it was time for the lower end spacer, something that replaces the additional screw thing that makes the original handle way to big, imo. This way you make the most out of the handle and add a nice bit of strength and bling to it all. I used 1.5mm-2mm brass sheet and cut it out with a dremel type tool (again, £20 from Lidl).
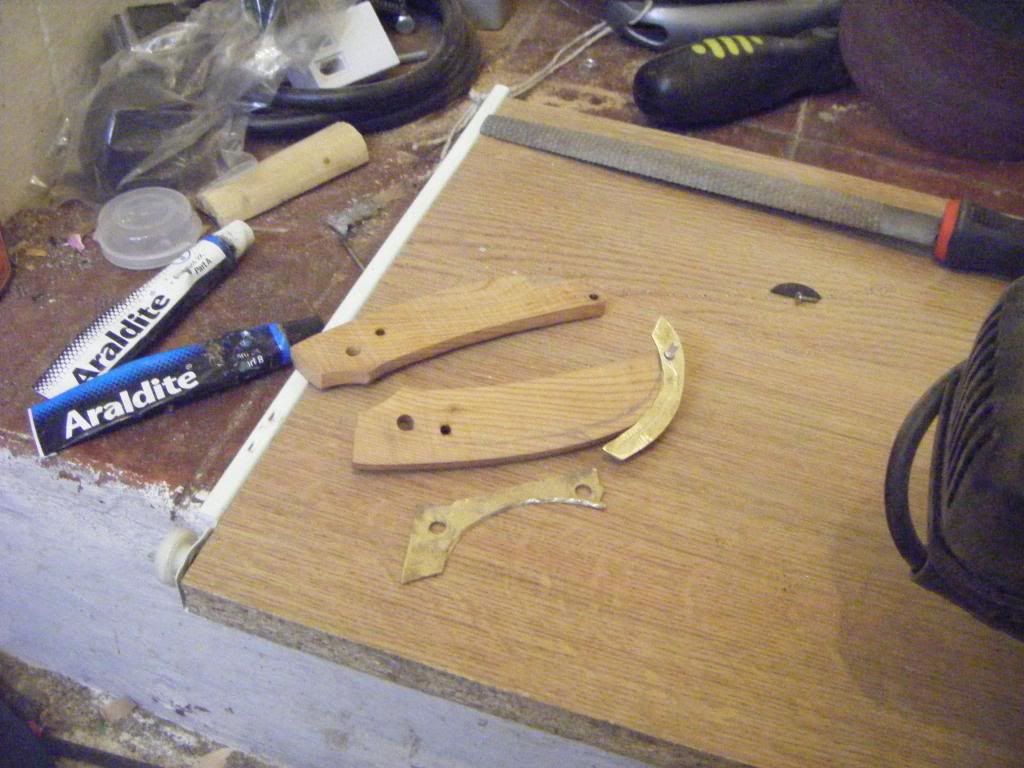
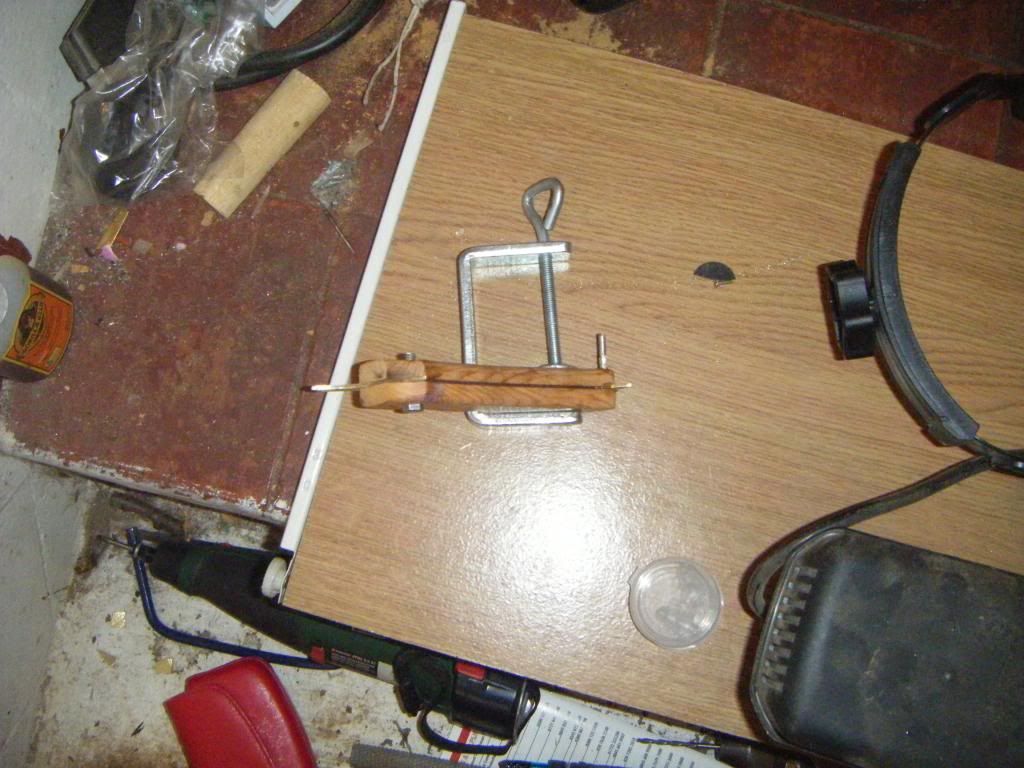
Once shaped and drilled for a pin it was ready to be glued into place and left over night for a clamping.
When dry, I hand filed the excess brass off when watching tv and then penned on the blade with marker the extra steel I wanted to remove. I decided to only remove the choil section and not the tang as when held right the tang doesn't poke ones palm.
I cut this section out with a dremel tool and cleaned up with some sand paper. It took about 2 minutes so I didn't get round to taking a picture.
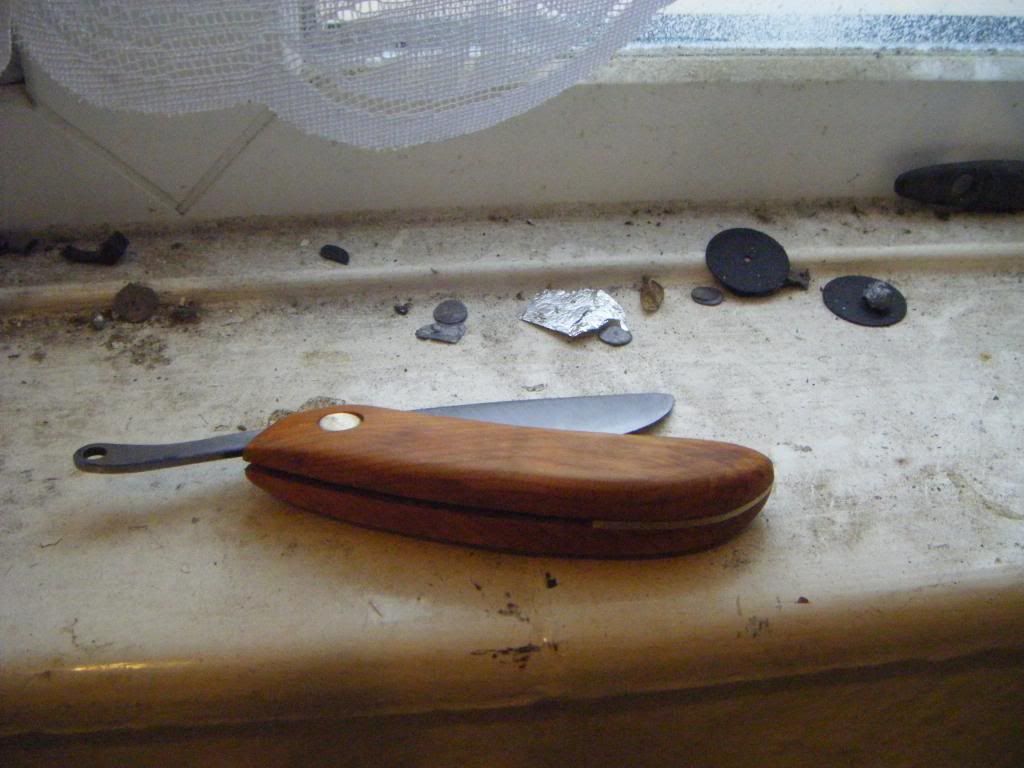
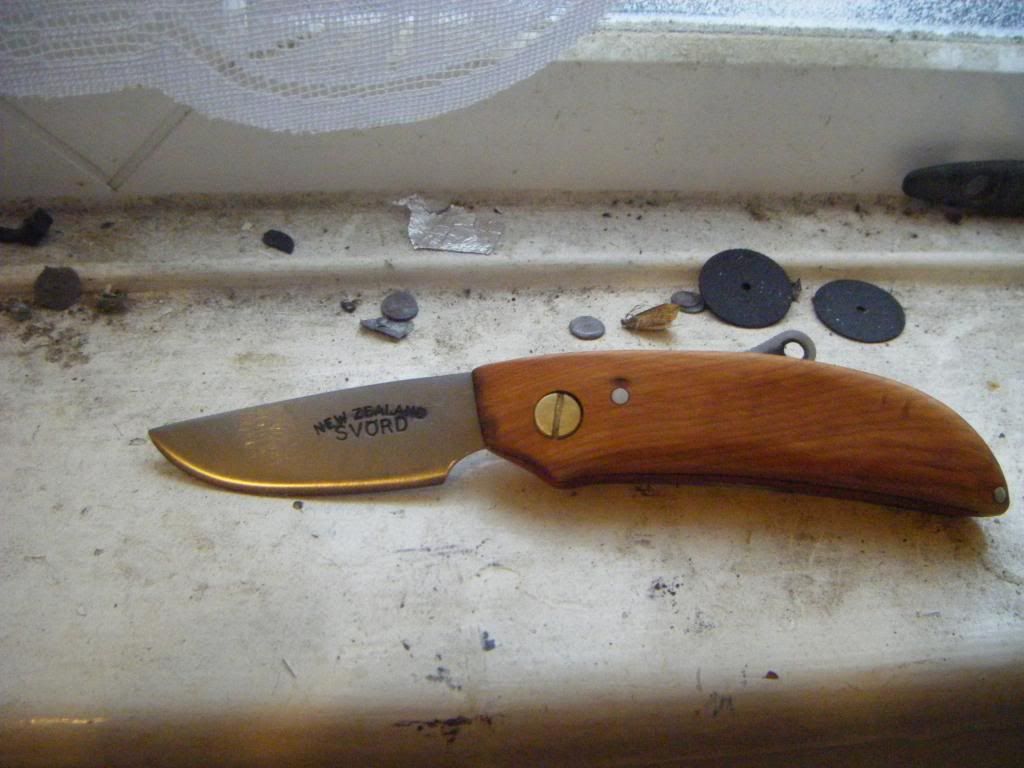
Now all that was done It was a simple case of sand smooth, check by eye, rub in some raw linseed oil to treat the rather handsome wood.
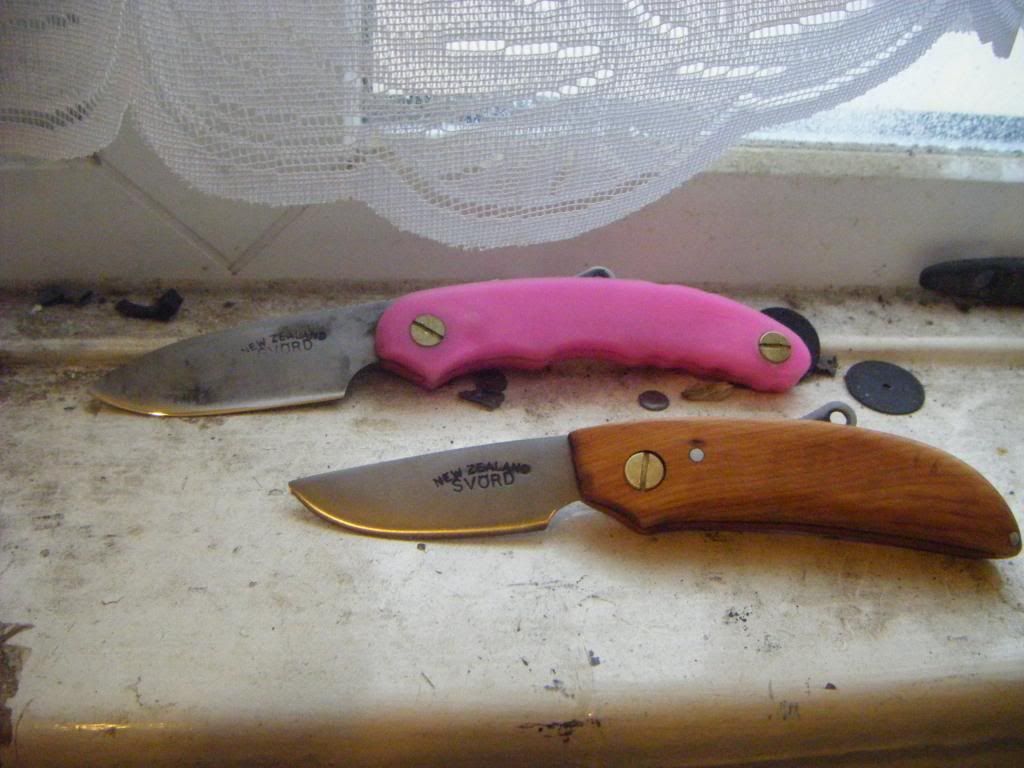
And here is how it now looks..
And next to pinky for a scale reference.
Anyway, I hope you liked the progress pictures and finished knife. It took me a few hours and was quite hard, but very rewarding and fun. The knife itself is exceptionally comfy and secure in the hand due to the choil and chubby handle and will be a nice little pocket knife to have a play with in the future.
Thanks for reading,
Sam.
And as I had enough time to take pictures and all that I figured it could also act as a type of walkthrough/tutorial for any other wanting to try their hand at it. Now, as an experienced tinkerer I still found this pretty tricky to do right. My last two attempts were a mixture of bad wood, rushing it and not planning ahead!
Now for pictures.
Out of the box next to one of my other Svords..

I won't be going over each step as I'm lazy, but the pictures will show you most of the steps that needed to be done.
For this mod I wanted to not only dock the blade to make it shorter but to compeltely mini-fy the blade, so it was simular in size to the mini model they already make..
BUT! with a thicker blade and without that strange grind.The blade needed alot of regrinding to make each side of the blade even. I did this job and the entire shrinking job on an upturned belt sander that was clamped to a piece of wood.. on the floor.
Sadly I did this bit ina burry and didn't have a camera at hand, but it was simple. I penned the shape and size I wanted, made a few cuts with a dremel tool and cleaned it up on the sander.
This is what it looked like once finished.

Next I made an important part of the whole process, something that involves forethought and not rushing into a fresh set of wooden slabs..like last time. A template! essential to a less hassel filled job. Thankfully I had some 2mm black plasticy stuff and spent a little while drawing my would be handle shape and drill holes into it.
Once the drawing was done, the holes were drilled and the action was tried and tested. It worked and looked nice so I cut it out and filed it to shape. The I pinned the blade and componants together with the template and traced it onto the wood. The wood is Yew.


I then cut most of the excess wood off with a junior hacksaw (cost £2! bargain lol)

I then bolted it together and began trimming away untill I hit the trace line, all done on the £25 Lidl sander!

Then it was time for the lower end spacer, something that replaces the additional screw thing that makes the original handle way to big, imo. This way you make the most out of the handle and add a nice bit of strength and bling to it all. I used 1.5mm-2mm brass sheet and cut it out with a dremel type tool (again, £20 from Lidl).

Once shaped and drilled for a pin it was ready to be glued into place and left over night for a clamping.

When dry, I hand filed the excess brass off when watching tv and then penned on the blade with marker the extra steel I wanted to remove. I decided to only remove the choil section and not the tang as when held right the tang doesn't poke ones palm.

I cut this section out with a dremel tool and cleaned up with some sand paper. It took about 2 minutes so I didn't get round to taking a picture.
Now all that was done It was a simple case of sand smooth, check by eye, rub in some raw linseed oil to treat the rather handsome wood.
And here is how it now looks..


And next to pinky for a scale reference.

Anyway, I hope you liked the progress pictures and finished knife. It took me a few hours and was quite hard, but very rewarding and fun. The knife itself is exceptionally comfy and secure in the hand due to the choil and chubby handle and will be a nice little pocket knife to have a play with in the future.
Thanks for reading,
Sam.