'Happy New Year'
First off I'd like to thank all of you that visit my little blog,
we've reached 250,000 page views.
I never in my wildest dreams expected such support when I first started this blog.
Thank you.
Appreciated.

I thought I'd start the new year with a pictorial spoon carving tutorial.
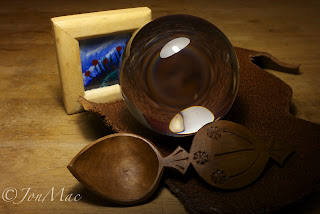
I've been playing with a design of spoon that I really like the look of.
The spoon is small and delicate, it's not a tyre lever.
It's well suited to for use at the dinner table.
And my female friends love it....
So I'll be carving more for guests.

For this spoon I've used some seasoned apple.
It has been sat in my yard for a long time.
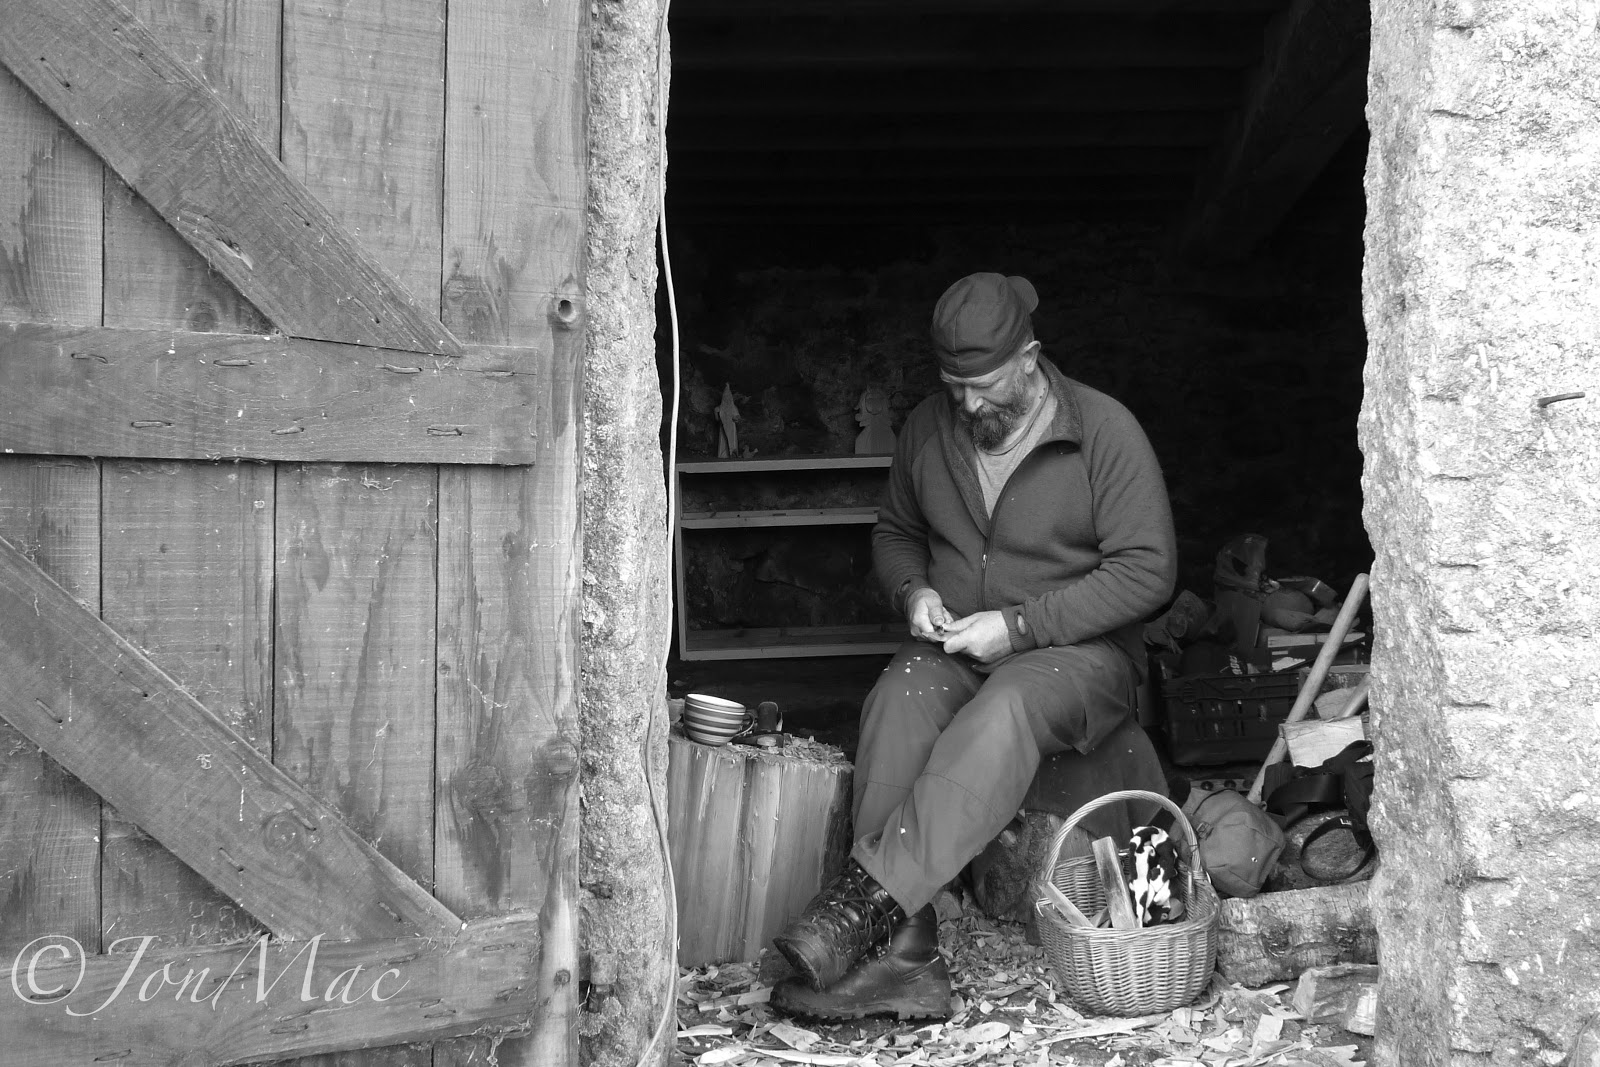
You'll need an Axe, knife, hook knife, sharpening and stropping equipment and a pencil.
I found it to be quite hard, but as long at my edge tools were sharp I had no real problems.
The first thing to do is take a split quarter and square it up.
The blank is approx 6 inches long and an inch or so deep.

I made a pair.
A good sharp axe is needed.

Here you can see the blanks next to my carving axe head for scale.
The finished spoon will be quite short at 5 and a bit inches.

Here's where your stop cut chopping practice will come in handy.
You'll need to add a stop cut both sides to define the bowl.
Be accurate, as the cuts will form the bottom part of the diamond/shield shape that appears before the handle.

Once you've done that, cut out the slope, down into the spoon bowl.
There is a sloped form on this spoon, but not much.

Thin the handle, one side at a time and with a slope that matches the curve introduced on the top of the spoon.


So eventually it looks like a 'tick'.

You can see in this photo that I've started to chop the bowl shape.
Sloping from the bottom of the keel of the spoon up to the lip of the bowl.

You can spend as much or as little time with the axe as you require.

Cutting the back of the diamond/shield shape.

A nice steady thumb push across the grain.

You can just make out my right hand thumb underneath the spoon handle as I carve.

The thumb push is often used in spoon carving.

Coming along.

After a while the blanks start looking good.

The shape is set.
Now to hollow the bowl with a spoon knife.

You can also employ your fingers on the back of the spoon knife.

Don't forget to turn the spoon knife upside-down to access those tricky places.
You don't really need a left and right hand knife.

The bowl will need cleaning up later, it's symmetrical now so I can carry on.

I cut a small chamfer round the edge of the bowl.

For all this knife work, especially the next part, I needed a super sharp knife.
I fettled the knife on a fine natural stone gifted to me by my friend, Sean Hellman.
And lightly stropped on my stropping stick.

Now the blank is close to being finished.
Needs a little sexing up.

For the next stage I used a very pointy MiniMac knife highly sharpened.
In the distant past I've used a craft knife or scalpel for this job.
A pencil is handy.

With the pencil, or the spine of the knife, I lightly draw a design.

Holding the knife in a pen hold.

The cross section of these cuts are 'V' shaped.
I start by making a little stab stop cut.

Then I draw the knife away to the end of the cut.

These cuts aren't very deep.


My carving wouldn't be complete without a sun wheel or two.
I draw an eight spot star.

And then start chip carving.
You'll find a pictorial tutorial HERE !

Nearly Done.


And we're done !

Enjoy !
J.Mac
You can find more tutorials at www.spooncarvingfirststeps.com
First off I'd like to thank all of you that visit my little blog,
we've reached 250,000 page views.
I never in my wildest dreams expected such support when I first started this blog.
Thank you.
Appreciated.

I thought I'd start the new year with a pictorial spoon carving tutorial.
I've been playing with a design of spoon that I really like the look of.
The spoon is small and delicate, it's not a tyre lever.
It's well suited to for use at the dinner table.
And my female friends love it....
So I'll be carving more for guests.

For this spoon I've used some seasoned apple.
It has been sat in my yard for a long time.
You'll need an Axe, knife, hook knife, sharpening and stropping equipment and a pencil.
I found it to be quite hard, but as long at my edge tools were sharp I had no real problems.
The first thing to do is take a split quarter and square it up.
The blank is approx 6 inches long and an inch or so deep.

I made a pair.
A good sharp axe is needed.

Here you can see the blanks next to my carving axe head for scale.
The finished spoon will be quite short at 5 and a bit inches.

Here's where your stop cut chopping practice will come in handy.
You'll need to add a stop cut both sides to define the bowl.
Be accurate, as the cuts will form the bottom part of the diamond/shield shape that appears before the handle.

Once you've done that, cut out the slope, down into the spoon bowl.
There is a sloped form on this spoon, but not much.

Thin the handle, one side at a time and with a slope that matches the curve introduced on the top of the spoon.


So eventually it looks like a 'tick'.

You can see in this photo that I've started to chop the bowl shape.
Sloping from the bottom of the keel of the spoon up to the lip of the bowl.

You can spend as much or as little time with the axe as you require.
Cutting the back of the diamond/shield shape.

A nice steady thumb push across the grain.

You can just make out my right hand thumb underneath the spoon handle as I carve.

The thumb push is often used in spoon carving.

Coming along.

After a while the blanks start looking good.
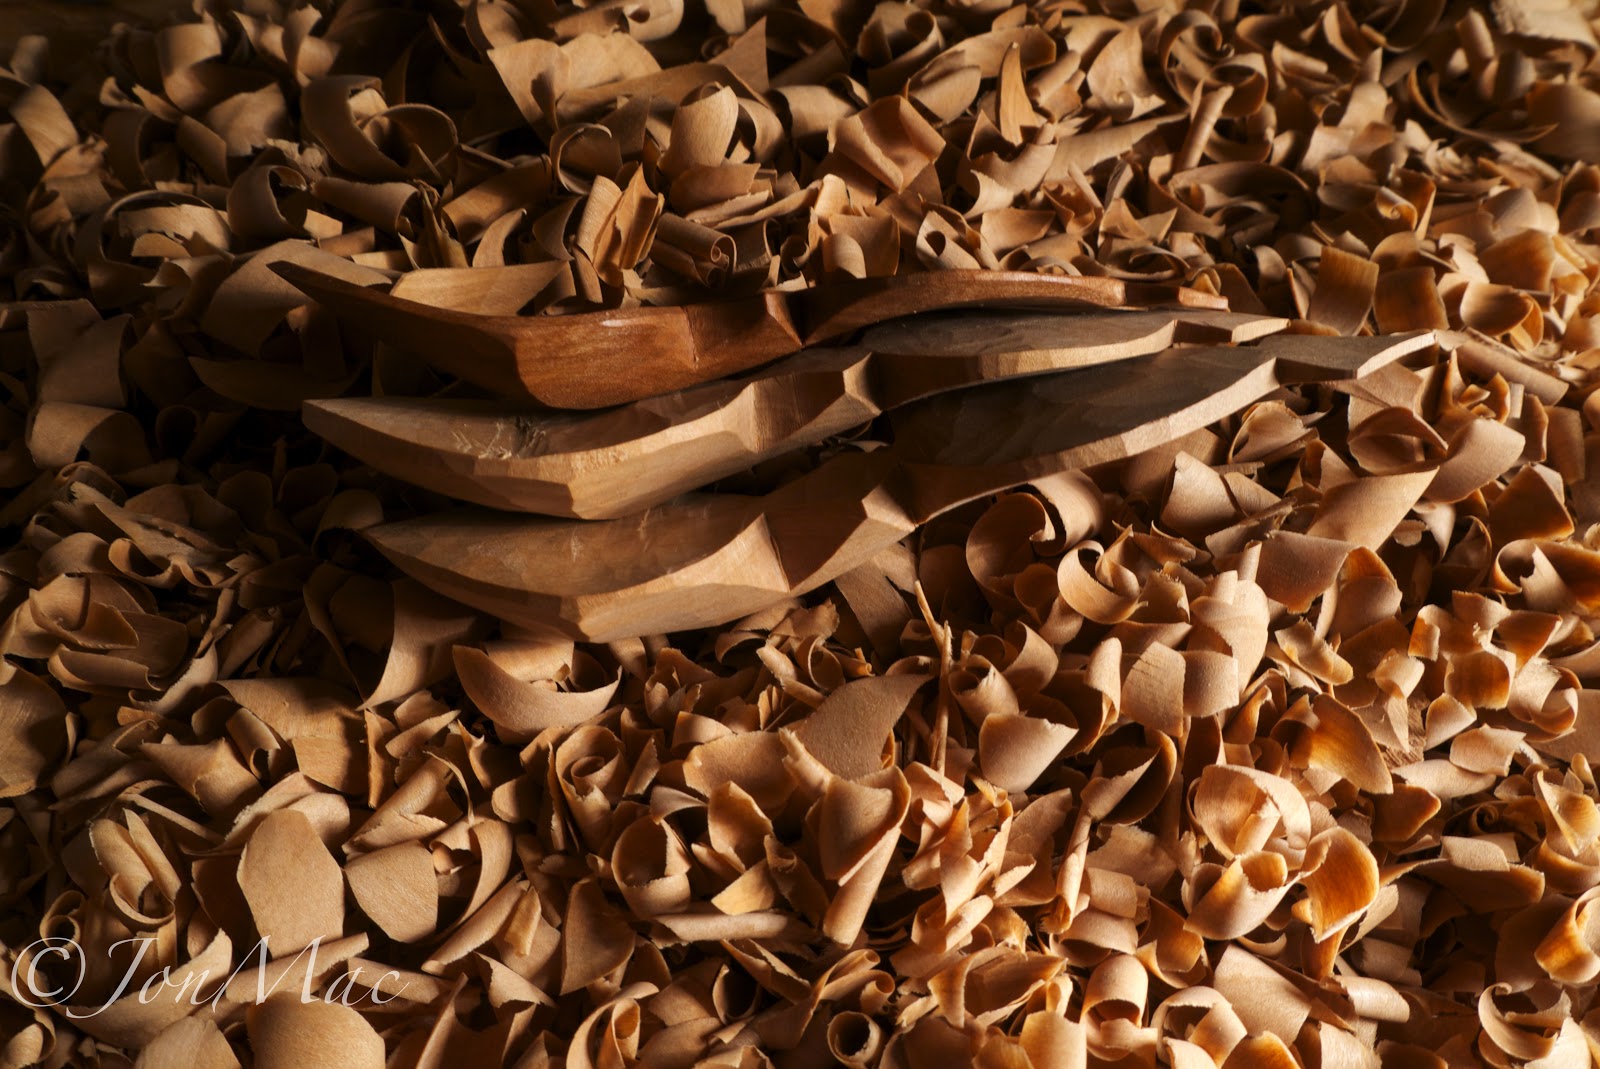
The shape is set.
Now to hollow the bowl with a spoon knife.

You can also employ your fingers on the back of the spoon knife.

Don't forget to turn the spoon knife upside-down to access those tricky places.
You don't really need a left and right hand knife.

The bowl will need cleaning up later, it's symmetrical now so I can carry on.

I cut a small chamfer round the edge of the bowl.

For all this knife work, especially the next part, I needed a super sharp knife.
I fettled the knife on a fine natural stone gifted to me by my friend, Sean Hellman.
And lightly stropped on my stropping stick.

Now the blank is close to being finished.
Needs a little sexing up.

For the next stage I used a very pointy MiniMac knife highly sharpened.
In the distant past I've used a craft knife or scalpel for this job.
A pencil is handy.

With the pencil, or the spine of the knife, I lightly draw a design.

Holding the knife in a pen hold.

The cross section of these cuts are 'V' shaped.
I start by making a little stab stop cut.

Then I draw the knife away to the end of the cut.

These cuts aren't very deep.


My carving wouldn't be complete without a sun wheel or two.
I draw an eight spot star.

And then start chip carving.
You'll find a pictorial tutorial HERE !

Nearly Done.


And we're done !
I learned today that although it’s fun to try to emulate a design, if it doesn’t come from your own heart, it has no soul. So instead of decorating this spoon with a design not mine, I decided to let the heart rule.

Enjoy !

J.Mac
You can find more tutorials at www.spooncarvingfirststeps.com
Last edited:

")