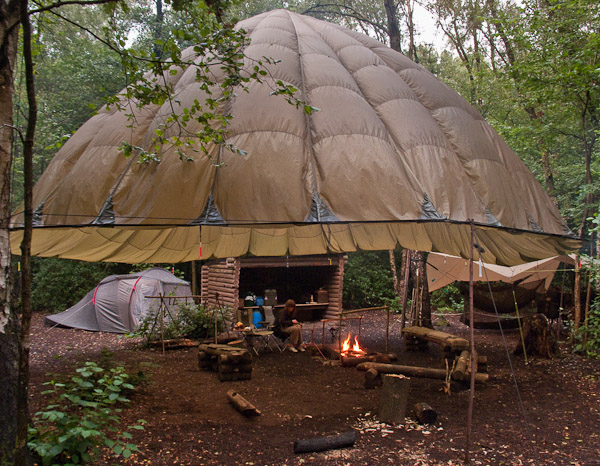
There are occasions when it is useful to protect a larger space from the worst of the weather. A surplus parachute canopy can be effectively used to make a practical and economical shelter for a workspace or camp fire area and I thought I would show you how I set mine up for the first time recently.
When you obtain them through usual sources, such canopies have often been rendered unserviceable by cutting the cords or in some cases the material itself.
Depending on the condition such cuts are usually quickly and easily repaired with a sewing machine which leaves you with a large amount of useful material for making a weather resistant shelter.
It is important to realise that the nylon material is not waterproof but it will tend to channel the water down the material to the lowest point which is usually round the edge. In heavy rain a certain amount will be forced through the canopy in the form of a fine spray but this does at least reduce torrential rain to a mere drizzle.
On other occasions the same shelter may provide a shady area in the heat of a summer day without blocking the light and making it difficult to work under.

I obtained a large Irvin canopy that I think came from a pilots emergency ejection seat from Kev at Endicotts (No connection other than satisfied customer blah blah...) When it arrived there was a heavy net attached to the circumference which I quickly removed with a pair of sharp scissors.
The next thing I removed was the drag chute and some internal lines, connecting the outer edge to the fifth radial seam, which were designed to scallop the canopy when deployed. For my purposes they just prevented the chute from hanging properly so I cut them about six inches from the seams. I used the attached residue of these lines to make simple loops that can now be used to spread the material when the shelter is set up. The remaining spare cord was useful for setting up and I'm sure I'll find a use for the other bits too.
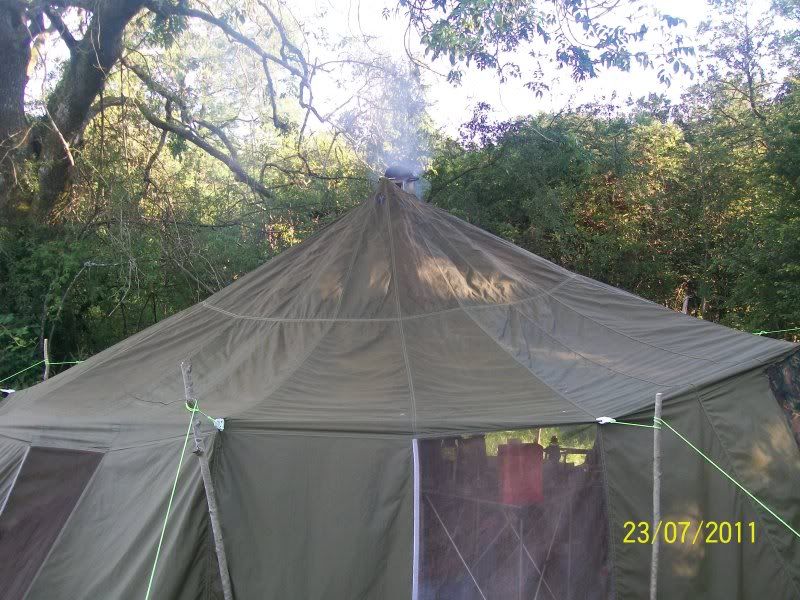
To set up the shelter I used two sturdy trees either side of our intended space and a good length of strong cord. I used a catapult with a heavy hex nut to launch a thin crab line over suitable branches and then drew the heavier cord over and across the space between the trees. The cords across the air vent in the centre of the canopy were then attached to this line with a strong karabiner and hoisted up.

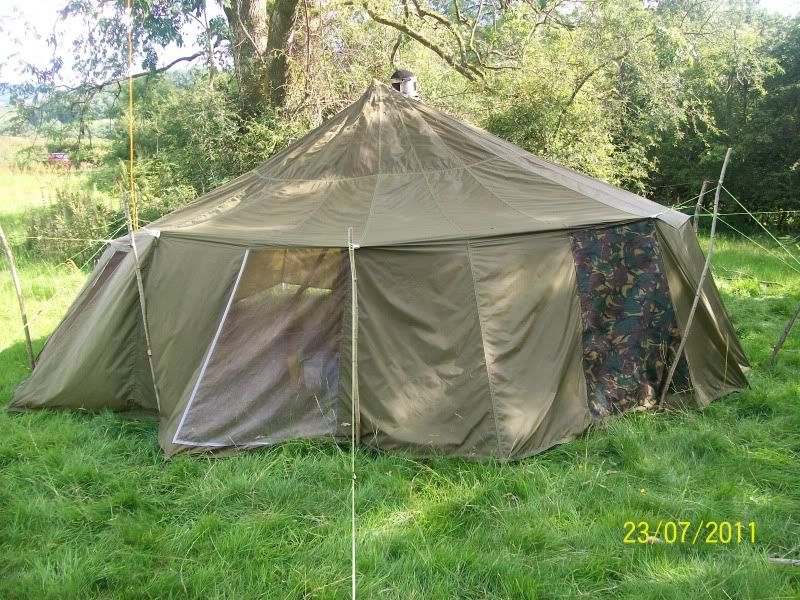
To spread the material over your working space you can of course just tie it directly to suitable trees or bushes but a much better way was suggested by Steve (Mesquite). His idea was to make a perimeter line around the outside with another strong line and then attach the edges of the chute to this with lighter cord or even bungees. That's what I did here and it worked very well, allowing the cords to be anchored exactly where needed instead of pulling at odd angles.
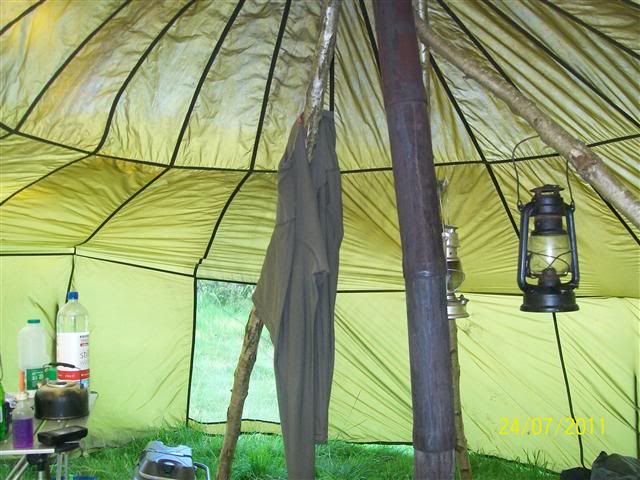
In use you will find that the outer edge drips as rainwater soaks though and anything attached to the inside of the chute will make a drip point too but as these are in a fixed position they are easily avoided. The loops left on the fifth radial seam were prone to this but I am reluctant to remove them at this stage because I think they will be useful to set it up in smaller areas on other occasions.
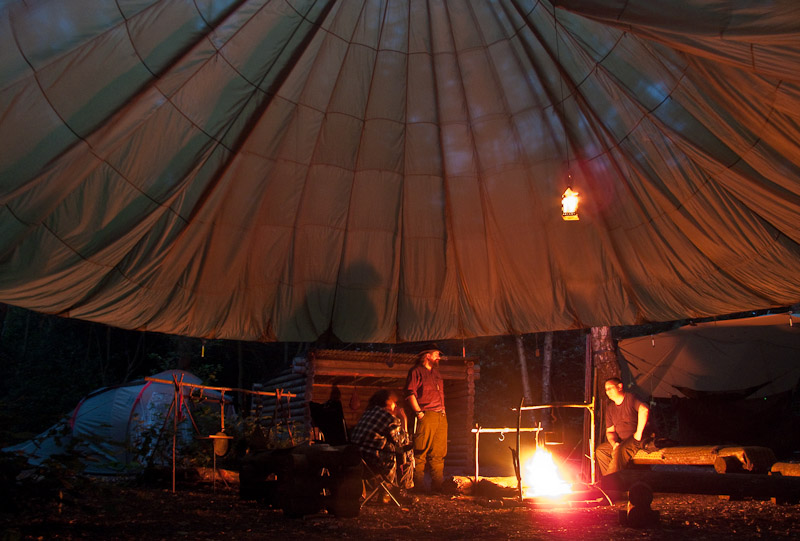
We were working from this fixed location for just under a week which included heavy rain and hot sunshine. In both cases we found the shelter it provided very useful indeed. We did not experience much wind so cannot comment on that but my gut feeling is that it was certainly adequately secured this way to deal with normal breezy conditions, I would have to evaluate strong wind as it occurred.
When you obtain them through usual sources, such canopies have often been rendered unserviceable by cutting the cords or in some cases the material itself.
Depending on the condition such cuts are usually quickly and easily repaired with a sewing machine which leaves you with a large amount of useful material for making a weather resistant shelter.
It is important to realise that the nylon material is not waterproof but it will tend to channel the water down the material to the lowest point which is usually round the edge. In heavy rain a certain amount will be forced through the canopy in the form of a fine spray but this does at least reduce torrential rain to a mere drizzle.
On other occasions the same shelter may provide a shady area in the heat of a summer day without blocking the light and making it difficult to work under.
I obtained a large Irvin canopy that I think came from a pilots emergency ejection seat from Kev at Endicotts (No connection other than satisfied customer blah blah...) When it arrived there was a heavy net attached to the circumference which I quickly removed with a pair of sharp scissors.
The next thing I removed was the drag chute and some internal lines, connecting the outer edge to the fifth radial seam, which were designed to scallop the canopy when deployed. For my purposes they just prevented the chute from hanging properly so I cut them about six inches from the seams. I used the attached residue of these lines to make simple loops that can now be used to spread the material when the shelter is set up. The remaining spare cord was useful for setting up and I'm sure I'll find a use for the other bits too.
To set up the shelter I used two sturdy trees either side of our intended space and a good length of strong cord. I used a catapult with a heavy hex nut to launch a thin crab line over suitable branches and then drew the heavier cord over and across the space between the trees. The cords across the air vent in the centre of the canopy were then attached to this line with a strong karabiner and hoisted up.
To spread the material over your working space you can of course just tie it directly to suitable trees or bushes but a much better way was suggested by Steve (Mesquite). His idea was to make a perimeter line around the outside with another strong line and then attach the edges of the chute to this with lighter cord or even bungees. That's what I did here and it worked very well, allowing the cords to be anchored exactly where needed instead of pulling at odd angles.
In use you will find that the outer edge drips as rainwater soaks though and anything attached to the inside of the chute will make a drip point too but as these are in a fixed position they are easily avoided. The loops left on the fifth radial seam were prone to this but I am reluctant to remove them at this stage because I think they will be useful to set it up in smaller areas on other occasions.
We were working from this fixed location for just under a week which included heavy rain and hot sunshine. In both cases we found the shelter it provided very useful indeed. We did not experience much wind so cannot comment on that but my gut feeling is that it was certainly adequately secured this way to deal with normal breezy conditions, I would have to evaluate strong wind as it occurred.
Last edited:
")