Leather Aussi/bush hat.....The making of.

  • Hey Guest, Early bird pricing on the Summer Moot (29th July - 10th August) available until April 6th, we'd love you to come. PLEASE CLICK HERE to early bird price and get more information.
Feb 15, 2011
3,860
2
Elsewhere
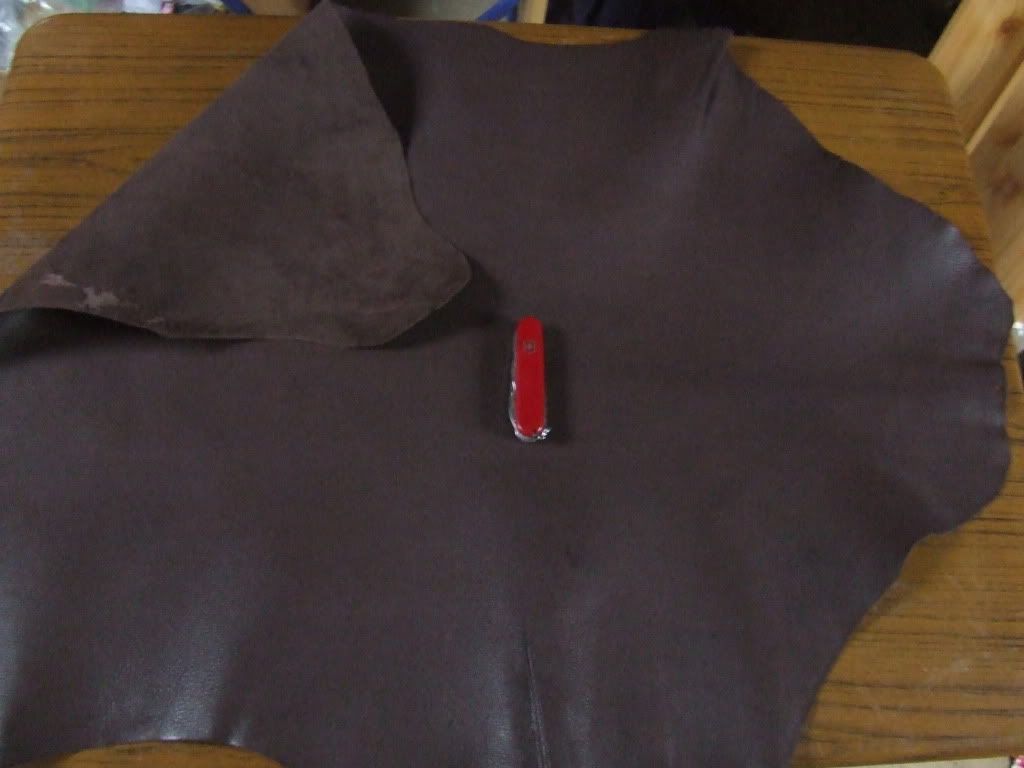
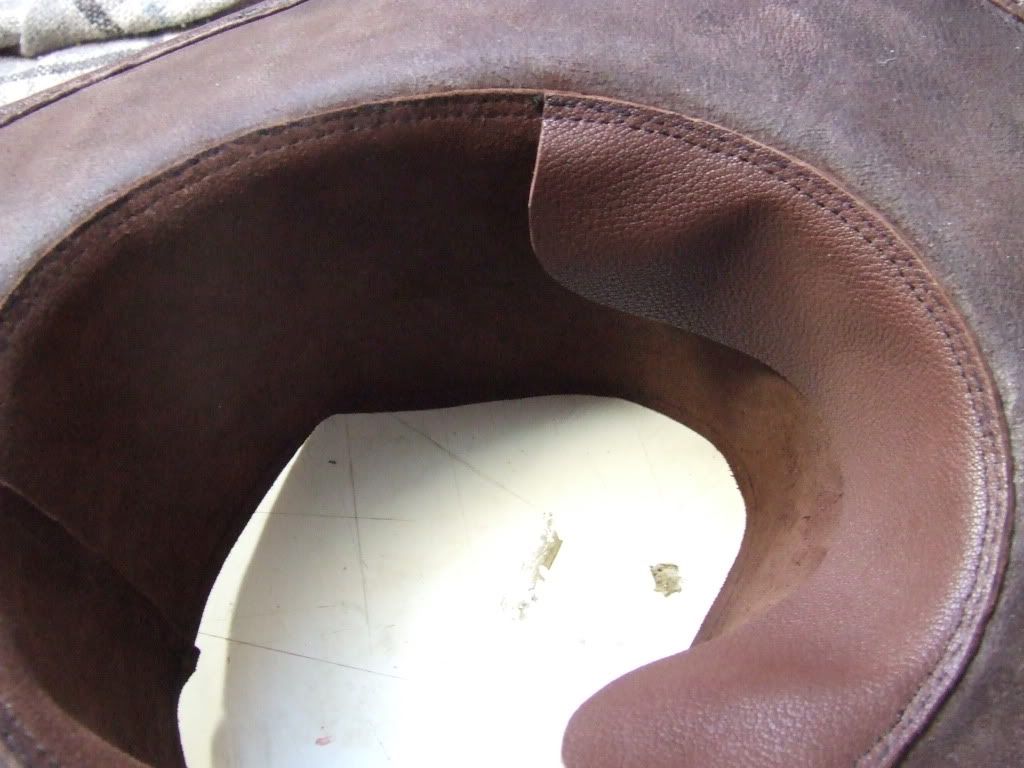
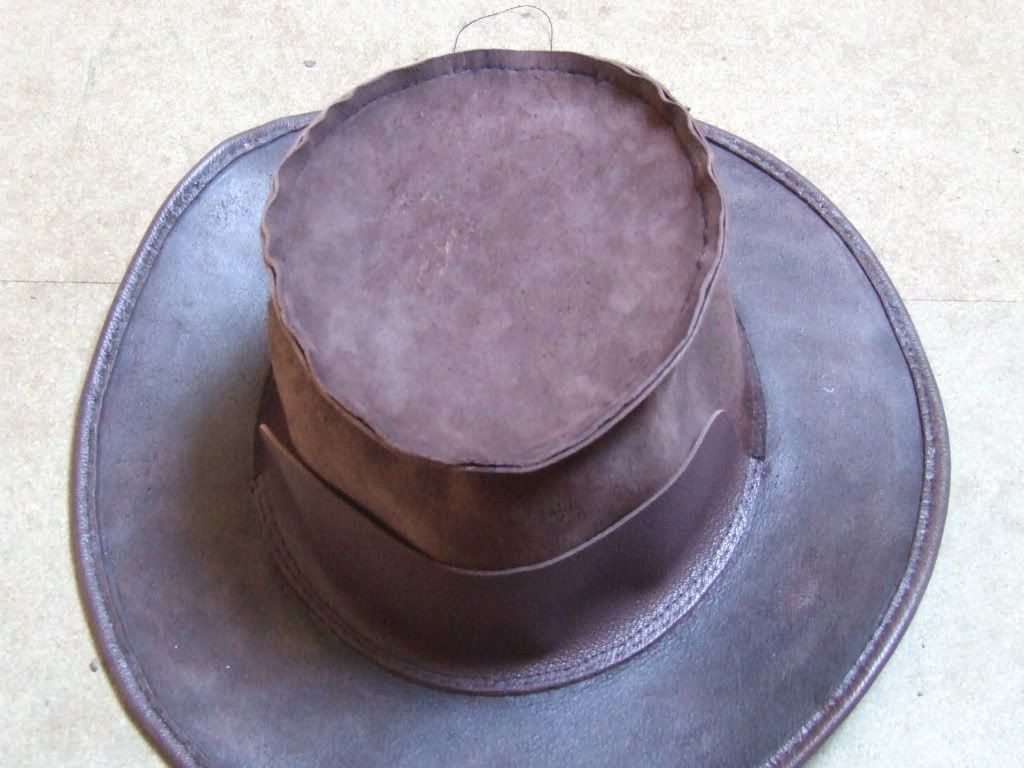
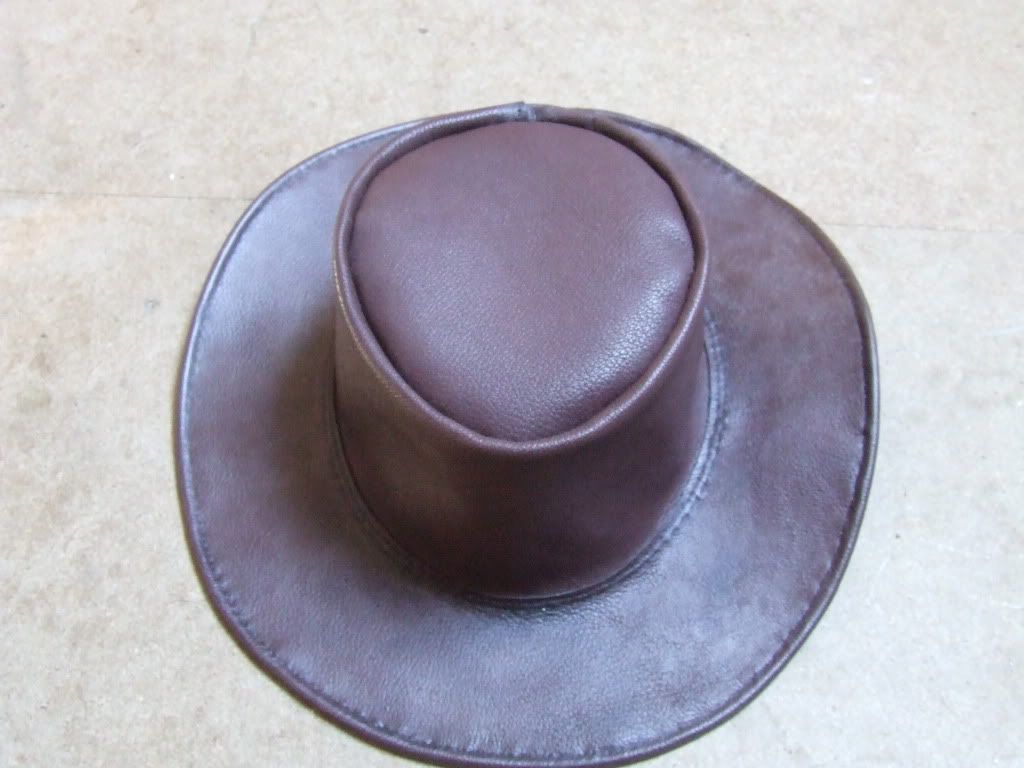
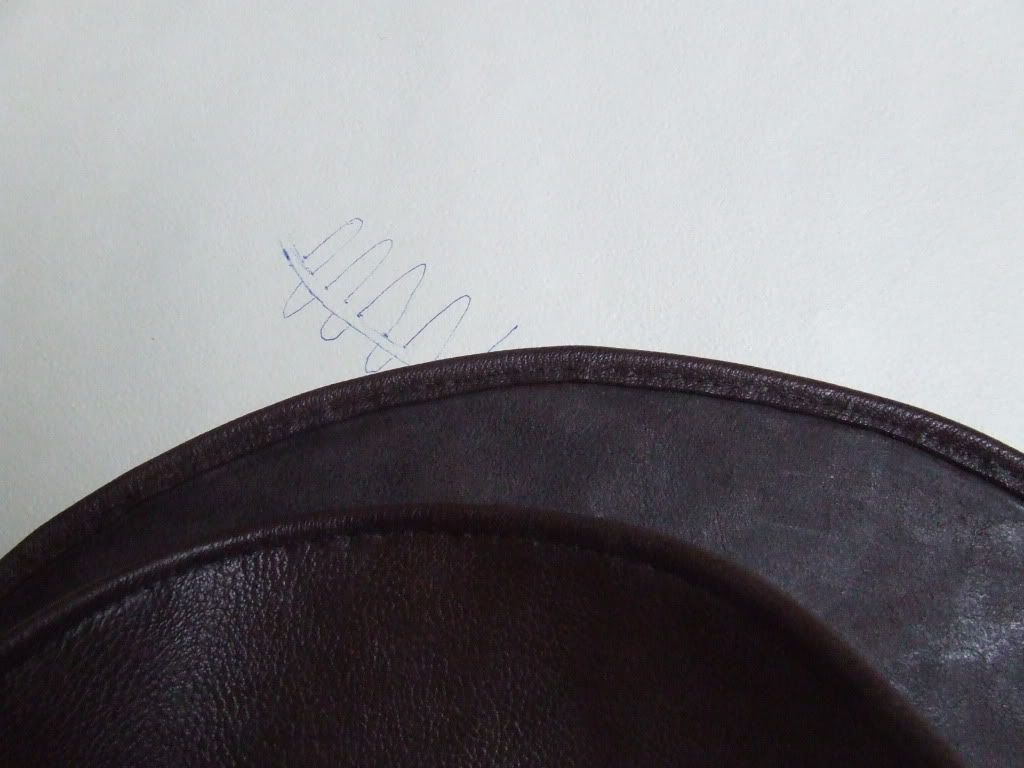
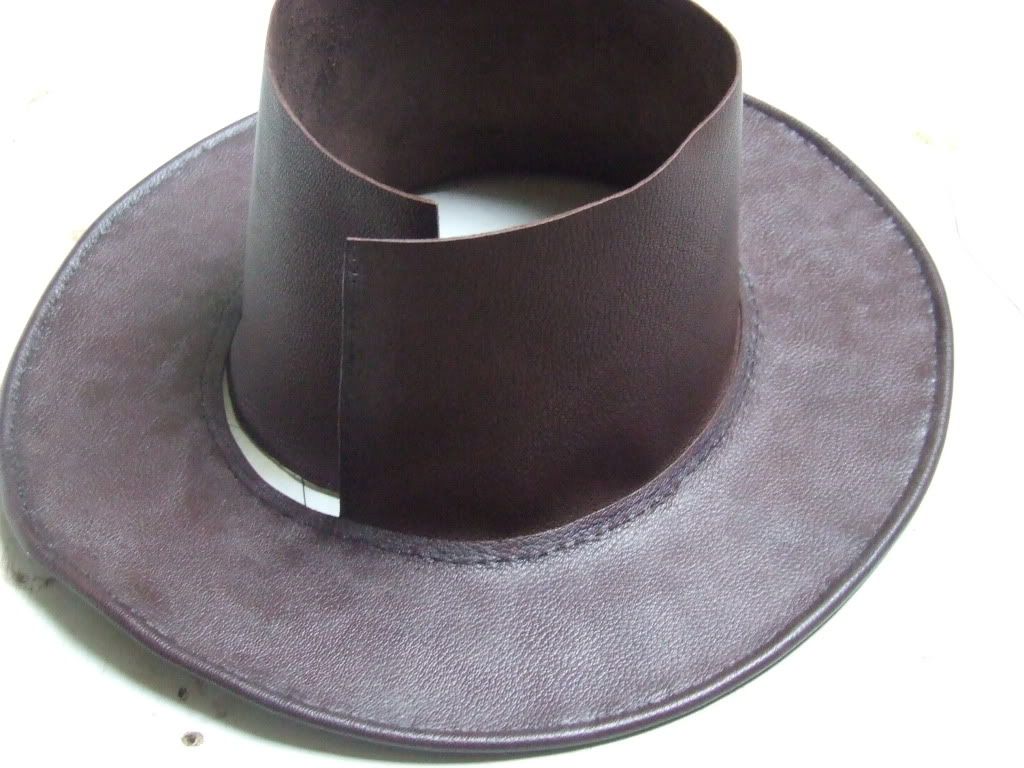
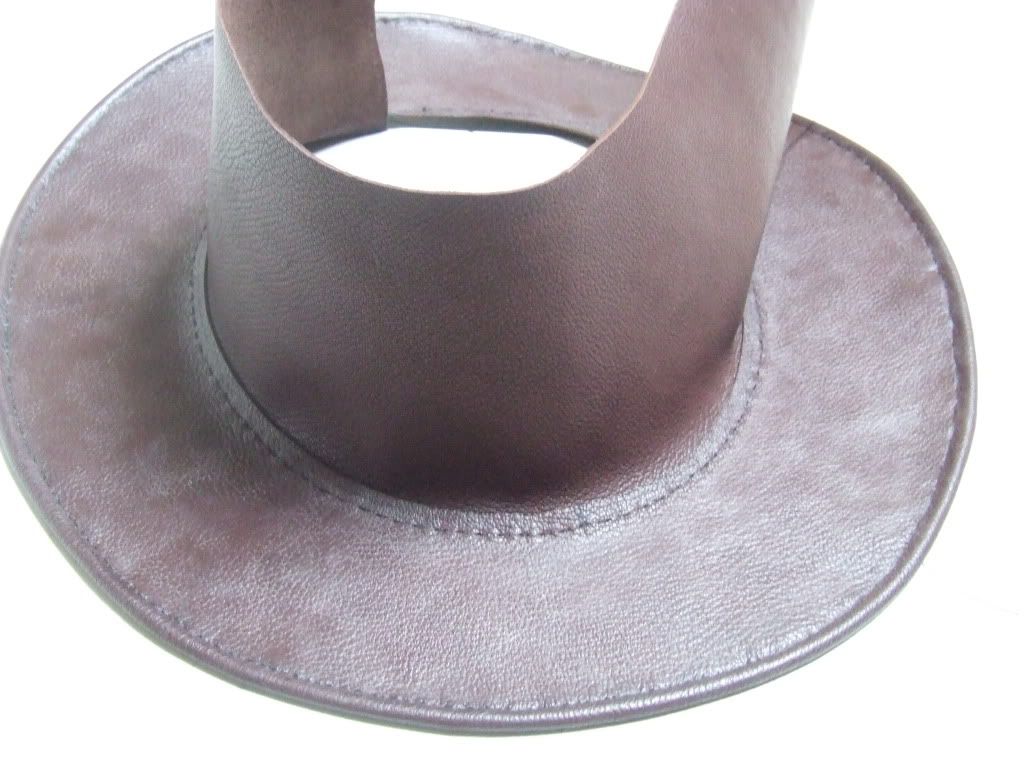
I was in the process of making yet another leather hat ( as seen on another thread) but wasn't quite pleased with a few things so I took the bugger apart & since there are often requests for a tutorial on how to make such a hat I thought I'd take this opportunity to try & put together a 'how to'. A few months ago after sending several emails to photobucket I managed to recuperate the 'old version' ....much more user friendly but now they are trying to twist my arm to switch to their new format by depriving me of certain functions so this has giving me added impetus to start the thread now, before the hat is finished, & I'll add further photos (photobucket permittting) & explanations as the hat progresses.


First of all we have to make a pattern. I use wall paper as I have it ;) & it has sufficient stiffness but any thickish paper or thin card would do.
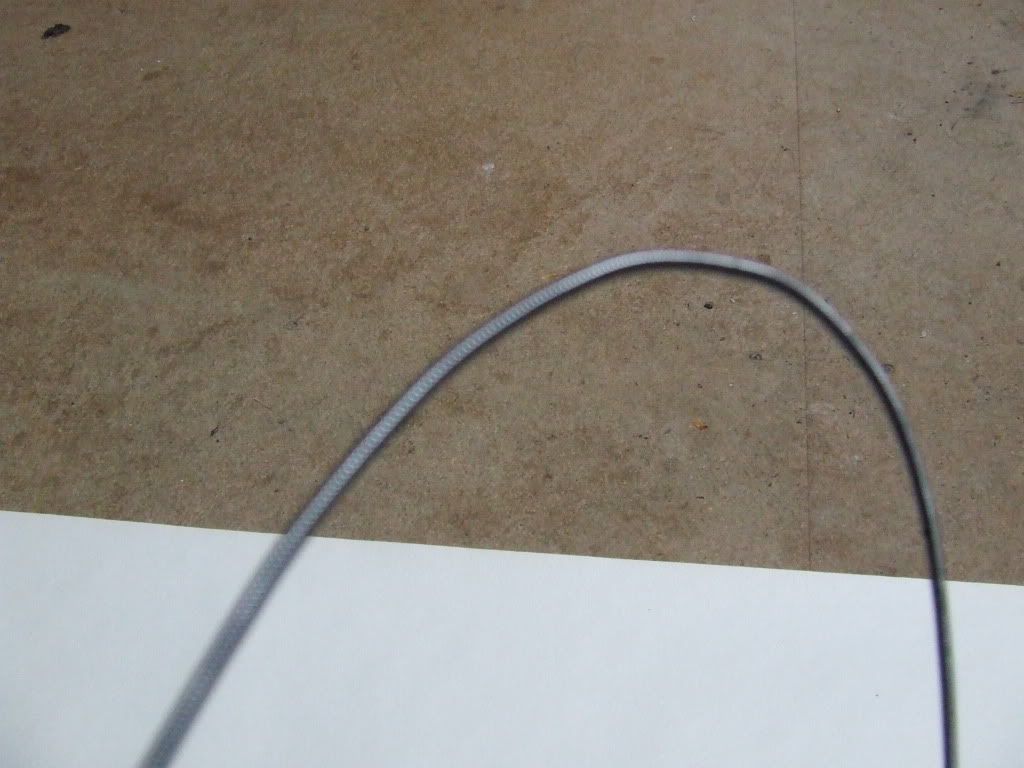
You need to measure your head size, if you haven't got a soft tape measure, a piece of string or paracord can be used, wrap it around your noggin about an inch above the ears & eyebrows, then lay it flat & measure it. I've made quite a few hats in the past so I have my usual pattern which I use each time but I'm afraid you'll have to work out the head hole size yourselves by trial & error as there isn't an easy solution .......I think.

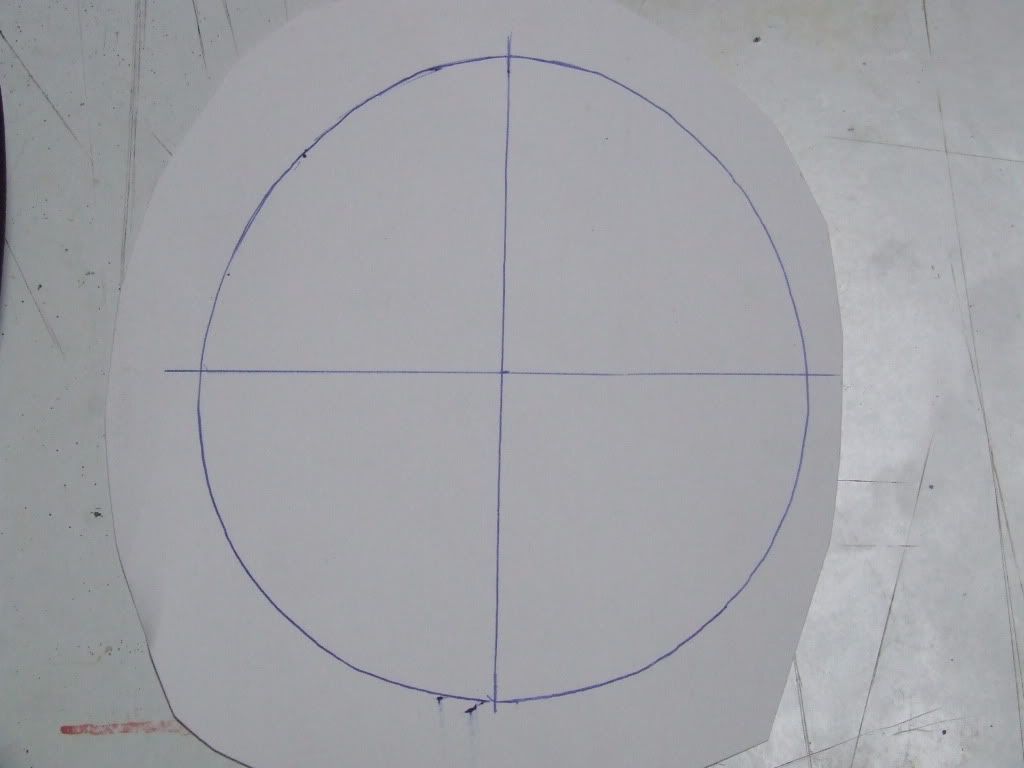
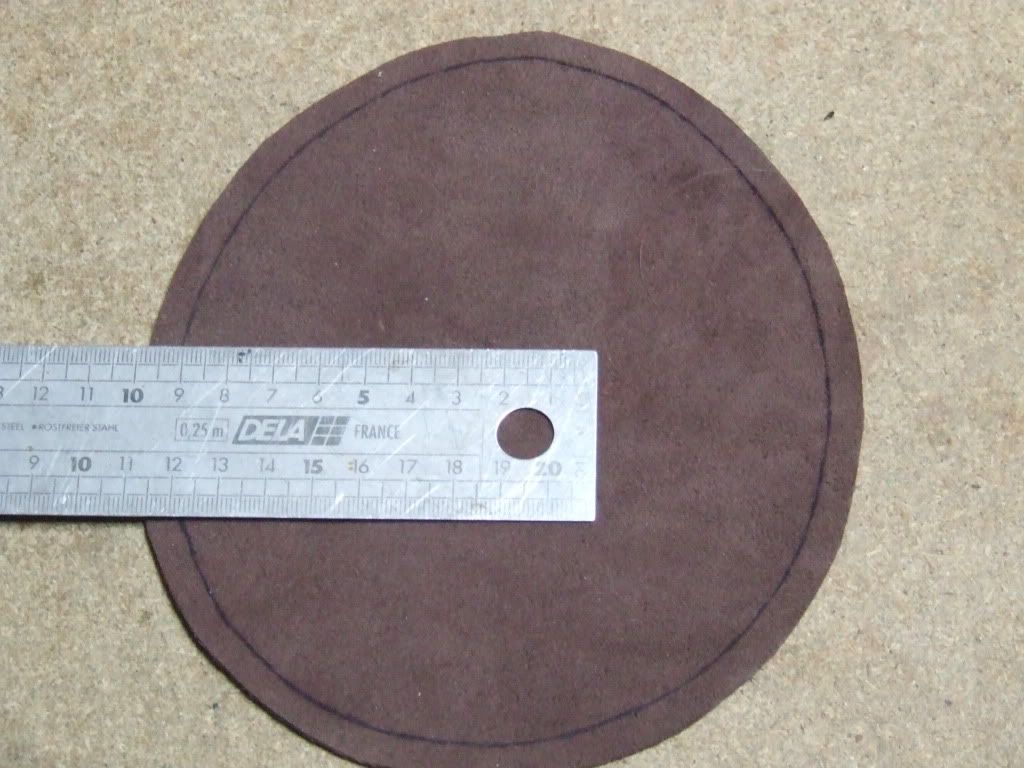
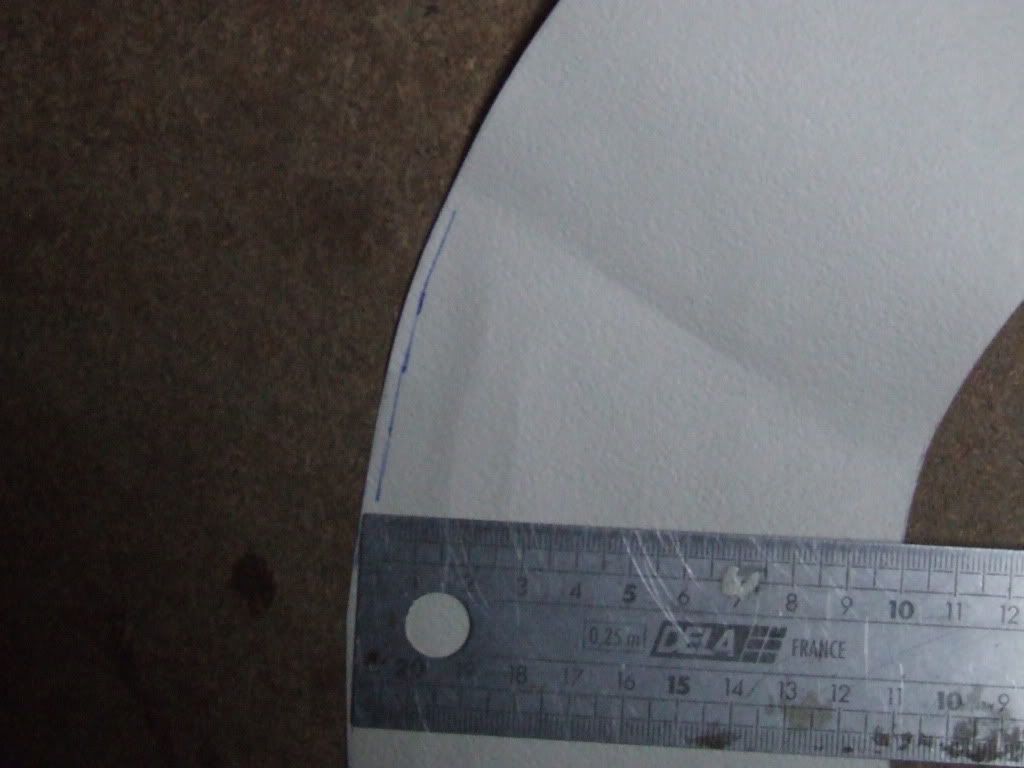
First thing to do is draw the center hole, most of us have oval heads so bear that in mind.......you don't want a circle.

DSCF8214.jpg


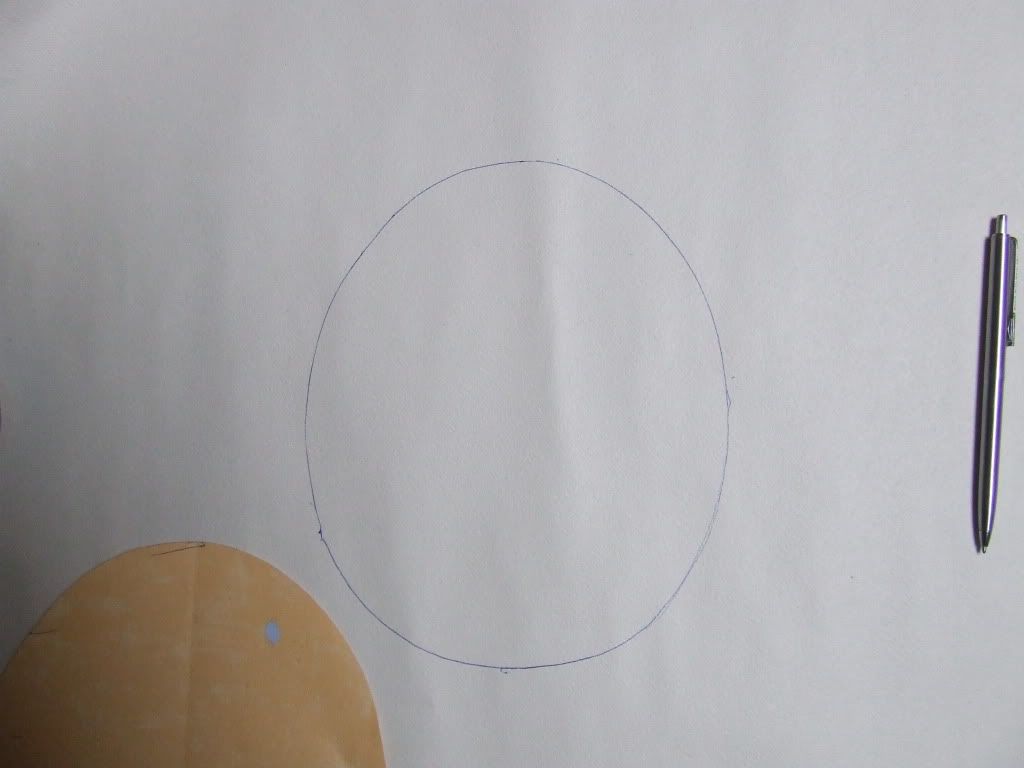
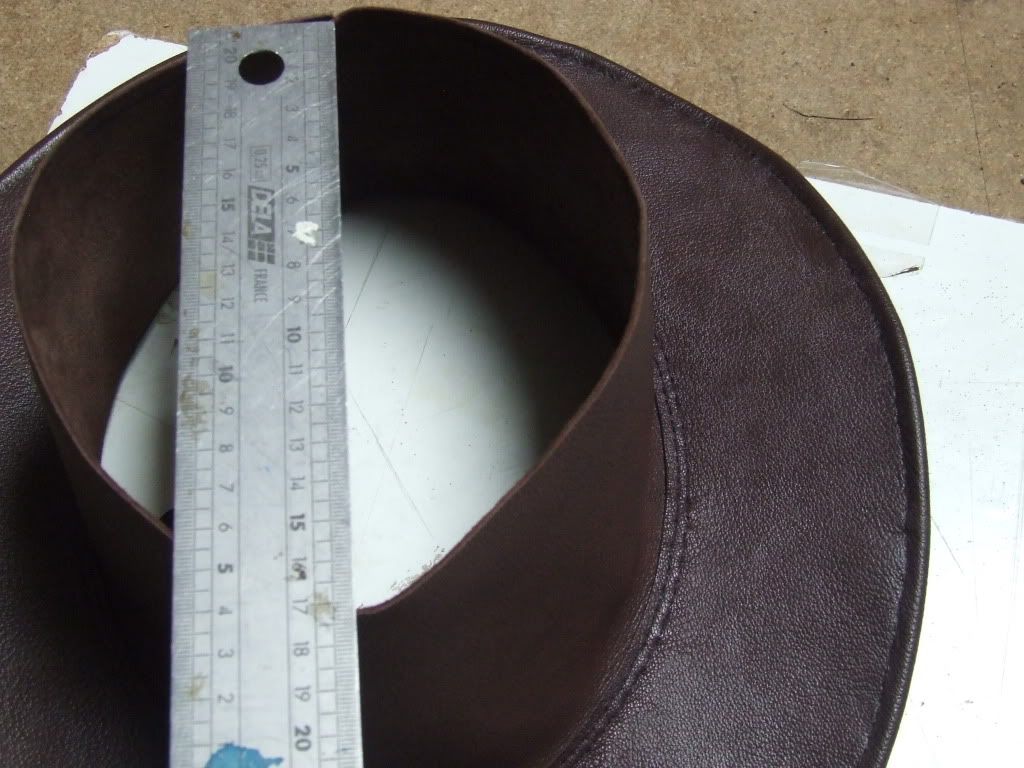
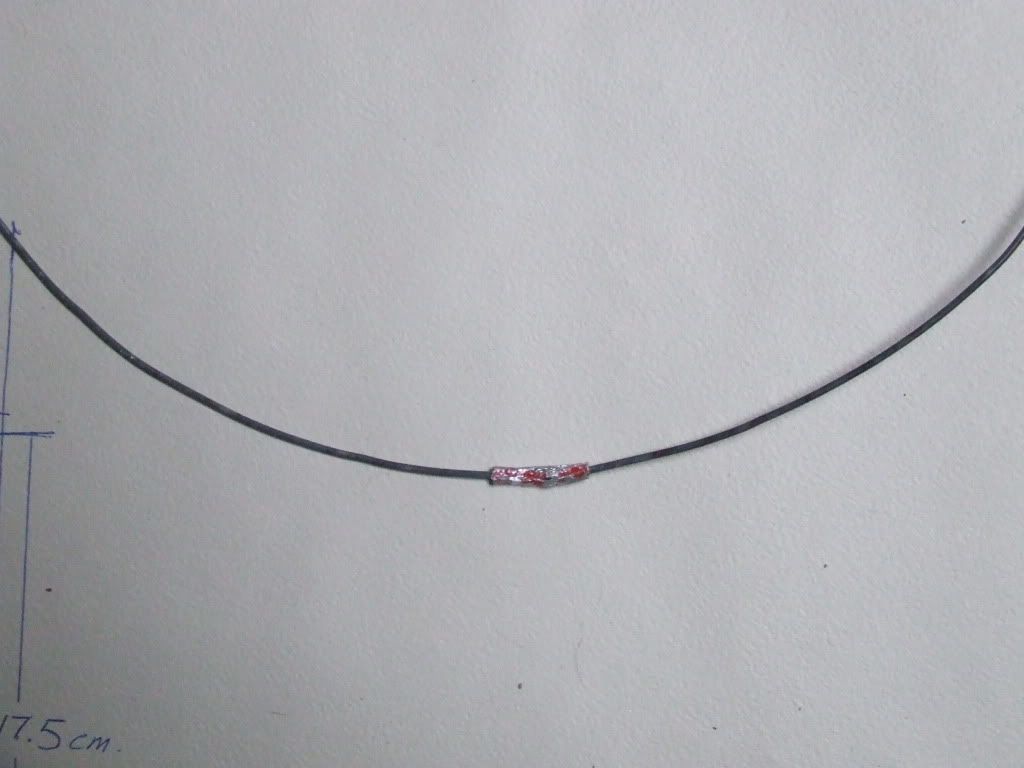
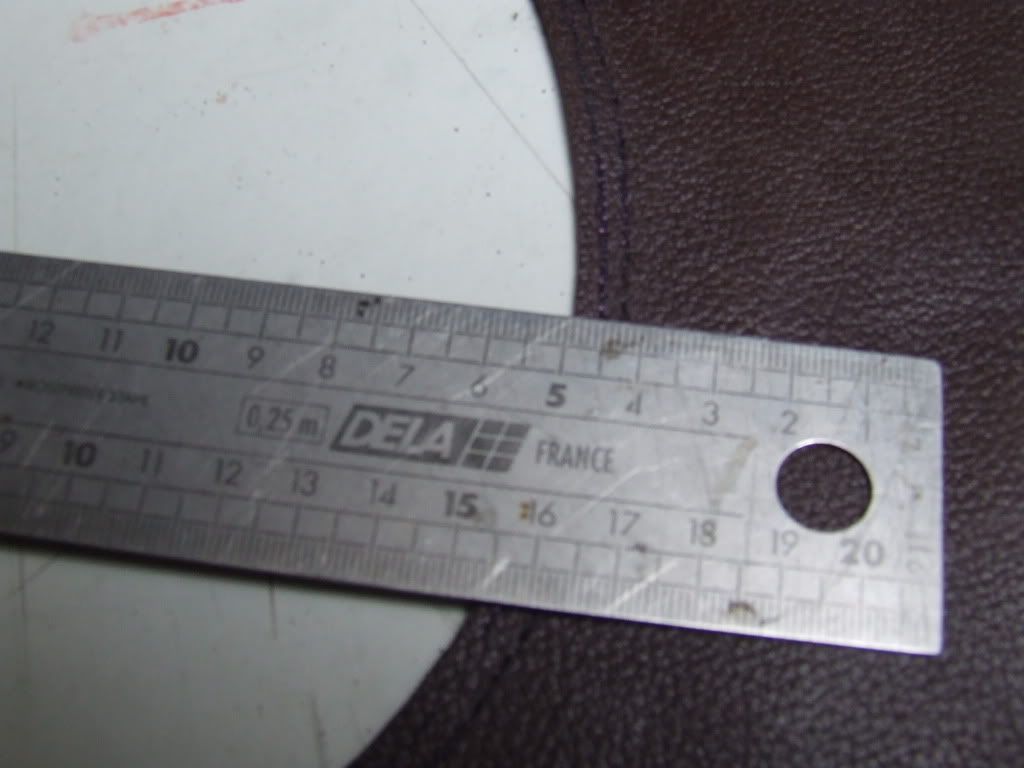
Just to give you an idea I'm a 58 cm head & the dimensions of my hole :eek: are as follows,
DSCF8233.jpg

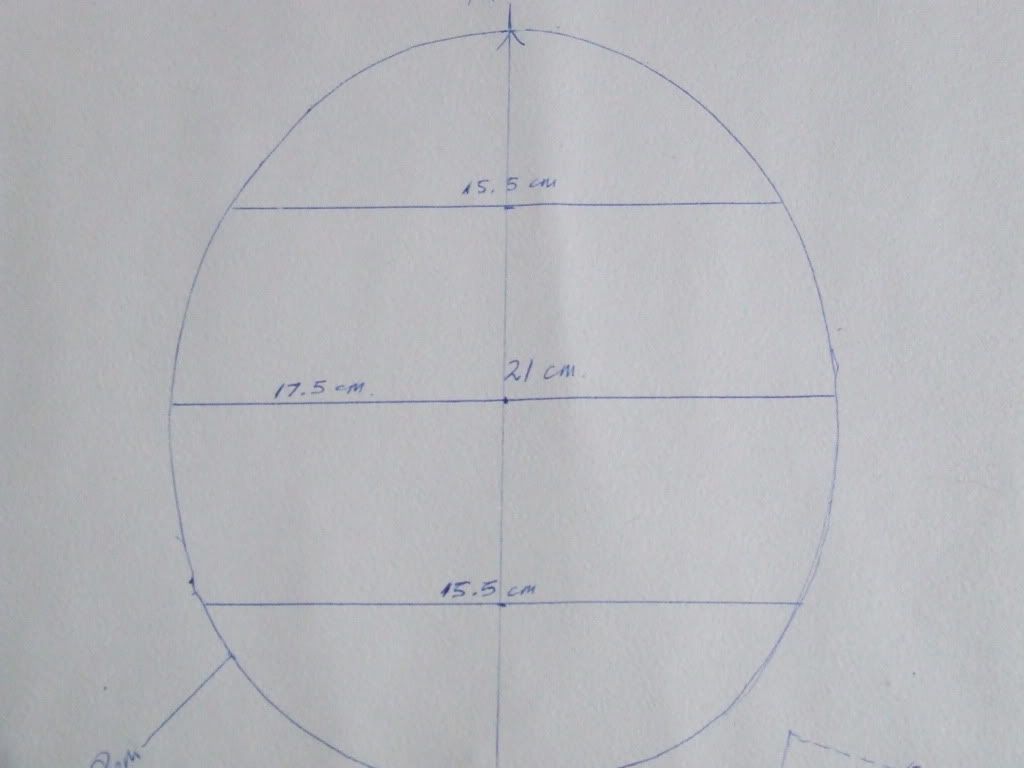
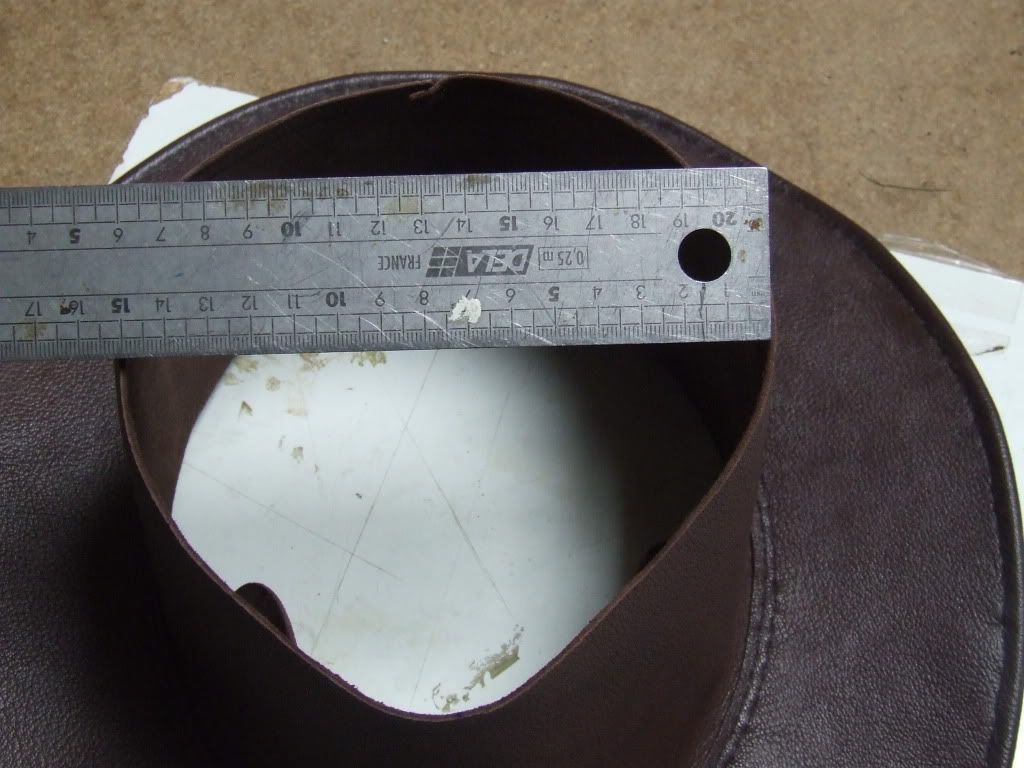
That's 21 cm long & 17.5 cm across at the middle.

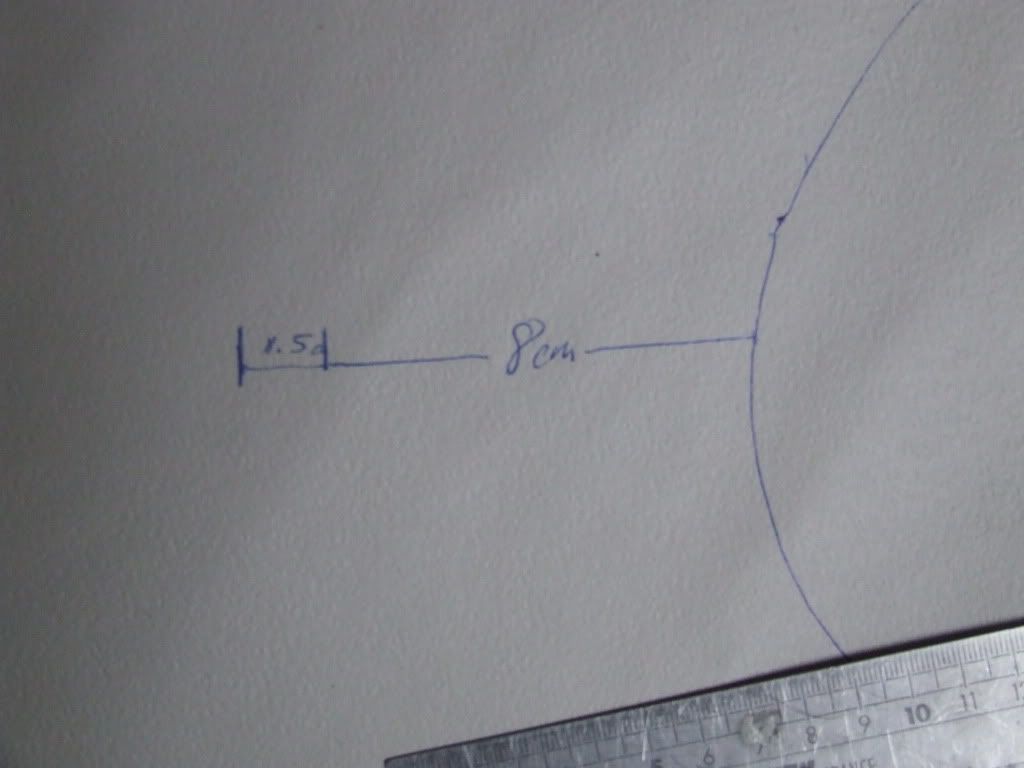
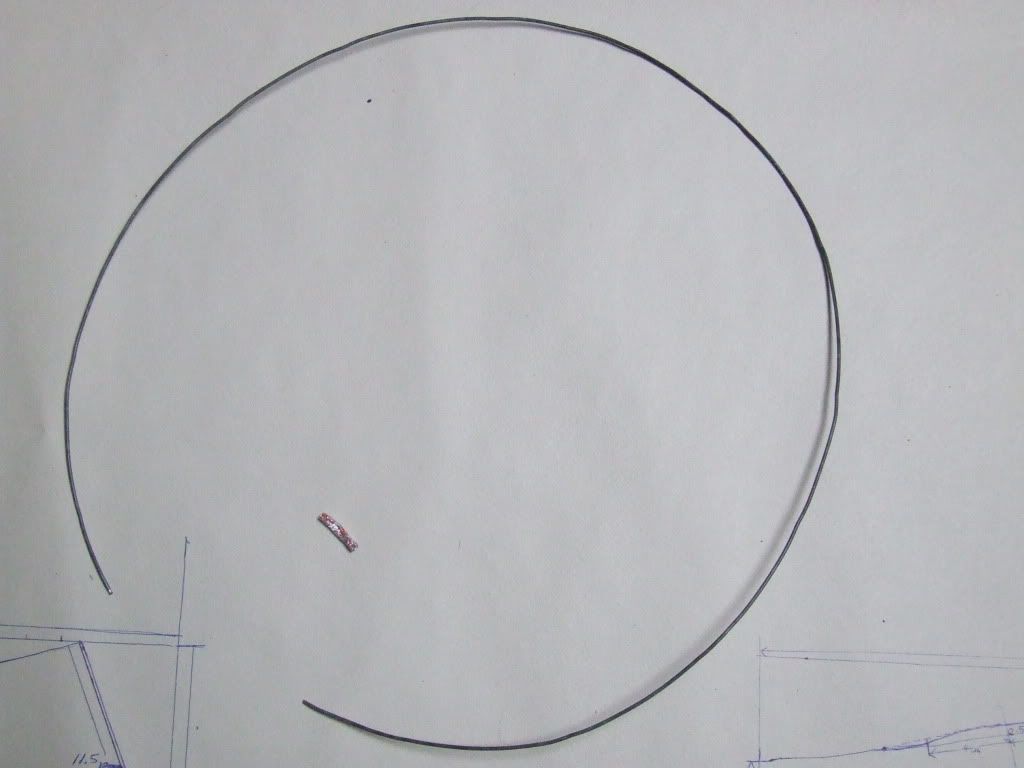
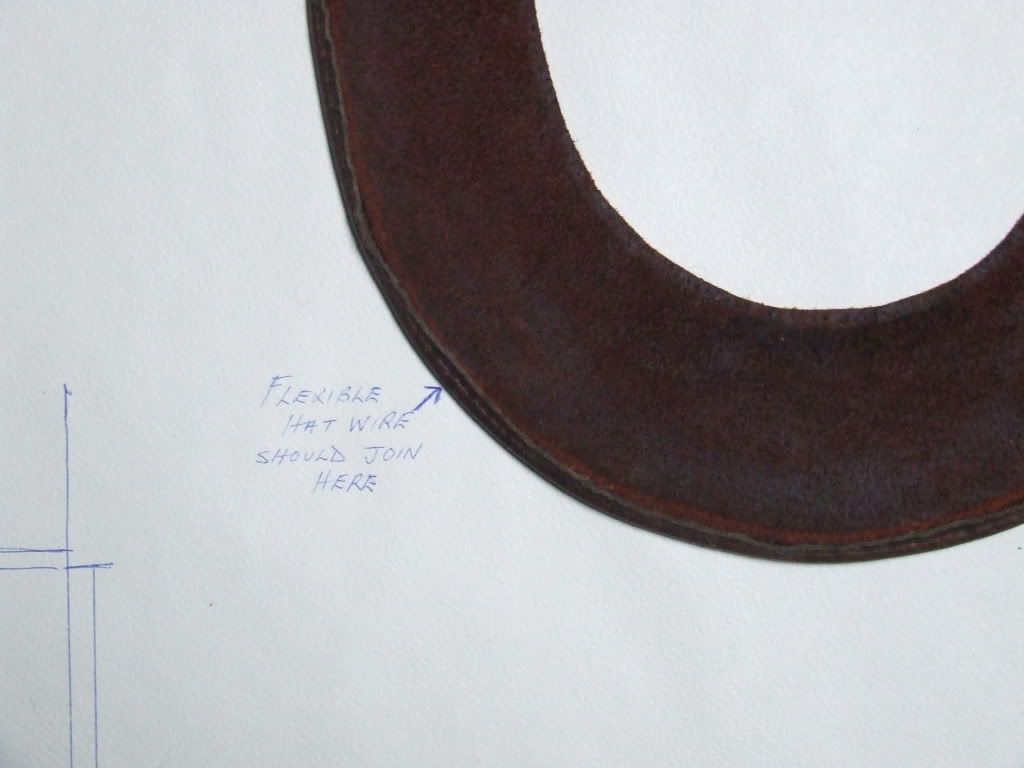
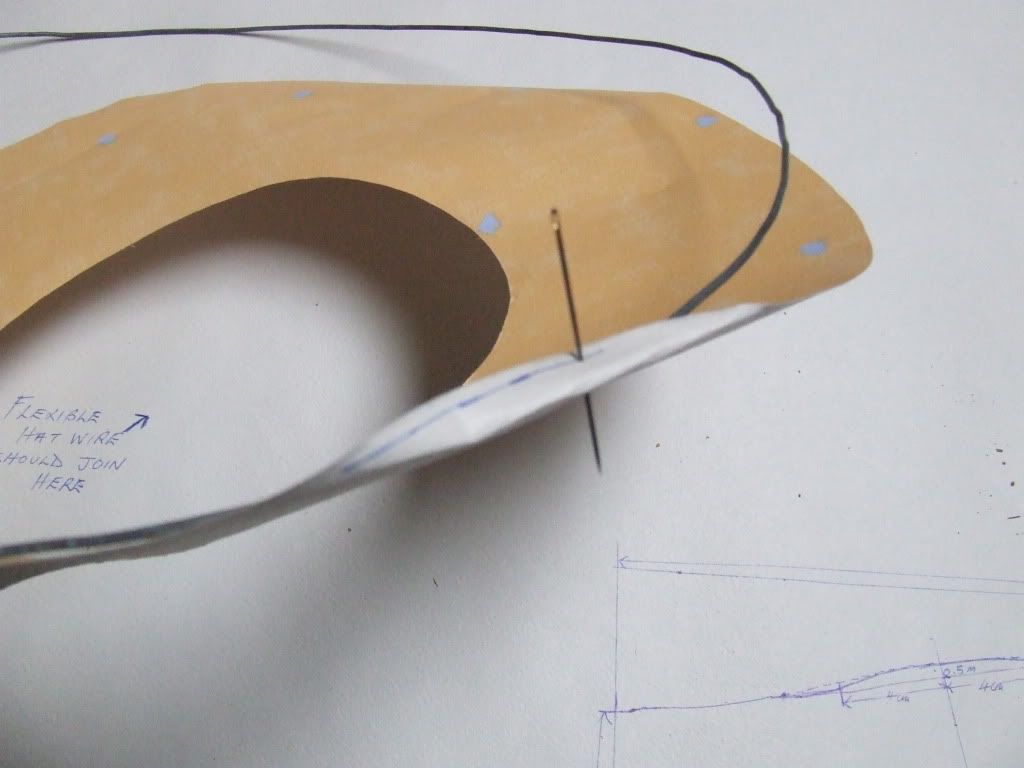
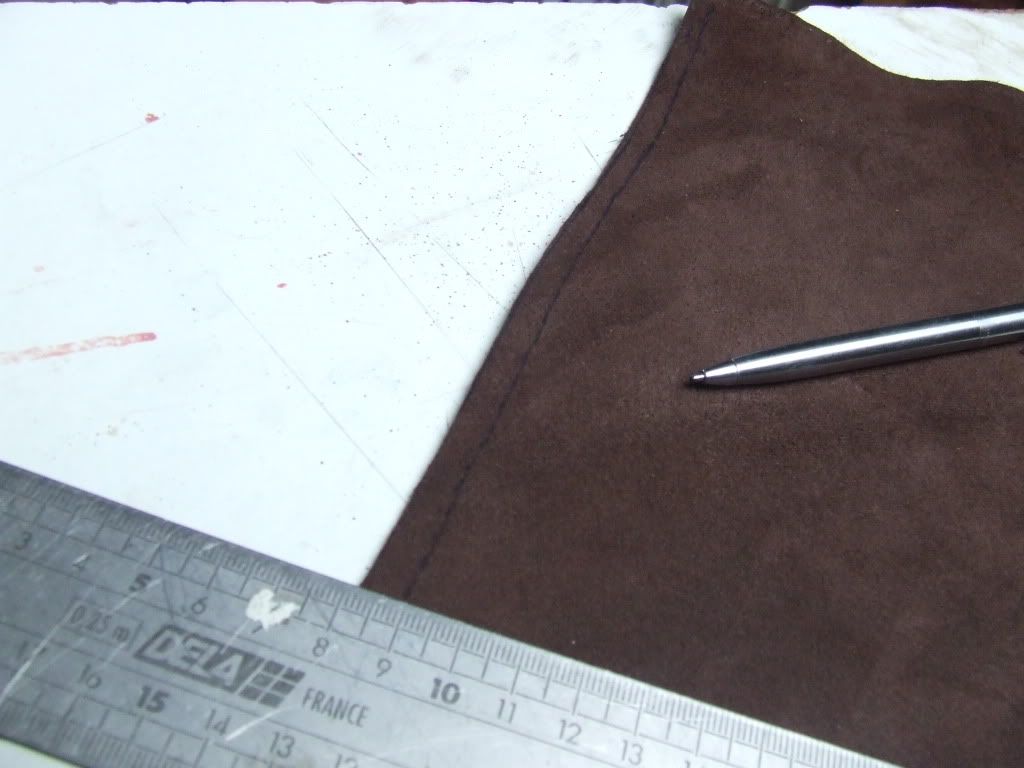
Brim width is a matter of personal choice, some prefer narrow brims other's wider & it's up to you how wide you want the brim. For this hat I've chosen an 8 cm brim, which will give good sun & rain protection & not get in the way.
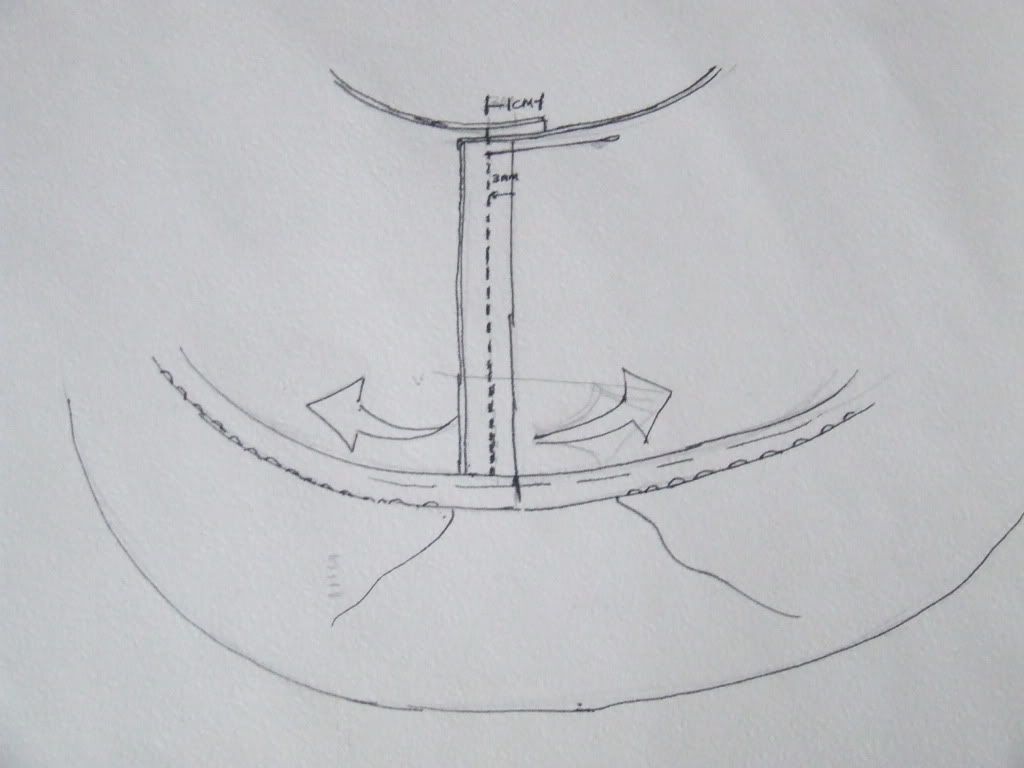
What ever the width you choose you must add on a further 1.5 cm which will be folded over the brim wire. e.g.
DSCF8218.jpg


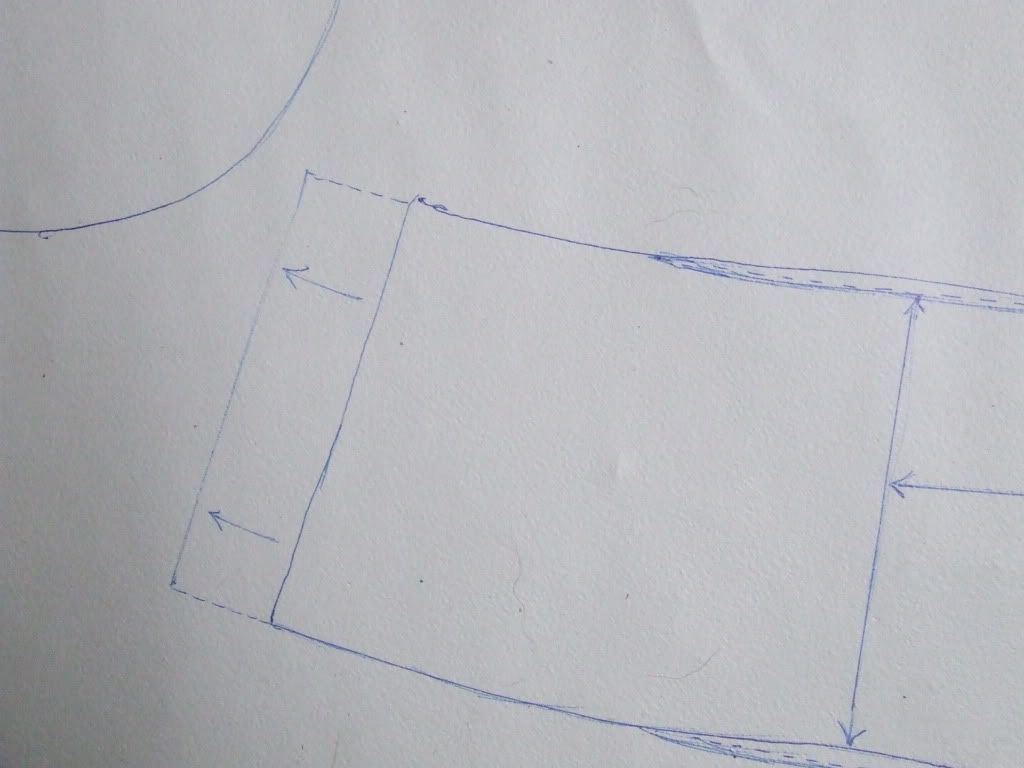
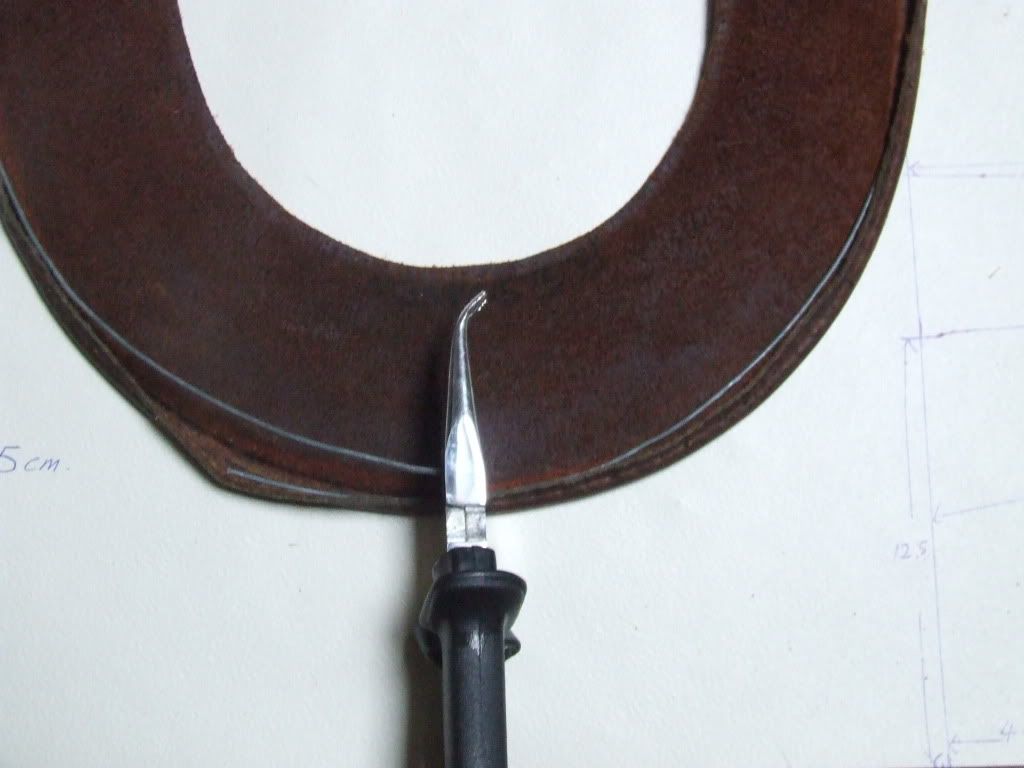
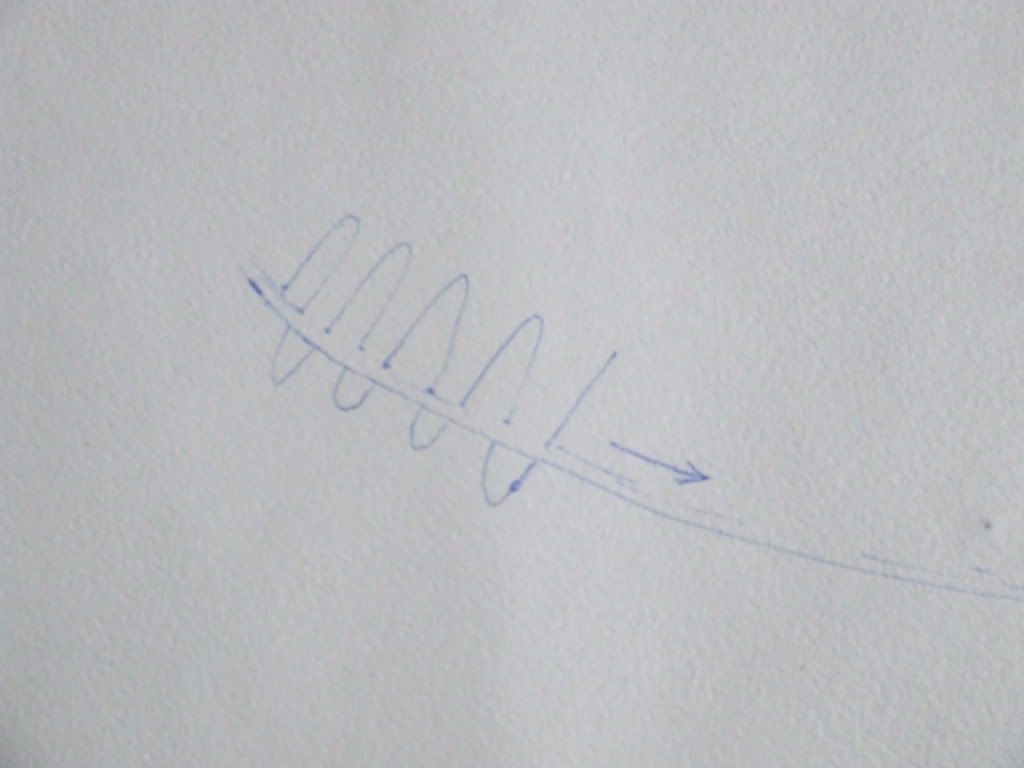
Once you've decided on the brim width simply draw a series of dots or dashes leading off from your drawn center hole like thus
DSCF8216.jpg


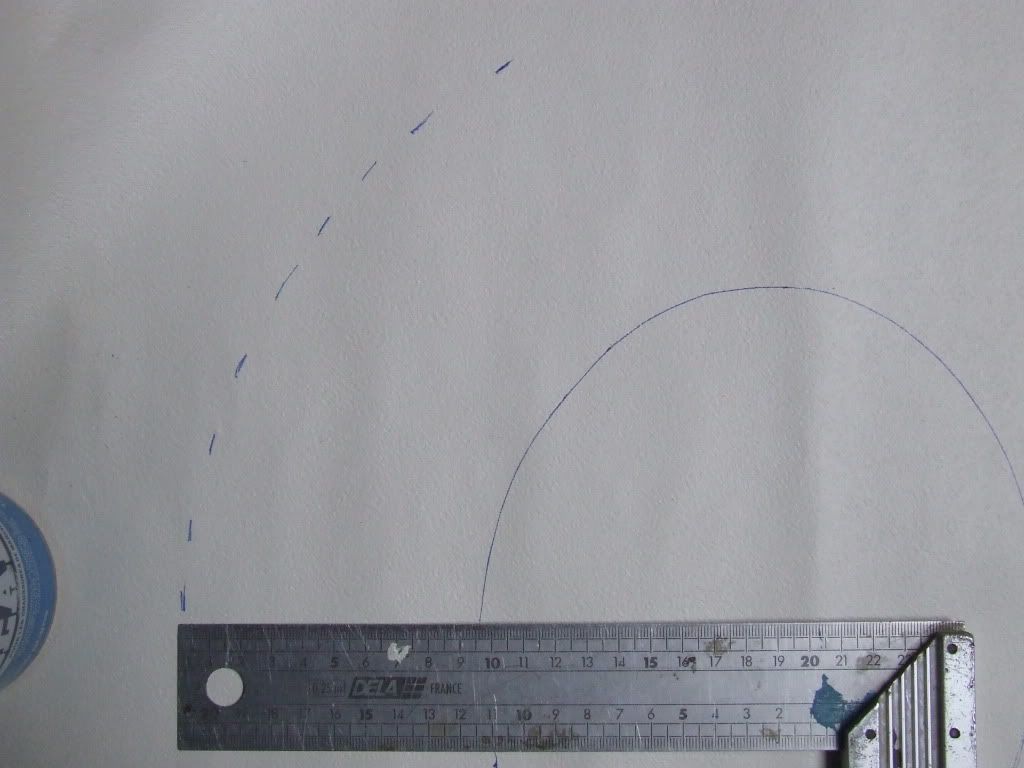
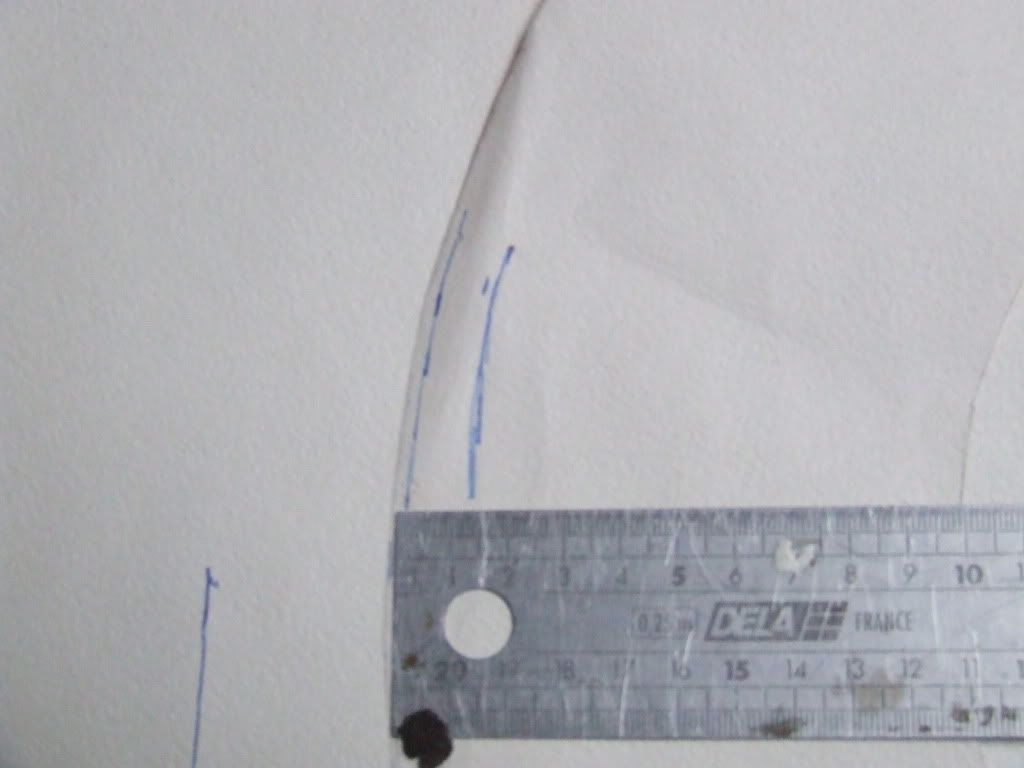
then join them up all around
DSCF8217.jpg


Now you can cut them out with a pair of scissors unless you have a sure hand with a cutter :rolleyes:

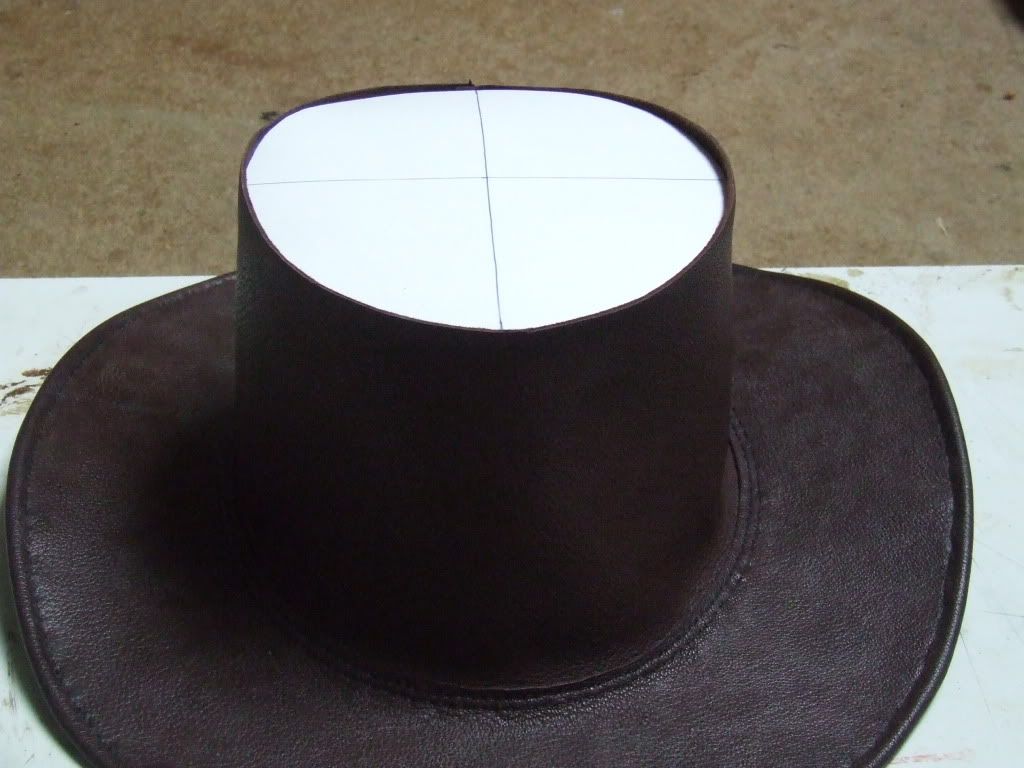
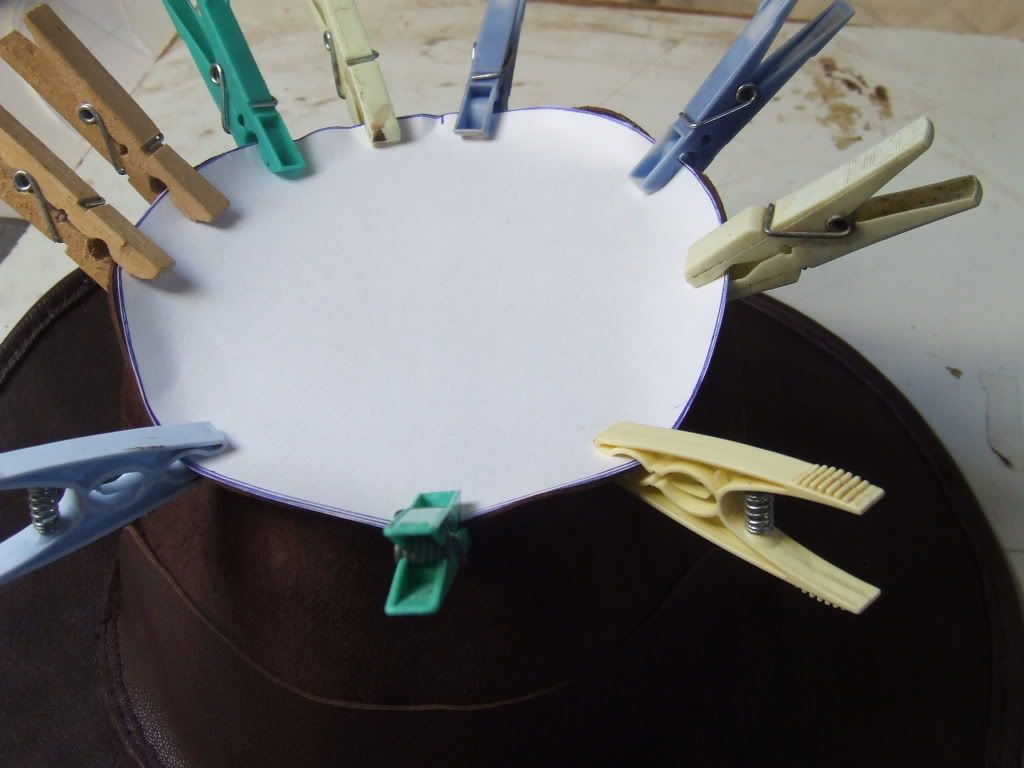
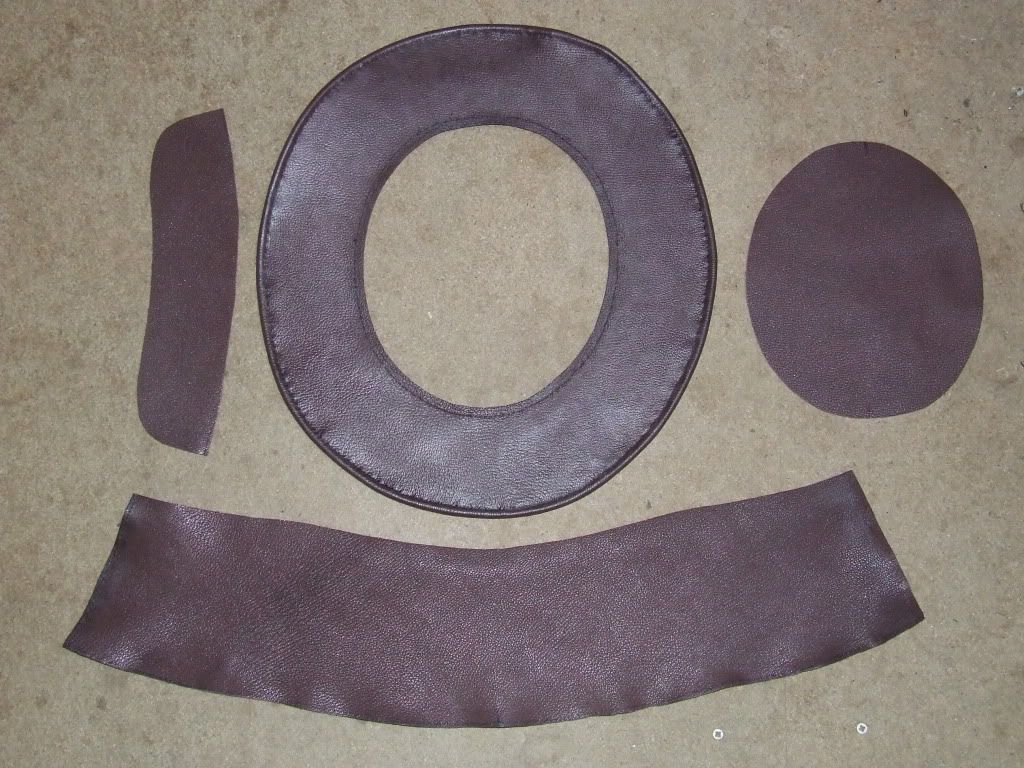
So now you have your brim template.... the center bit will be the hat's top
DSCF8219.jpg


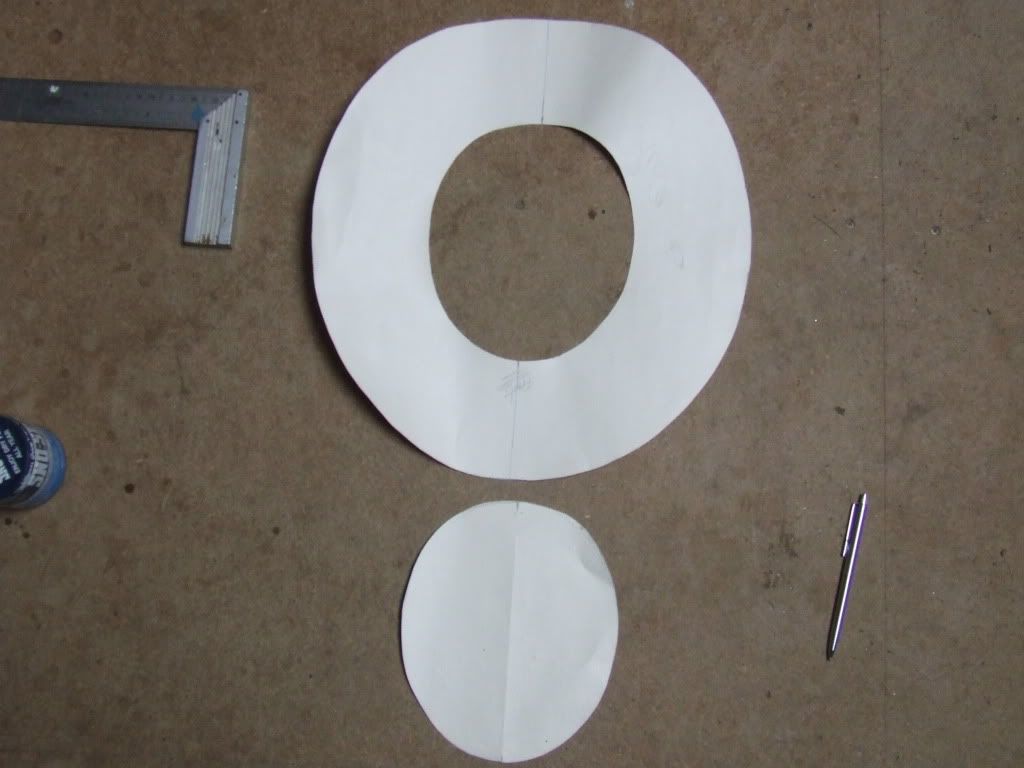
You'll need to mark the exact center front 'n' aft
DSCF8259.jpg


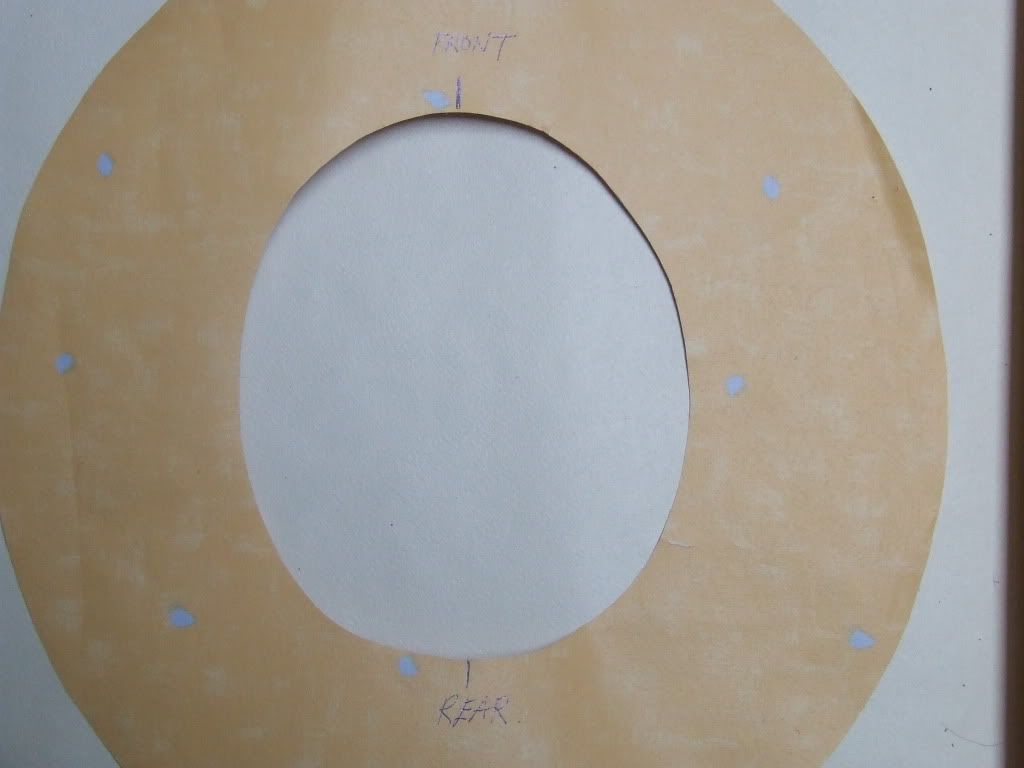
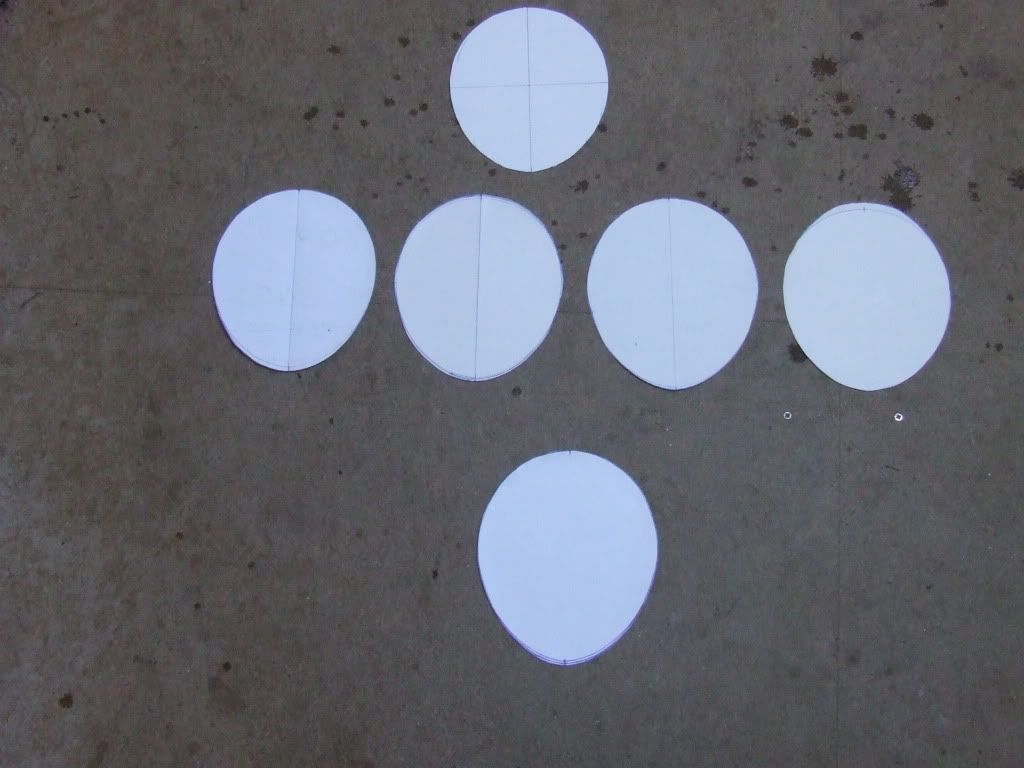
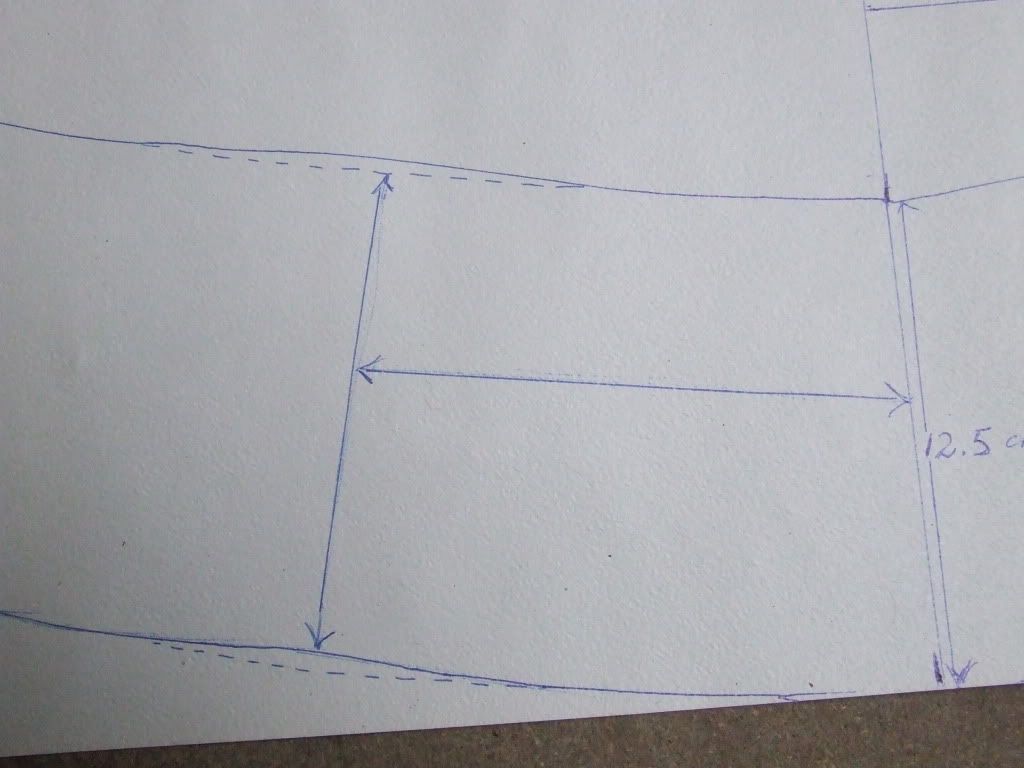
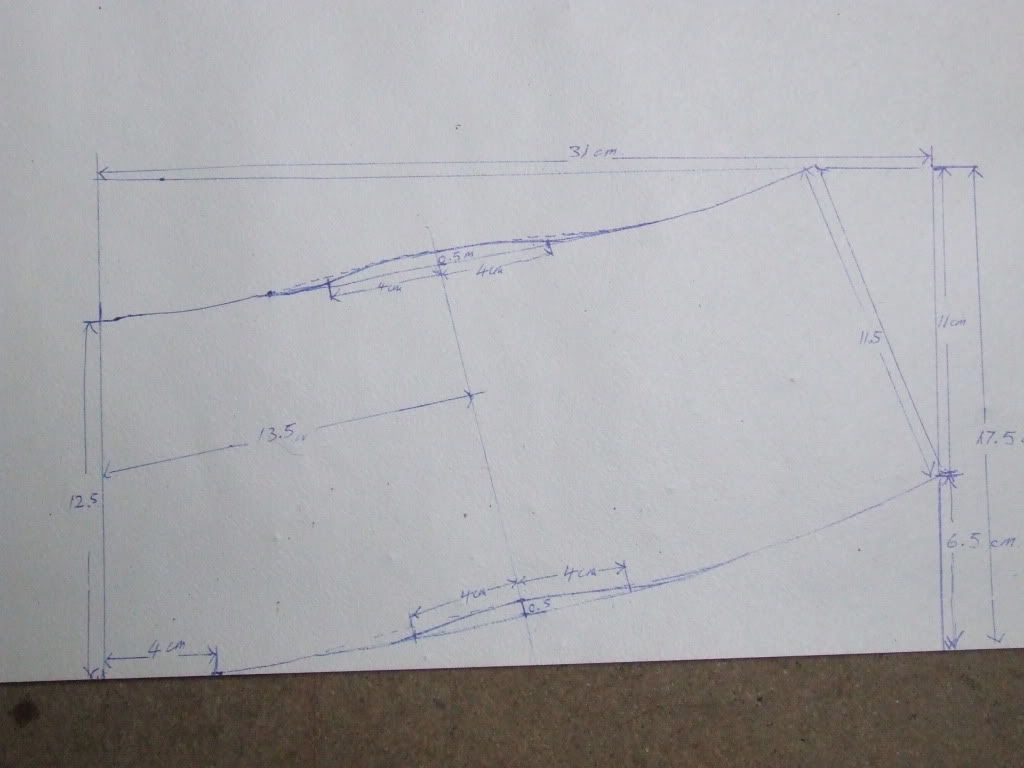
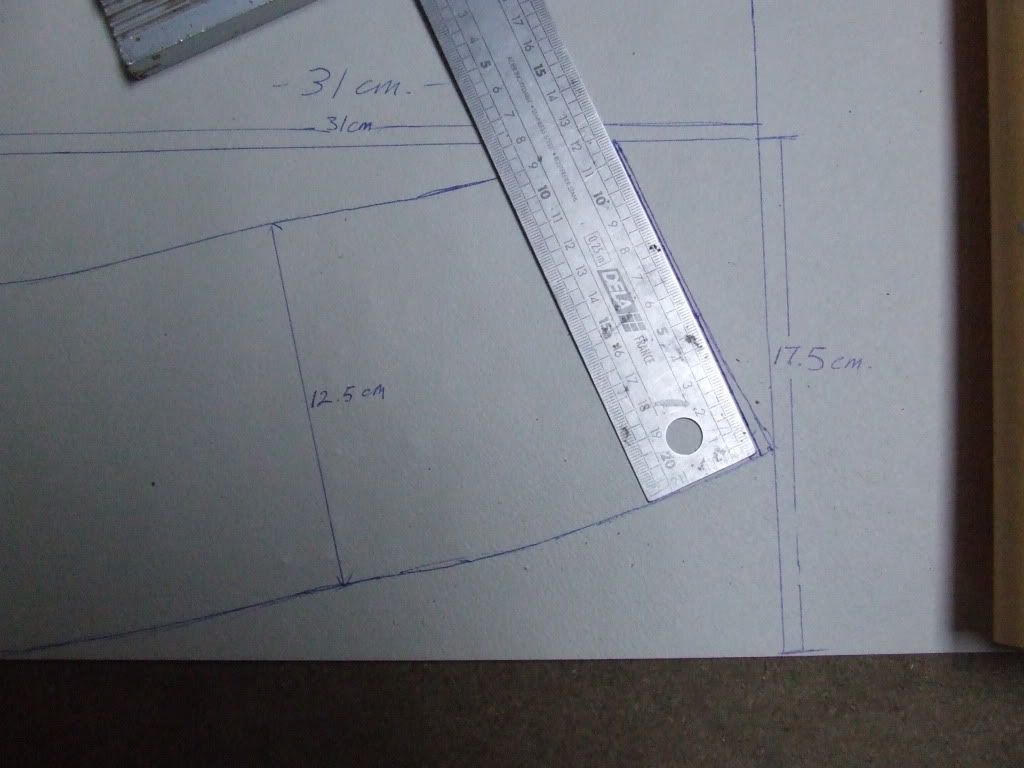
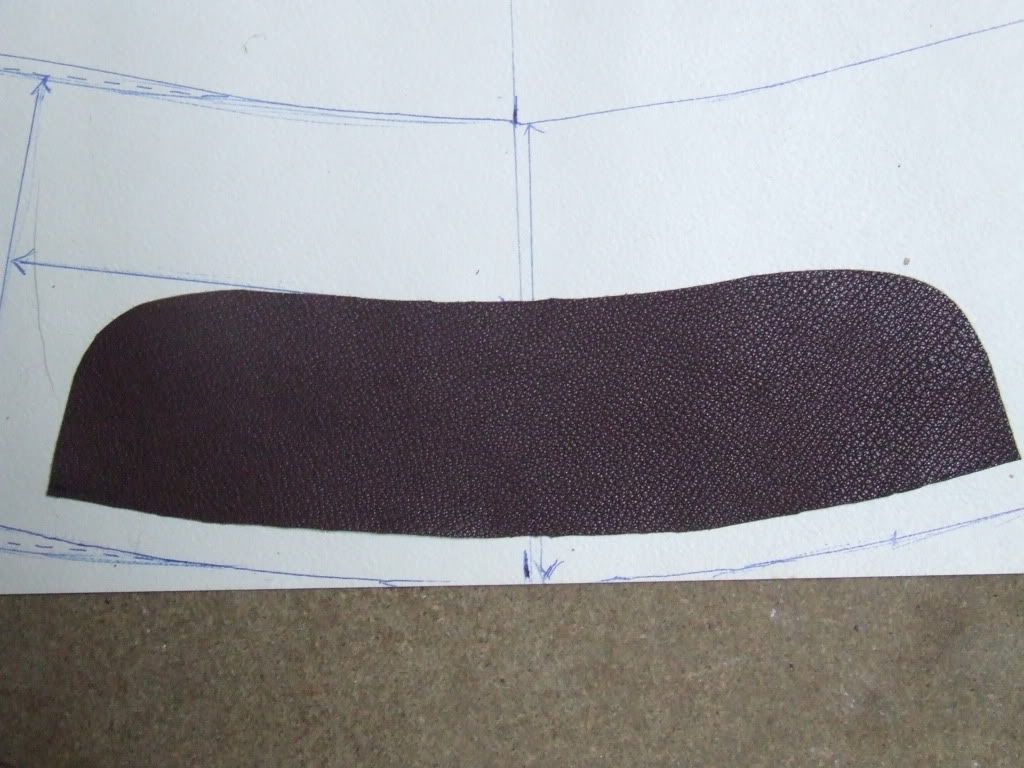
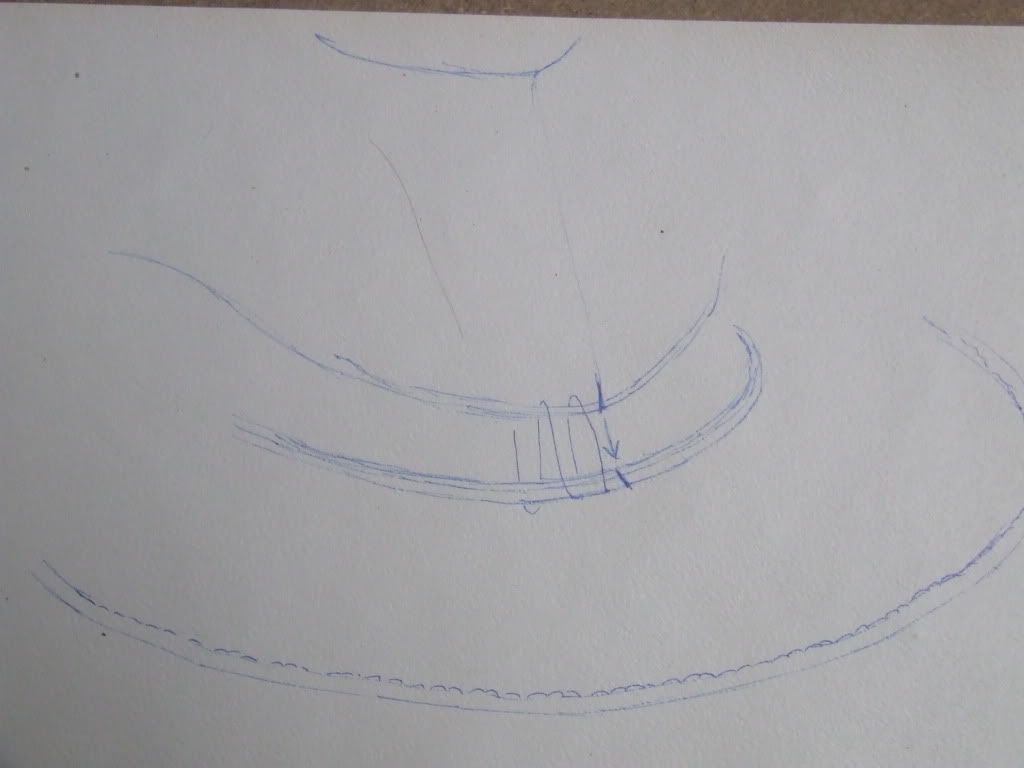
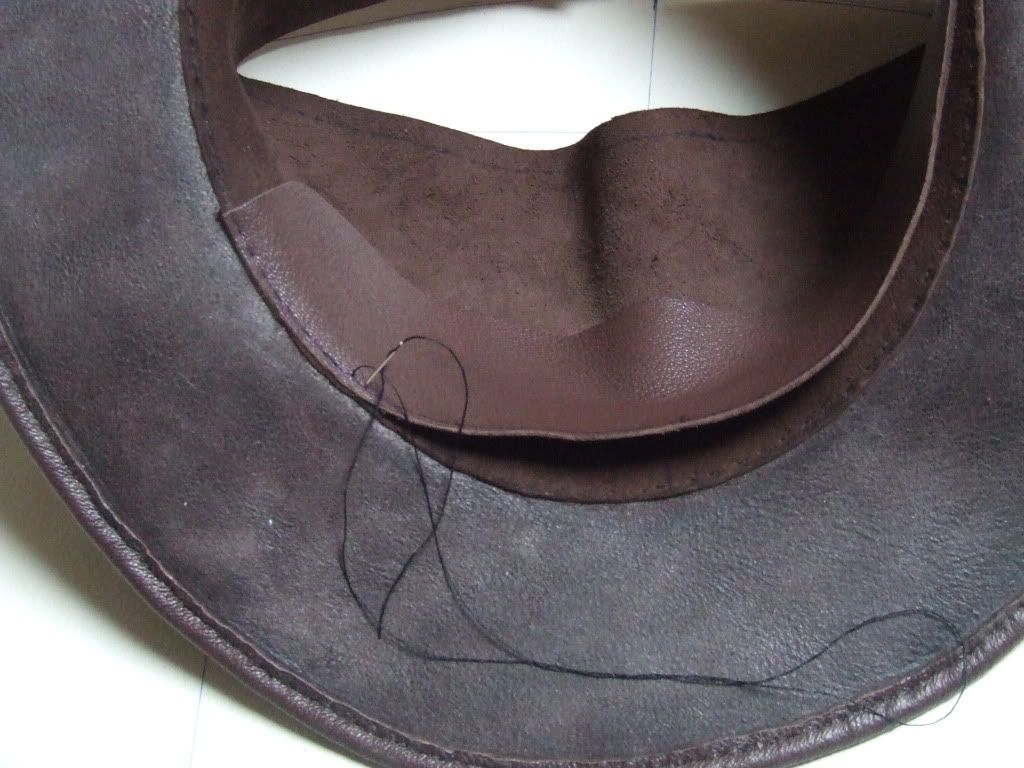
Now the crown & this is where it's gets complicated I usually experiment with a different style of crown each time & I"ve settled for the following for this one.
DSCF8221.jpg


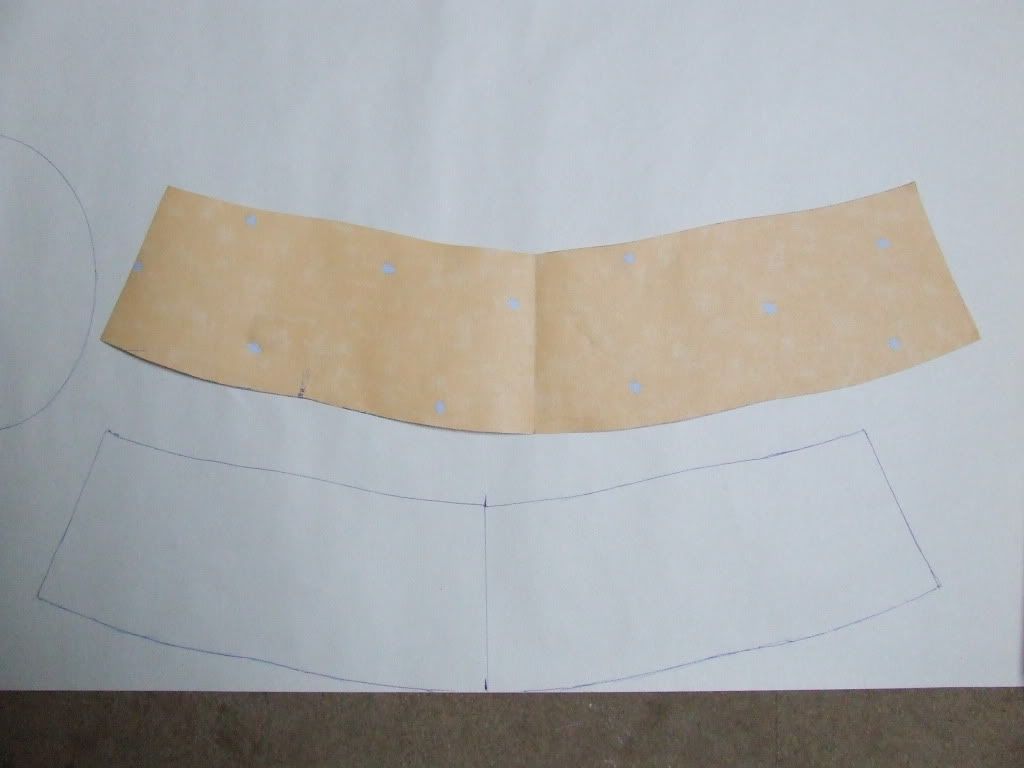
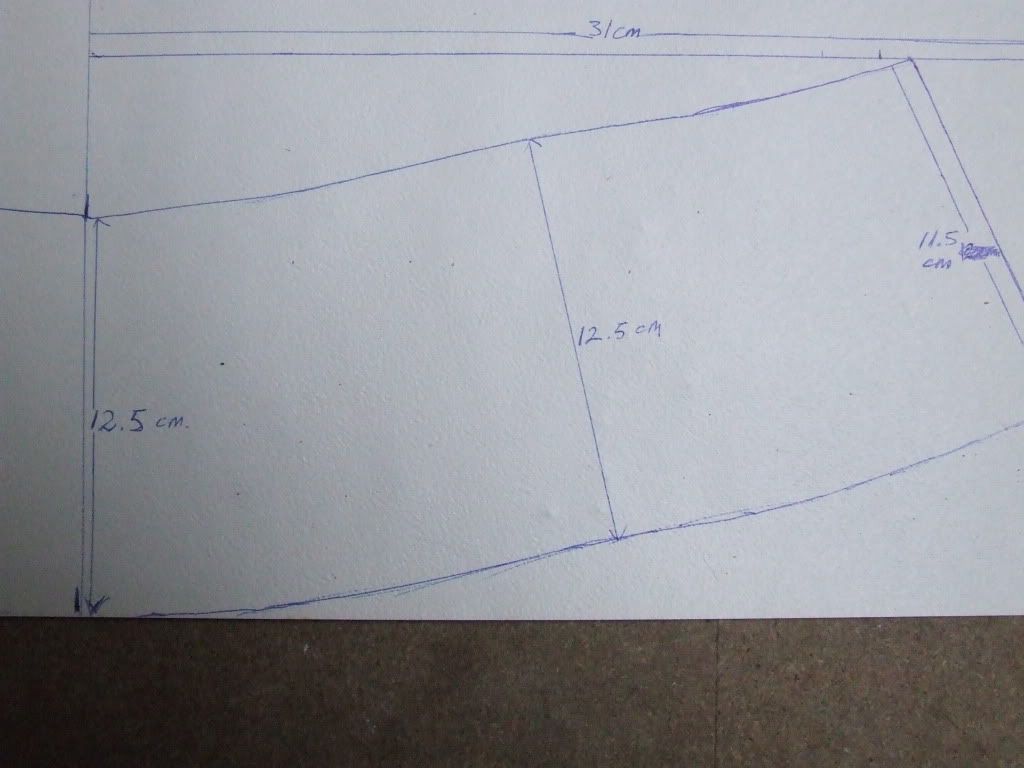
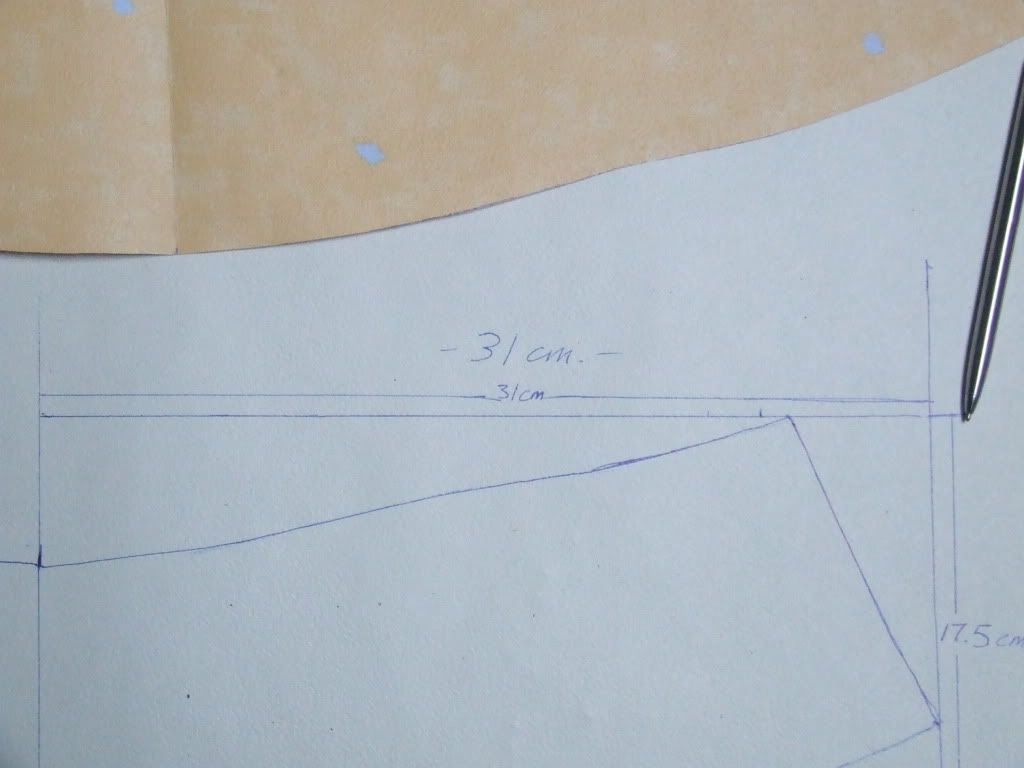
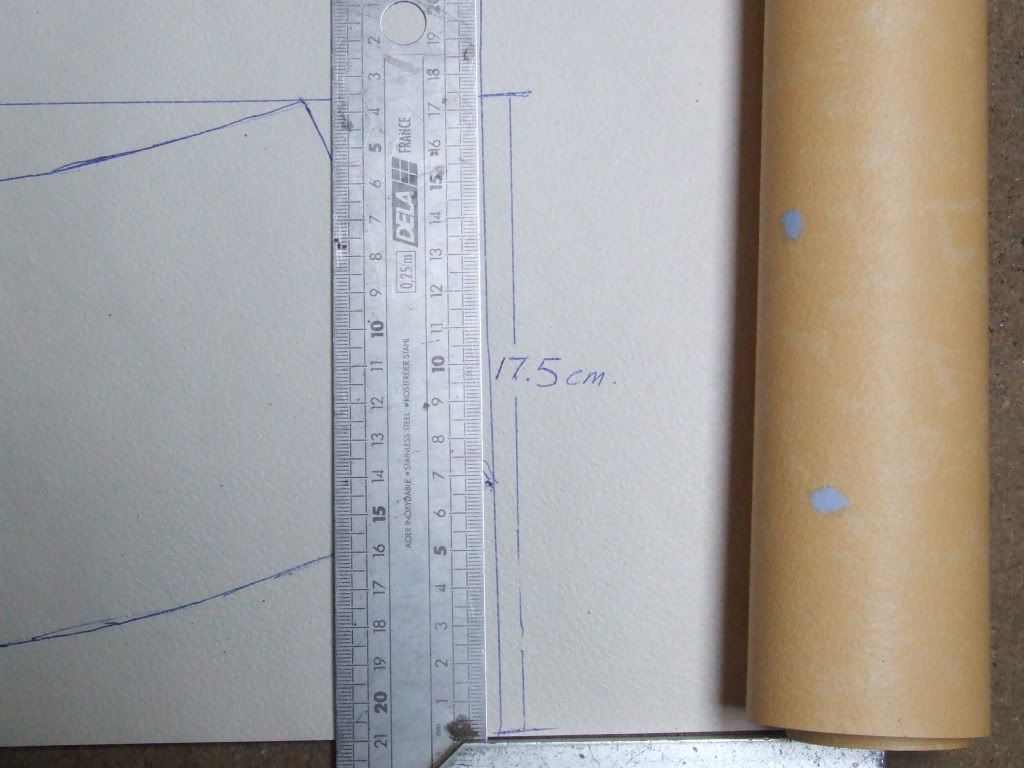
Hopefully you can see that there is a slight hump about midway on each side, I want this hat to have a soft slope so I'm aiming for a crown with a 10 cm crown at the front & dropping off to 9cm at the back. Again this is just to give you an idea as you may wish for a higher or lower crown.These are the measurements I've used.

DSCF8225.jpg
 
Last edited:
Feb 15, 2011
3,860
2
Elsewhere
As you can see it's 12.5 cm at the center front this is because 1cm will attached under the brim & 1.5 cm will be folded over at the top.
To make things clearer (I hope) I've placed half of the crown into a retangle so you can copy the dimensions if you wish. I've also just illustrated one side as when finished you can carefully fold the paper over at the center then draw around what you have already done & you should get both sides perfectly symetrical.
DSCF8224.jpg


Sorry this pic isn't particuarlly good but it's basically a retangle 31cm long by 17.5 wide.

DSCF8224-1.jpg


The bottom corner of the crown is 6.5 cm from the bottom edge of the paper.
DSCF8222.jpg


To get the hump I think it's easiest to just draw an arc then measure half a cm(0.5mm) above the drawn lines midway along the crown from the center to the back then measure 5cm either side.
DSCF8227.jpg


DSCF8238.jpg


To get the correct angle of the back simply line up the bottom edge of a ruler with that of the lower edge of the brim.
DSCF8229.jpg


As you don't know how long your crown needs to be before you sew it onto the brim, you must add on several cm extra each end
DSCF8231.jpg


The sweat pad can be any length & height you wish but the bottom edge must be the same as that of the crown
DSCF8234.jpg


This one is 27 cm long & 6.5 cm tall

You're ready to trace around them on your leather & cut out the pieces............. I prefer to use a good pair of scissors.
so now you have the basic parts.
DSCF8235.jpg


I shall continue the thread as & when the next stage is ongoing.......if anything is unclear please let me know & I'll do my best to clarify it;

Watch this space.
 
Last edited:
Feb 15, 2011
3,860
2
Elsewhere
THE BRIM WIRE;


Difficult one this, I usually use medium gauge galvanised fencing wire, even a wire coat hanger will do if you can straighten it out & it's long enough.Plastic hat wire is ok if you're not too particular about having a perfect swoop & you'll need to join them with a tube too, don't overlap the ends as it won't have the neccessary tension. Spring wire is ideal as it's light & holds a great shape even if knocked about.
This particualr hat has a flexible coiled spring wire obtained under false pretences from a leading Australian hat manufacturer but since I don't want you lot jeopardizing my source I shall say no more.......
DSCF8242.jpg


Galvanised wire.
DSCF8239.jpg


I make small tubes out of an aluminium sheet (an old cooking pan) to connect the wire ends once sewn into the brim,

DSCF8240.jpg


DSCF8241.jpg


There has to be a certain tension in the wire, so when nearly sewn in, push the two ends of the wire a little then cut & join with the tube.
DSCF8244.jpg


When using a stiff wire the join can be at the center back but if using a flexible wire ( metal or plastic) the join must be at a rear corner (either side) otherwise the hat wont dip or swoop correctly
DSCF8245.jpg


STITCHING IN THE BRIM WIRE;


On the top outer edge of the brim mark a line 2mm from the edge all way around
DSCF8236.jpg


Wrap the edge of the brim around the wire & push a needle up through to the upper surface.
DSCF8247.jpg


You now have the distance of the second stitch line, measure the distance from the edge of the brim & mark it all around on the upper surface.
DSCF8248.jpg


Don't pre pierce the stitch holes with an awl as you want it to be as waterproof as possible. The stitch holes should be around 3mm apart which you can measure, use a fork to indent along the lines or simply do it by eye, which is what I do.Keep the needle straight & start sewing in one direction,
DSCF8249.jpg


then when finished come back the other way using the same stitch holes....this is a saddle stitch.

So it will now look like this? top & underneath.
DSCF8250.jpg


SEWING ON THE CROWN;
You can use a single line of stitching or double.
Around the inner edge of the brim mark an outer line 8mm all the way around & a second inner line 3mm from the head hole edge.
DSCF8252.jpg


On the crown piece draw a line on the upper surface 2mm from the lower edge
DSCF8253.jpg


& along the top edge on the reverse side (interior) a line 7 or 8mm from the top edge.......this will be the stitch line for the top.
DSCF8254.jpg


More to follow.......
 
Last edited:
Feb 15, 2011
3,860
2
Elsewhere
Aline the front center mark on the brim with that of the crown. Start to sew ( same method as sewing in the brim wire ) leading from the center towards the back, on one side. The stiching around the outer marked line on the brim must follow the line premarked on the crown.
DSCF8255.jpg


Stop sewing a few cm from the end as you will need some room to manouver when stiching up the back.
DSCF8257.jpg


Then do the same thing on the other side.....
DSCF8256.jpg
 
Last edited:
Feb 15, 2011
3,860
2
Elsewhere
Press one side of the back to where it would be when stitched, then draw a vertical line from the mark on the back of the brim, parallel with the edge which will be the stitch line then cut the rest off 3mm from this line always parallel with the original edge.
With a needle push through at the top to the other crown end placed behind then where marked by a pin *****, draw another vertical line, parallel with the edge & then cut about 1cm from this line.
Sew up the back using the lines as a guide & then finish sewing on the crown.
DSCF8261.jpg
 
Feb 15, 2011
3,860
2
Elsewhere
Draw a line 2mm from the lower edge of the sweat pad & mark the center.
DSCF8278.jpg


As you are returning to towards the front finishing the first line of the stitching, keep the pads center in line with that of the crown & start to sew in the pad.
DSCF8284.jpg
 

Toadflax

Native
Mar 26, 2007
1,783
5
64
Oxfordshire
I didn't want to post too much until this was finished, or nearly so. After getting a Toggi Kangaroo leather hat last year as a present, I've been wondering about trying to do one myself so I'd like to express my thanks for this generous sharing of knowledge.

If I might ask a couple of questions?

What sort of leather (e.g. thickness, type) is appropriate?

What are you using for the 'ribbon' that holds the wire in place? My Toggi hat doesn't appear to have a wire, and the ribbon around the outer edge of the brim appears to be cloth, rather than leather.


Thanks!


Geoff :)
 
Feb 15, 2011
3,860
2
Elsewhere
I didn't want to post too much until this was finished, or nearly so. After getting a Toggi Kangaroo leather hat last year as a present, I've been wondering about trying to do one myself so I'd like to express my thanks for this generous sharing of knowledge.

If I might ask a couple of questions?

What sort of leather (e.g. thickness, type) is appropriate?

The kind of leather used really depends on what kind of hat you want i.e. soft & flexible or more firmer & rigid.......I'd say that 1.5mm - 1.8mm chrome tanned is the most suitable. Veg tanned cowhide is definately unsuitable as not only does it have problems should it get damp but it's uncomfortable too.
This particular hat is made from 1.5 veg tanned, plunge dyed goat skin. It's the first time I've used it & it's a pleasure to work with, much like Roo skin. Sometimes you just get lucky with a piece of leather & no two skins are alike.
DSCF7950.jpg


What are you using for the 'ribbon' that holds the wire in place? My Toggi hat doesn't appear to have a wire, and the ribbon around the outer edge of the brim appears to be cloth, rather than leather.

On this hat there is no binding as the edge of the brim is folded over the wire. I have made hats with a binding before & I usually use a strip of 1.2mm dyed upholstery leather as it's soft & resistant.
I think you'll find that your Toggi has a thin white plastic wire in the brim & the binding is some kind of braid trim.
 
Last edited:

TurboGirl

Bushcrafter (boy, I've got a lot to say!)
Sep 8, 2011
2,326
1
Leicestershire
www.king4wd.co.uk
I usually use a strip of 1.2mm dyed upholstery leather as it's soft & resistant....
I think you'll find that your Toggi has a thin white plastic wire in the brim & the binding is some kind of braid trim.
Have you tried cheap corset tape? I need to get some projects out the way, I knew I kept all that old motorbike leather for a good future reason and I think this is it :) Thank you, BTWolf, what a fabulous resource!
 
Feb 15, 2011
3,860
2
Elsewhere
Time to finish sewing on the crown................start at the back & follow the inner ring you have drawn earlier... where to stich on the upper surface shouldn't be a problem as you have the line but to know where to bring up the needle on the underside simply push the needle down from the top...
DSCF8298.jpg


& now you have the stitch hole at the right place keeping the stitching neat & following the line on the upper surface
DSCF8299.jpg


Then of course you come back the other way............job done & it should now look like this
TOP
DSCF8301.jpg


UNDERSIDE
DSCF8303.jpg


Next episode...............The top.
 
Feb 15, 2011
3,860
2
Elsewhere
THE TOP.

Now there is probably an easier & more straightforward way of working out the size of the top but I haven't found it yet. I have a rather convoluted & ham fisted way of going about it but I always get there in the end. Here's what I do;
First form the crown as I would like it to be, then measure the length of the crown opening
DSCF8304.jpg

then the width
DSCF8305.jpg


With these measurements I then draw a shape that I wish the top to be. That is rounded at the back & slightly pointed at the front, kinda egg shaped I guess.
DSCF8306.jpg


I then place into the top of the hat to make sure it fits & doesn't deform the crown
DSCF8307.jpg


It would be too easy if that was all there was to it ;) It is still a little too small so using this shape I will draw around it on another piece of paper enlarging it each time, add a few millemeters at the bottom, point the front a little more etc. & then check to see if the top is exactly the same circumfrence as the top of the crown.......the crown is turned inside out for this procedure.
As you can see I use hi-tec, state of the art clips :D
DSCF8310.jpg


When I've got it right, I check, double check then triple check before tracing around it on the leather & cutting. Just to show you how many times I had to re-do the top here are the patterns, the top one is the original & the bottom one is the actual template I used.
DSCF8323.jpg


On the underside of the top mark a line all the way around the same distance as you marked the line on the top of the crown that is 7-8 mm. Also mark the exact center at the front.
DSCF8309.jpg


Remember that this is the weak point in a hat as the rain will find it's way into the hat if the stitching isn't tight enough or the stitch holes too far apart.
With the crown turned inside out, start to stitch at the front, with the center mark on the top matching that on the top of the crown.towards the back, following the drawn lines...Stop at 3 or 4 cm from the back then start to sew again from the front towards the back on the other side. Make sure that the back of the top fits correctly at the back of the crown then finish sewing.....& of course go around again to finish the saddle stitch.
Should now look like this
DSCF8324.jpg


& from the outside.
DSCF8325.jpg


Next instalment coming soon.
 
Last edited:

BCUK Shop

We have a a number of knives, T-Shirts and other items for sale.

SHOP HERE