Kolrosing
- Thread starter Wayland
- Start date
You are using an out of date browser. It may not display this or other websites correctly.
You should upgrade or use an alternative browser.
You should upgrade or use an alternative browser.
Hey Alizand, I'm not sure you can post photo's from Facebook, they're generally quite insular on what they allow, I could be wrong though....
Thank you, Wayland. A fine introduction to kolrosing, both in appearance and your explanation of the technique, tricks and all.
Nice work...glad this resurfaced as I hadn't seen it when first posted! Definitely something I'd like to pursue....
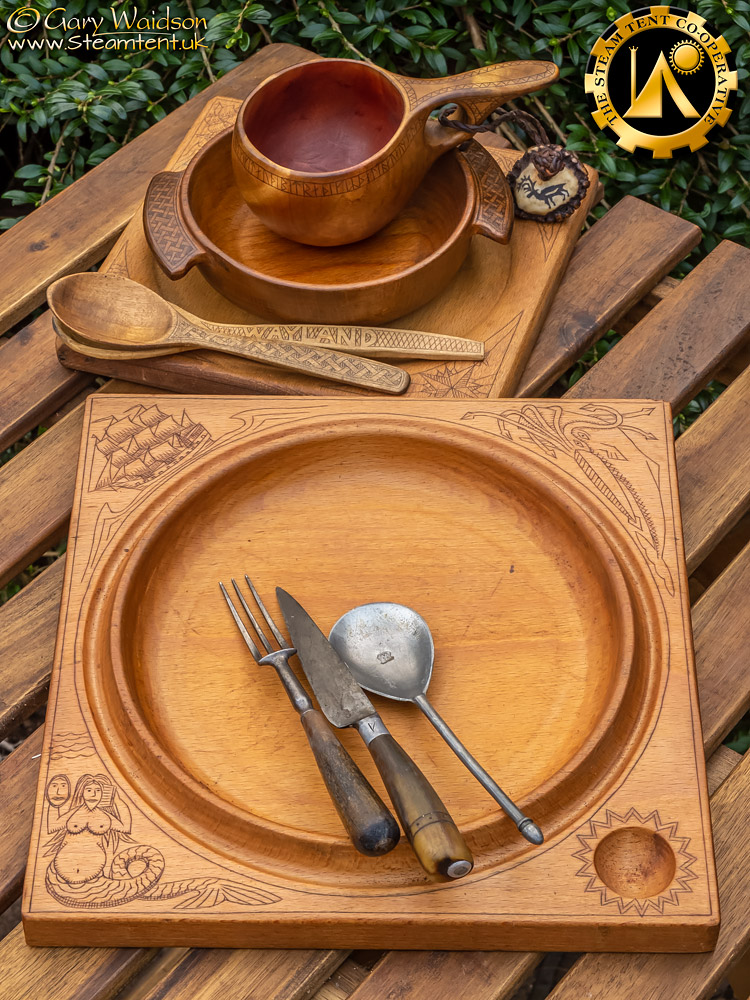
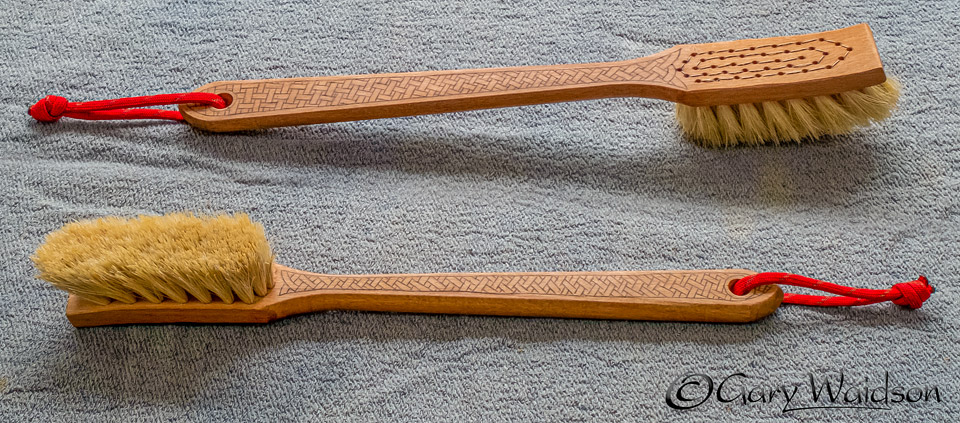
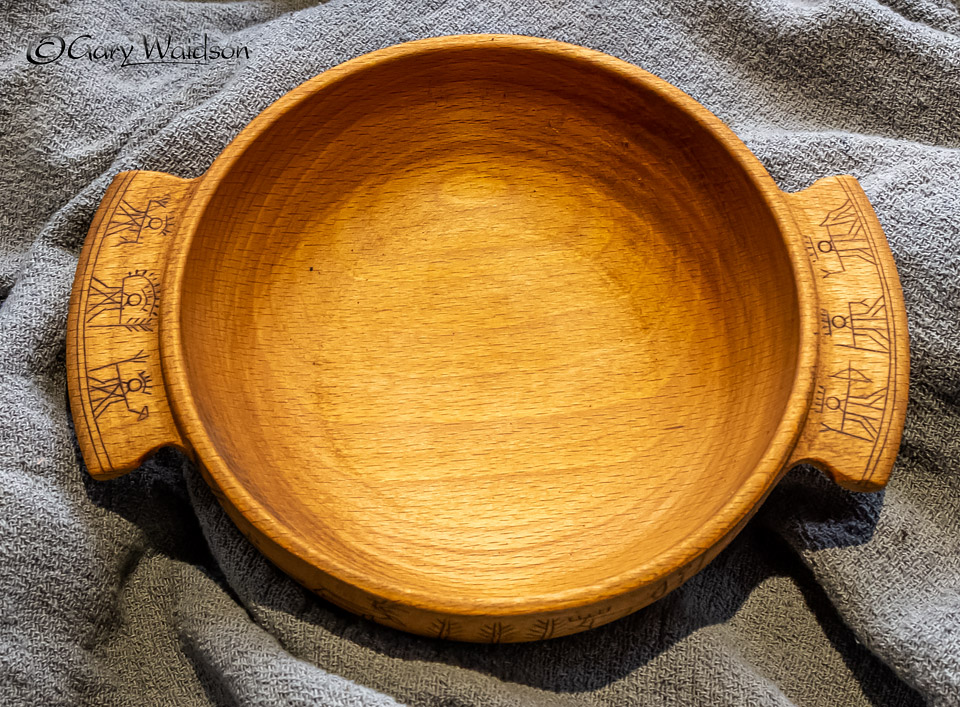
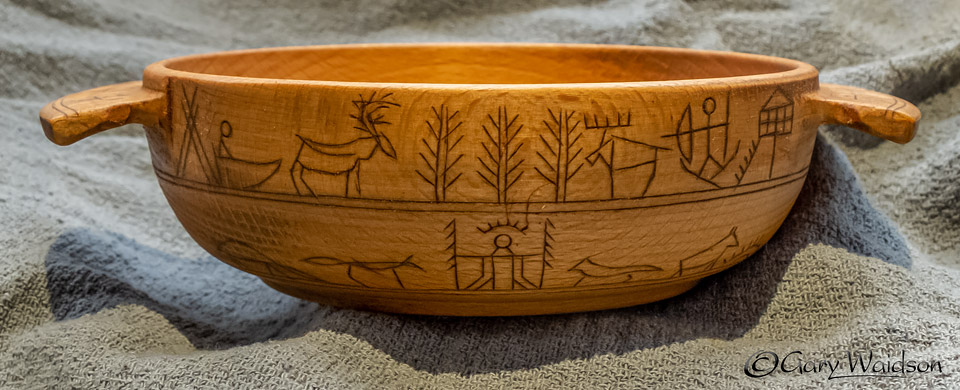
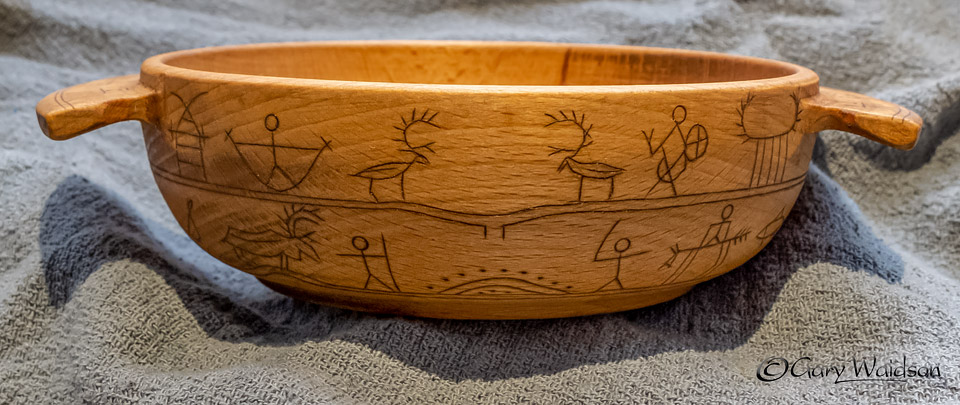
Finally got around to working on the trencher that I usually use on camps.

Finally got around to working on the trencher that I usually use on camps.
Wow, fantastic work!
Please post more! I bought a Del Stubbs kolrosing knife on this forum many, many moons ago and although I can carve competently, I have feared this decorative discipline described by you as being so easy.
I really couldn't post much better instructions than my first post in this thread so I've updated it here with a little more info and a change in the oil I recommend following advice.
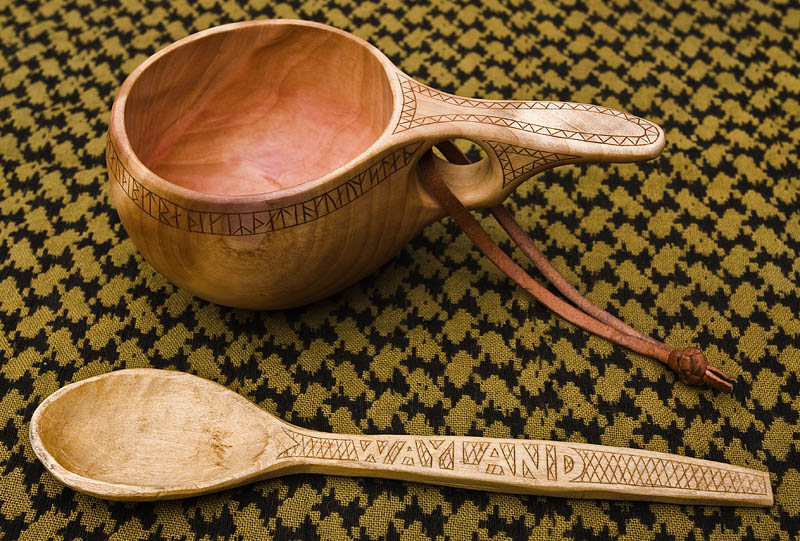
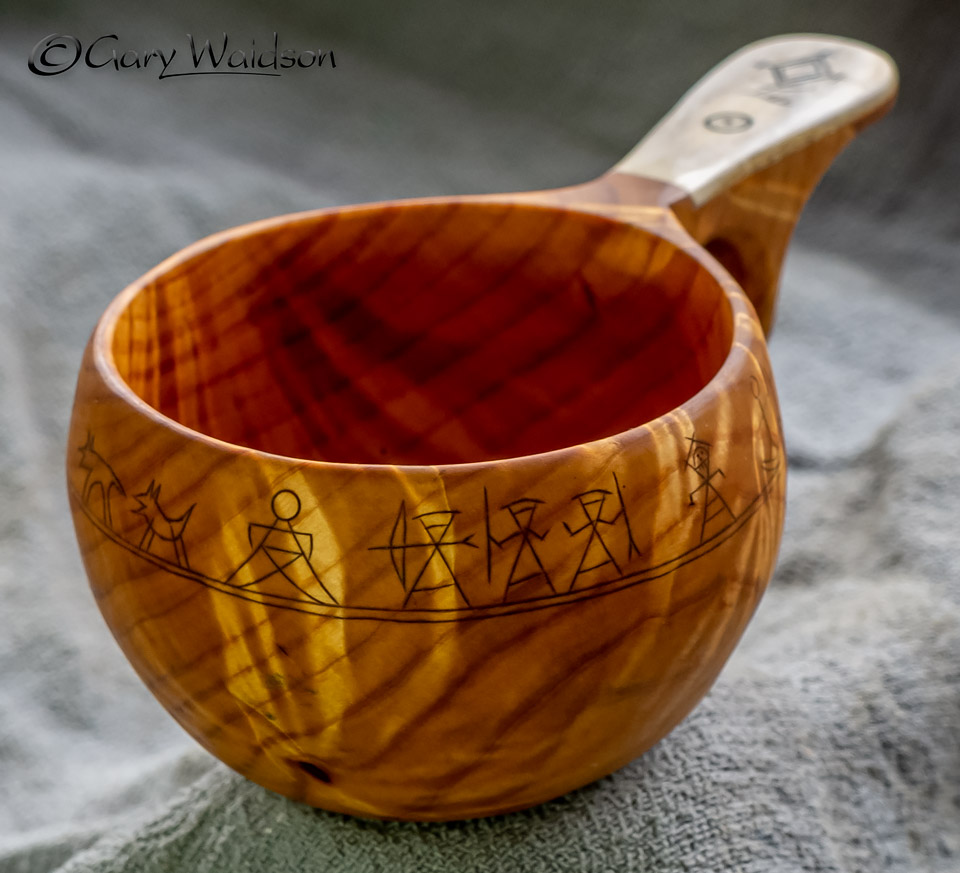
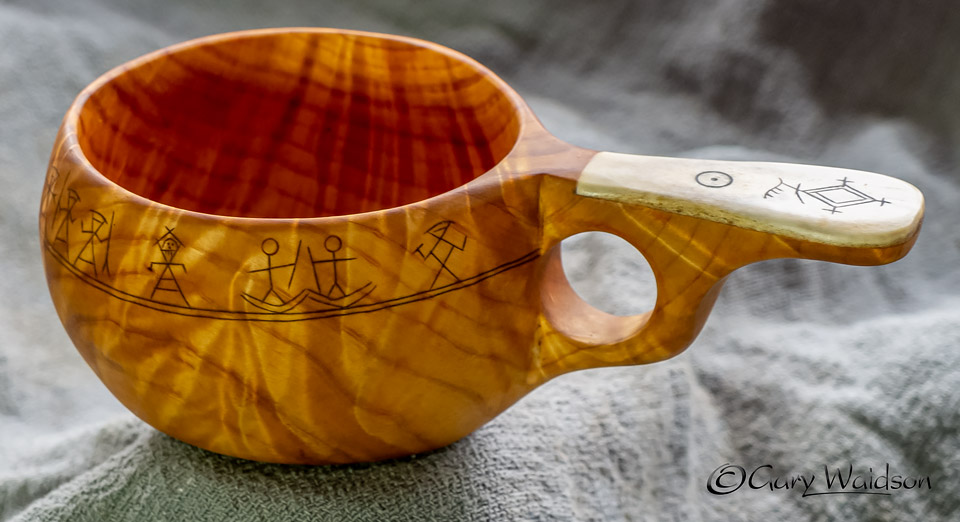
A good friend in Norway once showed me a great little technique for decorating wood, called kolrosing, is amazingly simple compared to the results it produces.
Unlike carving, this does not remove any material from the object being decorated. What you do is make a shallow cut in the surface of the wood with the tip of a sharp knife and then rub powdered wood or bark into the cut, much like scrimshaw work.
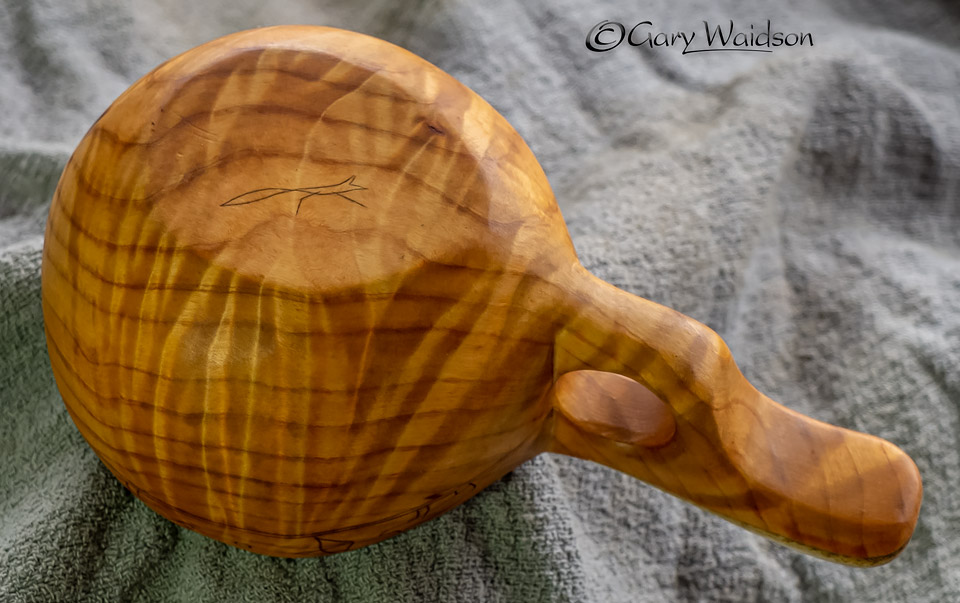
Traditionally the powered bark was something like the inner bark of birch or alder which was darker than the wood and would show up well. Many people now use coffee powder as a convenient replacement but I decided to use cinnamon powder which I realised is just powdered bark after all. I decorated the kuksa above that Debs bought me for Yule and the spoon in just this way. Later I worked on the Porringer bowl and another spoon that you can see below as well.
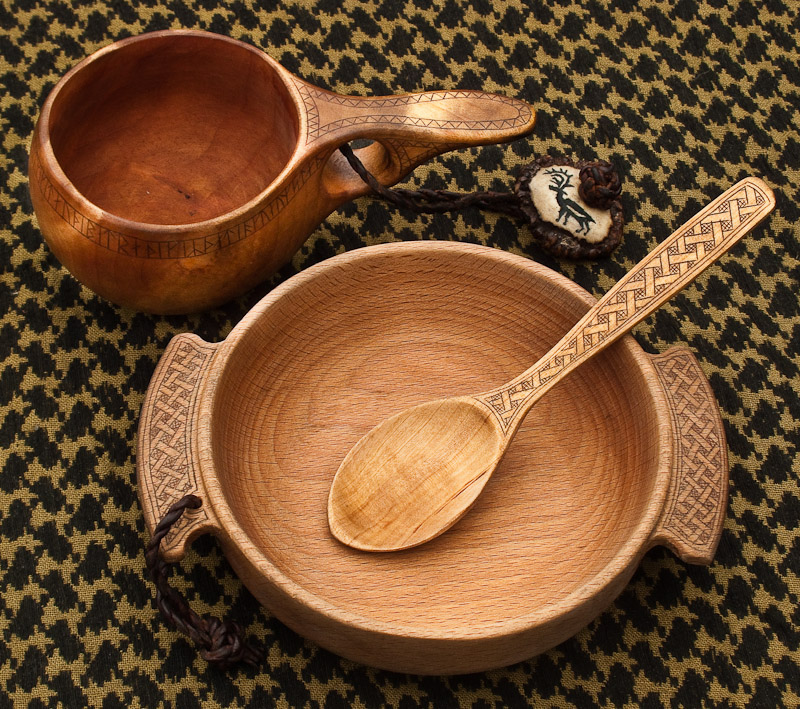
I start by marking out my design with a soft pencil which helps to avoid mistakes, then follow the pencil lines with the tip of a sharp knife. Some people use special knives for the purpose but a retractable scalpel with a number 10A blade is my usual choice for a craft knife and works perfectly for this. When the cuts have been made, rub the cinnamon or whatever else you are using into the cuts with the tip of your finger.
Now for the clever bit. Rub the surface over with a drop of oil. You could use any wood working oil but because I am often using the items for food preparation or eating with, I usually use walnut oil, which cures better than most other food safe oils.
The oil should make the design stand out a little darker but it also sets the powder into the cuts in a very permanent manner, like a wooden tattoo. Short of sanding or carving right down to the bottom of the cut, nothing will shift it.
As a useful side effect, the oil will also remove any lingering traces of the pencil lines.
All that remains to be done now is smooth the item down a little to remove any raised edges around the cuts, traditionally this is done by sanding but what I do is burnish the cuts down with a smooth object. I usually use the handle of my craft knife and then give a final polish with oil and you have finished.
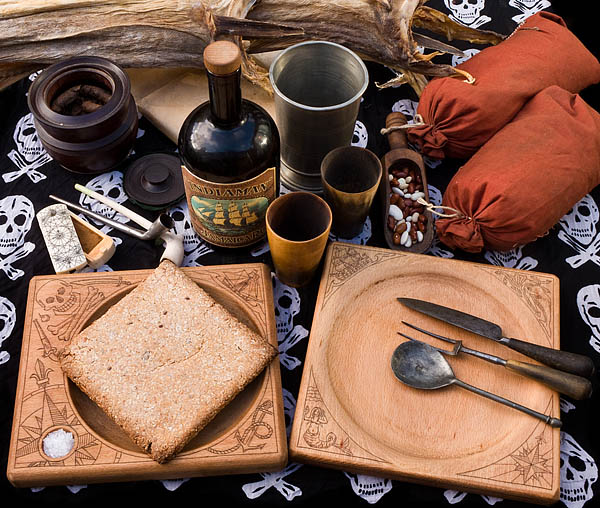
There is nothing stopping you going back over your design to add more detail, in fact I usually work the outlines first and then go back to the finer detail after smoothing, which works well for me.

It's a great technique for decoration but also for simply labelling your equipment in places where it might be mixed up with others. Have fun.

A good friend in Norway once showed me a great little technique for decorating wood, called kolrosing, is amazingly simple compared to the results it produces.
Unlike carving, this does not remove any material from the object being decorated. What you do is make a shallow cut in the surface of the wood with the tip of a sharp knife and then rub powdered wood or bark into the cut, much like scrimshaw work.
Traditionally the powered bark was something like the inner bark of birch or alder which was darker than the wood and would show up well. Many people now use coffee powder as a convenient replacement but I decided to use cinnamon powder which I realised is just powdered bark after all. I decorated the kuksa above that Debs bought me for Yule and the spoon in just this way. Later I worked on the Porringer bowl and another spoon that you can see below as well.

I start by marking out my design with a soft pencil which helps to avoid mistakes, then follow the pencil lines with the tip of a sharp knife. Some people use special knives for the purpose but a retractable scalpel with a number 10A blade is my usual choice for a craft knife and works perfectly for this. When the cuts have been made, rub the cinnamon or whatever else you are using into the cuts with the tip of your finger.
Now for the clever bit. Rub the surface over with a drop of oil. You could use any wood working oil but because I am often using the items for food preparation or eating with, I usually use walnut oil, which cures better than most other food safe oils.
The oil should make the design stand out a little darker but it also sets the powder into the cuts in a very permanent manner, like a wooden tattoo. Short of sanding or carving right down to the bottom of the cut, nothing will shift it.
As a useful side effect, the oil will also remove any lingering traces of the pencil lines.
All that remains to be done now is smooth the item down a little to remove any raised edges around the cuts, traditionally this is done by sanding but what I do is burnish the cuts down with a smooth object. I usually use the handle of my craft knife and then give a final polish with oil and you have finished.

There is nothing stopping you going back over your design to add more detail, in fact I usually work the outlines first and then go back to the finer detail after smoothing, which works well for me.

It's a great technique for decoration but also for simply labelling your equipment in places where it might be mixed up with others. Have fun.
Last edited:
Love these Wayland, something I'm really keen to do myself. There was a BBC History series called "The Dark Ages: Age of Light" where the presenter demonstrated the criss cross technique you've used but how it was done on manuscripts like the Lindisfarne gospels so this in particular is something I've been keen to have a go at. I'm just about to get into spoon/kuksa carving so I'll go back a few pages and find your tutorial. Beautiful work
Similar threads
- Replies
- 16
- Views
- 674
- Replies
- 1
- Views
- 159
- Replies
- 4
- Views
- 231
- Replies
- 7
- Views
- 362


