Wasnt quite sure where to put this, either crafts or tools, feel free to move if you think it's in the wrong place.
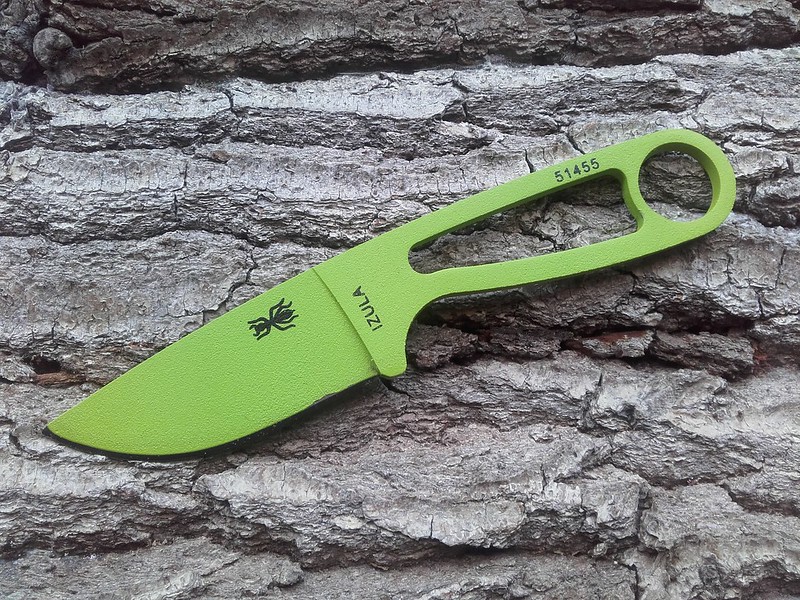
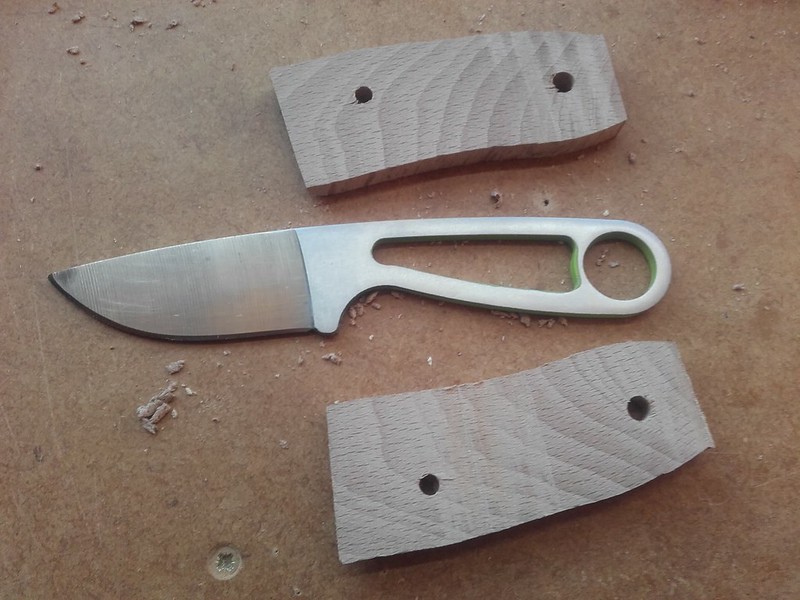
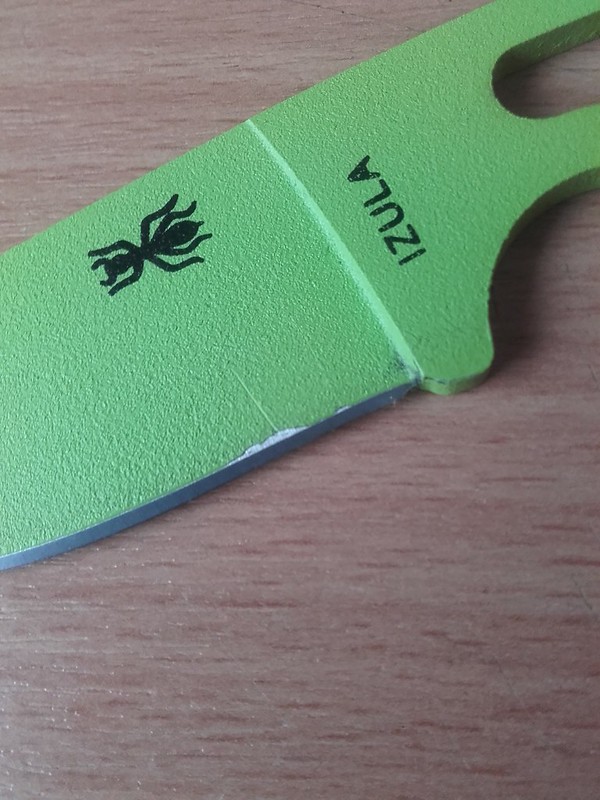
This post might not sit well with some people as it contains a cloned knife and others may ask why go to the trouble of doing a project like this on what can be considered as a piece of junk, well it's something for me to do, it's been a fun build and has helped in my rehab from illness by way of making me get off my butt and exercising my legs, arms and hands, any way yesterday i got given an Izula clone free of charge in an awful green colour, so i figured i have nothing to lose by having a play,
 20171127_142833 by Mark D Emery, on Flickr
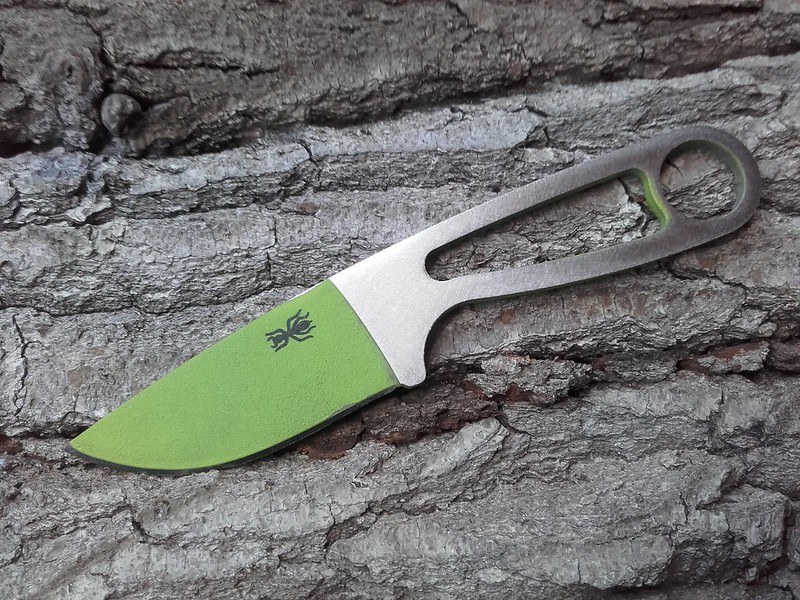
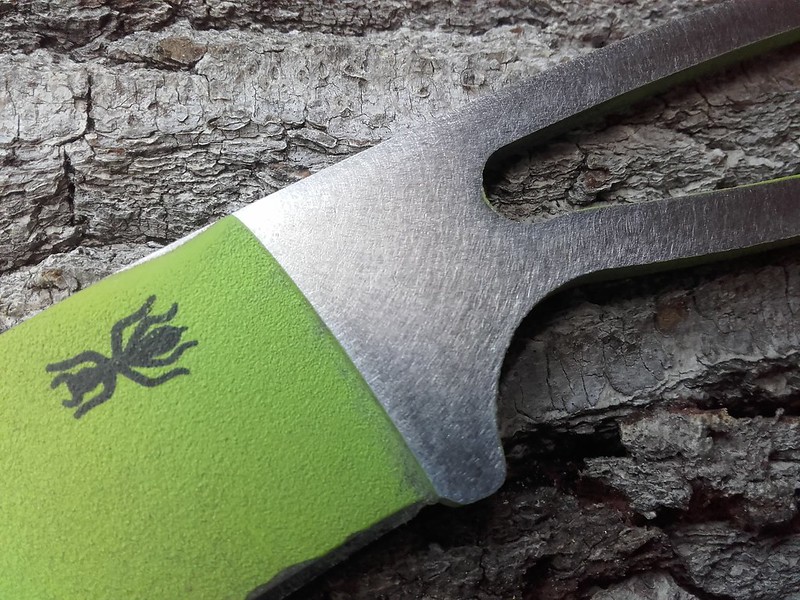
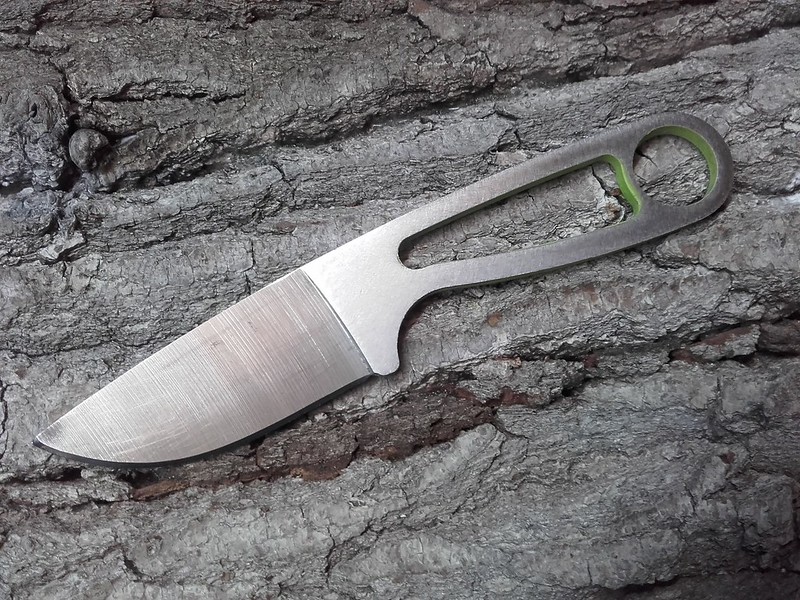
First job, sand the paint off the handle and leave it rough as a key for later, then remove all the paint from the blade, i was going to sand it, but elected to use good old Nitromors to strip it in the end.
 20171127_144749 by Mark D Emery, on Flickr
 20171127_144802 by Mark D Emery, on Flickr
 20171127_160537 by Mark D Emery, on Flickr
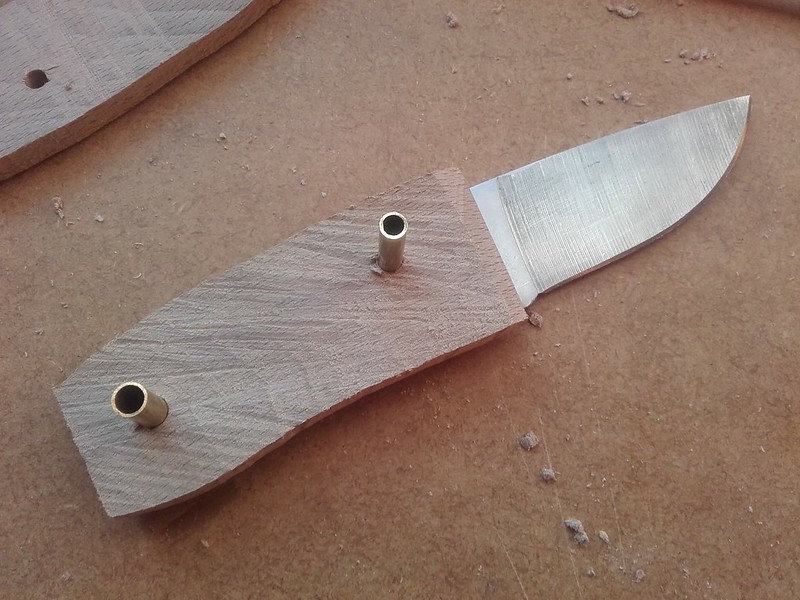
I used some of the Beech i wrote about the other day to make some scales, i drilled two holed for some brass tube and flattened the inside surface down on the belt sander
 20171128_145956 by Mark D Emery, on Flickr
 20171128_150957 by Mark D Emery, on Flickr
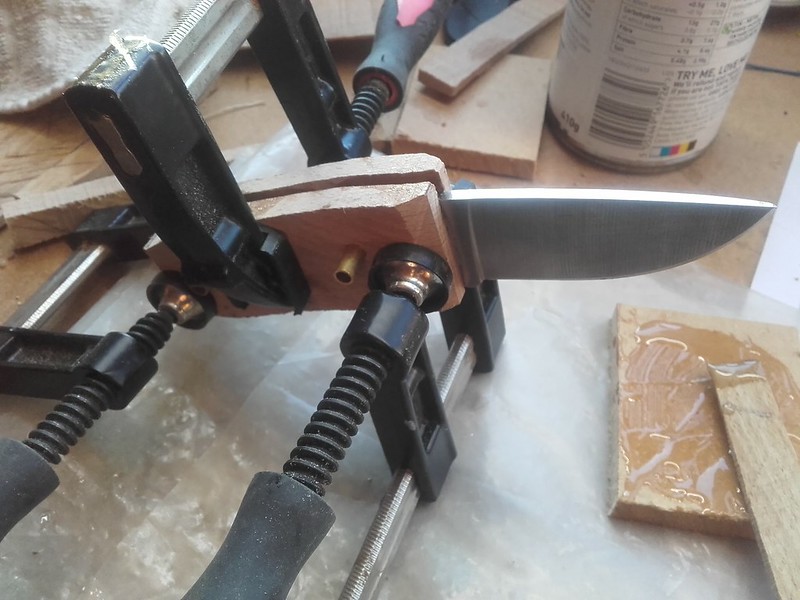
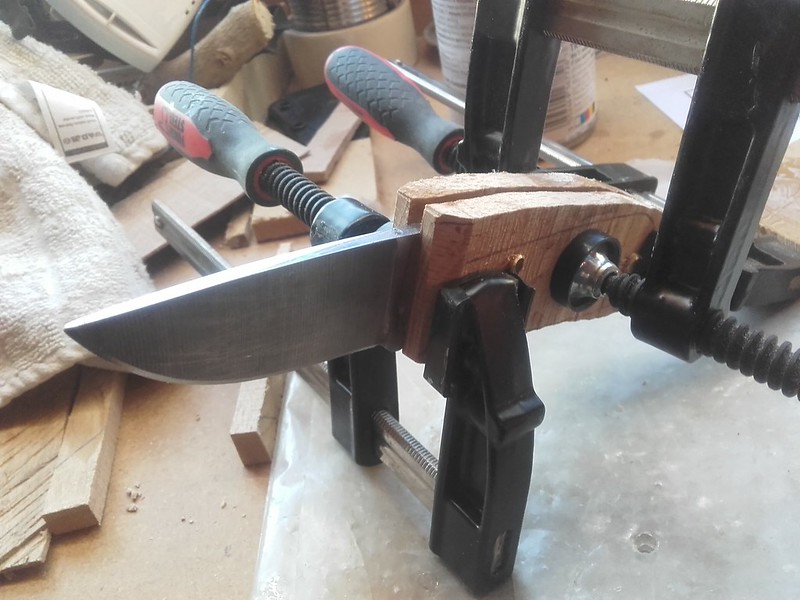
Then mixed up some epoxy and glued it all up and left in clamps overnight to cure
 20171128_152206 by Mark D Emery, on Flickr
 20171128_152247 by Mark D Emery, on Flickr
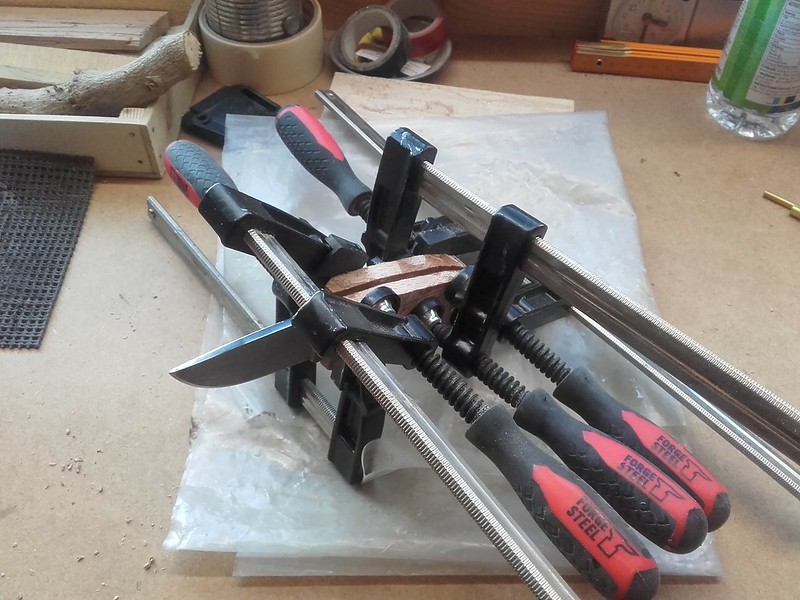 20171128_153030 by Mark D Emery, on Flickr
Today i went out and rough shaped the scales on the sander, then handed sanded to 400 grit.
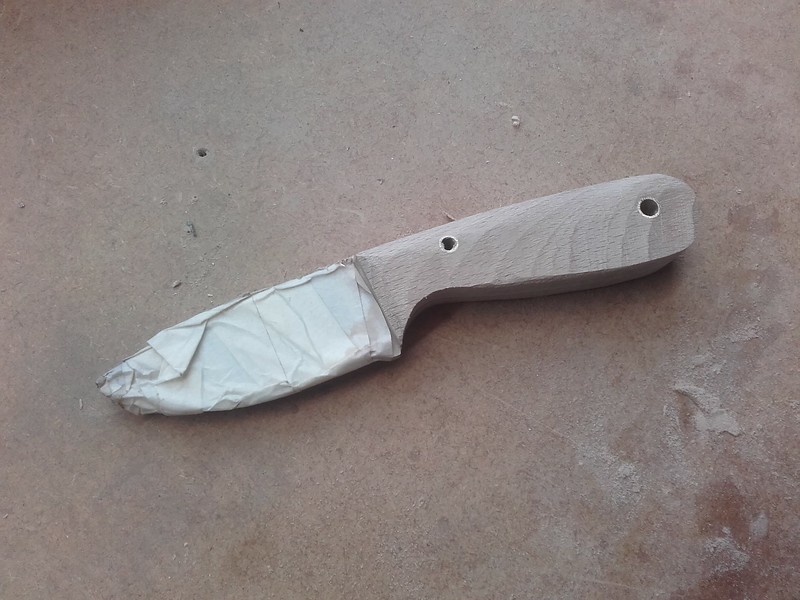 20171129_144959 by Mark D Emery, on Flickr
 20171129_145025 by Mark D Emery, on Flickr
 20171129_153220 by Mark D Emery, on Flickr
 20171129_153230 by Mark D Emery, on Flickr
Then gave the wood a really good drink of boiled linseed oil, which you could see the wood absorb
 20171129_154552 by Mark D Emery, on Flickr
 20171129_154613 by Mark D Emery, on Flickr
 20171129_154737 by Mark D Emery, on Flickr
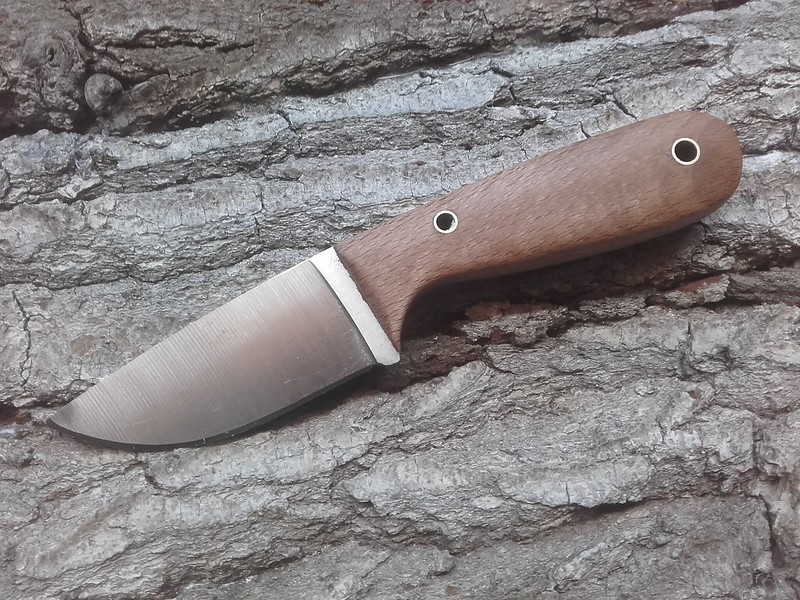
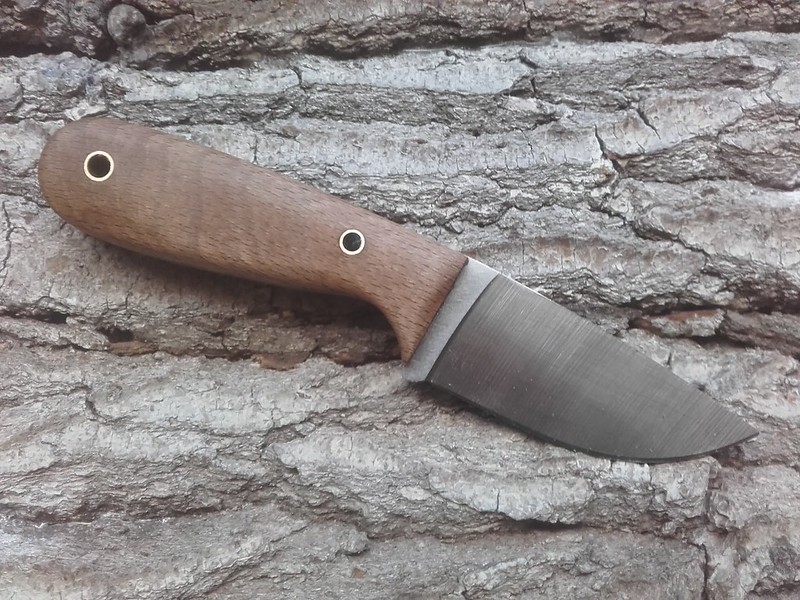
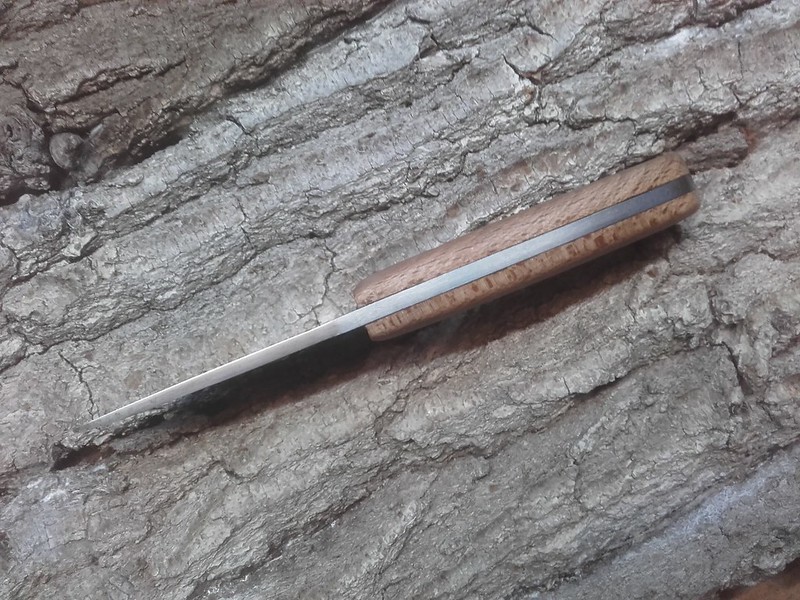
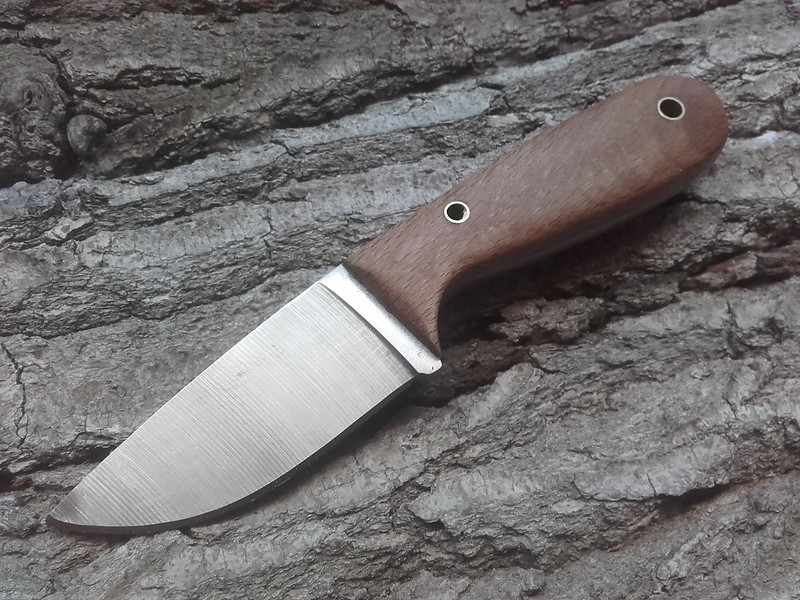 20171129_154831 by Mark D Emery, on Flickr
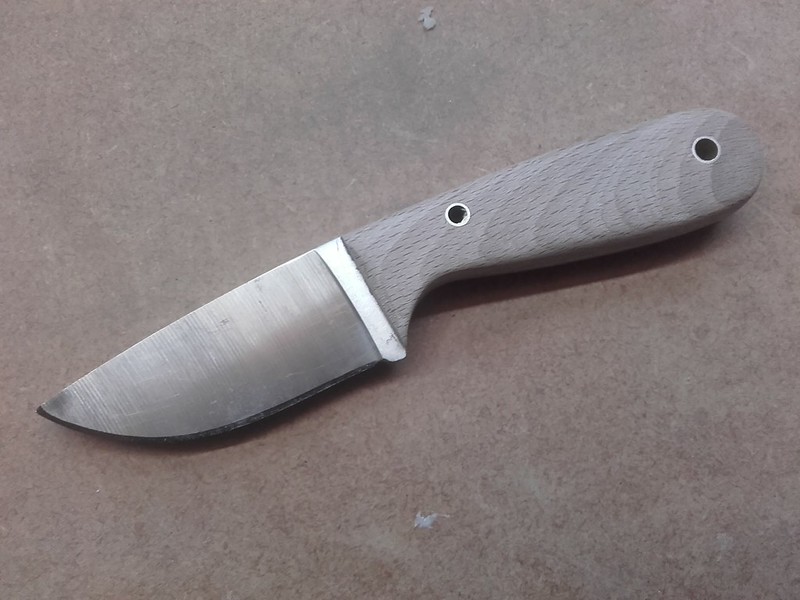
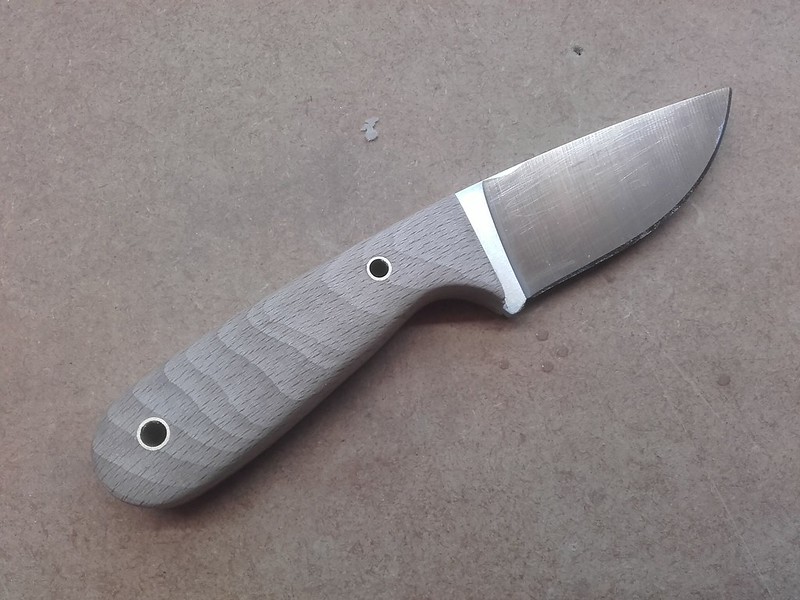
I made a couple of mistakes which i'll make note of for the future and the clamping up didnt quite go to plan as i have a couple of small gaps between the scales and the tang, but overall im pleased with it, especially as it's the first full tang knife i have ever put scales on, sure the steel may be rubbish and there are a couple of gaps, but it's kept me out of mischief, given my bod a bit of a work out and even if it just ends up as a letter opener, it's been a fun little project.
This post might not sit well with some people as it contains a cloned knife and others may ask why go to the trouble of doing a project like this on what can be considered as a piece of junk, well it's something for me to do, it's been a fun build and has helped in my rehab from illness by way of making me get off my butt and exercising my legs, arms and hands, any way yesterday i got given an Izula clone free of charge in an awful green colour, so i figured i have nothing to lose by having a play,
20171127_142833 by Mark D Emery, on FlickrFirst job, sand the paint off the handle and leave it rough as a key for later, then remove all the paint from the blade, i was going to sand it, but elected to use good old Nitromors to strip it in the end.
20171127_144749 by Mark D Emery, on Flickr20171127_144802 by Mark D Emery, on Flickr20171127_160537 by Mark D Emery, on FlickrI used some of the Beech i wrote about the other day to make some scales, i drilled two holed for some brass tube and flattened the inside surface down on the belt sander
20171128_145956 by Mark D Emery, on Flickr20171128_150957 by Mark D Emery, on FlickrThen mixed up some epoxy and glued it all up and left in clamps overnight to cure
20171128_152206 by Mark D Emery, on Flickr20171128_152247 by Mark D Emery, on Flickr20171128_153030 by Mark D Emery, on FlickrToday i went out and rough shaped the scales on the sander, then handed sanded to 400 grit.
20171129_144959 by Mark D Emery, on Flickr20171129_145025 by Mark D Emery, on Flickr20171129_153220 by Mark D Emery, on Flickr20171129_153230 by Mark D Emery, on FlickrThen gave the wood a really good drink of boiled linseed oil, which you could see the wood absorb
20171129_154552 by Mark D Emery, on Flickr20171129_154613 by Mark D Emery, on Flickr20171129_154737 by Mark D Emery, on Flickr20171129_154831 by Mark D Emery, on FlickrI made a couple of mistakes which i'll make note of for the future and the clamping up didnt quite go to plan as i have a couple of small gaps between the scales and the tang, but overall im pleased with it, especially as it's the first full tang knife i have ever put scales on, sure the steel may be rubbish and there are a couple of gaps, but it's kept me out of mischief, given my bod a bit of a work out and even if it just ends up as a letter opener, it's been a fun little project.


 20171127_134334
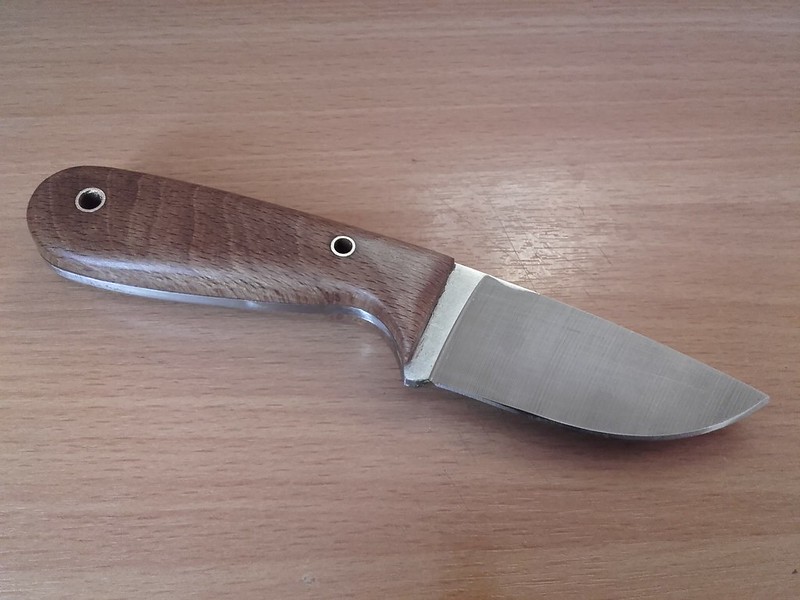 20171201_145736
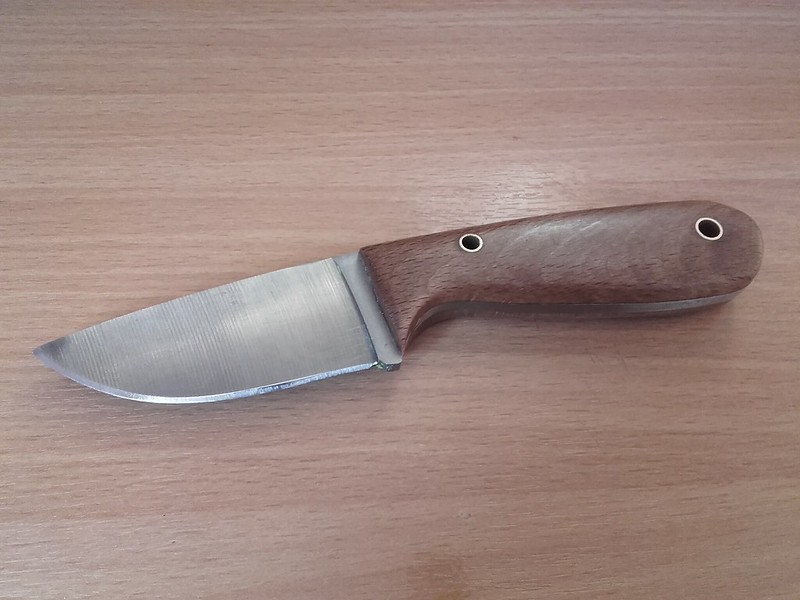 20171201_145657
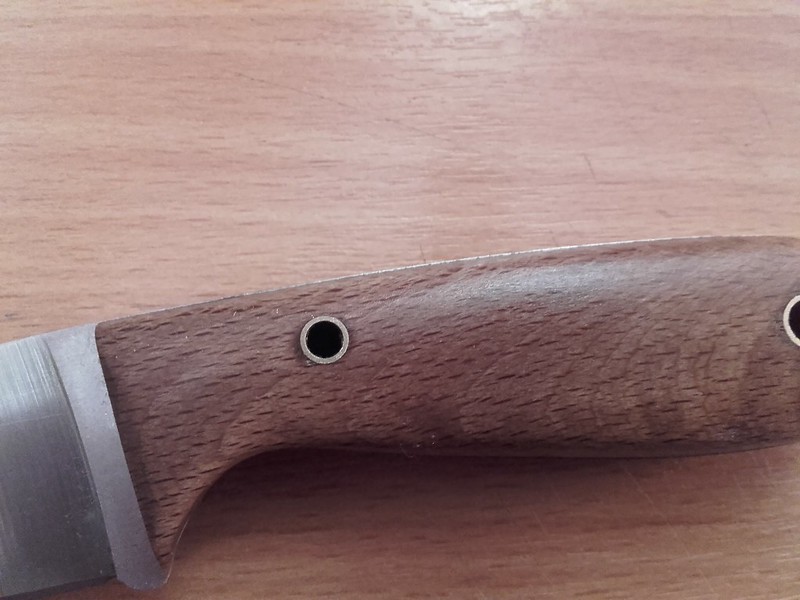 20171201_145707
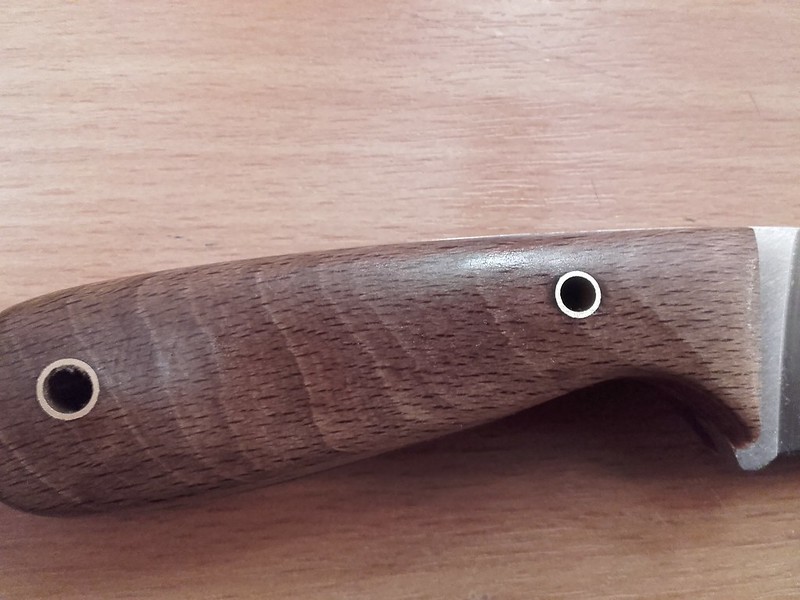 20171201_145722