Heres something that you could try Jack Bounder.
It doesnt take much to jam a cinching knot. Melted ends can often be lumpy and jam, for the end to slide right through a cinching knot its essential for the cord to remain constant in diameter and have no lumps on the end. The method Ive posted below ensures the end will slip through unimpeded, it has no loose ends that need melting or whipping and crucially the entire length of the cords diameter remains the same thickness right through to the very end.
First decide how long you want the finished lanyard to be (allowing for knot taking up some cord), then get a piece of cord ''double'' that length and add a few extra inches for trimming. If you are using paracord (stuff with a loosish braid will be best, tight braid may hinder process) strip out all the inner cords to leave the whole length entirely hollow (any ''hollow'' braid cord will do which isnt braided too tightly, for demonstration purpose I have used orange nylon braid as it shows well in photos, I have made a small version to show better in photos but the instructions are the same no matter how long you make it).
Find and mark the middle of the length of cord with a pen/pencil.
Now get a long ''thin'' piece of wire, fold it in half and twist it together leaving an eye at one end (something like single strand brass rabbit snare wire is ideal but any thin wire will do). It needs to be about as long as half the length of cord though it doesnt matter if its a bit shorter.
Poke the eye of the wire through the side of the cord near to one end, push it through the centre of the cord (making sure it doesnt poke out the side again) all the way through to the middle point where you marked it, then poke the eye out of the side of the cord where it is marked.
Push the other end of the cord through the eye of the wire (not too much else it will hamper process just about 1-2cm).
Now pull the wire back out of the cord pulling the other end of cord along with it, you will notice you are forming an eye in the cord which gets smaller the more you pull the wire, pull until the eye is only about 2-3 inches in diameter, DO NOT pull the wire so much that the eye becomes so small it disappears.
Now stick the other end of the wire through the eye (important as this acts as a ''stop'' so you cant pull the eye too small), and then pull the eyed end of the wire right through until it comes back out of where it originally went it, (you will now have pulled one end of the cord right through the centre of the cord), pull the end that goes through the centre to butt it up against that wire ''stop'' nice and tight, now rub your fingers up and down the length to smooth and stretch out the cord to remove any concertinaring effect of the cord so it is equal again.
Trim the two loose ends neatly at the one end of cord only and melt with lighter to stop fraying, now finally remove that wire ''stop'' from the other end of the cord.
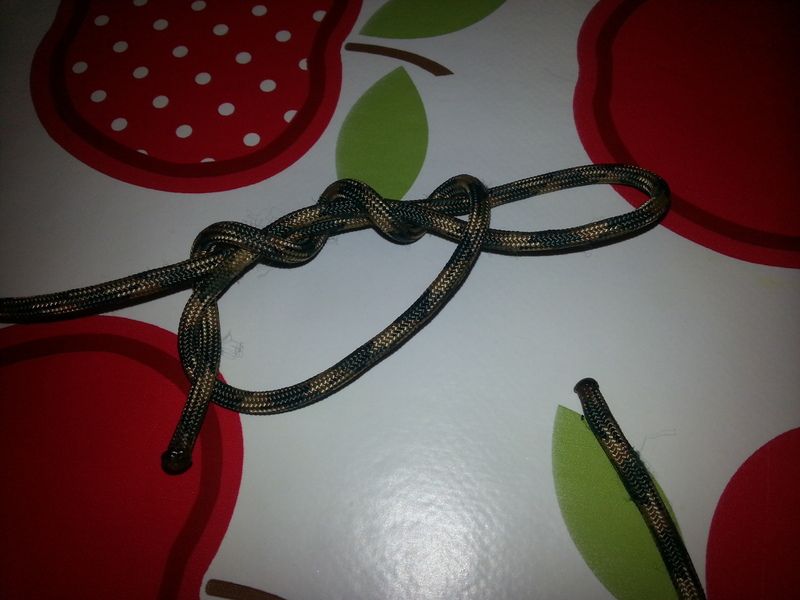
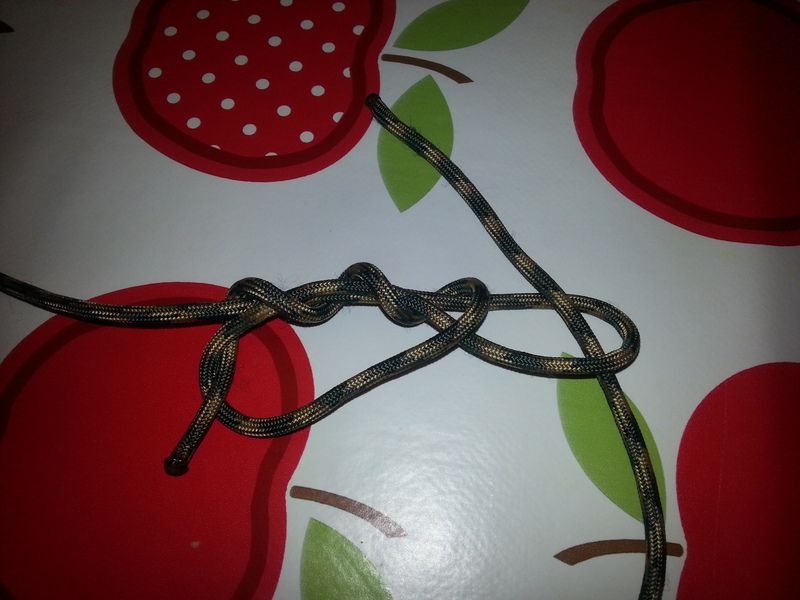
Tie a cinching knot to form the lanyard (for demonstration I have just used the same uni knot as Adze post albeit just a two turn uni, theres plenty of cinching knots to choose from if you wish to experiment, Adzes three turn Uni knot is fine to adopt).
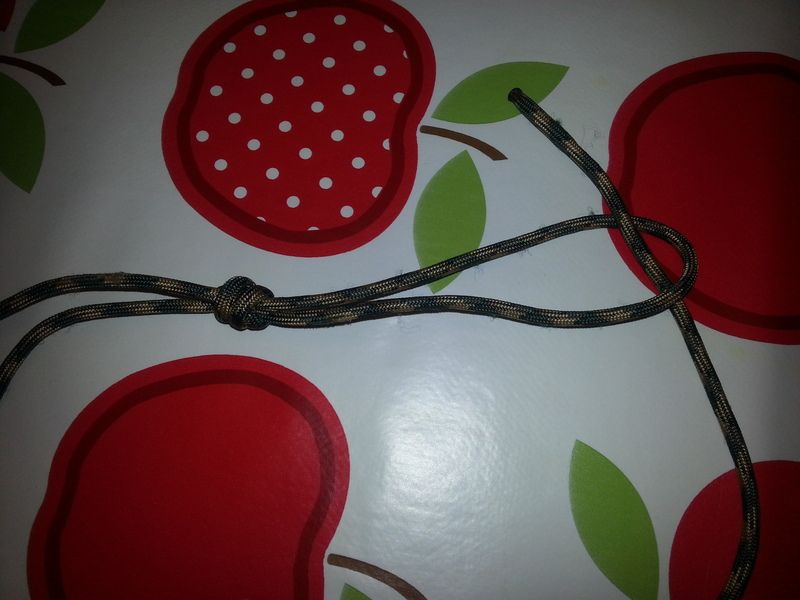
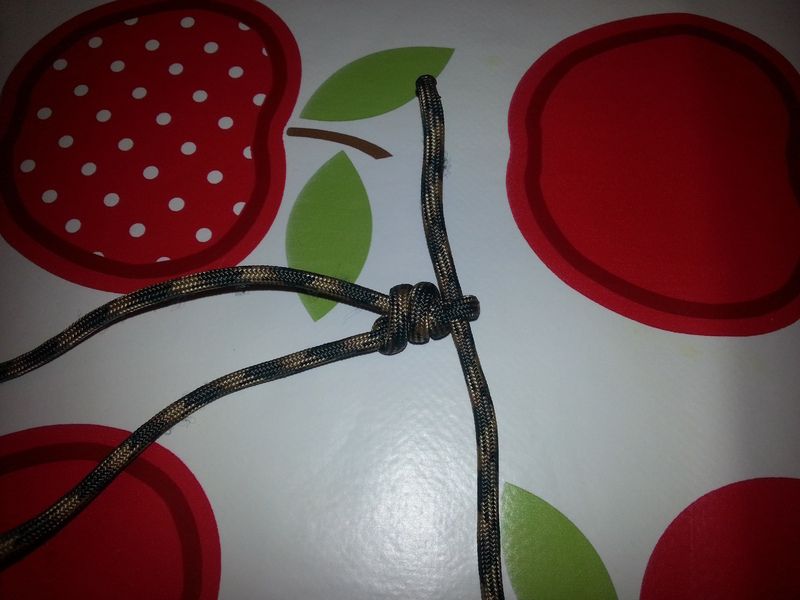
With this method you have threaded one end of the cord right through the centre of the other but there are no loose ends or lumps at the one end. And vitally the entire length of cord will remain the same thickness which is essential if you want the end to slip through a knot such as a neck lanyard to stop strangulation, the end that slips through has no melted bits or lumps to catch and hinder it. This method of splicing one cord inside another is just a variation on making whoopie slings or soft shackles, if you have ever made those you may already be familiar the process. Anyway just a suggestion for you to consider.
")
")


