After getting a deer hide just after Christmas (thanks to Silverback for this), I've eventually got started on turning it into buckskin. This is my first attempt, so I'm not going to do a tutorial as I don't know enough about the process, but if you do want information I thoroughly recommend the Deerskins to Buckskins DVD and book available from Amazon and from http://www.braintan.com. I managed to borrow a copy of the DVD from Buckshot  and it is one of the best training DVDs I have ever seen. The book is useful, but the 2.5 hour video gives you a real feel for what you need to do.
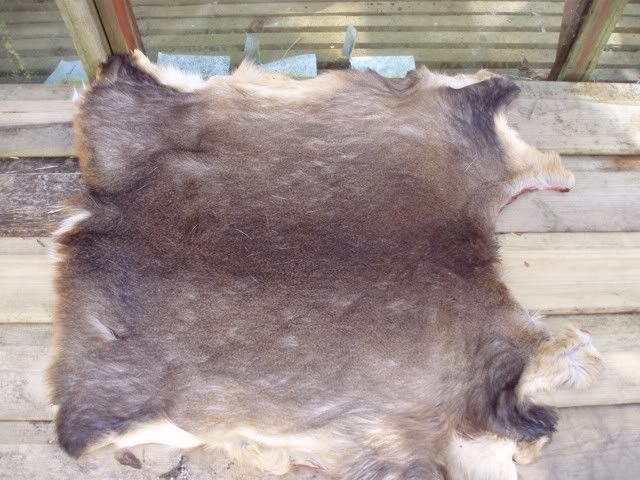
Here's the original hide after defrosting it (untreated hide keeps well in the freezer) - a Muntjac, a good one for a beginner because it is pretty tough and thick and small enough so that it isn't too much work in each of the stages, so if you mess up then you haven't wasted too much time.
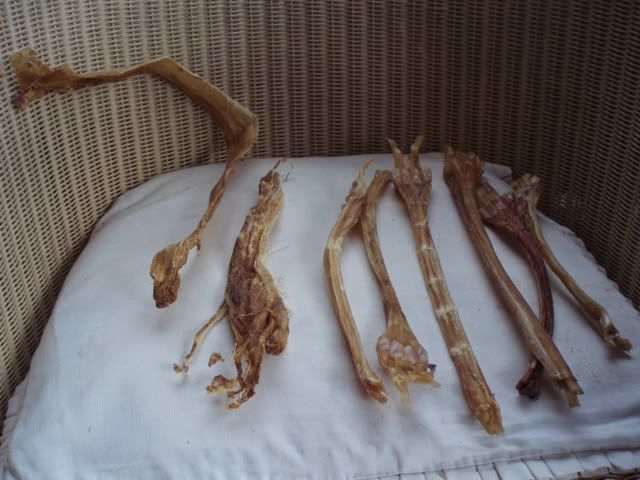
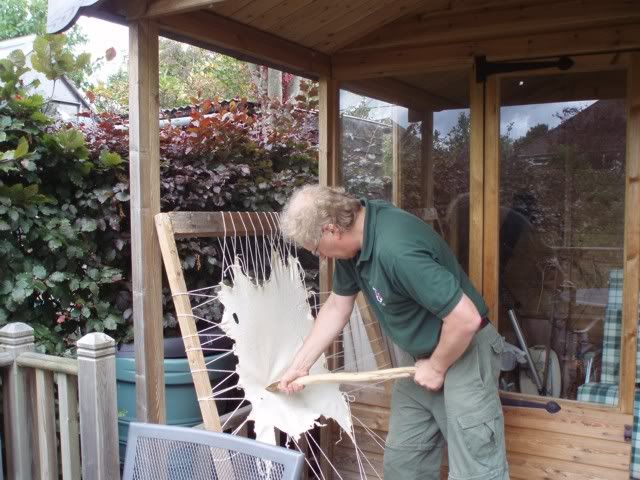
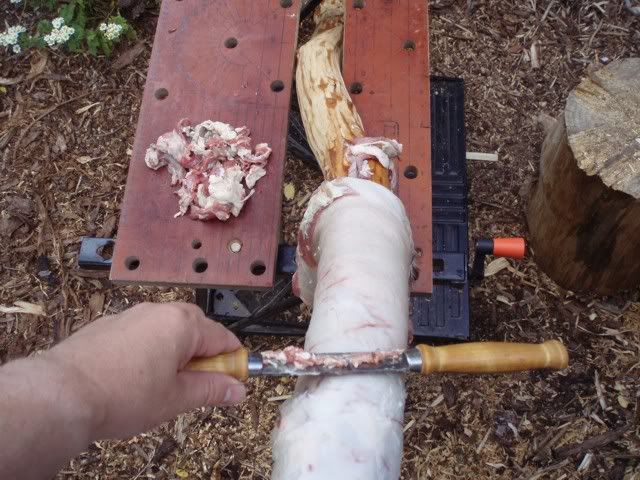
The first stage is fleshing, removing the remains of meat and fat from the inner side of the hide. I used a branch from one of the trees in the garden as the scraping post, having removed the bark and left it to dry out for a few months, supported by my workmate. The branch would be too small a diameter for a large hide, but works well for the small Muntjac. The scraper is a Frosts draw knife (thanks again to Buckshot for this) suitable blunted using my sharpening stone rubbed across the edge.
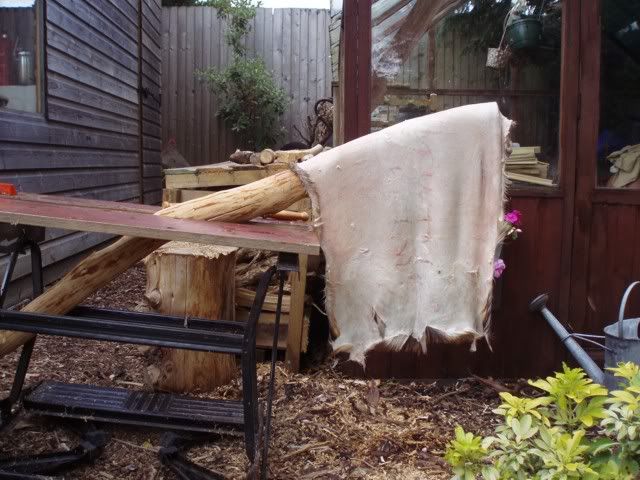
And here it is ready for bucking.
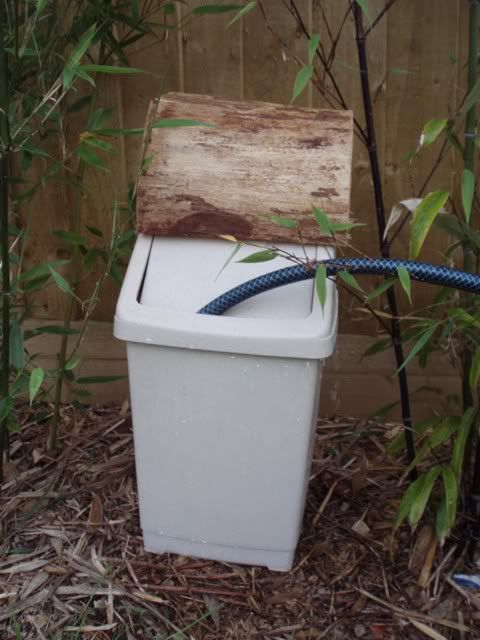
After fleshing, the hide is soaked (bucked) in a lye solution. I used hydrated lime bought from the local builders' merchant. I had to buy a 25kg sack for about £12 and used 75g for my solution! I'm going to keep most of this for future hides, but If anyone wants some of this I can bring some along to the Moot (send me a PM).
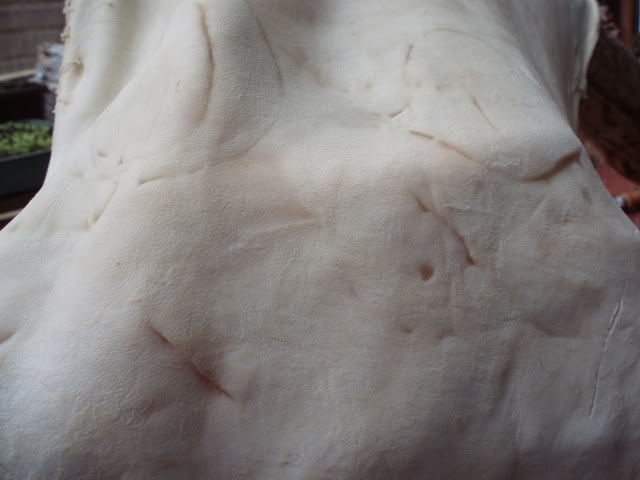
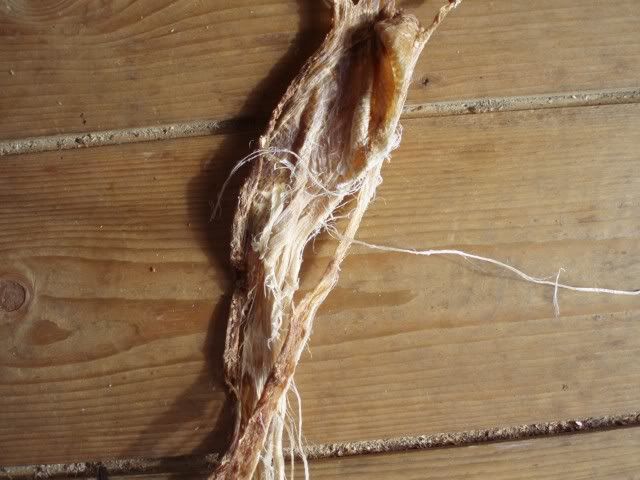
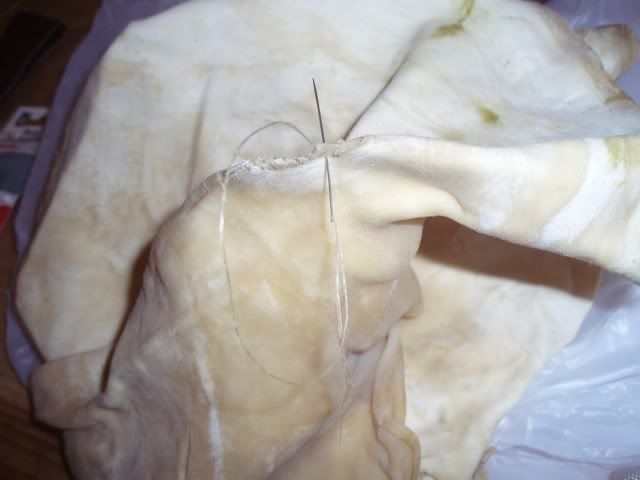
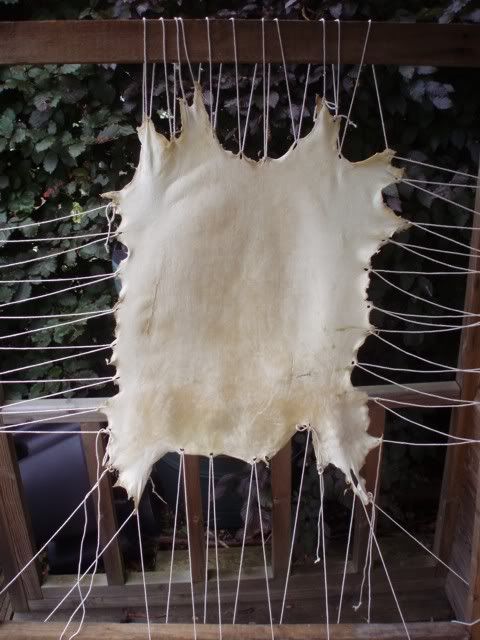
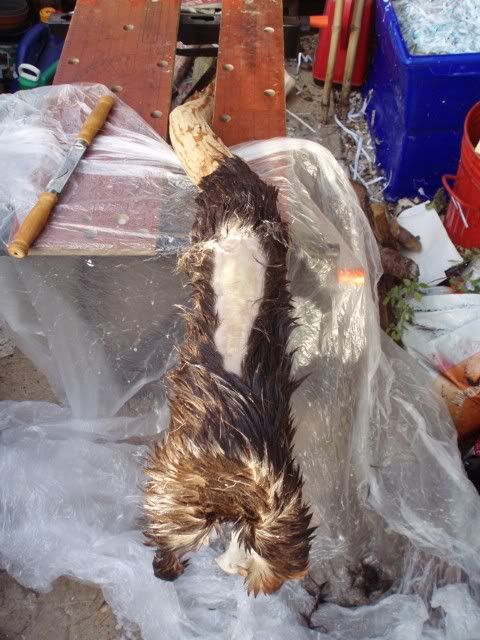
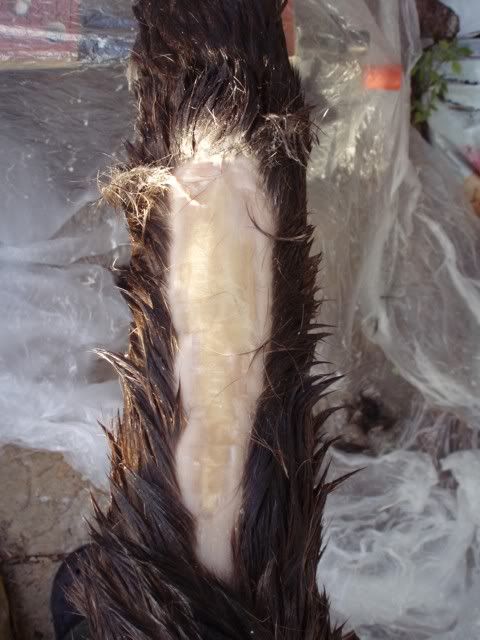
After 3 days, the hair was pulling out easily and the hide felt swollen so I started on the graining stage. Here you can see the early stages. A similar process to fleshing, but you scrape the hair out and then scrape hard to remove the grey/blue grain layer to reveal the tawny fibrous layer underneath.
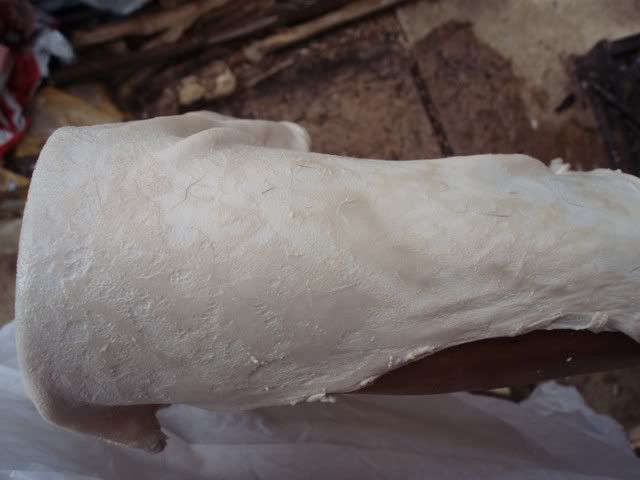
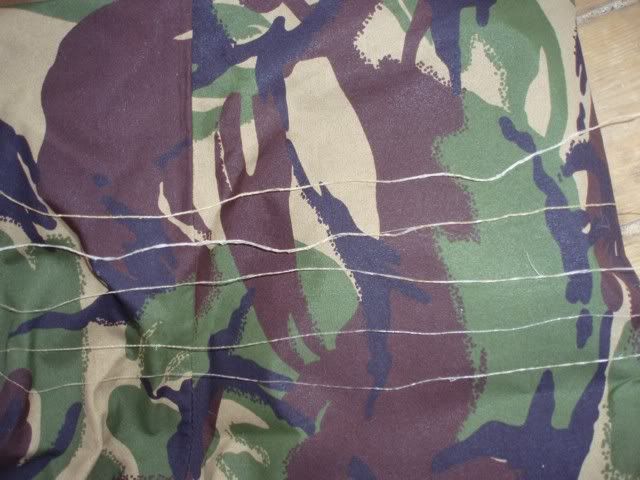
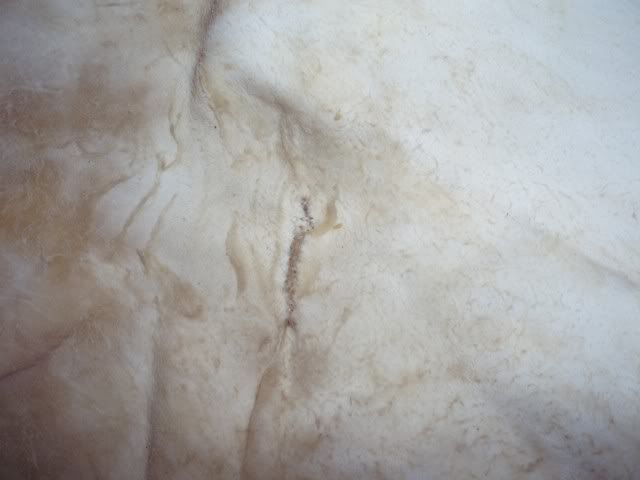
It's more obvious on this close-up.
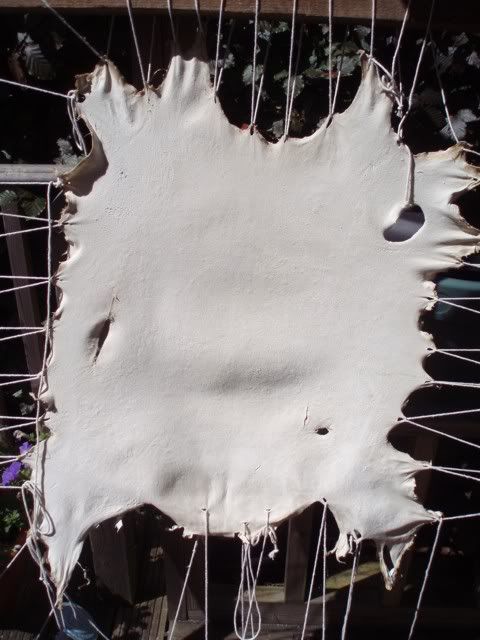
It's hard work, and you need to be thorough to ensure that all traces of the grain are removed, otherwise they will show up as white patches when you smoke the hide.
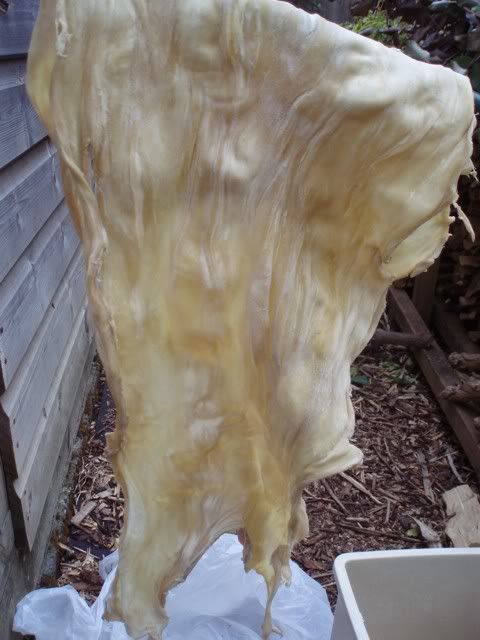
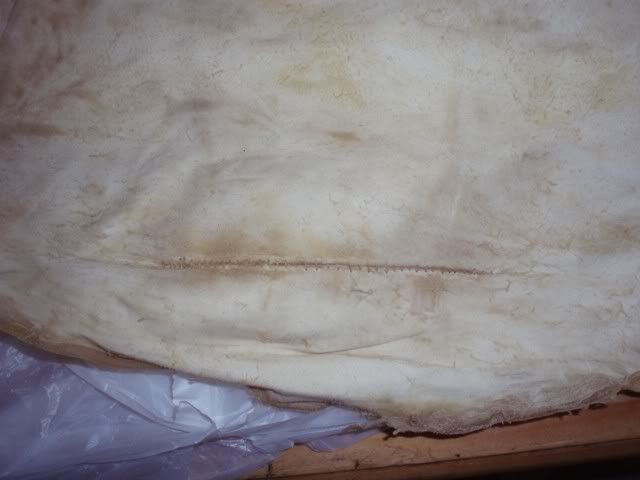
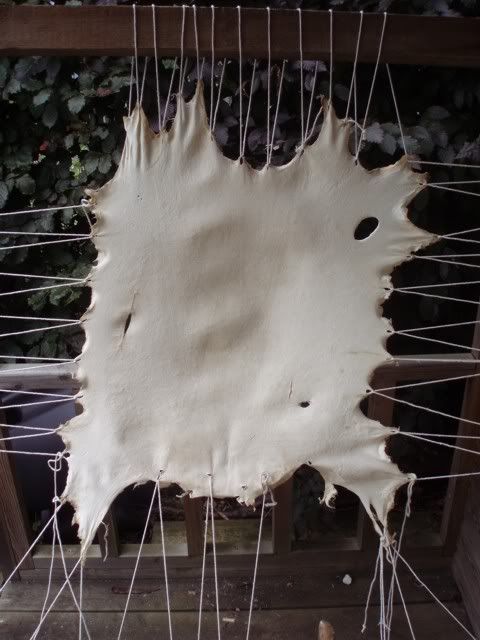
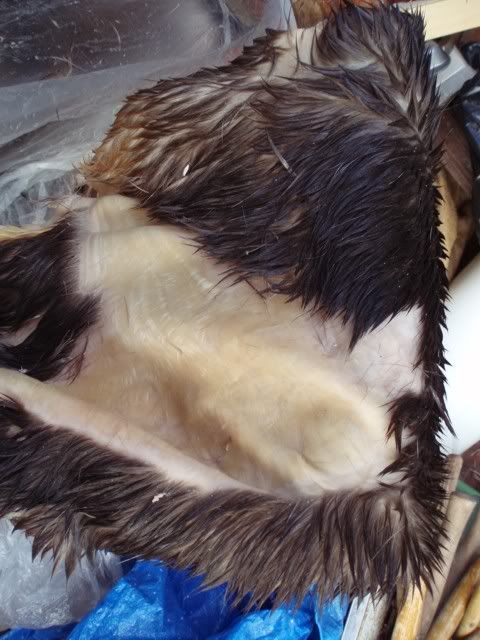
A larger area now scraped, you can see some tool marks on the hide. I don't know if this is because the scraper is perhaps still a bit too sharp, poor technique, or whether they will disappear in later stages.
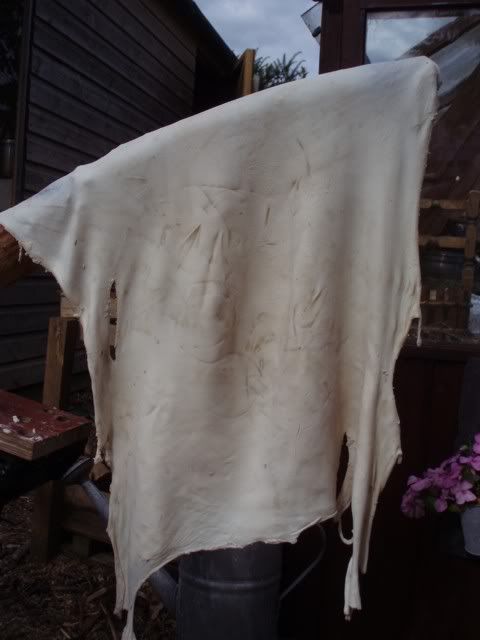
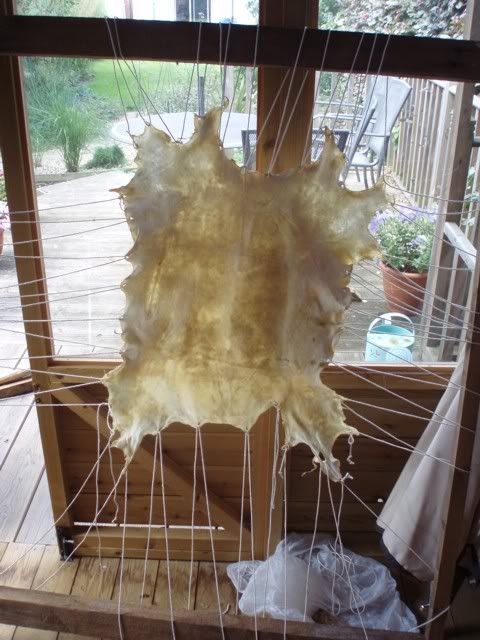
And here it is fully scraped...
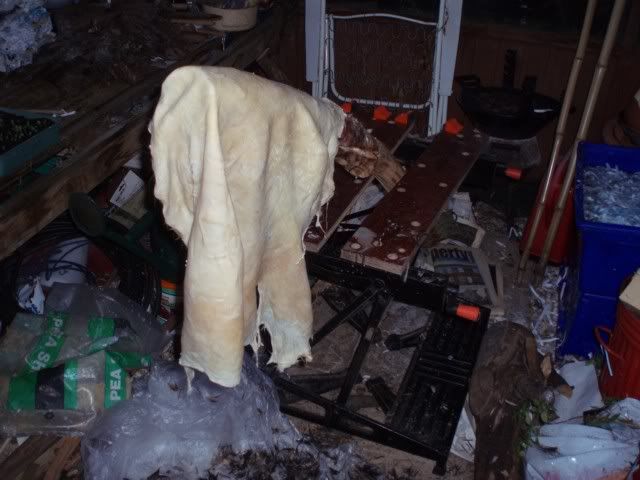
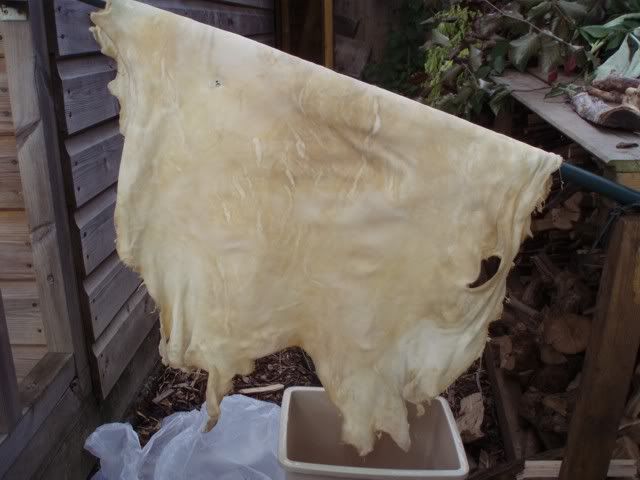
...well, not quite, there are still some traces of grain but it was getting dark so I had to stop. I've dropped it back into the bucking solution for another day and I'll have a go at finishing it off this evening.
So far, it has gone remarkably well - just like it shows you in the book and the DVD.
More to follow in days to come.
Geoff
and it is one of the best training DVDs I have ever seen. The book is useful, but the 2.5 hour video gives you a real feel for what you need to do.Here's the original hide after defrosting it (untreated hide keeps well in the freezer) - a Muntjac, a good one for a beginner because it is pretty tough and thick and small enough so that it isn't too much work in each of the stages, so if you mess up then you haven't wasted too much time.
The first stage is fleshing, removing the remains of meat and fat from the inner side of the hide. I used a branch from one of the trees in the garden as the scraping post, having removed the bark and left it to dry out for a few months, supported by my workmate. The branch would be too small a diameter for a large hide, but works well for the small Muntjac. The scraper is a Frosts draw knife (thanks again to Buckshot for this) suitable blunted using my sharpening stone rubbed across the edge.
And here it is ready for bucking.
After fleshing, the hide is soaked (bucked) in a lye solution. I used hydrated lime bought from the local builders' merchant. I had to buy a 25kg sack for about £12 and used 75g for my solution! I'm going to keep most of this for future hides, but If anyone wants some of this I can bring some along to the Moot (send me a PM).
After 3 days, the hair was pulling out easily and the hide felt swollen so I started on the graining stage. Here you can see the early stages. A similar process to fleshing, but you scrape the hair out and then scrape hard to remove the grey/blue grain layer to reveal the tawny fibrous layer underneath.
It's more obvious on this close-up.
It's hard work, and you need to be thorough to ensure that all traces of the grain are removed, otherwise they will show up as white patches when you smoke the hide.
A larger area now scraped, you can see some tool marks on the hide. I don't know if this is because the scraper is perhaps still a bit too sharp, poor technique, or whether they will disappear in later stages.
And here it is fully scraped...
...well, not quite, there are still some traces of grain but it was getting dark so I had to stop. I've dropped it back into the bucking solution for another day and I'll have a go at finishing it off this evening.
So far, it has gone remarkably well - just like it shows you in the book and the DVD.
More to follow in days to come.
Geoff
Last edited:
")