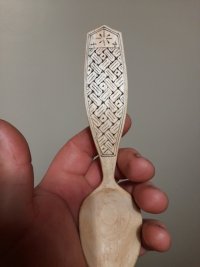
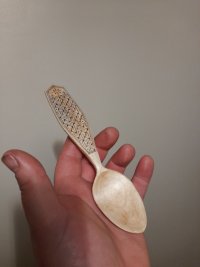
I've been wanting to carve a decent spoon for some time now. My carvings to date had all been very rough, hap hazard, impromptu affairs to produce something useful in a short amount of time, usually because I'd forgotten a spork or spatula when out in the woods. Which don't get me wrong, is a useful practice, but they were never fine carvings to be proud of.
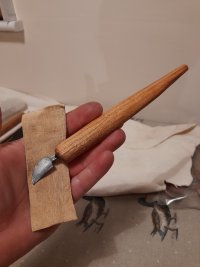
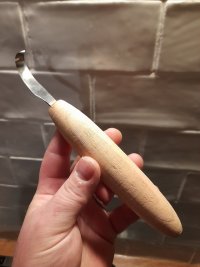
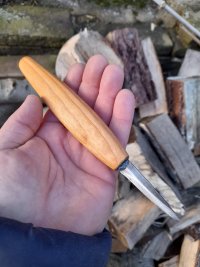
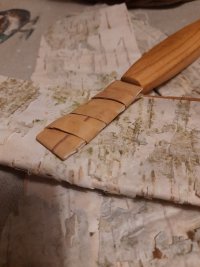
So I had a birthday recently, and purchased a decent spoon knife from wood tools uk, and slung a cherry handle to it. What a lovely bit of kit.
I found a great video, from a guy called zeb outdoors who had done a spoon carving video with a guy called Paul Adamson. I don't think I've ever watched such a long video! Paul is clearly a master at what he does. I can't recommend this video enough for anyone starting out into carving. He makes notes on the finest details, but the details that elevate a rough spoon into a piece to be proud of.
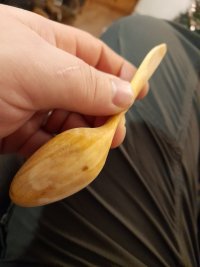
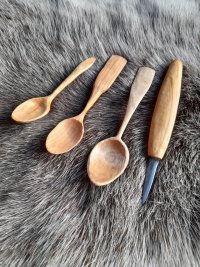
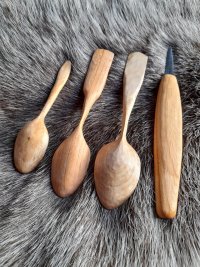
My first spoon I tried to make without a template, with some recently windblown birch from a local wood, which had some interesting grain, like very early stages of spalt. It was supposed to be a full size spoon, and ended up being a teaspoon! Lesson one, use a template. However it worked out fairly well, the crank came out well and the overall shape was pleasant. It was such a rough finish though, I had to get the dremel out to finish the spoon! Lesson 2, learn cut directions!
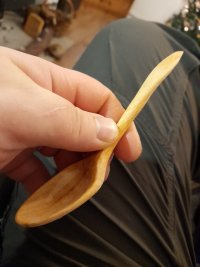
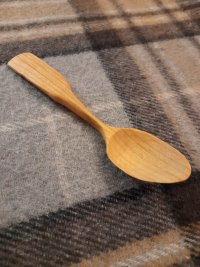
The next spoon I decided to carve from some cherry in the logstore. It has a beautiful grain and is hard, so I thought it was worth a shot. The axe work wasn't too bad, but the knife work was almost impossible! Made harder by the fact the bevels on my little homemade whittler were convex, the knife kept skating off. Lesson 3 and 4, flat bevels for carving and fresh cut green wood! Safe to say I pulled the dremel out to finish the job. A proper sized spoon atleast, and the handle shape felt good.
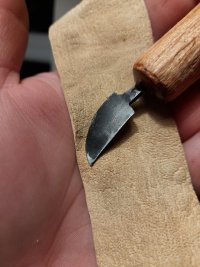
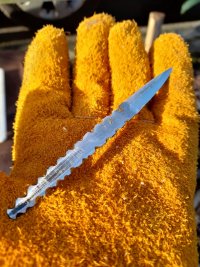
I knew I needed a new knife. I had a little 1.5mm x 10mm 01 tool steel, so I knocked up a wee whittler probably 50-60mm long, really concentrating on the flat bevels. I'm no pro, I've only got basic tools but I'm really happy with how it came out and it's a great carver. That well seasoned cherry came in very useful for the handle.
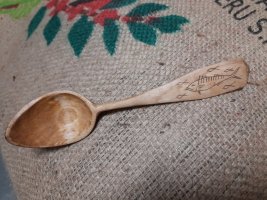
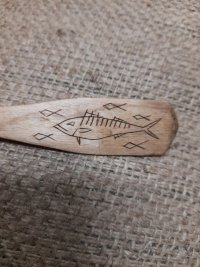
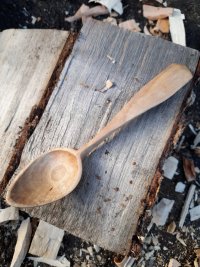
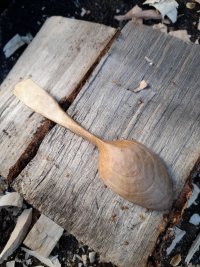
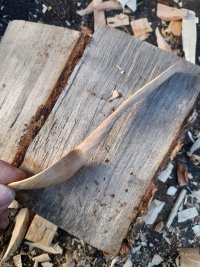
The next spoon I went back to green birch, this time from a large round so it had a lovely open straight grain. I went super slow and steady. Much, much better this time. The form was lovely, I went a little thin at the top of the handle but I think the width will save it some strength. I used a small amount of sand paper just to neaten up a couple of bad cuts that had chipped slightly, but other than this is the closest I've been to what I was aiming for. Lesson 5, patience!
So I had a birthday recently, and purchased a decent spoon knife from wood tools uk, and slung a cherry handle to it. What a lovely bit of kit.

I found a great video, from a guy called zeb outdoors who had done a spoon carving video with a guy called Paul Adamson. I don't think I've ever watched such a long video! Paul is clearly a master at what he does. I can't recommend this video enough for anyone starting out into carving. He makes notes on the finest details, but the details that elevate a rough spoon into a piece to be proud of.
My first spoon I tried to make without a template, with some recently windblown birch from a local wood, which had some interesting grain, like very early stages of spalt. It was supposed to be a full size spoon, and ended up being a teaspoon! Lesson one, use a template. However it worked out fairly well, the crank came out well and the overall shape was pleasant. It was such a rough finish though, I had to get the dremel out to finish the spoon! Lesson 2, learn cut directions!


The next spoon I decided to carve from some cherry in the logstore. It has a beautiful grain and is hard, so I thought it was worth a shot. The axe work wasn't too bad, but the knife work was almost impossible! Made harder by the fact the bevels on my little homemade whittler were convex, the knife kept skating off. Lesson 3 and 4, flat bevels for carving and fresh cut green wood! Safe to say I pulled the dremel out to finish the job. A proper sized spoon atleast, and the handle shape felt good.

I knew I needed a new knife. I had a little 1.5mm x 10mm 01 tool steel, so I knocked up a wee whittler probably 50-60mm long, really concentrating on the flat bevels. I'm no pro, I've only got basic tools but I'm really happy with how it came out and it's a great carver. That well seasoned cherry came in very useful for the handle.


The next spoon I went back to green birch, this time from a large round so it had a lovely open straight grain. I went super slow and steady. Much, much better this time. The form was lovely, I went a little thin at the top of the handle but I think the width will save it some strength. I used a small amount of sand paper just to neaten up a couple of bad cuts that had chipped slightly, but other than this is the closest I've been to what I was aiming for. Lesson 5, patience!


 .
.